my $200 camper and upgrades

herm

Adventurer
1960's mitchell, New electrical systems

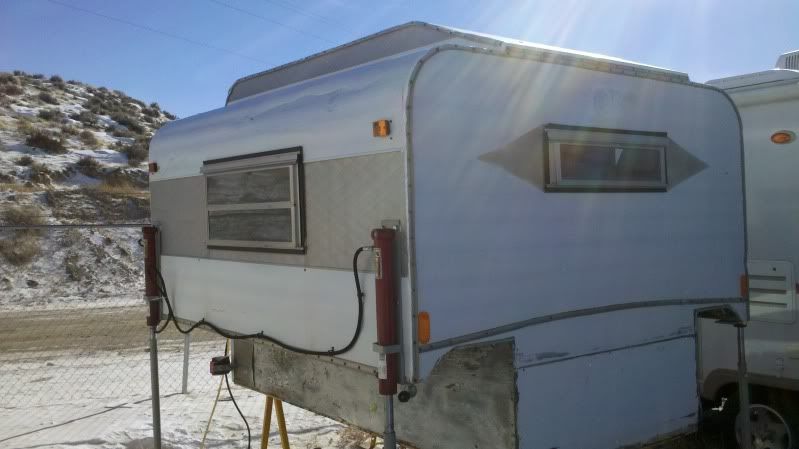
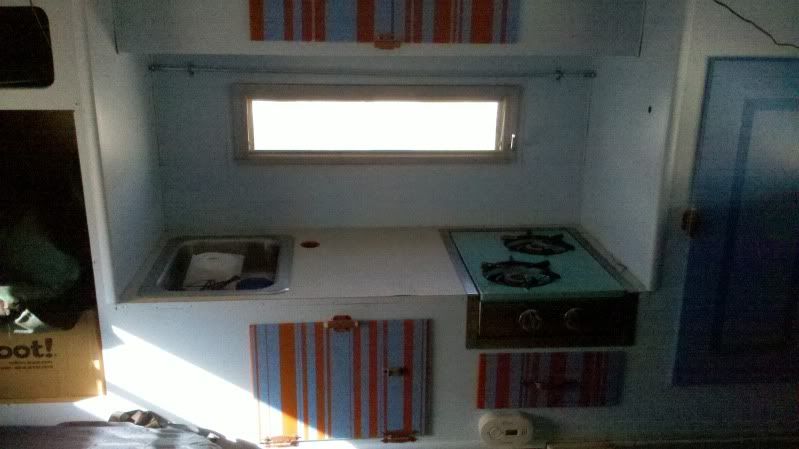
i have been working on this camper for about 9 months. I bought it last summer. I found it in a field and stopped to look, ended up taking it home. Here are some pictures. I repainted the old paneling inside and sealed up the outside very well. replaced the curtain rods, counter top, built a new door and cleaned up the stove and sink. we have 4in thermarest style air mattresses and blue foam under those for sleeping on. I also added clearance lights and a 7 blade connection for power and lights. i just finished insulating the floor with one layer of celotex and one layer of pink foam in the existing 1.5 in cavity and then sheathed the bottom with 1/2 in exterior plywood.
interior:
2011-02-10_13-22-46_295.jpg


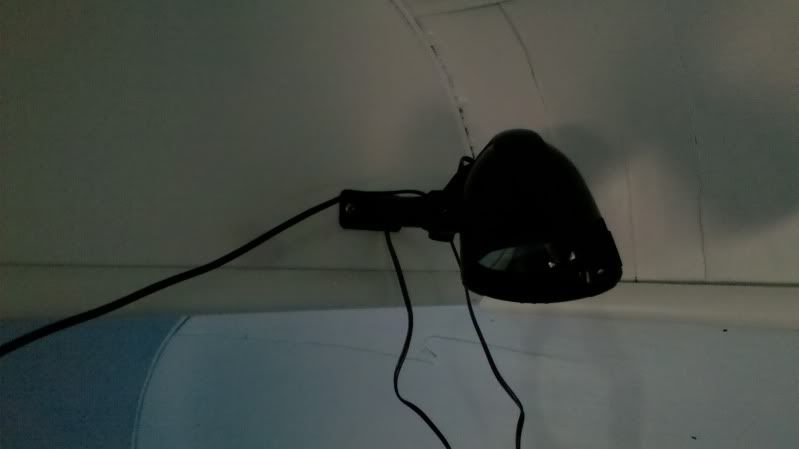
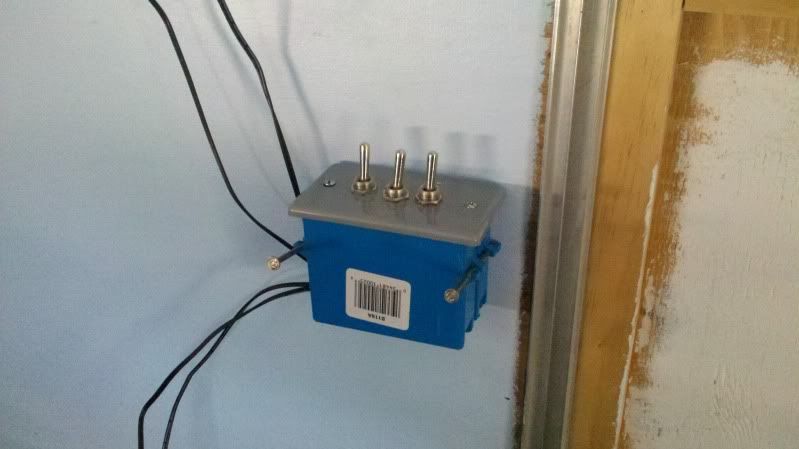
switch panel for solar garden lights. solar panel is mounted outside with one light above the door and 2 lights inside.
2011-02-10_13-23-10_269.jpg


one of the lights

2011-02-10_13-23-17_232.jpg


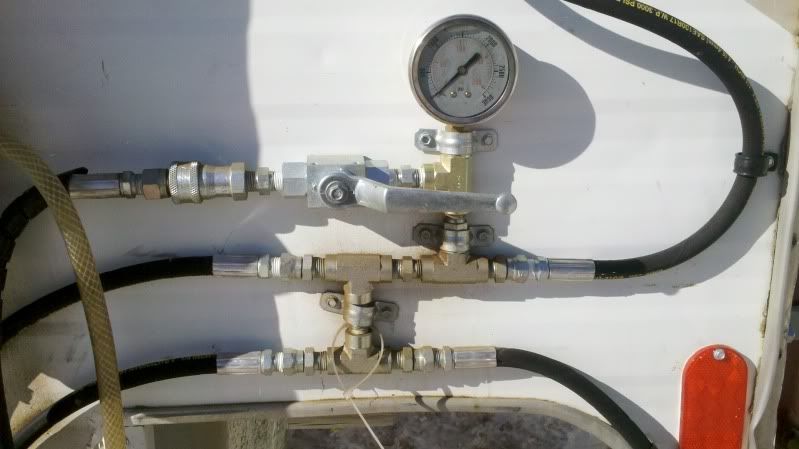
I also designed and installed a hydraulic lifting system for getting it in and out of my pickup. my reservoir is a 3 foot section of 4 in pvc pipe with a screw in clean out for the top and a solid cap for the bottom, brass hose barb for the connection. 4 16 in stroke hydraulic cylinders with custom made legs and mounting brackets. I use a small hand pump for actuation. I can get the camper on or off the truck in about 15 min. by myself.

the manifold
2011-02-10_13-24-24_660.jpg


lifting cylinders
2011-02-10_13-24-38_637.jpg
 
Last edited:

SLO_F-250

Explorer
Herm,
Nice find! I like the hydraulic lift system! Wish I had one for my camper. Keep the picts and mods coming in. Its always great to see what people find and so with limited funds and old campers! :smiley_drive:
Cheers!
Paul
 

herm

Adventurer
I bought most of the hydraulic supplies from http://www.surpluscenter.com/home.asp
They have pretty much anything you can imagine for building things. I happen to come across the cylinders and pump I used in my town, got everything else from surplus center.

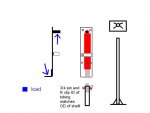
The brackets are made of a section of angle on the bottom, a plate with bolt holes, a strap to hold the cylinder upright and a pin through welded for the top of the cylinder, also the load bearing point.

For posterity i made a quick diagram of my design, anything you may have done different? Next time i would like to have a better built camper, and be able to integrate the structure into the side wall. You could also use smaller cylinders if you wish, with the 2in cylinders you get to pump a lot but are more stable than smaller dia. My displacement is nearly 200 ci. for full stroke.
The bolts are just through bolted into the interior with fender washers, they hold the brackets upright but have no weight on them vertically. I plan on adding a valve for each cylinder at the manifold so that when I push the legs up to remove them I am not pushing the other 3 cylinders down, I did not anticipate this issue. Another way would be to make them all double acting, doubling your hoses and adding another manifold to the system.

I would love to see other homemade lift solutions.
 

Attachments

  • brackets.JPG
    brackets.JPG
    18.5 KB · Views: 67

herm

Adventurer
thanks for moving the thread.
We recently completed a 5 day long trip to kanab utah. we visited bryce canyon and zion national parks. If you go to zion and are at or over 94 inches you will have to get a 15 dollar permit to travel through the tunner over the mountian on highway 9. My setup is just at 94 inches wide. we camped 2 nights at the coral pink sand dunes state park just north of kanab. The park is beautiful and the campground is a wonderful spot. un fortunitly our volenteer time at Best Friends Animal Socity was cut short due to a small medical issue. We got to spend a day helping out the kitties and will be back to spend time with the other animals sometime over the summer. Best friends has a great operation and i encourage everyone to check it out and to volenteer at your local animal shelters.

the camper performes great for the two of us. It is a bit cramped though and i am looking at adding storage boxes to the rear section that hangs over the tailgate of my short bed. hopefully one side to hold the propane and the other for a perminent mount of the hydraulic pump and for other misc. items like the buddy heater and trash basket I will add an access panel to one side from under the sleeping area. I am also looking for a way to store the legs for the cylinders on the outside of the camper, some sort of clamp system to free up a large amount of storage space inside.

I also replaced the top hatch that had been sealed up by the PO with a new hatch to let in light and provide needed ventalation while using the propane stove.

We travel with our cat and her litter and food take up precious floor space. She is a real trooper to put up with us! She is very happy on our laps or sleeping on the back seat or even in the camper under some blankets when we are on the move. When she gets cold at night she will crawl in our sleeping bags with either of us, otherwise she sleeps wraped up in her own blanket.
 

sisu

Adventurer
Nice job on the camper, Herm. My wife & I will be doing a major retro once we are back home. Until then it is all preventive stuff.
 

Kilroy

Adventurer
How much extension do you get with your set up? I use some regular crank jacks that I use an 18v drill driver to raise and lower.
 

herm

Adventurer
the cylinders extend 16 inches. the legs are about 3 inches shorter than the truck sides, so the camper raises about 13 inches.
 

herm

Adventurer
ah, spring is in the air here, and working on the camper is a great way to feel like summer is almost here.

so far this week I have replaced all the screens, sanded and re-painted the underside and the new back door, and am in the process of upgrading the electrical systems on the truck and the camper. the truck is getting a split charge system with the blue sea automatic relay, in cab volt meter, and combine/split/auto switch. The cheap solar led lights will be re-used for something else.


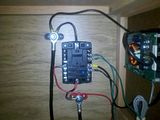
Here is a picture of the new system, 2 posts wired with 1 gauge to a 175 amp Anderson connector, a 6 circuit with ground blue sea fuse block, and a new charge controller for 120 watts of solar. an inverter will be wired to the posts and 2 12v sockets will also be added.

question: Is there a problem using the fuse block for both inputs and outputs? I have my 7 pin connecter with 12v lead and lights, and the solar charge controller wired into the fuse block. The posts will be connected to my aux battery in the truck with 1 gauge wire, the block is connected with 10 gauge to the posts.

so...

aux battery<-00ga-> 100amp circuit breaker<--1ga-->posts and inverter<-10ga->fuseblock<->charge controller, 7 blade trailer connecter<->bumper<->truck fuse panel

I wanted to make the system work with just the 7blade, or just the Anderson connecter.

see any problems with this? everything is fused, so if it is an issue I should just blow a fuse. obviously the inverter will be off limits unless the Anderson connecter is used.
 
Last edited:

Forum statistics

Threads
188,178
Messages
2,903,430
Members
229,665
Latest member
SANelson

Members online

Top