You are using an out of date browser. It may not display this or other websites correctly.
You should upgrade or use an alternative browser.
You should upgrade or use an alternative browser.
My Disco II Build
- Thread starter MStudt
- Start date
Nice build so far. Whereabouts in Missouri are you?
About 40 minutes west of St. Louis on Hwy 44 for now. Hoping to sell the house, and get out of Missouri very soon.
mattv94
New member
get out of Missouri very soon.
Can't say I blame you in the slightest
Can't say I blame you in the slightest
We need more mountains in our life. We're huge hikers, and will most likely end up in Washington.
We need more mountains in our life. We're huge hikers, and will most likely end up in Washington.
As a former Hoosier now living in NorCal, I approve this plan.
GadgetPhreak
Observer
Lots of great hiking here in Washington ;-)
Sent from my iPad using Tapatalk
Sent from my iPad using Tapatalk
Lots of great hiking here in Washington ;-)
Sent from my iPad using Tapatalk
We have family in both Washington, and Oregon so it's pretty fitting. Plus it would make hiking the PCT a bit easier.
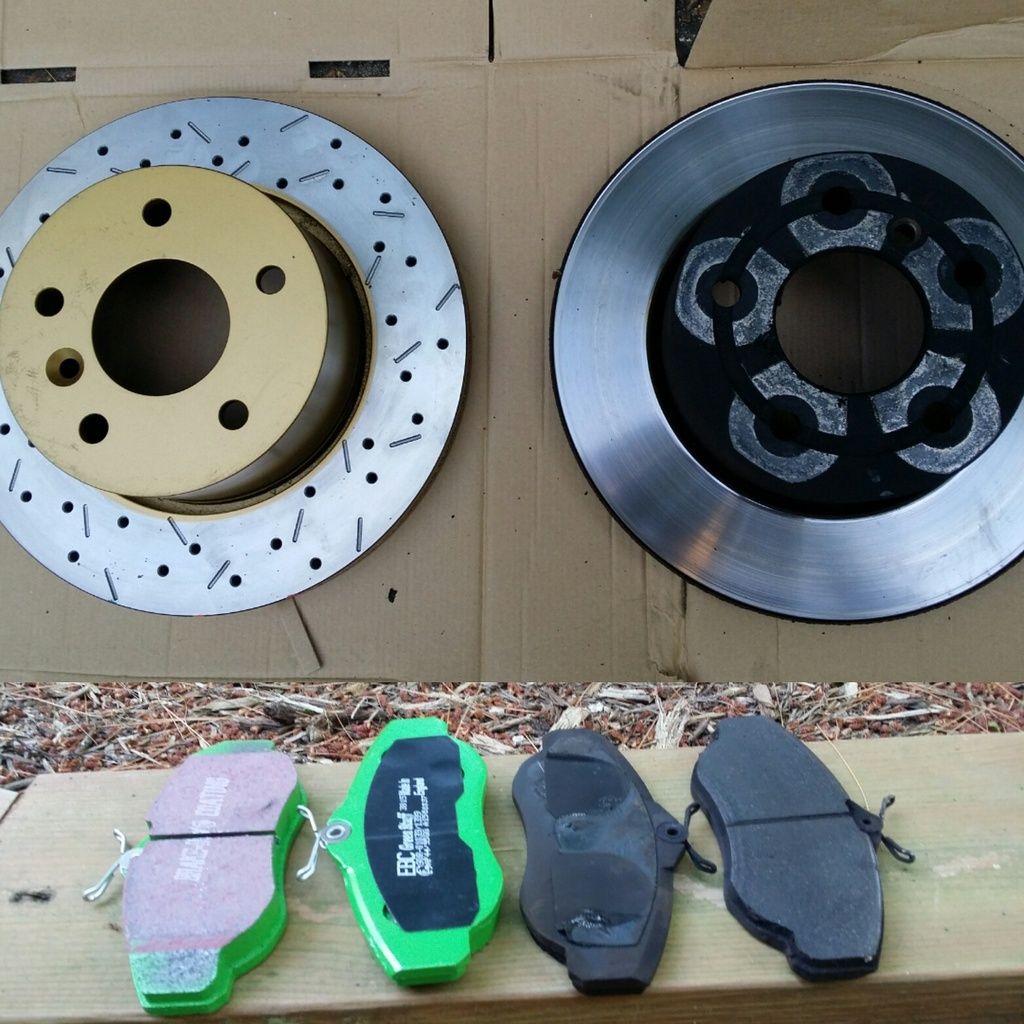
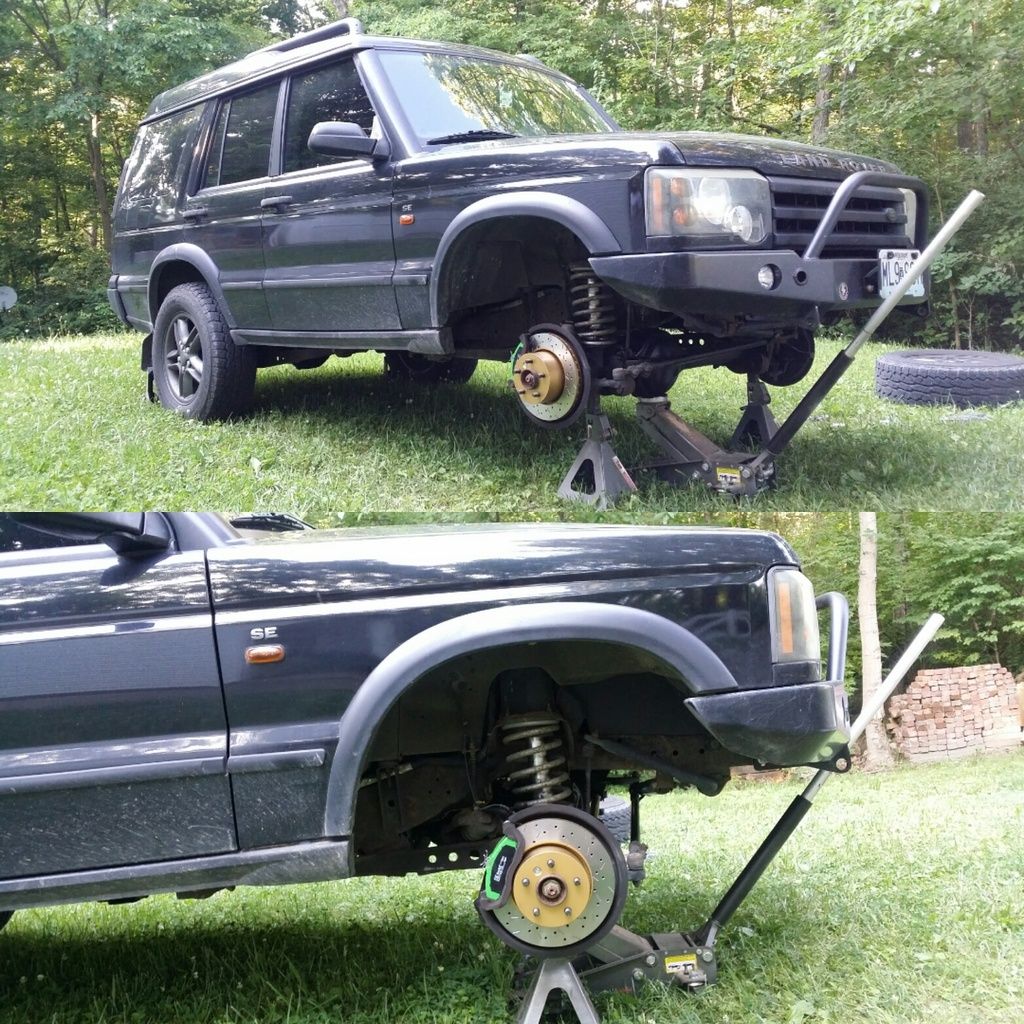
Had to show some love to the Rover this weekend. This was still on OEM front pads, and rotors after nearly 90k miles. So it was time to do an upgrade on those. After researching options for about a week I finally made a decision on what to get. I went with DBA 4000 Series rotors, and EBC Green Stuff pads. Disc Brakes Australia (DBA) has long been used on Disco's, and are very good rotors.
Next up was replacing the OEM pan hard bar with a Terrafirma adjustable pan hard bar. Having a little ability to adjust was good since this is lifted.
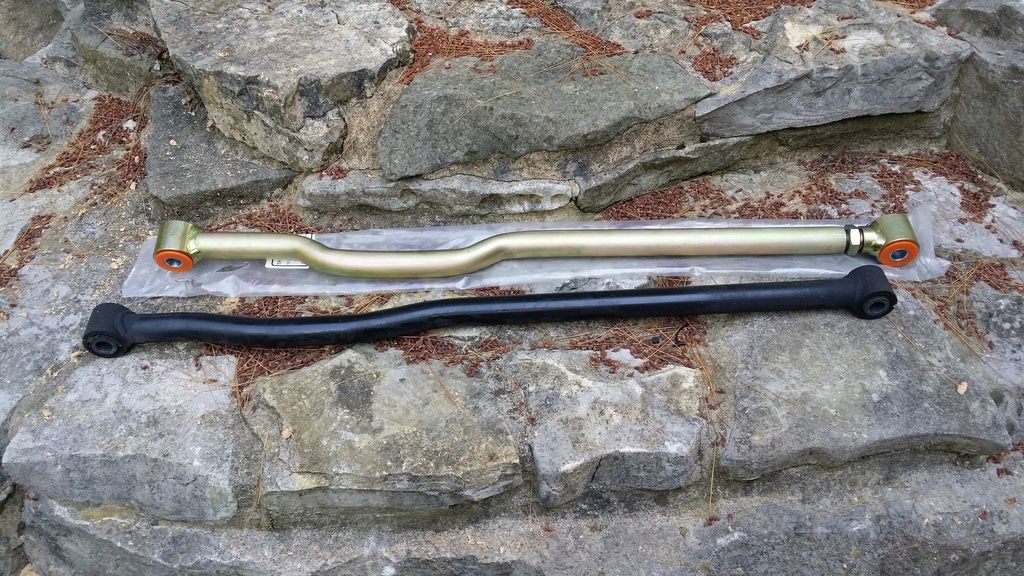


Next up was replacing the OEM pan hard bar with a Terrafirma adjustable pan hard bar. Having a little ability to adjust was good since this is lifted.

Last edited:
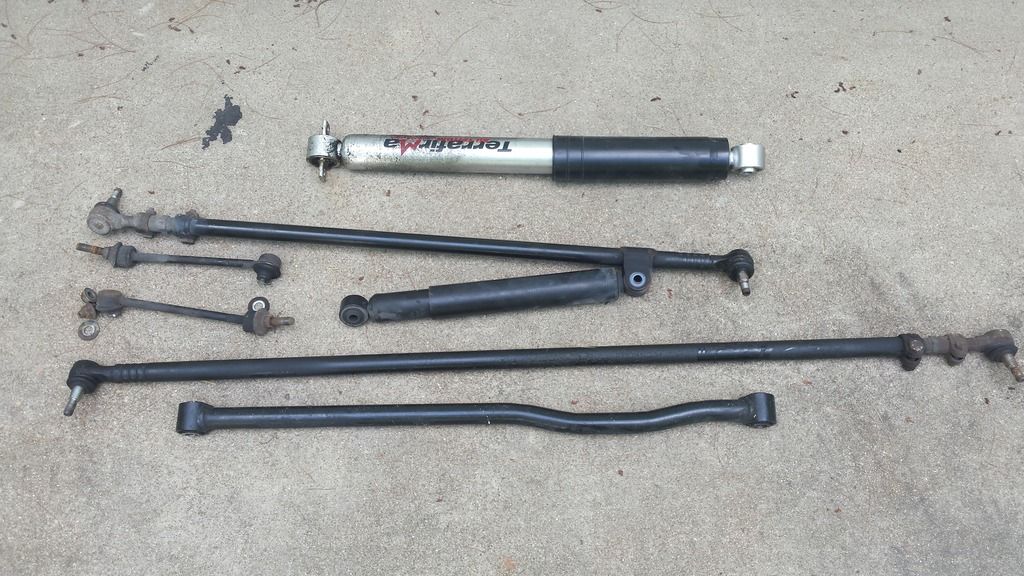
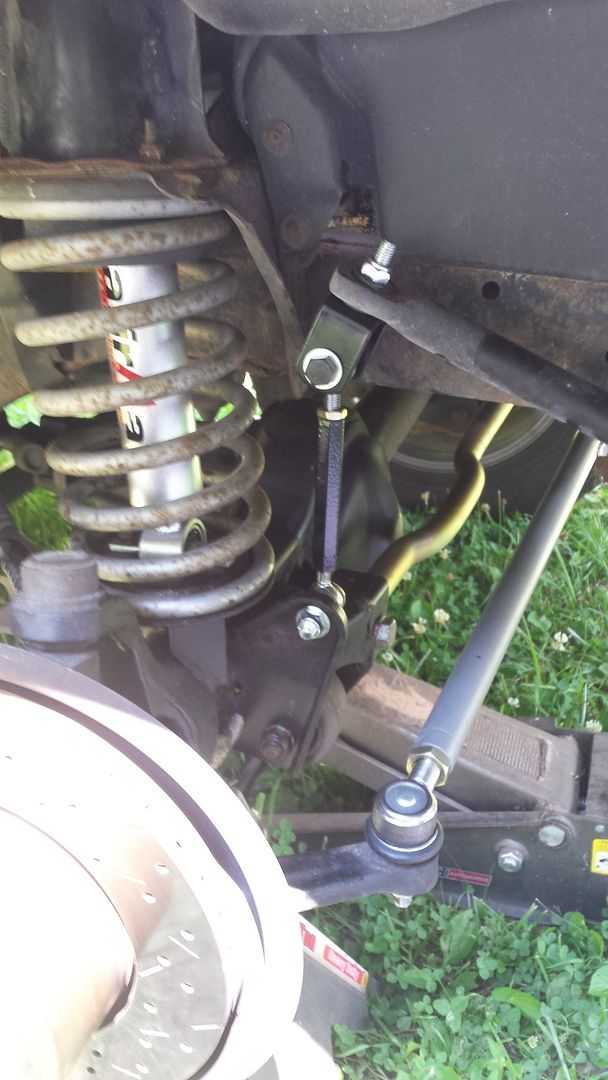
I took care of some more front end suspension parts this weekend. I was able to replace the steering stabilizer, track bar, tie rod, TRE's, and new passenger side shock. I also took on the task of building some new front sway bar links. Having made a couple sets of sway bar links over the last couple year I thought it would be pretty easy. Hardest part was cutting off the old ones.
The pile of old parts. Most of it is going in the trash since it's pretty well shot. Not sure how the front shock blew, but it had zero rebound to it. The TRE's were pretty dried up, and the stabilizer was dead as well.
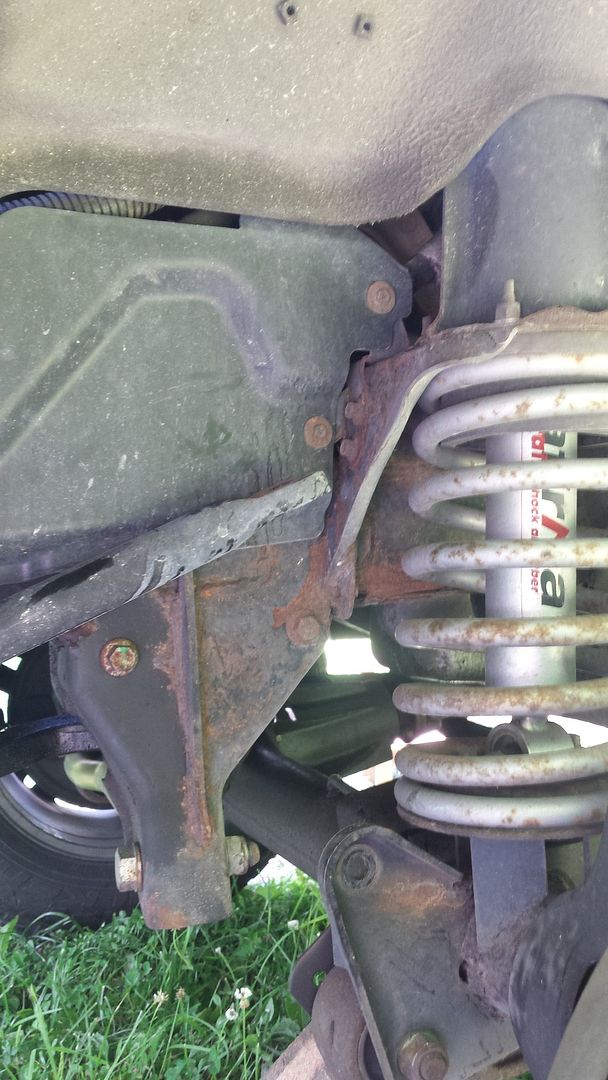
Just cut off the sway bar link on both sides.
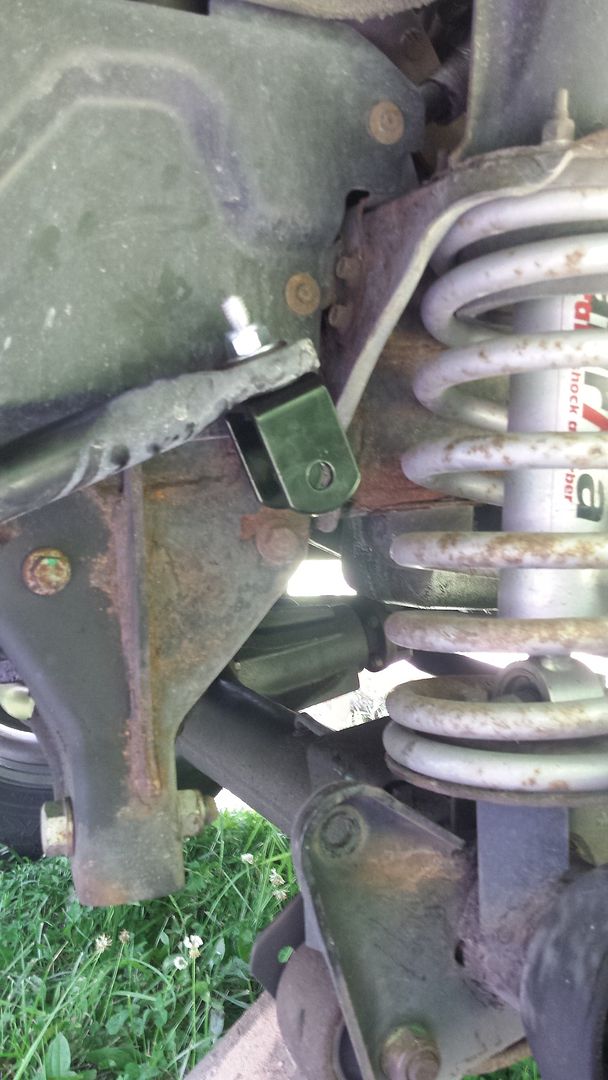
New drop clevis installed.
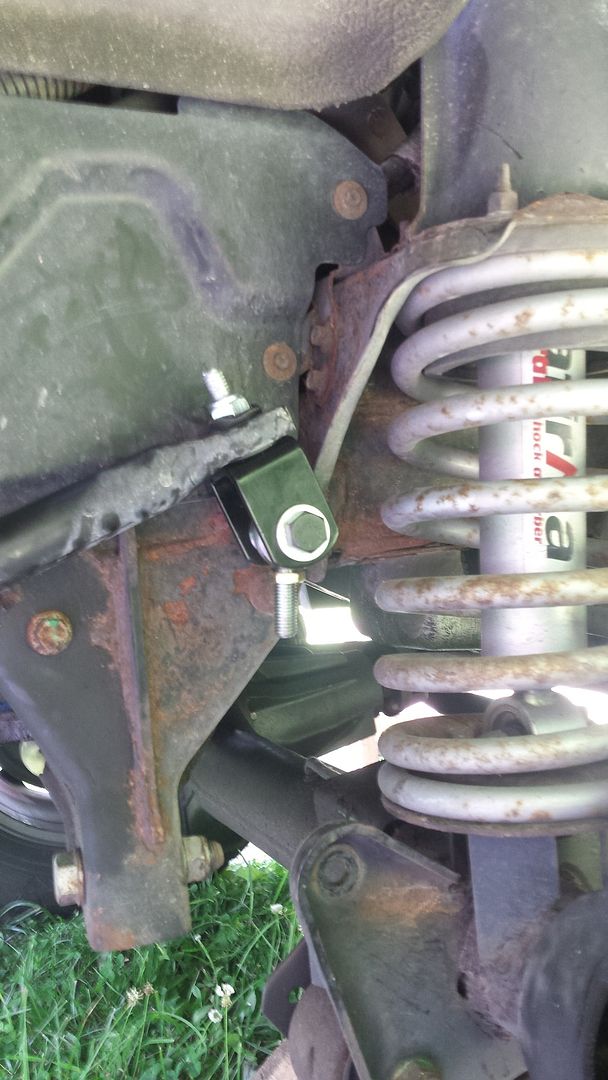
On to the heim.
The newly assembled link, and the first set I've ever made for a Rover.
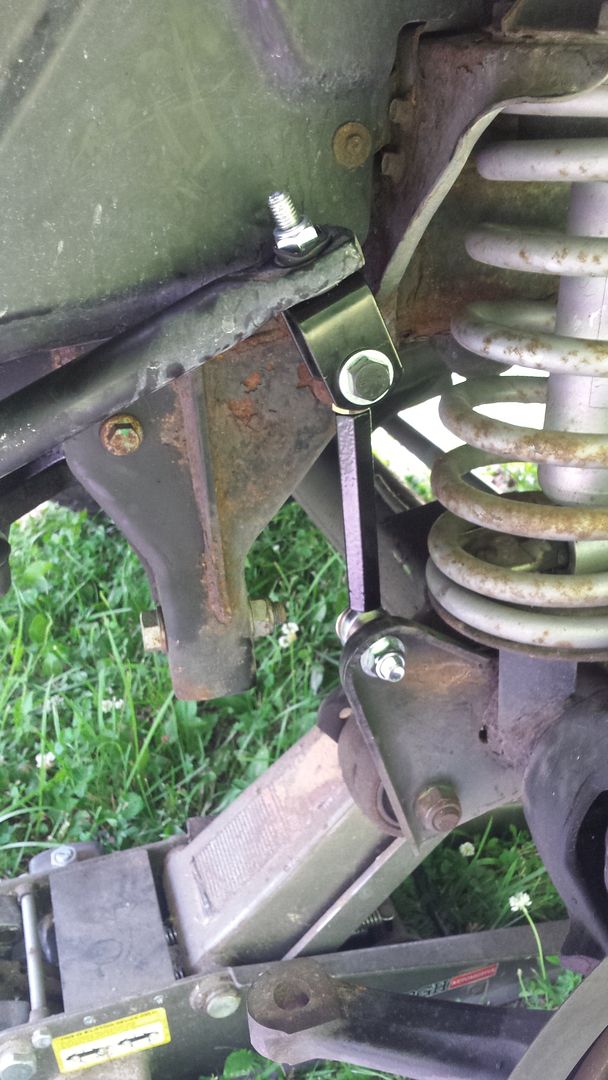
New sway bar link with the new steering, and pan hard bar.
The pile of old parts. Most of it is going in the trash since it's pretty well shot. Not sure how the front shock blew, but it had zero rebound to it. The TRE's were pretty dried up, and the stabilizer was dead as well.

Just cut off the sway bar link on both sides.

New drop clevis installed.

On to the heim.

The newly assembled link, and the first set I've ever made for a Rover.

New sway bar link with the new steering, and pan hard bar.

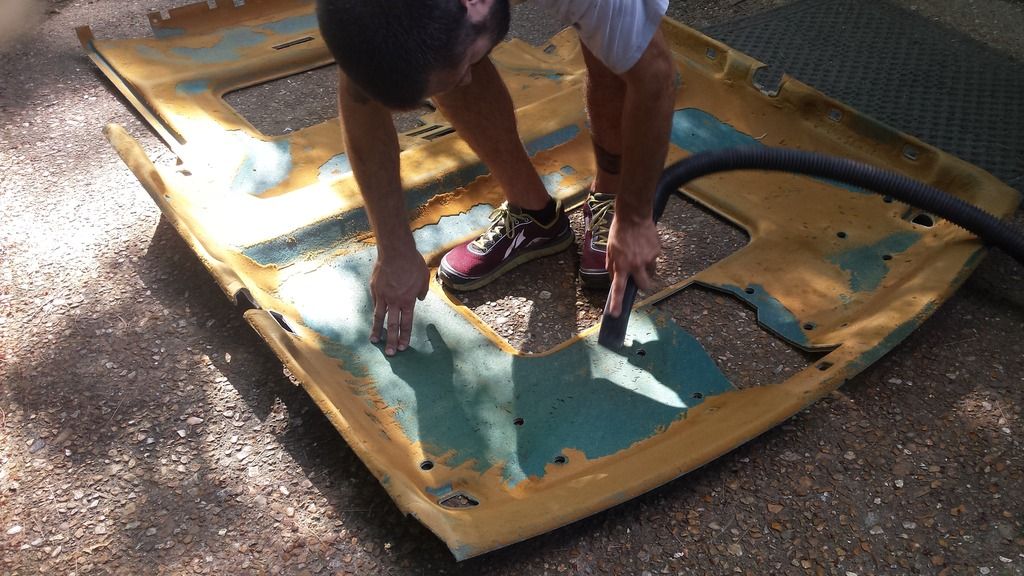
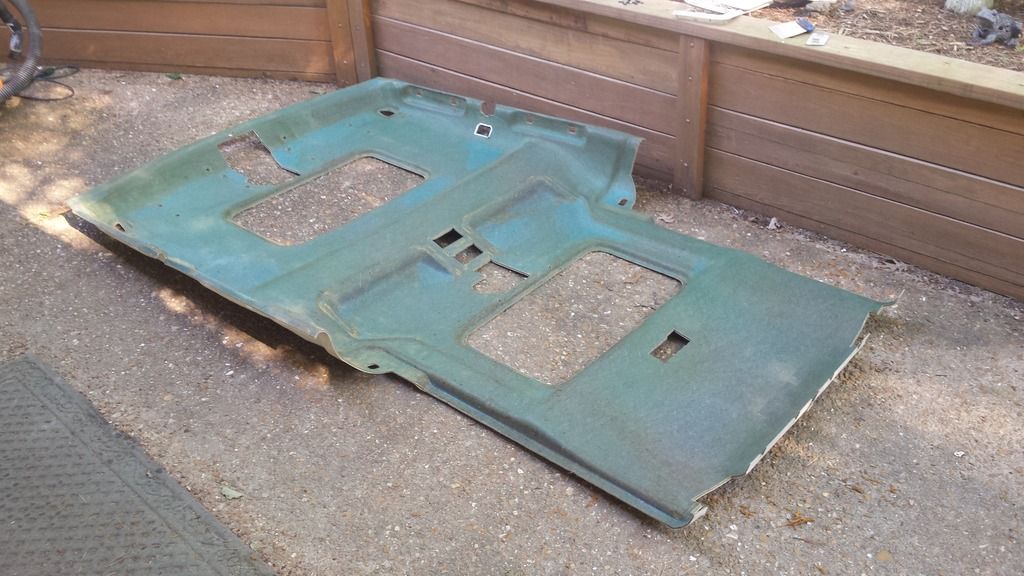
I was also able to help my wife with her project. Funny how this became mostly my project once I started. The headliner has been saggin in this thing since we got it almost two years. I was able to haggle some money due to it since it was supposed to be easy. Well, two years later I'm finally getting to this. The cleaning is done, and the prep work also. Now we have to wait until Tuesday for the new liner to show up. I'm not going to say what that is yet. So you'll have to wait until at least Tuesday.
After peeling off the liner, and dealing with the sicky foam.
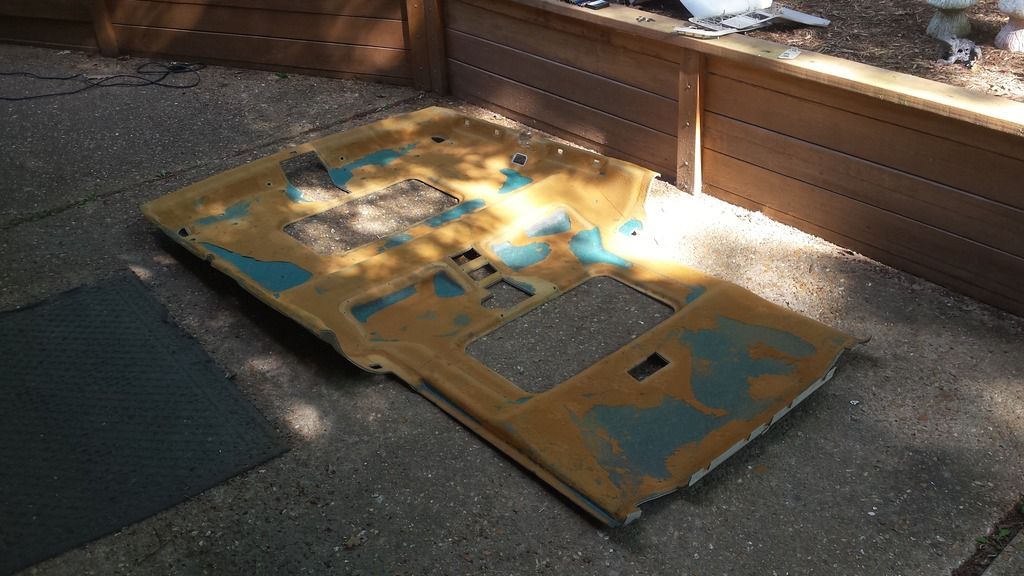
Using a body putty knife made quick work of the foam, and I used a shopvac to help in the clean up.
All cleaned up, and now waiting the liner.
[
After peeling off the liner, and dealing with the sicky foam.

Using a body putty knife made quick work of the foam, and I used a shopvac to help in the clean up.

All cleaned up, and now waiting the liner.
[

I enjoyed reading your build thread. I just got a 2002 disco II that is the same color with the same wheels. This has given me some great ideas! Nice looking rig!
Thanks!
I haven't been on much lately, and therefor haven't updated anything. I'll have to get some of my pictures uploaded so I can post them.
I finished up the headliner, and it turned out pretty good. I used a product called Durabak to paint on my headliner. This is a bedliner material that is not textured which makes it easy to wipe clean. After painting in out I let it set out for about a week to make sure the odor was gone.
I also just got started on the rear section for our platform. I've got a little under a year to get the Rover finished up. Come next June this will be our full-time home as we make our way around the country.
Similar threads
- Replies
- 1
- Views
- 992
- Replies
- 0
- Views
- 310
- Replies
- 2
- Views
- 1K
