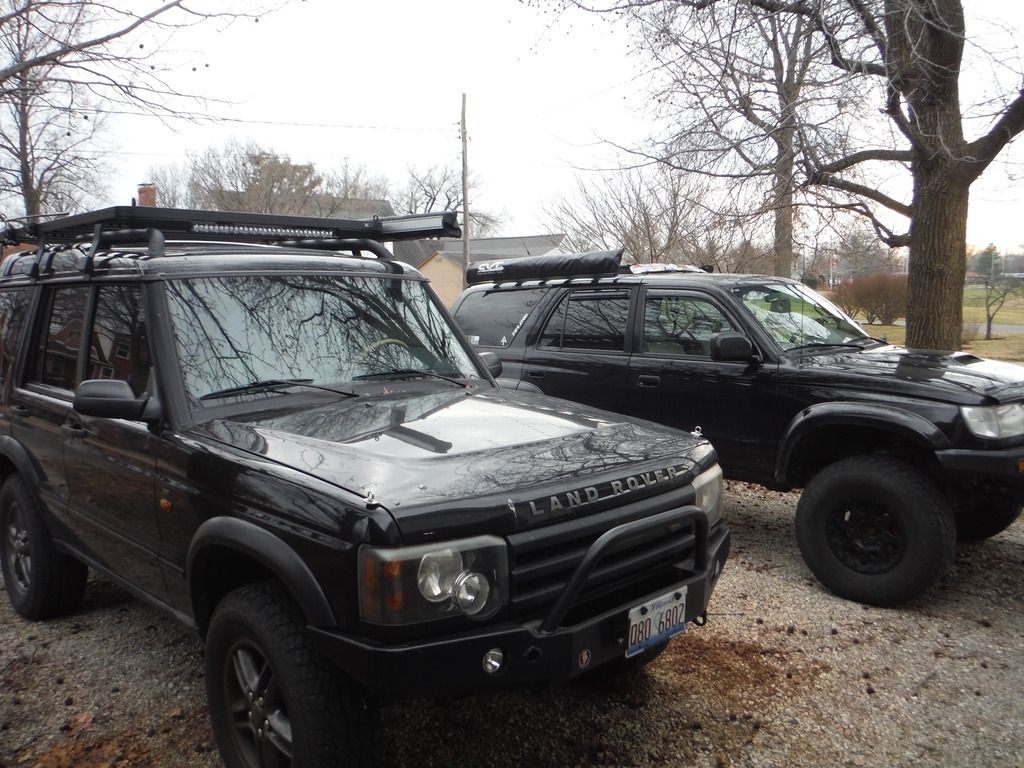
My Disco II Build

MStudt

Adventurer
Looks good! A couple of months ago I also got myself a discovery 2 with the idea to make a bed in the back and fold out tables in the rear door. I haven't started the build yet but I'm curious to see your extending headrests as I'd like to make the bed very similar but a little higher to get more storage underneath. Keep posting these nice pictures Please! :D

Once I get the platform back in I'll be able to get some pictures of the foldout extensions.

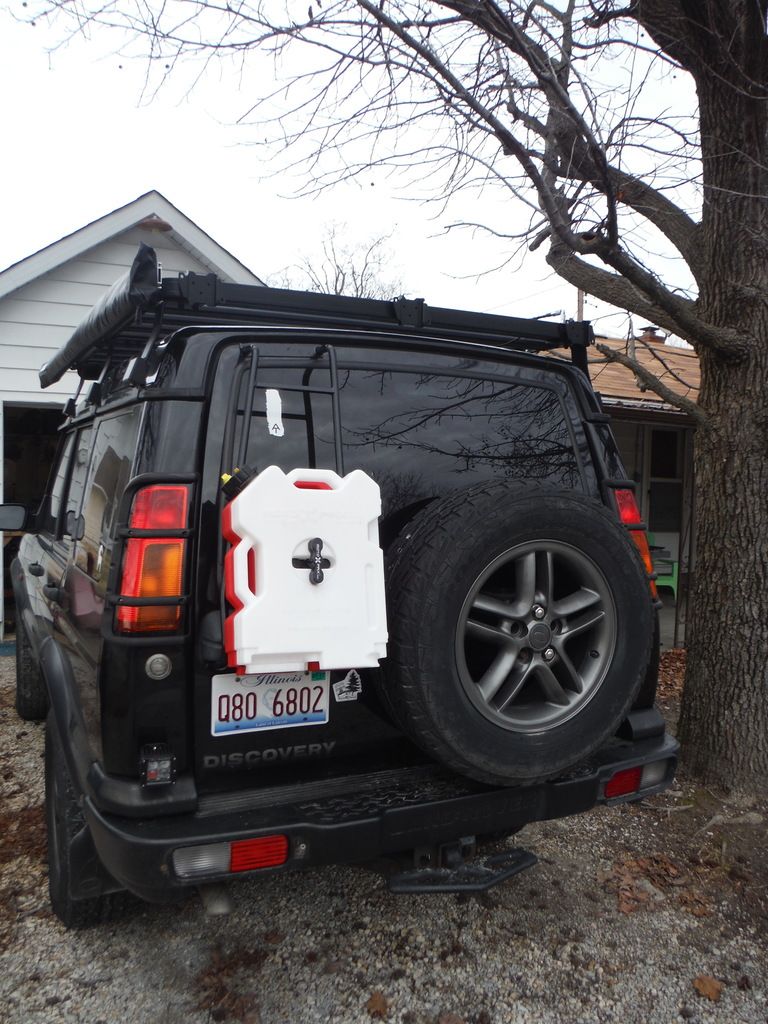
Looking good! Seems we've had the same kind of idea when it comes to carrying fuel. I simply bolted some square stock to the ladder and wing-nutted the jerry can holder to that, so the whole package is fairly easily removable. The weight of the (usually empty...) can sits on the lowest rung of the ladder.

View attachment 379549

Very nice. The ladder on these are pretty useless, or at least I though so. I was going to remove it all together, but it can be functional with a little work. I'm still trying to figure out how to mount a hi-lift jack, and traction boards on the rear though. I was thinking about mounting the hi-lift on the side of the ladder, and the boards off the spare tire.
 

MStudt

Adventurer
Finally I have some pictures to post, and some new progress.

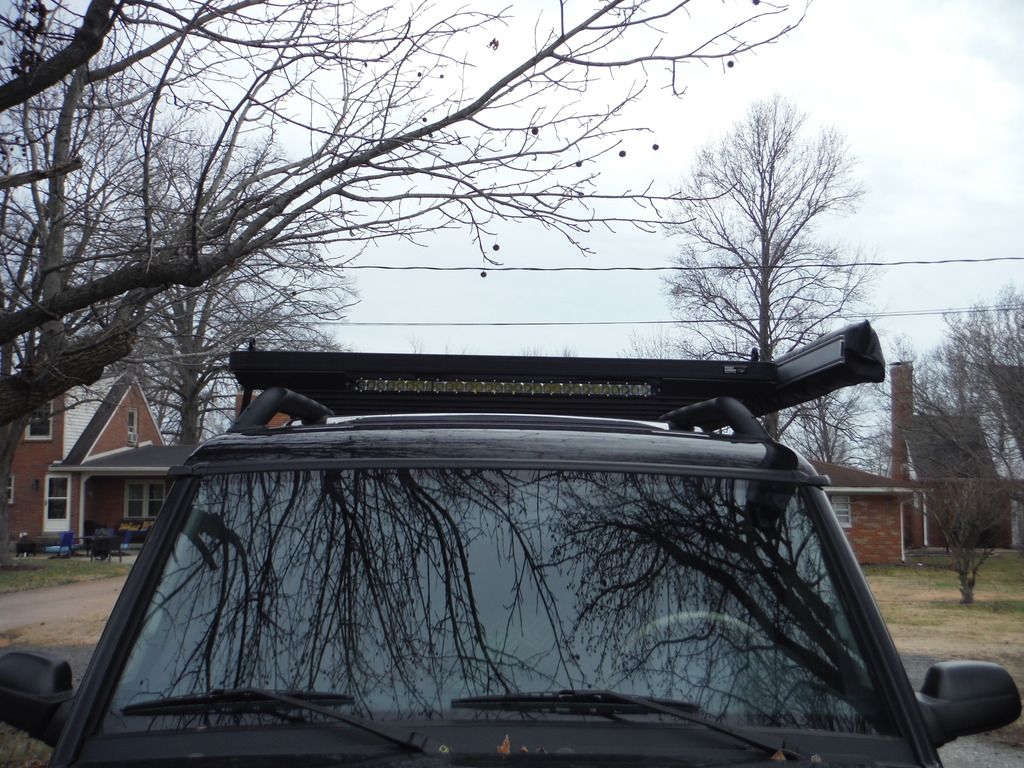
We added some more lighting up front with the addition of a 30" single row light bar. We were originally going to get a 40" single row, but found out it wouldn't clear the factor rails. We picked up a few lights from CaliRaised LED for the front, and back. We also added a 2x2 pod to the rear to be used as a backup light (bottom left corner of picture).
2017_0118_16134300_zpsulha61sn.jpg

2017_0118_16140100_zpsieytukxl.jpg

2017_0118_16142700_zpskxoxfzd5.jpg


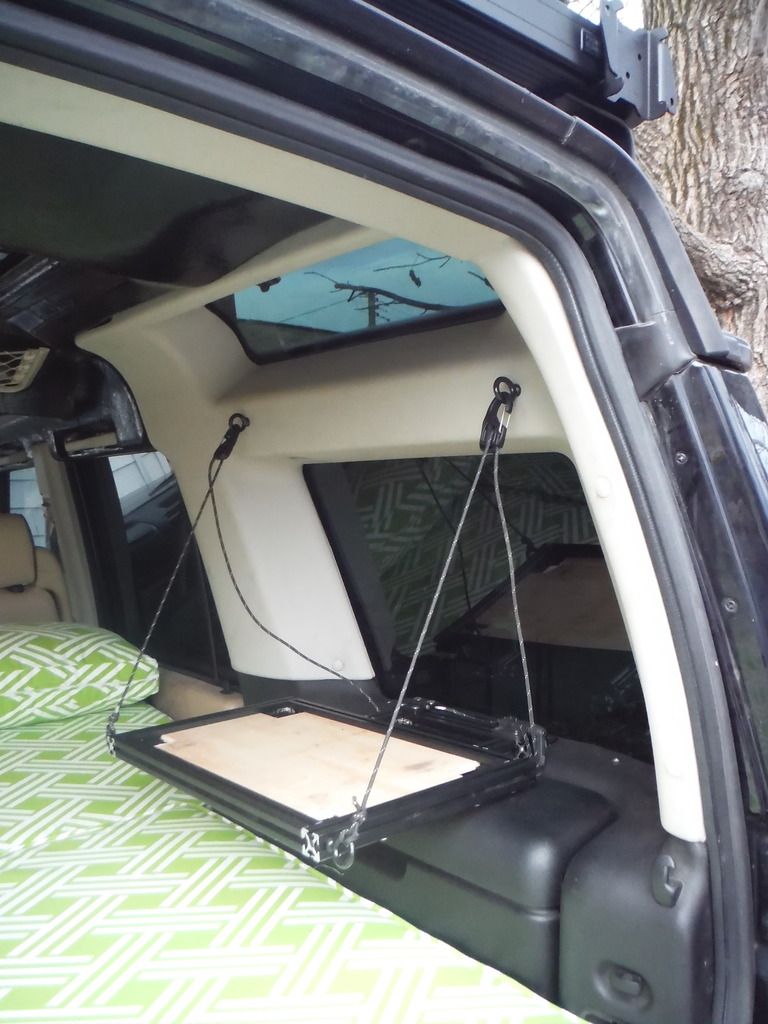
The cooler mount is also finished, and seems like it's going to work. The upper eye bolts are tied into the metal body near the curved upper window. The lower hing mount is also tied into the metal body just under the window. Both mounts are pretty stout, and should hold plenty of weight. The lower mount also has locking hinge to allow it to fold up out of the way.
2017_0118_16580700_zpsnwdgisrx.jpg


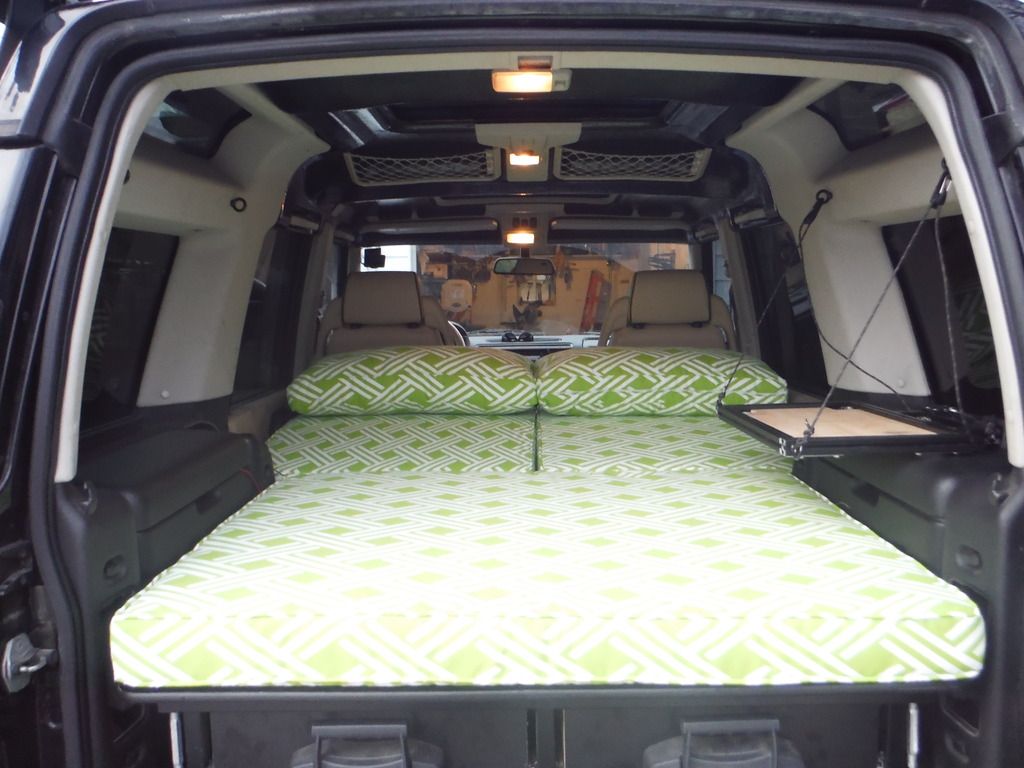
Next up is the bed. The rear section, and two large front sections are made from 3" high density foam. With the two small cushions being made from polyester.
2017_0118_16581700_zpsuxwp1w87.jpg


We'll have a test run this weekend when we go camping Saturday night. Just a short one night trip to see how things are coming together. We need to try to bed to see if anything else needs to be done. We also need to try our cooking arrangement to how know how it works. Also want to see how to dual awning setup is going to work for us.

I placed an order for a new engine this morning, and that should be in around the beginning of March. I have a little over a month to get all the extra parts that I need for the engine swap. Lots of parts to order, and lots more work to be done.
 

MStudt

Adventurer
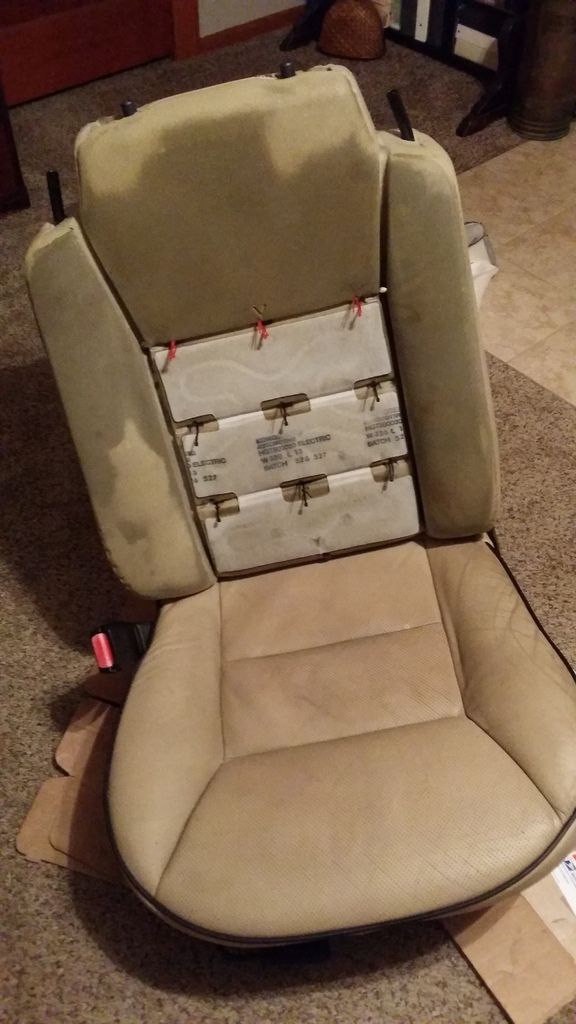
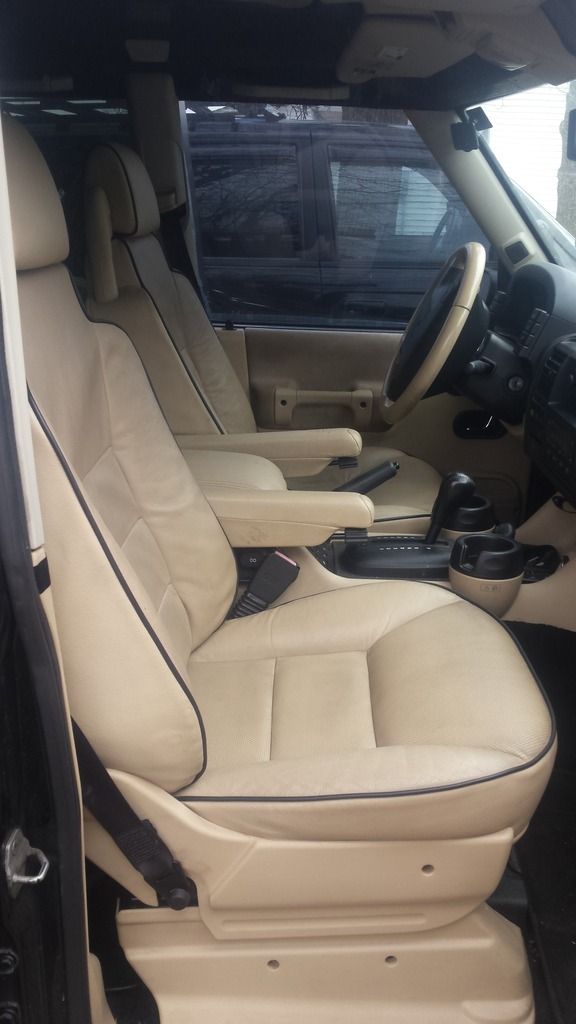
Over the weekend I was able to complete our new seats. When I say new I really mean new to us seats. Since we're going to be traveling in this car we wanted to eliminate some of the electrical items in advance. One area of concern were the powered seat, and the potential for the motors to go. I've been looking for D2 manual seats for several months now, and kept coming up with nothing. A couple weeks ago I came across a pair of manual seats on eBay from a seller in Virginia. I arranged to have them shipped to me, and the project began. In addition to the manual seats we wanted to be able to keep the leather, and the heated seats.

Here's what happened.

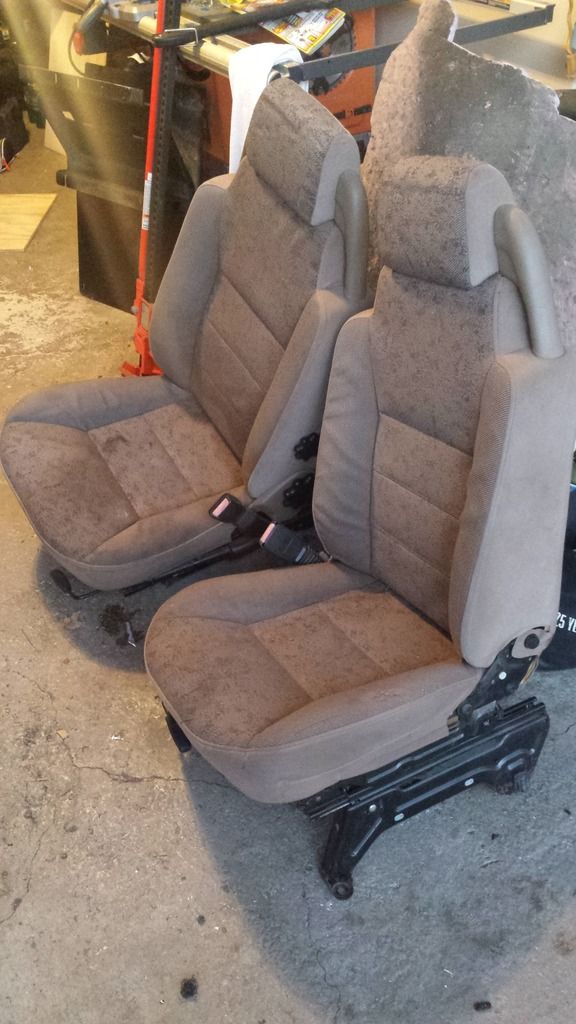
The seats came in.
20170124_171937_zpscyhky2c1.jpg


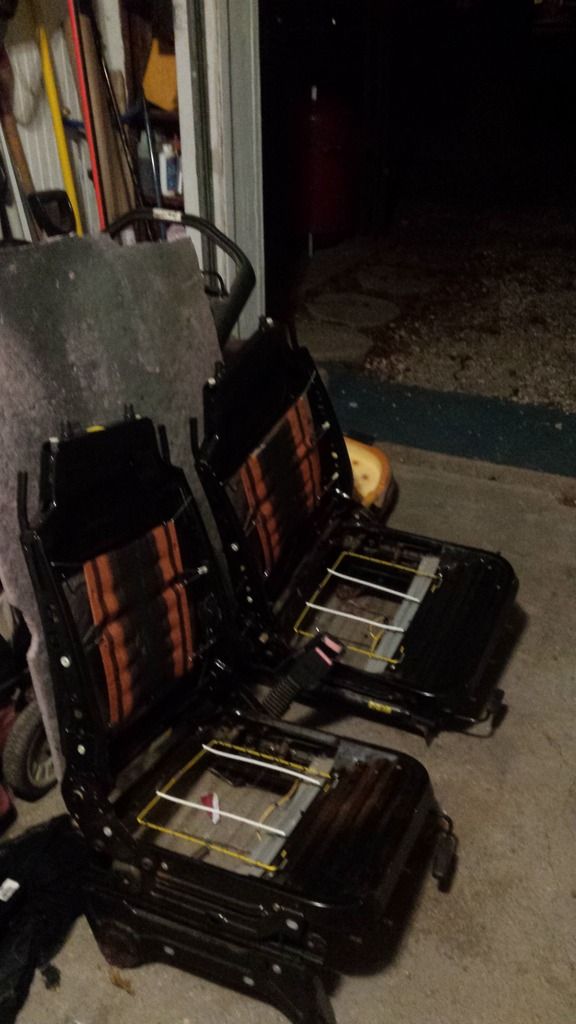
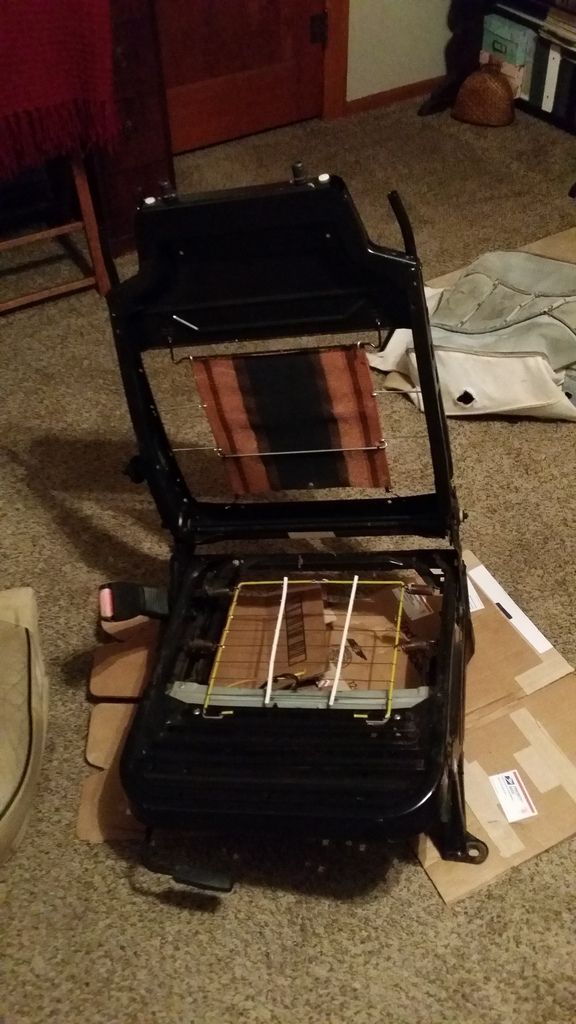
They got stripped down to the bare frame.
20170124_181816_zpspxlzyc7c.jpg


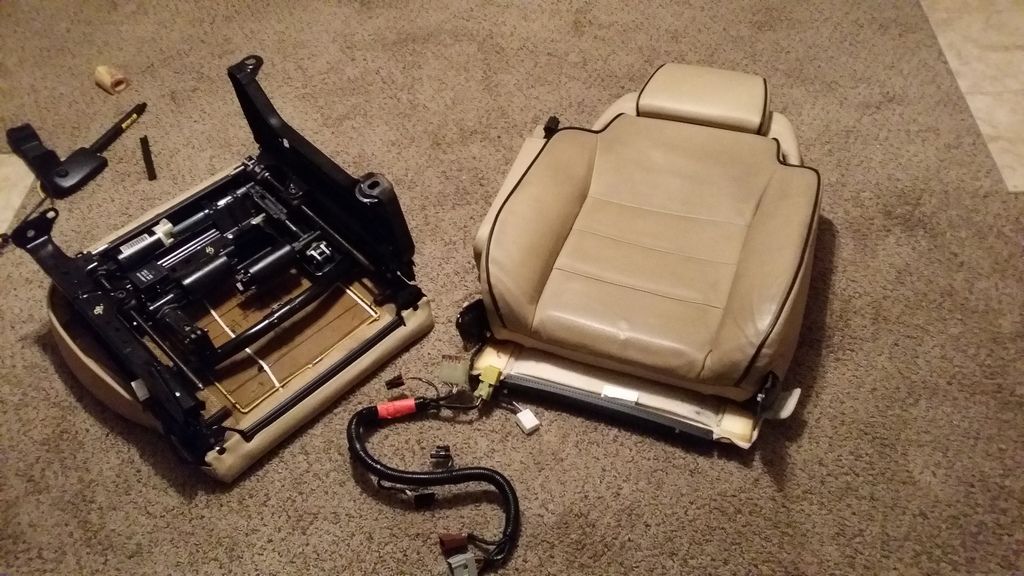
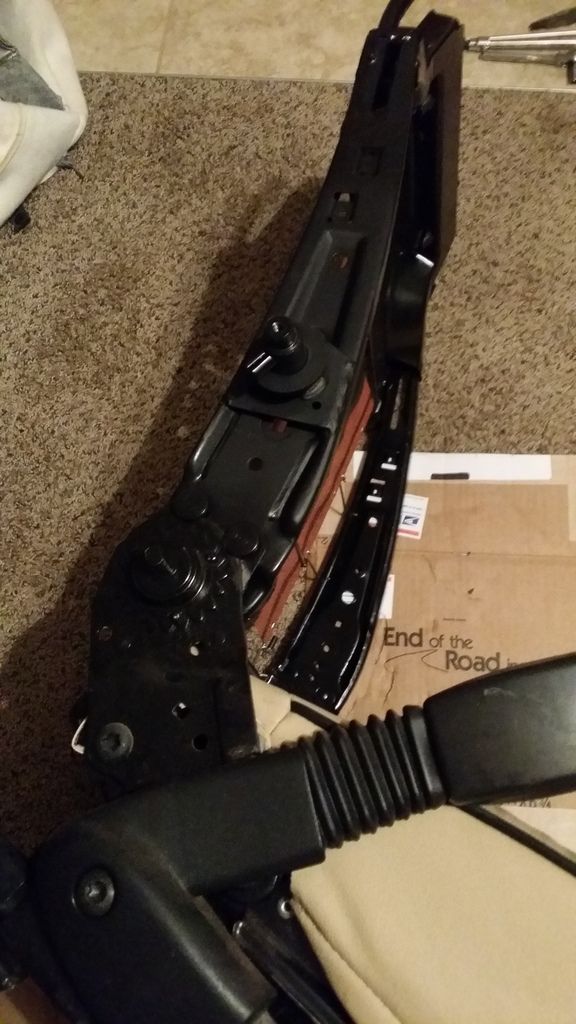
Next was unbolting the upper seat frame from the lower on the electric seats.
20170203_191226_zpsdpgoob9b.jpg


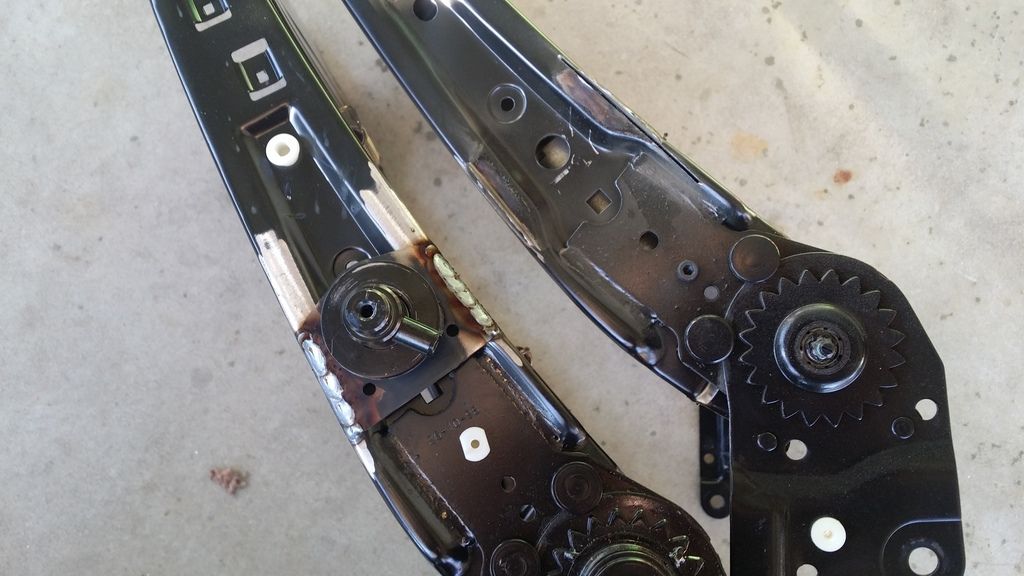
We wanted to keep the armrests too. I had to remove this part from the electrical seats, and weld the bracket on the manual seats. This bracket went in the same location as the manual lumbar knob. So that was removed.
20170203_153908_zpsrh38v2nm.jpg

20170203_212400_zpszvibfk7j.jpg


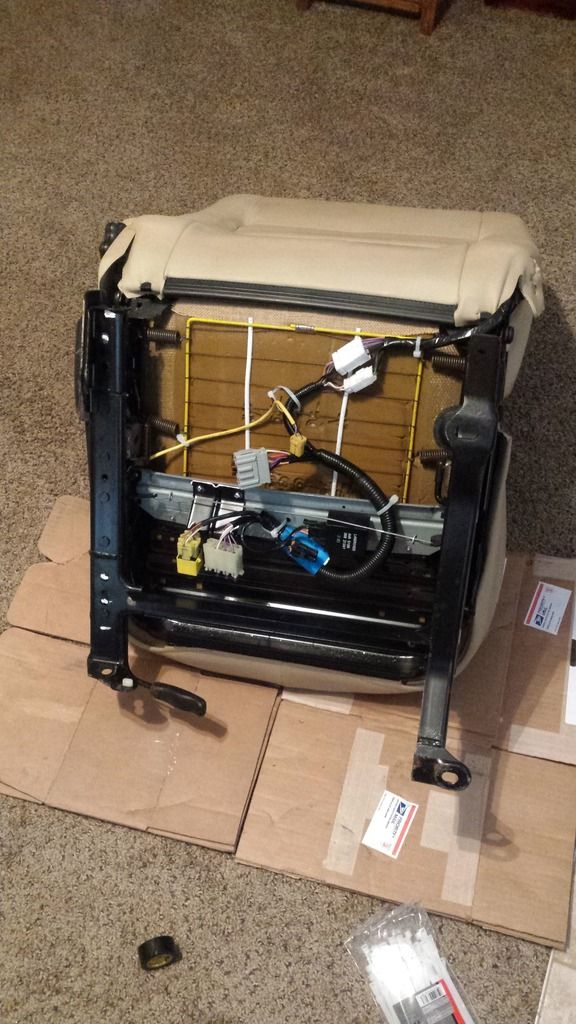
The new manual seat frame back together.
20170203_210652_zps5wmnjqtz.jpg


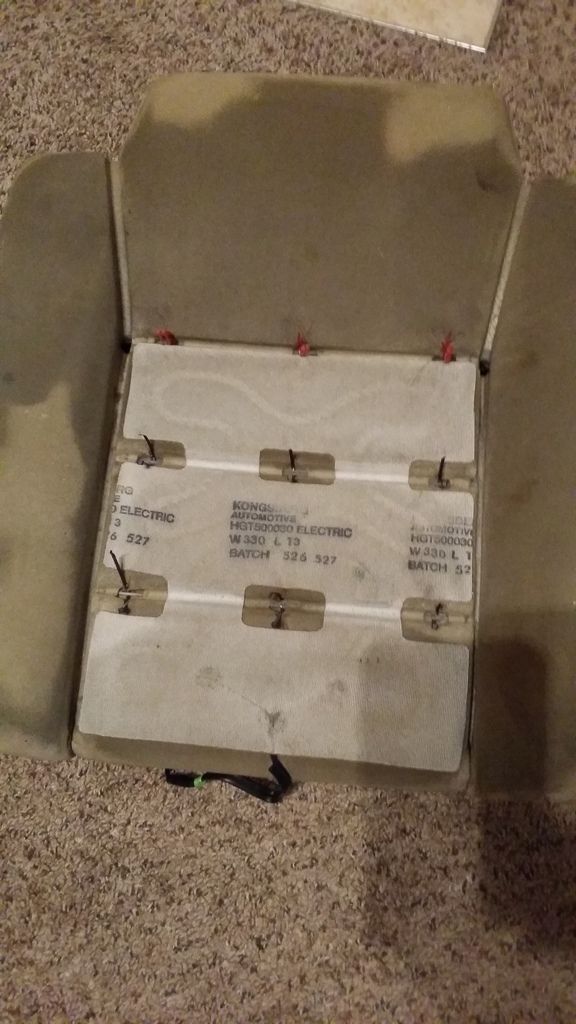
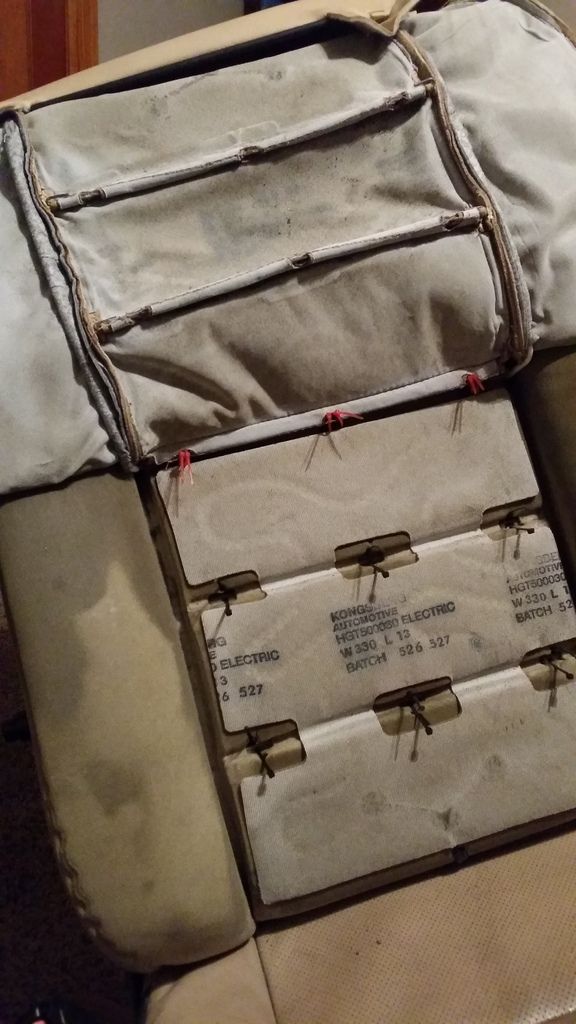
Moving right along to mounting the cushions. The bottom was easy, but the top was a PITA.
20170203_205721_zpsm7llxqe7.jpg

20170203_213650_zps4picdoco.jpg

20170203_214555_zps6dqdqw03.jpg


I had to remove a mount from under the electric seat, and install it on the manual to be able to hold the fuses. All wires are tucked up nicely, and out of the way.
20170204_152140_zpsqdntljvp.jpg


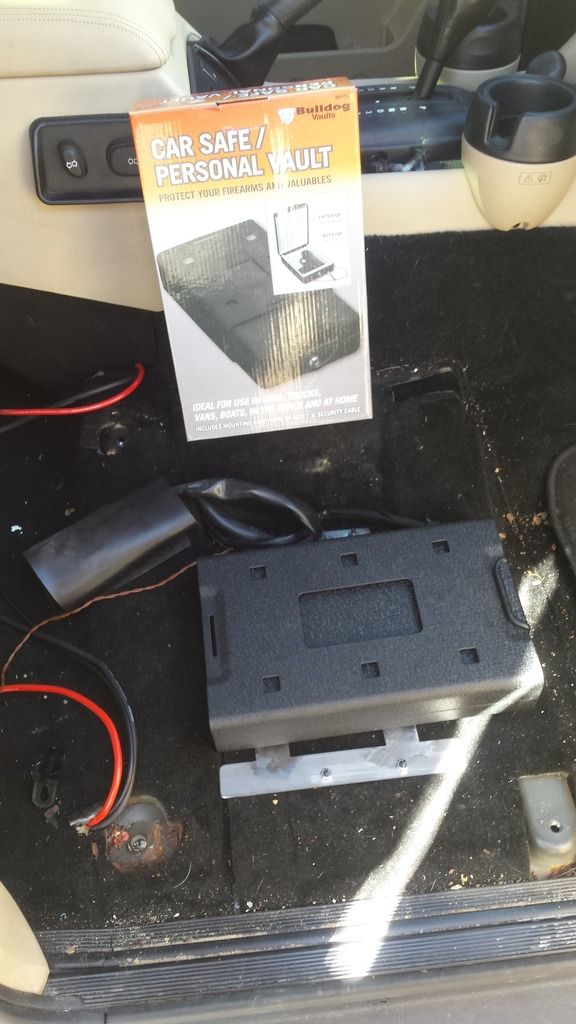
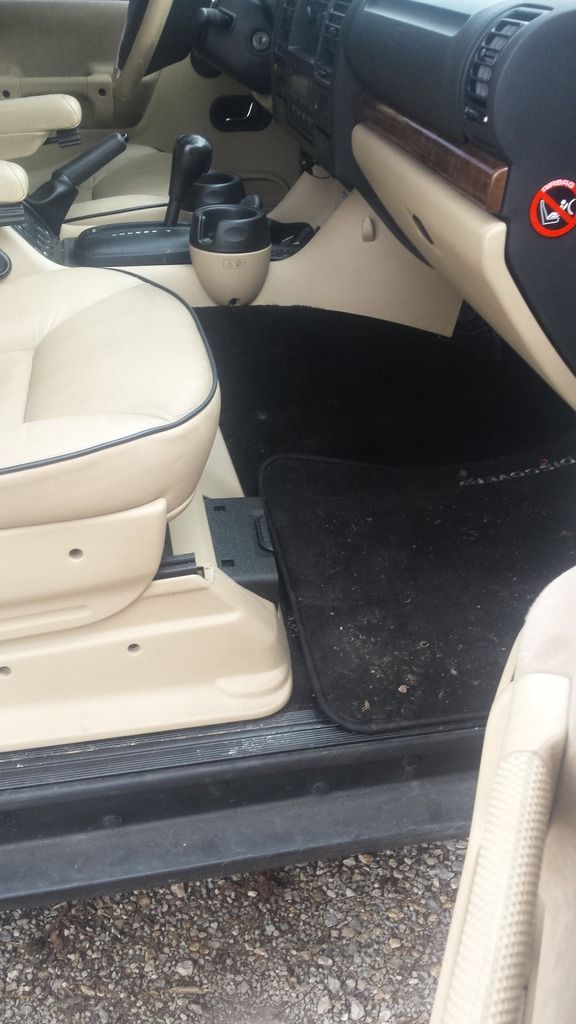
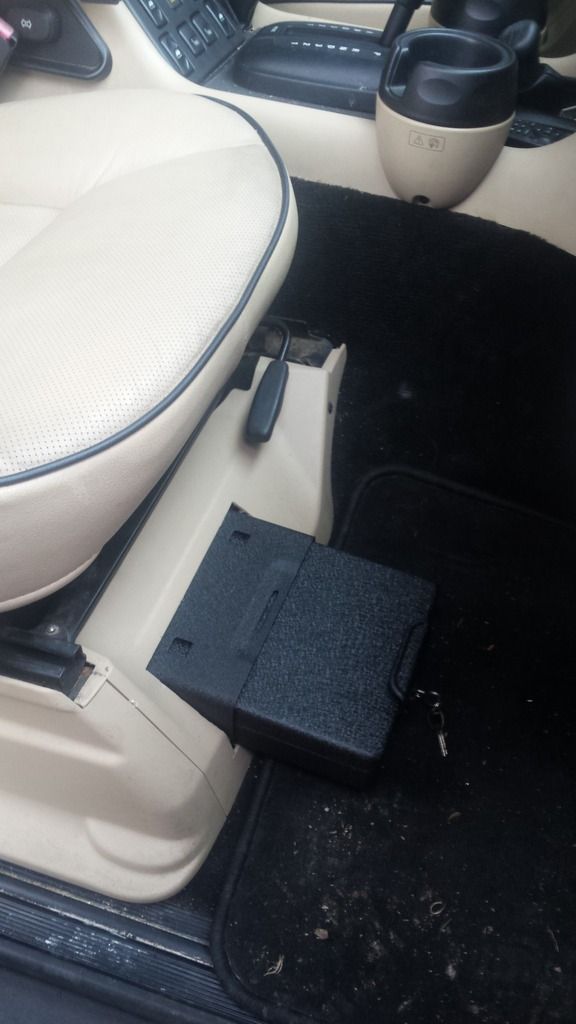
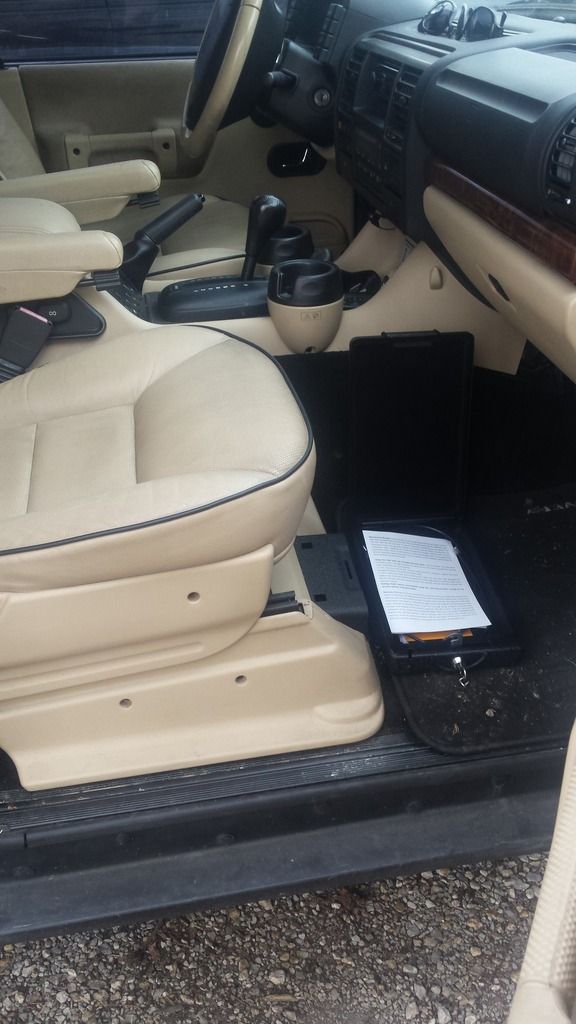
While the seats were out this was a perfect time to mount our Bull Dog car safe. The safe can be pulled out from the front seat through the old CD changer door.
20170204_122329_zpsam5nh8in.jpg


By time the seats were installed I didn't have enough light to get pictures. I'll try to get some today if it clears up outside.
 

MLu

Adventurer
This may sound a bit hypocritical coming from a guy that drives around with a shovel strapped to a jerry can bolted to a ladder, but that seat business sounds a bit superfluous. I understand why you would prefer manual to electric; these things have more than their share of gremlins. But... and do correct me here... couldn't you just have serviced or renewed the motors and connections, made them more or less watertight and have ended up with a setup that is reliable for the next 15 years or so? Or was this also the easier solution?
 

MStudt

Adventurer
Here are a few pictures of the installed seats.
20170206_155524_zps01jjaiuw.jpg


Here's the safe in the locked location.
20170206_155552_zps1m1675ef.jpg


Here's the safe being slid out.
20170206_155729_zpsxcue99kx.jpg


Here's the safe completely out.
20170206_155659_zpsxgjulajk.jpg
 

MStudt

Adventurer
This may sound a bit hypocritical coming from a guy that drives around with a shovel strapped to a jerry can bolted to a ladder, but that seat business sounds a bit superfluous. I understand why you would prefer manual to electric; these things have more than their share of gremlins. But... and do correct me here... couldn't you just have serviced or renewed the motors and connections, made them more or less watertight and have ended up with a setup that is reliable for the next 15 years or so? Or was this also the easier solution?

The main reason for ditching the powered seats was to not have to worry about them ever again. The seats would have been a lot simpler if I didn't get go the extra mile on them. I could have just swapped over the cushions, and the leather and called it a day. That would have taken the same amount of time as swapping motors. Plus we already had a motor to tilt the seats out, and that would have required us to remove the upper on that one anyway.

Plus the wife felt like she had to have them.
 

MStudt

Adventurer
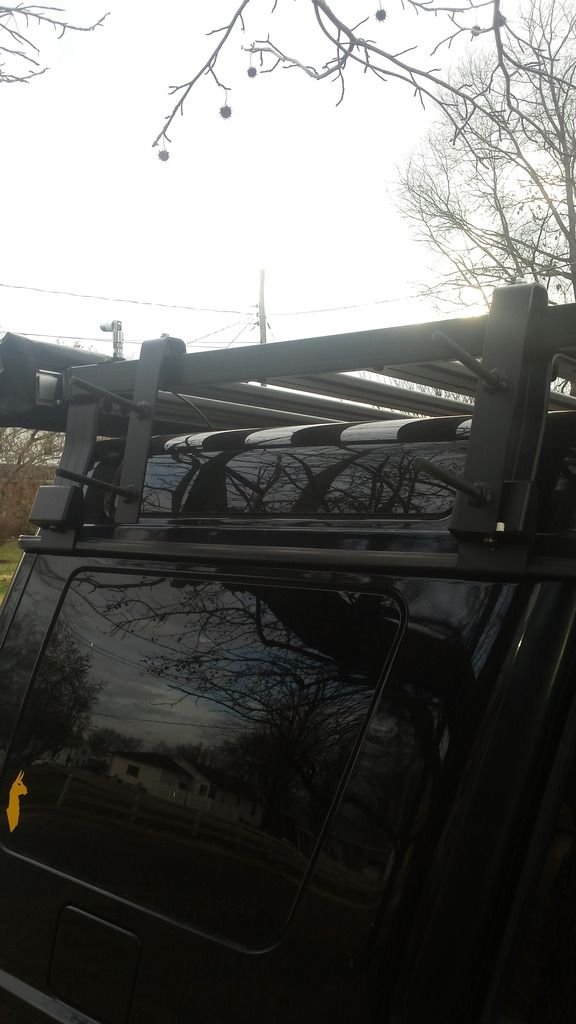
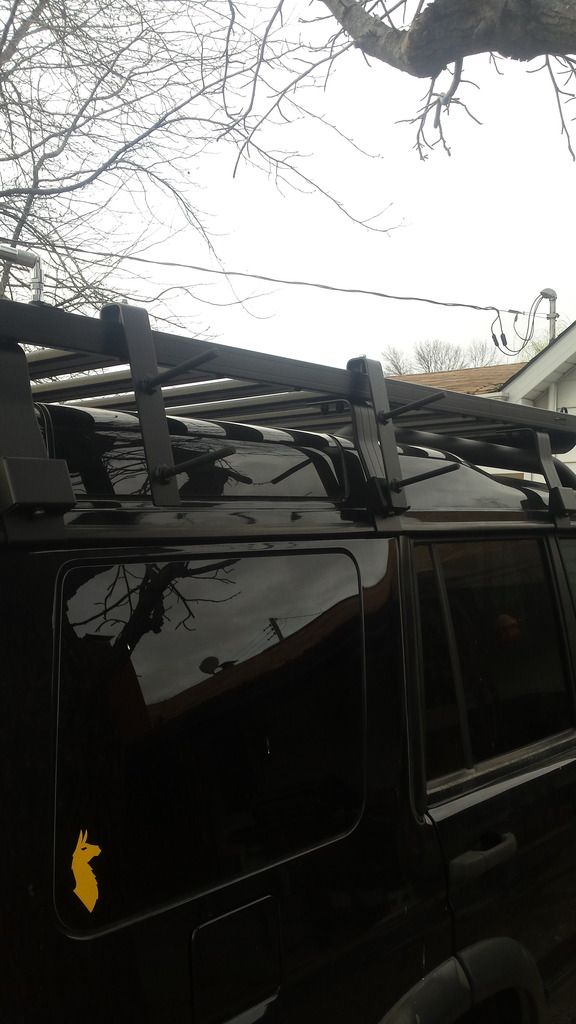
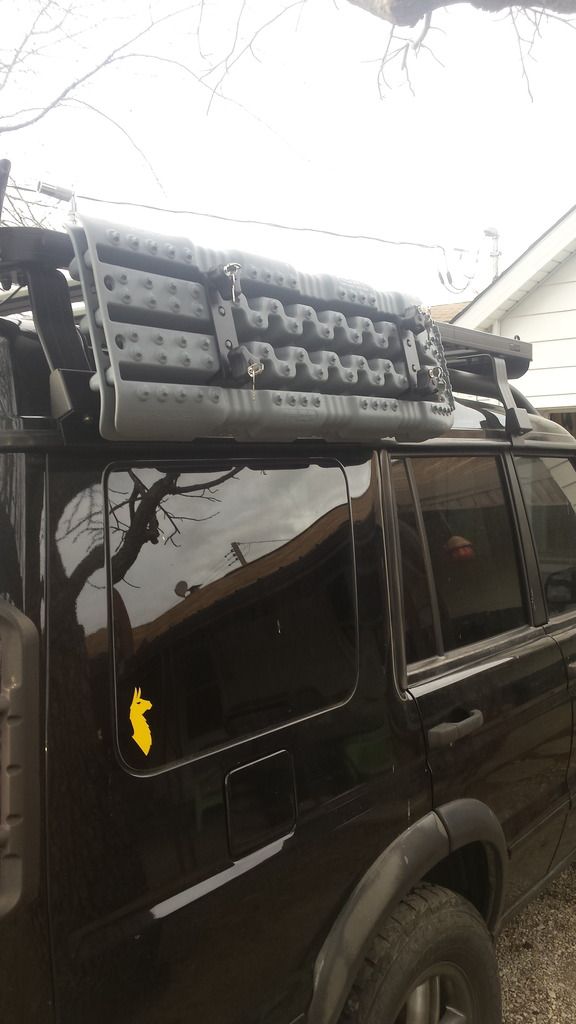
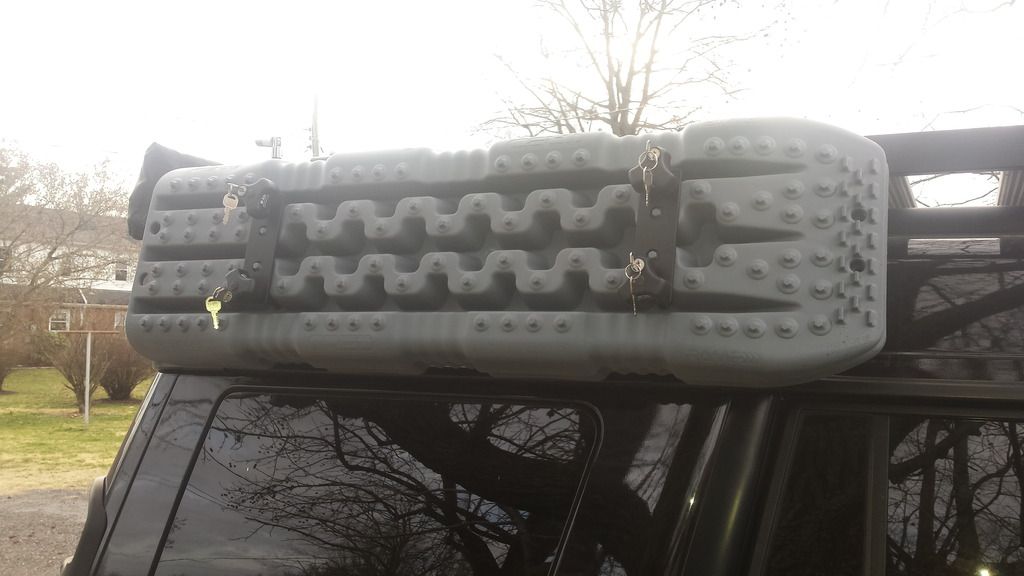
I recently came across a great deal on the TRED4x4 recovery boards, and picked up a set. I was a bit disappointed that Front Runner doesn't offer a TRED mount, and only offered a Maxtrax mount. The Maxtrax have different spacing than the TRED's so the mounts wouldn't work for me.

After searching, and not finding anything that would work I decided to build my own. These are made from 3/16"x2" flat steel, and bolt on the Front Runner slats. The two brackets have 1/2-13" threaded studs welded in place, and utilize the Hi-Lift locking handles.

20170223_163050_zpsegirp9iu.jpg
20170223_163059_zpsm0slzlfa.jpg


20170223_163909_zpsg2dwc9xl.jpg

20170223_163858_zpspsoswtte.jpg
 
Last edited:
Great build. I'm actually following this for some ideas for my full LR3 sleeping kit build in the future. Can I ask who made your rear mattress and what the cost was for the custom layout? That is exactly what I am looking for, countour mattress with multiple sections for ease of removal and various options.

Thanks again,

E
 

MStudt

Adventurer
Great build. I'm actually following this for some ideas for my full LR3 sleeping kit build in the future. Can I ask who made your rear mattress and what the cost was for the custom layout? That is exactly what I am looking for, countour mattress with multiple sections for ease of removal and various options.

Thanks again,

E

We used CushionsXpress for the mattresses. They have custom sizes, and numerous fabric choices. It's hard to say how much I spend on the platform itself, but a good guess would be somewhere around $400 in materials. I could have saved about $100 had I not decide to change things after they were already done. A lot of money was saved by already having all the tools I needed. Having a couple grinders, welders, and other various fabricating tools definitely helps.
 

MStudt

Adventurer
Fantastic! Exactly what I was looking for! Yes, I should have clarified that I was looking for estimated price on the mattress cushions. Thanks so much, I've added the site to my list of places for future purchase.

I want to say somewhere around $350-$400 with shipping for everything. We got 3" high density outdoor foam, Dacron wrapping, and water resident slips for all cushions.
 

Forum statistics

Threads
188,182
Messages
2,903,467
Members
229,665
Latest member
SANelson
Top