Greetings everyone.
Quick introduction before the interesting stuff. (Somewhat) longtime lurker, first time poster here. I've spent many hours browsing threads on here looking at various trucks and campers and trailers while dreaming of creating a vehicle for myself capable of moving me around on adventures. I did some rudimentary modifications to a Chevy 1500 with a standard shell, basically giving me a dry place to sleep and a few places to store gear, but it wasn't enough. High mileage and increasing maintenance needs pushed me to sell the Silverado, so I moved on to a 2016 Ram 1500. I went back and forth about buying one of the new 4x4 sprinter vans, but decided ultimately that the cost was higher than I was willing to spend, in addition to interior restrictions. I'm 6'5", which means a bed will take up a lot of space. Additionally, I have an alarming number of hobbies, including but not limited to mountain biking, dirt biking, snowboarding, paddleboarding and hiking. Aside from hiking, everything takes up a lot of space, so a van was out. After seeing the Flippac and Habitat campers I knew that was the way to go. As luck would have it I didn't have to wait too long before finding a one year old Flippac just a couple of hours away from where I live. A quick inspection and a celebratory high five and I was on my way home with my new camper.
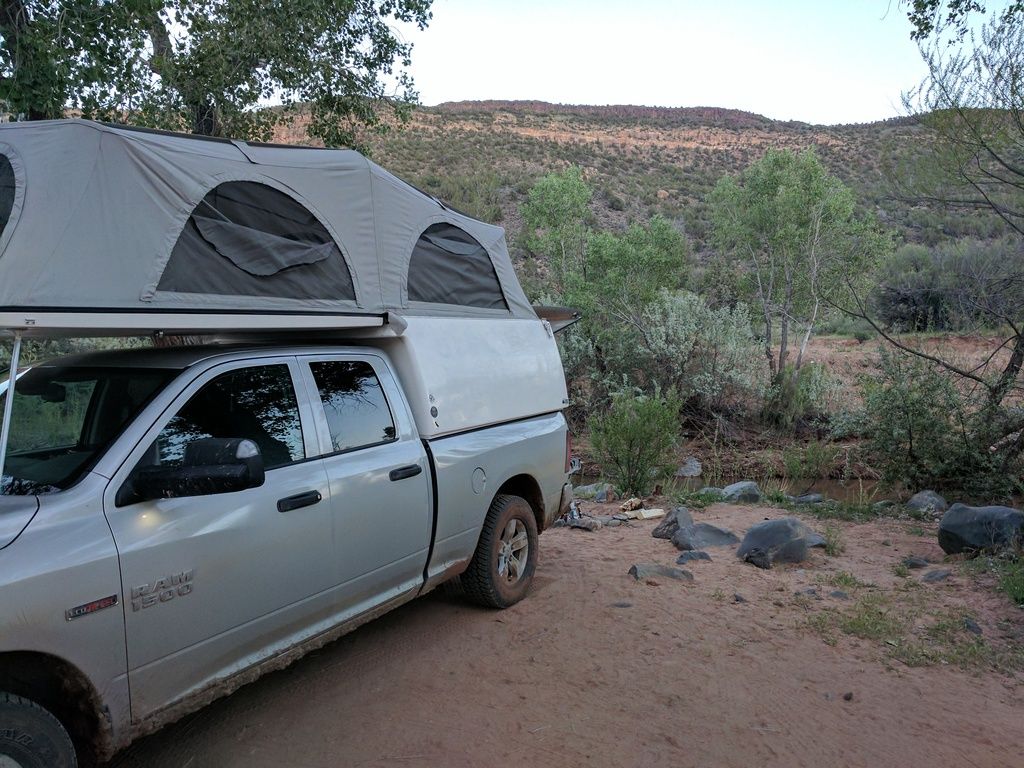
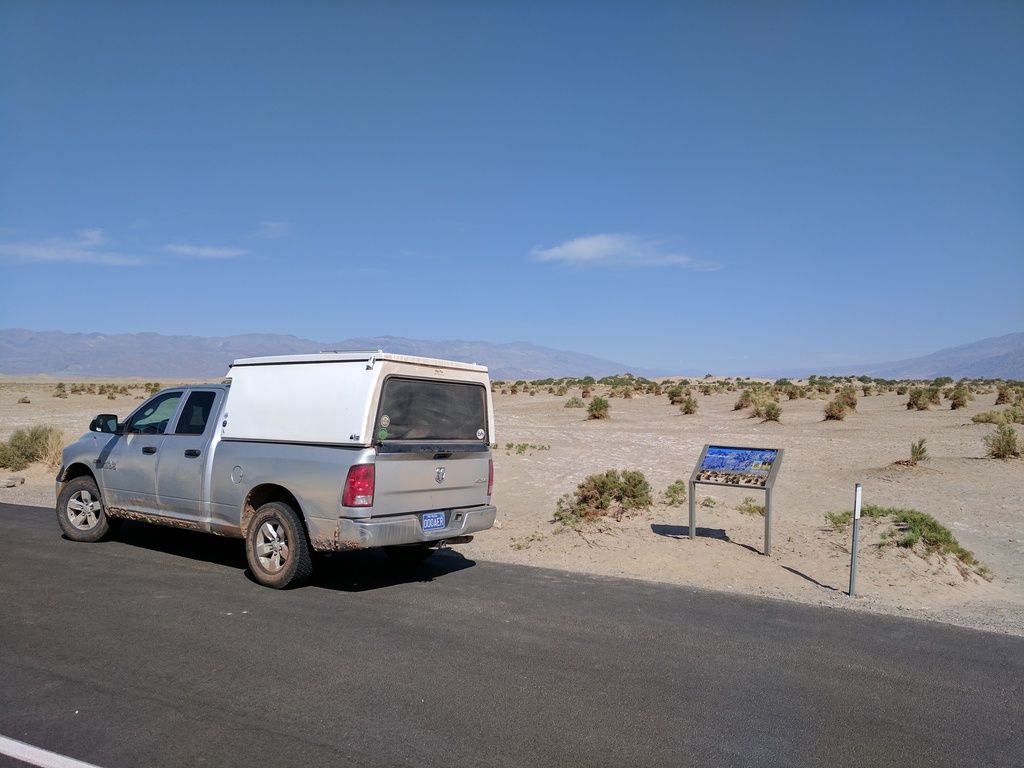
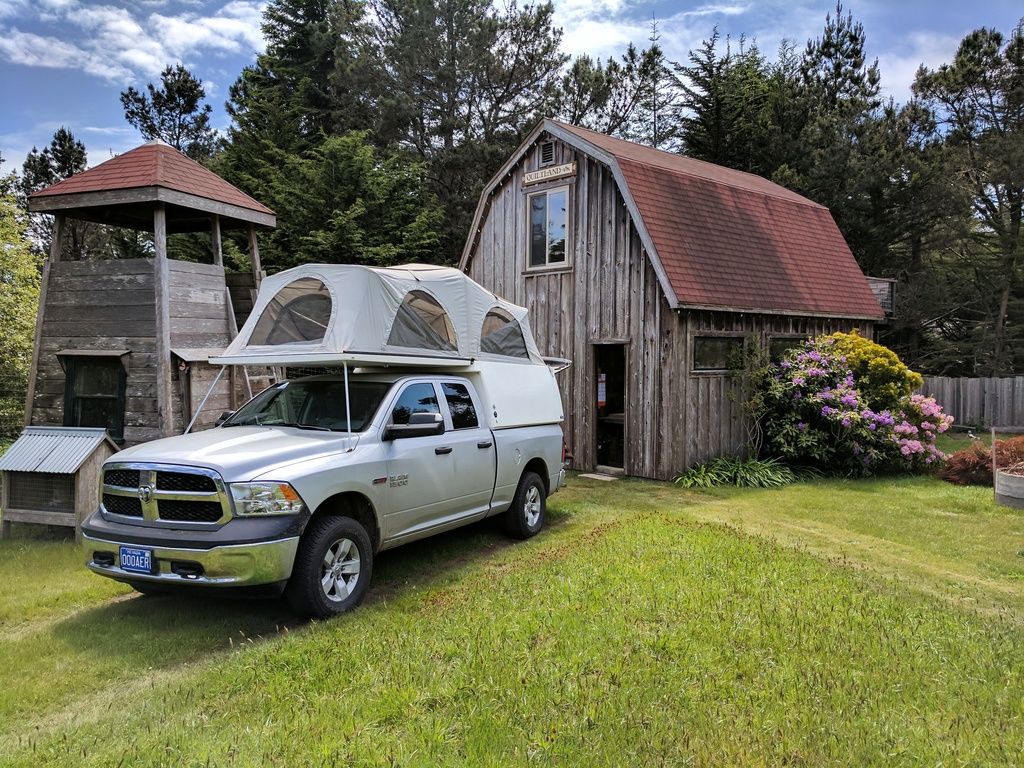
The truck:
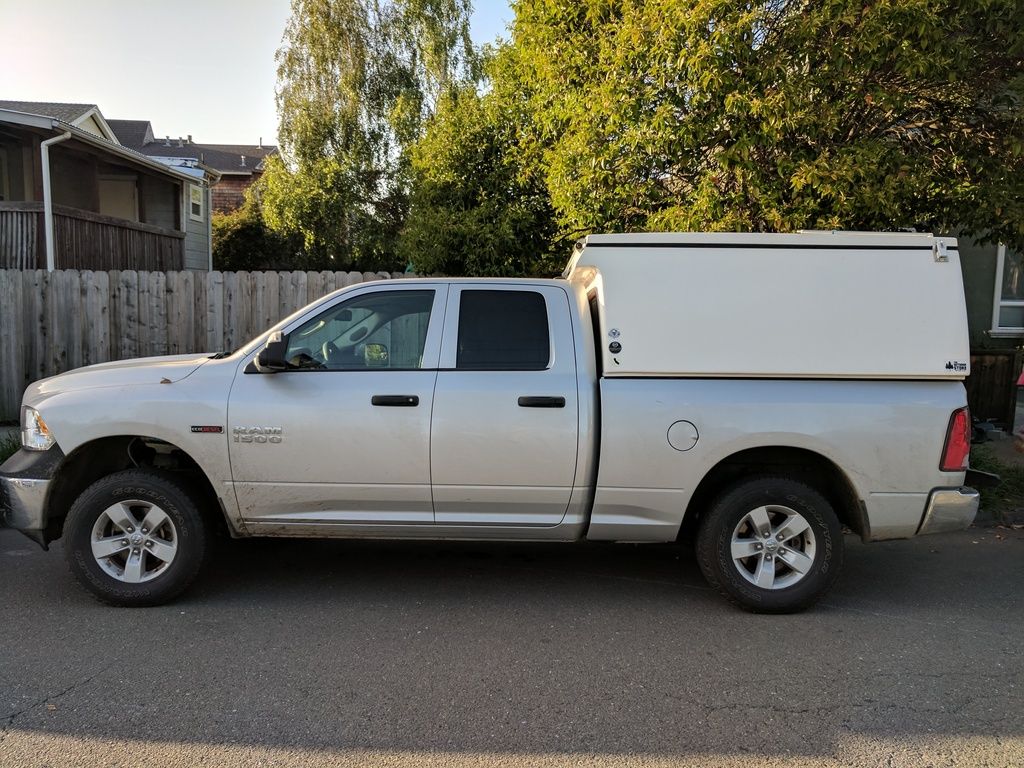
2016 Ram 1500 Tradesman 4x4
Added Clazzio seat covers and heaters for the front seats, and a cell phone holder. Not much else for now.
The camper:
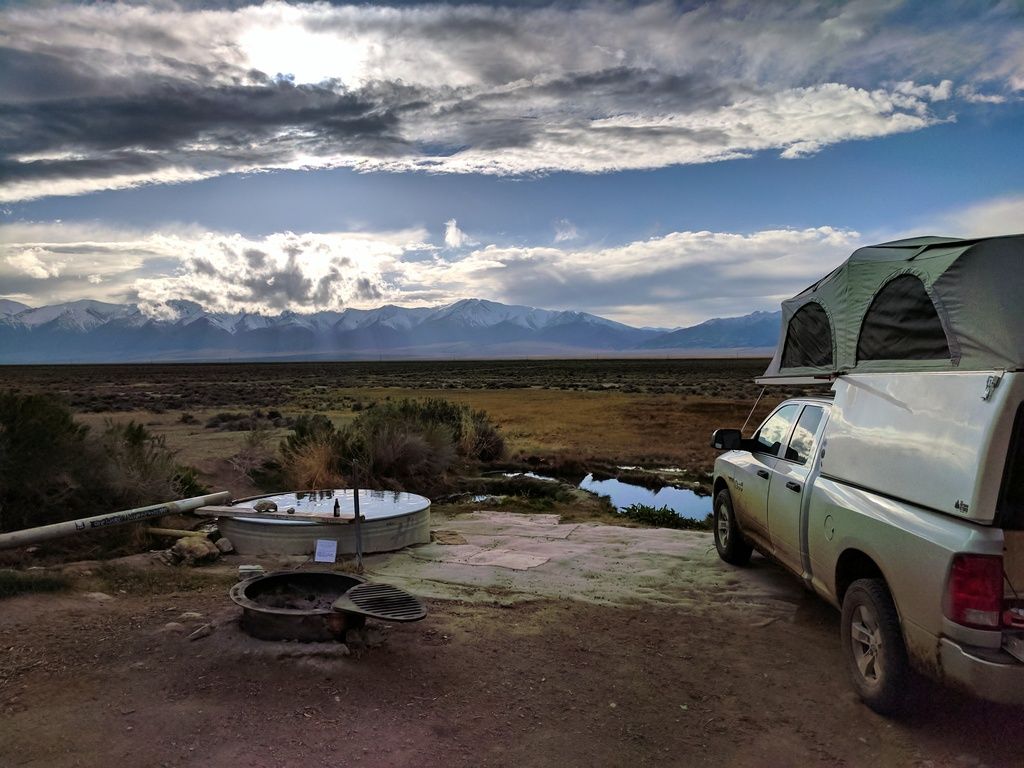
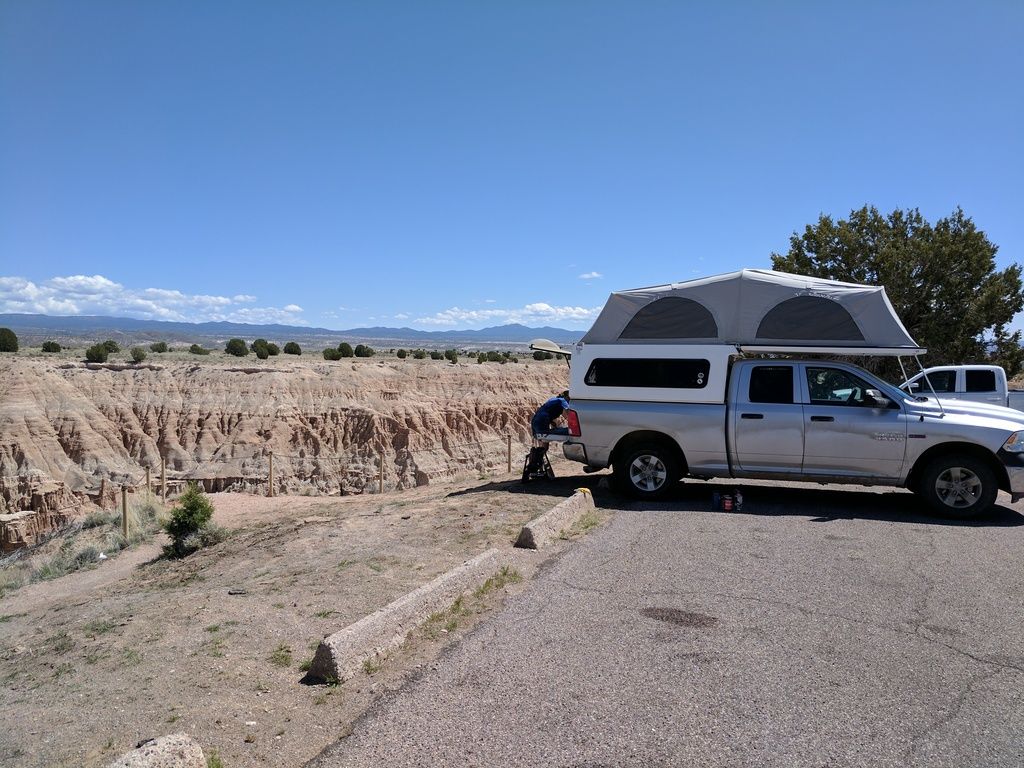
6'4" Flippac camper purchased in late 2015.
The shell came off of a 2005 Dodge 2500 diesel, and fortunately the bed rails have nearly identical dimensions eleven years later, so it dropped right on to my bed. Unfortunately, the tailgate is drastically different. It seems like all new trucks have thoroughly contoured tailgates, and the flat back window of the Flippac didn't play nice. I called up a local camper shell dealer and ordered a contoured fiberglass skirt from a different model shell.
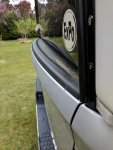
Here you can see I removed the bottom of the rear window frame. I then notched right below the channel that the glass sits in and fit the skirt into it. I riveted a piece of 1" aluminum angle underneath the middle of the skirt for a little extra support, and then glued the skirt into the slot with some silicone caulking.

Next I made a small cutout at each side of the skirt to clear the locking handles.
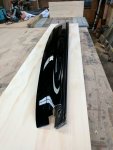
With the rear window now weathertight it was time to start on the interior. My plan was to make something thoroughly modular and relatively lightweight. A bench on the passenger side that has a windoor and a set of cabinets on the drivers side for cooking and gear storage should cover my needs.
I began with the passenger side cabinet/bench. Creating a template for the two pieces that had to go around the wheel well felt like it took the longest. Most of the cabinet is made out of 1/2" ply with both ends made out of 3/4". It is all screwed together but not glued in case I want to make changes down the road. Here you can see me lining up a backer piece that would fit under the camper shell overhang. This is so that the lids would be able to fully open.

Next I made the lids by gluing a bit of wood to make a lip on the front.

After that was dry I ripped it in half and mounted the two lids with stainless steel hinges. Here you can see a small piece that I had to glue on the forward end as the camper shell overhangs slightly at the front of the bed.
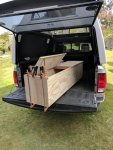
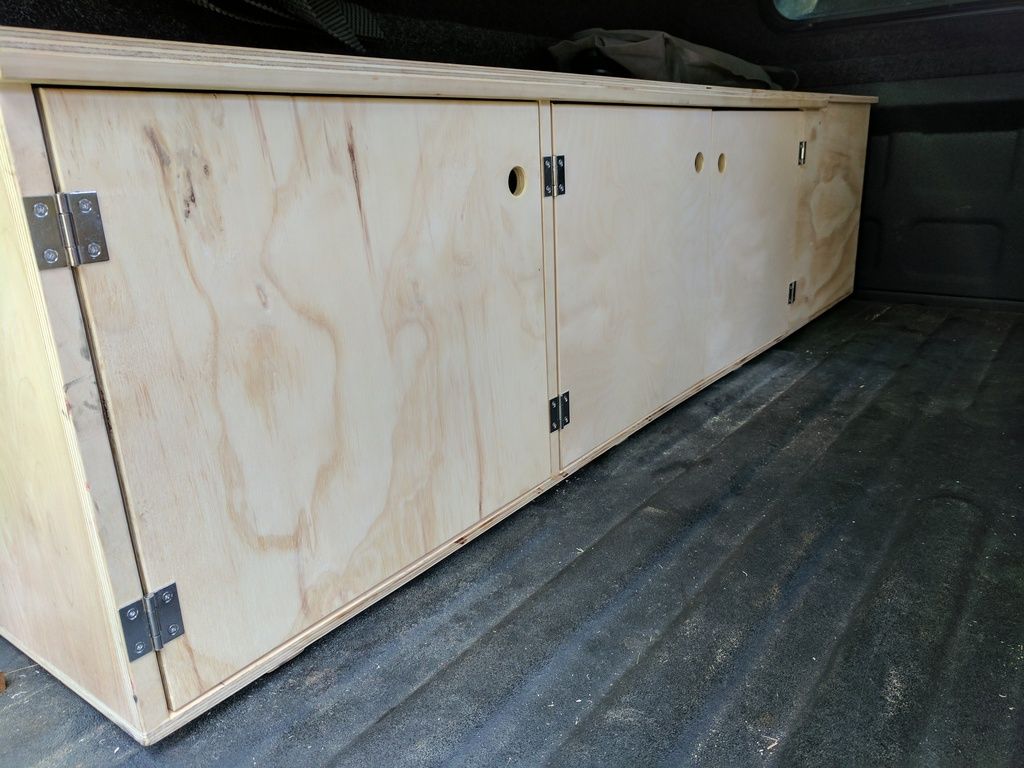
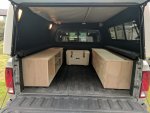
Passenger bench completed.


The center brace is also on a stainless hinge with a small stop/support on the inboard side of the cabinet for support. I put the hinge on it in order to allow maximum flexibility of space. This way I can fit long toys like snowboards inside of this cabinet and keep them out of the main space.

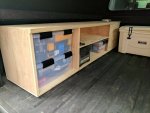
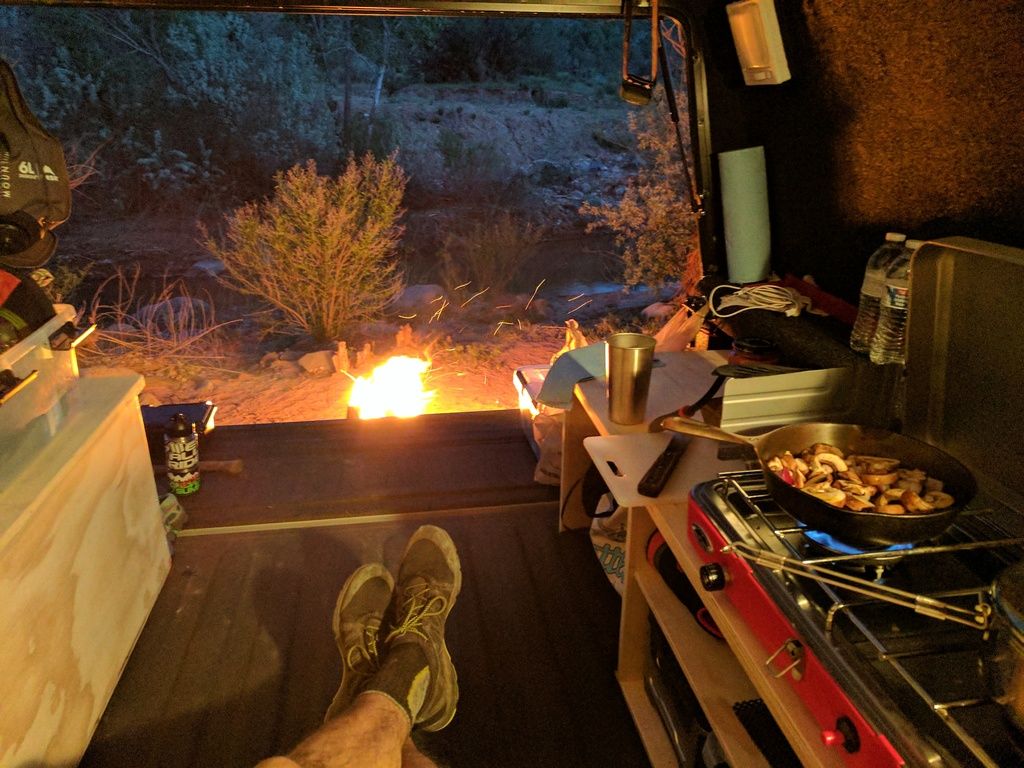
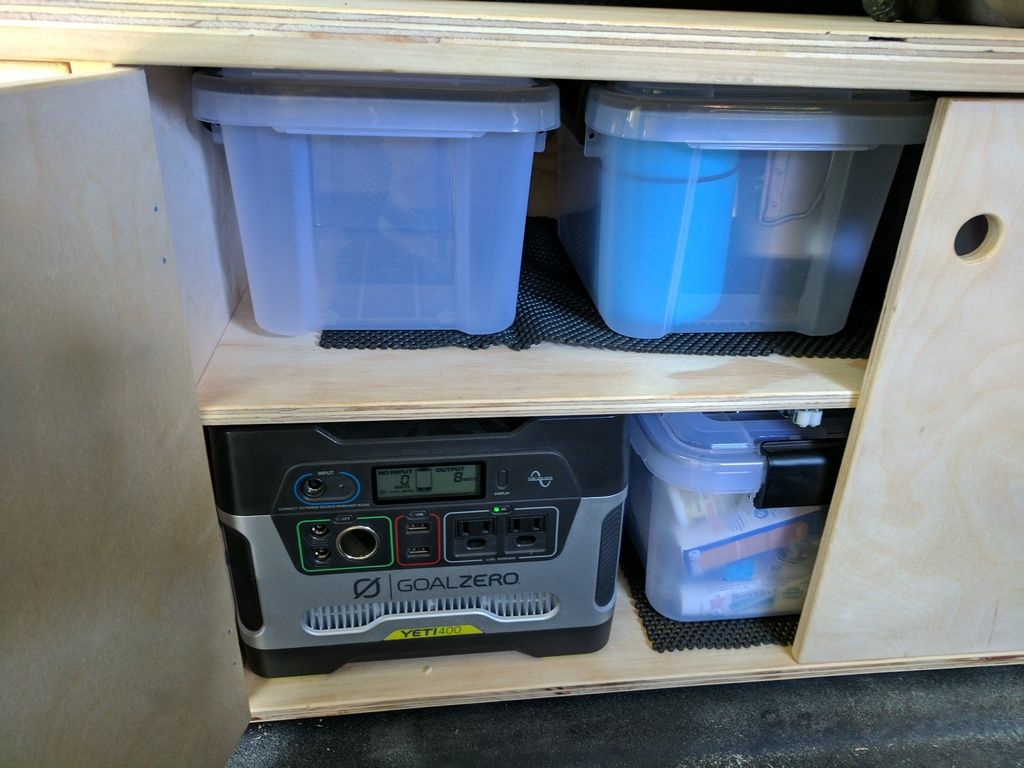
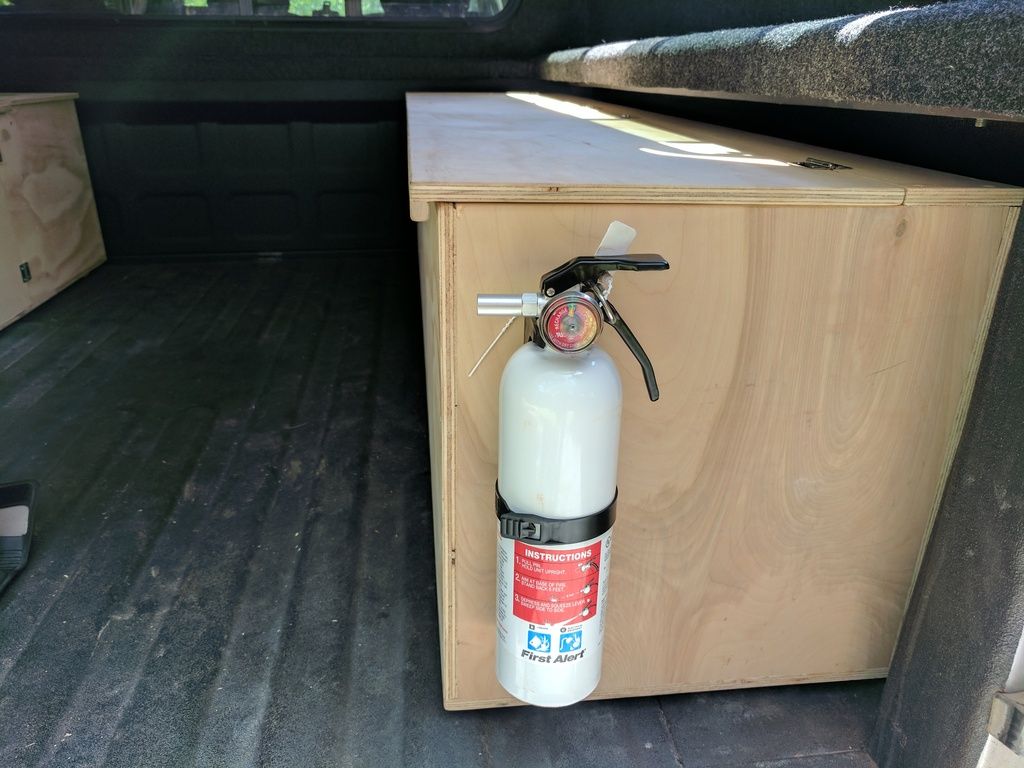
The drivers side cabinet is the same exterior dimensions as the passenger side cabinet, but with a different layout for storage. I decided to go with shelves and doors on this side for access from the center of the truck. All of these spaces are made to fit sealed watertight totes, a Goal Zero Yeti 400 for power, and a propane bottle for cooking. I will be building an additional cabinet that mounts on top of the drivers side cabinet. This will function as a cooking surface as well as additional storage. Unfortunately I ran out of time, so both doors and the upper cabinet had to be put on hold. Fortunately, I ran out of time because I'm leaving early tomorrow for a week long trip through the southwest.
Continued in next post.
Quick introduction before the interesting stuff. (Somewhat) longtime lurker, first time poster here. I've spent many hours browsing threads on here looking at various trucks and campers and trailers while dreaming of creating a vehicle for myself capable of moving me around on adventures. I did some rudimentary modifications to a Chevy 1500 with a standard shell, basically giving me a dry place to sleep and a few places to store gear, but it wasn't enough. High mileage and increasing maintenance needs pushed me to sell the Silverado, so I moved on to a 2016 Ram 1500. I went back and forth about buying one of the new 4x4 sprinter vans, but decided ultimately that the cost was higher than I was willing to spend, in addition to interior restrictions. I'm 6'5", which means a bed will take up a lot of space. Additionally, I have an alarming number of hobbies, including but not limited to mountain biking, dirt biking, snowboarding, paddleboarding and hiking. Aside from hiking, everything takes up a lot of space, so a van was out. After seeing the Flippac and Habitat campers I knew that was the way to go. As luck would have it I didn't have to wait too long before finding a one year old Flippac just a couple of hours away from where I live. A quick inspection and a celebratory high five and I was on my way home with my new camper.
The truck:
2016 Ram 1500 Tradesman 4x4
Added Clazzio seat covers and heaters for the front seats, and a cell phone holder. Not much else for now.
The camper:
6'4" Flippac camper purchased in late 2015.
The shell came off of a 2005 Dodge 2500 diesel, and fortunately the bed rails have nearly identical dimensions eleven years later, so it dropped right on to my bed. Unfortunately, the tailgate is drastically different. It seems like all new trucks have thoroughly contoured tailgates, and the flat back window of the Flippac didn't play nice. I called up a local camper shell dealer and ordered a contoured fiberglass skirt from a different model shell.

Here you can see I removed the bottom of the rear window frame. I then notched right below the channel that the glass sits in and fit the skirt into it. I riveted a piece of 1" aluminum angle underneath the middle of the skirt for a little extra support, and then glued the skirt into the slot with some silicone caulking.

Next I made a small cutout at each side of the skirt to clear the locking handles.

With the rear window now weathertight it was time to start on the interior. My plan was to make something thoroughly modular and relatively lightweight. A bench on the passenger side that has a windoor and a set of cabinets on the drivers side for cooking and gear storage should cover my needs.
I began with the passenger side cabinet/bench. Creating a template for the two pieces that had to go around the wheel well felt like it took the longest. Most of the cabinet is made out of 1/2" ply with both ends made out of 3/4". It is all screwed together but not glued in case I want to make changes down the road. Here you can see me lining up a backer piece that would fit under the camper shell overhang. This is so that the lids would be able to fully open.

Next I made the lids by gluing a bit of wood to make a lip on the front.

After that was dry I ripped it in half and mounted the two lids with stainless steel hinges. Here you can see a small piece that I had to glue on the forward end as the camper shell overhangs slightly at the front of the bed.

Passenger bench completed.


The center brace is also on a stainless hinge with a small stop/support on the inboard side of the cabinet for support. I put the hinge on it in order to allow maximum flexibility of space. This way I can fit long toys like snowboards inside of this cabinet and keep them out of the main space.

The drivers side cabinet is the same exterior dimensions as the passenger side cabinet, but with a different layout for storage. I decided to go with shelves and doors on this side for access from the center of the truck. All of these spaces are made to fit sealed watertight totes, a Goal Zero Yeti 400 for power, and a propane bottle for cooking. I will be building an additional cabinet that mounts on top of the drivers side cabinet. This will function as a cooking surface as well as additional storage. Unfortunately I ran out of time, so both doors and the upper cabinet had to be put on hold. Fortunately, I ran out of time because I'm leaving early tomorrow for a week long trip through the southwest.

Continued in next post.

