My M416 Build

rubicon789

Observer
All,

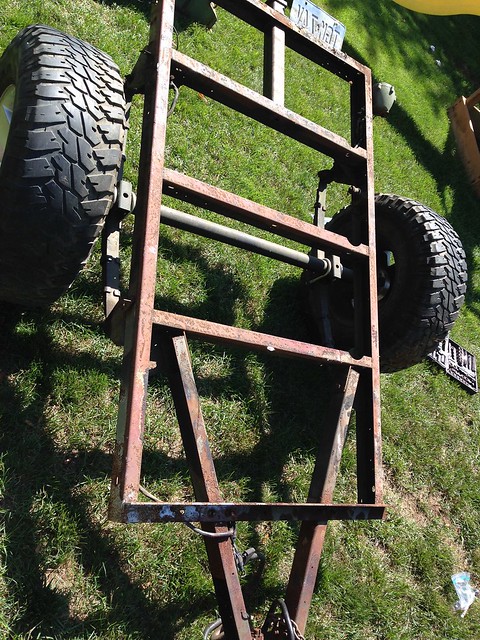
It is finally time. After 8 years of owning this trailer as is, I have taken the plunge. I have disassembled everything and made a few repairs to the fenders and frame so far. I still have some work to do before sandblasting, but I'm sharing my work as I go. I got a Lincoln 140 welder last weekend and this is my first time ever welding. I love it but it's harder than I thought. However, it's pretty fun to mess around with.

The plans are to blast the frame and tub. Build a lid and have it skinned with aluminum or steel. Yes, I know about the galvanization of the aluminum and steal together. I am still researching the best options. Flat lids are out of the question, I want to fab something that matches the contours of the tub to allow extra room for chairs, tents, bags etc. Those ideas are still in my head, but feel free to pass on thoughts. Any thoughts around the frame of the lid? Should it be build to the exterior dimensions of the tub, so that it it goes over the lip? Should it rest directly on the lip? Should I weld so 1x1 angle to make a flat surface? Thoughts?

As for paint, I am trying to determine the best route. I want it to last another 50 years, so I am thinking of doing something like the Eastwood 2k Epoxy in a spray can deals (thoughts and experience using these?). There is also a ceramic paint as well. Has anyone used this one? I want the frame to be sealed in really good as I want to pass this to my kids one day.

Here is where I am so far:

Current State
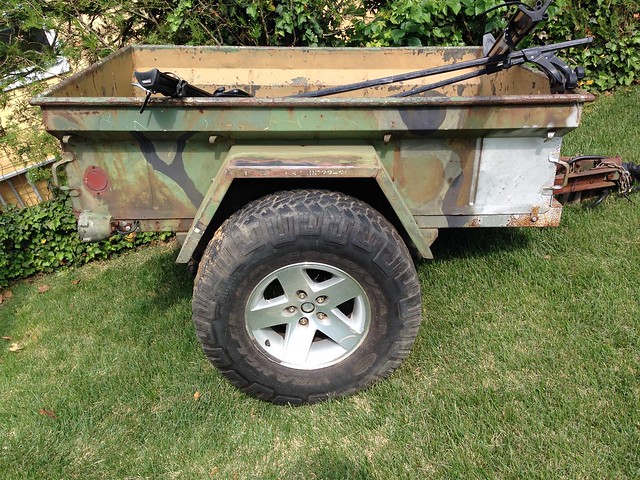
18599135168_c62de30174_z.jpg


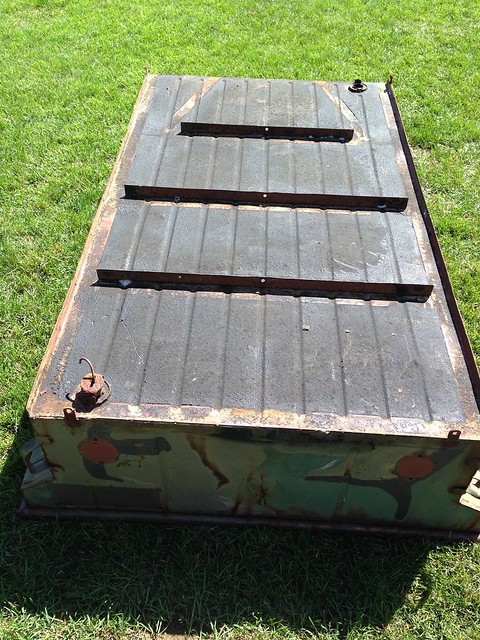
Tub off
18599209820_cb733fc647_z.jpg


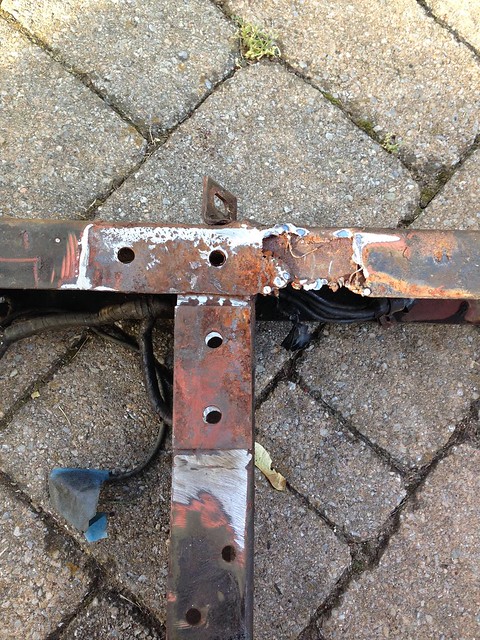
Tub apart
18781957942_47904335e2_z.jpg


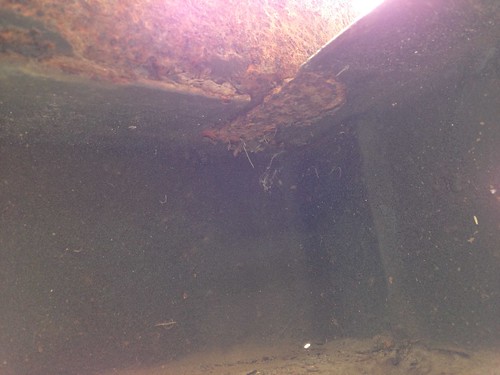
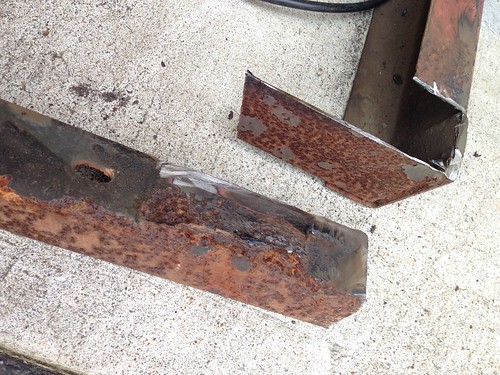
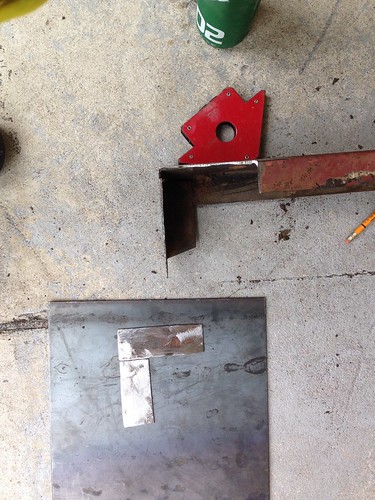
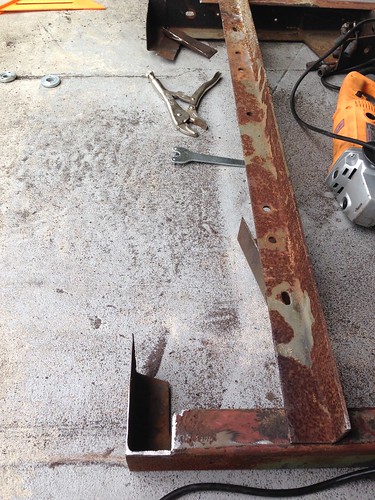
Frame Cancer
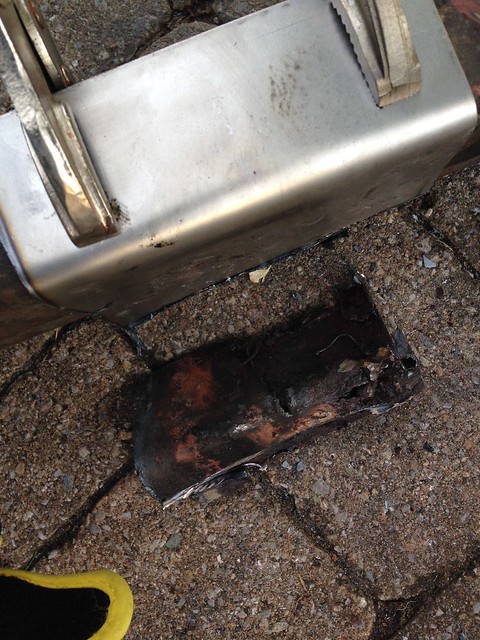
18599157738_bed746760e_z.jpg


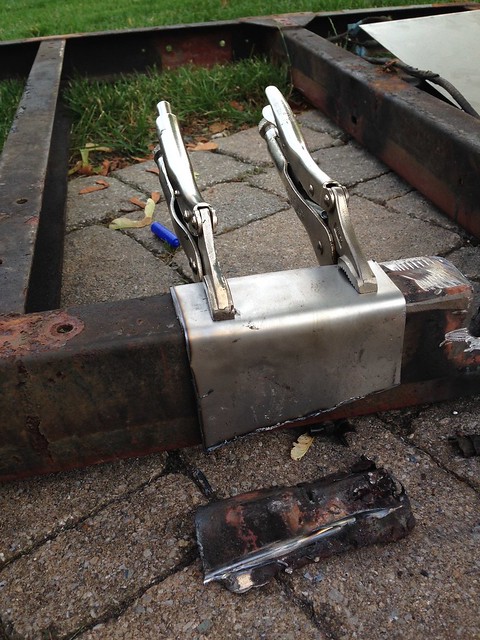
New Bracket (cut out cancer and welded a new piece)
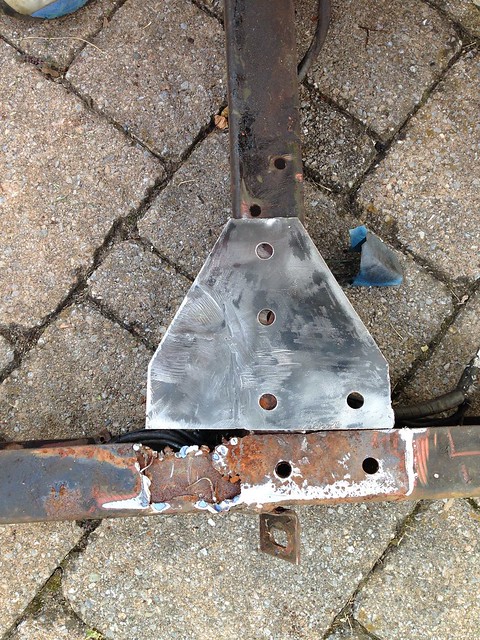
18789508411_8d0864c8cb_z.jpg


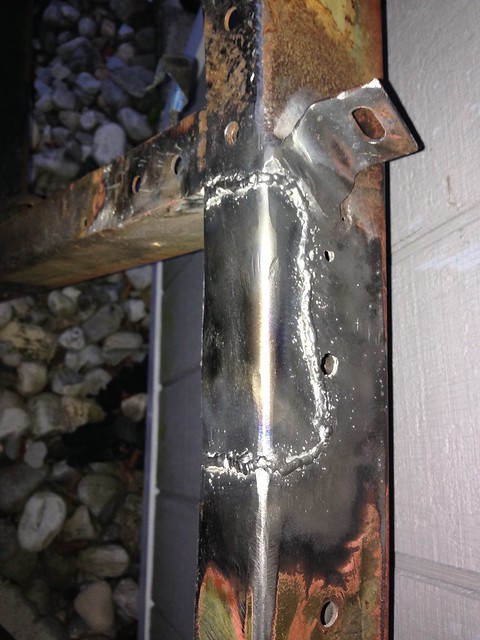
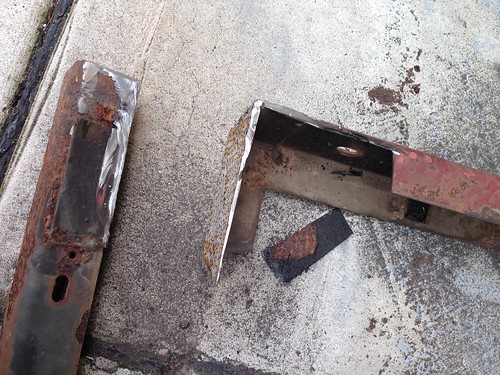
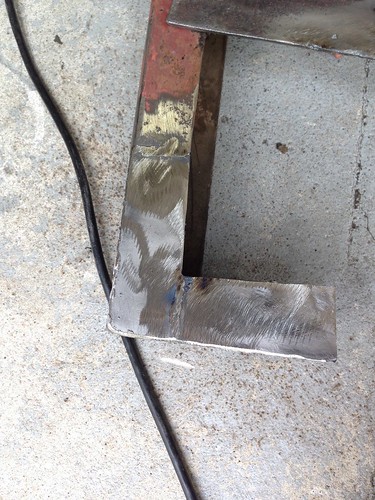
Frame Repair
18787046435_b1d35f5ae0_z.jpg


18789588971_6da0f8f355_z.jpg


18782060922_2c765d7923_z.jpg


18599341640_bf01c90f7d_z.jpg


I still have to address a few other spots, mainly the hitch area, which wasn't welding all that well. There's tons of oxidation in those welds. The drain plug brackets also need to be replaced but other than that it should be ready to go to blastings after these are addressed.

The lid will be next.

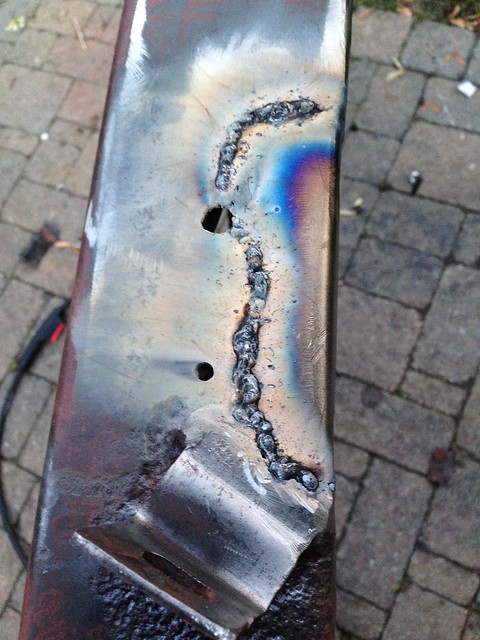
Again, this is my first fabriacation attempt. It is also the first time ever using a welder. I have watched others, but have never attempted to do so myself. I will take any criticism and tips based on my pictures. Please offer advice. The frame work was like building a puzzle. Rough measure, then cut fit, cut fit, cut fit, till it was close to perfect. Then, I put a few spot welds down to hold it in place, then finished up with welding the entire seem. I think i just need to grind the weld smooth and that cancer fix is finished. More to come as this will be a build with a target finish date of mid August.
 

Kiddmen57

Supporting Sponsor
Are you using flux core or solid with shield gas? Looks like either flux core or you did the welding in a windy environment. If using shield gas, any breeze is your enemy and will make it difficult to get decent welds.

For an aluminum lid you'll need more than your 140 MIG. Not sure if Lincoln makes a "spool" kit for it to allow aluminum welding, but I highly suggest seeking out help for aluminum. From my understanding (never welded aluminum) it can be a real finicky material to get right.

I had my aluminum lid fabbed at one of our vendors with me providing the CAD and drawings. Turned out really nice and less than 50 lbs. The easiest way to go is probably an aluminum tube frame with skin like you mentioned. That can also make for an extremely light lid.

10603413_879702585390534_2160797506307552343_n.jpg

10423850_875378785822914_2069506404232935270_n.jpg

The link below is my M416 build and has some info in it for mods I've done including the lid. If you have any other questions feel free to PM me. I love these trailers and working on them.

http://www.expeditionportal.com/forum/threads/116653-My-M416-Yes-another-one

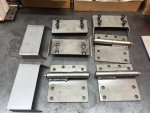
And if you need hinges or brackets for attaching your lid to your trailer I know a guy that makes some nice pieces ;)
unnamed-4.jpg
 

rubicon789

Observer
Too, funny, I already PM's you regarding the lid.

I may just need those hinges too. I will keep you posted so thanks for the info.

Yes, Flux core (035) and it wasn't windy. Why do you ask? I am wanting to learn. Do the welds look ok?

I found that sometimes i burned through the two pieces. So I tried to keep the sounds like bacon, but its very hard to get it perfect. I am either too hot, the wire is too slow or too fast, or I burn through. I managed to figure it out a little after a while. Practice makes perfect I guess. I too love playing with these trailers.
 

Kiddmen57

Supporting Sponsor
I have almost no experience with flux. I asked about wind because the pic looked like some welds I've had when i tried working outside in a breeze.
The welder should have a guide on it regarding settings. Look up the material thickness, wire thickness and of course for flux wire. Then set and should be pretty good.
Full disclosure - I am not a pro level welder.

Found this neat article
https://makemoneywelding.com/blog/how-to-use-a-no-gas-mig-welder/

I'd say your welds look a bit "cold" meaning they didn't bite into the two metals you are welding but rather just added material (wire) to the surface. If these are your first welds then you're doing pretty well. Even after a few years I still dont make "pretty" welds, but mine do hold where it counts.
 

clift_d

New member
Great to see some shots of the frame up close.

Lightweight trailers like the M100 / M416 are pretty scarce (and expensive!) here in the UK. We typically see the bigger Sankey trailers for the Landrovers - similar in size to the M101, but unfortunately these are a lot bigger and heavier than I want, so I'm very jealous you guys can find these so readily.

I suppose I could always try to build an M416-a-like from scratch - it will almost certainly be cheaper than buying one. Now if only I could find a set of blueprints. :)
 

rubicon789

Observer
Got a little more work done this weekend.

Fixed the frame rot on both sides of the front from rail.
19065039269_a69b7b5e0a.jpg

18630628803_690b06bb4f.jpg

19063575028_563043fa24.jpg

19251169055_aa06454886.jpg

19245240242_713c619781.jpg

19254989591_27a8d9e758.jpg


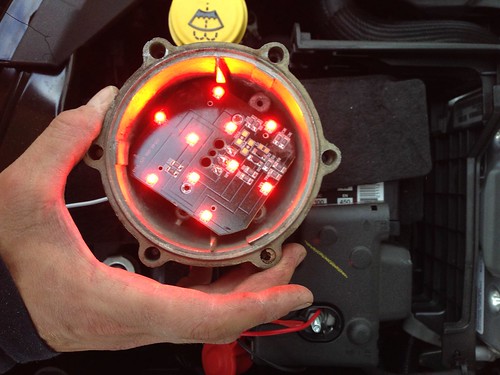
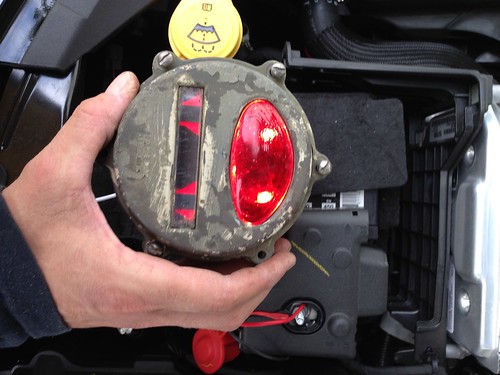
Cut some LED circuit boards and fit them to the stock lights. Still have to plan the mounting brackets and get rid of the Blackout filter. I will probably install a red reflector in the blackout insert to reflect the light.
19065051799_3270dd30ee.jpg

19254991491_84cd6ddc11.jpg
 
You make the hinges and all that?
Can you pm me with details?
thanks!

Are you using flux core or solid with shield gas? Looks like either flux core or you did the welding in a windy environment. If using shield gas, any breeze is your enemy and will make it difficult to get decent welds.

For an aluminum lid you'll need more than your 140 MIG. Not sure if Lincoln makes a "spool" kit for it to allow aluminum welding, but I highly suggest seeking out help for aluminum. From my understanding (never welded aluminum) it can be a real finicky material to get right.

I had my aluminum lid fabbed at one of our vendors with me providing the CAD and drawings. Turned out really nice and less than 50 lbs. The easiest way to go is probably an aluminum tube frame with skin like you mentioned. That can also make for an extremely light lid.

View attachment 290228

View attachment 290229

The link below is my M416 build and has some info in it for mods I've done including the lid. If you have any other questions feel free to PM me. I love these trailers and working on them.

http://www.expeditionportal.com/forum/threads/116653-My-M416-Yes-another-one

And if you need hinges or brackets for attaching your lid to your trailer I know a guy that makes some nice pieces ;)
View attachment 290231
 

rubicon789

Observer
Progress:

Well, this project has taken a lot longer than I expected. I've spent so much time working on this thing, that my wife is ready to kill me. I also had a discussion with our kids and said, "daddy's sorry that i've been so focused on this silly thing, but you all benefit from it, you just don't know it yet".

So what's been done recently.

I had the tub and frame blasted. I actually didn't take pictures of it blasted. But you can see the clean tub in other pic's.

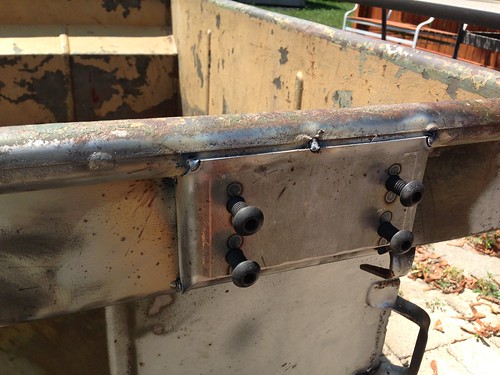
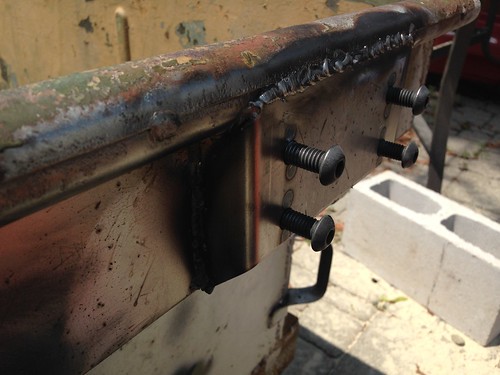
I welded on Klayton's lid brackets. However, due to the insane quote i got for making a lid, i'll have to wait a bit before I get one. I may attempt to build one myself, but that will be next summers or winters project. Either way, the brackets are mounted and ready to go when the time comes.
19795993171_6574c3f3a6.jpg

19783924002_6912f1c7b6.jpg


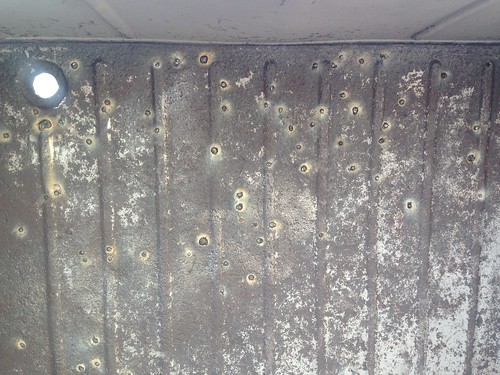
After blasting the tub, I had tons of pin holes to address. I elected to spot weld each one rather then get a new floor. Some were bad enough that welding burned right through. However, I managed to fill the holes using a quick weld, stop, weld, stop technique. It worked out well.
19765023216_da8ecf3803.jpg


Then, I finally found a use for that spare tire mount from my TJ. I mounted it onto the rear of the trailer. It is 100% removable, so when I am trailer it for long hauls, I can add a spare. When not needed, I can remove it. Yes, i know it adds weight behind the axle but when used there will most likely be a very heavy cooler in the front. So there will be plenty of ballast to make it tongue heavy. I also welded some thick steel (think its 1/4'' bar) inside the tub to act as support for the mount. Pictures of this to follow.

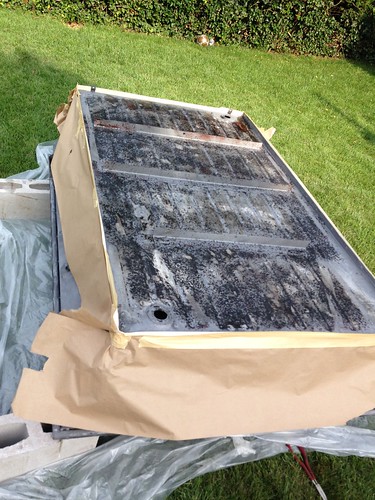
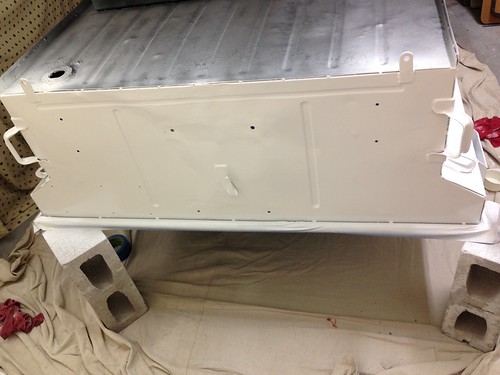
Tub was cleaned, i didn't take a picture of that, but Xylene took the old rubber coat right off the underside. The tub is fixed (the best it can be) and i have primed and rubber coated the floor.
19168604554_7bff42e723.jpg


New coating applied:
19603188478_274f5becab.jpg


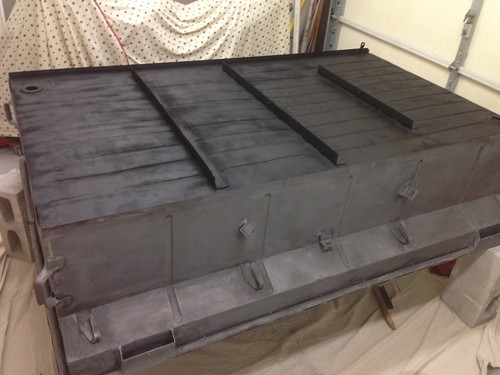
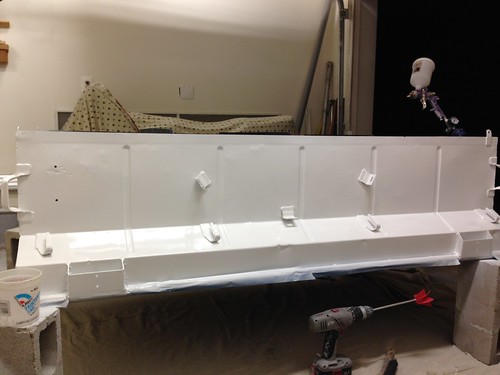
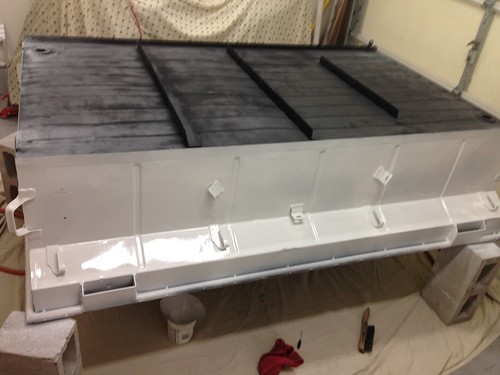
Eastwood's epoxy primer is now on and setting. I hit it with 3 coats so it should be plenty primed. I am going to add the basecoat tomorrow (i hope). Then Herculiner the bed. This will complete the tub.
19603189928_ebcda14015.jpg

19603197410_9508740a07.jpg

Here, you can see where I will mount the spare when needed.
19765022556_b14c9e2bee.jpg


Frame is next:
*Items in the plans, 4 1" LED marker lights for the front and rear
*New wiring throughout
*Finish blasting all the smaller parts and prep those for paint.
*I am planning to use the extra light (the smaller one) as the third brake light. You'll see what i am working up soon.

Overall, i learned a few things.
*Don't paint at night (bugs like to land in the paint)
*Welding is harder than it looks. But a little practice helps. I am getting better at it.
*When one thinks something will be a small project, that person should think long and hard, is it small because i think it is. Or is it small because I am trying to convince myself that it is?
*Without Klayton's advice, this trailer would be much harder to build

I'll keep you posted as i finish more. Got to get this road ready in the next few weeks. S expect a few more updates.

Also, one a separate note, does anyone know where to get the triangle rubber grommet for the tail lights? The one is totally shot but the other is ok. I should order a new one prior to assembling it all. Keep me posted
 
Last edited:

Forum statistics

Threads
188,206
Messages
2,903,780
Members
229,665
Latest member
SANelson

Members online

Top