Things have been slow lately and with the dozen or so wildfires burning around Colorado right now, stage 3 fire bans have me putting some plans on the back burner and focusing on items that don't require any grinding or welding outdoors.
We have one 100,000+ acre fire burning right now because a guy had been cooking some meat in his yard and the coals caught the next day...so rightfully, local authorities are writing rather large financial reminders for anyone caught doing anything with a flame or spark outside...so I'm focusing on the interior right now.
Before getting started on interior work, I set out to fix one of the main things I found out on my trip with my father: bumpy roads and 30 MPH could convince the suspension to compress enough that the axle would bottom out on the trailer frame. I contemplated doing an axle flip, to gain the clearance needed, but that'd lift the trailer about 5-6 inches and that was just going to be too much.
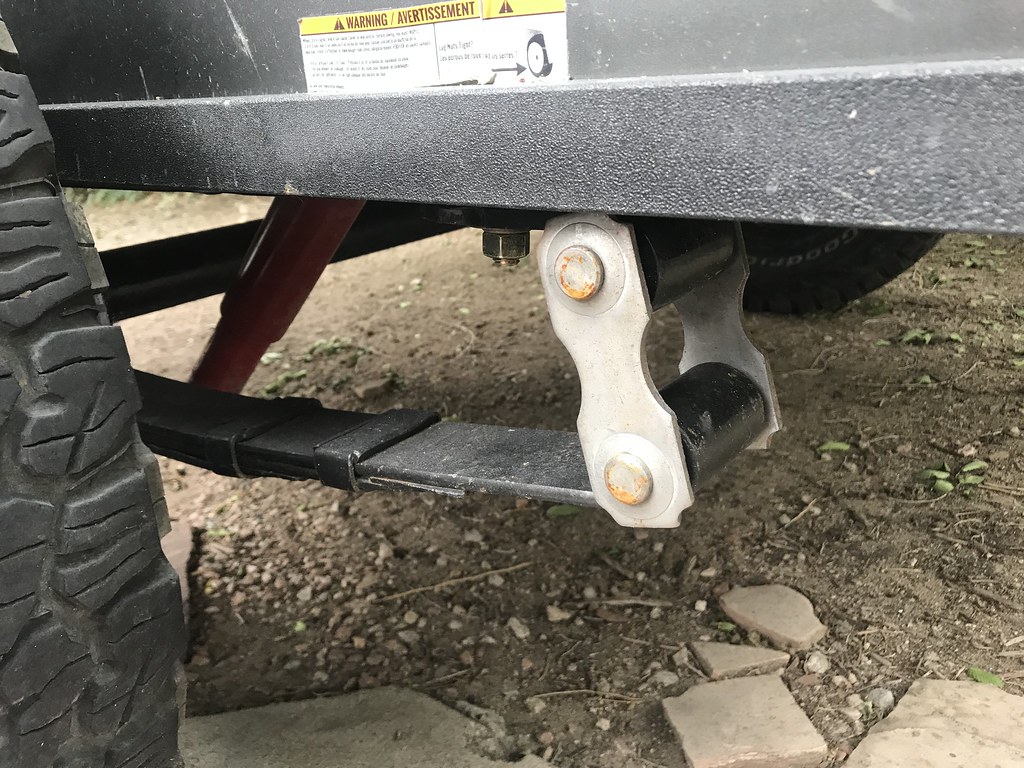
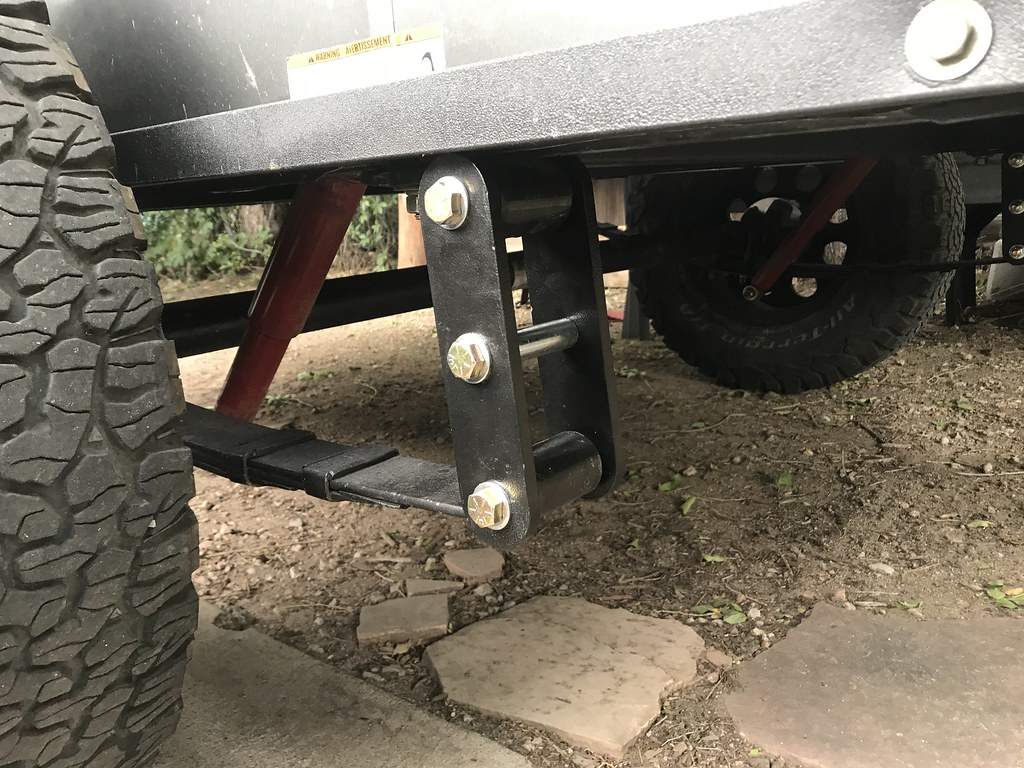
Since I'm running an exact Jeep CJ-7 suspension, I decided to see what options I had for a lift kit for that chassis. I found some 2 inch lift shackles and based on what I observed, they'll work perfectly to give me clearance without going too high, all for a mere $40.
Before and after:
One of the other things I noticed was the trailer seemed slightly tongue heavy on our trip, so I took some time to run to one of my companies facilities to use the truck scale there.
As the trailer sits now, it's 1,160 pounds, with a tongue weight of 220 pounds. So a little more than ideal. Batteries and a galley should help balance that nicely and get me closer to my goal of 10%.

With that question answered, lets move onto the interior work.
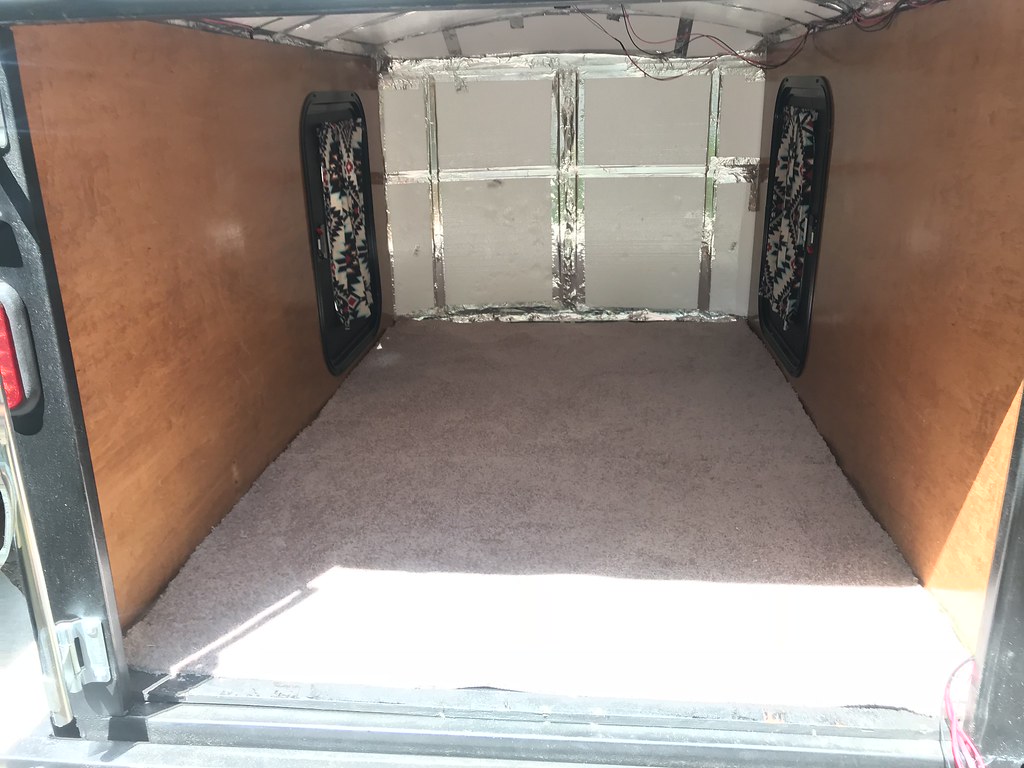
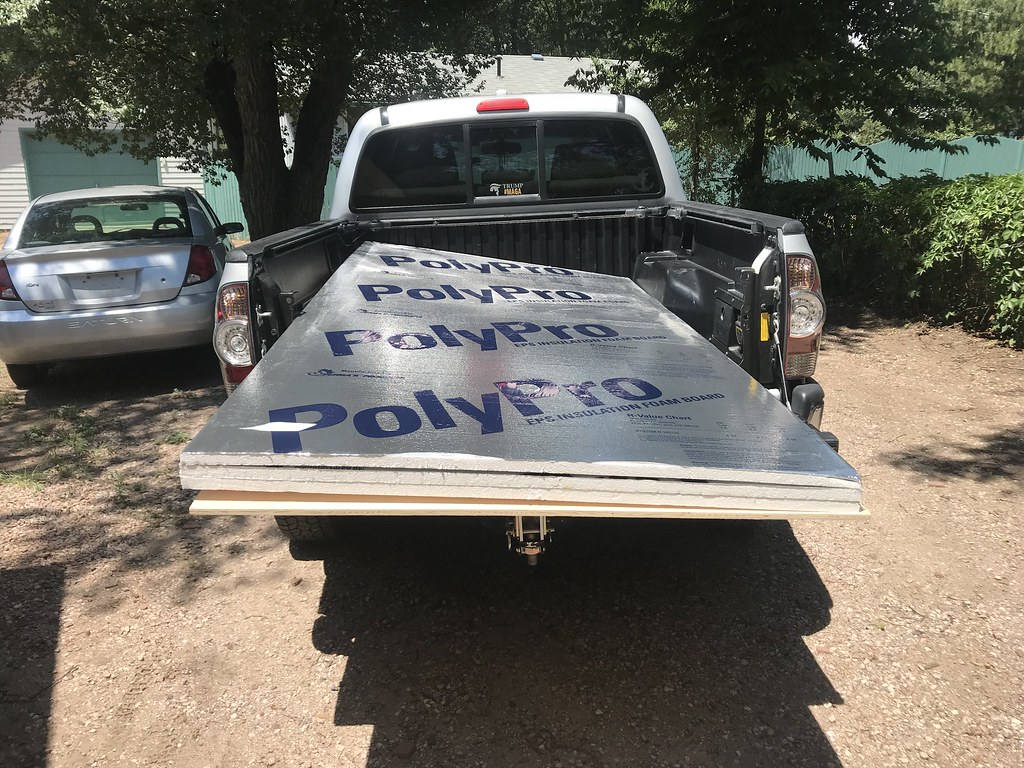
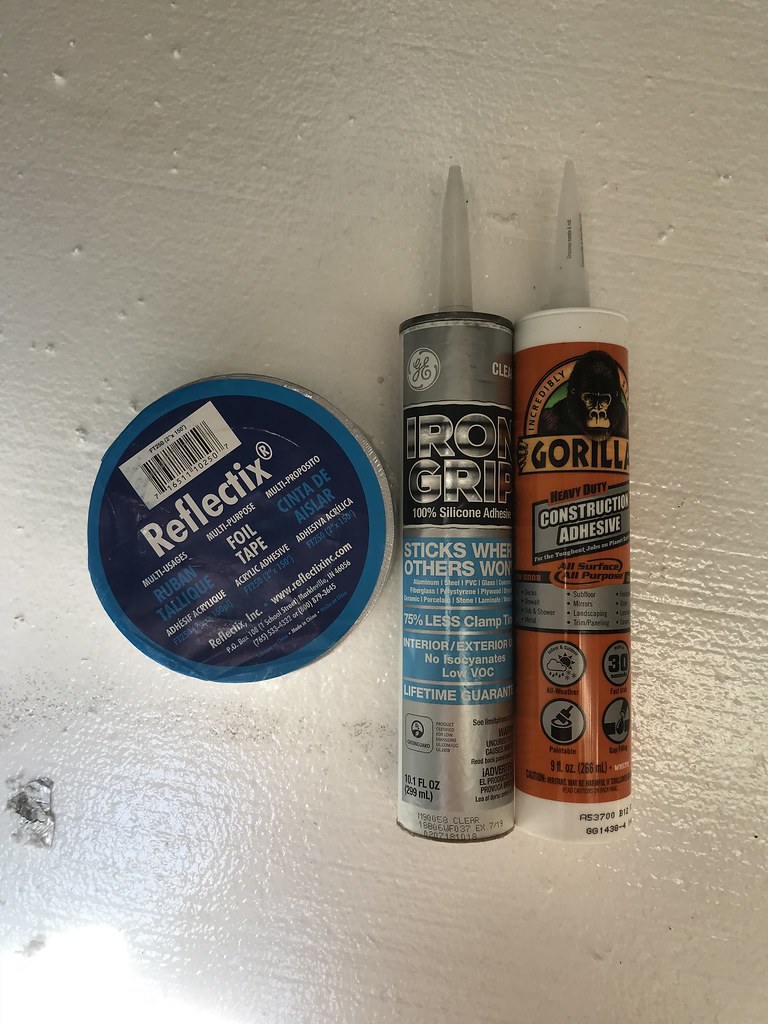
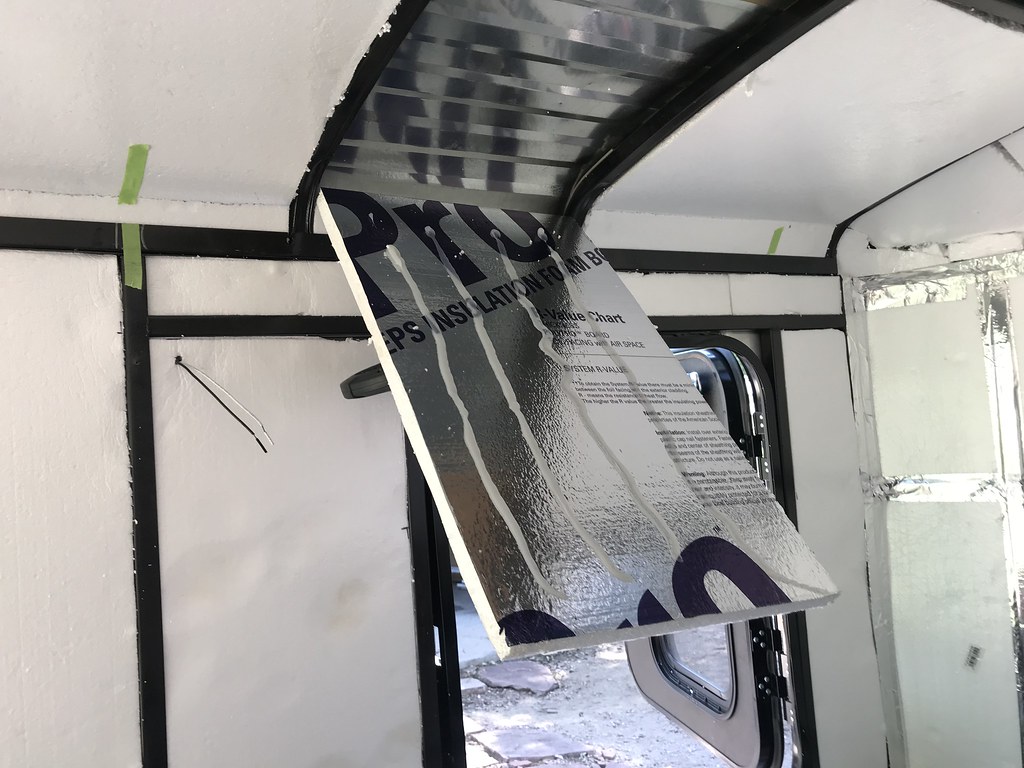
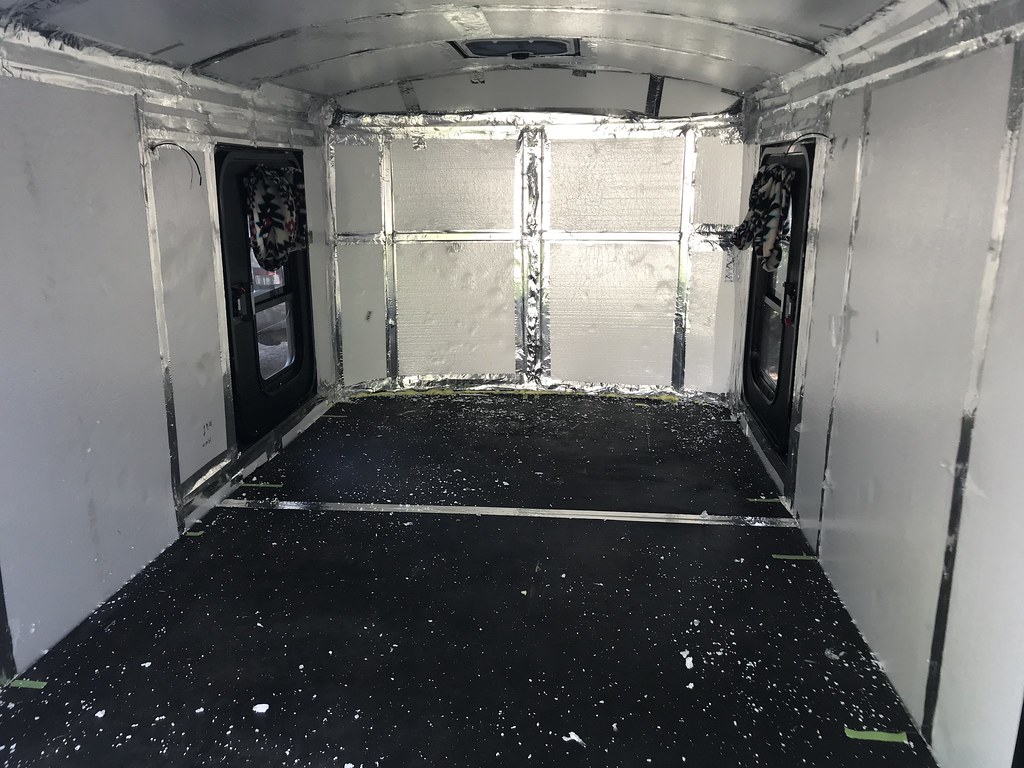
I went with 1" insulation, attached to the walls and roof with some silicone adhesive laid in vertical rows. My thinking here was if there were ever a leak, the vertical rows will allow moisture to roll down and out instead of having a spot to collect. The Gorilla glue will be used later.
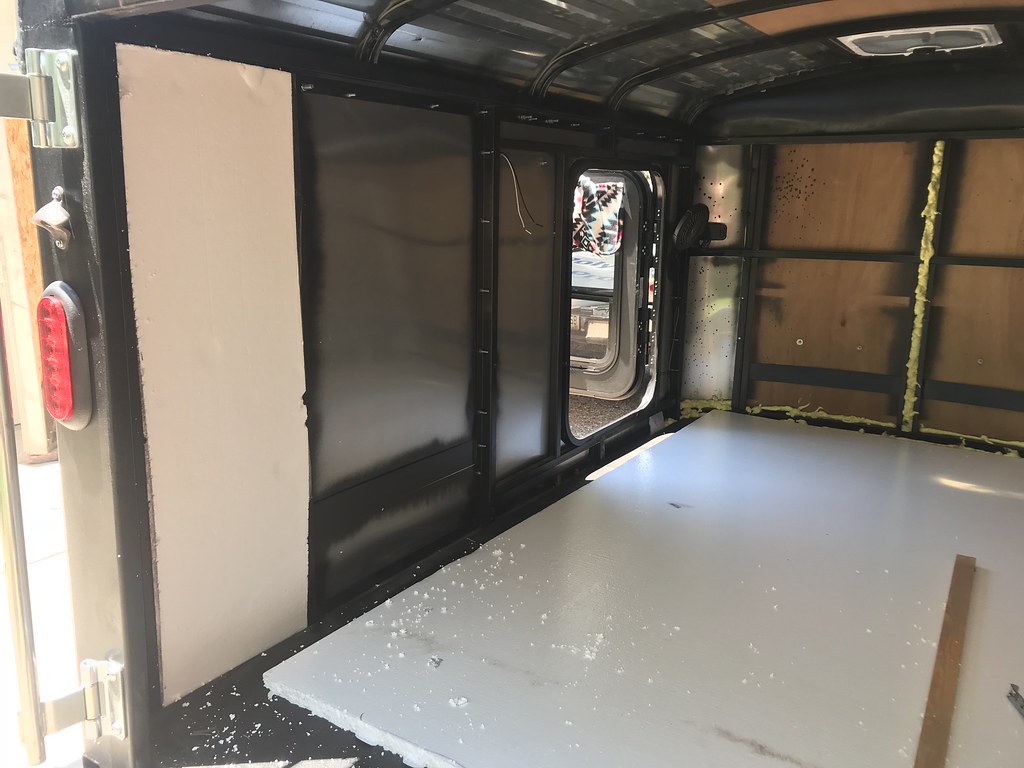
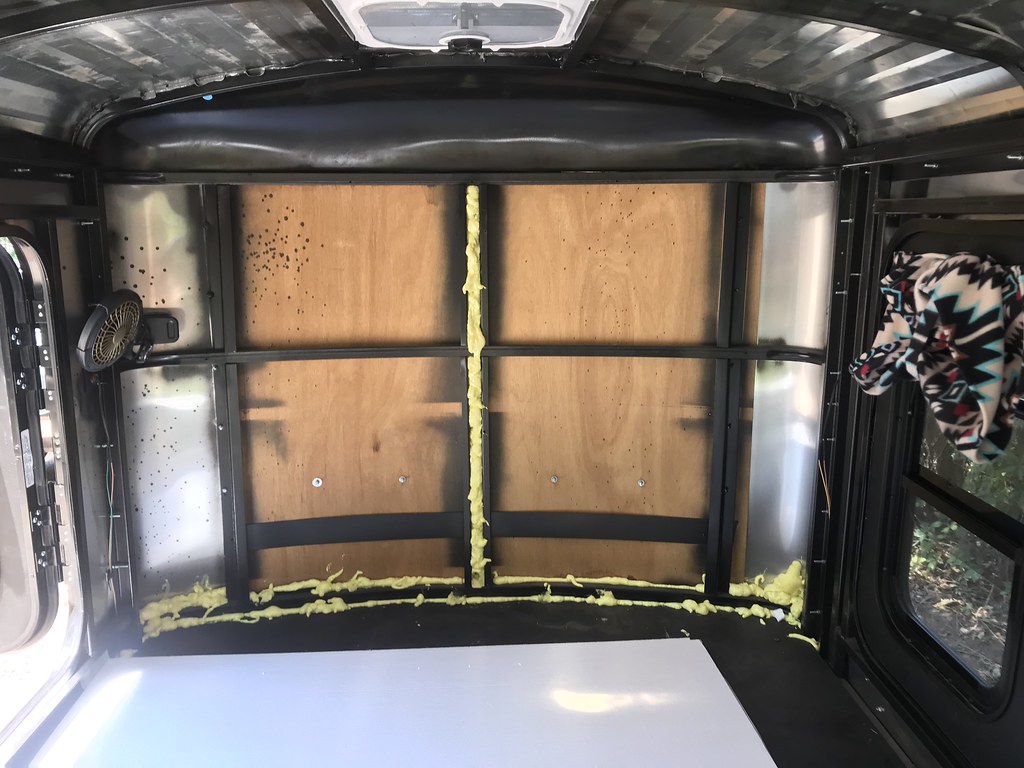
I also filled some of the odd-ball shapes in the front of the trailer with minimally expanding foam.
Then onto the wonderful mess of cutting the foam insulation, white balls going everywhere and hours of measuring, cutting, fitting, gluing, taping....good fun.
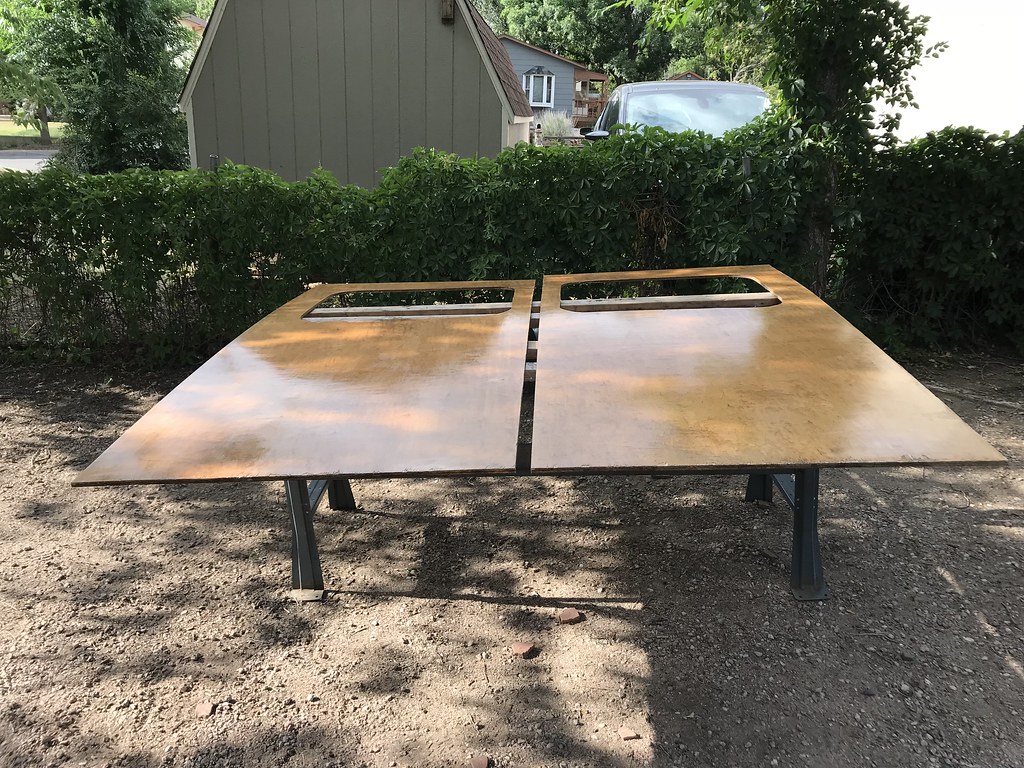
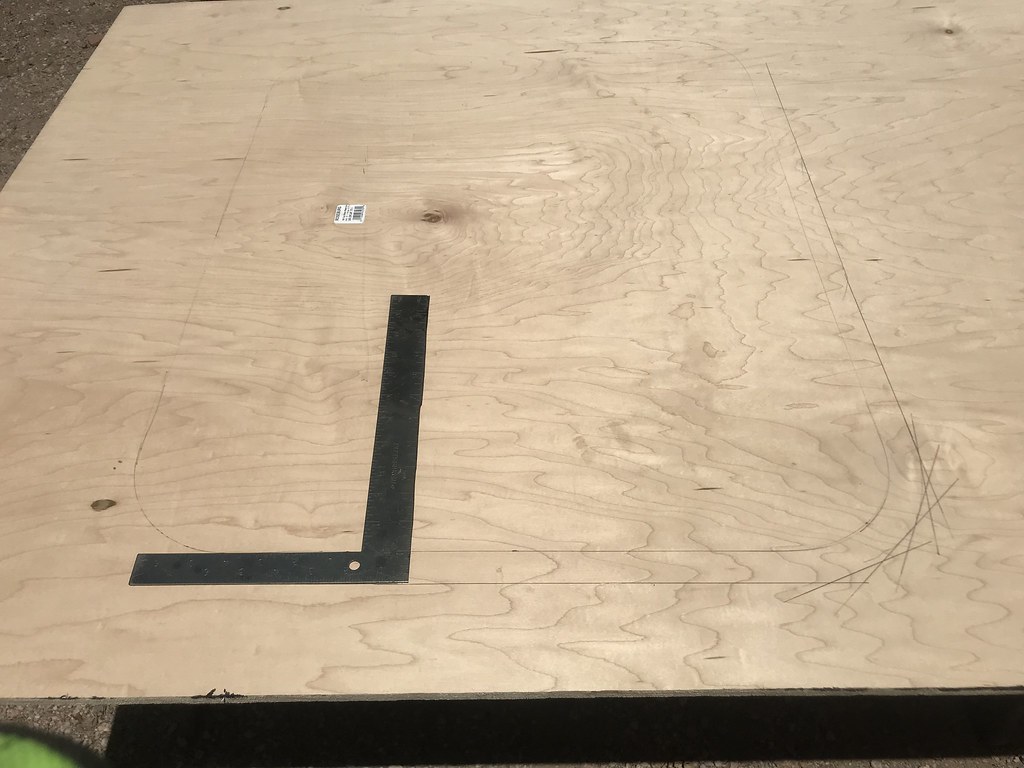
Next was the interior wood walls. I went with some 1/2 Maple. Cut the 4x8 sheet down to size, placed inside and traced the doorway so I could cut the hole there.
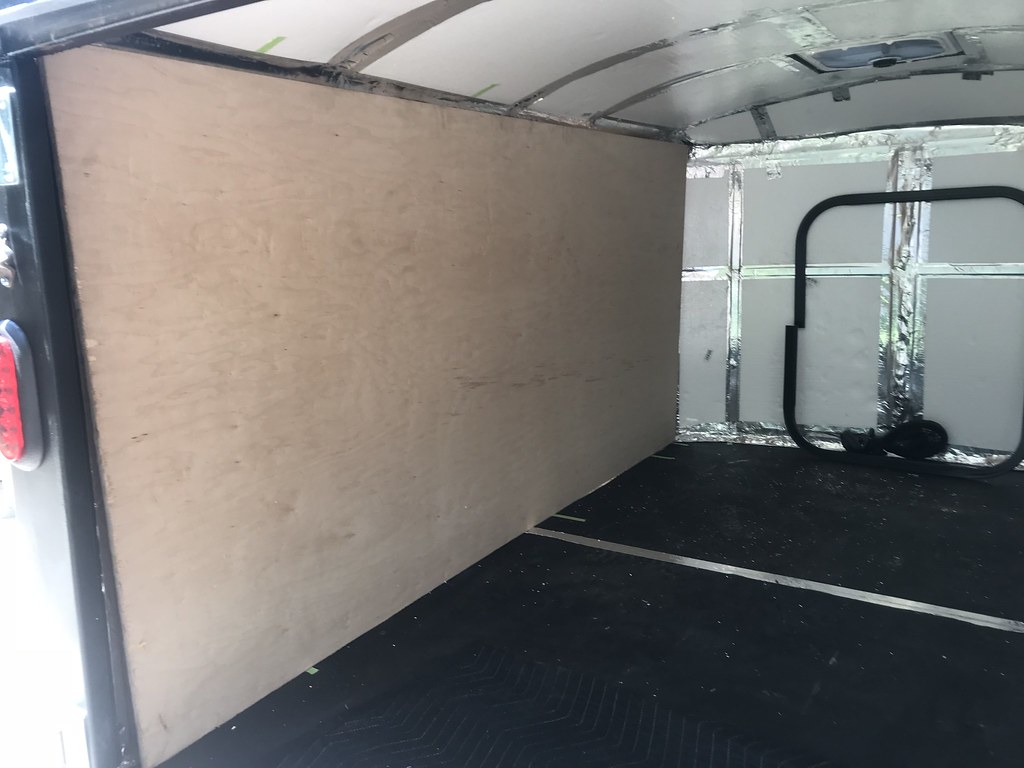
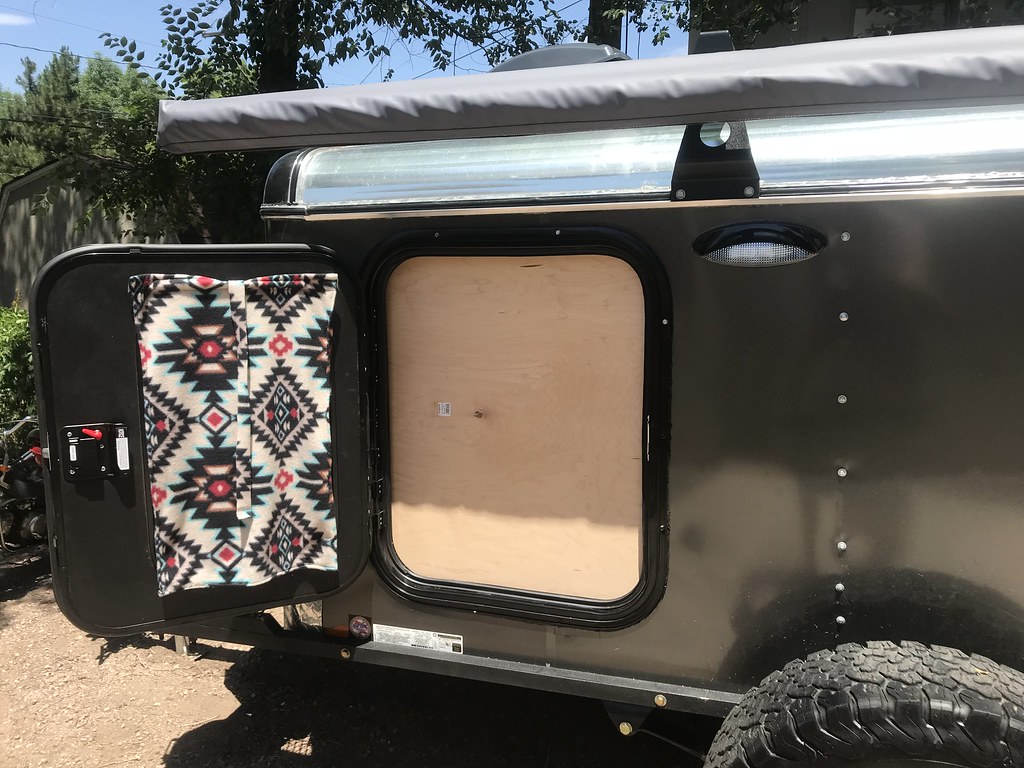
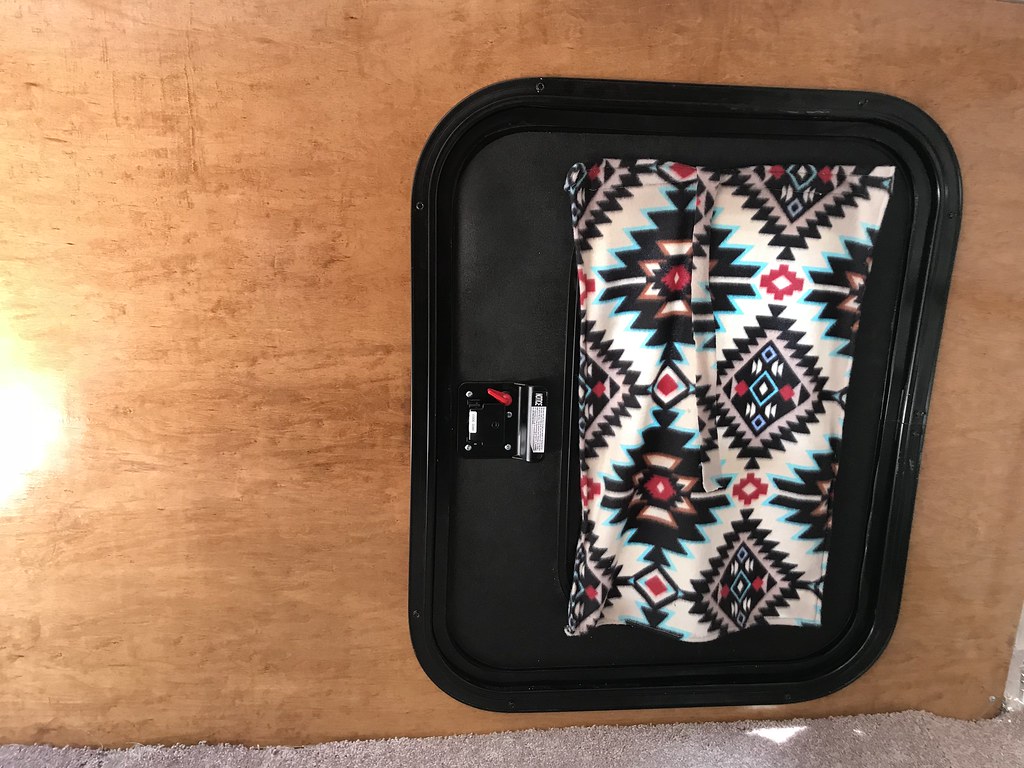
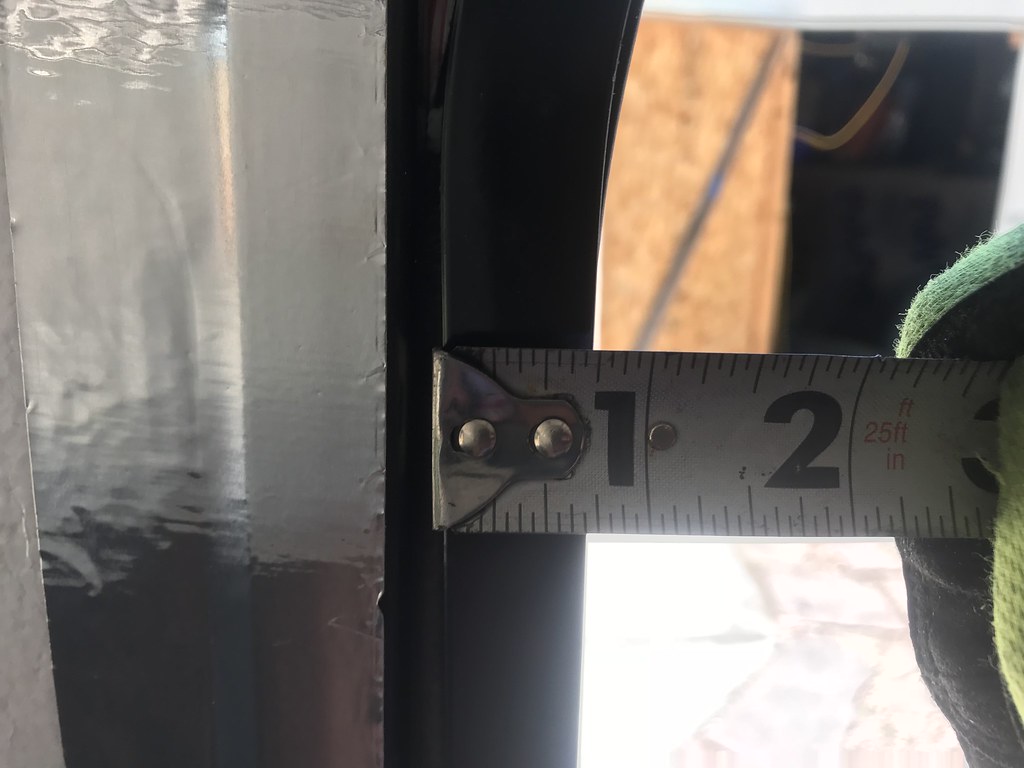
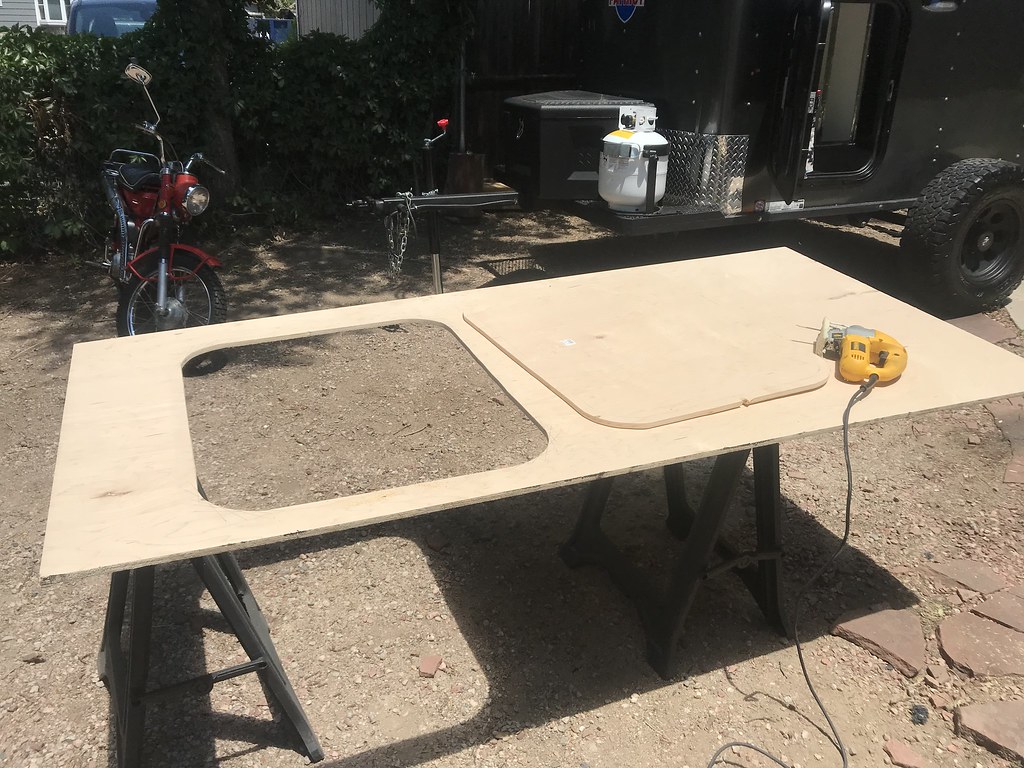
I just used a pen to trace a rough duplicate of the inside edge of the door opening. On the interior of the door, there's finishing trim ring that'll be installed. It fits behind a 3/4 inch frame around the door opening. Thus the original trace of the door opening will need cut out about an 1 inch to give room for the trim ring to fit.
Cutting complete.
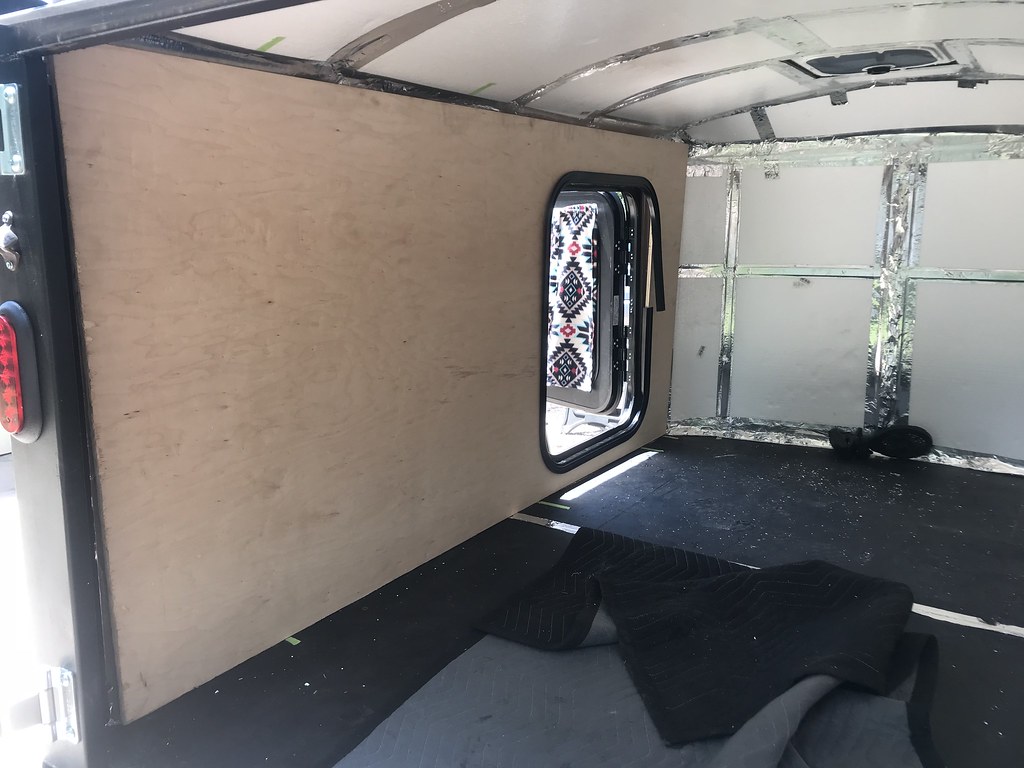
Mocked up to ensure proper fitment with the trim ring in place.
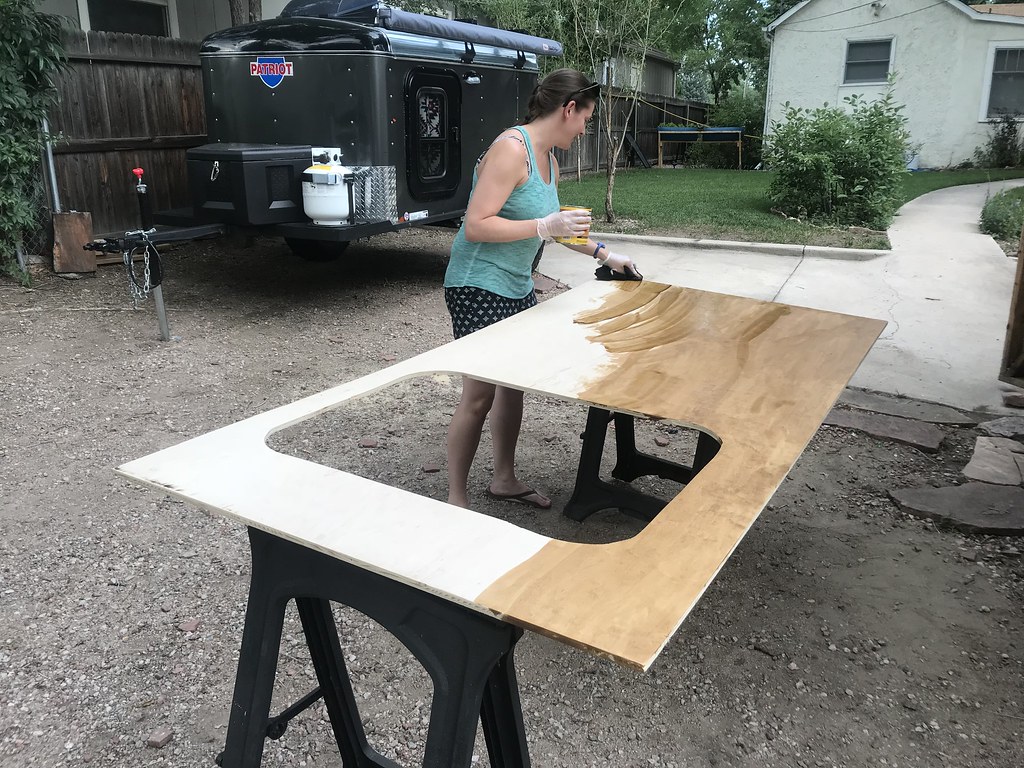
Everything fit well, so sides were sanded and staining commenced. I let the lady pick the stain, she settled on a lighter color since it'll be close quarters. I believe it's called Puritine Pine, by MinWax. Two coats of that were applied. Tomorrow I'll finish it off with some clear gloss, water based, polyurethane and we'll get to installing it.
No pictures right now, but while she was staining, I ran the wiring for the side porch lights, dome light and vent fan.
Jake


