My offroad 5x8 Cargo Trailer Camper Conversion

Jmanscotch

is wandering
If you do want to build your own doors, let me know....working in the garage today I found two Lockable RV black door handles I bought long ago and never used.
 

Mil T

New member
Hi Jake.
I'm moving along pretty well with my build. I'm at the point that I need to do the insulation. What did you use? I'd like some flexible type and thought of just using regular fiberglass insulation since it will be covered anyway. If there is something else though I'd like to consider it. I have my door in and the inside is stripped of paneling but outside skin is still on.
I saw that you replaceed all the self tap screws with nuts and bolts. I understand why for washboard roads. I'm going to be applying a truck bed coating on the outside and match color with my Jeep so I'm thinking the material will keep the screws from rattling out.
 

Jmanscotch

is wandering
Hi Jake.
I'm moving along pretty well with my build. I'm at the point that I need to do the insulation. What did you use? I'd like some flexible type and thought of just using regular fiberglass insulation since it will be covered anyway. If there is something else though I'd like to consider it. I have my door in and the inside is stripped of paneling but outside skin is still on.
I saw that you replaceed all the self tap screws with nuts and bolts. I understand why for washboard roads. I'm going to be applying a truck bed coating on the outside and match color with my Jeep so I'm thinking the material will keep the screws from rattling out.

Awesome, you thinking about starting a build thread?

i just used 1” foam board. It handled the bends of the ceiling just fine, the only area that was tricky/not great was the complex joint at the vertical front wall as it transitions to the ceiling.

Keep in mind, regular fiberglass insulation will lose lots of its R value when it’s compressed. So if you get fluffy 10” thick stuff and compress it down it an inch, it’s gonna be a lot less effective. Part of its design is using the air that exist between the fibers for insulating. Compress it and remove the air and it’s just a quasi blanket.
I’ve seen some guys use spray in foam...it can just be messy but might be a good alternative. I was plenty happy with the foam board. Page 5 (?) post 66 has some more info on the path I went, for reference.

What door did you end up with?

On the screw topic, I did do the swap for some security from them backing out but I also considered the off-road stress that may rip the screw head through the soft aluminum siding with the flex the shell will see. It definitely wasn’t a cheap fix for something so basic as nuts, bolts and washers, but I didn’t want to have to redo it down the road. If you’re encasing yours with bedliner, you might be able to simply add a washer under the screws to help create a larger surface area/force distribution of that metal stress and save lots of money on not buying new nuts and bolts (which was 2/3rds of my cost obviously). Maybe it wouldn’t be a problem to leave it as is though.

Jake
 
Last edited:

Mil T

New member
I ended up with a challenger door. One with the full screen door.
I'm taking some pictures as I go so if I decide to do a thread I'll have some photos.
I have gotten quite a few ideas from all the other threads for different builds etc. Trying to stay simple but functionaly comfortable and economic.
 

Jmanscotch

is wandering
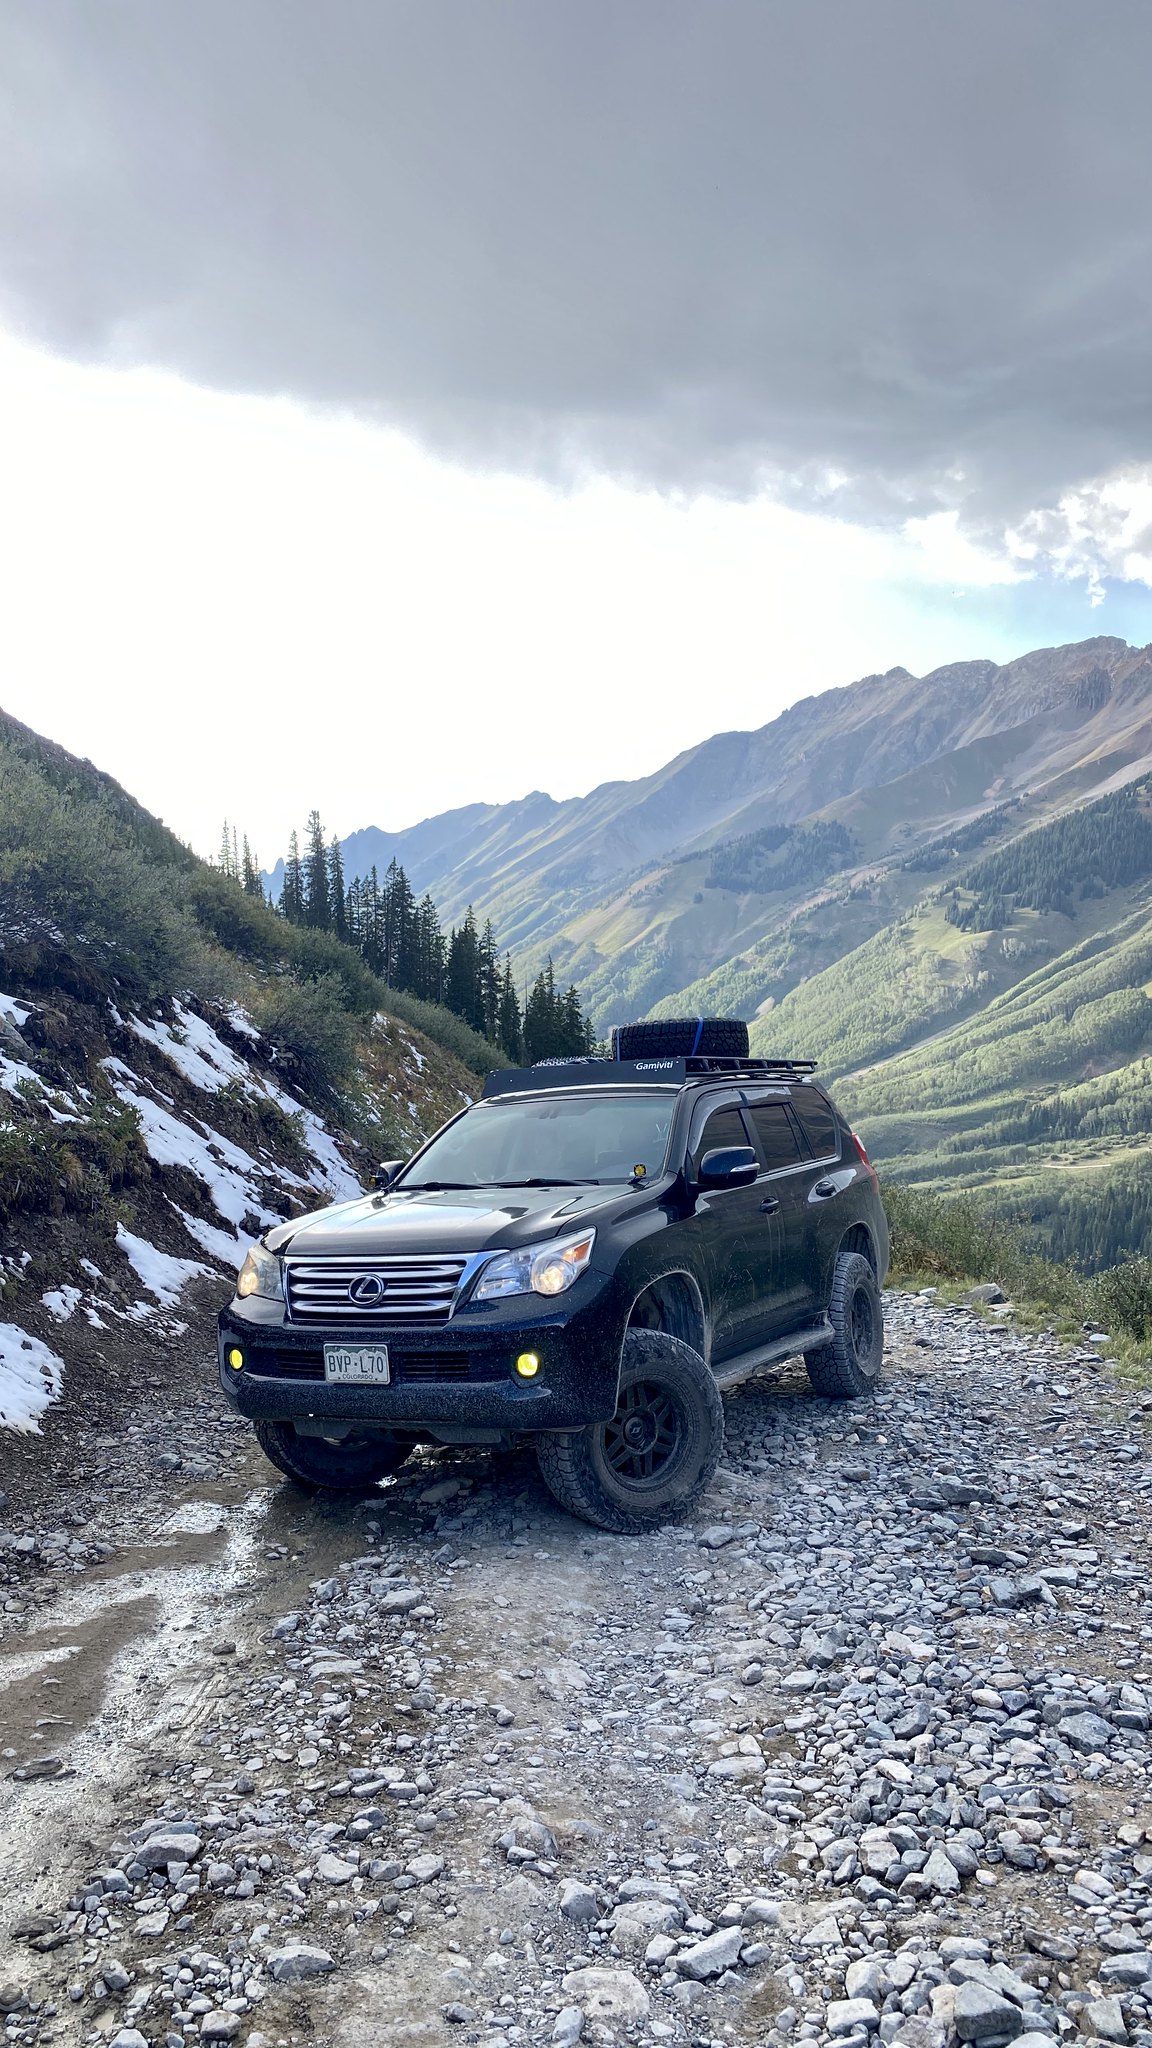
She needed a lift, so I went for a 3" Dobinsons lift kit with JBA UCAs, came out pretty nice. Little firmer ride, got rid of some of the nose dive while braking but retained most of the ride quality.


[url=https://flic.kr/p/2jdQKEB]


Started by seeing if the camper would fit 33's...it does. The tires on it are starting to dry rot, I bought them dirt cheap second hand, so it's time to replace them and I'm a fan of carrying less spare tires and thus all tires (rig and trailer) matching. I've had to talk myself out of spending $450 just to have wheels that match the rig...that's stupid, right...right? The ProComp black wheels should be just fine, though they do take a different wheel lug key than the rig and I would like to only carry one...no, no that's silly. I'll just match the tire sizes.

[url=https://flic.kr/p/2jdKKxd]


I've begun tackling the interior and some other maintenance items on the camper. We spent all last summer and winter on house projects and I'm ready to finish up some things and get back out there this summer.

First thing on the list was replacing the roof vent. I originally didn't splurge on a big name vent fan setup and I've kinda regretted it since. The dirt cheap option I went for was ok, but has taken a beating off road and needed replaced. I used the opportunity to upgrade to a Fan-Tastic Vent 1250 series (has reversible fan direction).

Let me say, cleaning off the old EternaBond vent sealer was a mess and a chore. The stuff works great, but that also makes it a mini-nightmare to remove.


I attacked it with a few different approaches and ultimately, using a razor blade and "skinning" it, like one would process an animal, was the fastest approach and left behind just as much sticky goo as all other methods.


Done with the mess and new vent brim sealant on. Then new vent in place and new ExternaBond for a weatherproof seal.


Next I tackled a little annoyance we had while using the camper; the doors swinging shut when you wanted them to remain open. Easy fix was some spring loaded door catches. The corners of the catch arm were a little too sharp considering they catch on the weather seal of the door, so I added some shrink wrap to the 1/2 inch catch arm section and will just try to be careful to not rip the doors weather seal.


Next item was to address the ceiling and figure it out so we can move on to building out the galley area. We've been rocking it with just exposed insulation, which has been fine. Here's how it looks, as a reminder. You can peek our green tape galley designing.


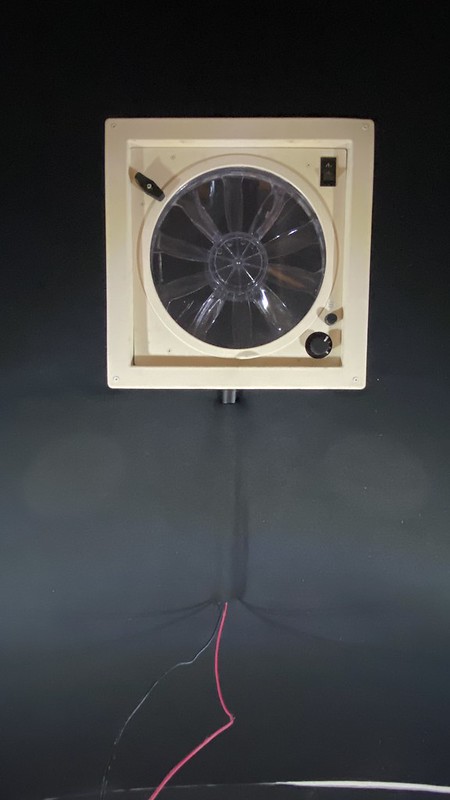
I contemplated many different approaches on how to achieve a ceiling covering, many different materials and methods, ultimately deciding on using a vehicle headliner material and adhering it with 3M spray adhesive. It helped me avoid any screws into metal framing (causing a heat sink and thus sometimes dripping moisture from the ceiling) and was light weight and forgiving, but not perfect. The ceiling isn't smooth, plenty of ripples, uneven joints etc but we can get over the cosmetic imperfections and enjoy the ease and function.

Pretty straight forward. Ordered a roll of black headliner, with padding, off Amazon (about $50 for a 5' by 9' section). I used some wiring hiding tube stuff, it's like a half circle tube with double sided tape on one side, to help route the vent fan wiring to behind the galley wall, which is where I'll be placing a little junction box for all the cabin wiring (battery and such will be in the galley, just need an actual junction point a little closer to the switches we'll be installing).

Here's the final product.


The wiring tube installed between the ceiling and headliner:
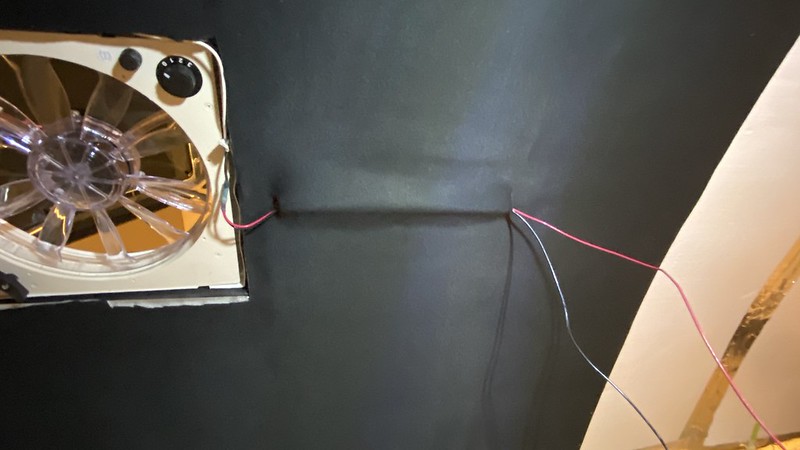


How it turned out with the vent surround installed


The headliner option isn't perfect by any means, but I'm still happy we went this route. I'll get some 1/2 or 1/4 inch 45 degree trim edge fillers and line the space between the top of the side walls and where the headliner stops for a nice finished look and to stop the headliner from pealing up from the edge.
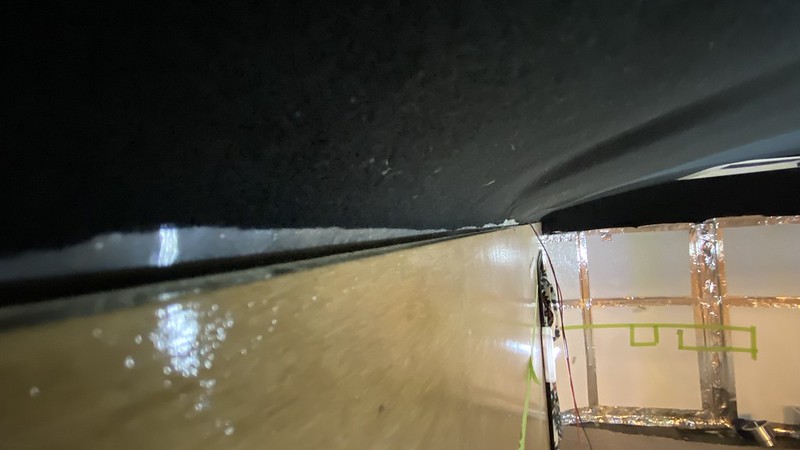


The front section, at the head of the trailer, is all kinds of curves and was never going to be perfect. It turned out with a lot less wrinkles and bulges then I imagined though. Not too concerned with perfection on the headliner, as it'll serve as an improved cosmetic form as well as a nice improvement to the acoustics inside the trailer.


The last thing I tackled today was the area that's going top be between the "headboard" and the ceiling. I used some white plastic shiny flexible board stuff, the kind that's used in more industrial kitchens on walls and such. It's cheap, flexible, sturdy enough and easy to clean. Hard to see in the photo, but it has a finishing trim on the top to create a clean line at the headliner transition and I kept all but 4 bolts below the line which will be seen when the headboard is built.


That's it for today, off to play some tomorrow.

Cheers!
 

Jmanscotch

is wandering
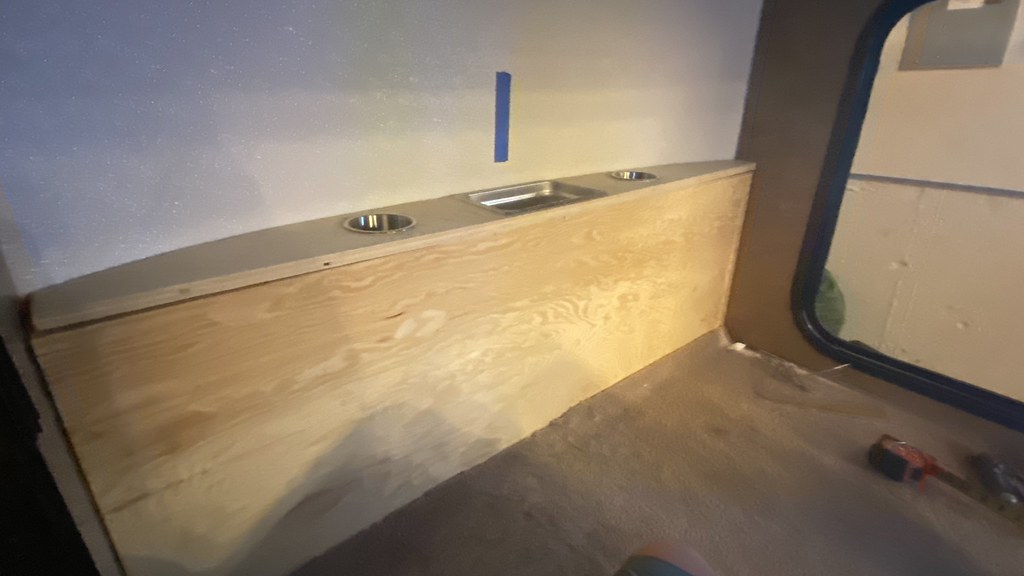
Working through the interior buildout still. Started with building a headboard of sorts that'll house some "secret" storage, cup holders, general item bin and a dual USB charging port.

Mocking it up, going to finished it out with some trim and caulk soon. Uses the curved space at the front of the trailer and not much more.


Then remove the stainless bin and you get access to some out of sight storage for whatever (probably extra blankets mostly).


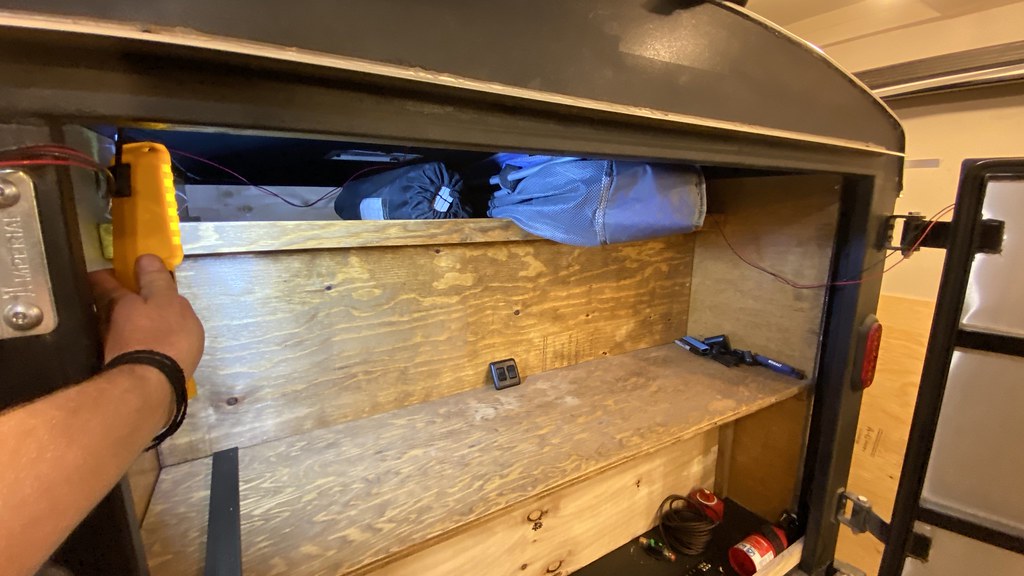
I threw together a galley area that fit some of our basic needs. I am going to fine tune it, add some shelving, nets, cubbies, etc but this is a good start to use and adapt from. Still need to finish staining and sealing/caulking everything.

Looking into the back of the trailer, main working surface is about 19" deep with room for electrical and battery underneath.


I made a top storage shelf that'll house the foldable table, camping chairs and other misc. Will adapt some eye-lets and bungee cords for securing them during travels.


Up top, you'll see how I'm routing my electric. I wanted to keep it out of the way of getting snagged but also keep it relatively accessible so I could troubleshoot/repair and add on in the future. Some plastic trim painted black and tacked on between the wood sidewall and headliner does the trick. Then the wiring from the porch lights and ceiling fan are routed down protective tubing and will terminate at a control center going inside on the inside of the galley wall.


How the interior sleeping space is turning out so far:


More soon.
 

Jmanscotch

is wandering
Pushing through some big and little items to try to get this project done once and for all.

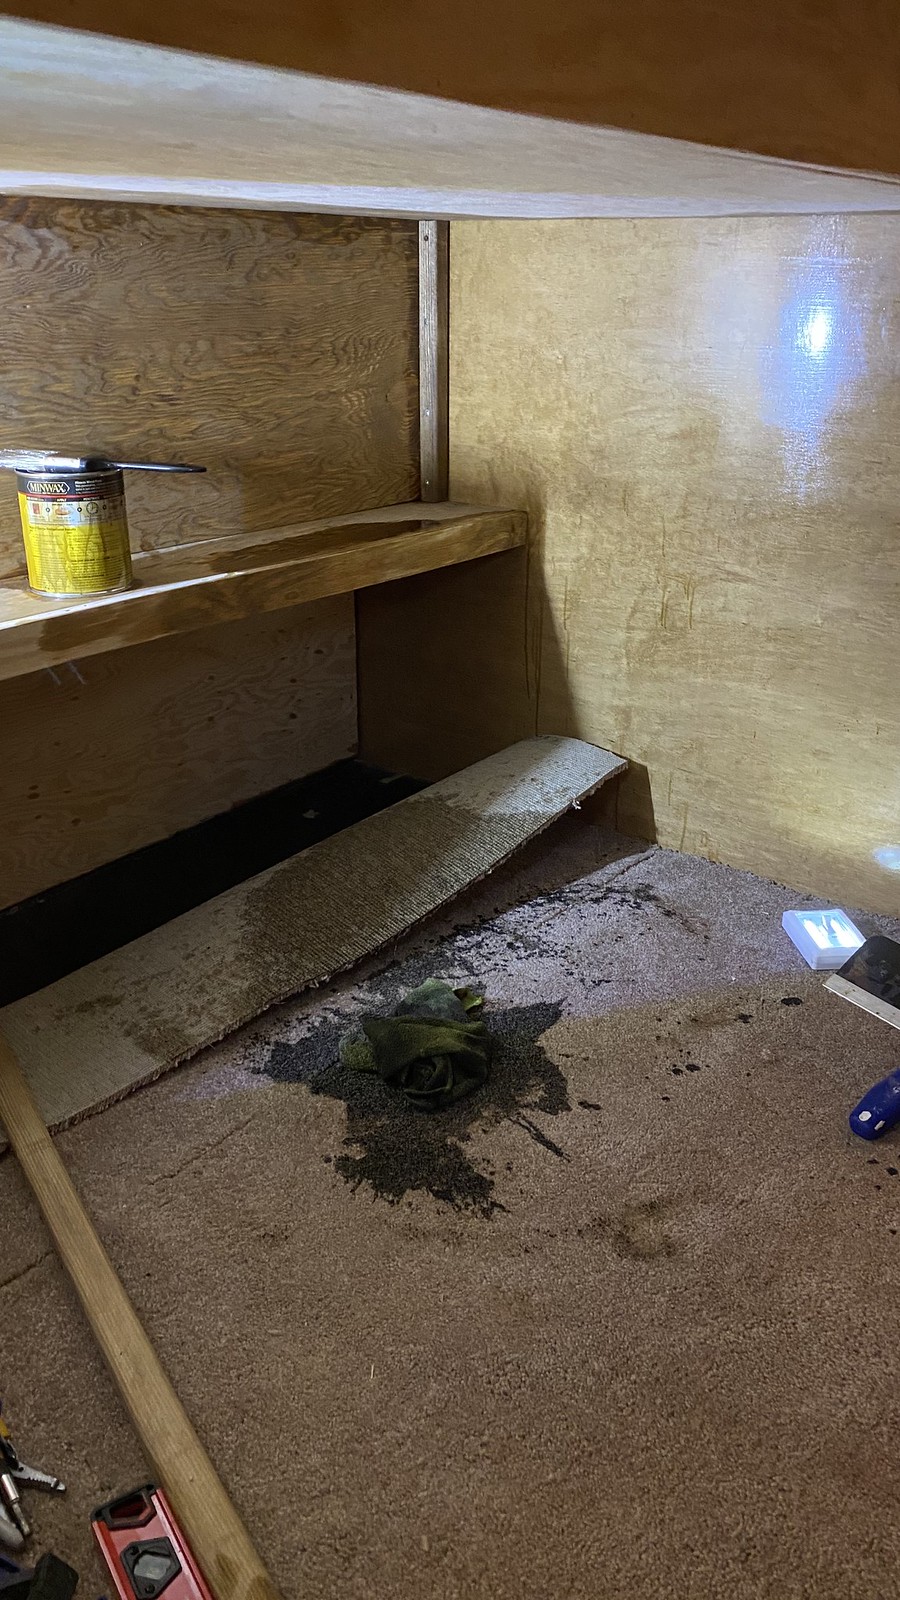
Finished building out the galley and storage and stained and cleared it all. I ran out of stain with about four square foot remaining and the only thing more annoying then that is when I returned with the new quart of stain, I climbed into the trailer and started staining again and immediately dropped the ENTIRE can of stain on the carpet, sweet Jesus.


Now I had to run and get another new quart of stain and have to plan for new carpet as well.

Galley and sleeping quarters wrapped up with stain.


Wrapped that fiasco up and started in on other finishing touches, like a faux marble galley counter top and a white backsplash.


Then it's time to dive into the electrical side. As a reminder, I've gone with all 12 volt DC power in the trailer, no 120 volt AC at all, for wiring and function simplicity.

We stopped at Batteries Plus and grabbed a 105 amp hour deep cycle AGM battery with a 30 month warranty for about $300 out the door (no core). I then went about placing it in the center of the rear galley lower deck and installed the switch, main 30 amp fuse and misc other items I've had laying around for the last two years.


I also wired in a Battery Tender plug, as it's how we'll recharge the battery for a while before we move to solar. I also bought a RV battery monitor that monitors total use versus charging changes, in amp hours, percentages and such, a great unit for about $45. With the deep cycle battery, you don't want to drain it more than 50% and this helps me monitor that more precisely than battery voltage alone. I also got to see how much current each item I run draws.

Here's it showing the % remaining battery


Random note, here's what each item I have draws for current:

Fantastic Vent Fan on High - 1.8 amps
Medium - 1.4 amps
Low - 1.0 amps

LED light ring around fan - 0.8 amps
Footwell LED lights (2 12") - 1.0 amps (both total)
Porch lights (sides/back) - 0.250 amps (each)

USB charge port with iphone plugged in - 0.8 amps

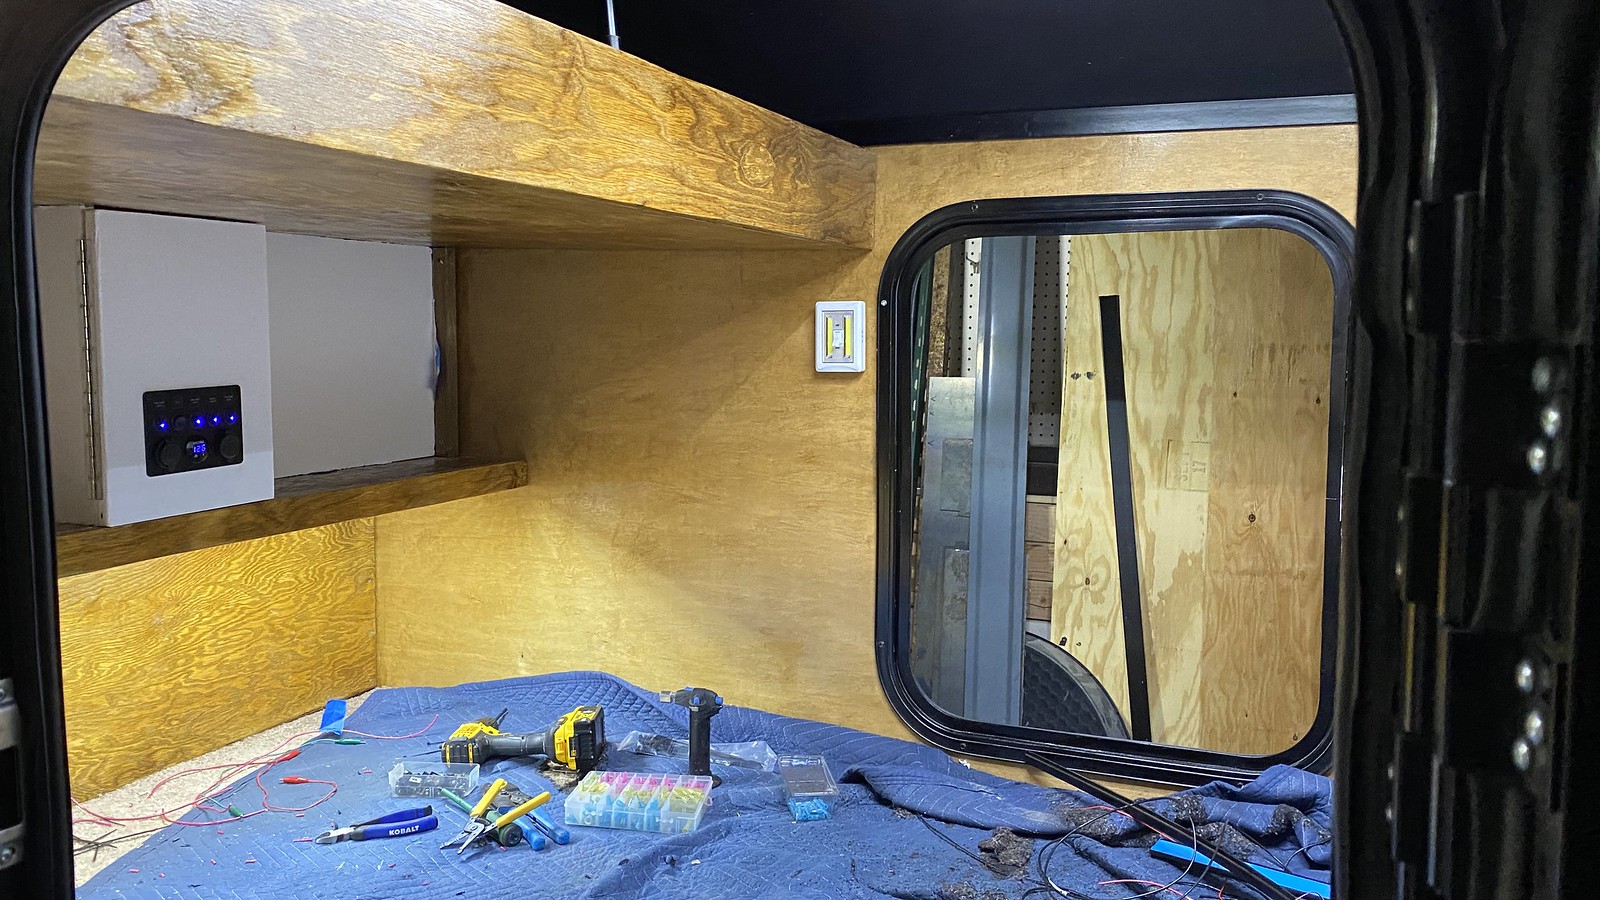
Obviously, before I could measure those outputs, I had to finishing wiring the switches and everything inside the cabin, here's some of what that looked like. Gotta clean up a few little things on the wiring, but almost done.


The lighting lights it all up very well. Everything is on it's own switch: Fan mounted LED ring, footwell LEDs, porch lights on the drivers, passengers and galley side and one to illuminate the galley space as well.


Dual-dual USB charging ports in the headboard as well.


Will finish some wiring clean up, trim, caulk and other things soon, then new tires and we're going to get out and use it a bit before customizing the galley space some more. Some other interior and exterior changes coming.

Cheers
 
Last edited:

Jmanscotch

is wandering
Well, trailer is all wrapped up, pending some little storage solution tweaks and maintenace. Pulled it out of the garage and cleaned it up and she’s ready for some weekend-overlanding.

As you can see, I caved and got the matching wheels and tires on the camper too.

In the next month or so when we’re out camping next, I’ll probably record a walk around video of everything to celebrate the end the two year build journey and try to detail anything I’ve missed along the way.

Cheers everyone.

Jake

2274649C-7404-4854-A5B2-63C5E3FCFE15.jpeg
 

Jmanscotch

is wandering
We headed out for a quick weekend trip to the Royal Gorge and camped in San Isabel National Forest.
Trailer is working well. Lessons learned:

- the RV fan, even on low, is a good bit overkill (Something I like, but the wife doesn’t). The good news is we had some bugs get inside the camper and all I did was take the big screen off the fan, turn it on exhaust mode and on high and shortly there after we had no bugs in the camper.
- we will need to install a mesh divider where the upper galley storage opens up into the sleeping space. A bug screen of sorts.
- running the fan all night, lights and iPad chargers/etc only consumed about 14% of the battery. With a 50% max target depletion, we can comfortably get 3 days and 2 nights use out of a single charge on the battery. If we decide to go for longer trips then that often enough, we’ll start figuring out solar options and maybe dual batteries.
- we discussed some storage needs and figured we want everything besides the cooler to live in the camper. We’ll pack cloths and food before a trip and that should be all we have to gather to head camping for most trips.
- I eventually plan to add a cargo basket or similar trailer roof crossbar mounting solution for additional storage.
- we loved the lights, power and fan upgrades, very useful

4D0A64B8-4472-40A4-90DC-B76A7F53CACD.jpeg

6553954D-4C1E-4D2C-9F46-D65FA3803AC0.jpeg54A6FBEB-B263-4514-B96F-21F61BB3B9C3.jpeg
 
Last edited:

Jmanscotch

is wandering
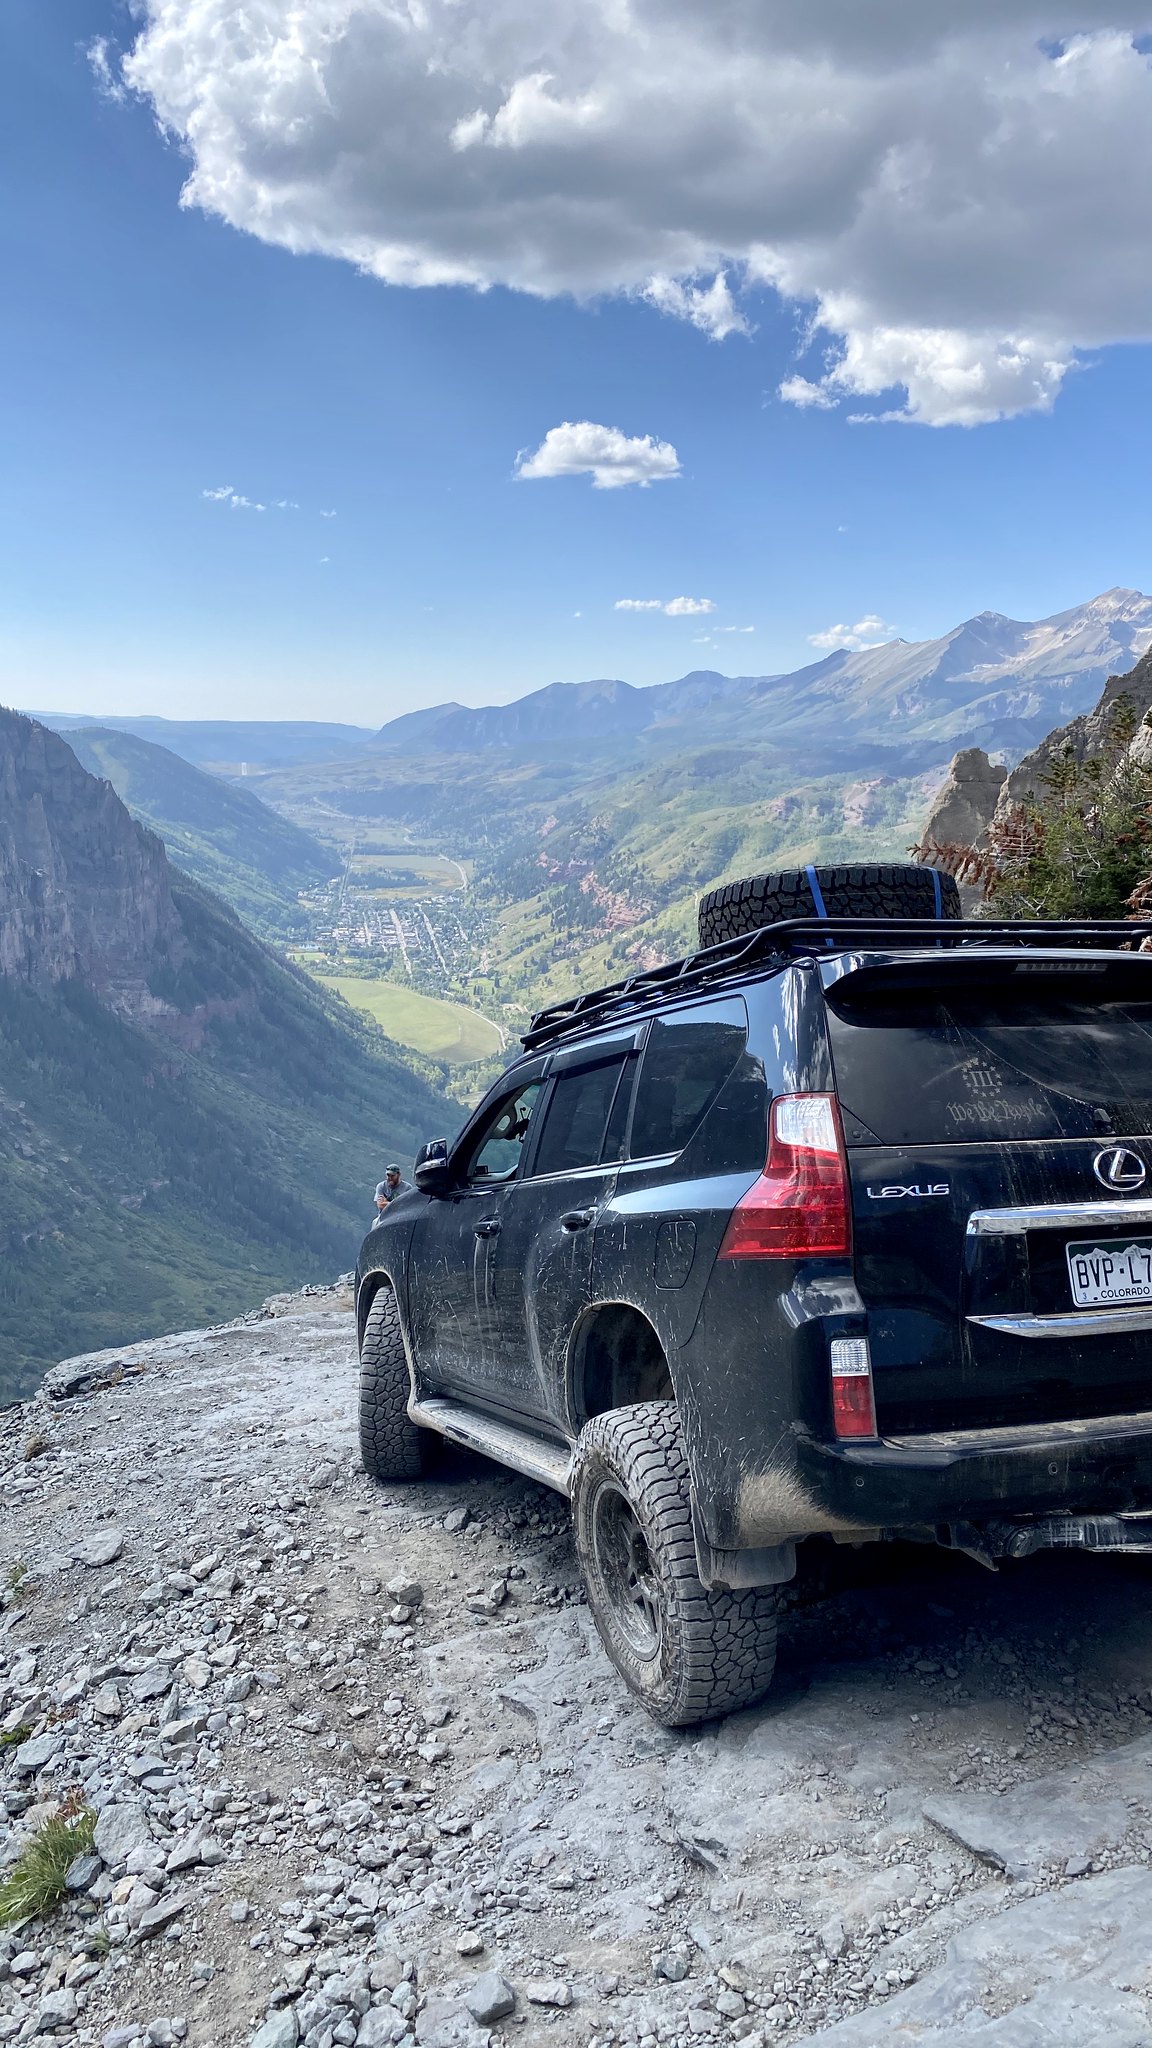
Took a long weekend with the wife and explored southwest Colorado a bit. Oprah, Silverton, Telluride....all epic Colorado.

Our quick sleep over in Gunnison after driving 4 hours after work Friday.


Cinnamon Pass, which we took from Lake City to Silverton Saturday morning.


We got to town, picked a camp spot and dropped the trailer so we could head to some more technical trails that the trailer couldn’t make it down (damn switchbacks on the side of cliffs).

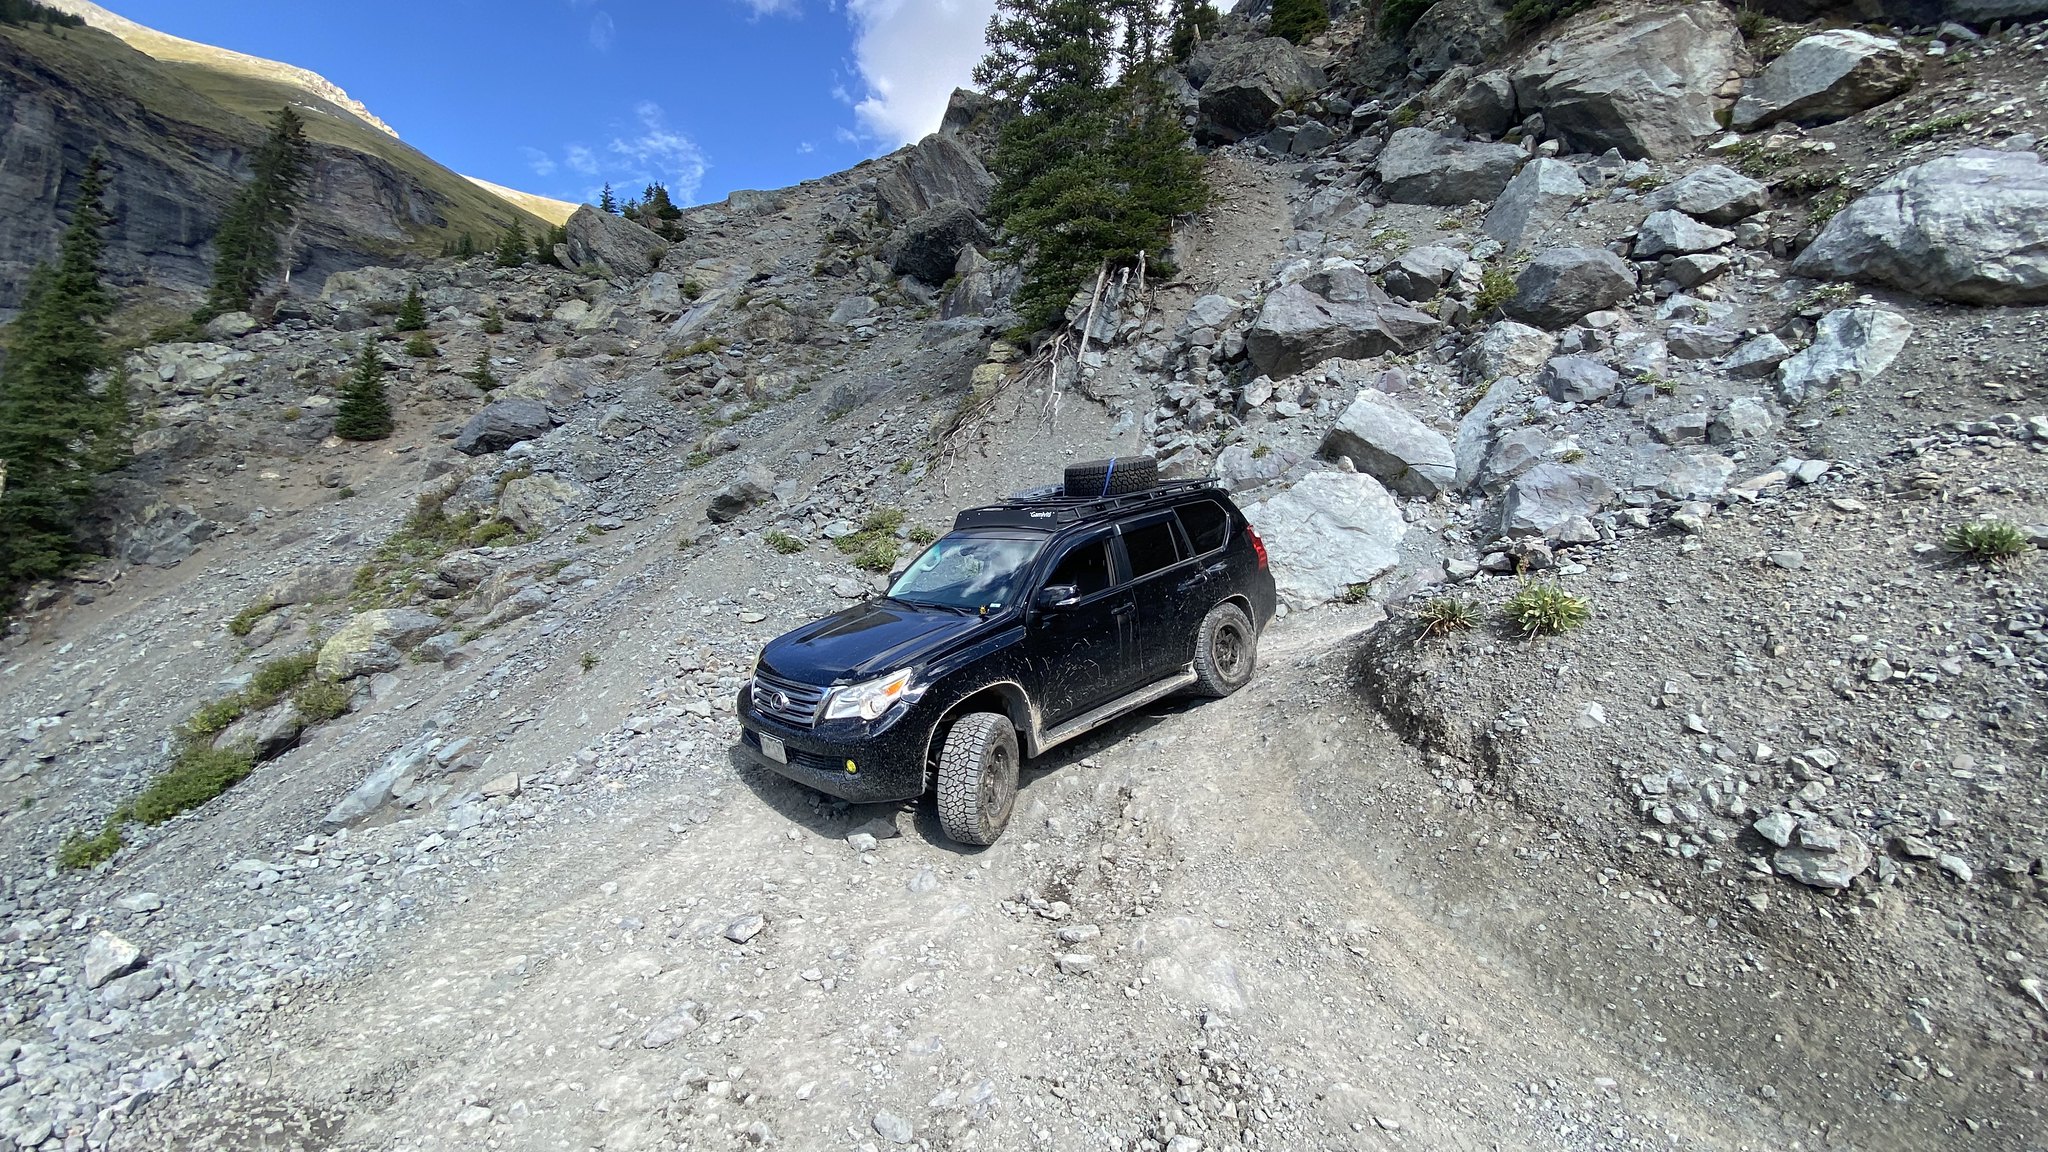
Black Bear Pass was lots of fun, a good chance to test the GX out a bit.


50347564756_8b449459df_k.jpg


Unfortunately Imogene Pass was close due to the early September snow, so needing to find a path back to camp, we opted for Ophir Pass, where the wife (after some light Vodka inspiration) decided to drive and did awesome.


Made it back to camp Saturday night, off CR20 just north of Silverton.


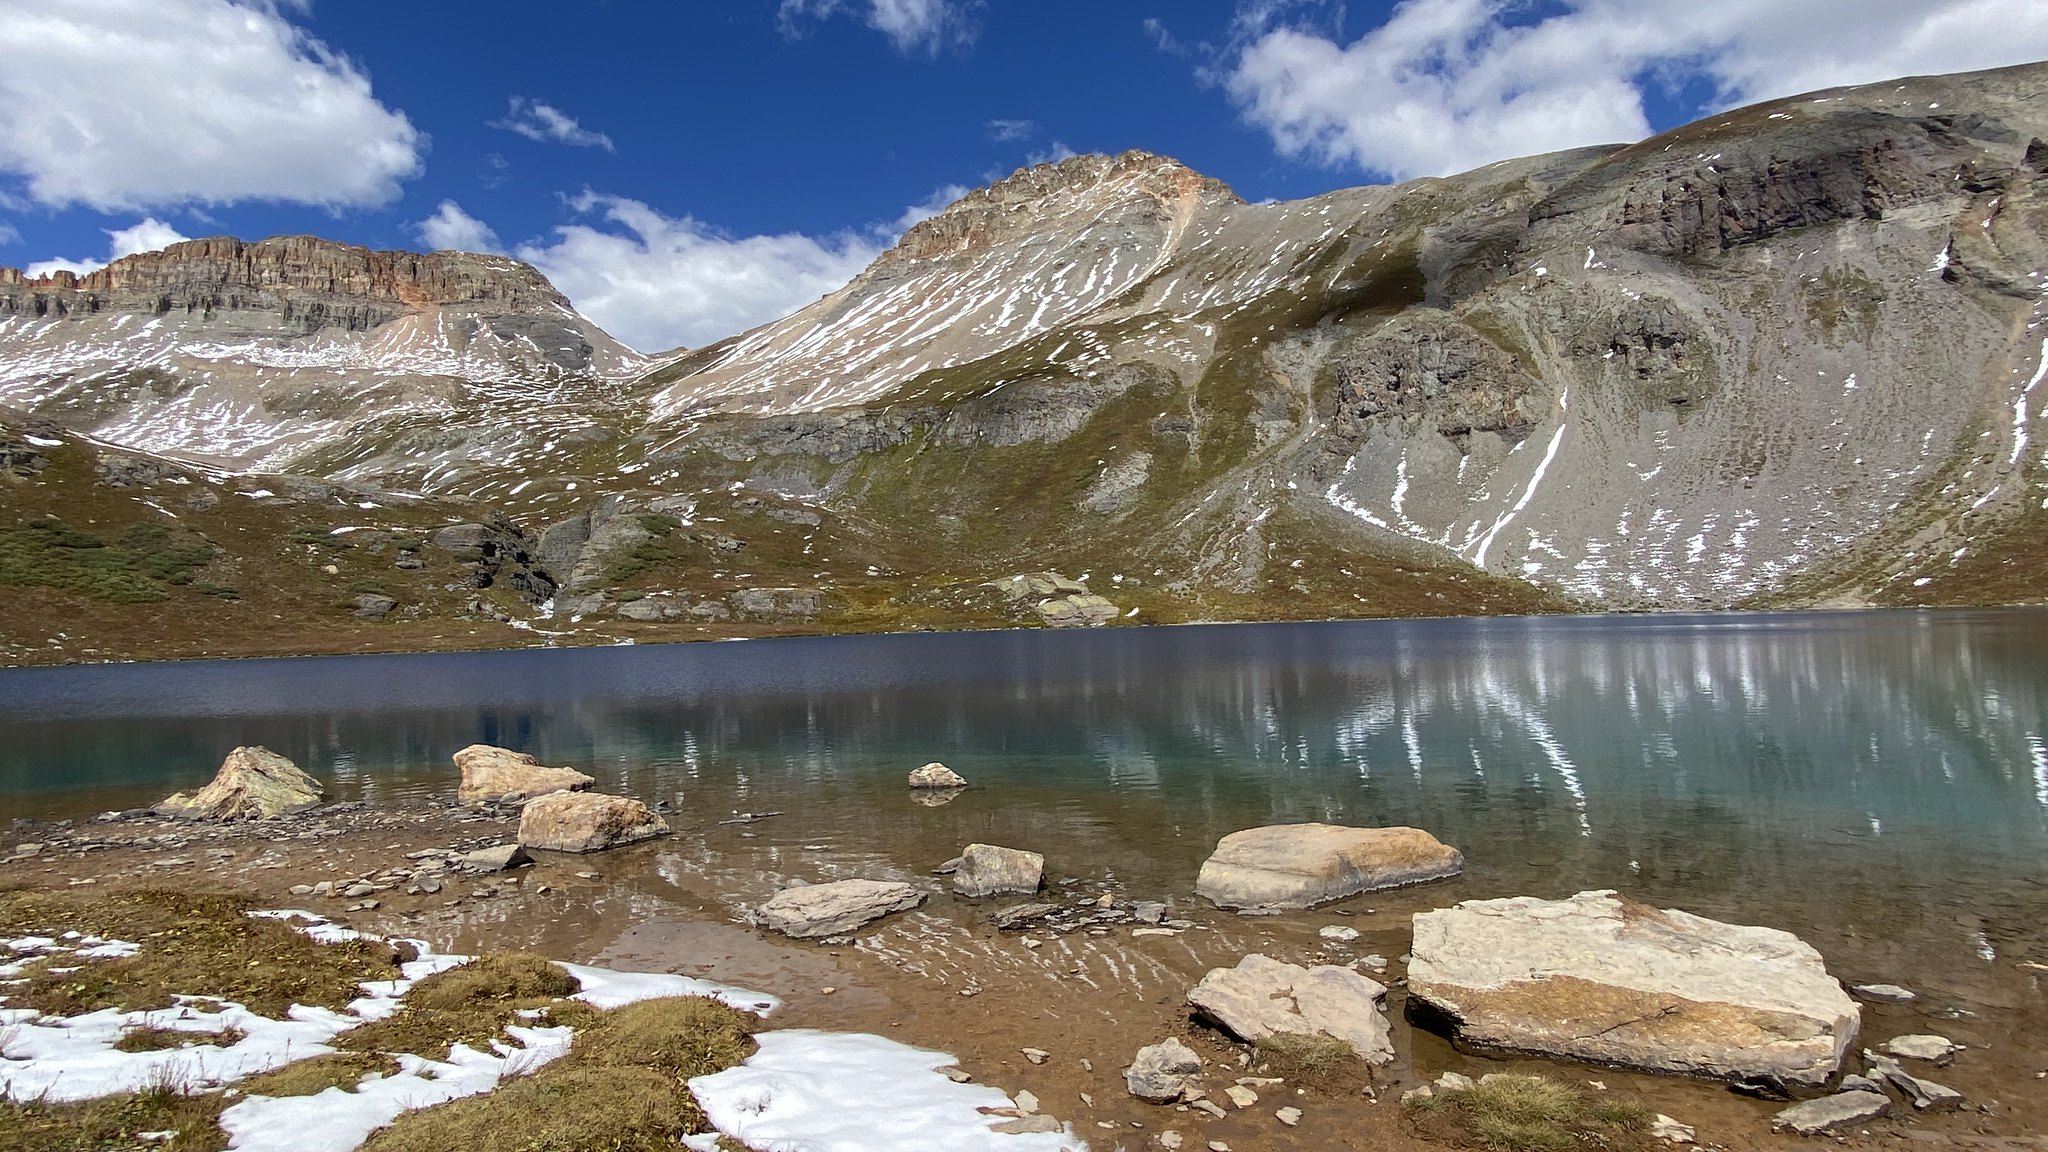
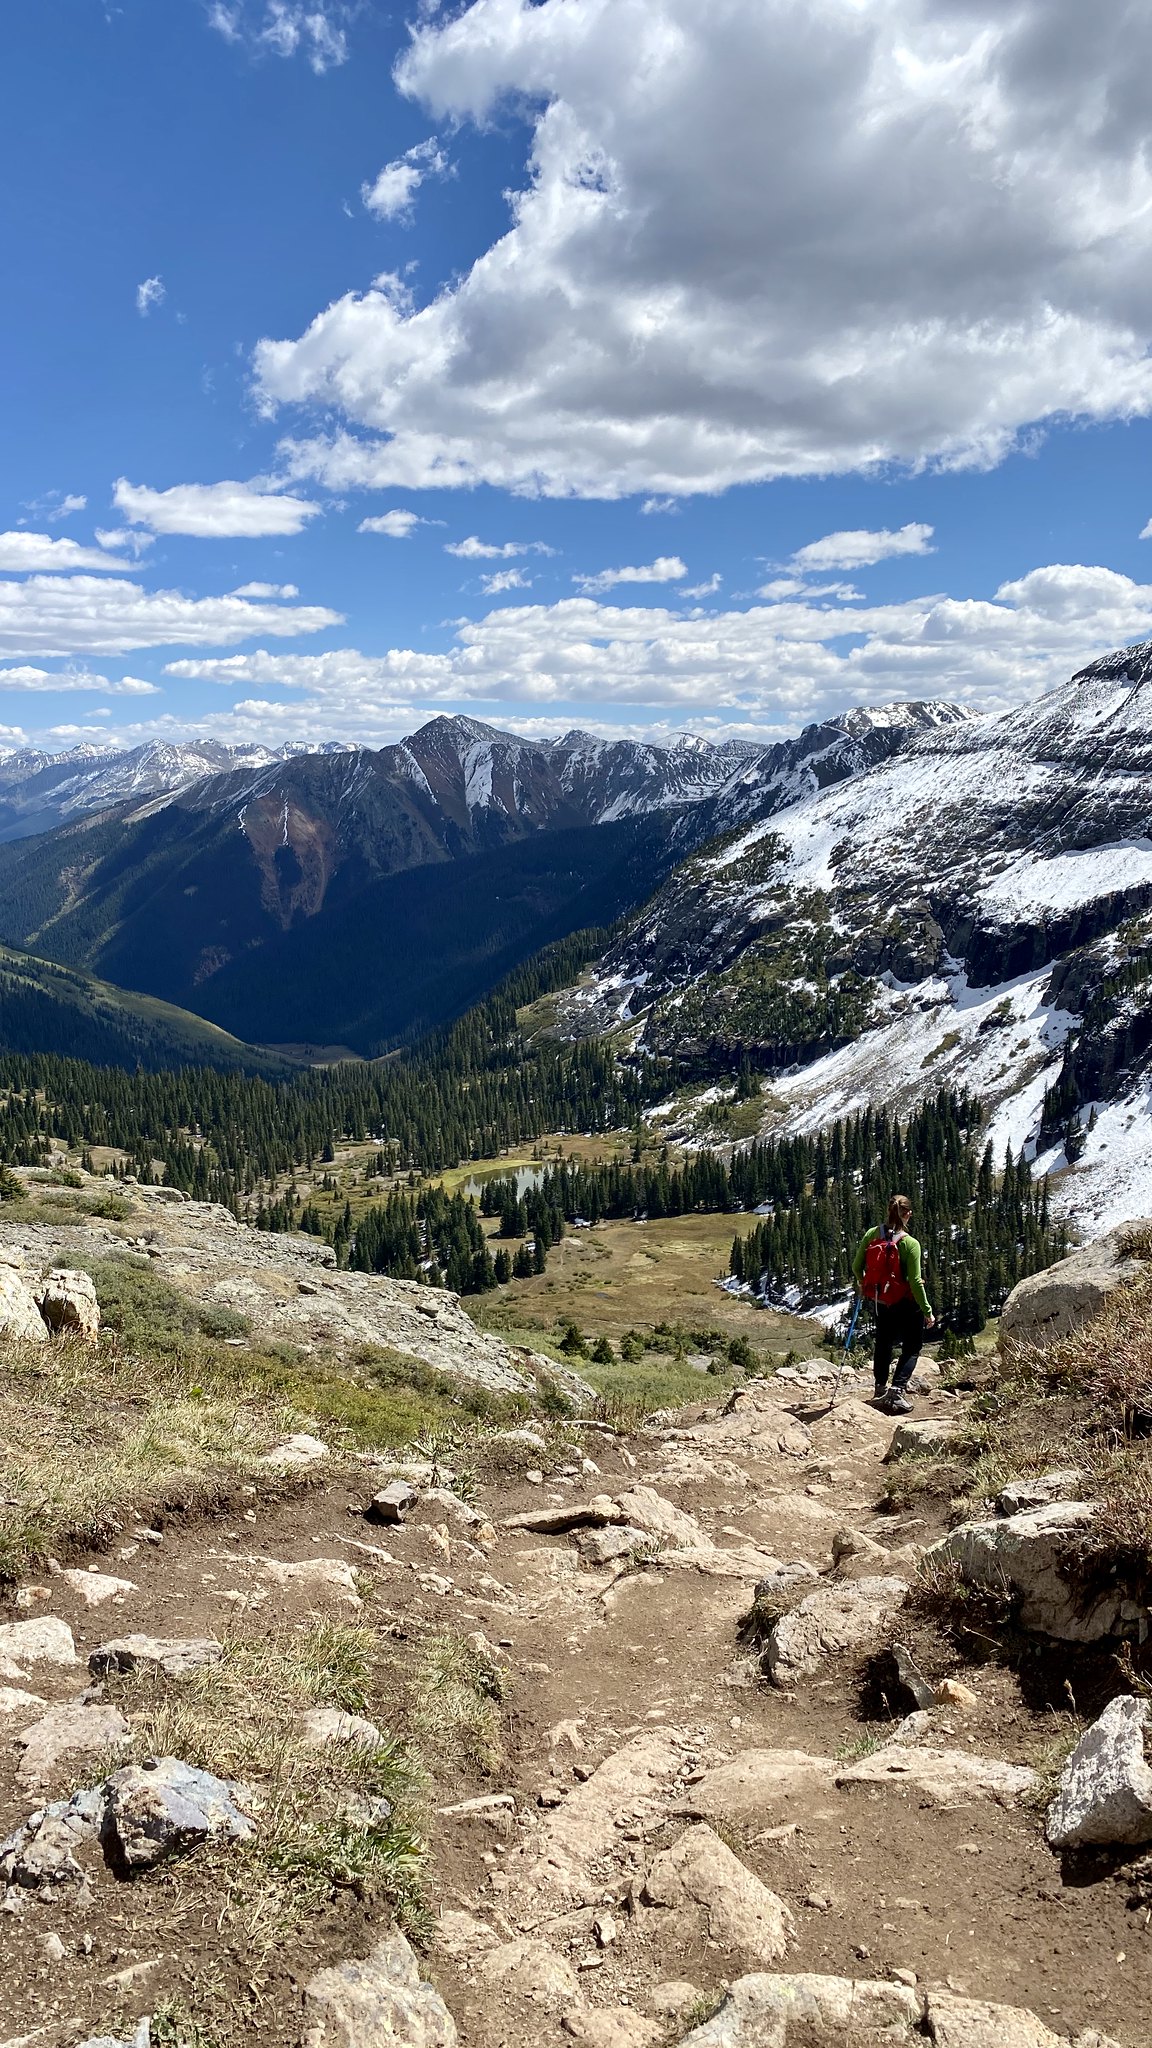
Slept and woke early Sunday for a 7.3 mile hike up to Ice Lake...man am I still hurting today, Tuesday night.


We rewarded ourselves with a hotel and hot springs in Ouray Sunday might and drove back Monday. All in all, a great one year anniversary trip and celebration of not getting divorced yet.

Cheers!
 
Last edited:

tall

New member
What an awesome build. You just added another major project to my running list ;-). I may have missed it -- what's the length of your interior sleep space after the storage etc was added?
 

Jmanscotch

is wandering
What an awesome build. You just added another major project to my running list ;-). I may have missed it -- what's the length of your interior sleep space after the storage etc was added?

Haha thanks and yes, go for it!

Sleeping space is 74.5” from headboard to toeboard and 56.5” side wall to sidewall. It does fit a full size bed, though snugly in the length, if that’s a helpful gauge.

I’m 6’1” and thus have about 1.5” of extra length. I don’t sleep 100% sprawled out, I’m a side sleeper and naturally coil up a little, but if I need to stretch some, there’s room for that as well as room to fit the sheets and such on the bed. I find it cozy and comfortable enough for camping.
 

Forum statistics

Threads
188,178
Messages
2,903,429
Members
229,665
Latest member
SANelson
Top