New adventure Toy(ota) in AZ

Jrally

Adventurer
Occasionally, a Celica has needed a snorkle...
SafariCelica.jpg
 

Jrally

Adventurer
A couple of more progress pictures of my gas tank install. The filler neck box is done, went overkill on the rivets to shape the flat plastic more to the side of the c-pillar. I've got the new supports for the tank welded into place and a top frame for securing the tank done. This is a big project, just trying to mount a tank and seal up the floor above it...

-Jon

TankCntr.jpg

FBox1.jpg

FN2.jpg

Placement.jpg
 

Jrally

Adventurer
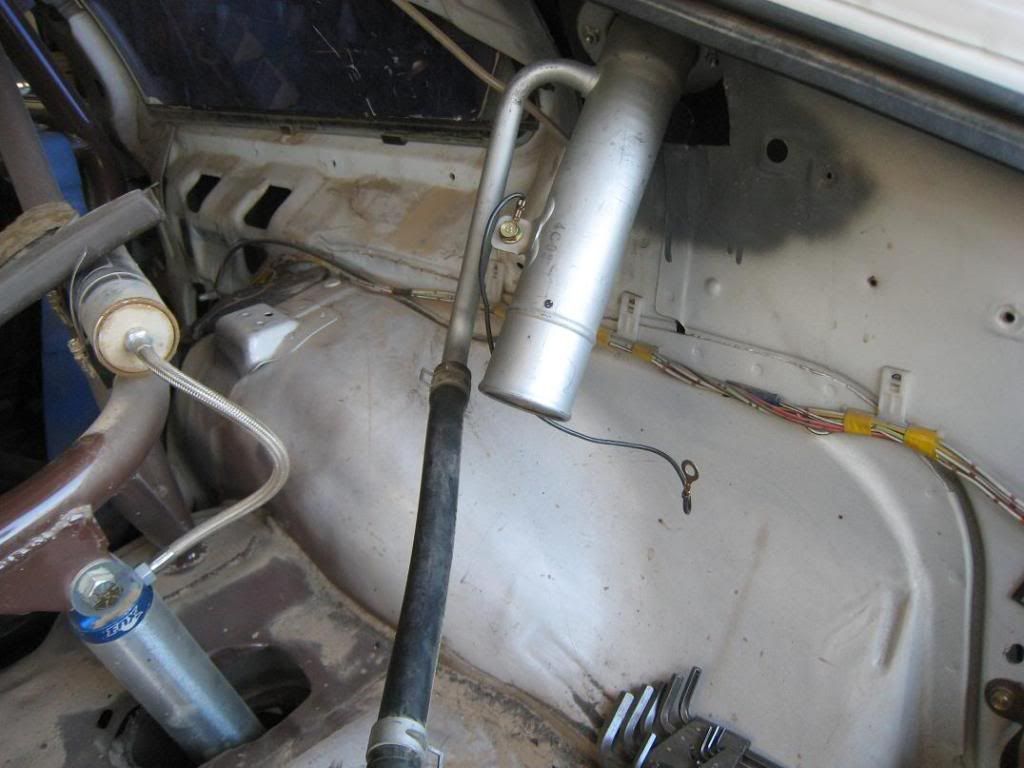
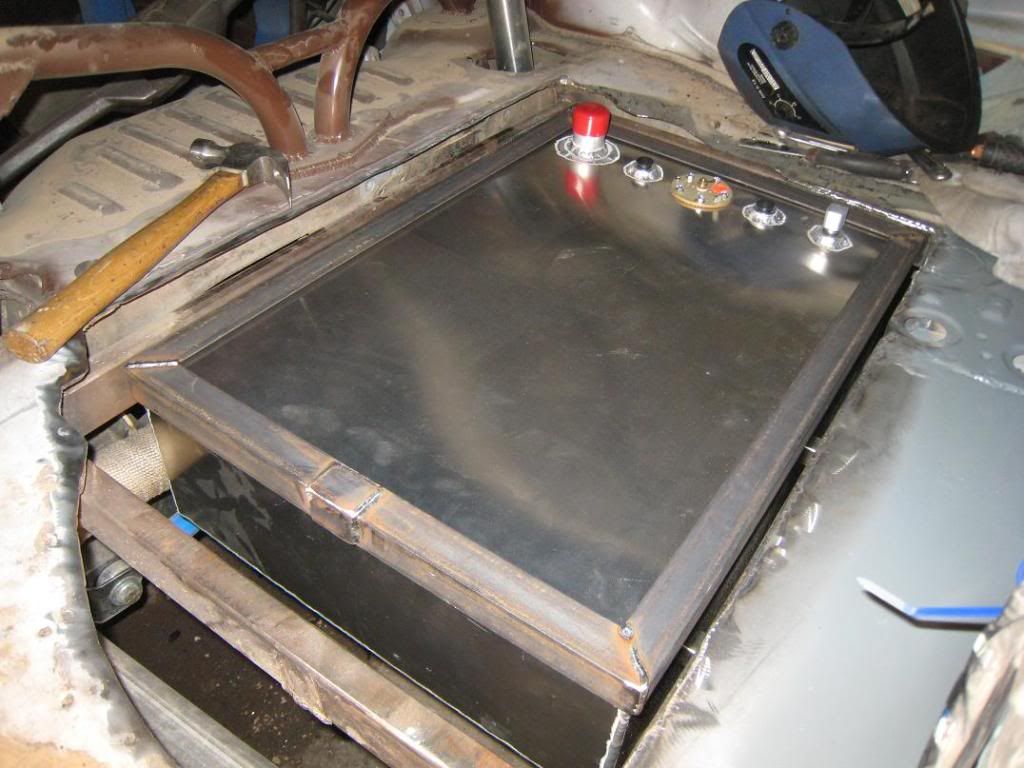
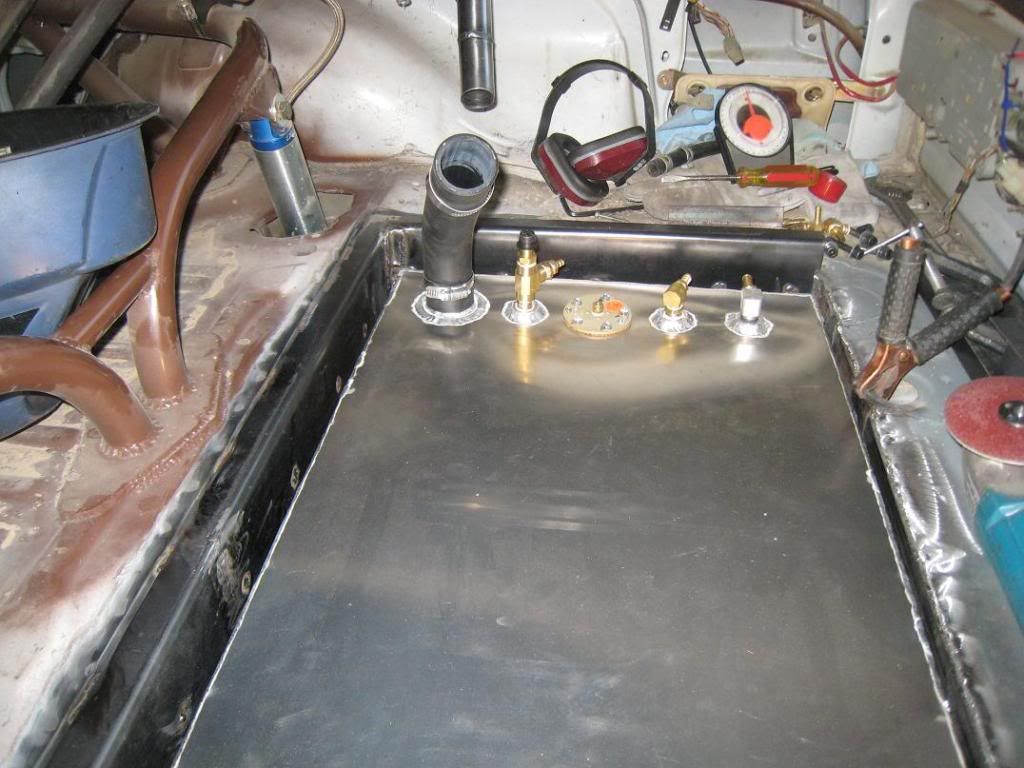
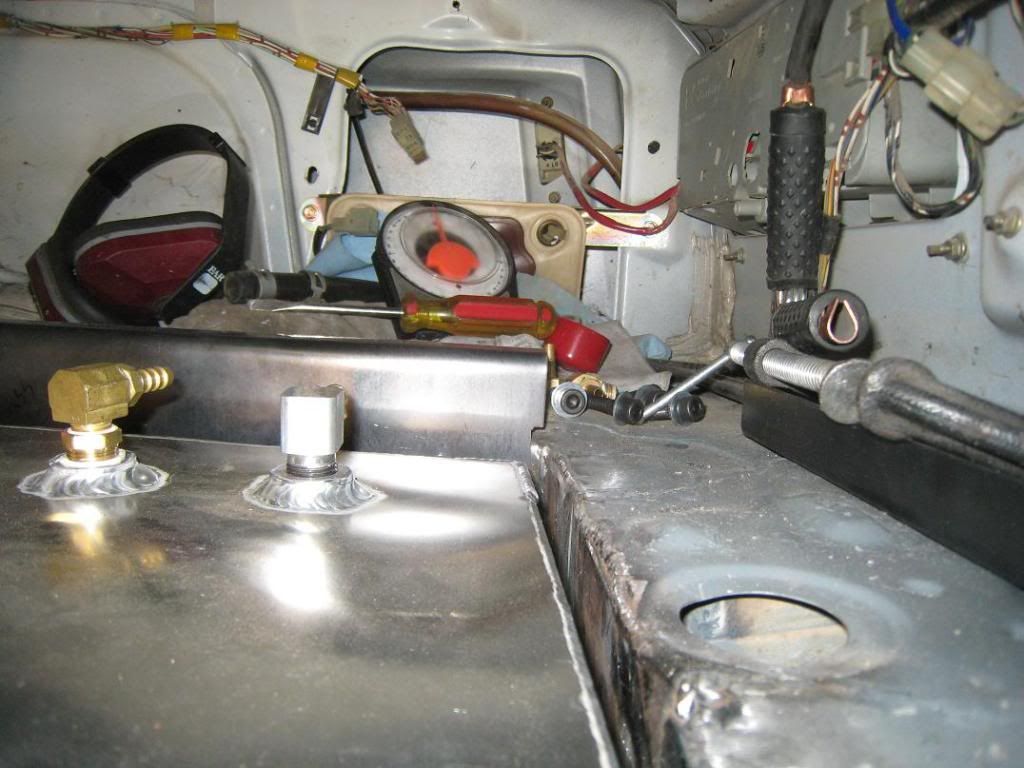
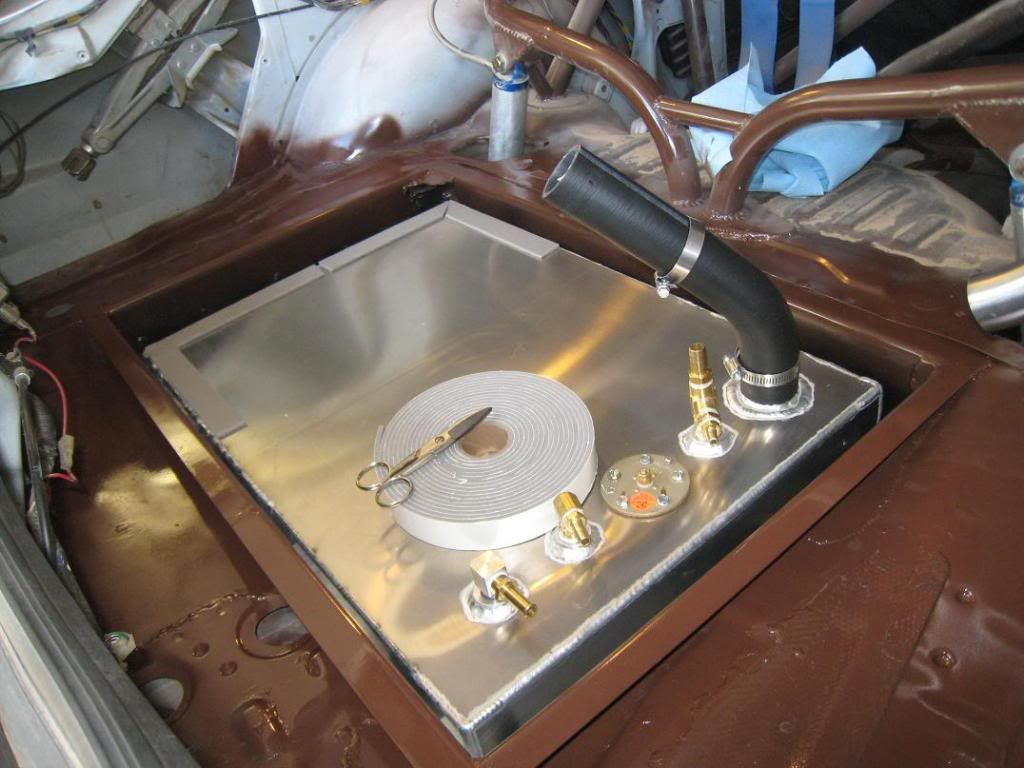
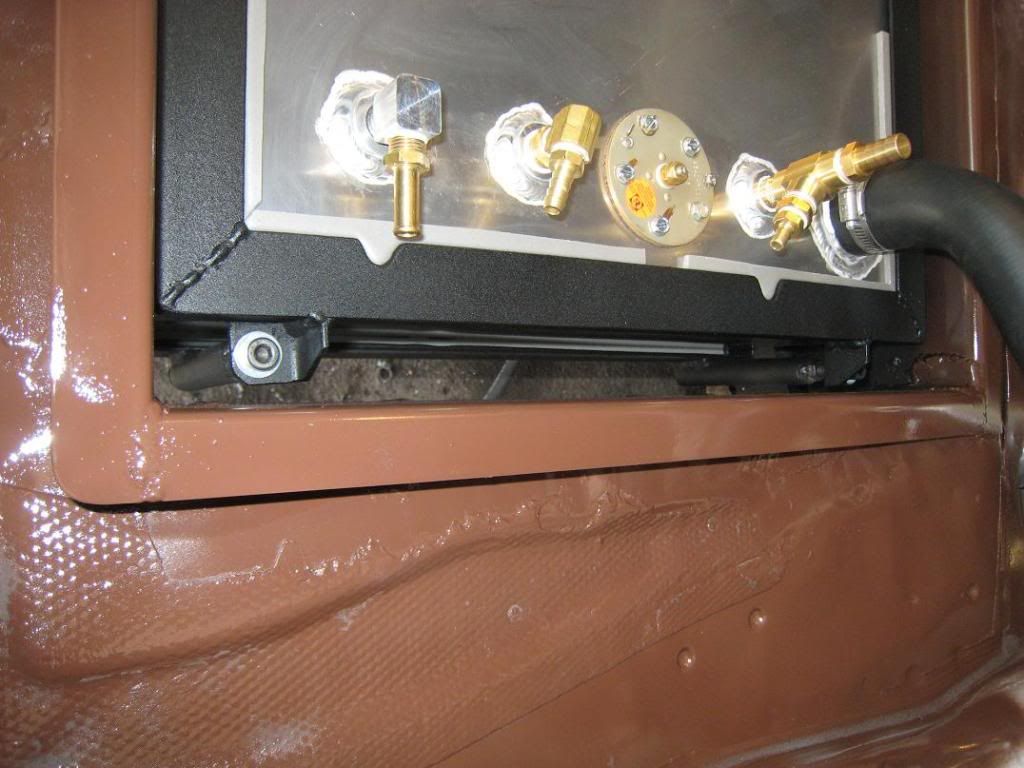
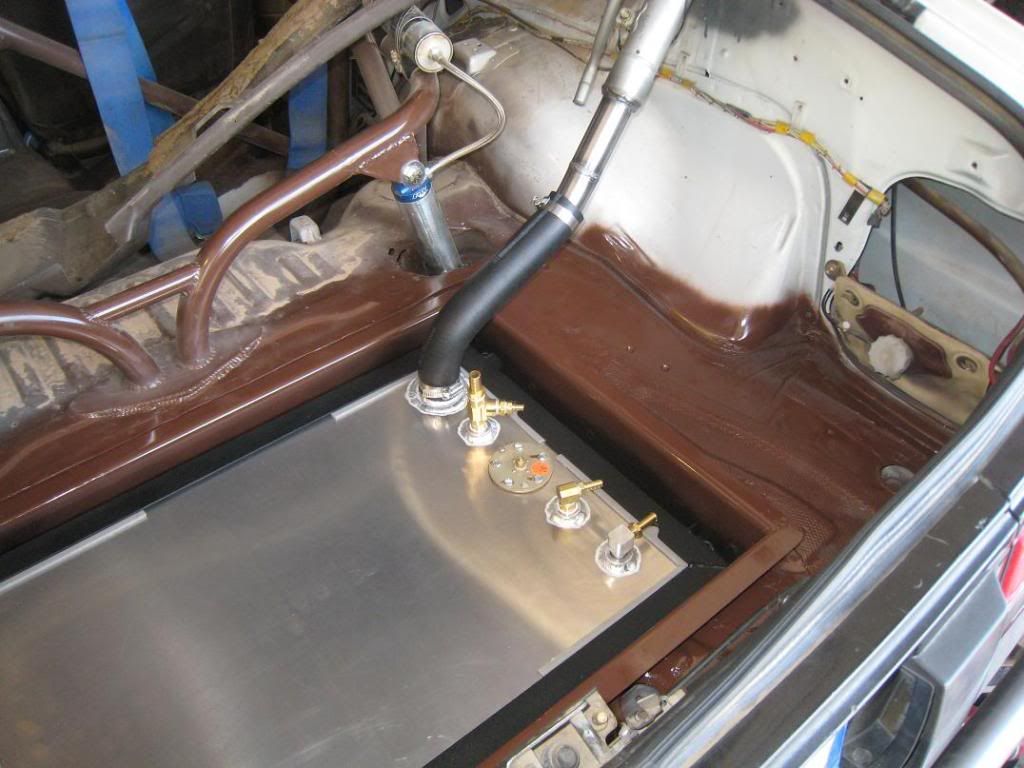
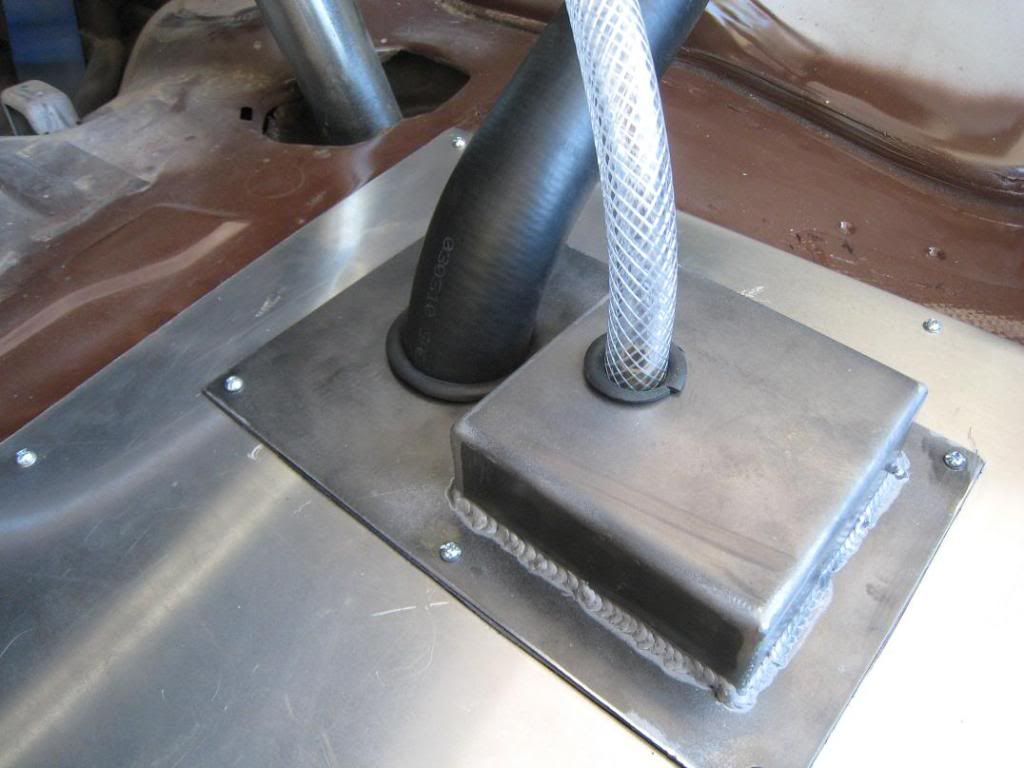
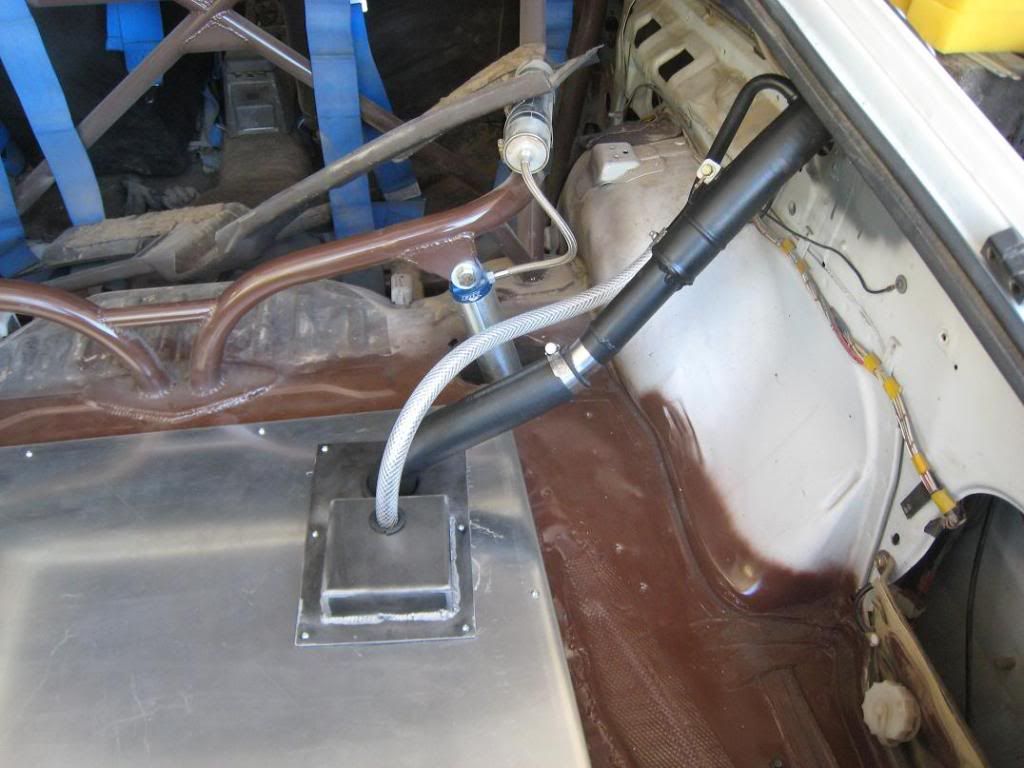
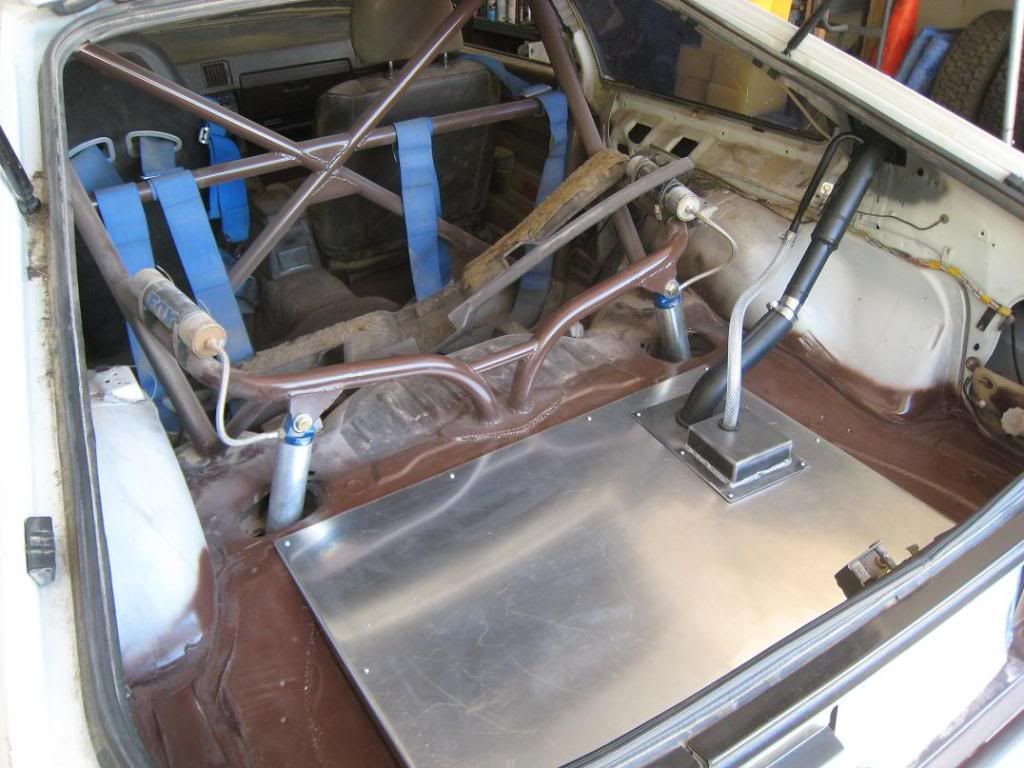
I'll try to post pics this weekend, but the new tank install is coming along, slowly but surely. The tank frame work and mounting is done. I went really overkill on it for some reason, maybe because it was also the simplest solution. 1-1/4" angle iron frames top and bottom, 4 riser tubes from the bottom with coupling nuts welded into the top of each tube and small angle brackets on the top frame for the hold down bolts to go through. The bottom frame is welded to the chassis frame work that was already in the car, two "U" shaped pieces running front to back, welded to the heavy framework from before. I've finished up the filler neck extension with a hose to connect it to the tank. All the plumping for various hoses are installed in the tank as well.
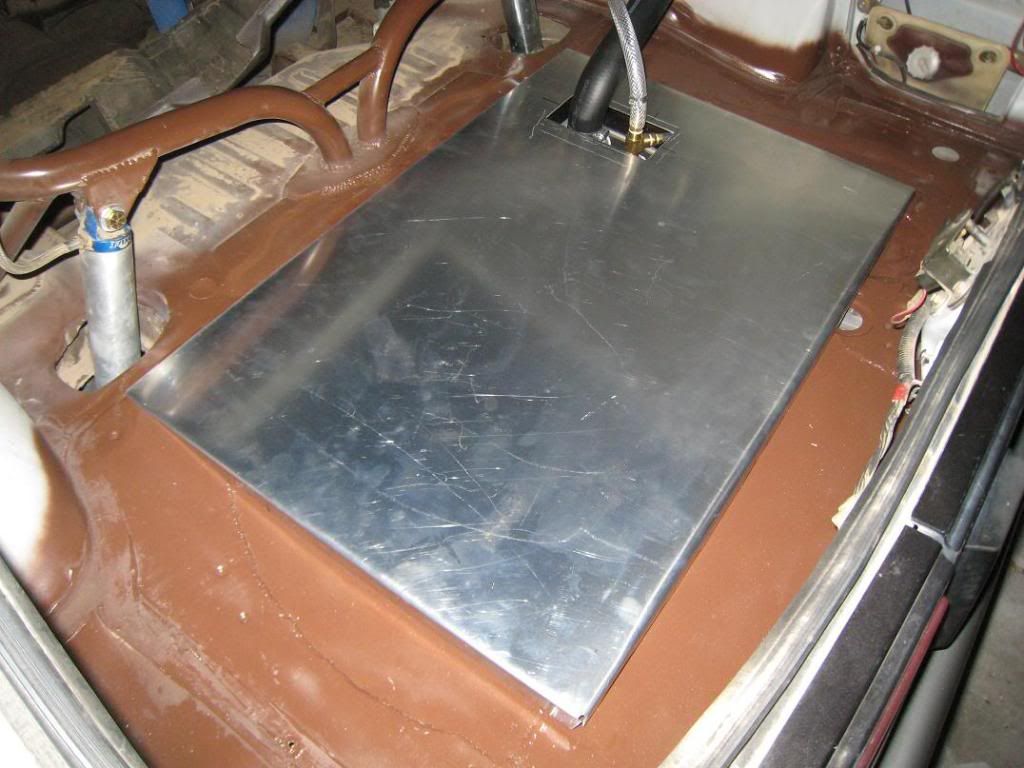
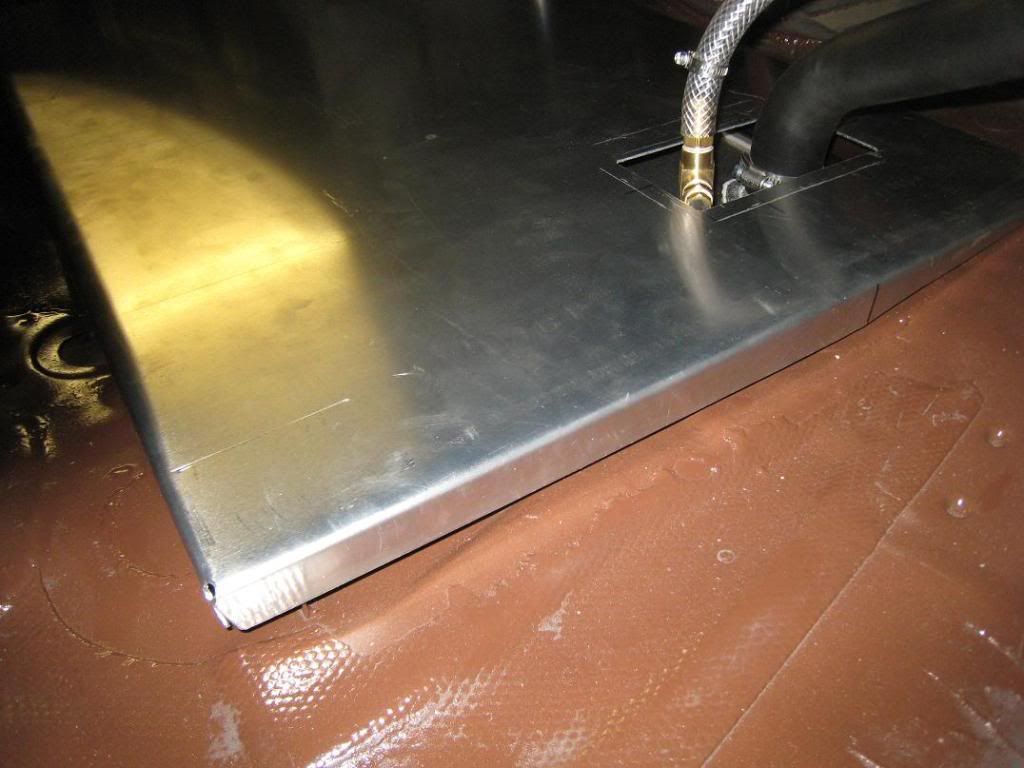
Last night I finished the last of the floor board filling in to the frame edges. I'm now fitting and welding in the flat lip pieces that will make up the sealing surface to the tank cover. I haven't been taken picutes and posting because it's hard to see progress, it's been a slow build-up process for this part of the car. From looking at the picture above, you can sort of imagine what I'm talking about.

-Jon
 

Jrally

Adventurer
Finally got around to taking pictures, been sick. 3 of the four sides of the tank surround/sealing lip are now in. I should have time to finish it up this Friday night. If I'm feeling really lucky, maybe I'll even go purchase material for the lid on Saturday. I'm itching to get this car back up and running on the road again. Even more excited about taking it off road again, see how much a difference sealing off the back end makes in keeping dust out of the car. (being over 100 degrees now though, not ideal off roading weather)

-Jon

TankLip1.jpg

TankLip2.jpg
 

BlueBomber

Adventurer
I LOVE YOUR CAR!!!!!!!! Everytime I see your's it makes my want my 77 GT back. Well, maybe not that one back (rust was everywhere), but another 77.
edit: WOW, you did go crazy with the rivets....
 

Jrally

Adventurer
Almost finished with the new tank install now. I should have it plumbed up and back running tomorrow. The lid will have to wait a bit, unless I can figure out how to bend the lips of it at home. It'll be nice to have it back up and running.

-Jon

(Rivets were dictated by the three holes that where already in the plastic.)

Fit2.jpg

MntDetail.jpg

Mounted.jpg

FitBelow1.jpg
 

Jrally

Adventurer
x2! I love this car! On a side note, do you happen to have the part number for the Recovery Ring thingy you got at harbor freight? I go there all the time, and just got a hitch for my rig, and have been looking for something like this.

Alex.

Harbor Freight : Item # 66212
for the D-Ring hitch.
 

Jrally

Adventurer
Main lid is now fitted, just a small section for sealing to the hoses left to make now. Even with the bent sides, the lid still feels a little flexible, don't know for sure until it's screwed down though. Might have to screw a rib section or two.

-Jon

Lid1.jpg

Lid2.jpg
 

Jrally

Adventurer
Sturdy enough to, #1 not rattle, #2 support 50-75 lbs of soft gear tossed on top of it. The aluminum is 21" x 32", with three 1" lips, material is .065" thick 5052. I went out to LA over the weekend, my buddy out there has a bead roller, but I blew it, forgot to take it with me. I might just have to buy a bead roller of my own, I guess...

-Jon
 
Last edited:

Jrally

Adventurer
I finished fitting the hose seal plate last night, then this morning I sized out my seal pieces, split vacuum hose. They turned out better then I thought, light, snug to tuck in fit. Good thing I'm not anal about alignment, since I drilled the seal plate by math, not taking into account the fact that the tank company might have not lined up the filler neck with the vent hole. It's back apart now, getting the seal plate painted in more bed liner spray.

-Jon

Gasket1.jpg

Hoses.jpg

Done.jpg
 

Jrally

Adventurer
Got the tank area finished last night. All the pieces screwed back together, seams sealed with proper sealer from NAPA and gaskets back around the hoses. Next project, making boots for the rear shocks. I ordered some rubber/nitrile sheeting to see if I can figure something out with it. I also bought some extra lights for when I get around the roof rack, 2 side lights, 2 auxilary back up lights. (do most people put reverse lights on a switch or tie into the regular reverse lights?)

-Jon
 

SuperCal

Adventurer
How bout using some rubber shifter boots for the shocks, Hurst and B&M have ones that might do the trick for sealing around there...
 

Forum statistics

Threads
188,505
Messages
2,905,952
Members
230,547
Latest member
FiscAnd
Top