OBS F250 slow adventure build

CYRUS888

Observer
I was looking at that coil overs aswell but after reading more into it, people that have used it didn't like it too much just because its hard to dial in a perfect spring rate just because the airbag messes with the whole rating too much.

In ways it would have been a good product lets say if you popped your airbag in trail and you still have a back up to get home. But then again how hard is it to pack an extra air bag like you pack a spare tire...
 

amgvr4

Adventurer
That Firestone airbag looks interesting. It has lots of travel with a collapsed height of 7" and extended of 23". I wonder how well it would hold up to the constant cycling it would get when wheeling. I would use a 2" or 2.5" bodied remote reservoir shock with those to make sure you have plenty of damping capacity. As bouncy as air springs can be I think you would over work a standard Bilstein 5100 type shock pretty quick with trucks as large as ours.

The ORO stuff is also interesting. It would be nice to have the ability to adjust on the fly like that, you would definitely need to carry spare bags like you suggested though in case one failed.
 

amgvr4

Adventurer
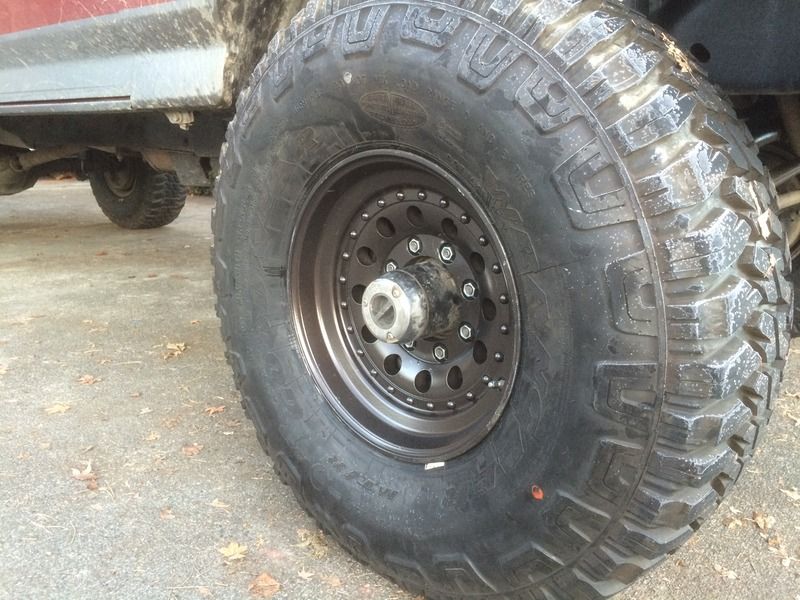
Got some updates. We are heading back to Colorado for Christmas and the truck is going to be our means of transport, so some maintenance/upgrades were in order. First was tires as the set I order last year is on its last leg. I got a set of the 90% ones the first time and they were pretty hard so after a year and 25k miles they need to be replaced. Two of them split the sidewalls due to age and abuse, and the other two are worn down to about 25%. They are still fine for street driving, but with a potentially snowy 3000 mile road trip I wanted a fresh set to be safe. This time around I got a set of 98% MTRs that should last longer and drive nicer than the first set did. Even so I am pretty happy with the first set as they did last better than a set of Toyo MTs would have and I put them through a ton of abuse, plus they were only $120 each. I also got a second set of wheels for the new tires when they show up so I can keep my three decent old tires on rims as spares. I also got a set of Centramatic hub balancers from a friend for free. I was just about to order a set on Pappawheely's recommendation when a buddy said he had a set he didn't need any more. Score!

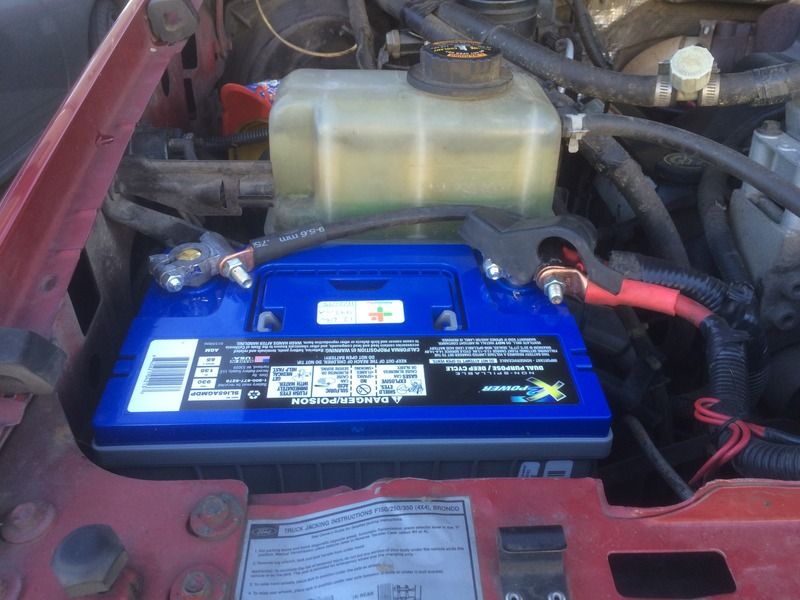
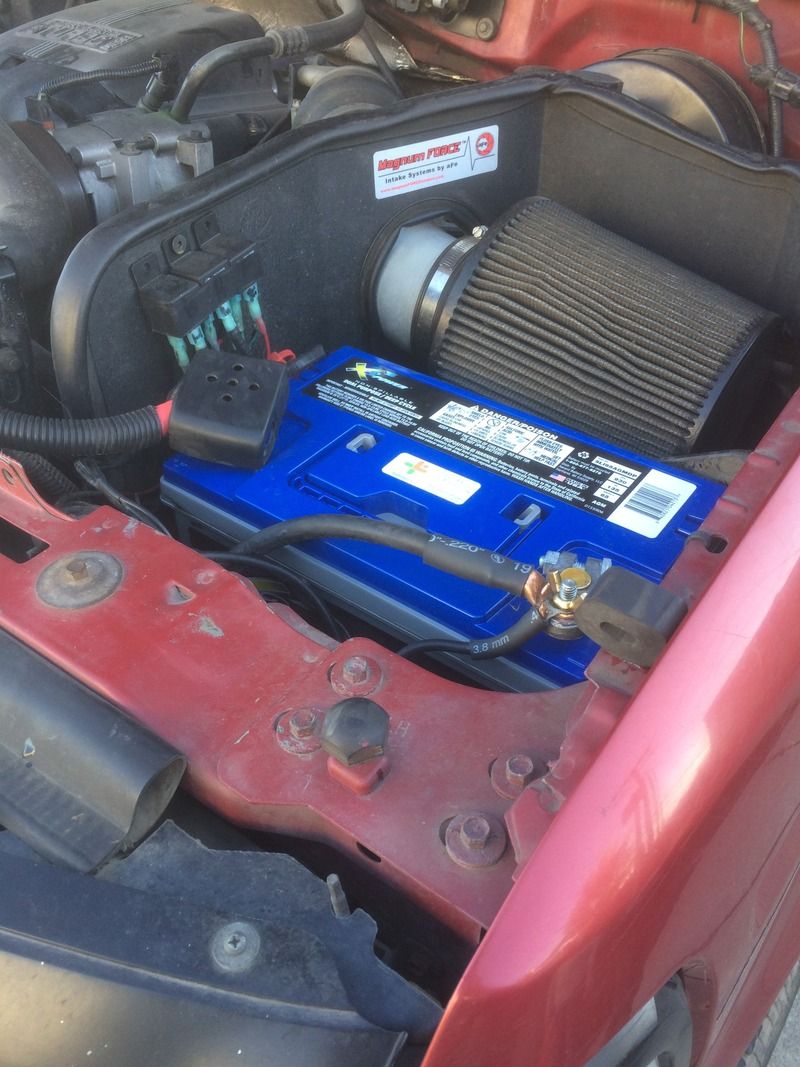
My truck has been getting harder and harder to start recently and last night it just wouldn't when I went to leave from work. The weather has been getting colder and it will only be worse on our trip so I ordered a Monster gear reduction starter from DB electrical and picked up two new batteries today. The Diehard AGM group 65 are no longer available so I went with the closest thing I could find locally. Batteries+ has some 930CCA AGMs with an almost solid lead core. They also have brass terminals for good measure. $570 later My truck now starts like a champ, and I don't even have the new starter in yet!


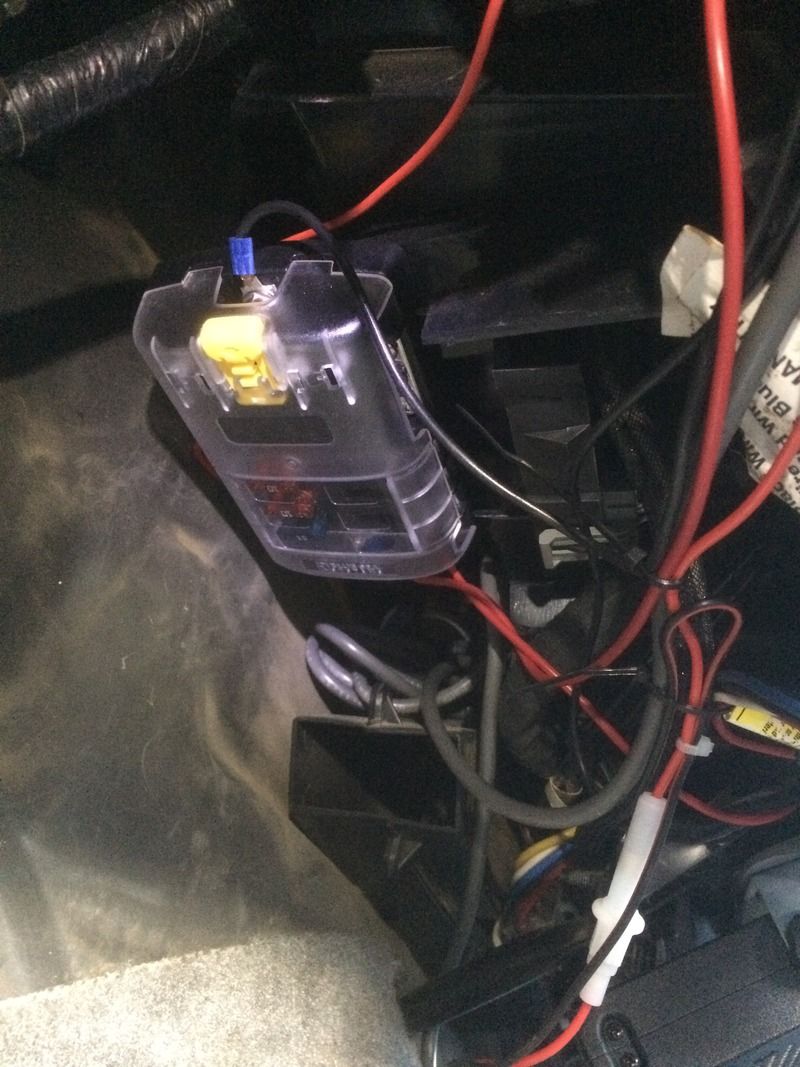
I also mounted a Blue Sea fuse block under the dash for adding in accessories in cab. I go tired of trying to Hodge Podge connect into other power sources


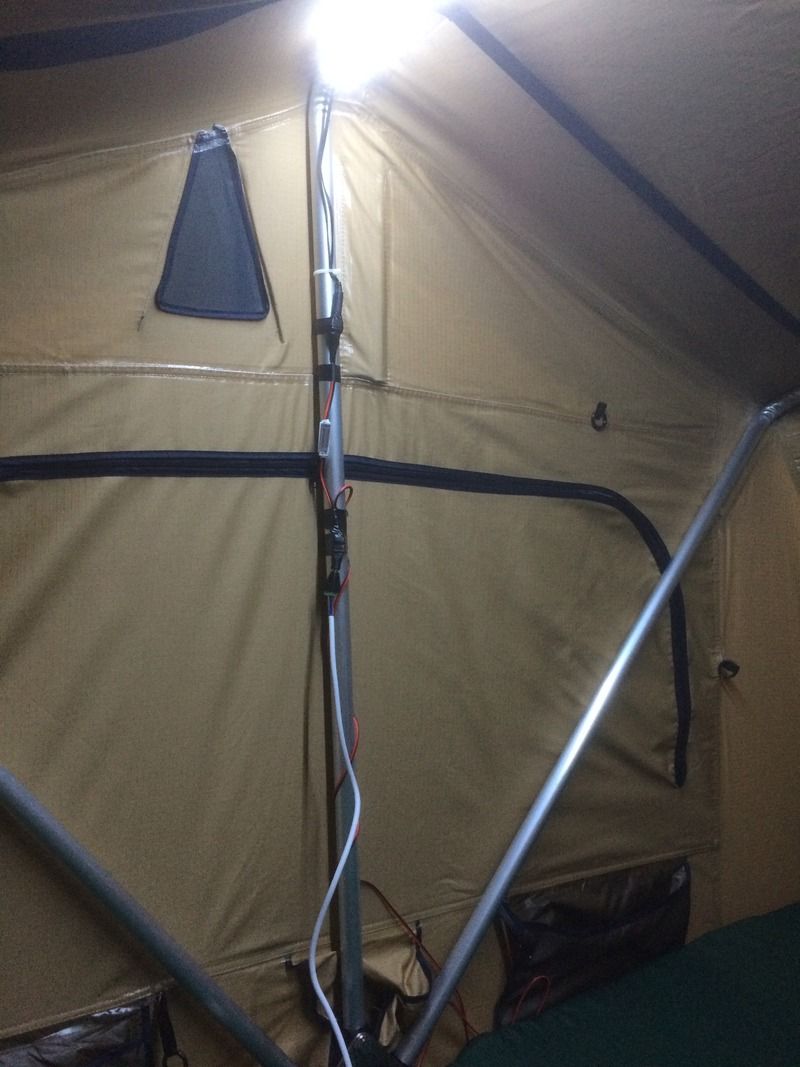
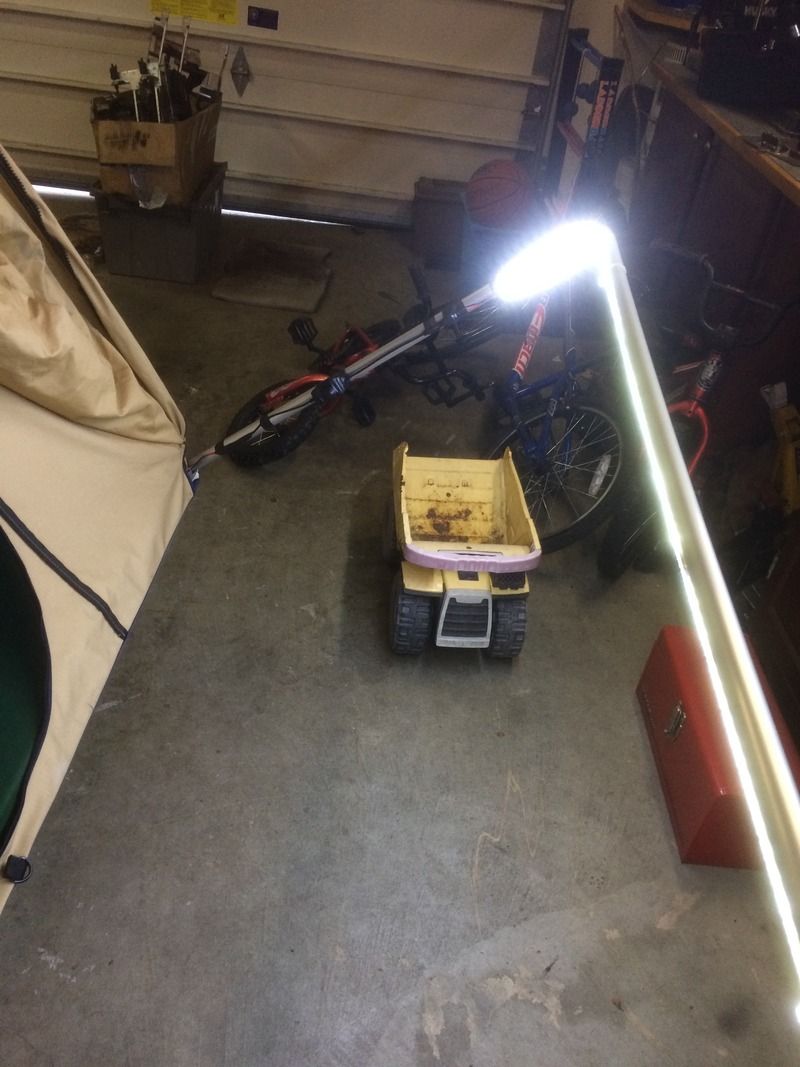
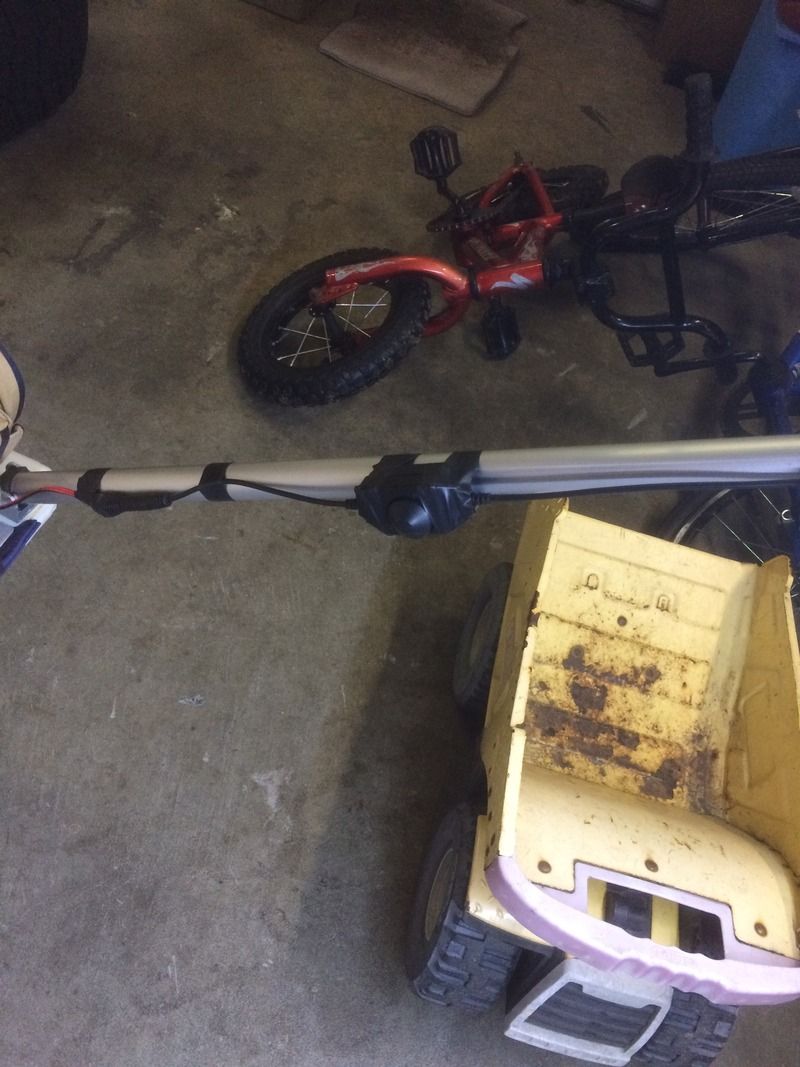
A few weeks back I finally got a chance to wire up the lights in my RTT the way I have wanted to. I have a strip of lights on the main beam inside the tent with a RF remote control for on/off and dimming, and a strip over the entrance/annex with a dimmer switch as well. I have a long power cord that plugs into the in dash power port that I run out the door and into the tent to power them. Eventually I will build a house battery setup that has the ability have power ports into the the tent and bed separate from the starting batteries


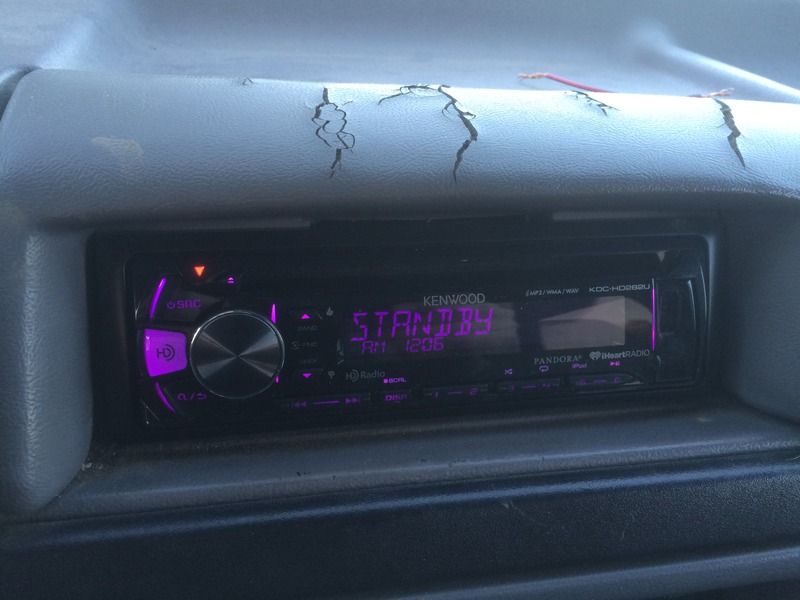
I replaced the old Pioneer CD player with a new Kenwood that has aux inputs so we can have more listening options on our road trip


I still need to Replace the radiator hoses and do a coolant flush, retrofit a front sway bar, and upgrade the headlights so we can actually see where we are going. I should have the tires on and starter in next week.
 

underdrive

jackwagon
When it comes to OBS headlights, I'm a believer the factory ones make excellent daytime running lights on low beams and decent driving lights on high beams. With your truck as high as it is, I'd just leave the factory lamps alone and do some nice aftermarket projectors for actually lighting the road up. Take a look at these for example, they're supposed to be real good:

http://www.rallylights.com/hella-90mm-classic-modular-headlamp-h9-halogen-dot-sae.html

Grab a low beams and a high beam pair, wire up your factory low beams in series as DRLs, then wire up the new Hellas to the factory switch.
 

amgvr4

Adventurer
I agree underdrive, the factory low beams are barely parking lights! More on my solution to that at the bottom.

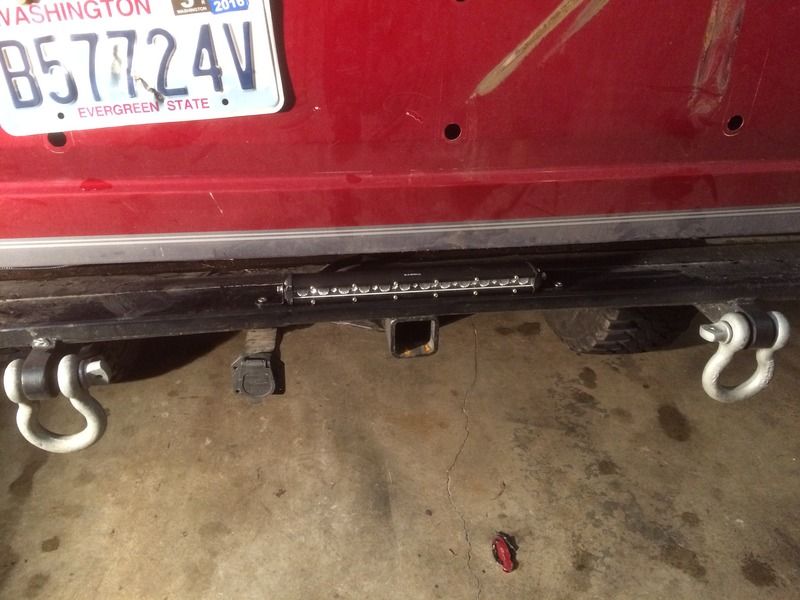
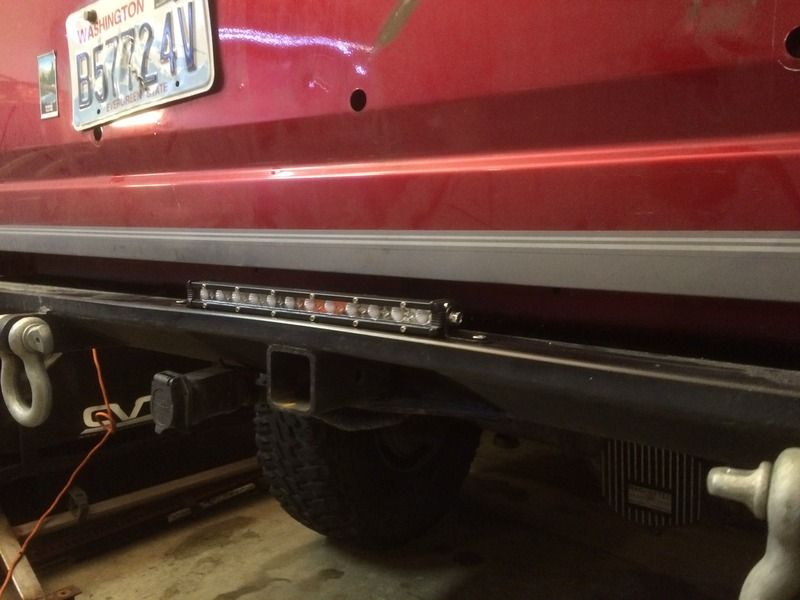
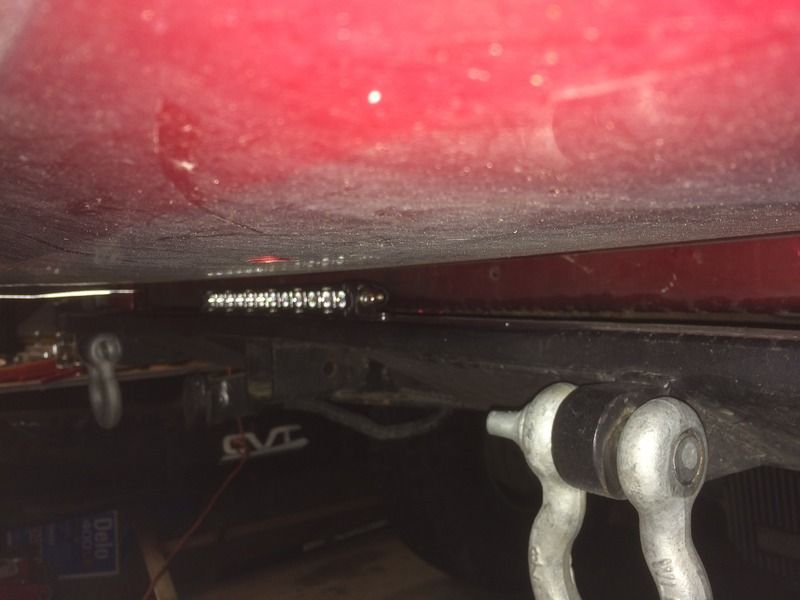
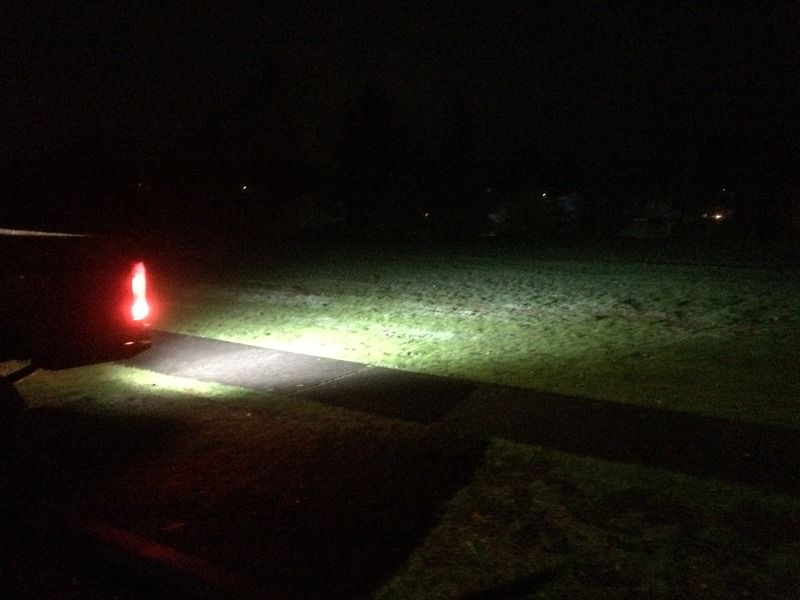
I got several things done last night. The starter and backup light showed up so I tackled them after work. I started with the light since it seemed simple enough. I wanted to do it properly with 12v and a relay triggered by the factory backup lights. The factory lights were only getting 10v so I tied into the 12v power at the trailer plug. After mounting a relay and wiring everything up the light barely kicked on. I measured the voltage at the light and relay and it was only 7v when the one and 12v when the light was off. Either the relay is jacked or the 12v wires for the trailer plug have a bad connection. I ended up just ditching the relay and pulling power directly from the factory lights for now. It is still plenty bright and I can delve into the power issue later. The only good place to mount it was on top of the bumper centered with the receiver. The light is super slim so the tailgate clears fine when down. I will have to notch the tire swing out for it but that should be pretty easy.


Here it is fired up. This is only 10v, when I get the wiring sorted it will get a bit brighter


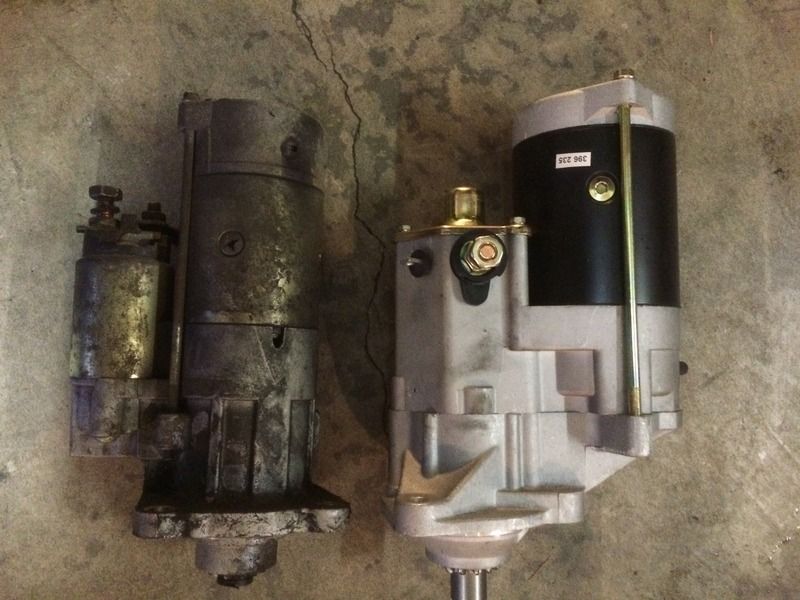
Next I worked on the starter upgrade. After the new batteries this was not absolutely necessary but I am super glad that I did anyway. Here is the one I ordered
http://www.amazon.com/gp/product/B004D0HNUS?psc=1&redirect=true&ref_=oh_aui_detailpage_o00_s01

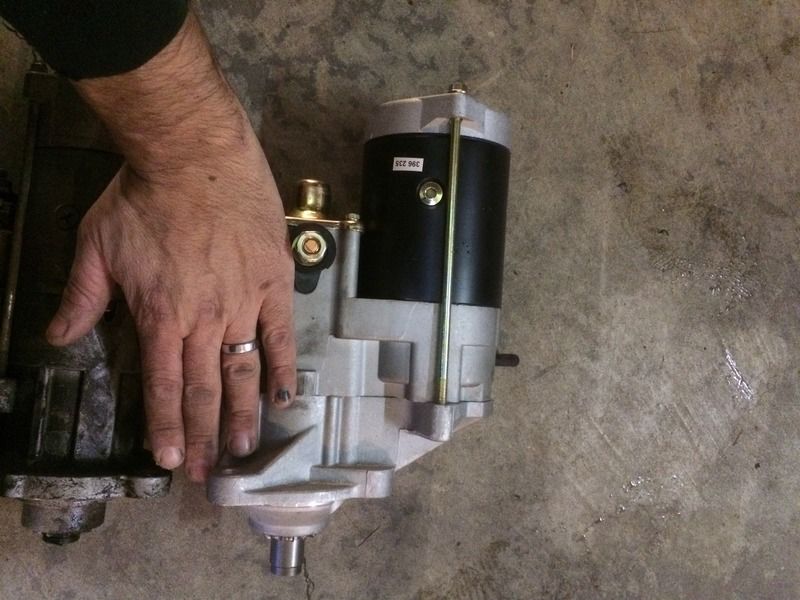
It is a larger than the factory gear reduction starters found in the late 7.3 superduties. DB electrical manufactures these new so there is no core charge, and as such I will keep my old one around as a spare just in case. It was a direct bolt in despite being much larger, though some reviews said they had to grind the crossmember for clearance or bore out the connector on the main power cable but everything fit perfect on mine. They only use two bolts instead of the three our factory starters use as the gear reduction box is in the way of one of the bolts. This is true with the factory Ford gear reduction starters as well and has not been reported as a problem anywhere I saw.

This thing is massive!


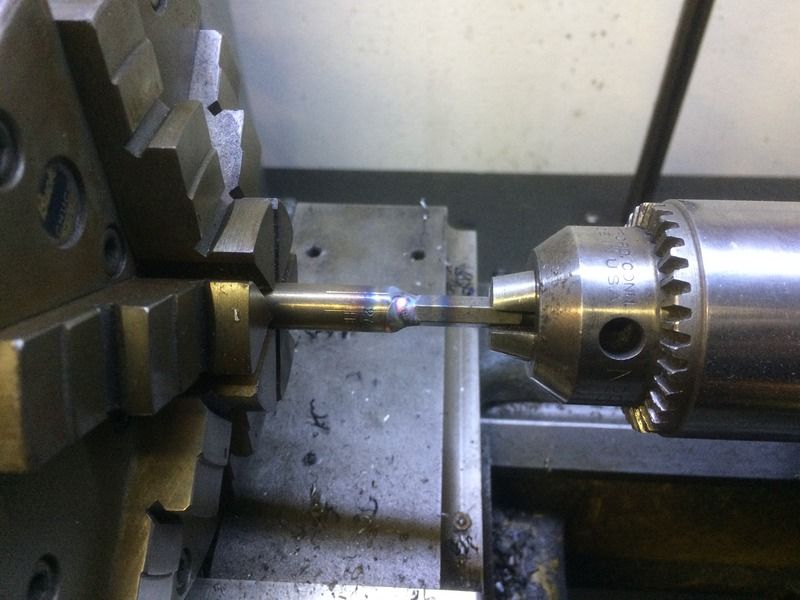
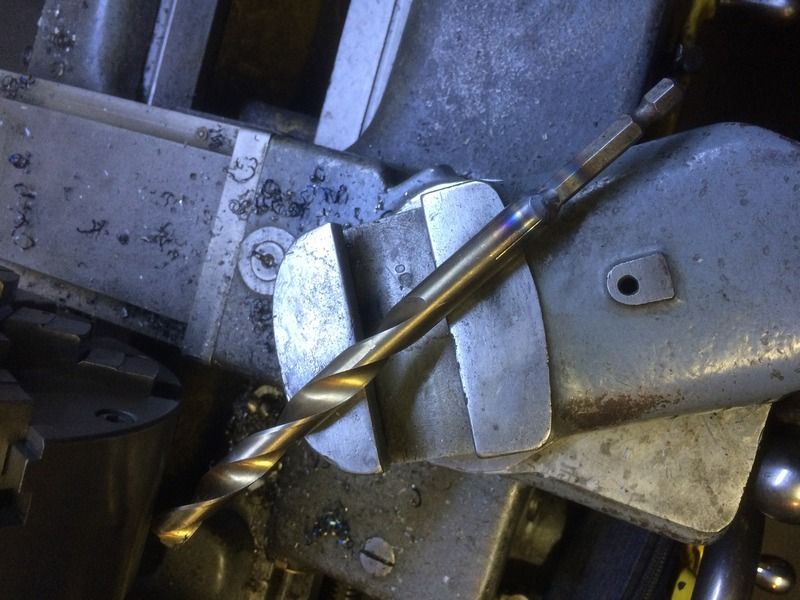
Everything went great and I was only into the swap 20 min when the bottom bolt hole in the bell housing stripped on me. No problem I will just drill it out and tap it for the next size up i though. Too bad there was not enough space between the crossmember and the bell housing to fit my drill and the proper size drill bit. After much deliberating I decided to weld the drill bit to a shortened bit driver and use my impact gun as it was just short enough to work. This is where a lathe comes in super handy. I held the bit in the chuck and the driver in the tailstock and welded them in perfect alignment.


I honestly don't think it would have been a usable concoction if I did not have the lathe to ensure the drill was true to the driver bit. If it was off even a little bit the drill would have been too wobbly to keep the proper tolerance on the hole for the m12x1.25 threads to have been any good. As it was everything worked out perfect and the starter went back in without any more drama. The first time I started the truck with the new starter it lit off so fast it took me by surprise! I simply can't believe how much of a difference the batteries and starter made. The truck went from a consistent 6-10 second crank to barely a second now even first thing in the morning when dead cold. Here is a video to demonstrate


I also ordered a set of the smittybuilt molle seat covers, radiator hoses, new headlight housings and true bi-xenon projector retrofit kit. I still need a 203* thermostat and 4 gal of coolant to finish the pre-trip preparations. I know the headlights will probably look fugly, but looks are not what I care about. I am much more interested in being able to see at night and a true HID projector with the proper cut off and step down is the only safe way to have good light that does not blind oncoming traffic in the process. The cost for the housings and the kit is less than a good set of driving lights and those can't legally be used on normal city streets. Plus the retrofit should be pretty easy and straight forward. I really hope my tires show up tomorrow so I can get them mounted and get the space saver spare off the front of the truck. Seeing the 32" tire up there is killing me! I only have two and a half weeks left before we head out so I have a lots of wprk cut out for me for sure.
 

IdaSHO

IDACAMPER
I hope you have better luck than I did with DB

Mine didnt last very long.

I wound up using it as a core for a locally sourced brand new super duty starter.

5 years or so now, and no signs of failure on the new unit. Just super fast starts, regardless of temp.
 

Korben

Adventurer
I hope you have better luck than I did with DB

Mine didnt last very long.

I wound up using it as a core for a locally sourced brand new super duty starter.

5 years or so now, and no signs of failure on the new unit. Just super fast starts, regardless of temp.

That's the first complaint I've ever heard about DB starters.
.
I have one in my 7.3 IDI and am very happy with it.
 

amgvr4

Adventurer
So far so good with the starter. It has made cold starts much faster than the previous hot starts. If it fails I still have the old one I can throw in in a pinch. I had a bit of a fiasco trying to get the new tires on this weekend. I bought some extra wheels to put the new tires on, I picked them up from a local pull-a-part and the yard guy told me they were 8x6.5". After painting them and mounting the tires I found out that they were actually 8x170 from the superduties. The good news is that the yard will take them back and reimburse me for the cost of mounting them.
The SD wheels
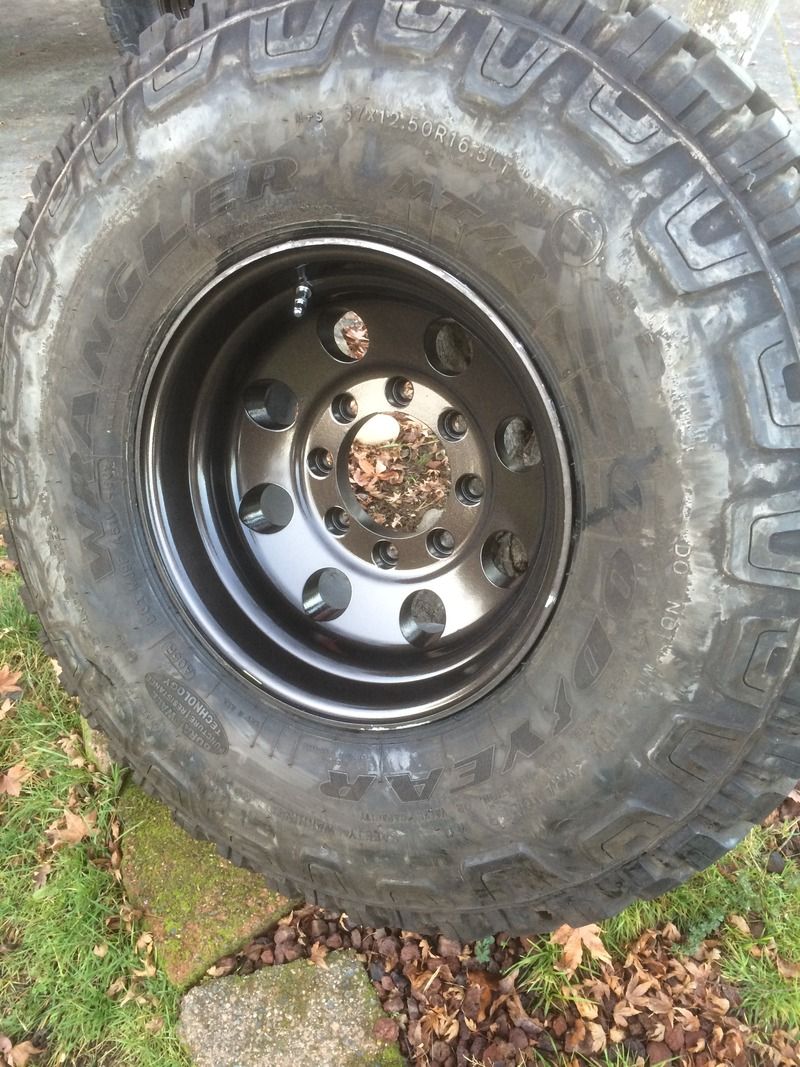
Wrong pattern, bummer dude!
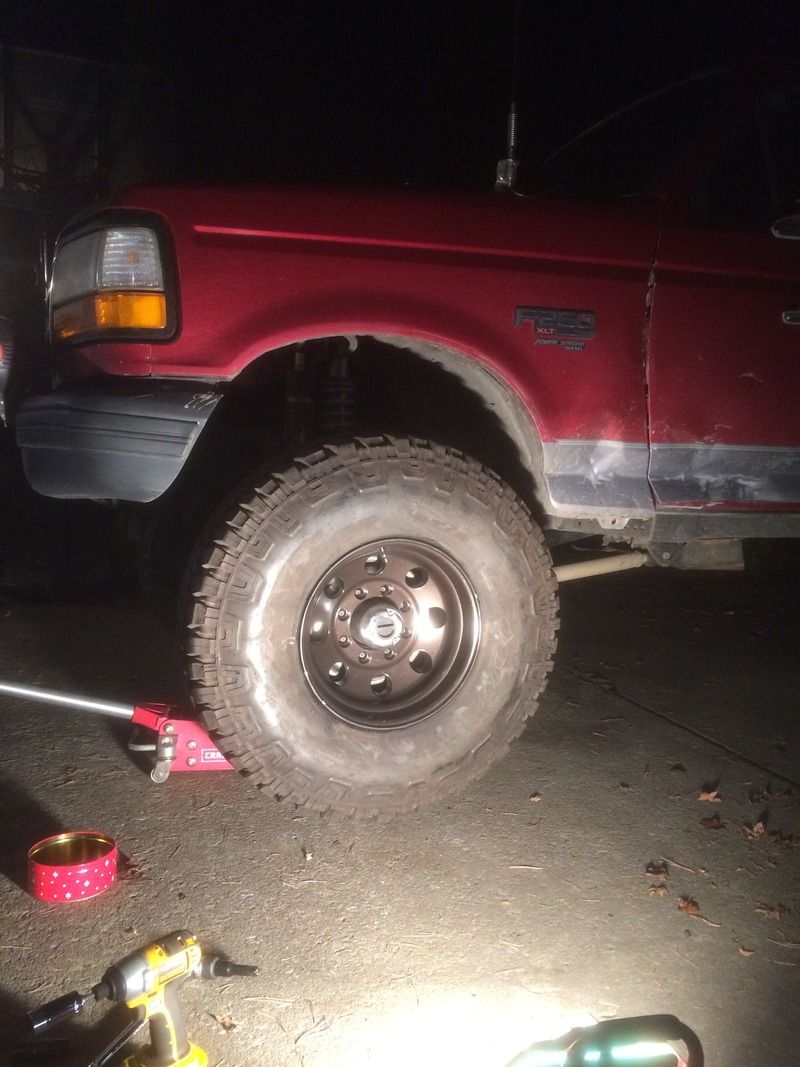

I ended up just having the new MTRs mounted on my old rims and got two 16.5 steelies to mount up the best of my old tires as spares. The new ones ride so much better, no more flat spots and lots more grip. Add to that the centramatics and the truck is now super smooth on the freeway and much more pleasant to drive. That should be a huge bonus for the 1500 mile each way road trip.

New tires and a fresh coat of paint on the old wheels
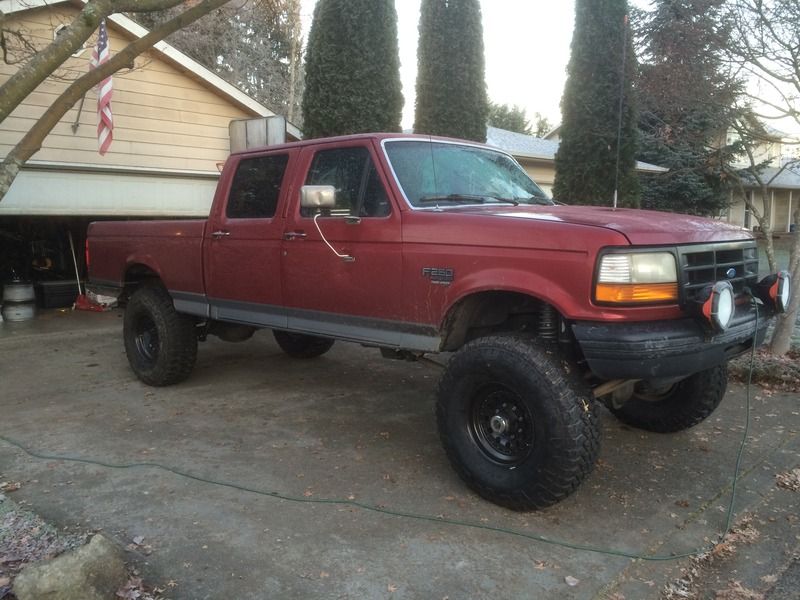


I ended up ordering some clear headlight housings and this HID retrofit system
https://www.theretrofitsource.com/c...-xenon-mini-stage-3-kit-d2s.html#.Vl05NnarRD8

I started on the lights after work today, but it is a slow process. I got the lenses off after an hour and a half of carefully heating and prying until the sealant finally let loose. This is one of those things you just can't be in a hurry to do or it will go south fast. Tomorrow I will be able to paint the housings, fit the projectors, and maybe put them back together. It sounds like getting the lights aimed properly on the truck can be a bit tricky so it might be a day or two before they are installed for good. The wiring is pretty much plug and play other than needing to undo the 12v relay mod I previously did to get a little better light out front. Also tomorrow I am heading down to south of Tacoma to get a canopy for the truck. Turns out it is pretty hard to find a decent fiberglass topper for these old trucks, but I really want one to help keep all our gear dry and a little more secure during the trip.

Finally on Sunday I got a call from a buddy saying one of his good friends needed help with getting his truck back on its wheels. His wife hit a patch of ice on a back road and the truck spun off over a small embankment ending up on its driver side. She was not seriously hurt but pretty rattled. Luckily no one else was involved and the place she went off was the safest place to do so along the entire road. Everywhere else had a ten to twenty foot drop off or much worse things to hit than a fire hydrant. The other amazing thing is that it did not go all the way over, the 3rd gen Dodges are apparently known for having really weak A and B pillars. Even a slow speed roll can flatten the cab and trap the occupants inside. With the help of another powerstroke we got it back on its tires pretty easily, but the truck is most likely a total loss. The engine did not get shut off and it ran for about three minutes with the truck in its side before finally chocking out. We aren't sure if it was from loss of oil pressure or fuel, but the former could be bad news.
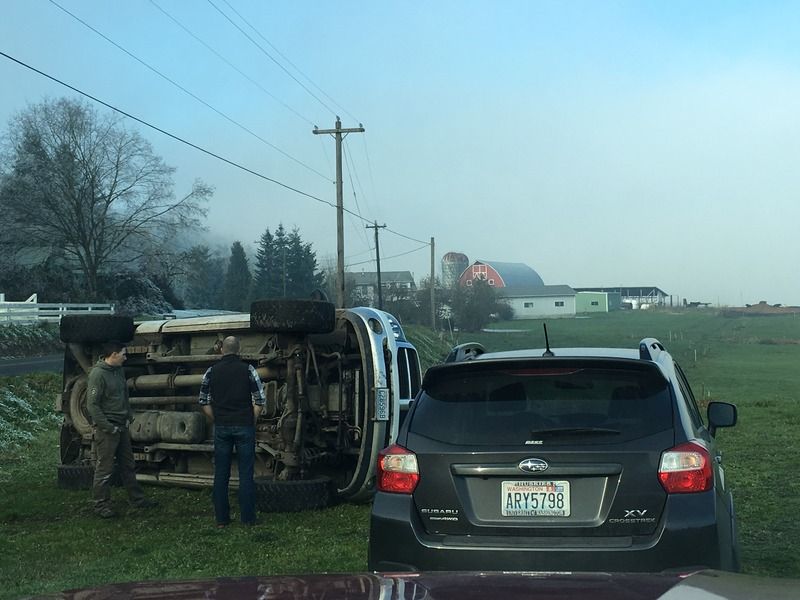
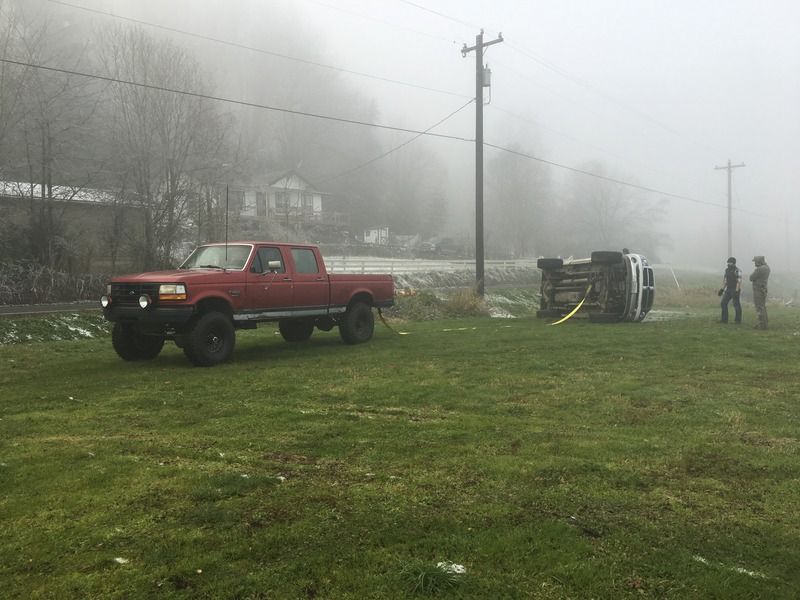

Here is a short video of getting it back right side up. The first try the F350 did not have it in 4x4 and had no traction. You can see the frame twist as my truck was pulling but his couldn't a grip. After he got it engaged it was a pretty easy recovery. The soundtrack on this one is priceless!
 

amgvr4

Adventurer
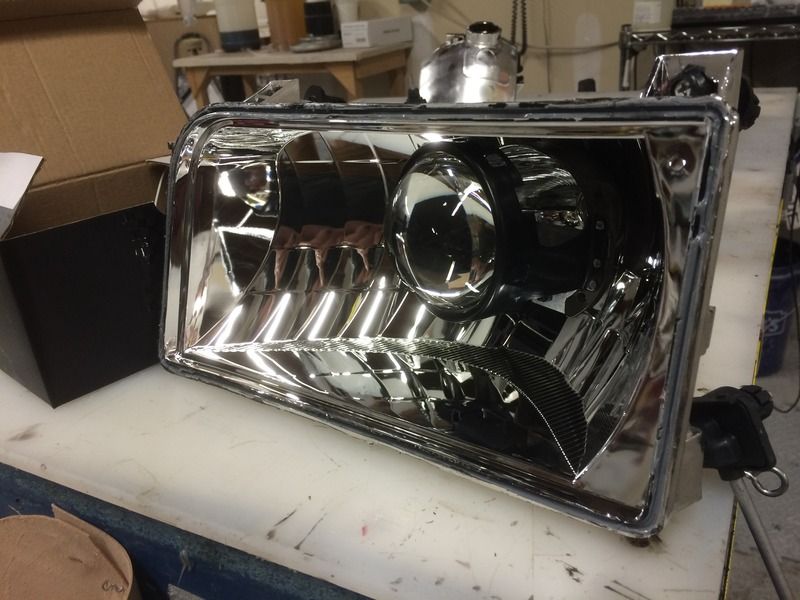
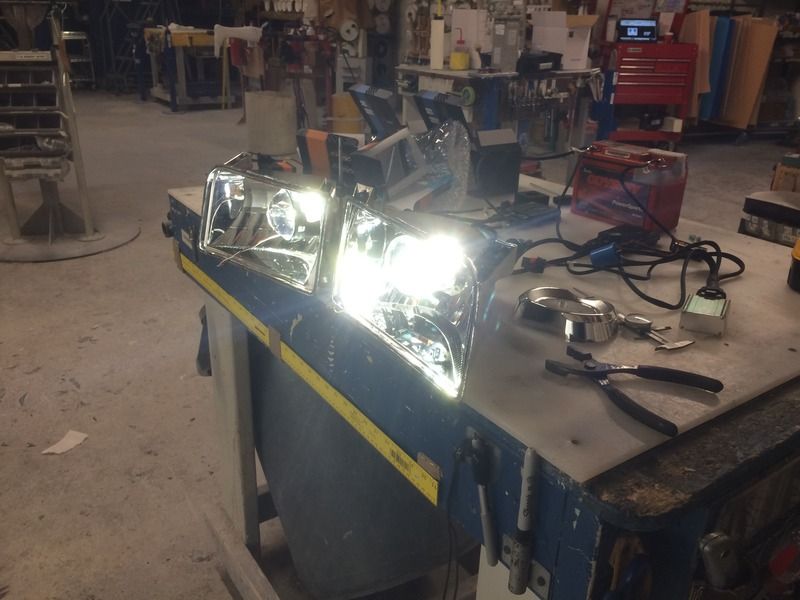
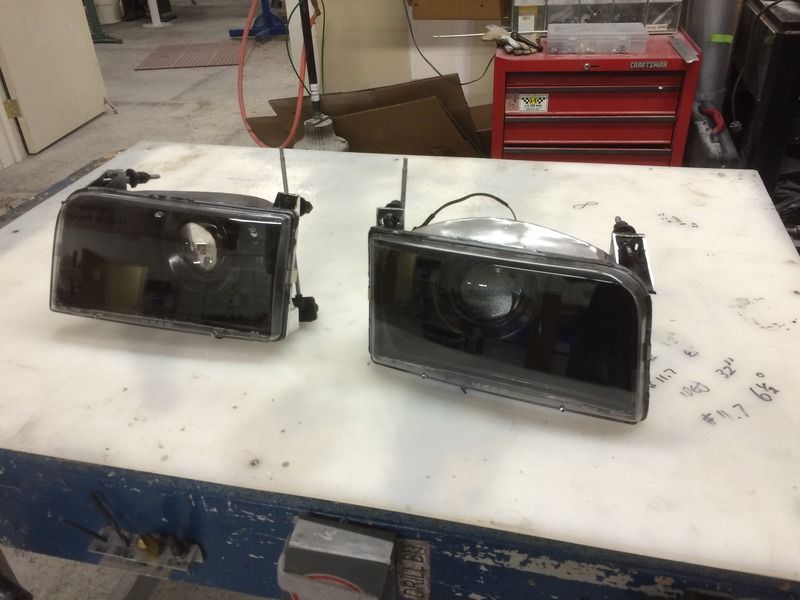
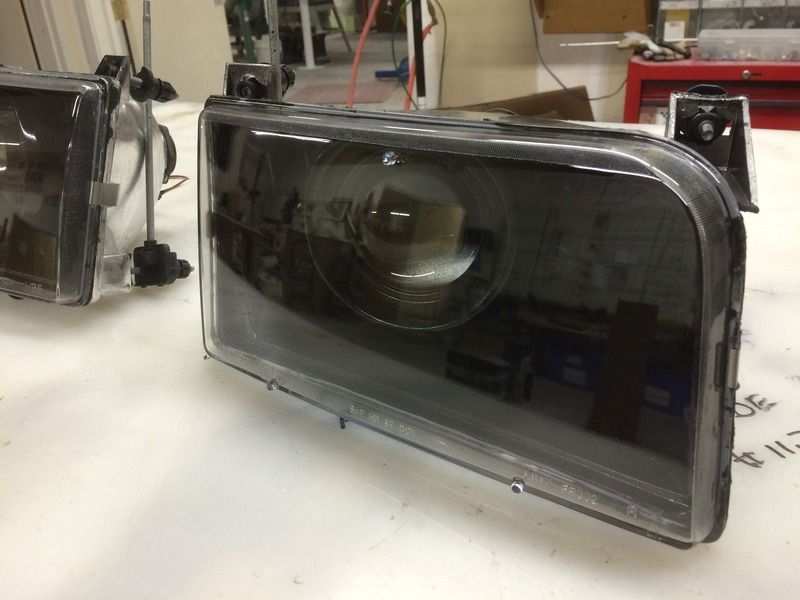
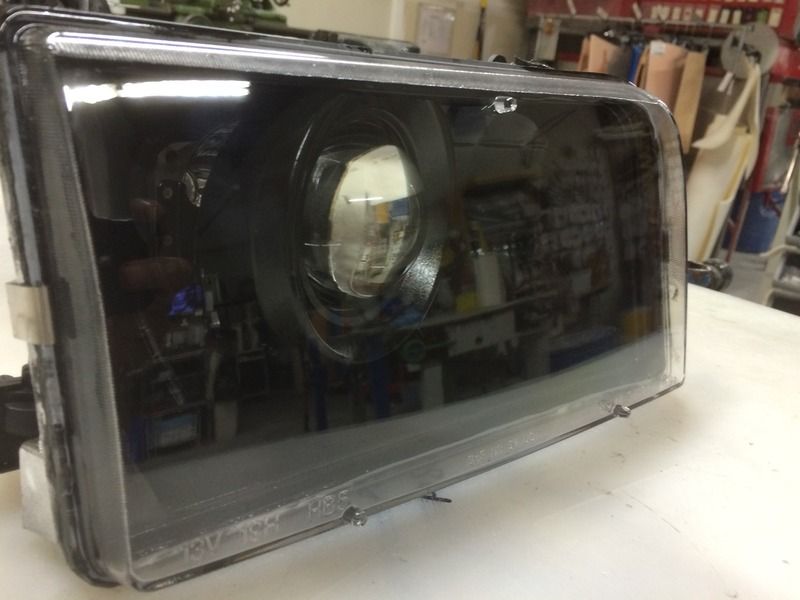
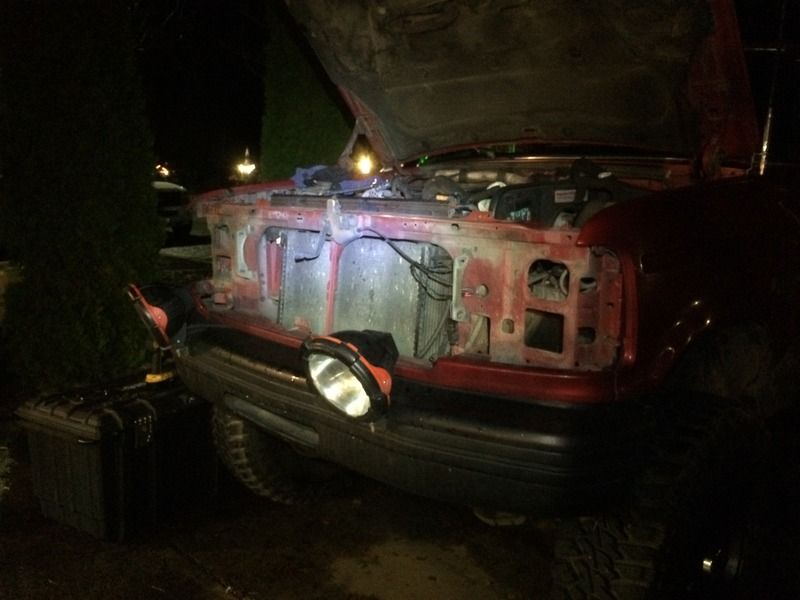
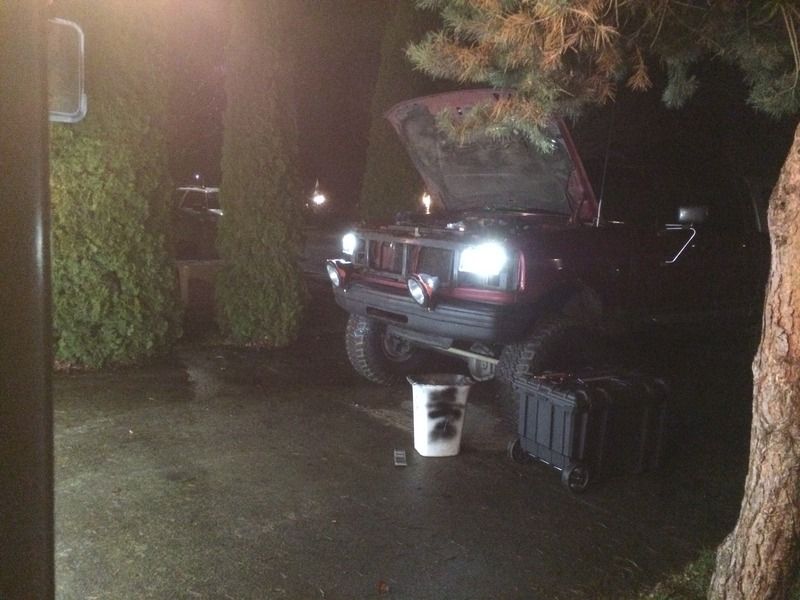
I spent the last few days working on the headlights and got them buttoned up and installed tonight. The process is not very hard but it is time consuming and takes a good measure of patients. I think the results are definitely worth it though as being able to see up here in the great white north where it is dark by 3:30pm is priceless.

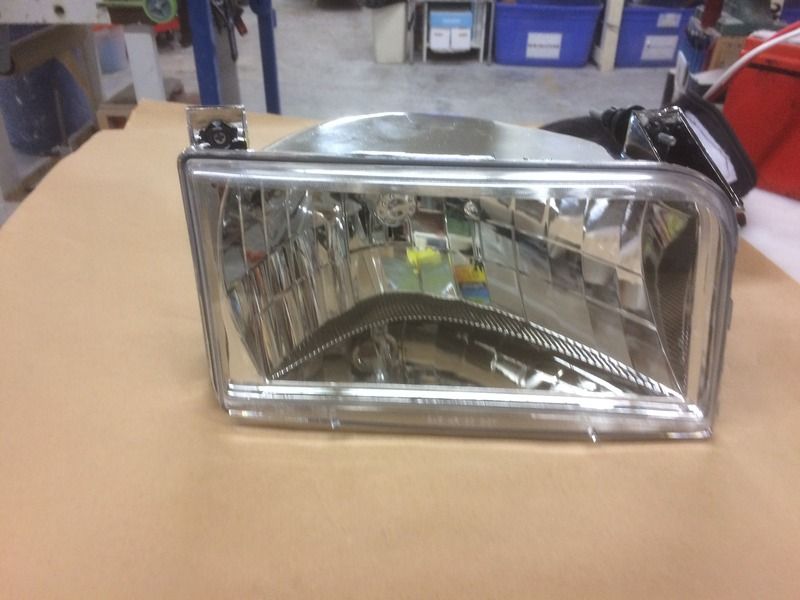
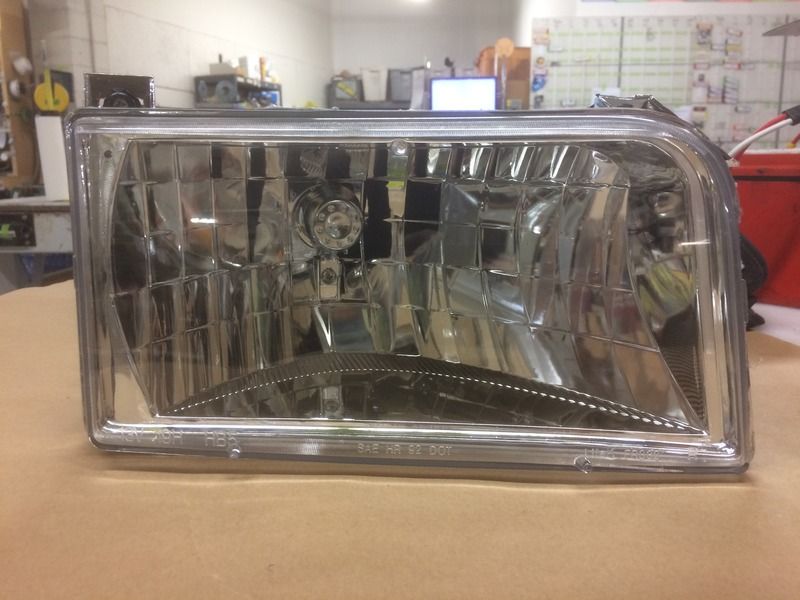
I started with some clear lens lights off of Amazon. They where about $110 for the pair and turned out to be pretty decent quality


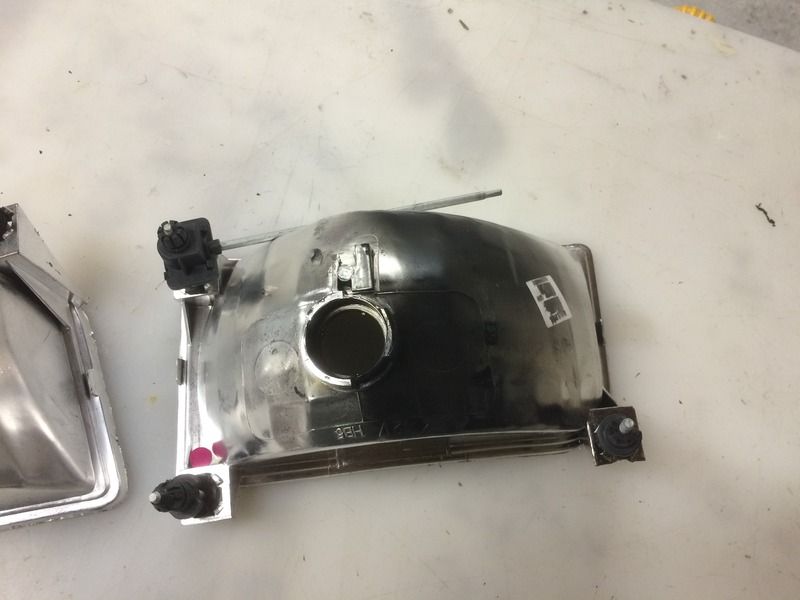
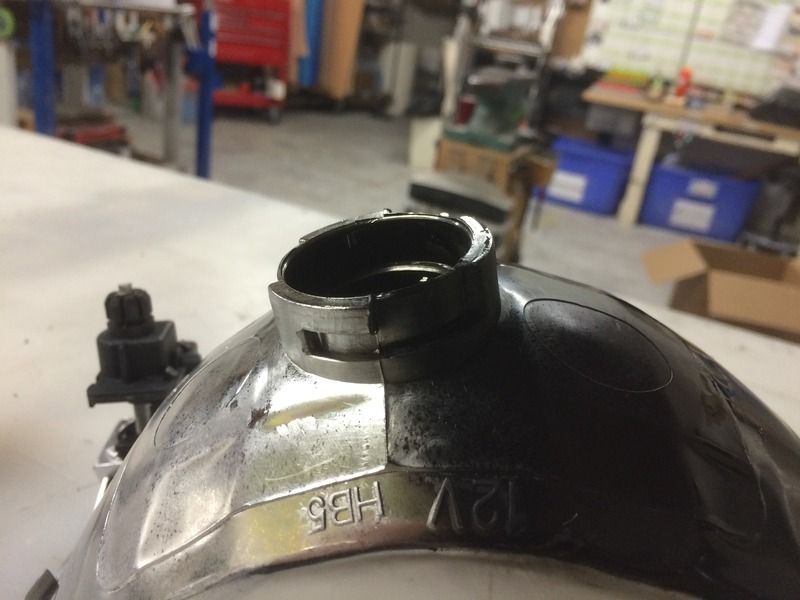
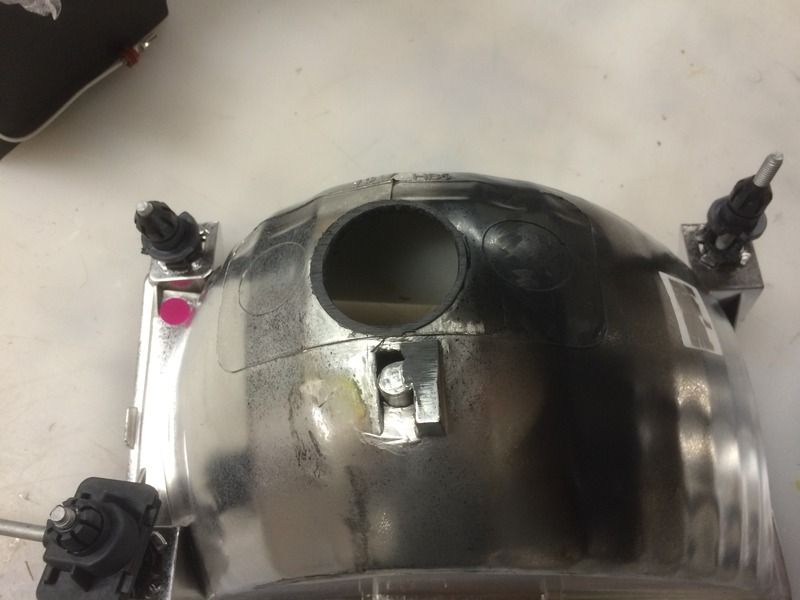
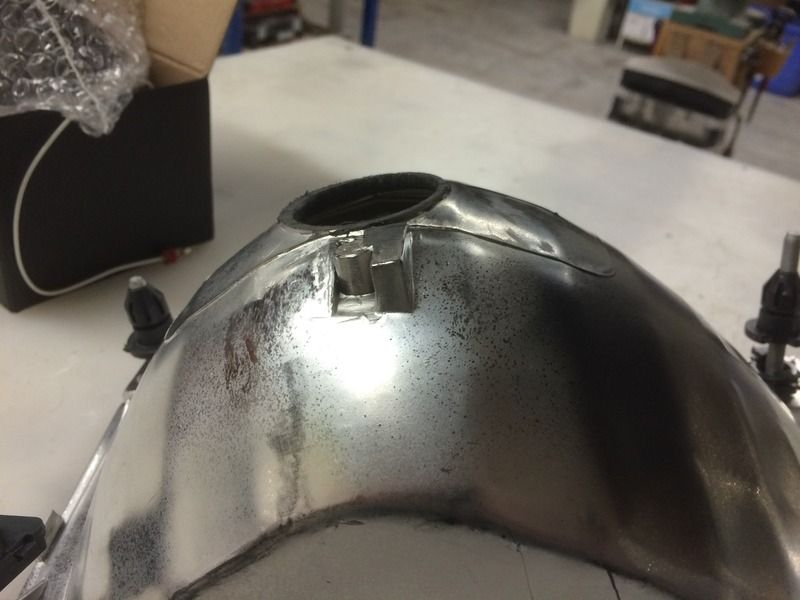
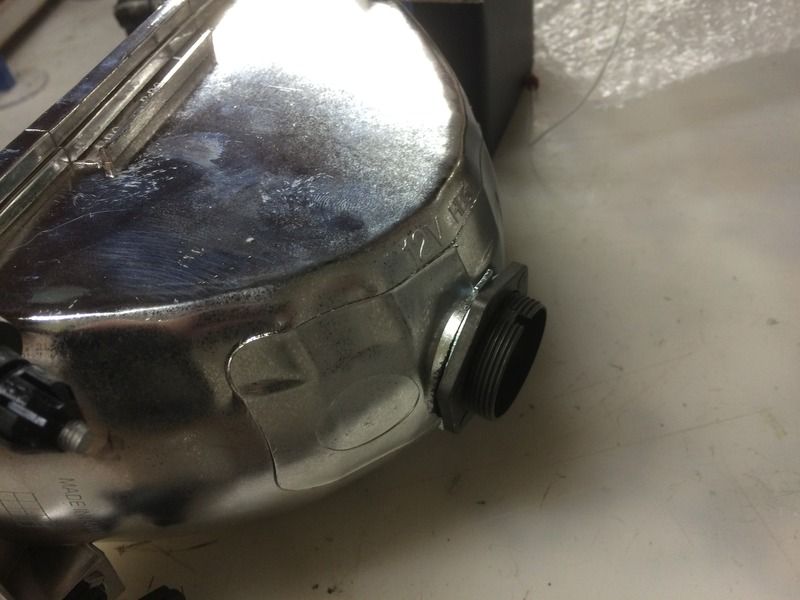
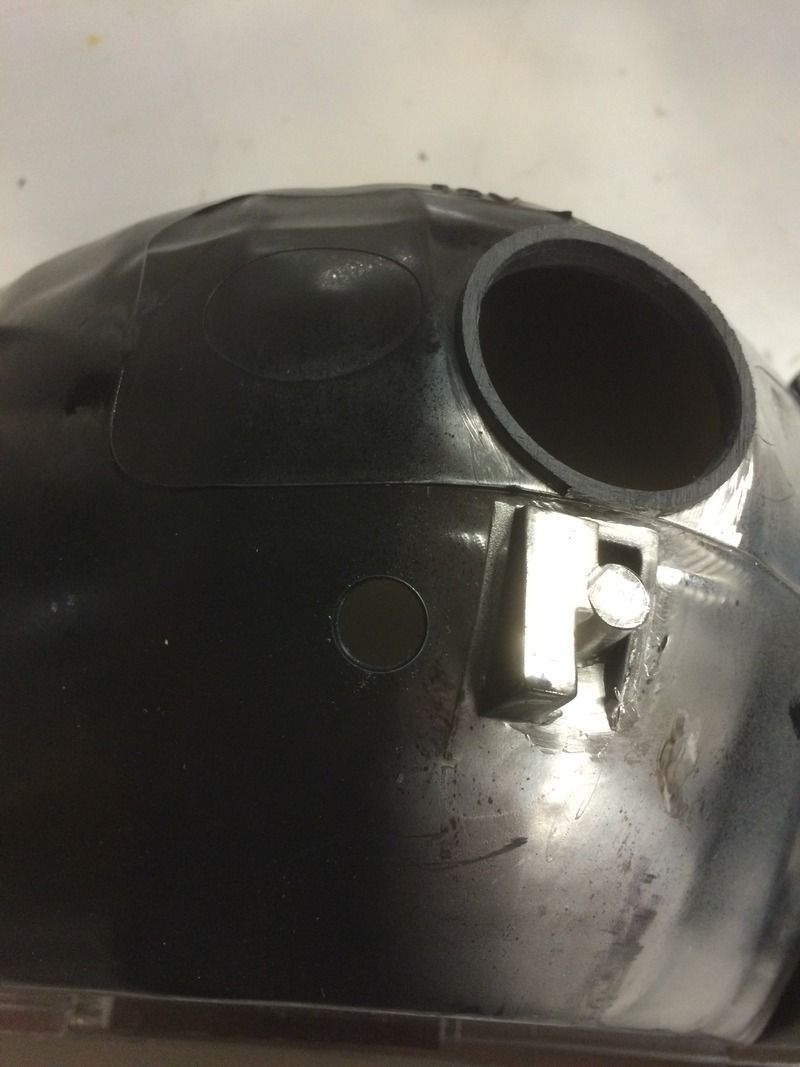
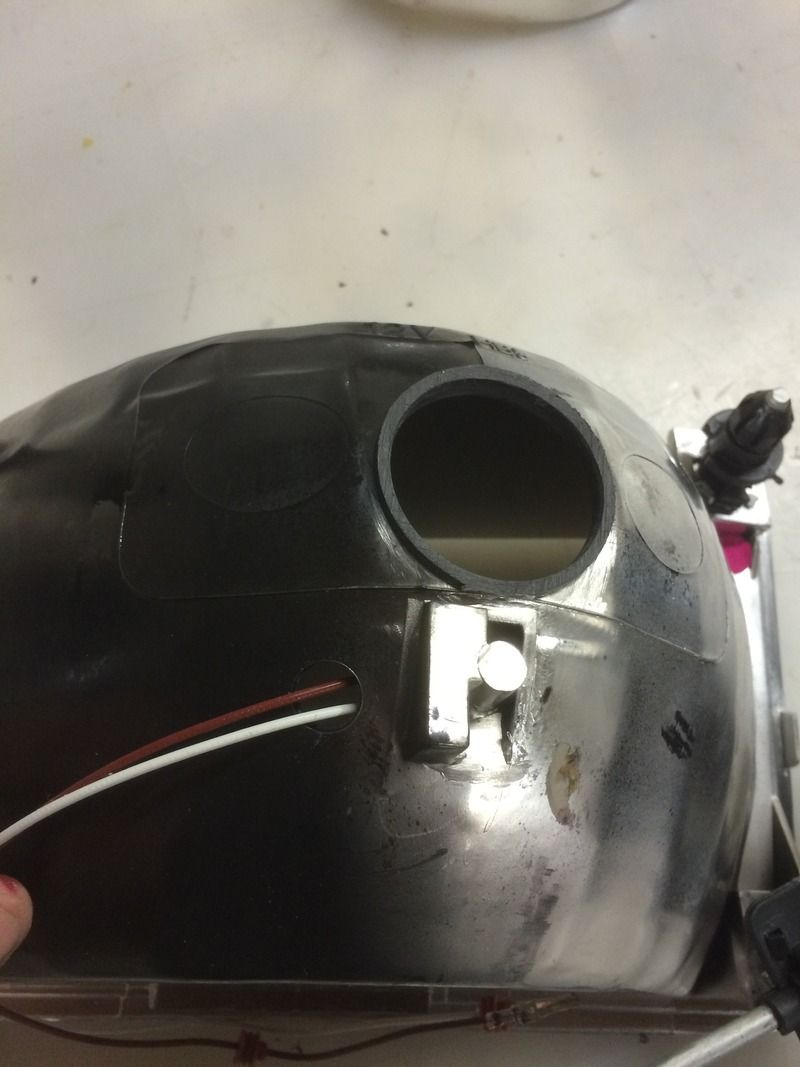
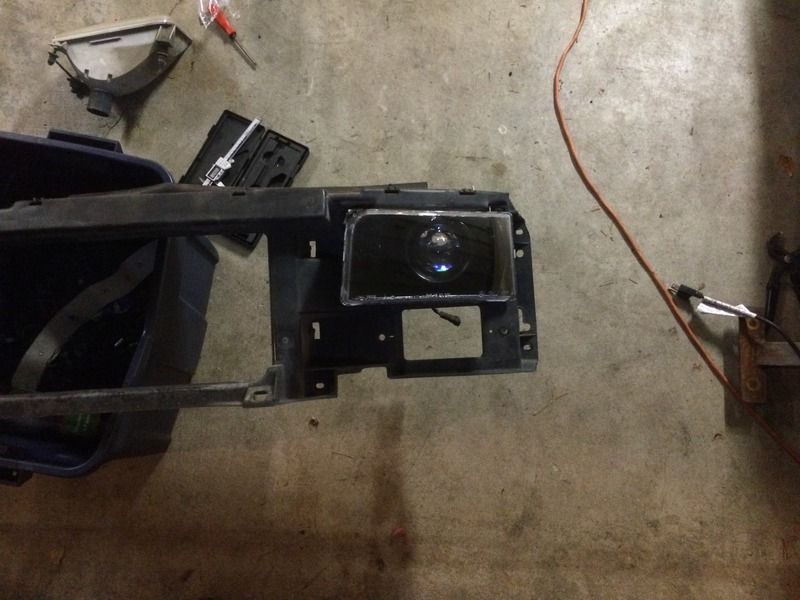
To fit the projector I had to cut the socket for the 9007 bulb flush and bore the hole out about .250

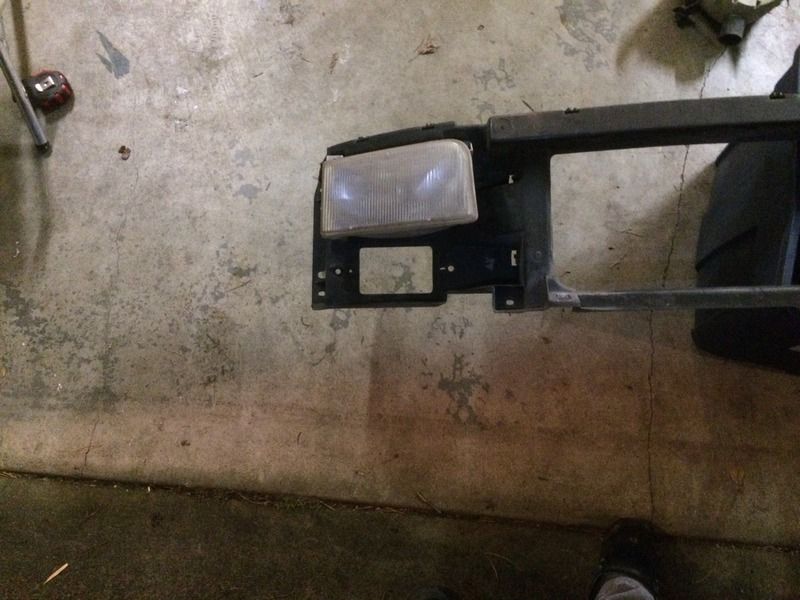
Before


After


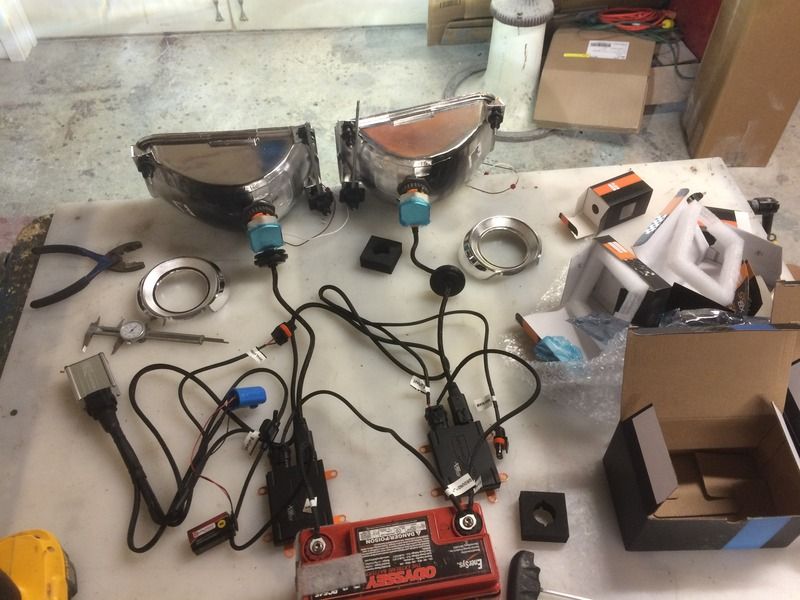
Test fitting the projector


Had to drill a hole for the high beam actuator wires


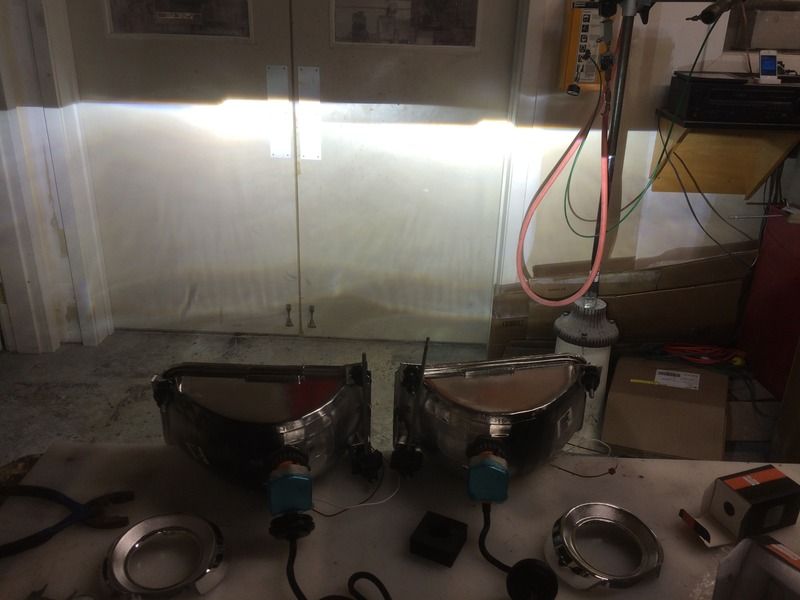
I used an old odyssey battery I had laying around to power everything up and test the function


I hate chrome so I painted the housings satin black to match the grill and tone down the "bling" factor


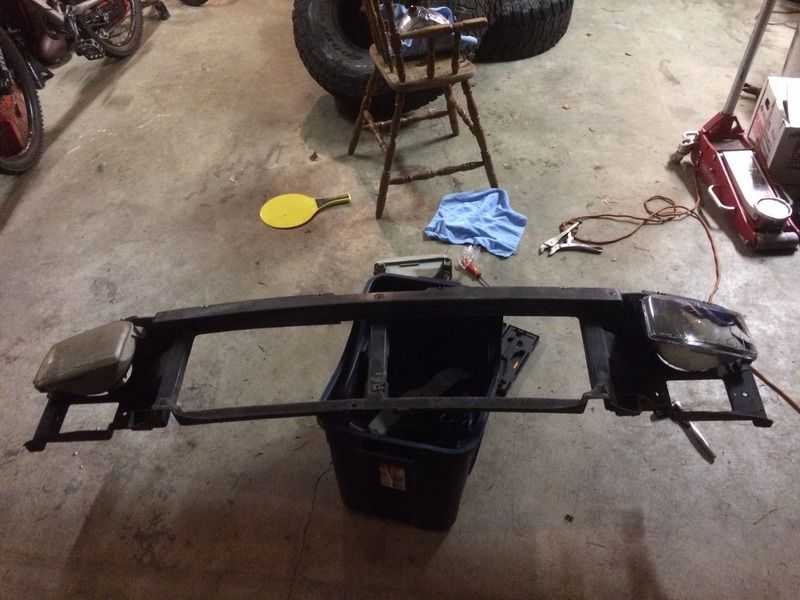
It is much easier to remove the headlights with the header panel removed. The clips that hold them in were a three tool affair


The header panel with one new and one old


I measured the adjusters on the factory headlights and set the new ones to the same length and that turned out to be an amazing time saver. I had read of several guys taking four plus hours to align the beams alone! Mine were almost perfect first try since I matched everything up before hand.
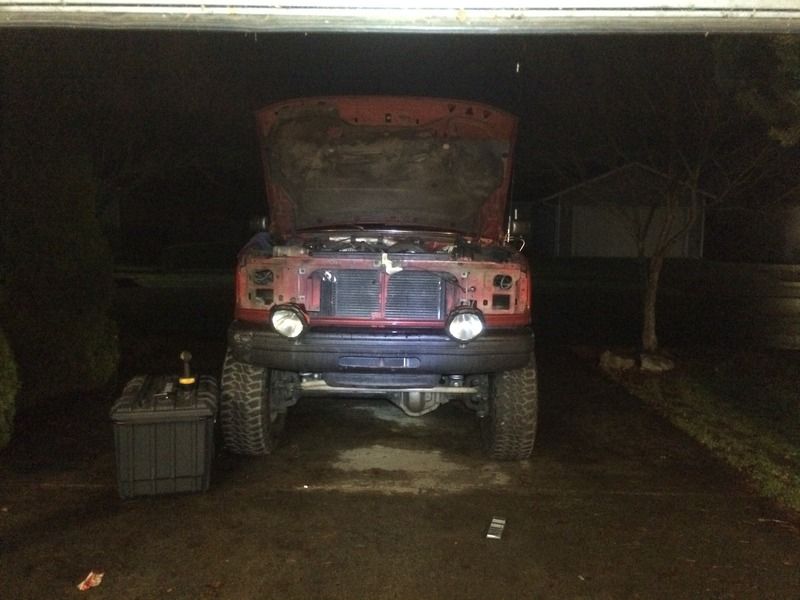


At first I lowered the cutoff from where the factory lights were because I never adjusted them after the tires and lift. Turns out on my initial test drive they were way too low and I had to go back and raise them up to were they started.
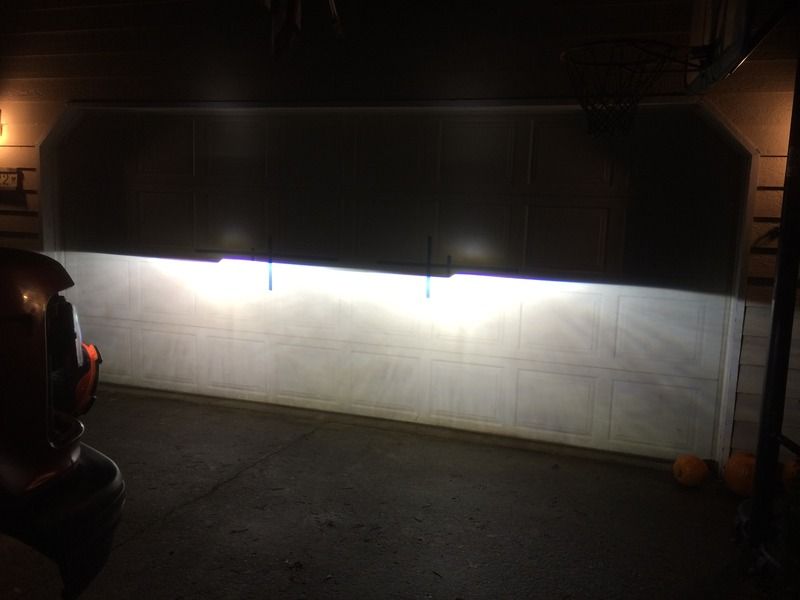
The cutoff is so crisp and clean that I can run them a little higher than normal because there is no stray light above it to blind oncoming traffic. The step down is perfectly even with the center line when driving as well.
 

amgvr4

Adventurer
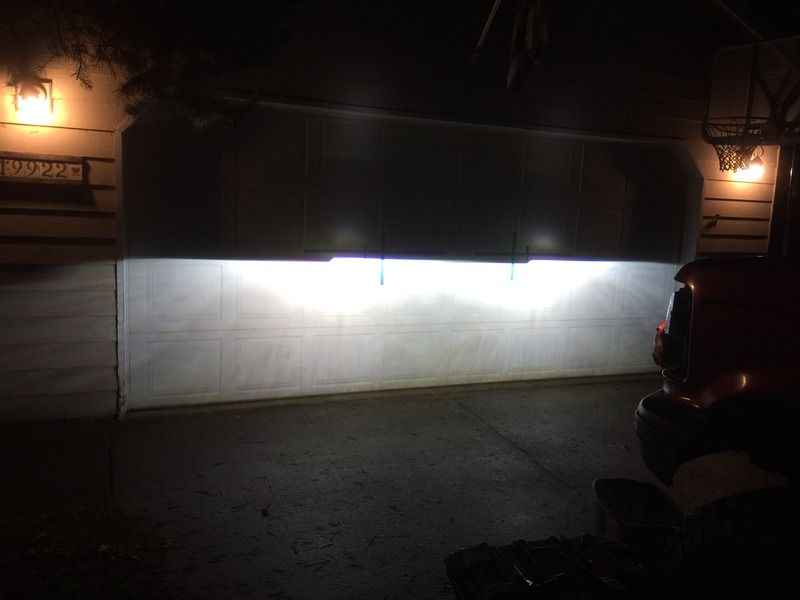
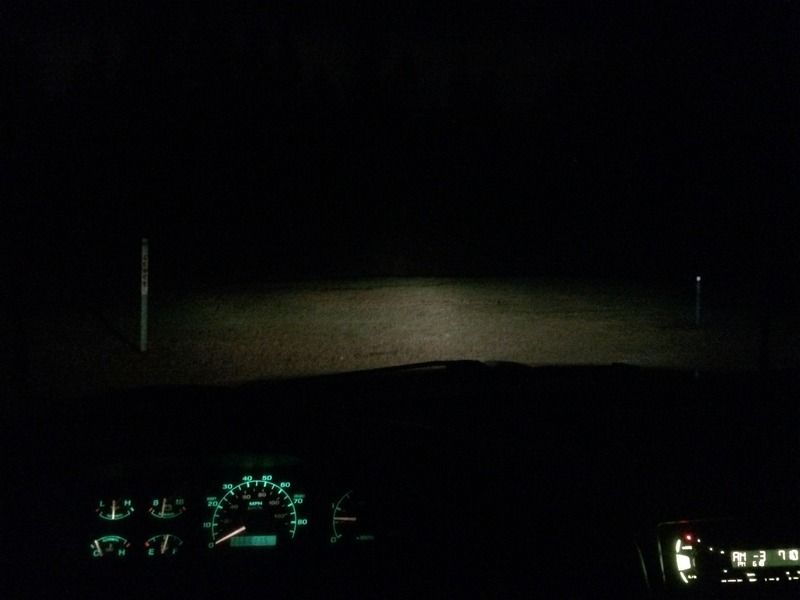
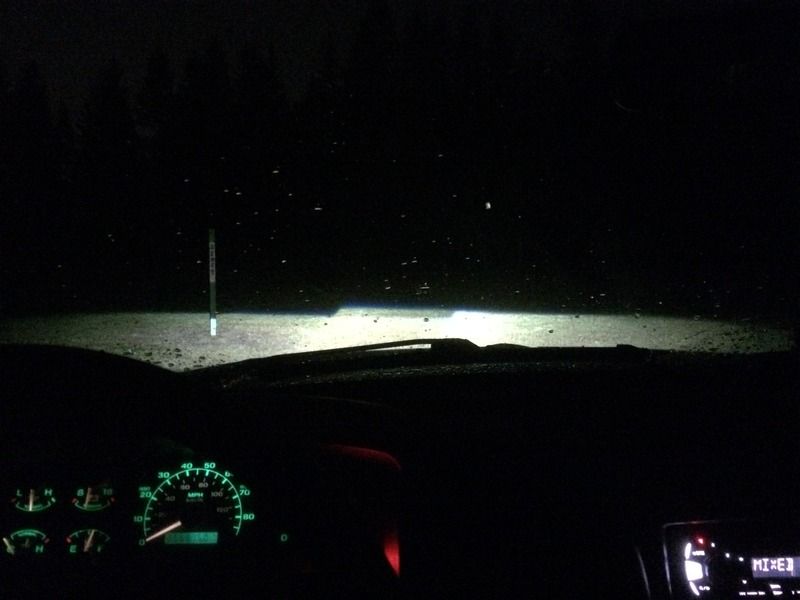
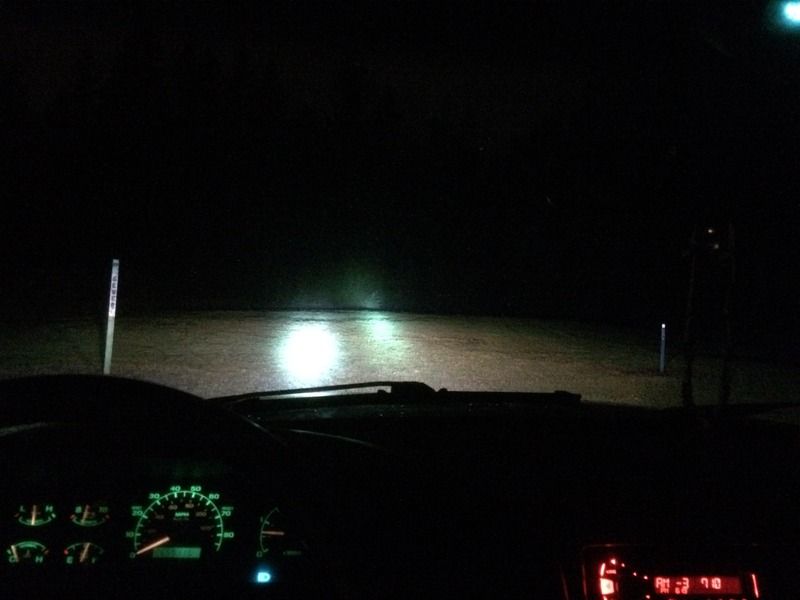
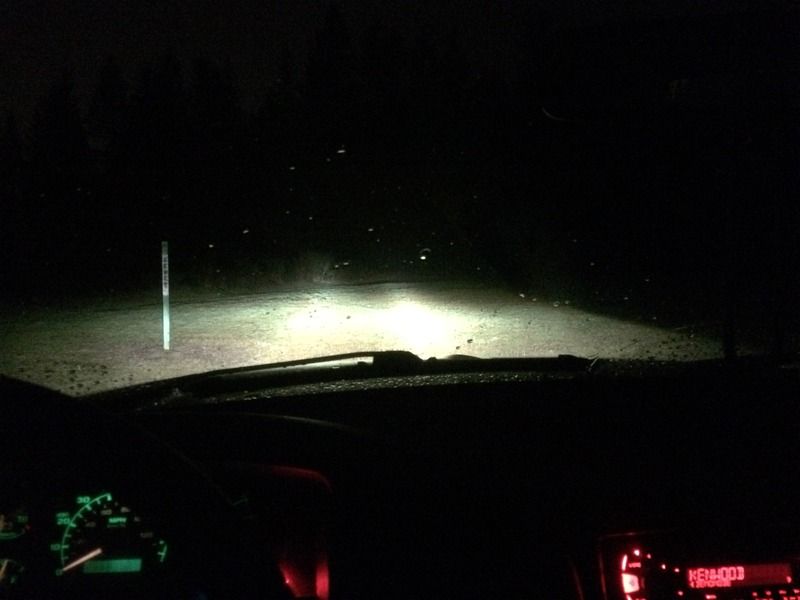
Here are some before and after shots. It is difficult to capture the true output of headlights on a camera but the improvement is significant

Old lights low beams only


New lights low beams, this picture was before I re-aimed the lights up so it is a bit low


Old high beams plus 9" HID driving lights


New high beams without driving lights


I will get some better pictures in the light of how the truck looks with them. So far it was well worth the time and investment.
 

Forum statistics

Threads
188,249
Messages
2,904,493
Members
229,805
Latest member
Chonker LMTV
Top