amgvr4
Adventurer
Thanks for the positive feedback man, I hoped that this thread would provide a good resource and place for ideas for other people so it is nice to hear that it has.
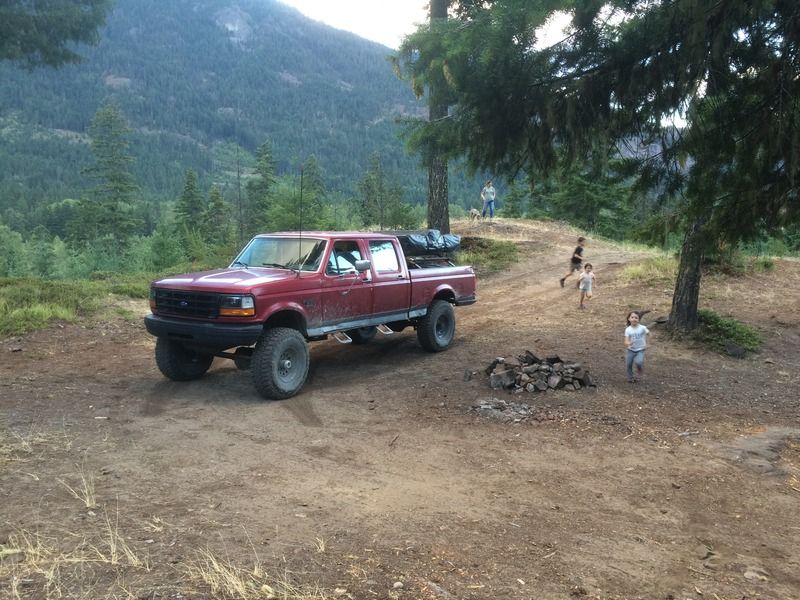
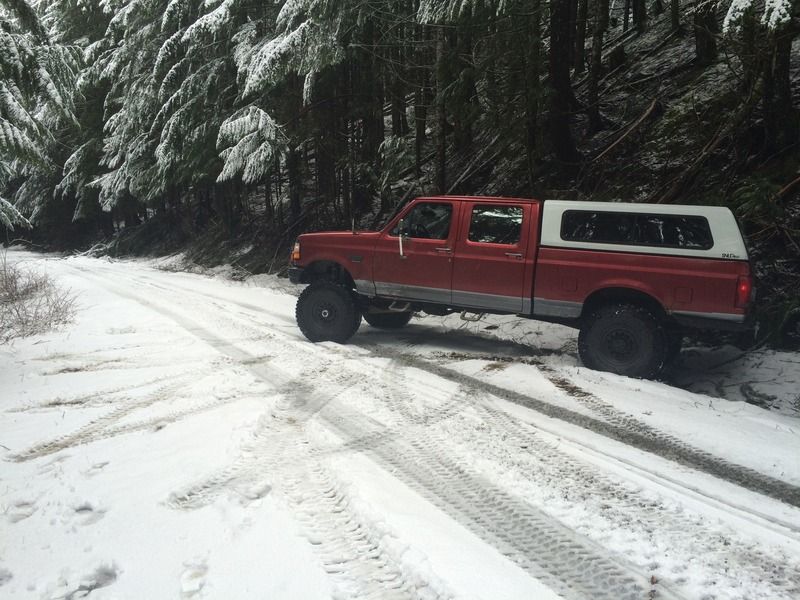
I took the kids out exploring last weekend to see how far I could make it up FS-18 before the snow got too deep. Turns out it was about 3 miles. After mostly clear road with only a few patches of snow we hit close to a foot of crusty impassable white stuff! It looks bretty benign in the pictures but al the truck would do it dig in and sink down. Being on my own I wasn't brave enough to hit it with enough momentum to make it much further!
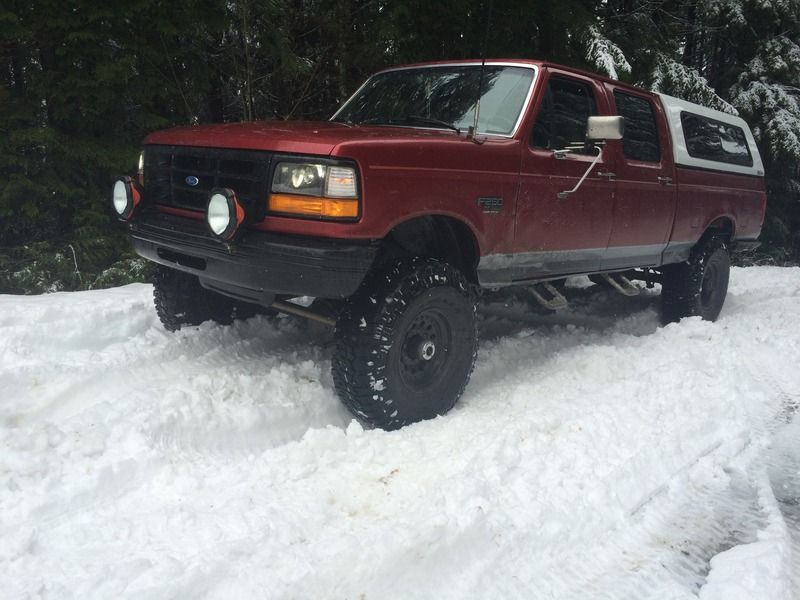
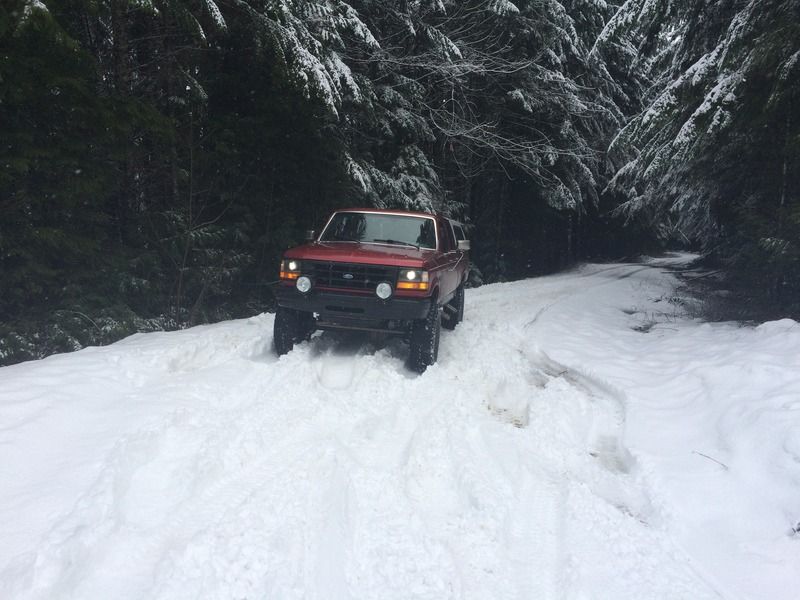
I backed up until I found a spot big enough to do a 7 point ditch to cliff turnaround. Big trucks can be an adventure on the back roads for sure
After that we went down every offshoot road I could find just to see what there was. On one we came across this tree that was blocking the road and decided it would be a good time to practice my trail clearing skills and my new to me chainsaw. The saw worked great and after about 30 min of work the road was passable
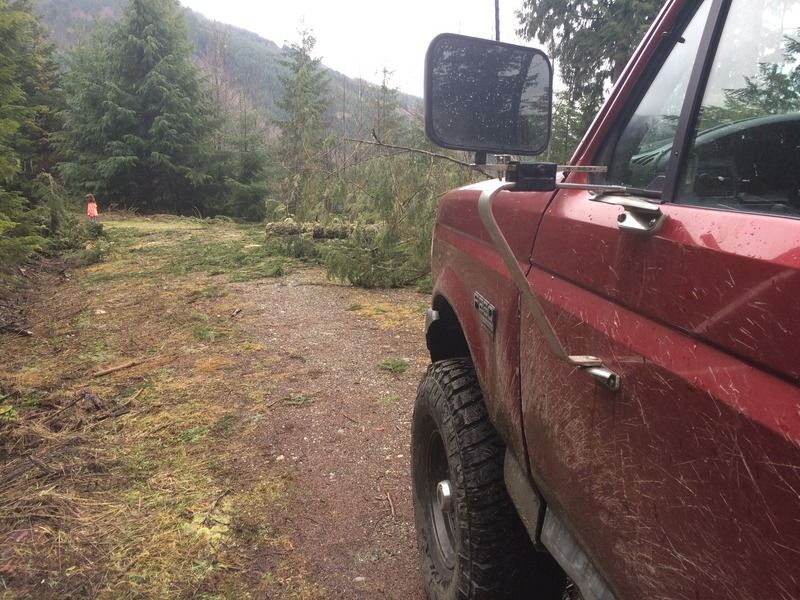
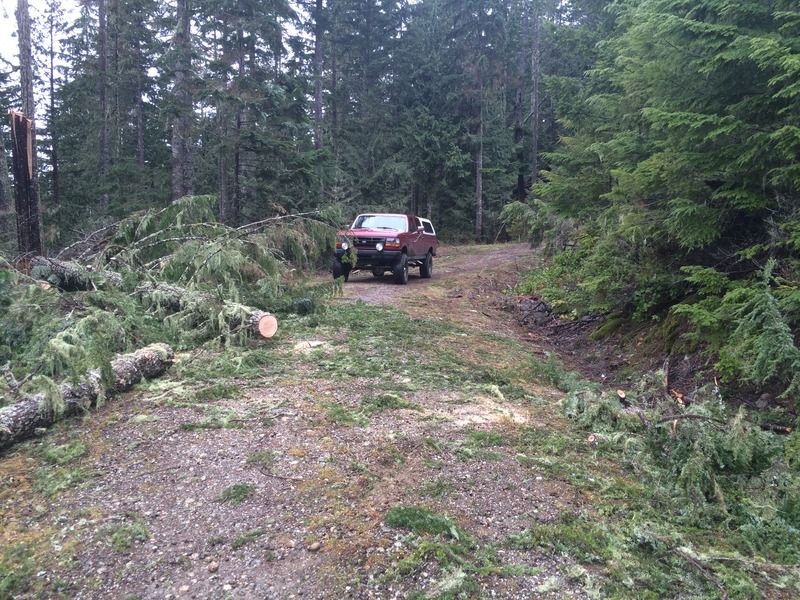
I didn't have enough room in the truck or I would have taken some of it for this summers fire wood. At the bottom I aired up and let the kids play outside for a bit. I have a TMJ compressor and it just barely works for the pressure I run in these big meats. I need to find a bigger one that I can mount in the engine compartment to speed the process up a bit.
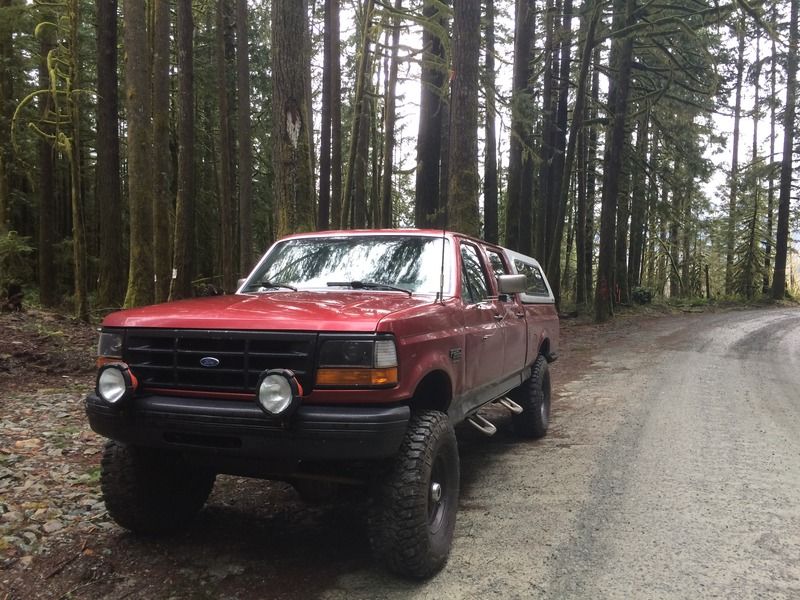
I also had to modify my lighting in the canopy as the adhesive lost its stick and the strips were falling down in the bed. I ended up using sticky back hook Velcro since it sticks to the carpet on the canopy really well and it allows me to move the light strips around if I want to adjust the lighting as needed. I am still using a 9V battery so pretty soon I need to hook it into the truck to get a full 12V and eliminate the need to carry batteries.
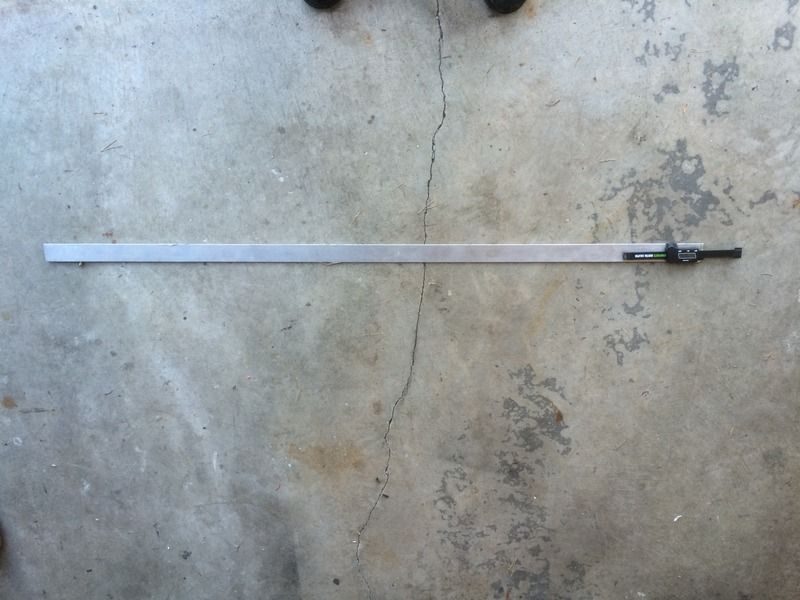
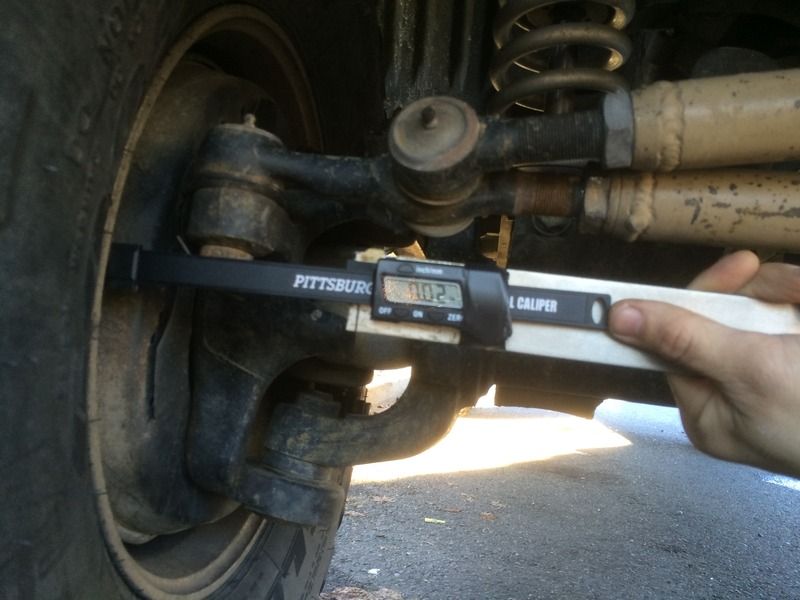
I also built a simple alignment measuring tool to adjust my toe out on the beast. I picked up a plastic 6" caliper from HF and cut all the caliper tips off so it was more like a sliding rule. Then I got some 1x1" aluminum angle and glued the caliper to it on one end. This allows me to put the angle up aginst the inside edge of the drivers rim and then extend the caliper face to touch the passenger side. Then I zero the caliper and measure the back side of the rim the same way. The difference is the amount your toe is off, a positive number means toe in and a negative number means toe out. Simply adjust the tie rod half the amount the caliper readout measured and recheck. Your toe is set when the caliper reads 0.00 on the front and back of the rim. Takes about 5 min tops and can be done on the side of the trail pretty easy. I plan on making the L angle adjustable in length so I can use it on other cars as well with narrower track widths.
This is V1 when I only had flat aluminum and electrical tape on the caliper.
Measure the front edge, zero, then measure the back edge. So much easier than using a tape measure
I took the kids out exploring last weekend to see how far I could make it up FS-18 before the snow got too deep. Turns out it was about 3 miles. After mostly clear road with only a few patches of snow we hit close to a foot of crusty impassable white stuff! It looks bretty benign in the pictures but al the truck would do it dig in and sink down. Being on my own I wasn't brave enough to hit it with enough momentum to make it much further!


I backed up until I found a spot big enough to do a 7 point ditch to cliff turnaround. Big trucks can be an adventure on the back roads for sure

After that we went down every offshoot road I could find just to see what there was. On one we came across this tree that was blocking the road and decided it would be a good time to practice my trail clearing skills and my new to me chainsaw. The saw worked great and after about 30 min of work the road was passable


I didn't have enough room in the truck or I would have taken some of it for this summers fire wood. At the bottom I aired up and let the kids play outside for a bit. I have a TMJ compressor and it just barely works for the pressure I run in these big meats. I need to find a bigger one that I can mount in the engine compartment to speed the process up a bit.

I also had to modify my lighting in the canopy as the adhesive lost its stick and the strips were falling down in the bed. I ended up using sticky back hook Velcro since it sticks to the carpet on the canopy really well and it allows me to move the light strips around if I want to adjust the lighting as needed. I am still using a 9V battery so pretty soon I need to hook it into the truck to get a full 12V and eliminate the need to carry batteries.
I also built a simple alignment measuring tool to adjust my toe out on the beast. I picked up a plastic 6" caliper from HF and cut all the caliper tips off so it was more like a sliding rule. Then I got some 1x1" aluminum angle and glued the caliper to it on one end. This allows me to put the angle up aginst the inside edge of the drivers rim and then extend the caliper face to touch the passenger side. Then I zero the caliper and measure the back side of the rim the same way. The difference is the amount your toe is off, a positive number means toe in and a negative number means toe out. Simply adjust the tie rod half the amount the caliper readout measured and recheck. Your toe is set when the caliper reads 0.00 on the front and back of the rim. Takes about 5 min tops and can be done on the side of the trail pretty easy. I plan on making the L angle adjustable in length so I can use it on other cars as well with narrower track widths.
This is V1 when I only had flat aluminum and electrical tape on the caliper.

Measure the front edge, zero, then measure the back edge. So much easier than using a tape measure


