I have left you guys hanging for a while. Sorry about that. We've been busy both with and without the trailer project. We had to complete some vehicle prep for an overland trip, as well as take the trip. We had to take care of some small projects for friends. We have done a bunch of winter prep on the home front. And we had to plan and execute our wedding and honeymoon. So lots of distractions, but lately the trailer has been getting a fair bit of attention. But that attention is sort of all over the place, tying up various loose ends. Previously, I've tried to keep updates focused on a single subsystem, but you'll just have to deal with this smorgasbord of updates. Also, it's only loosely chronological. Whatever.
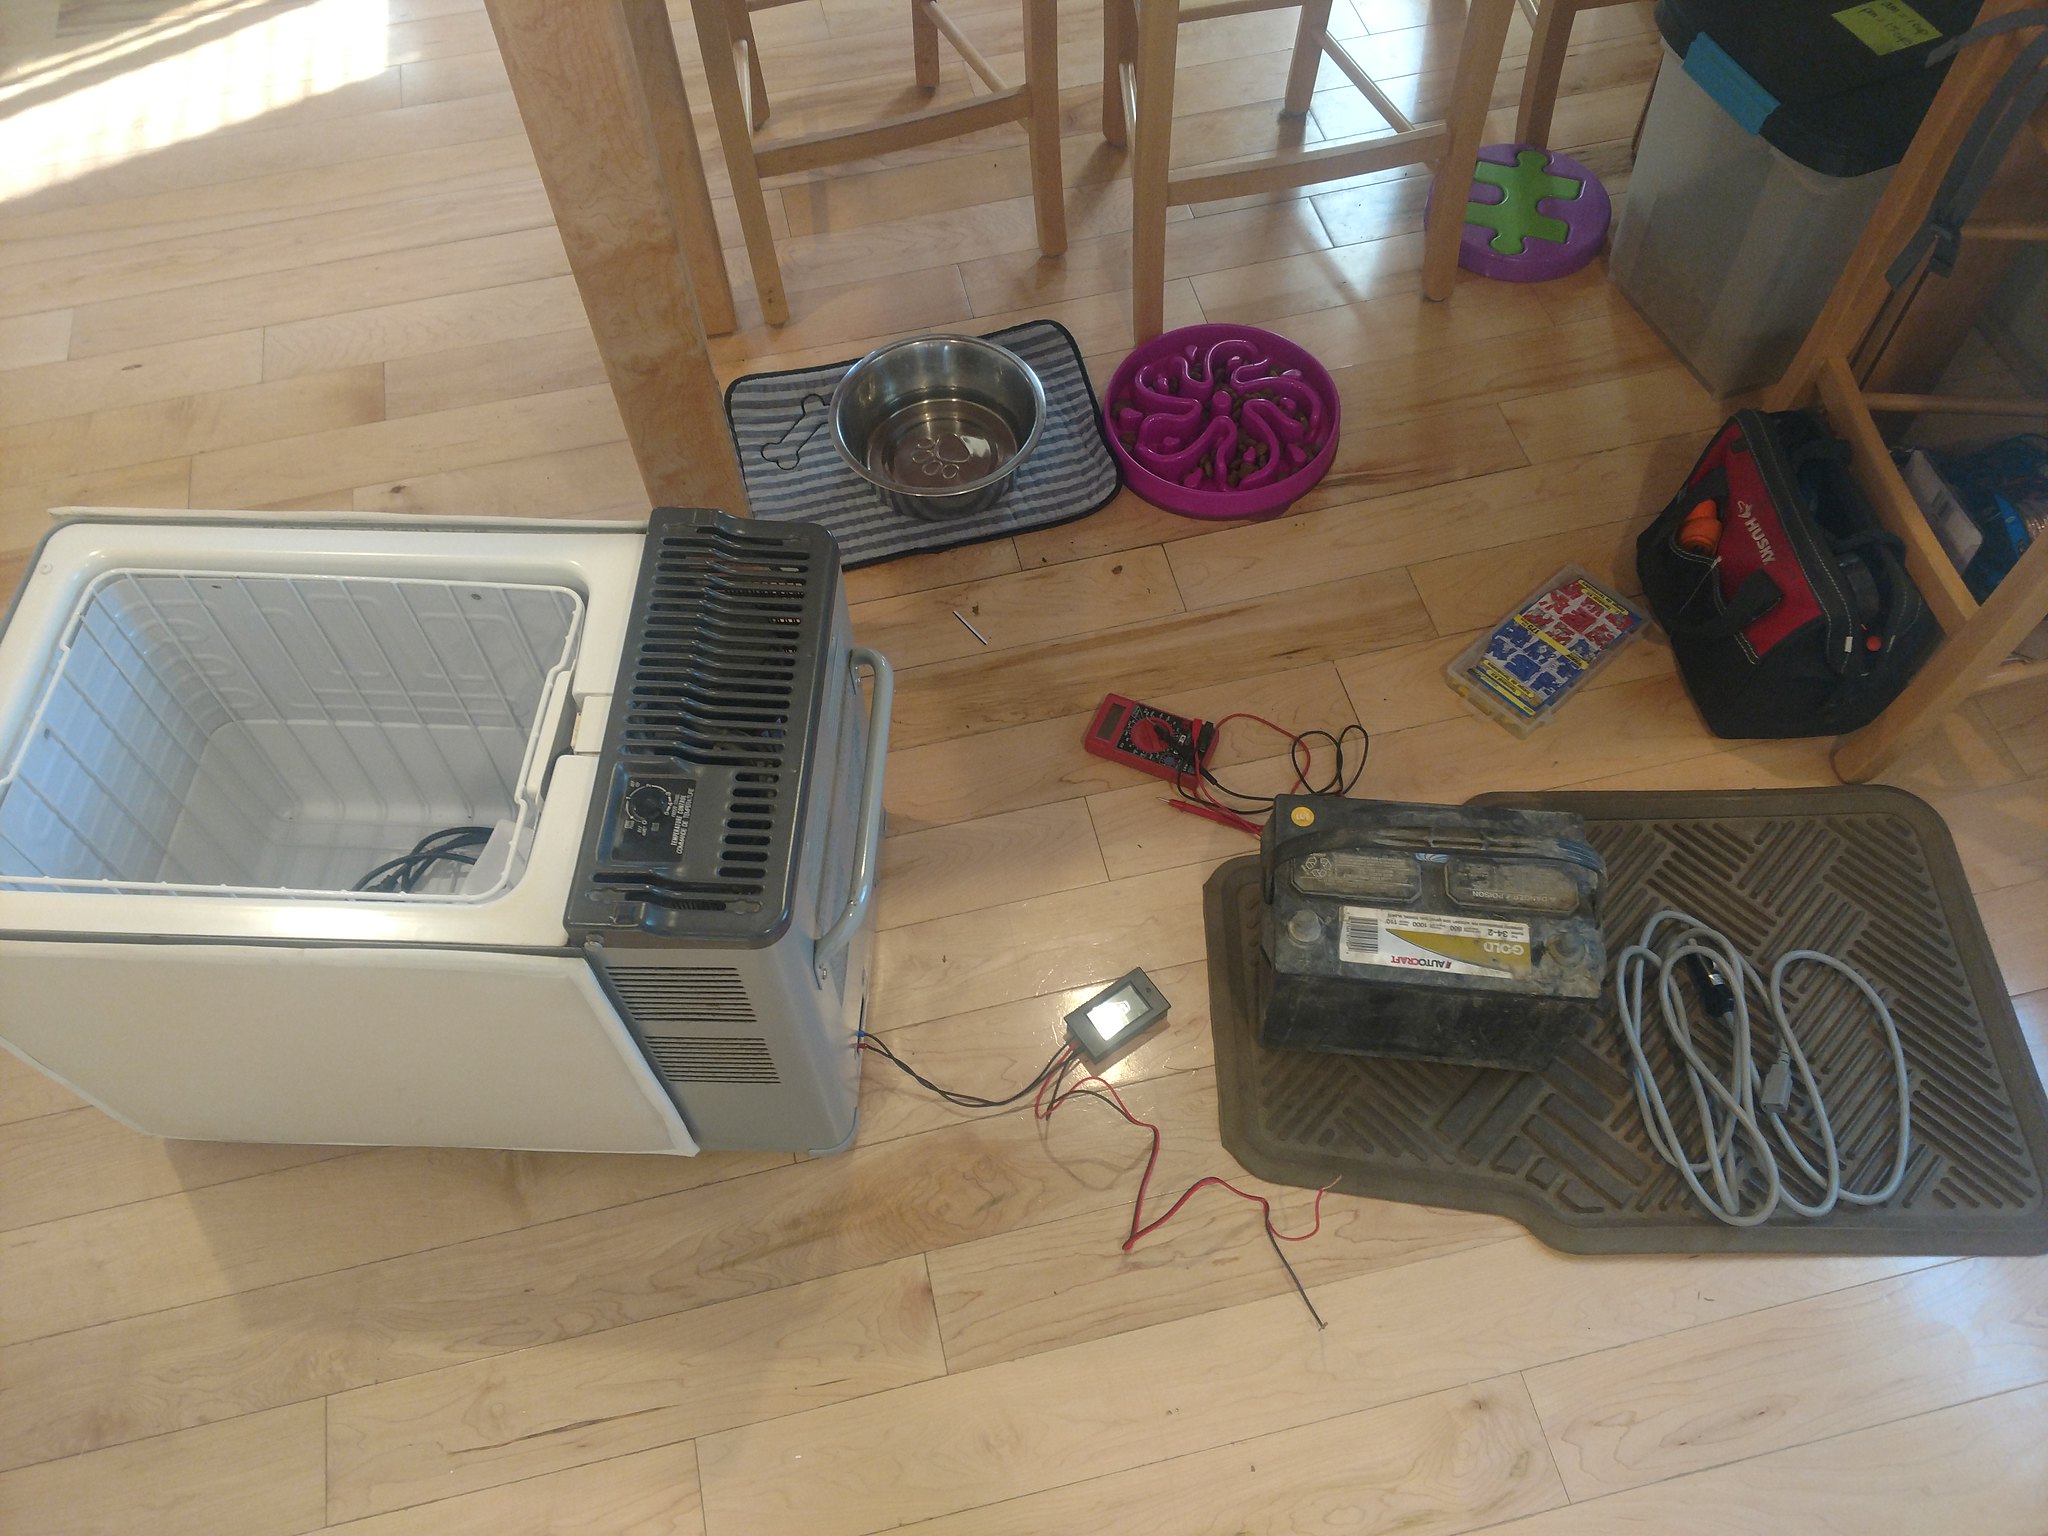
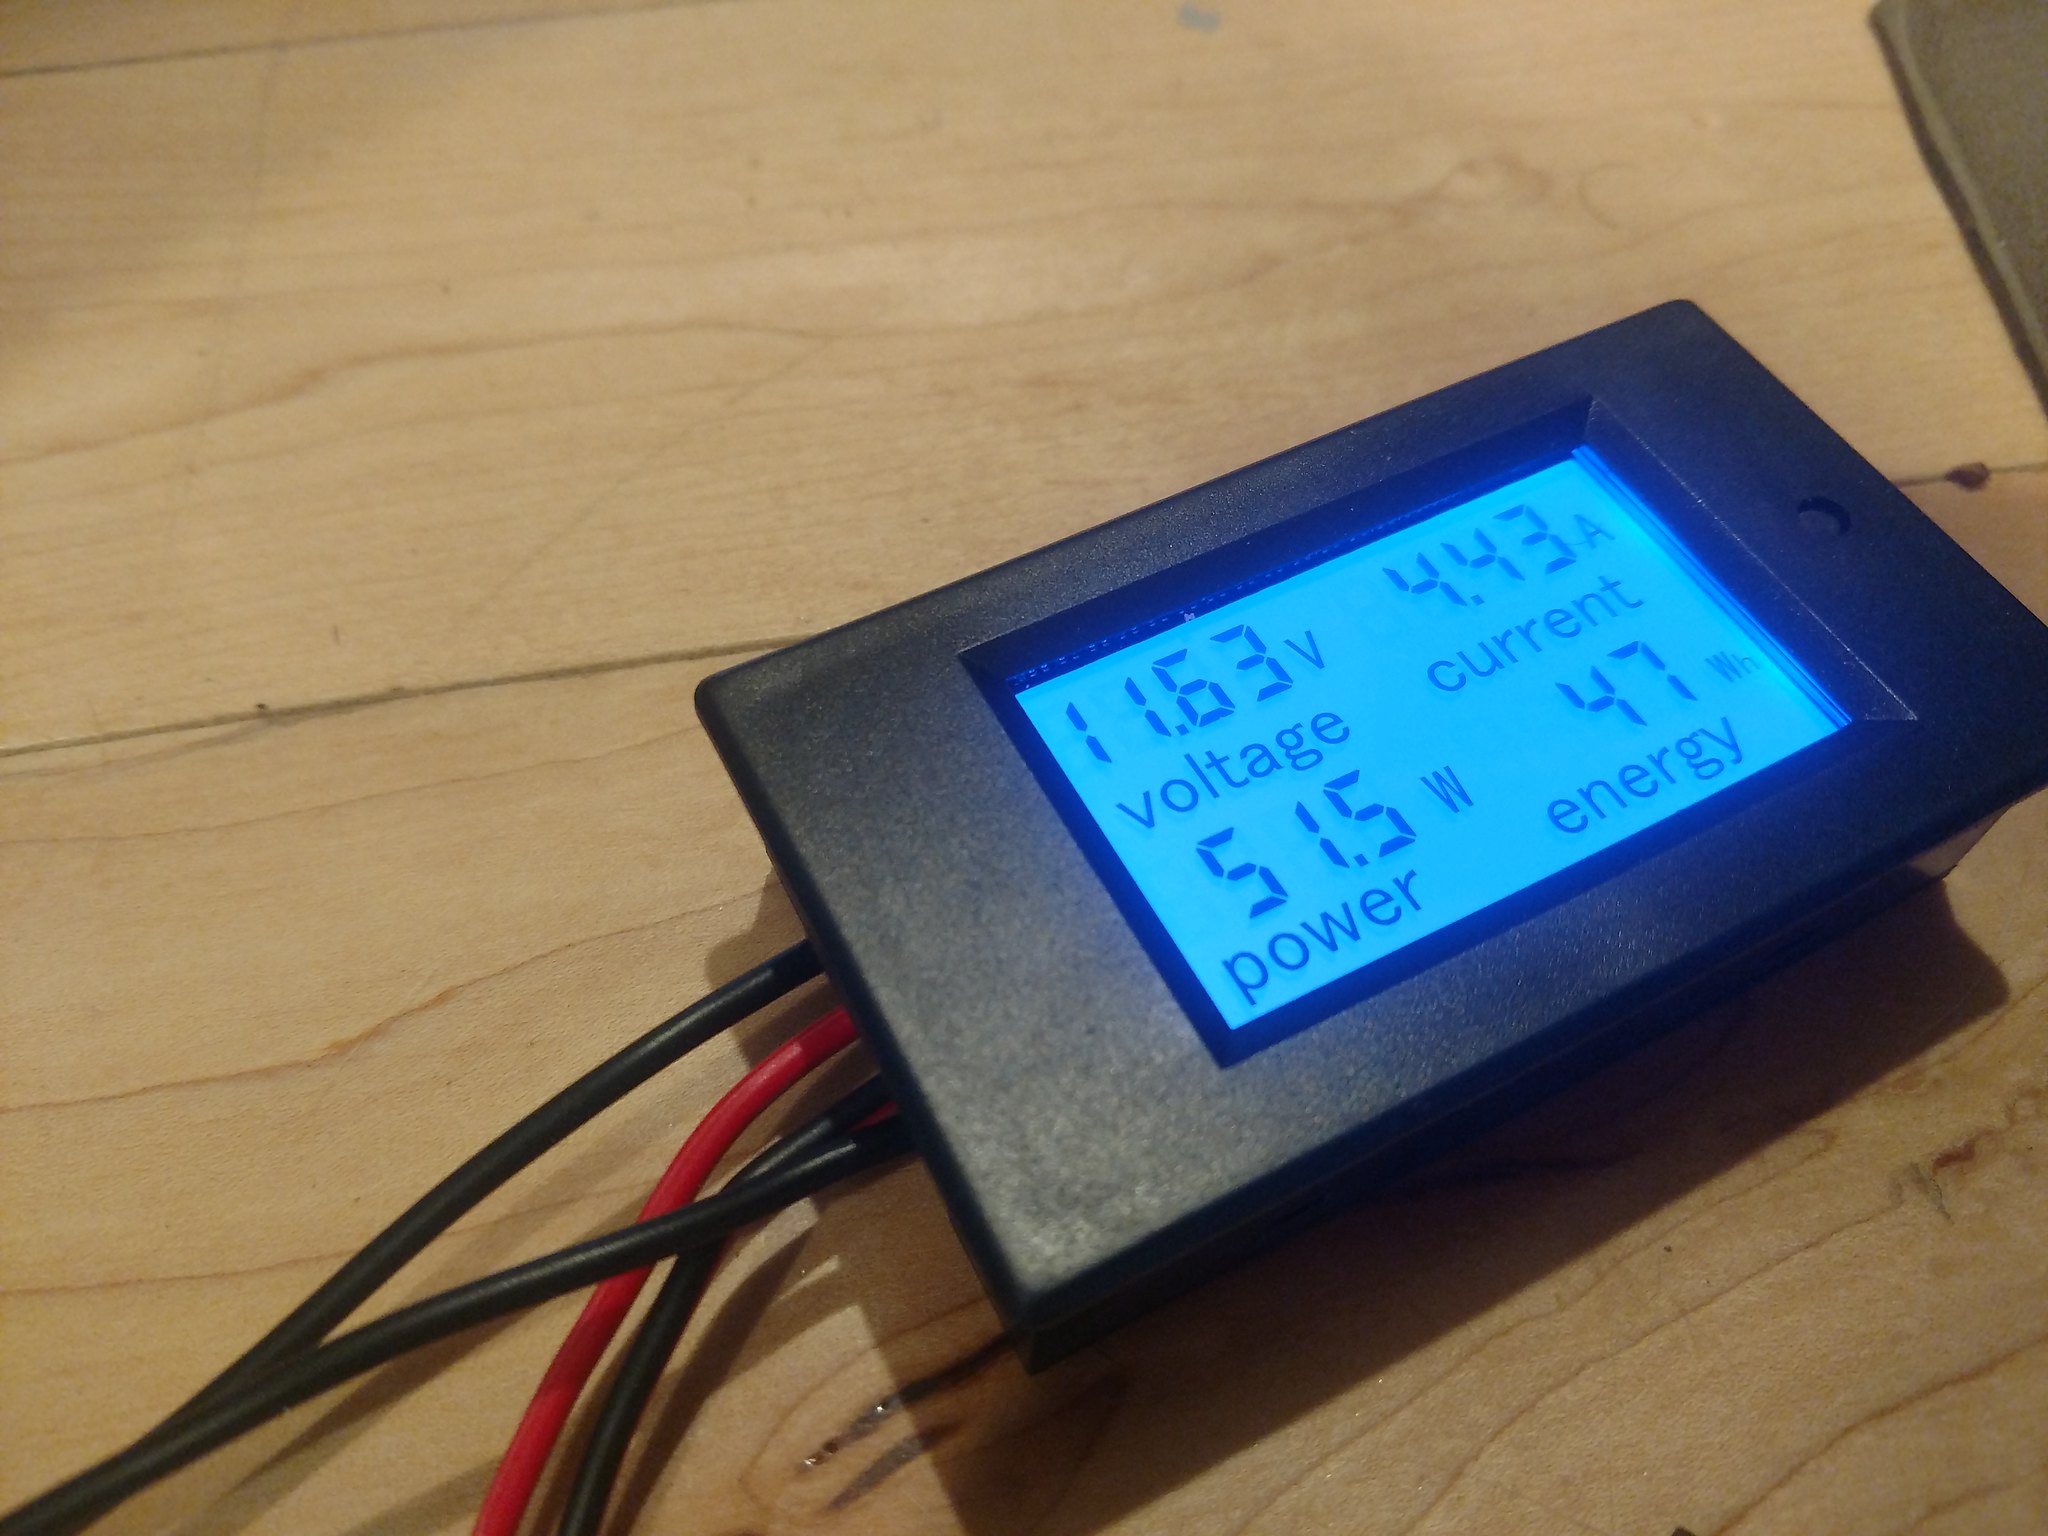
We did some testing of our refrigerator back in July. This should be our most power-thirsty component, so it was the obvious starting point for the power budget. It's a Norcold Tek II, and there's not a lot of good documentation available. What I found was useful but a little worse than I was hoping for. The compressor pulls about 4.5A pretty consistently with the truck off. The duty cycle was about 45% with the fridge empty and interior temperature around 38F.
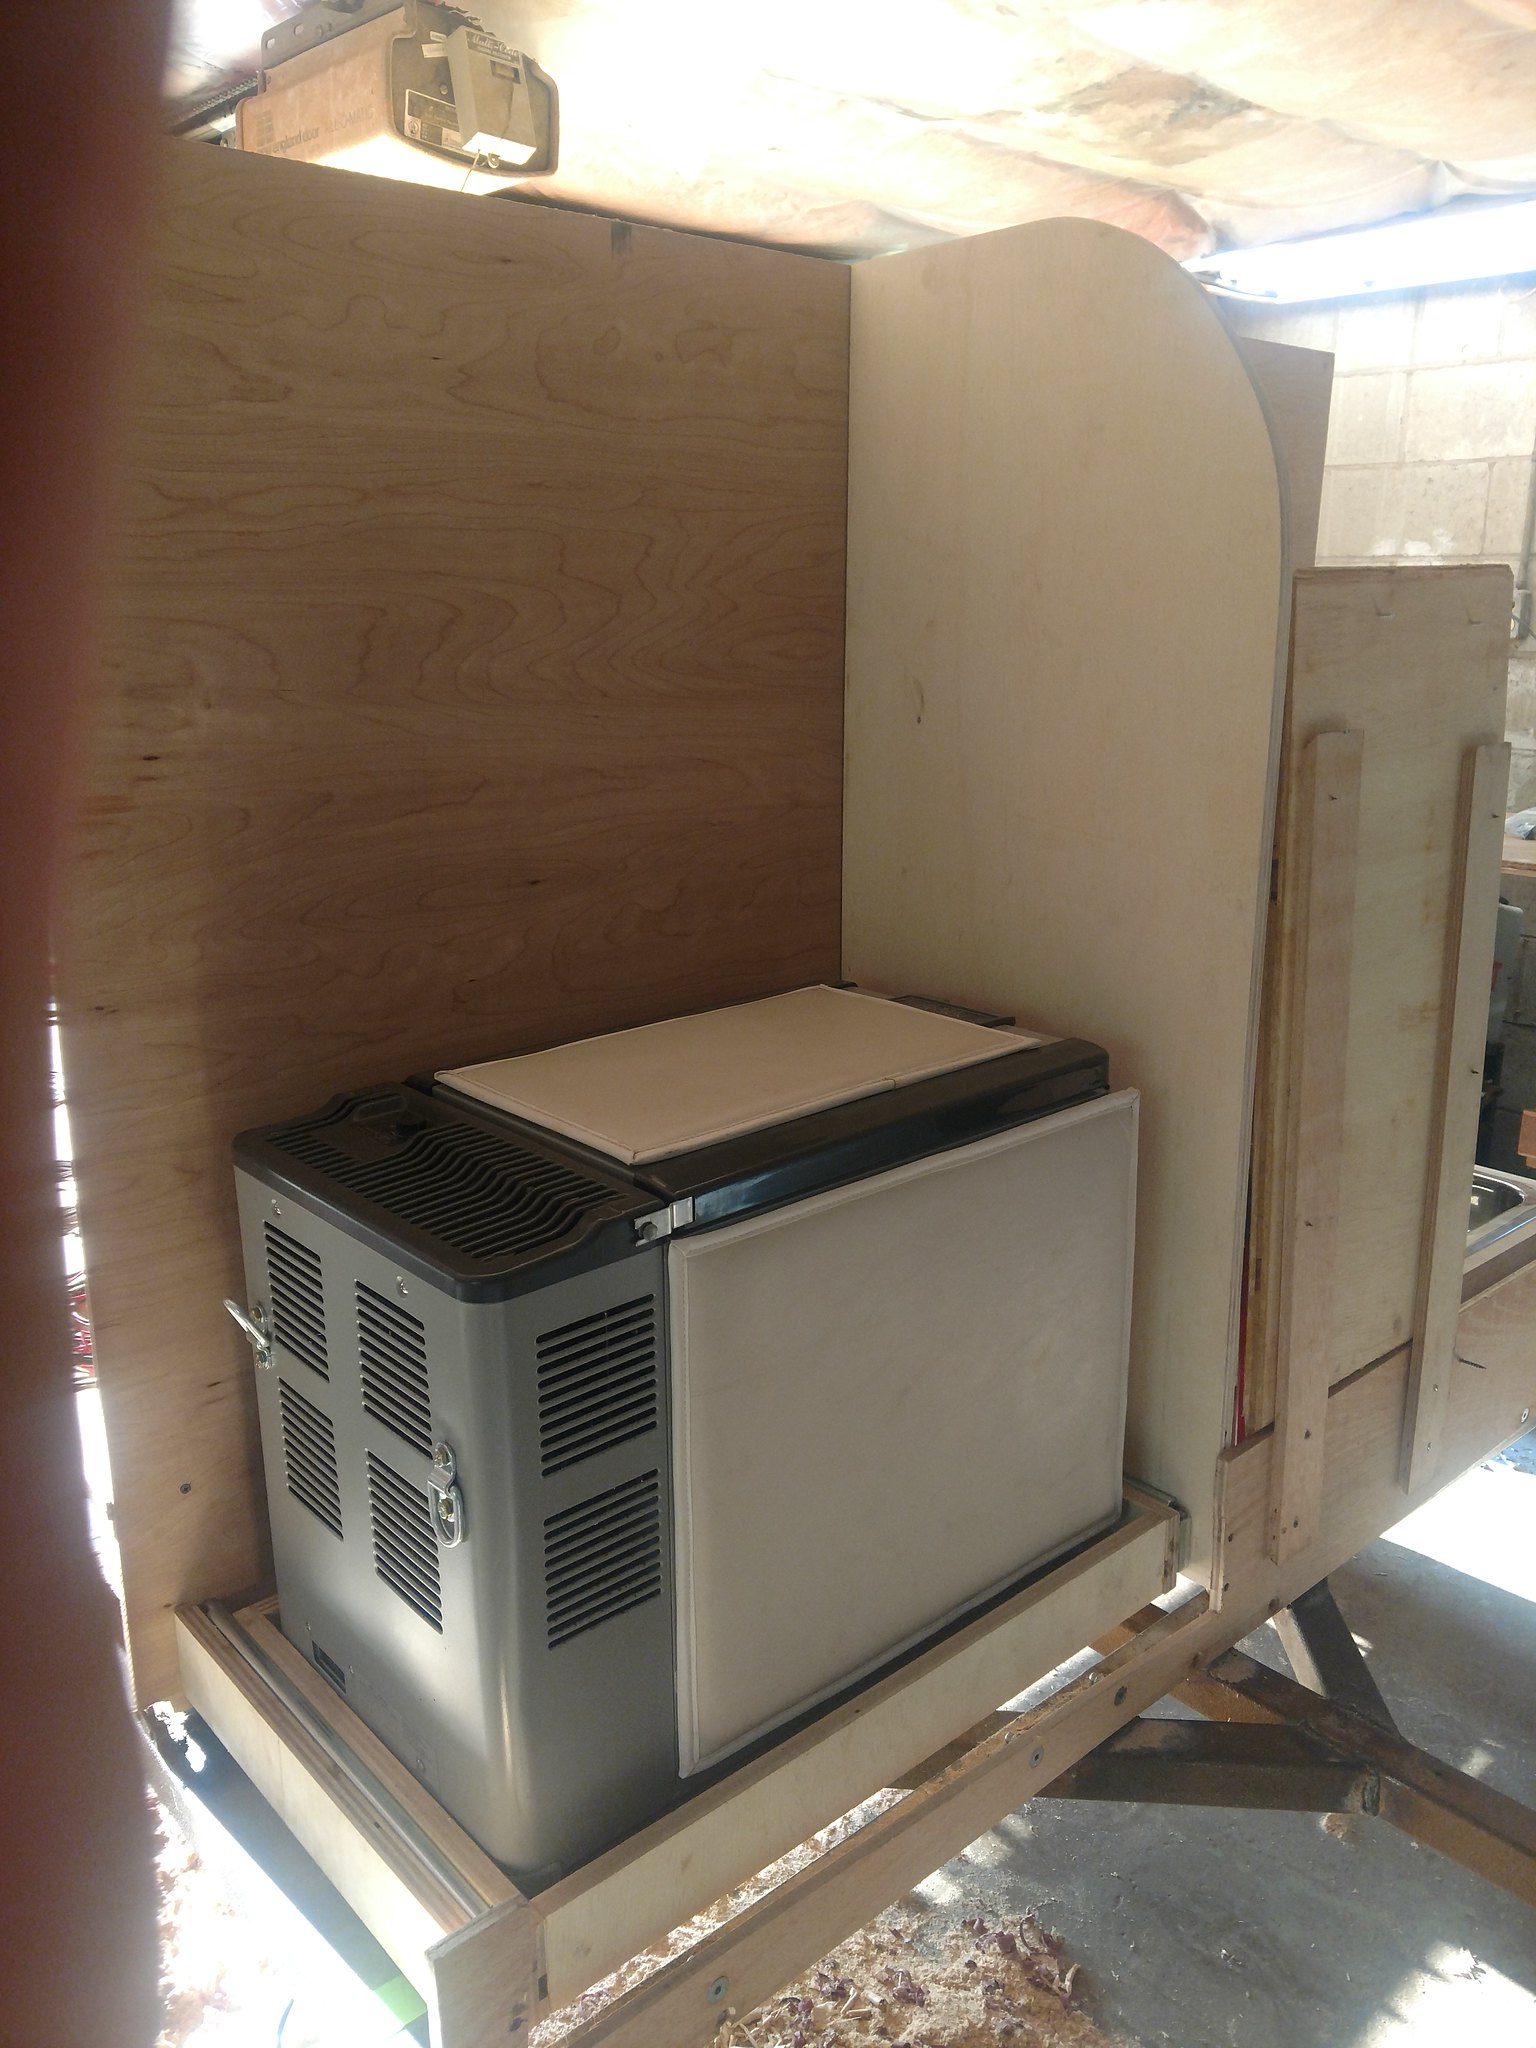
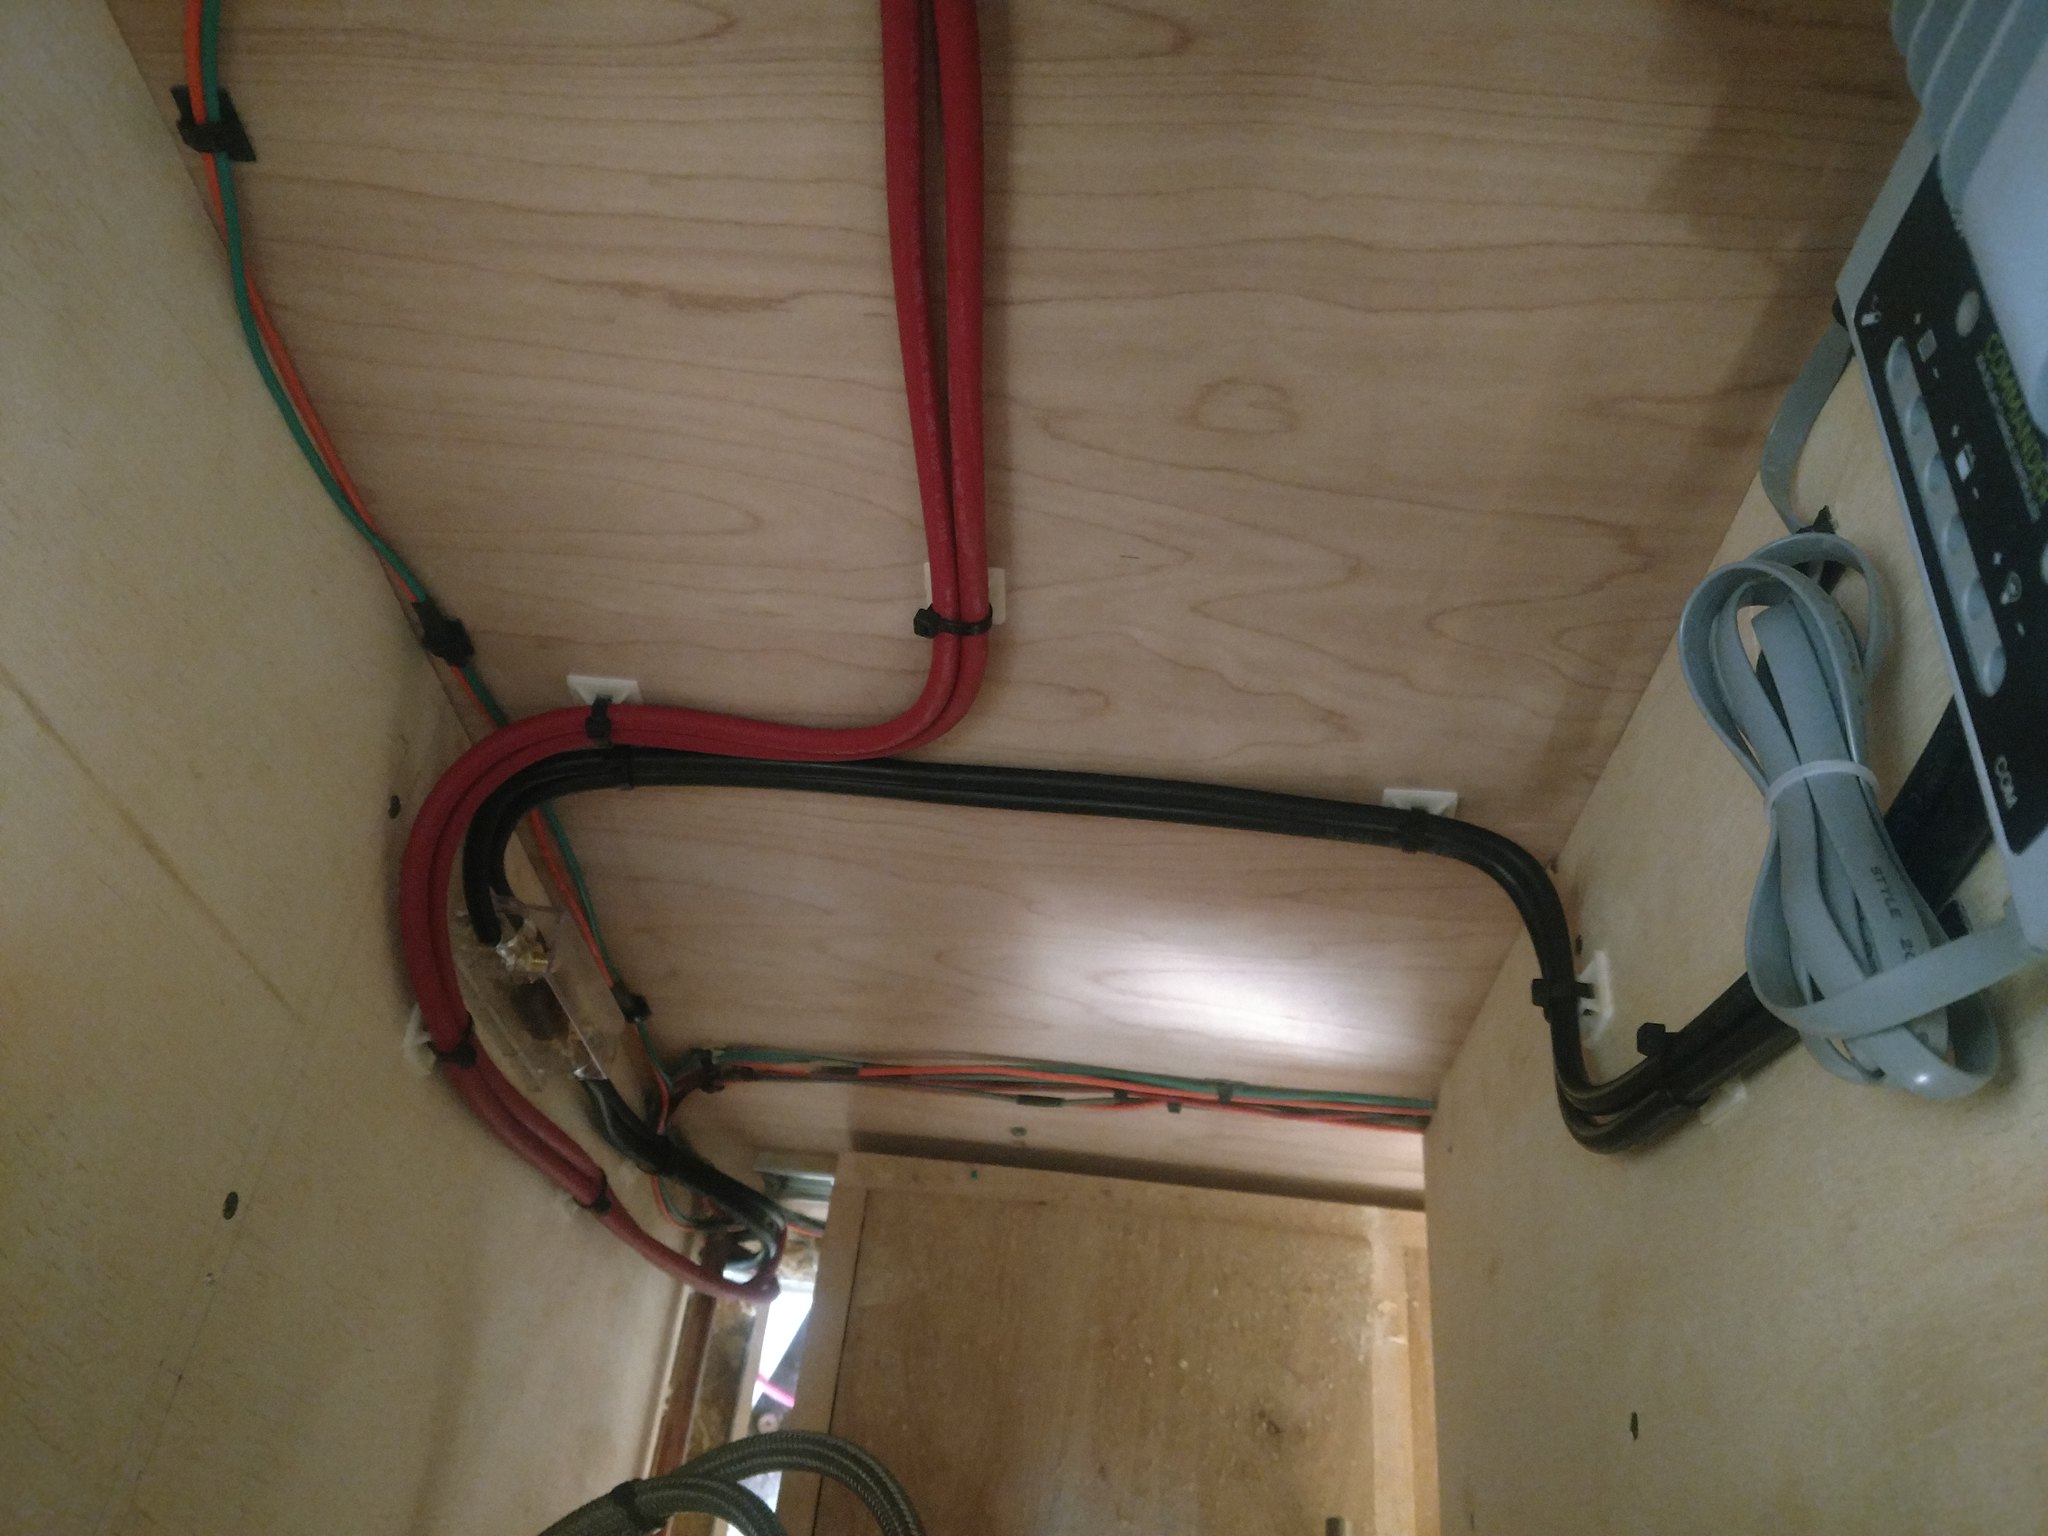
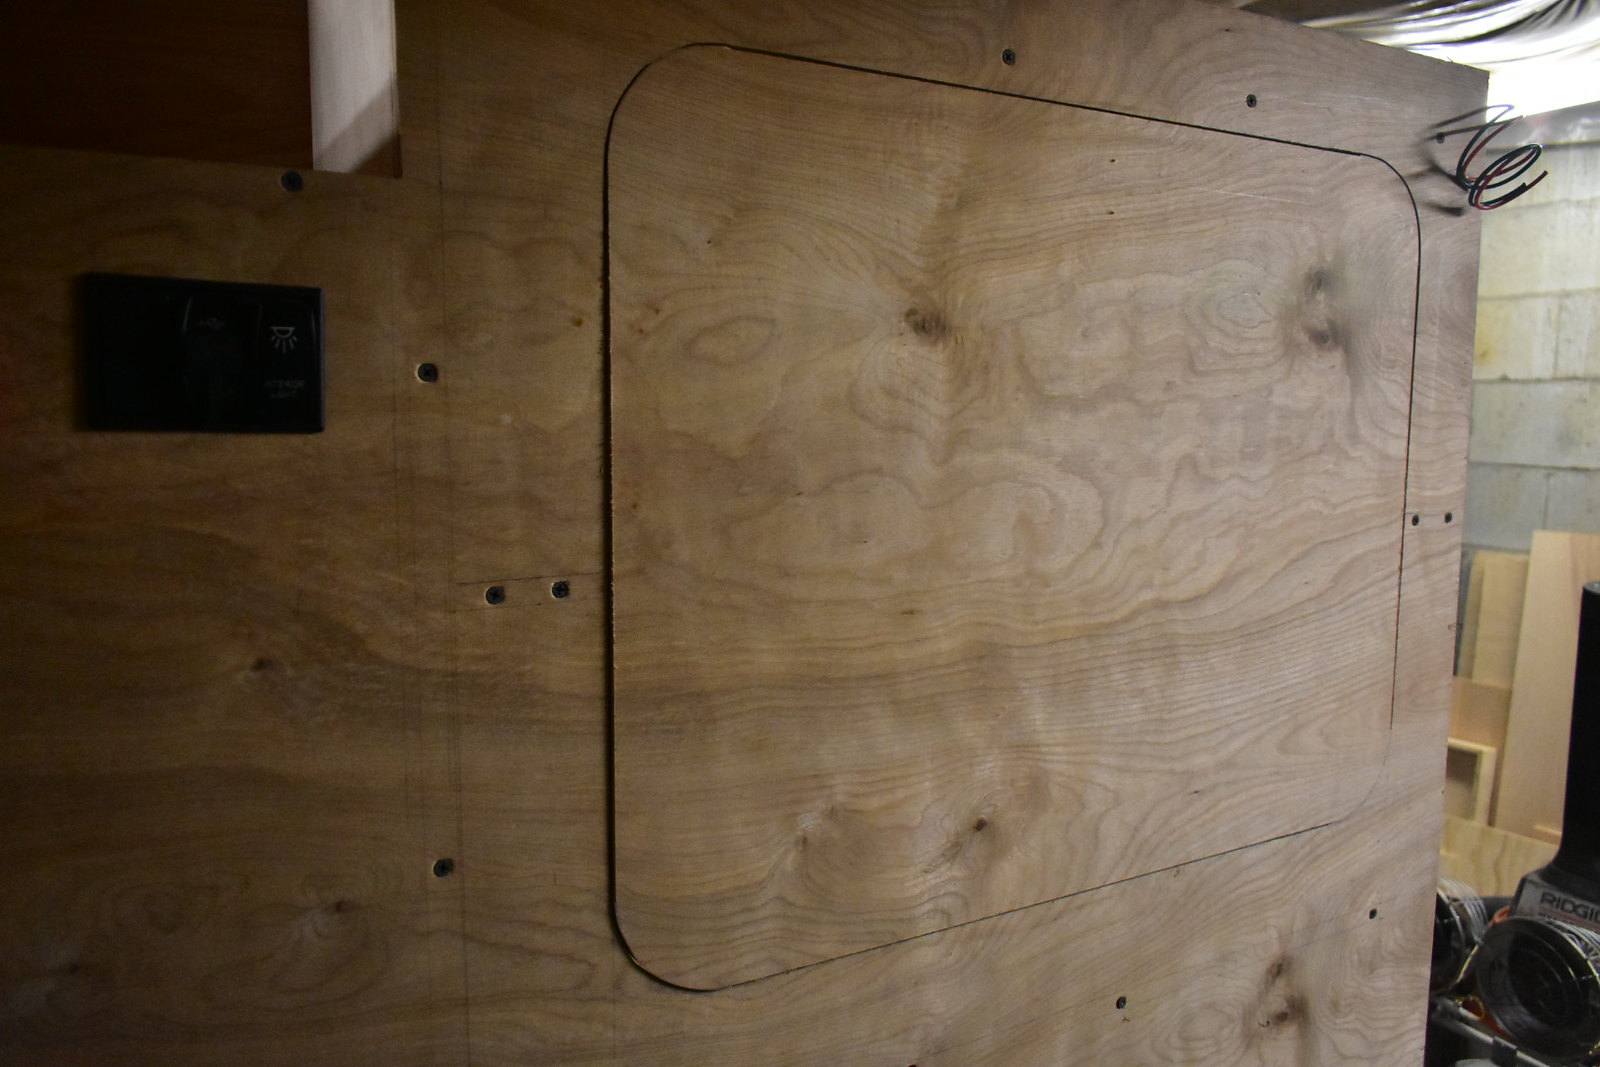
For reference, here's where the fridge will "live" in the trailer:
In my Tacoma with its small, old (read: ancient) battery, less than 4 hours of truck-off time killed the battery flat. This was all less than stellar news. Most of the remaining electrical components have good published data, or were small enough consumers to be considered as negligible. The big 3 will be the refrigerator, water pump (which has a small duty cycle), and the vent fan. The rest is just LEDs.
So we started looking for 100Ah batteries. It was a nice, round, conservative number that aligned with what's fairly easily available. We were slightly deterred because we had to step outside of what's readily available for automotive, but it seemed like a better option than making a dual battery setup once we started looking at packaging and wiring and all that. Now, we had discussed several times installing solar panels at some future date. We agreed it made the most sense to keep it as a future upgrade if we felt like it was necessary. The main hesitation was that it might be a little bit more difficult to run wiring and all that once all the walls are in place, but I had accepted this fate. Meanwhile we were shopping around and researching the crap out of battery sizes, shapes, flavors, chemistries, etc., we also got to work on the electrical systems. The thought was we could wire everything up and install the battery last and hope everything worked properly.
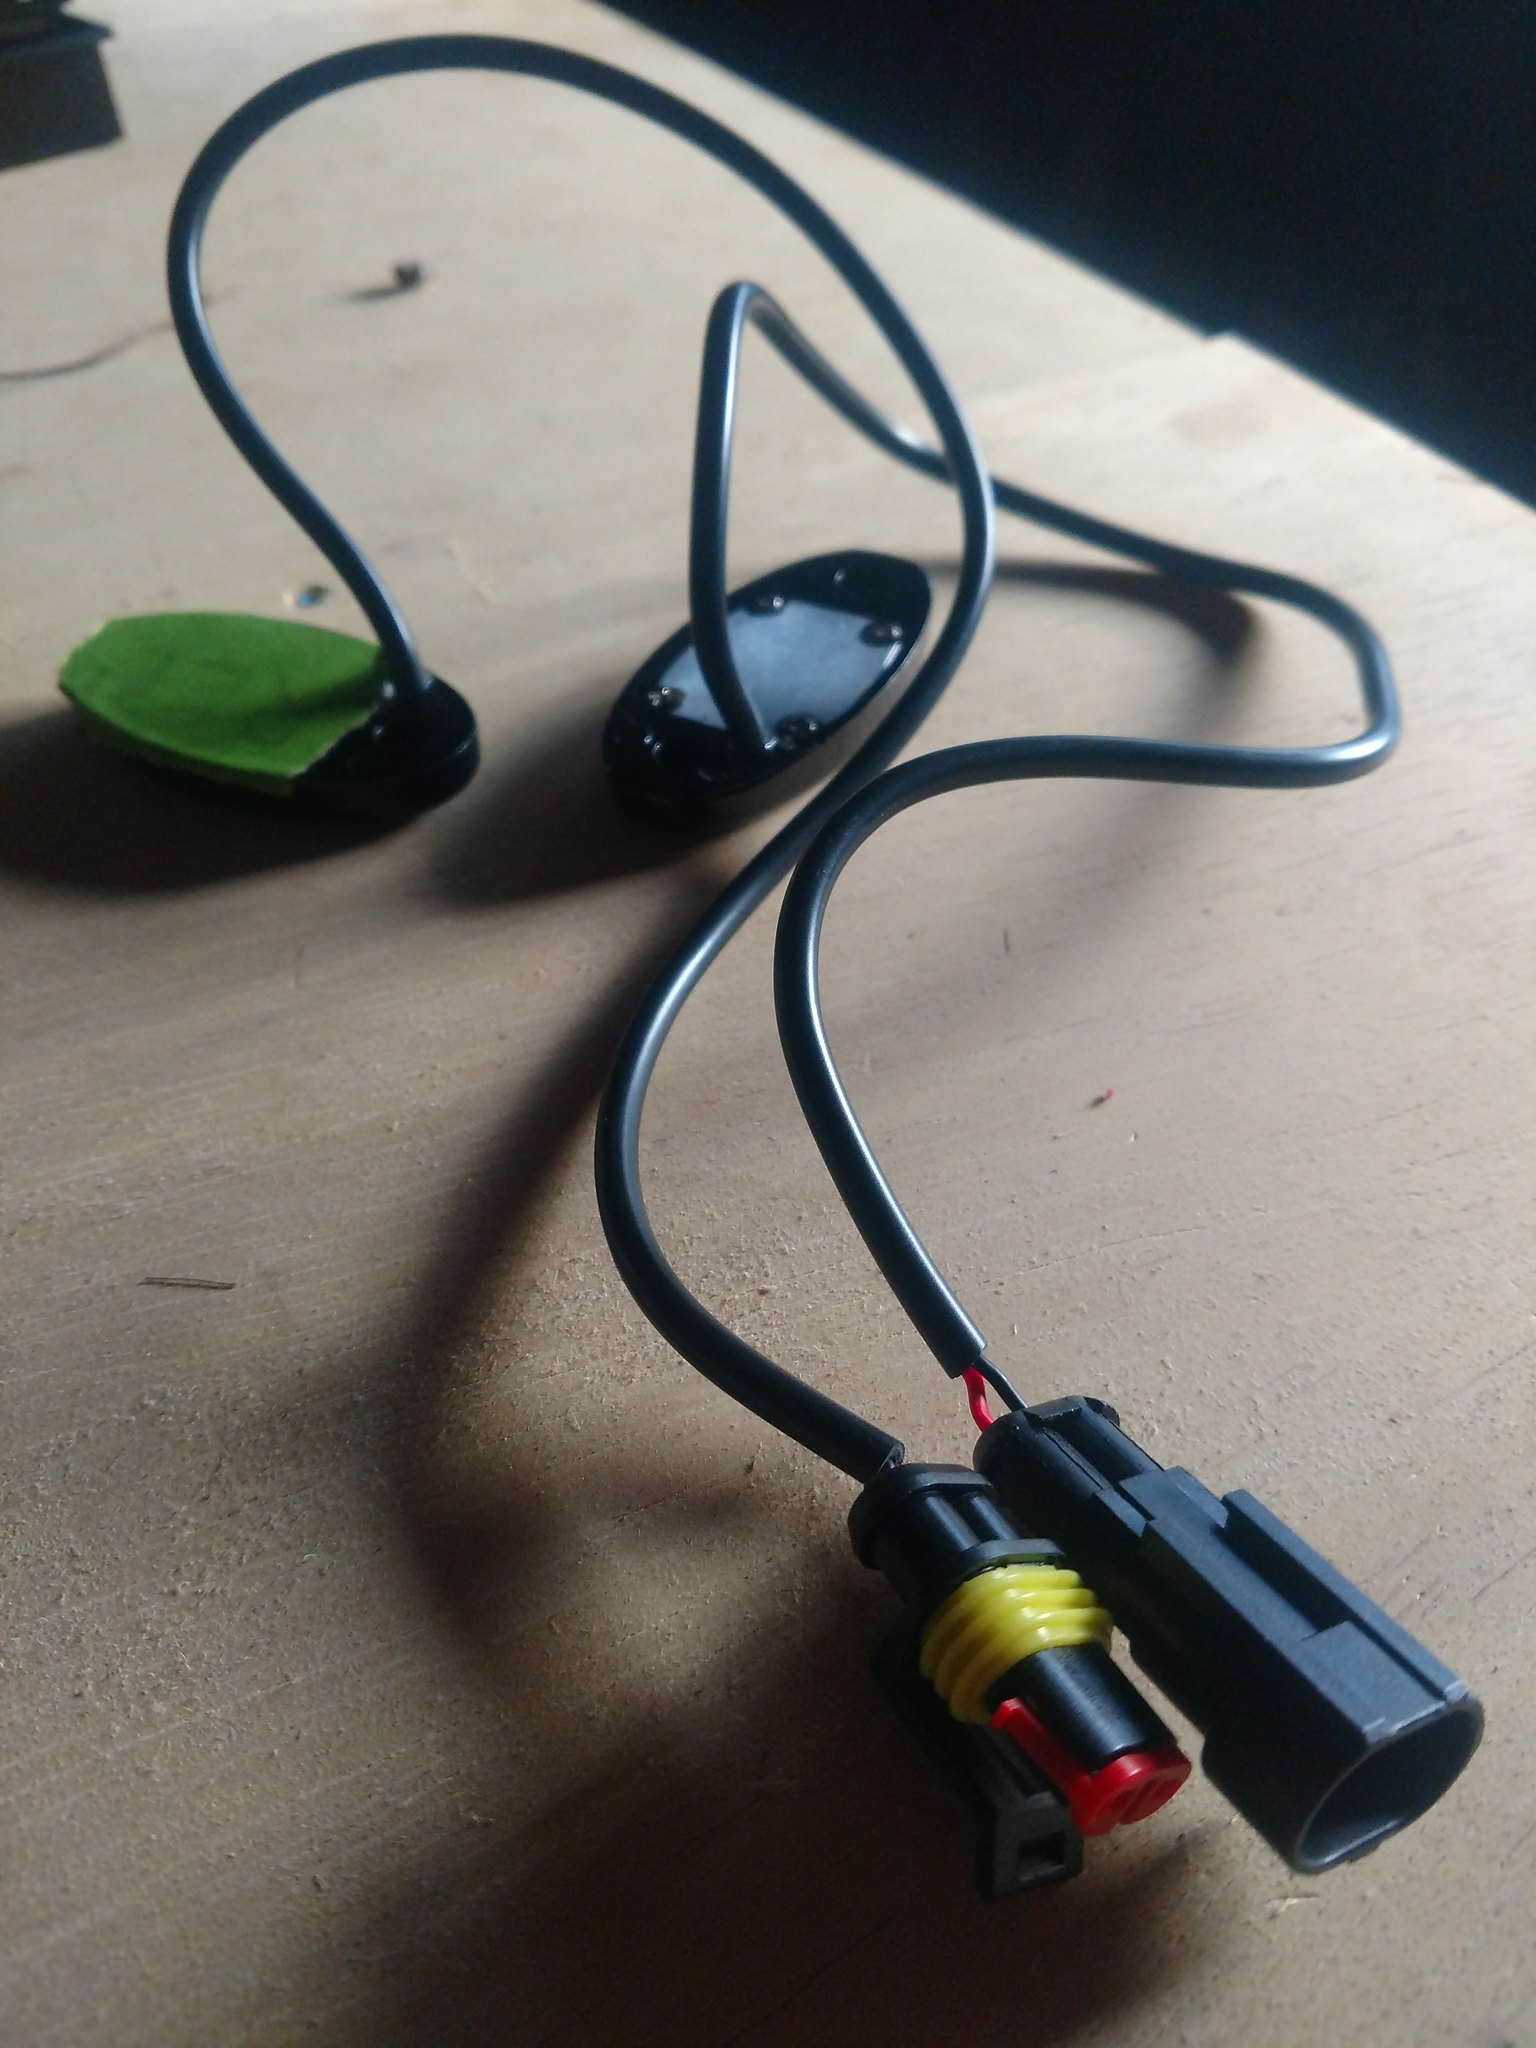
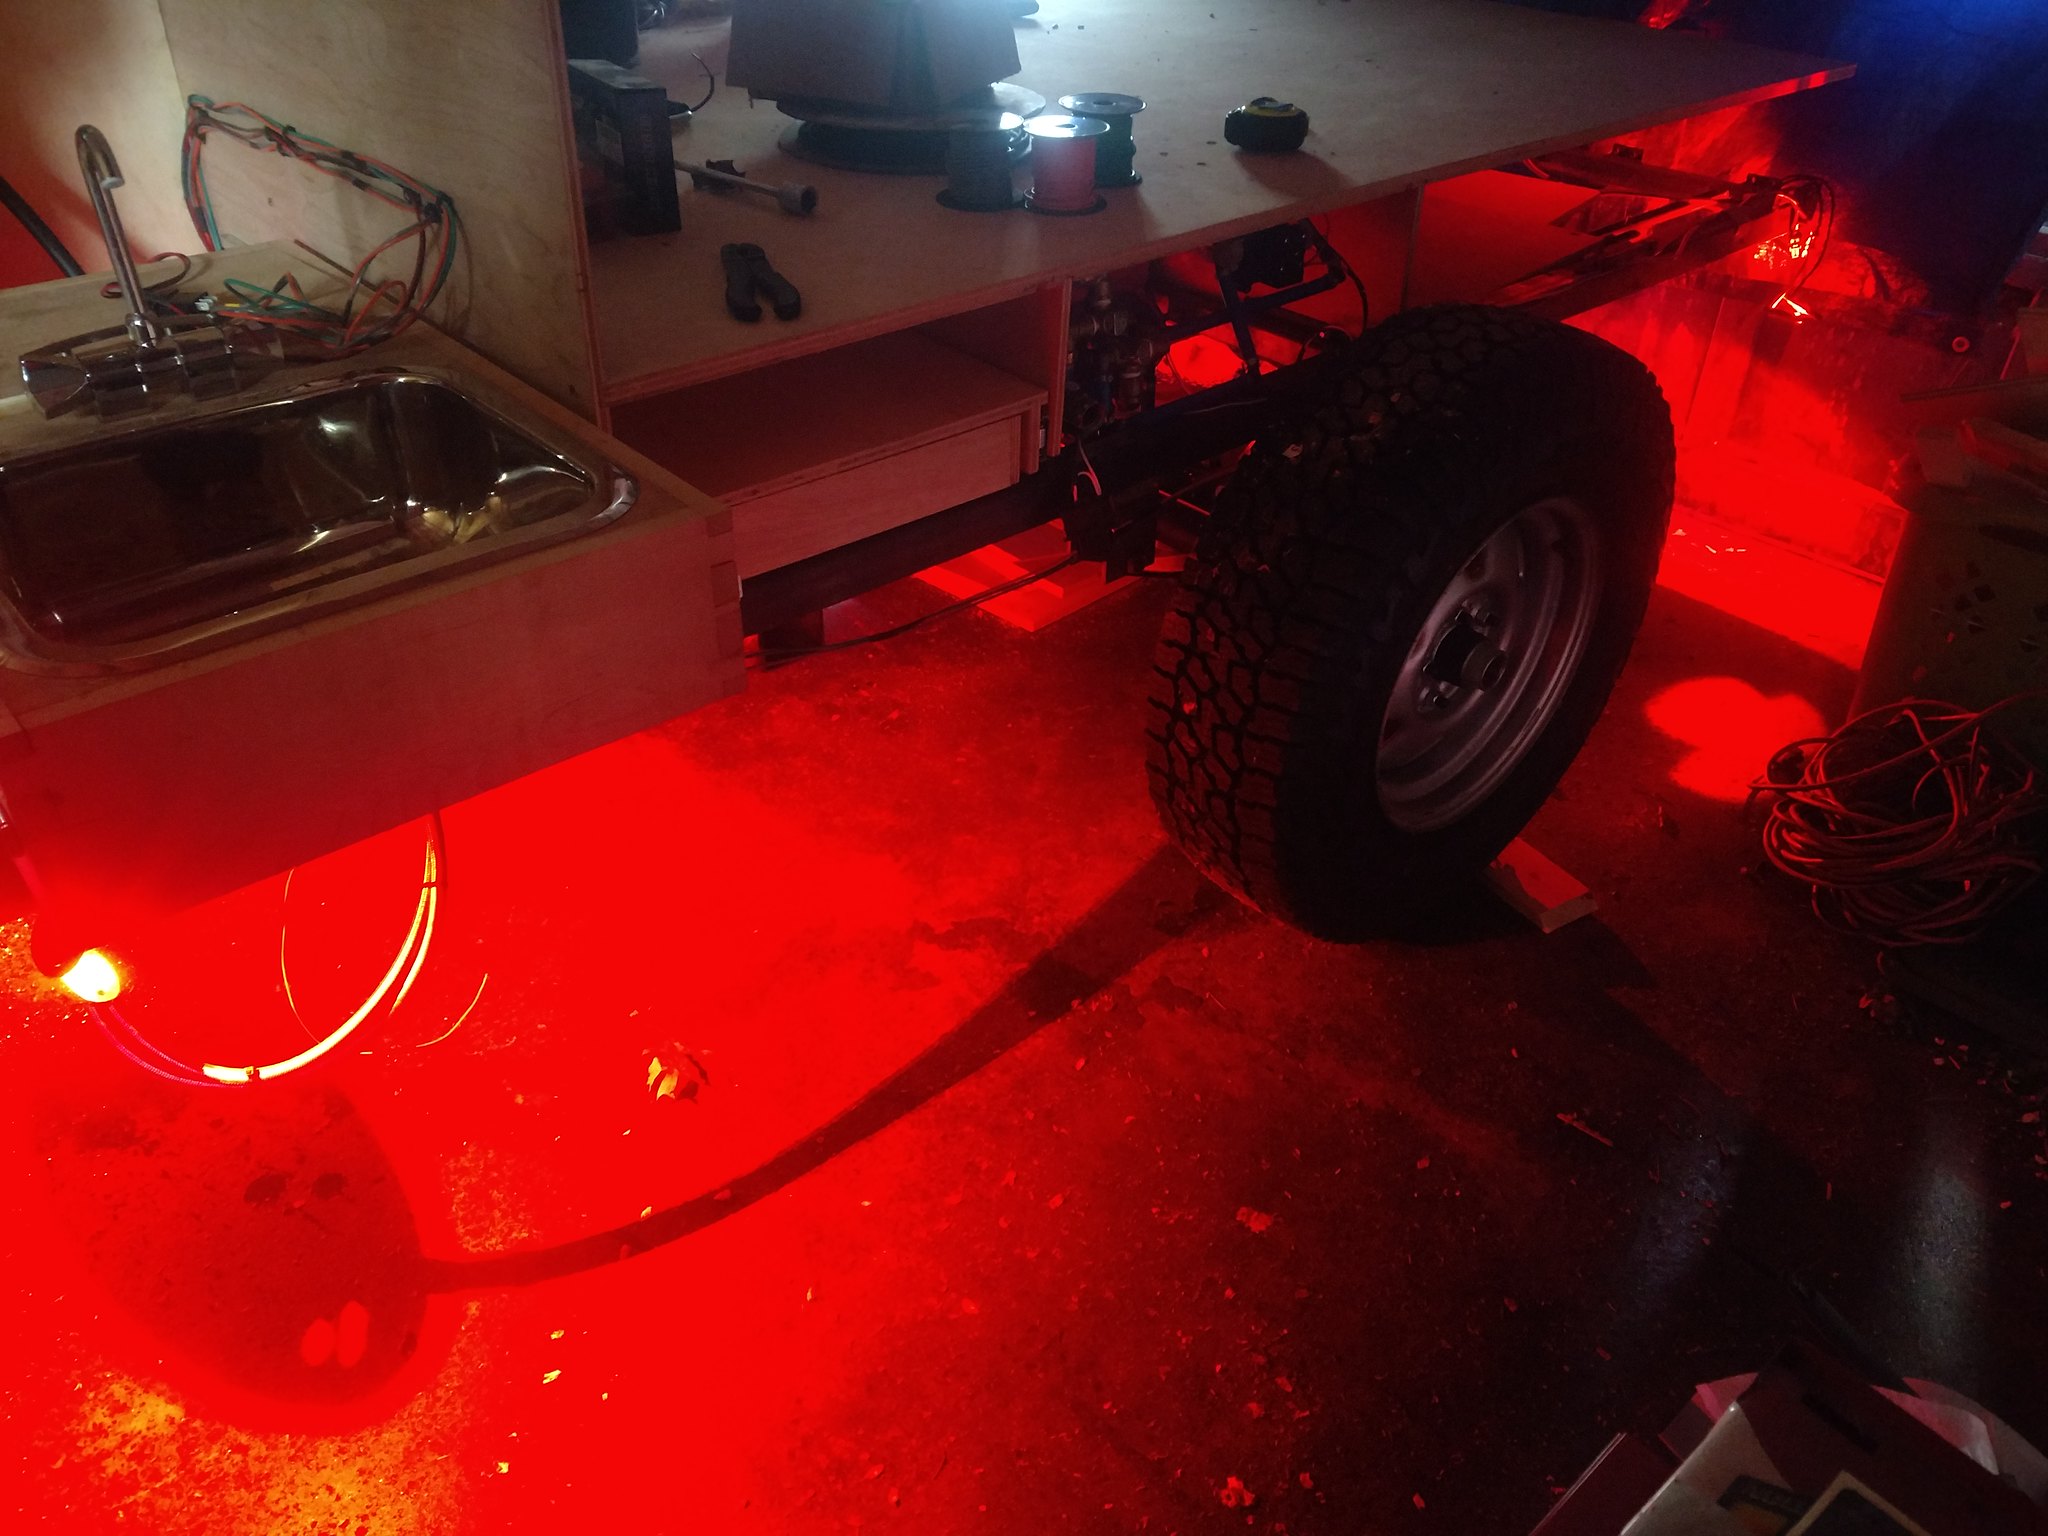
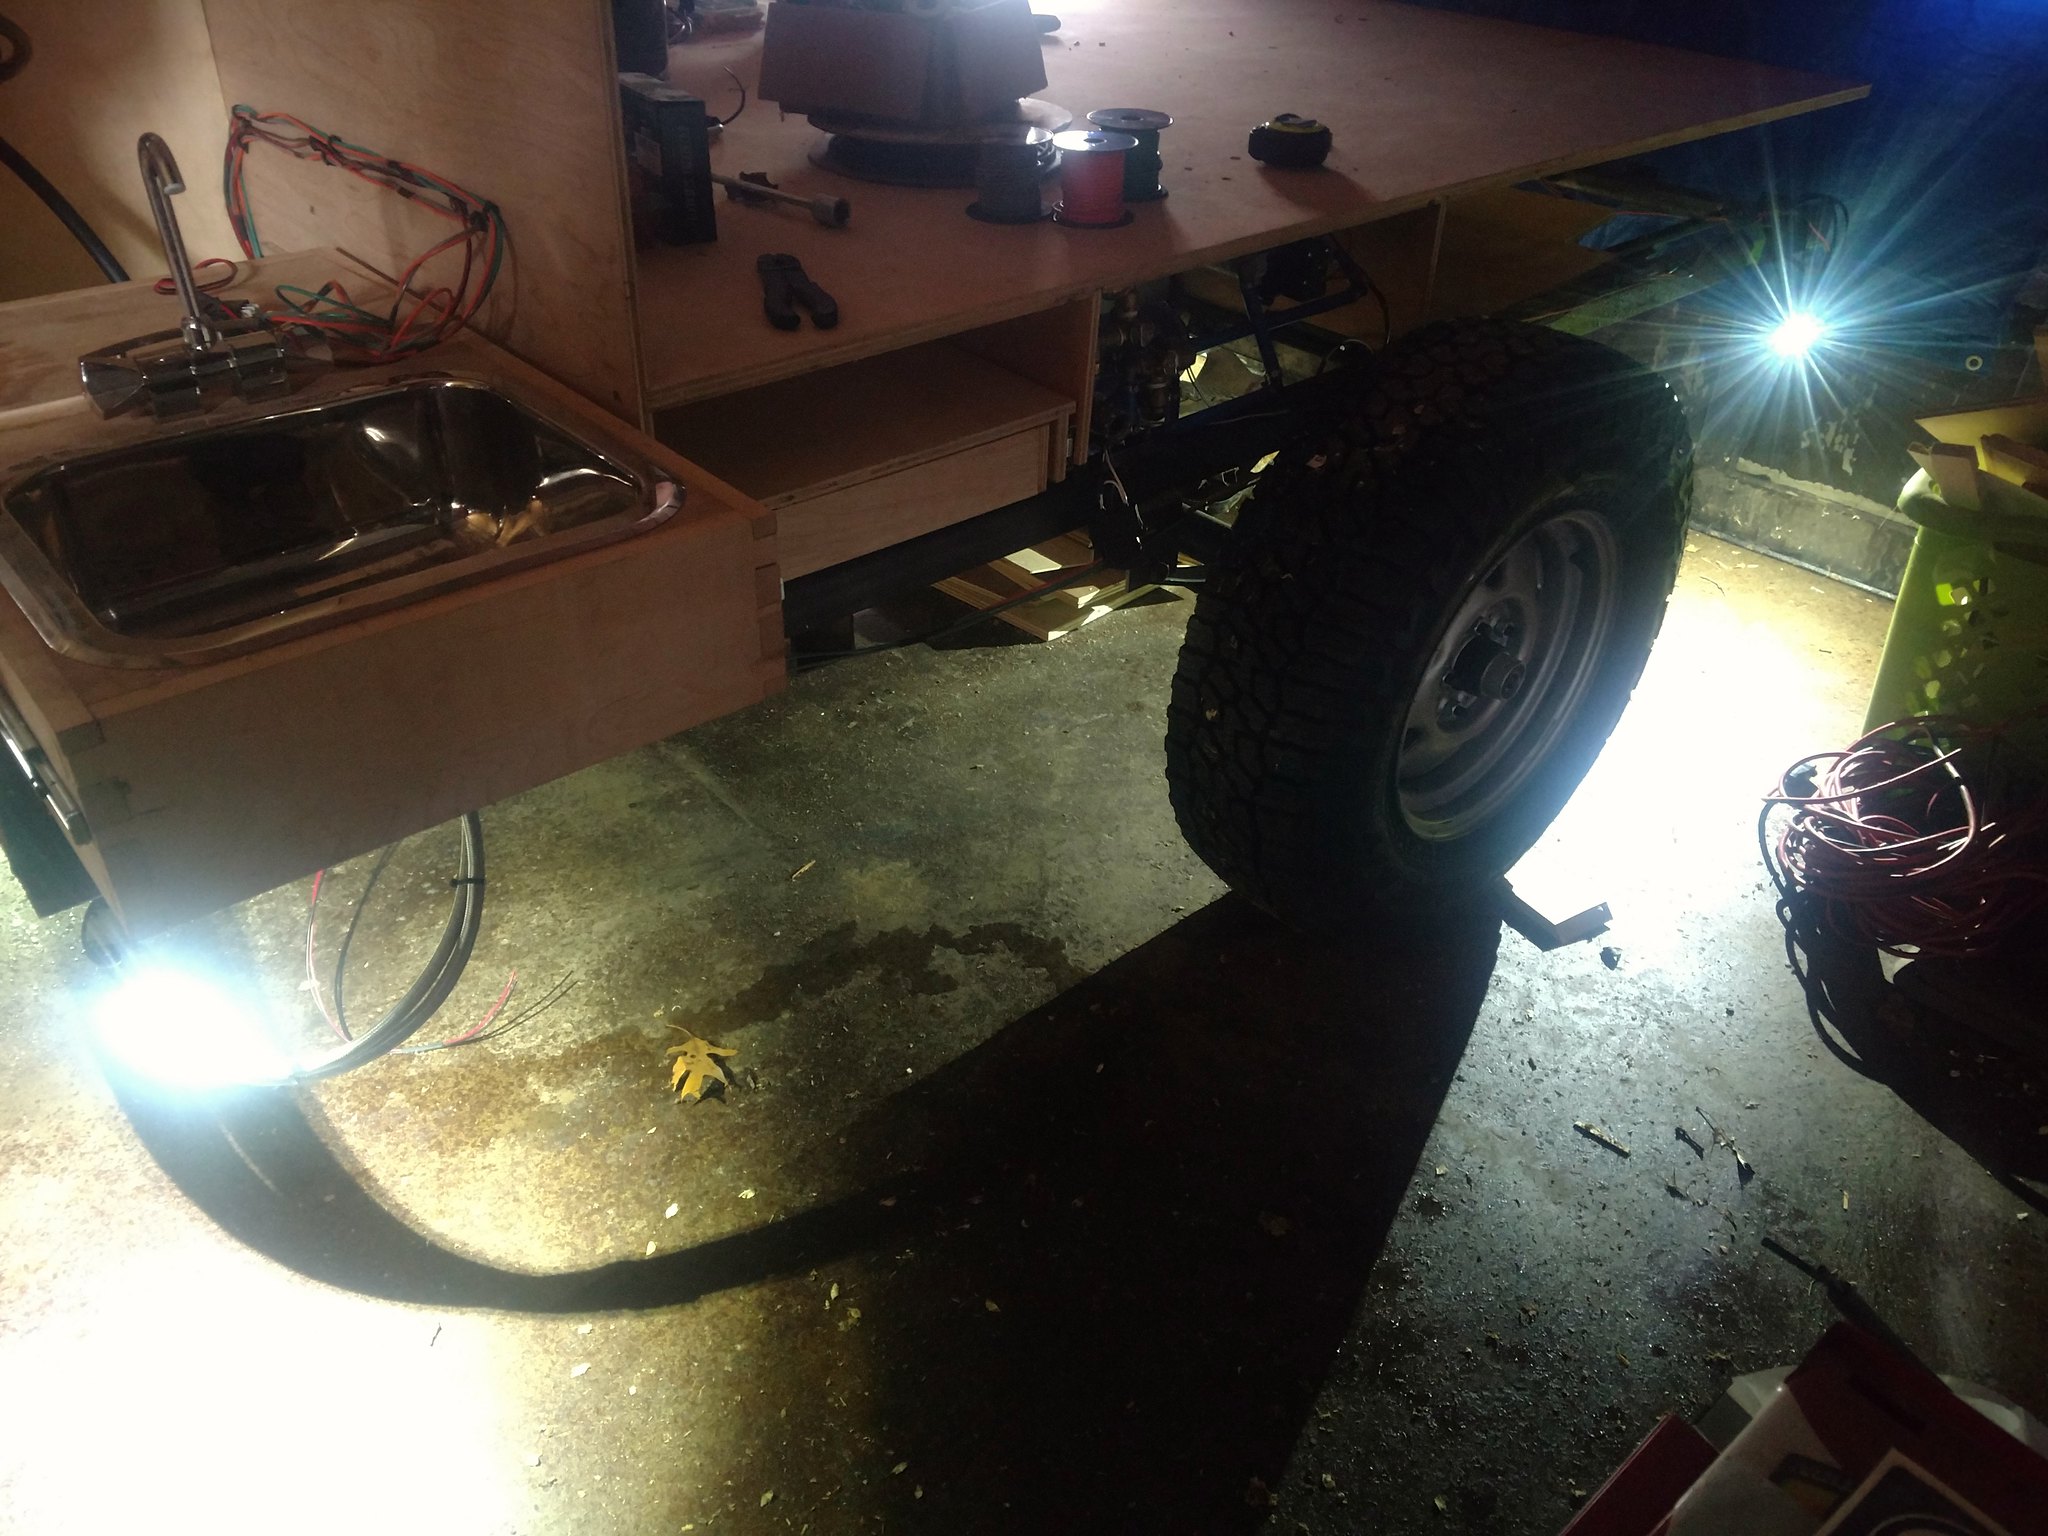
We started with what was supposed to be the hard part. It was a little challenging, but overall it wasn't actually that bad. We wanted to have some ambient ground lighting to help us navigate campsites while we're cooking, relaxing after dinner, midnight pee runs, etc. After finding zero options that put a red and white light into one housing, we bought two separate sets of rock lights; one red and one white. The plan is white lights on around dusk, and sometime before we head to bed, switch it over to red, so as not to upset our night vision. Each set conveniently has 4 lights, so we put one in each corner of the trailer, on the "floor" panels, aimed down. We built a harness to connect it all together, and found a home for the ON-OFF-ON double throw switch. We loosely laid the harness in the trailer, to be secured in place at a later date.
The rock lights come without connectors, but we added some for ease of removal and assembly:
It's tricky to photograph the lights but I tried for you:
Then we started on the "easy" part. I guess it was easy right up until the moment when I gave it any amount of thought. I realized there's
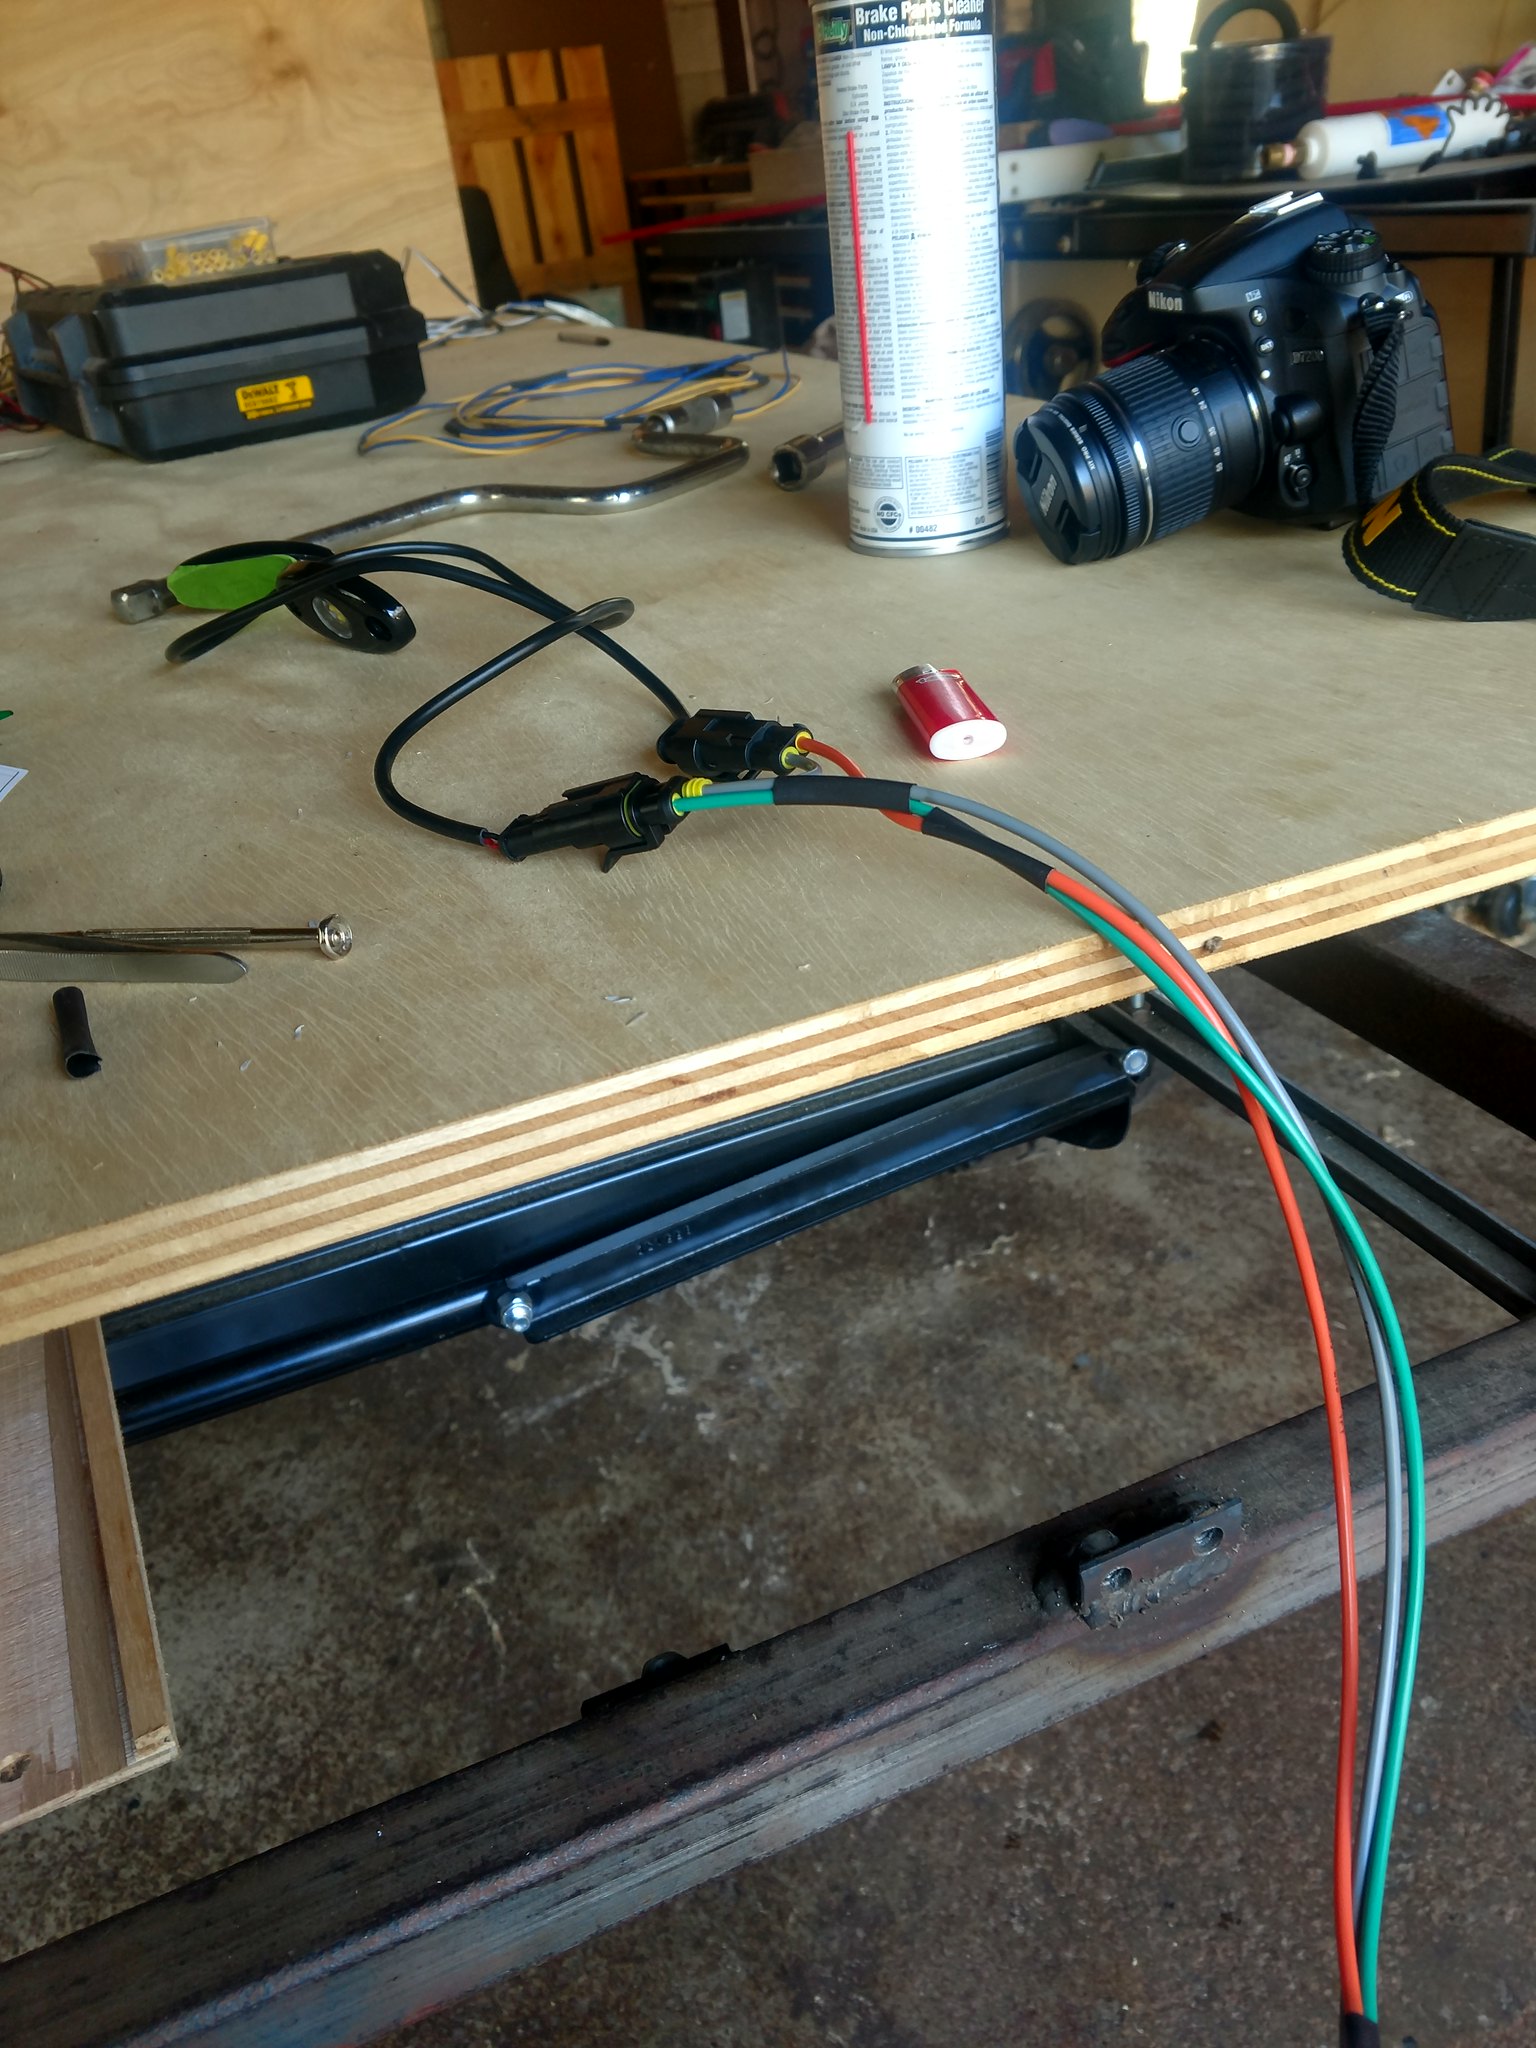
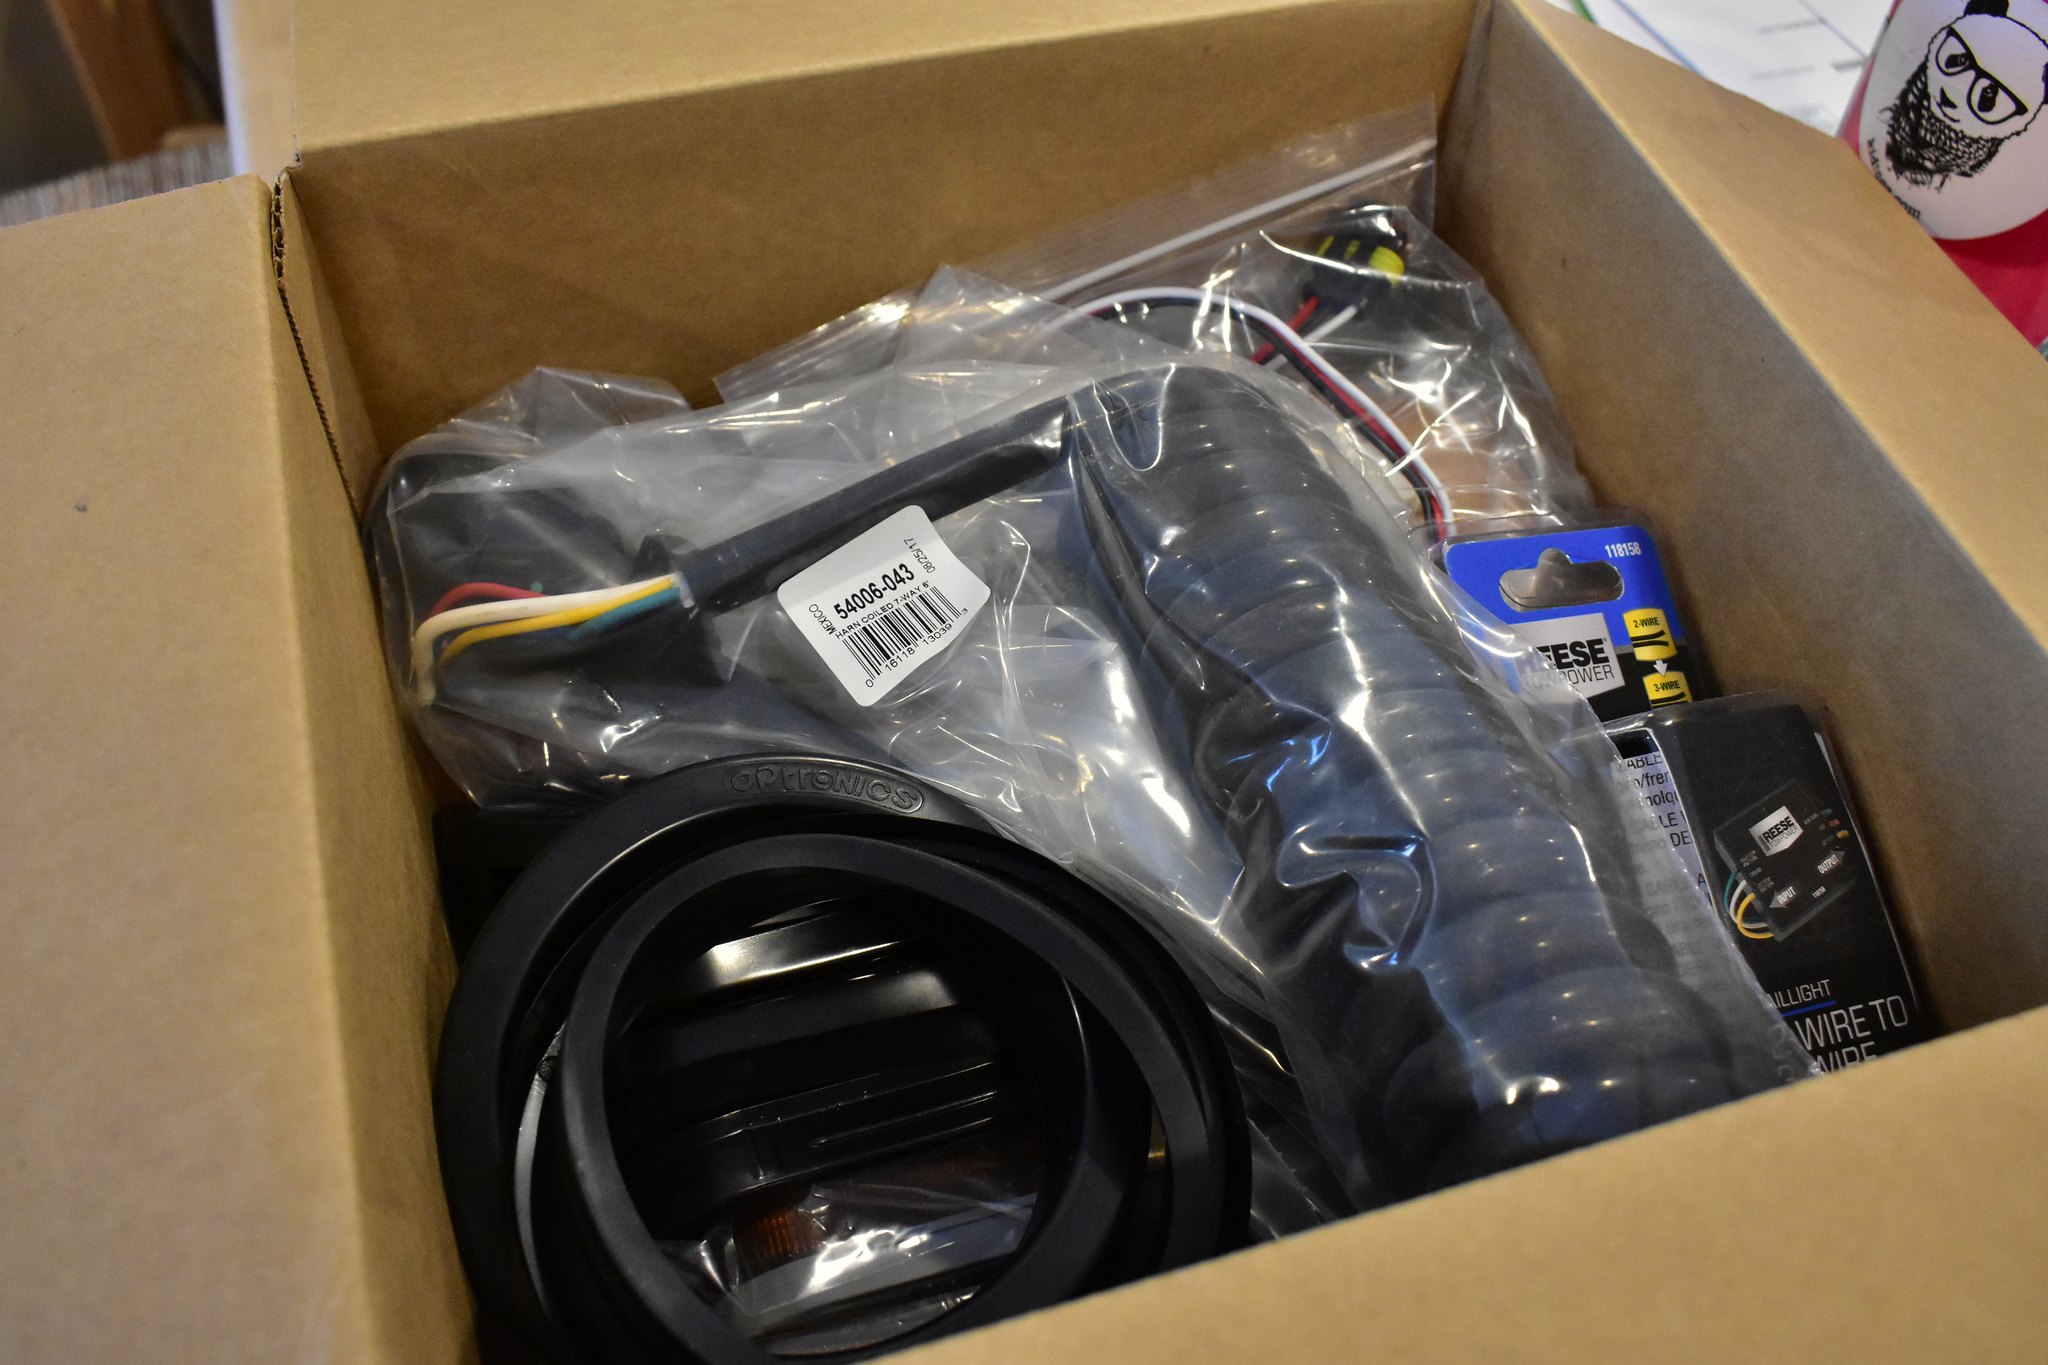
so much to consider. We started with defining an end goal; what do the taillights look like? We looked at standard light sizes and shapes, and played in MSPaint a while, mocking up different arrangements. I stipulated that the turn signals be separate from the brake lights, and they must be orange. This complicated things, but I feel strongly about orange turn signals. After we got taillights sorted, we added side markers which was not a big deal. We started to work out the details of the harness for the over-the-road lights, and that's when I realized that it would not work. The 7-pin connector on the vehicle side combines the turn signal and brake into one pin of the connector. So there's no way that the trailer would be able to differentiate turn and brake lights. I vented my frustrations to a buddy and he sent me a link immediately to a cheap and easy solution. This magical box receives turn signal and brake inputs, and outputs them separately. If it receives left and right brake/turn signal simultaneously, it knows it's brakes, and outputs accordingly. If it "sees" only one side brake/turn, it knows it's turn signal, and outputs the signal on a separate wire. Problem solved. Note: 4-way flashers will display through brake lights, but that will have to be okay. With all that sorted, we ordered all the lights and associated hardware, and got started on the harness. We sorted its route from the tongue, clockwise through and around the trailer perimeter, more or less. We marked out wire lengths and component locations, and pulled it all back out to make the necessary connections inside because the weather is too cold to solder anything. This is still in progress.
Unboxing all our trailer lights was like an early Christmas present to ourselves
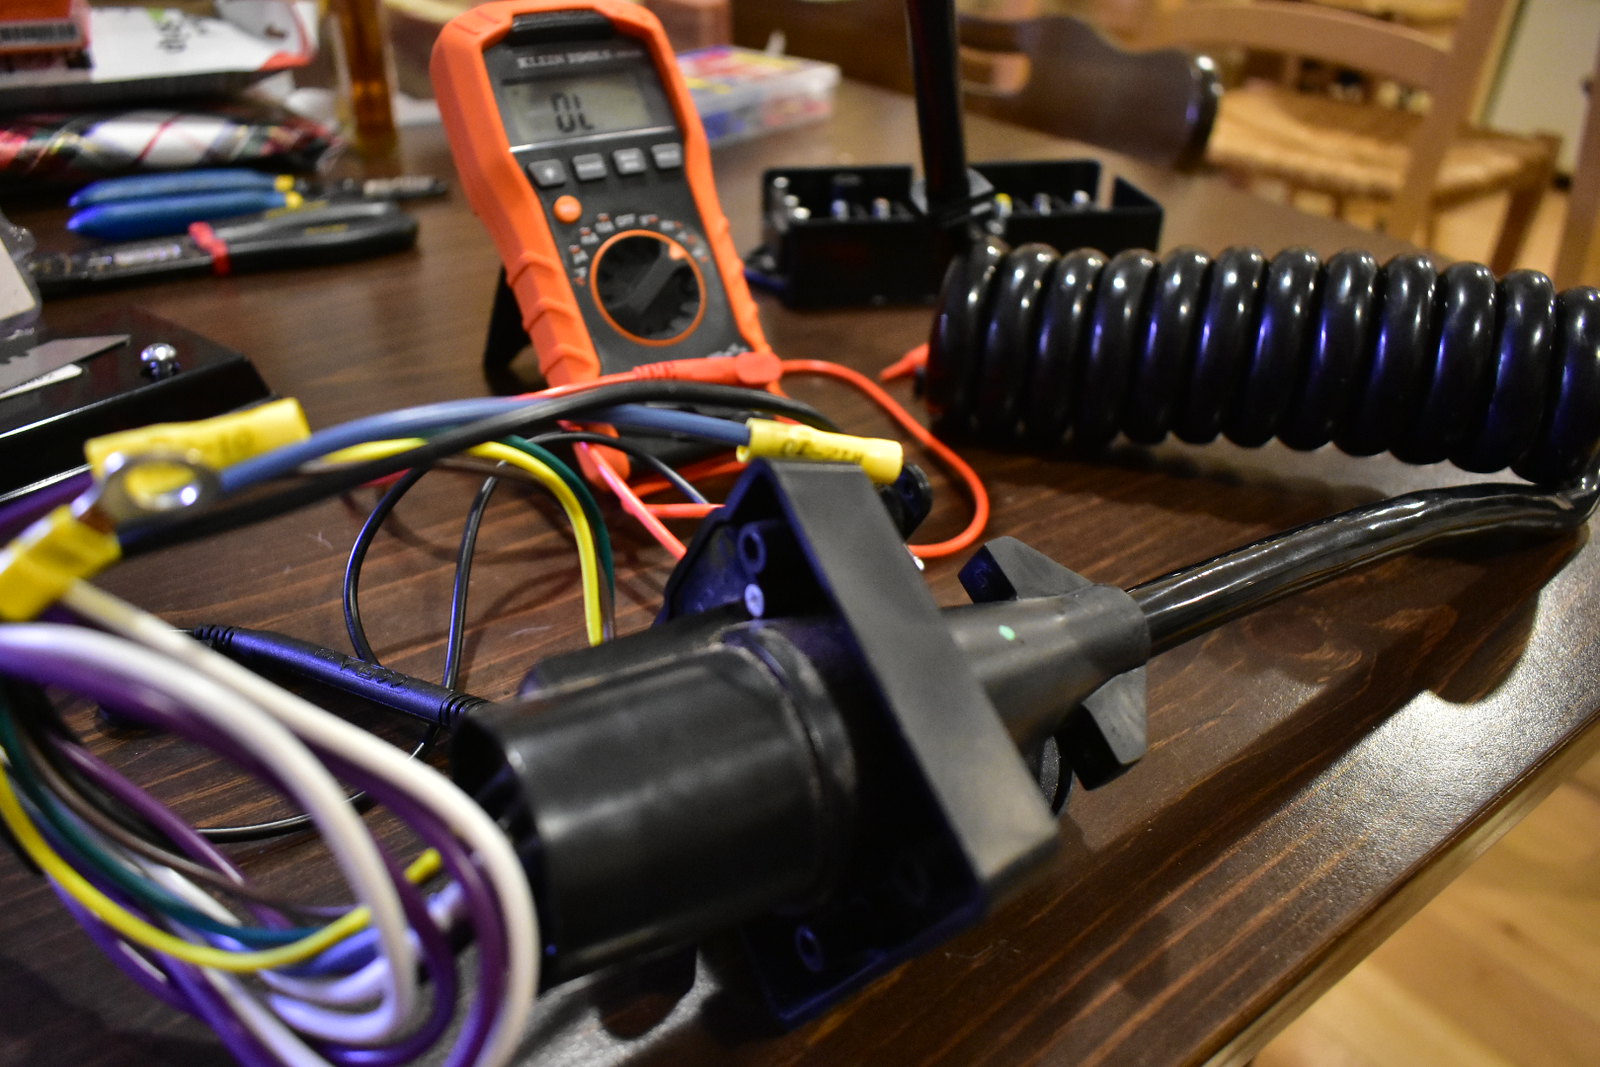
I had to keep the meter nearby the whole time to make sure I was putting everything together correctly
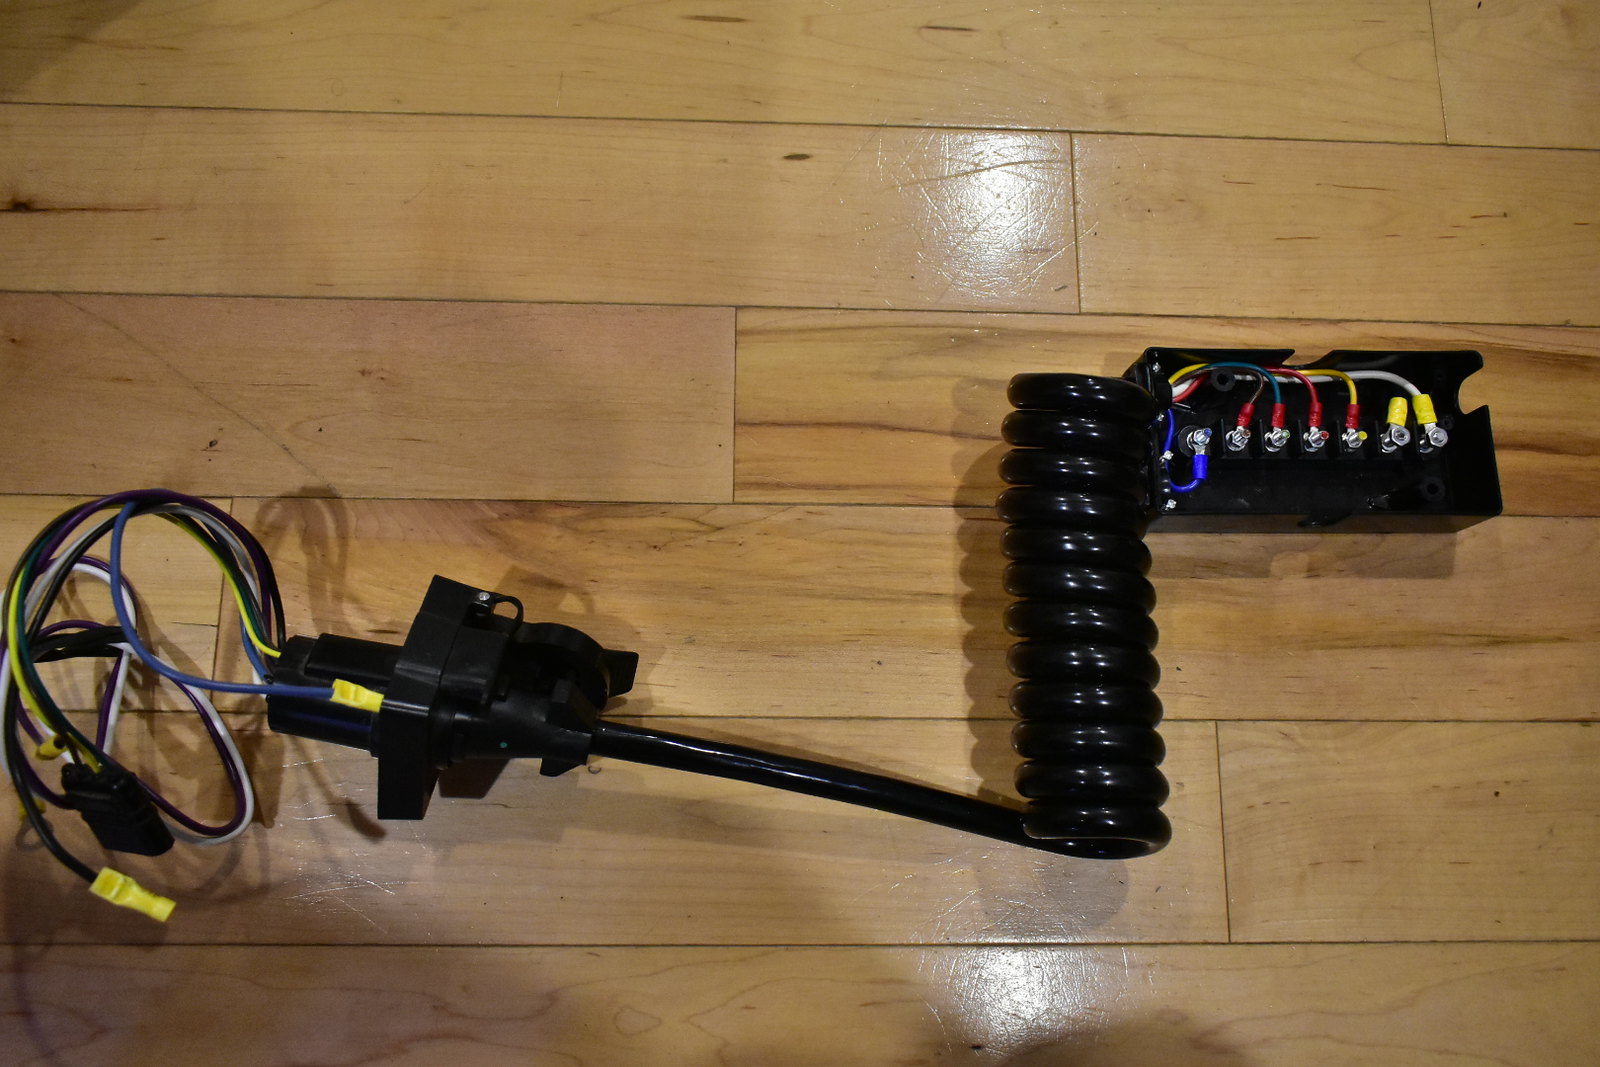
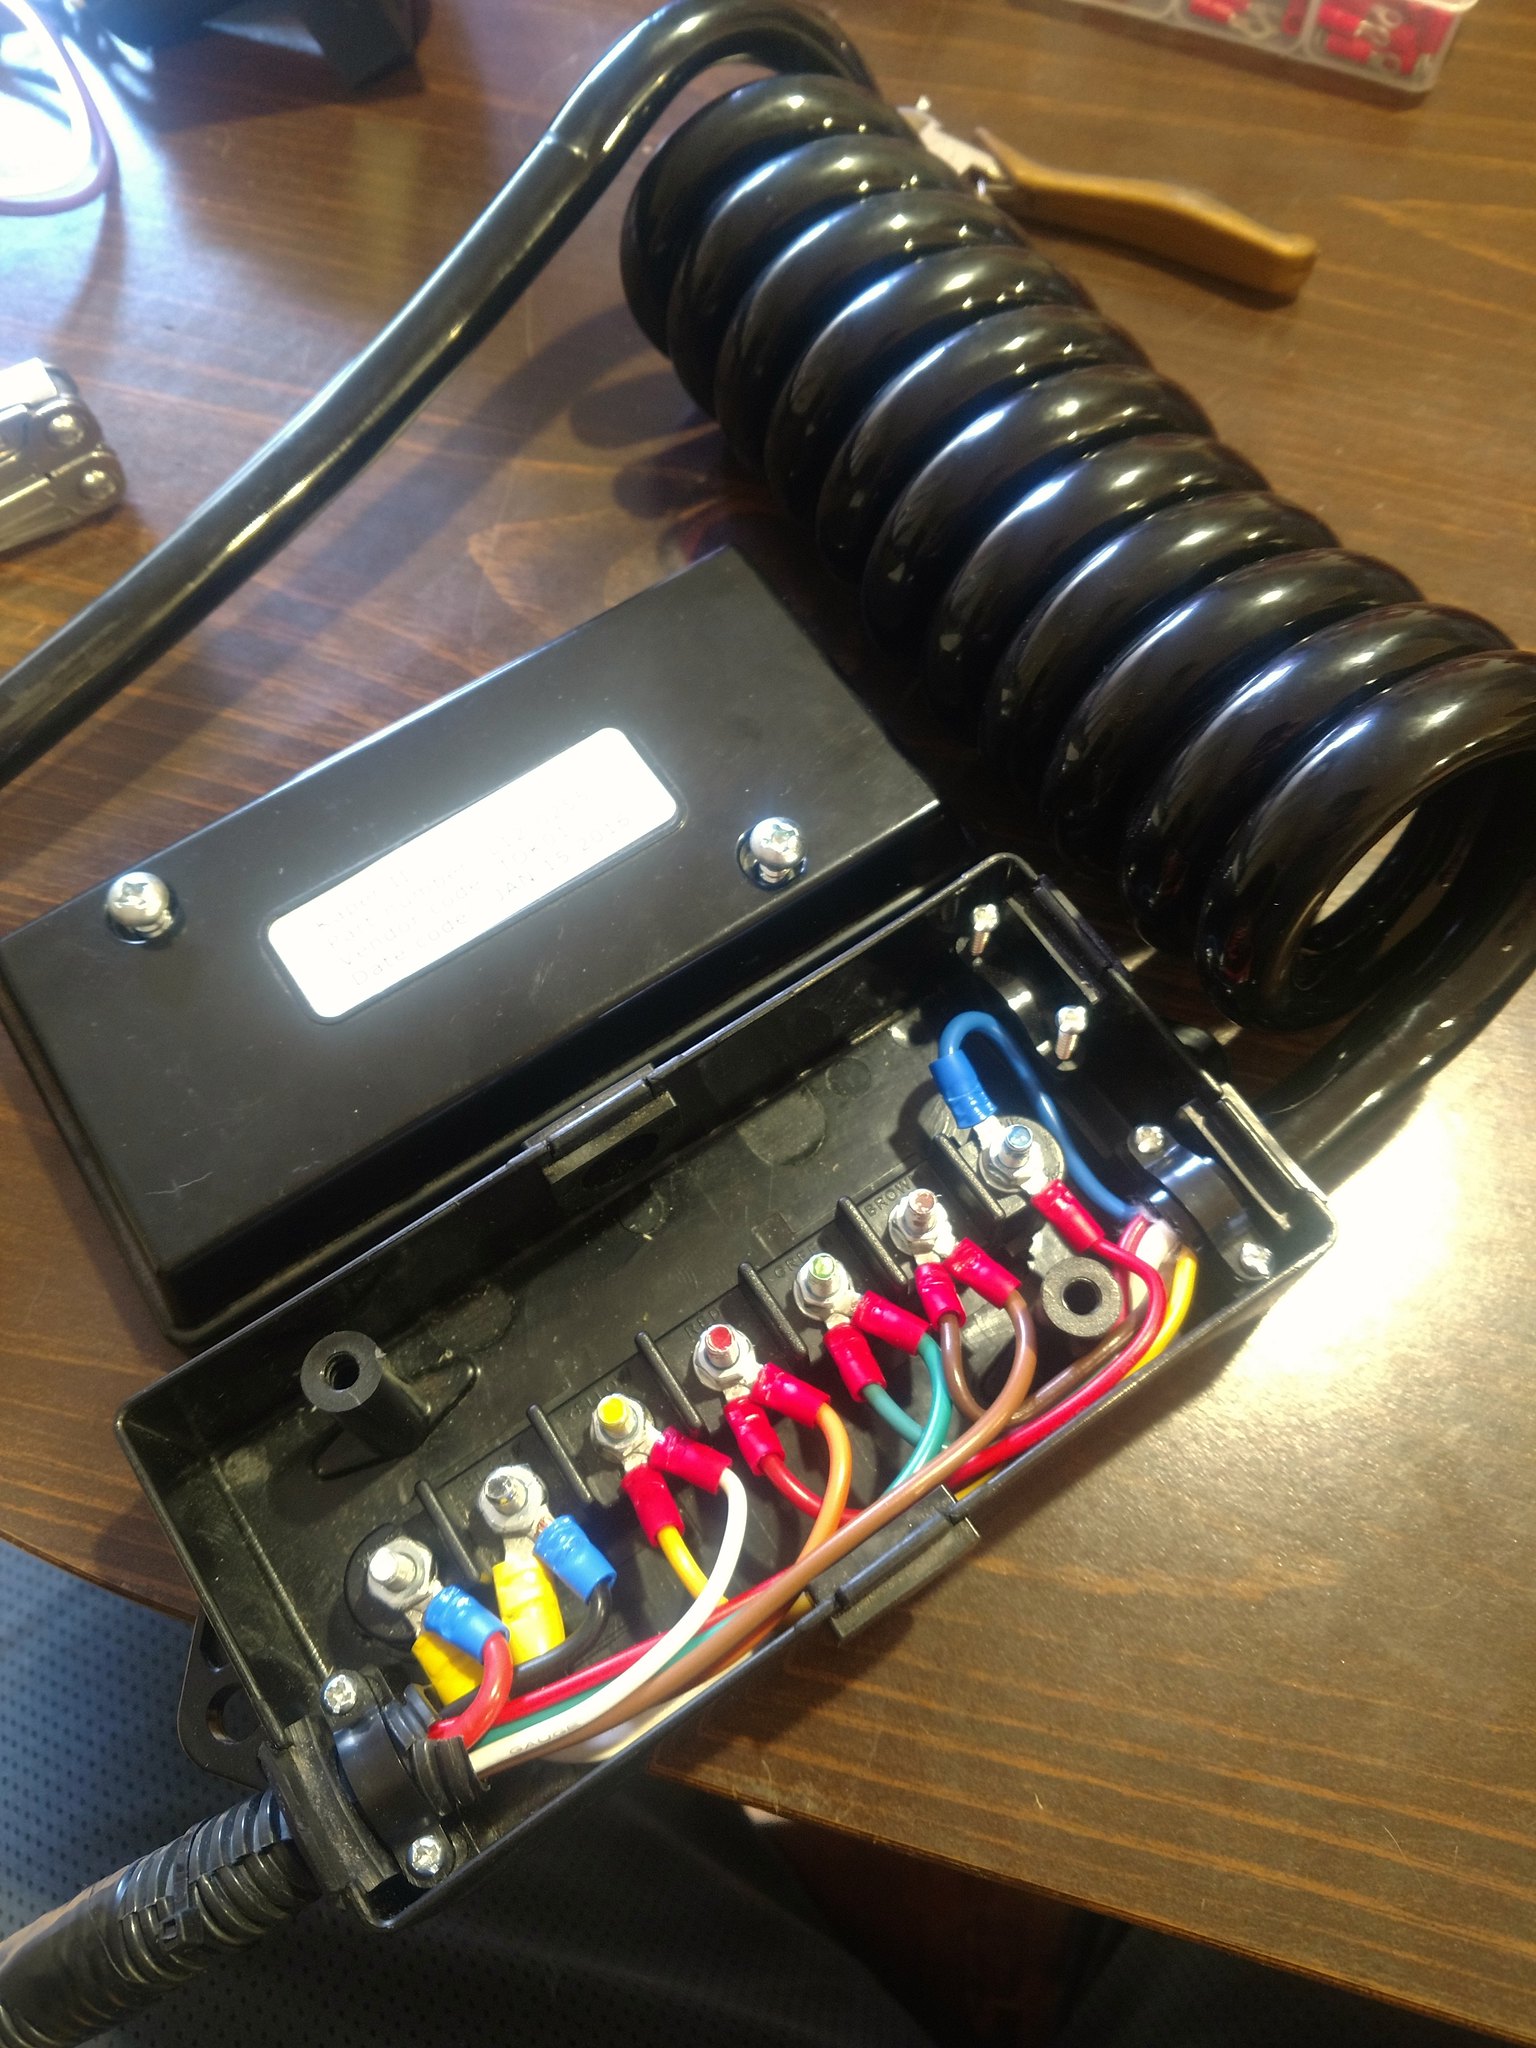
Here is the tongue box and vehicle-side wiring:
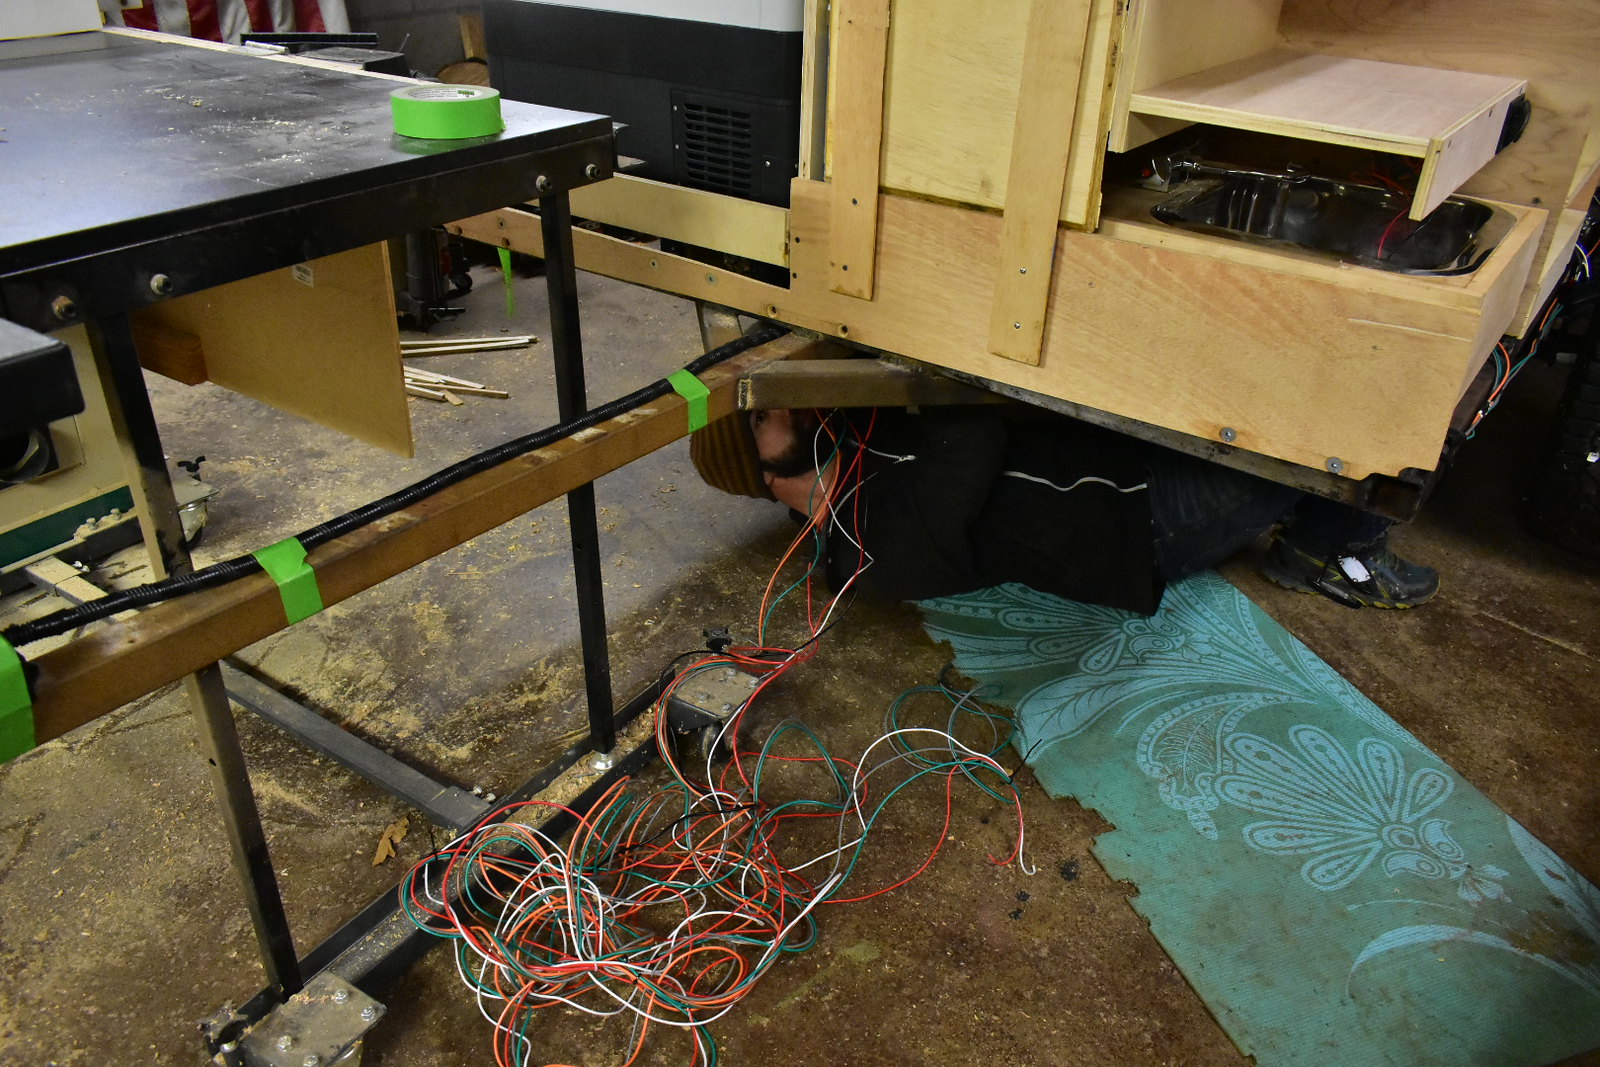
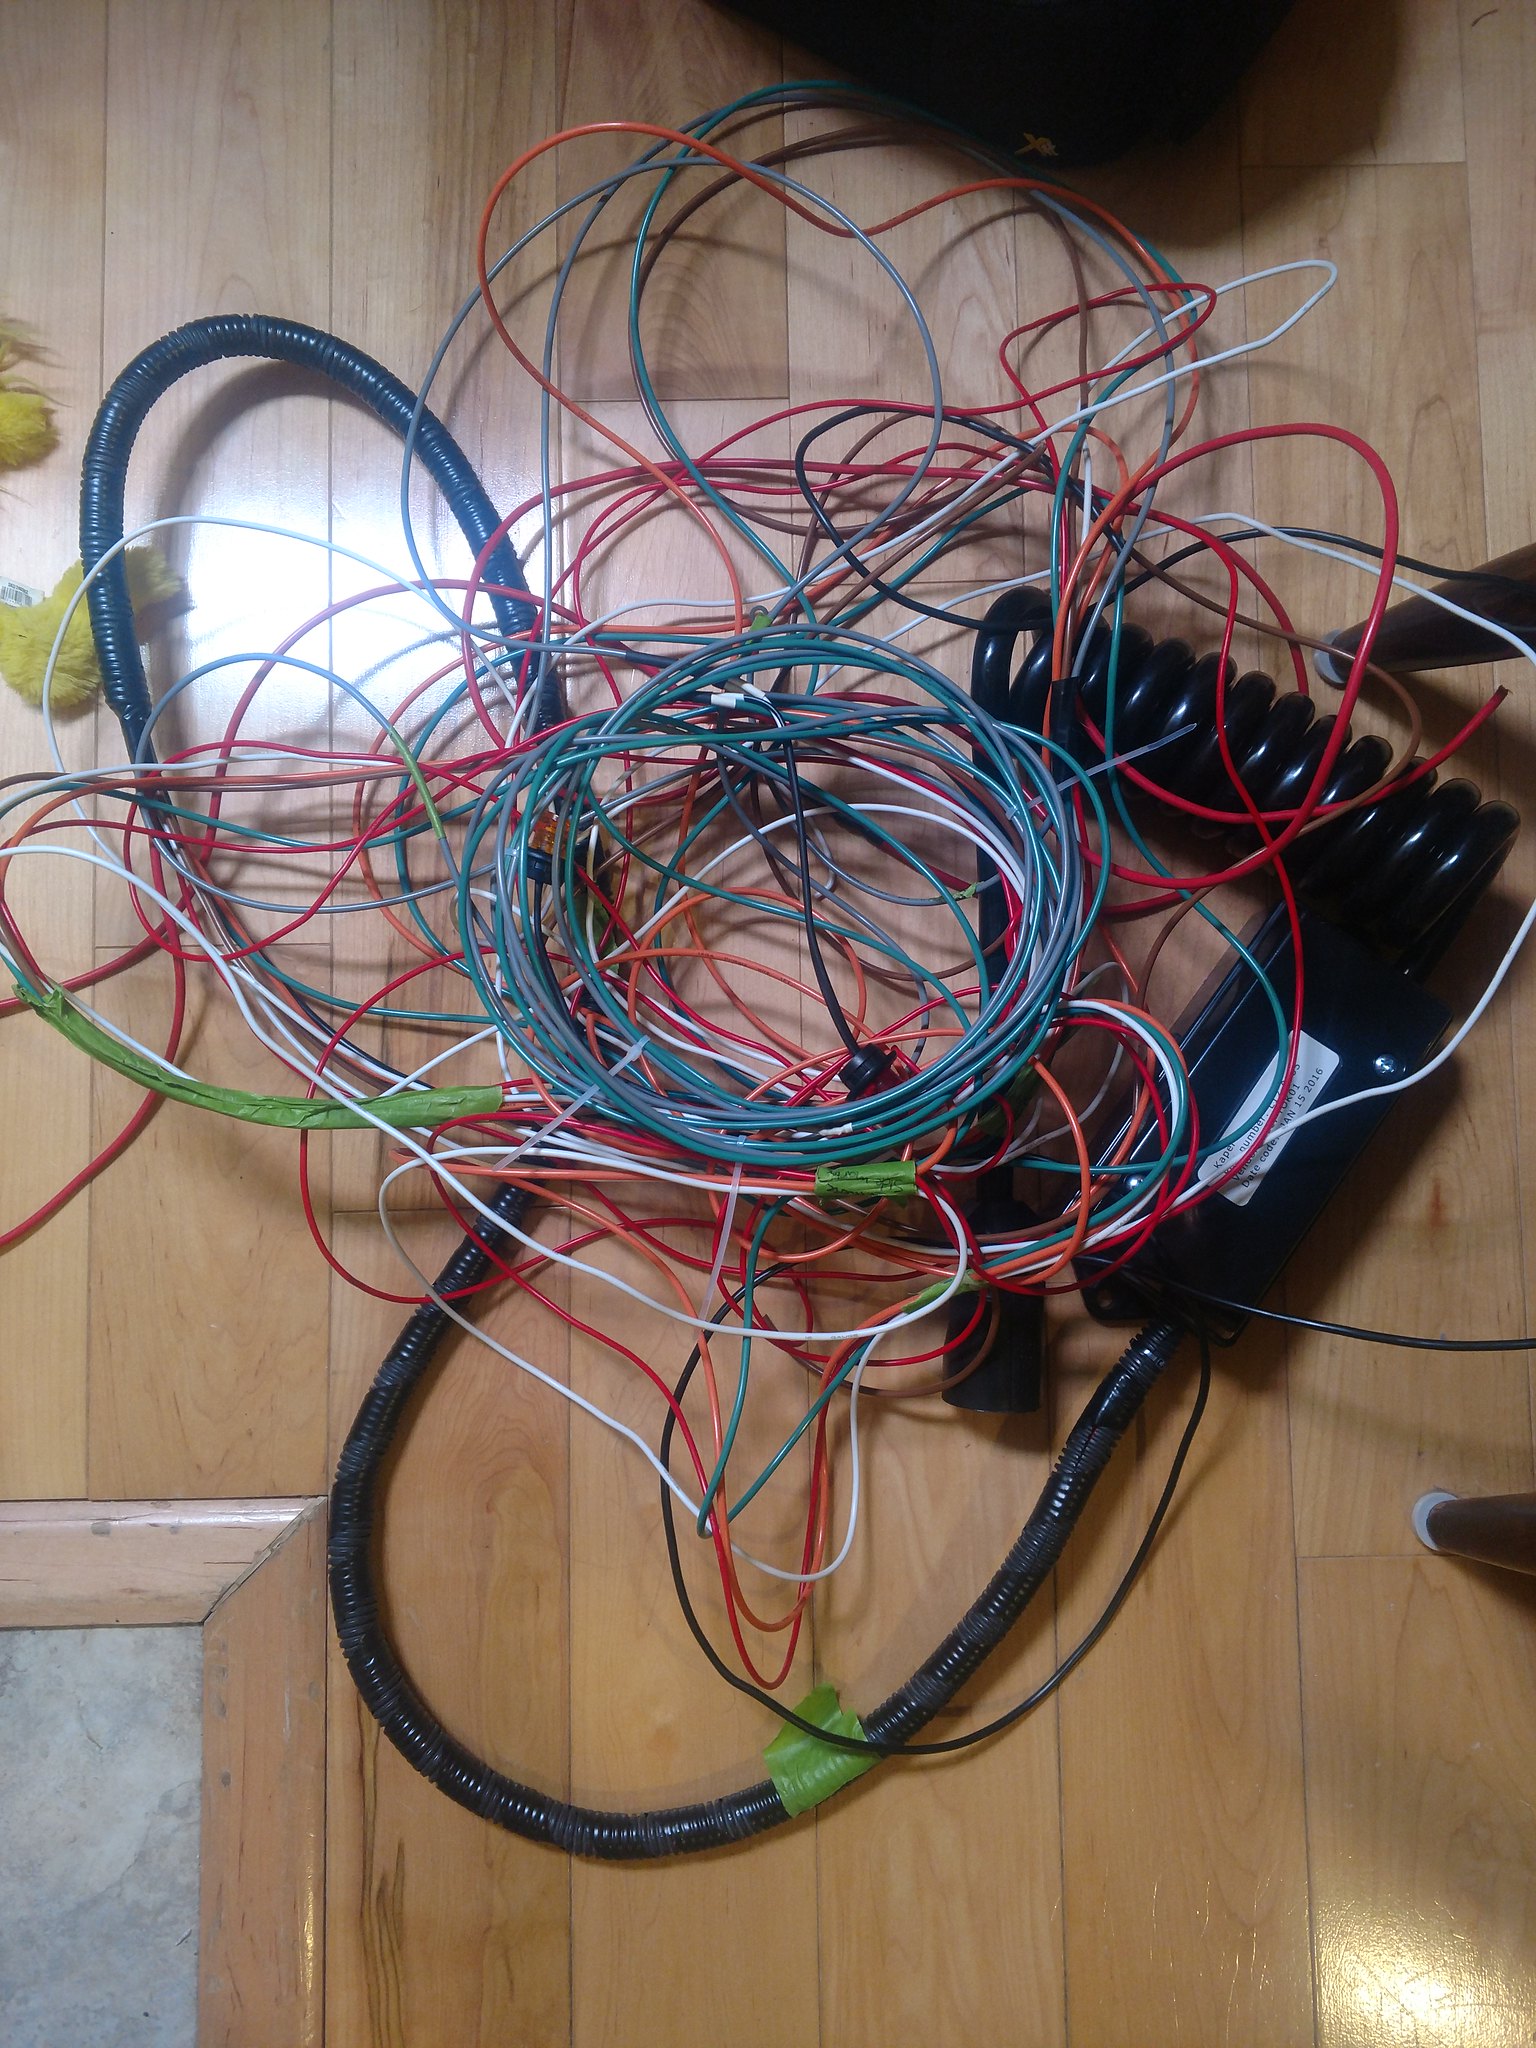
I love spaghetti
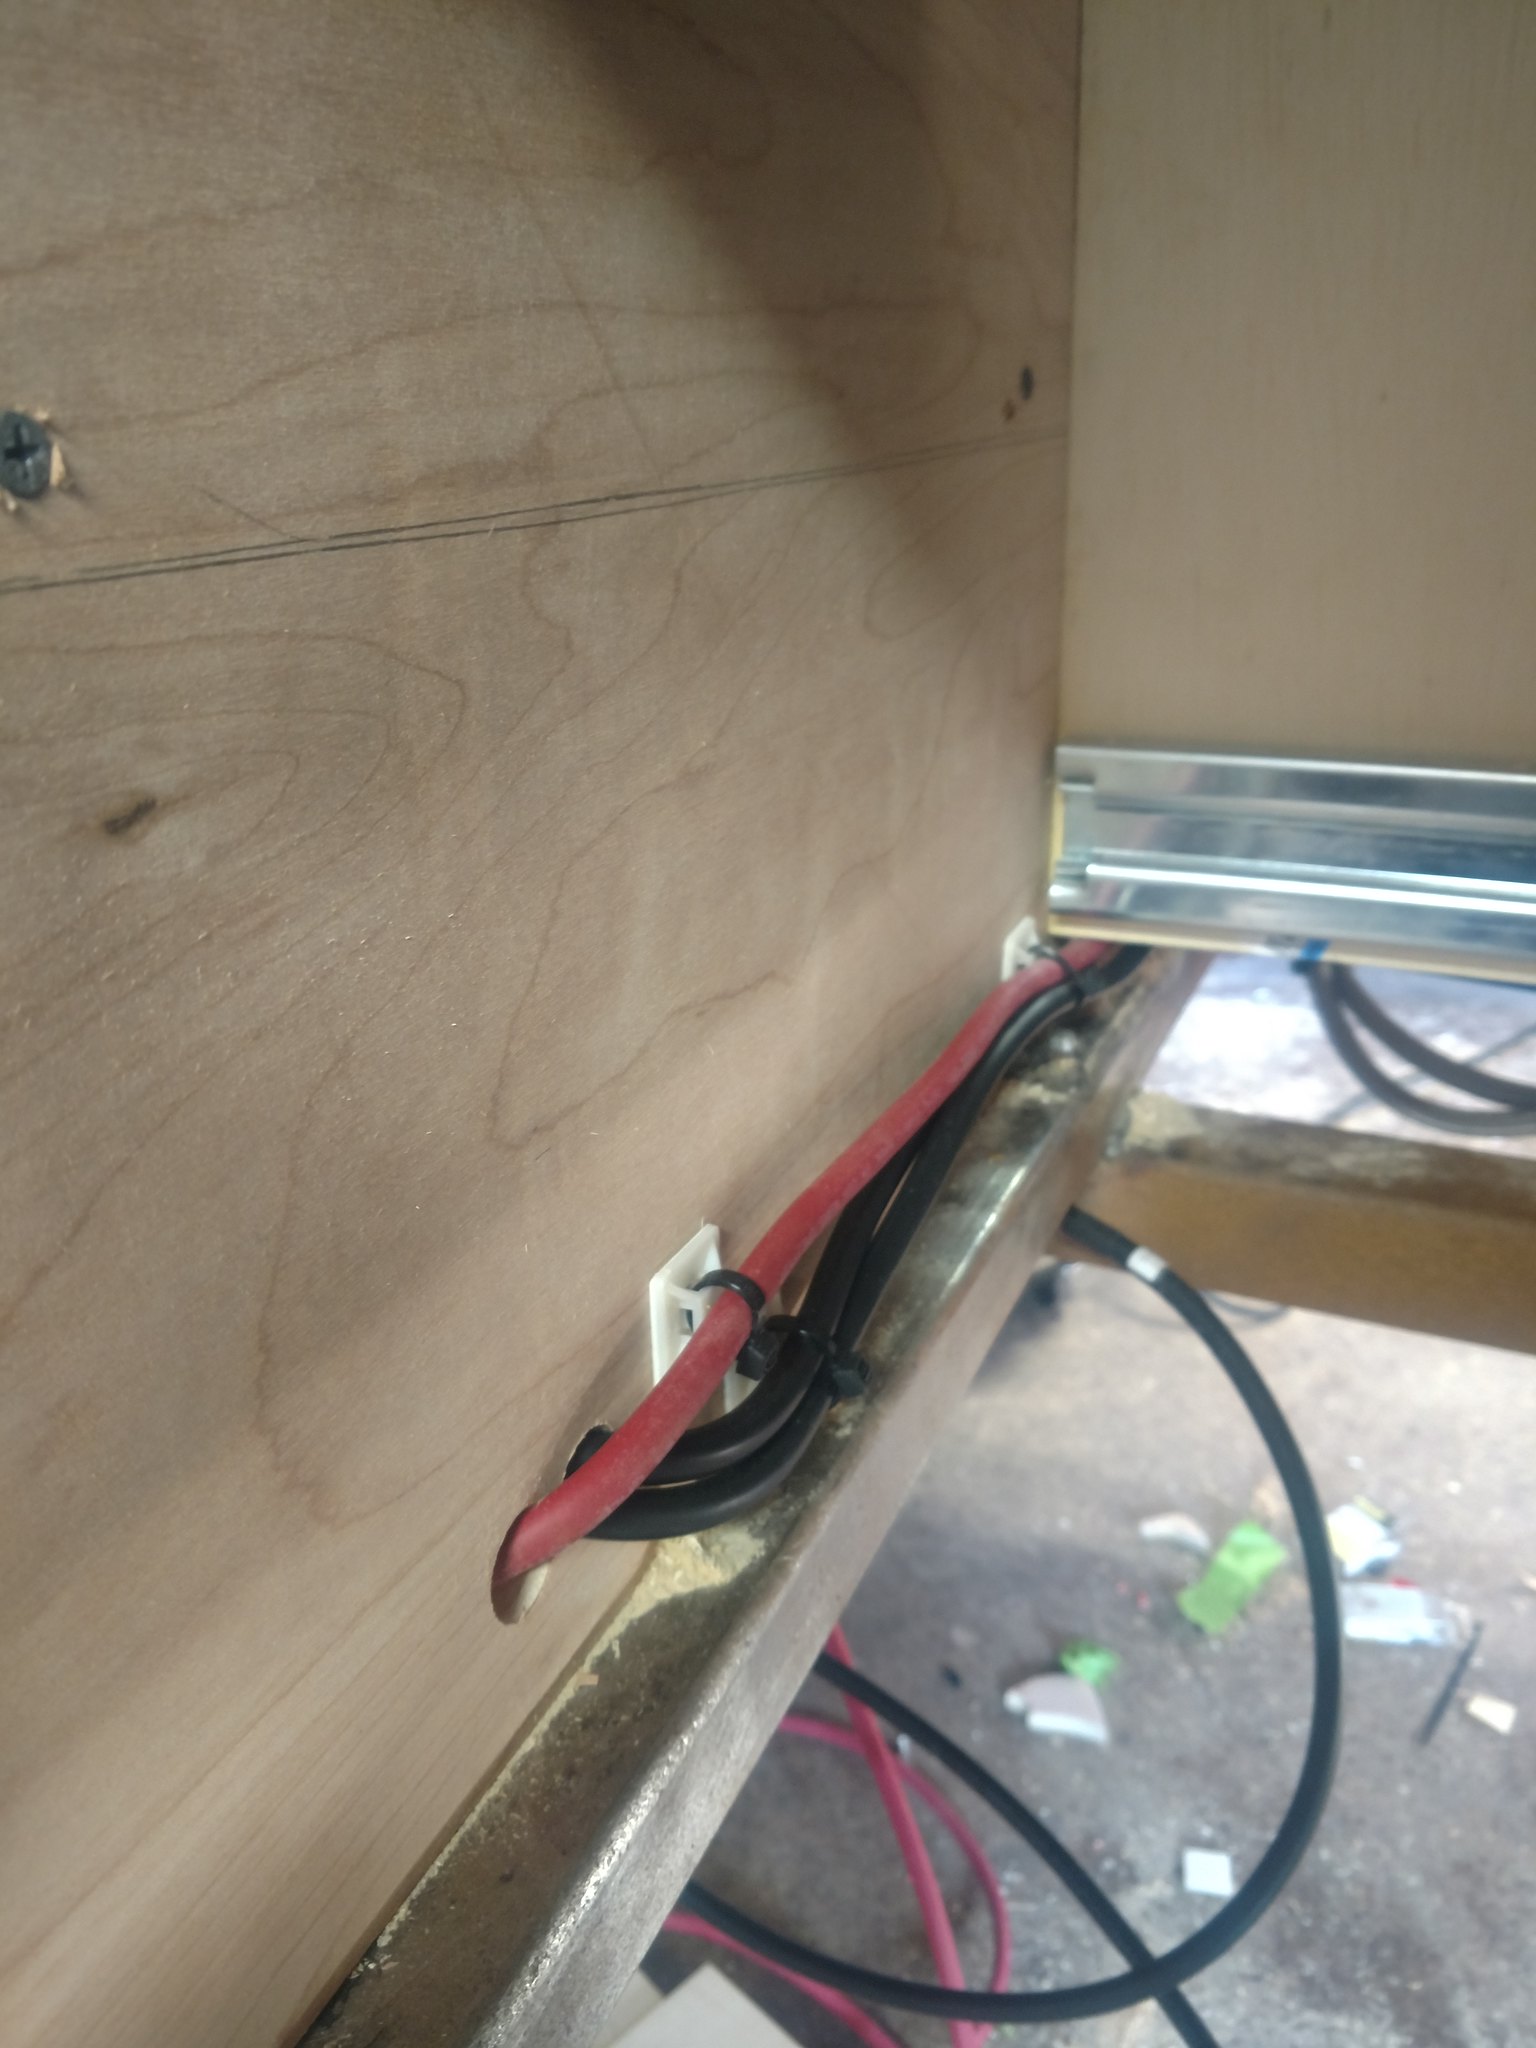
I neatened it up a bit, but there's still work to be done:
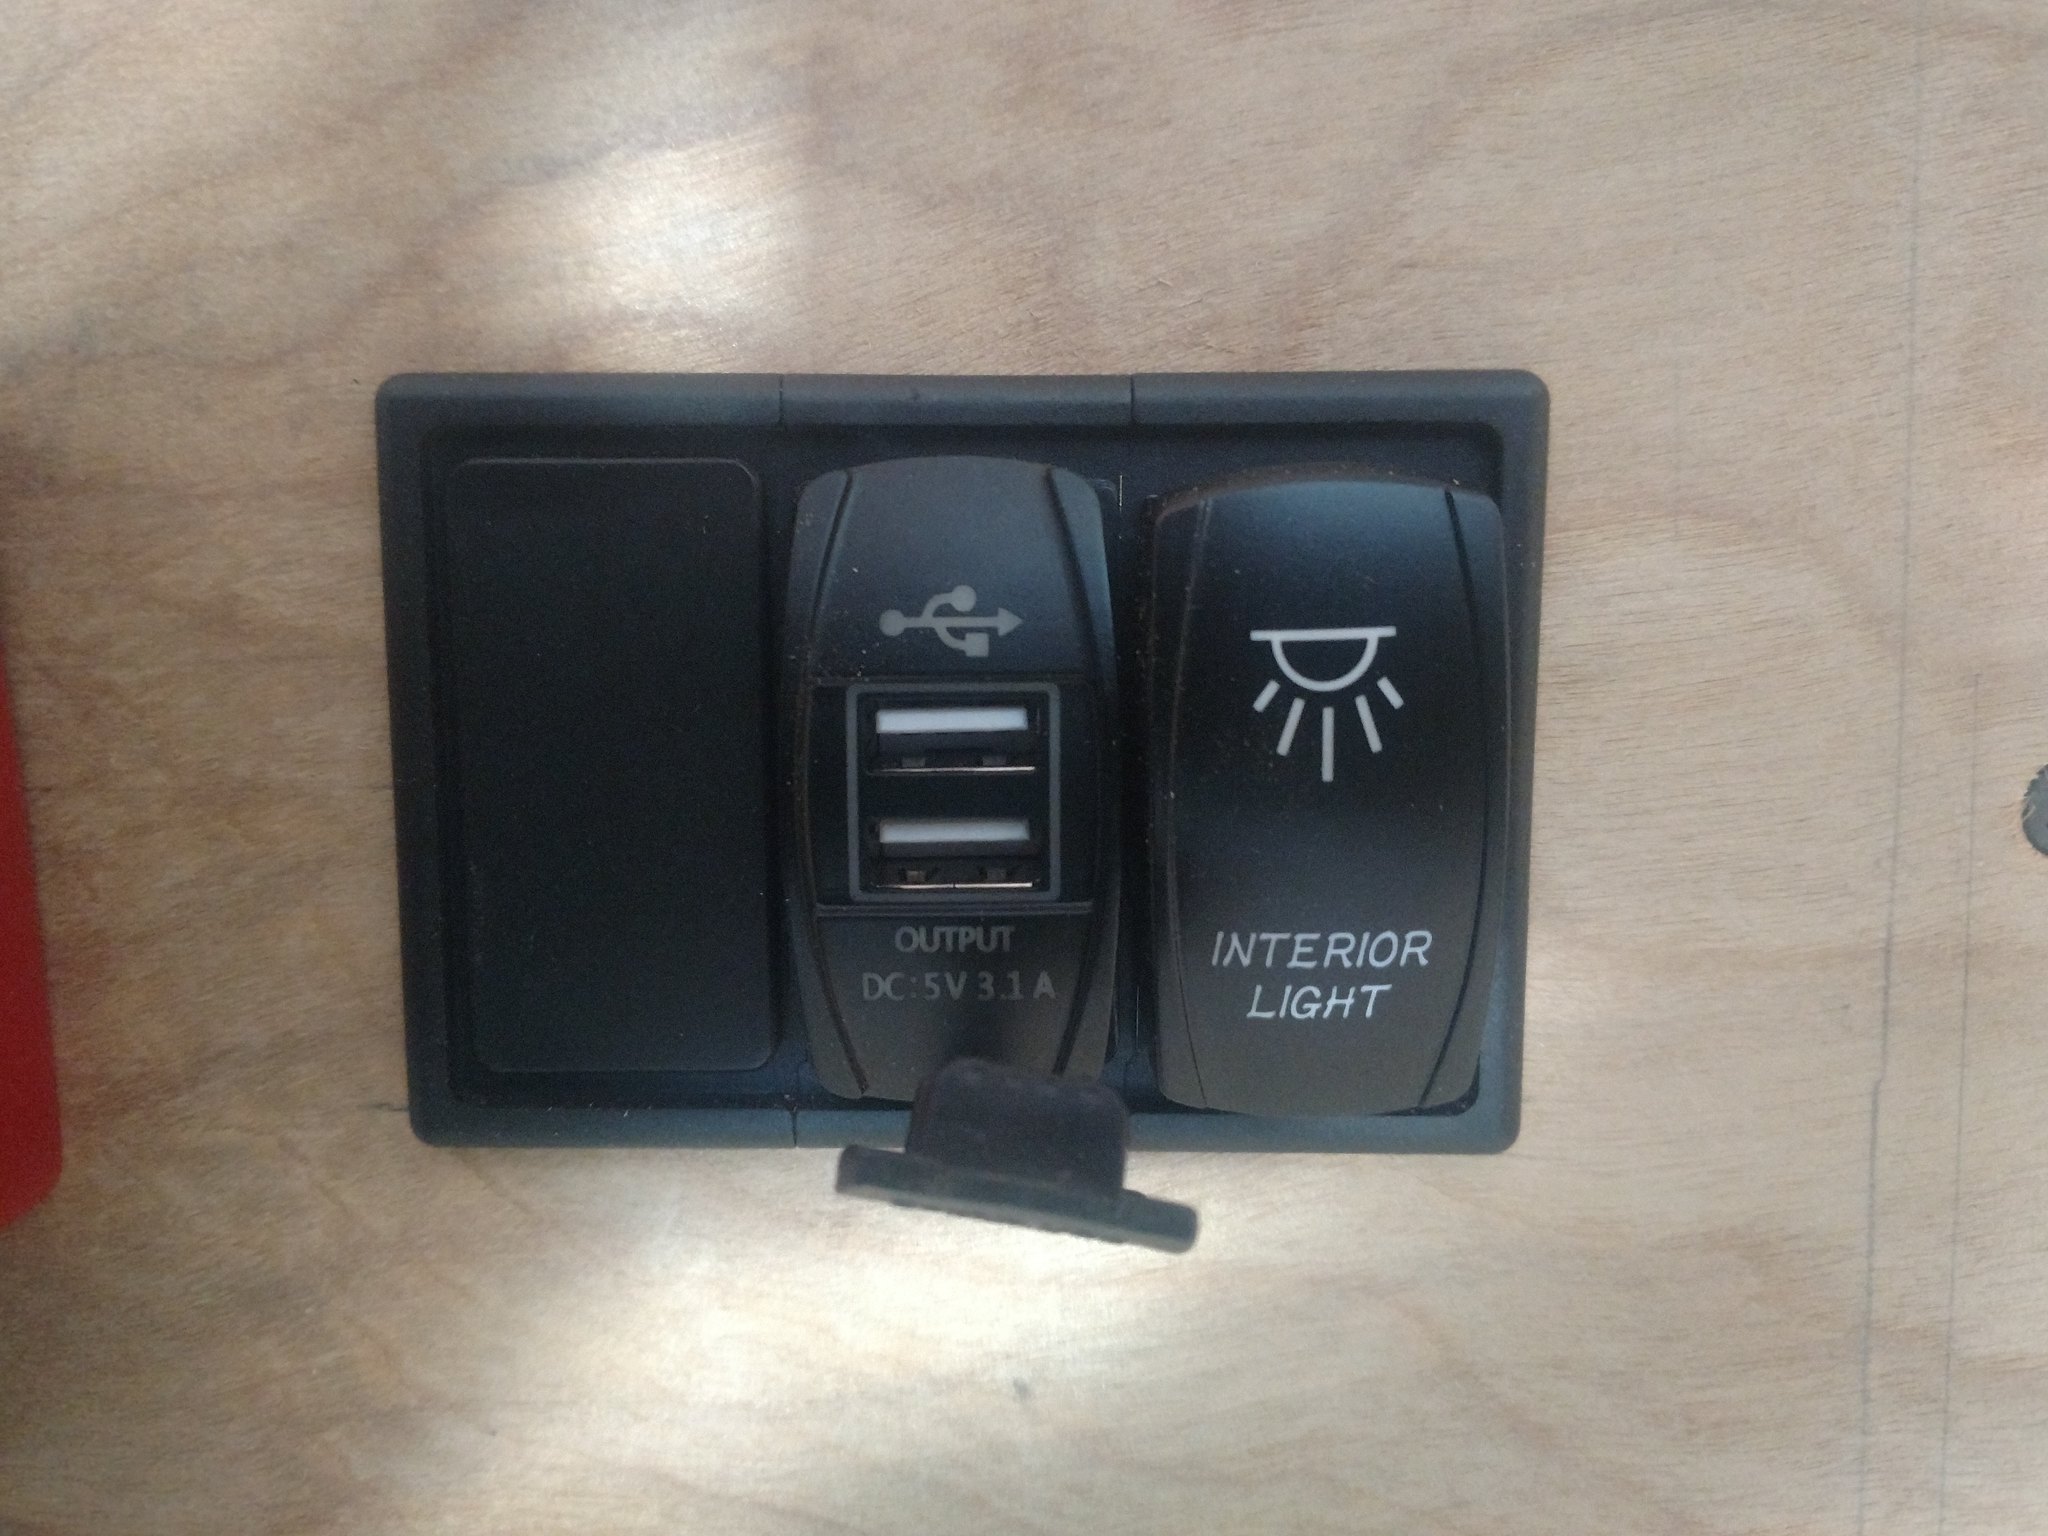
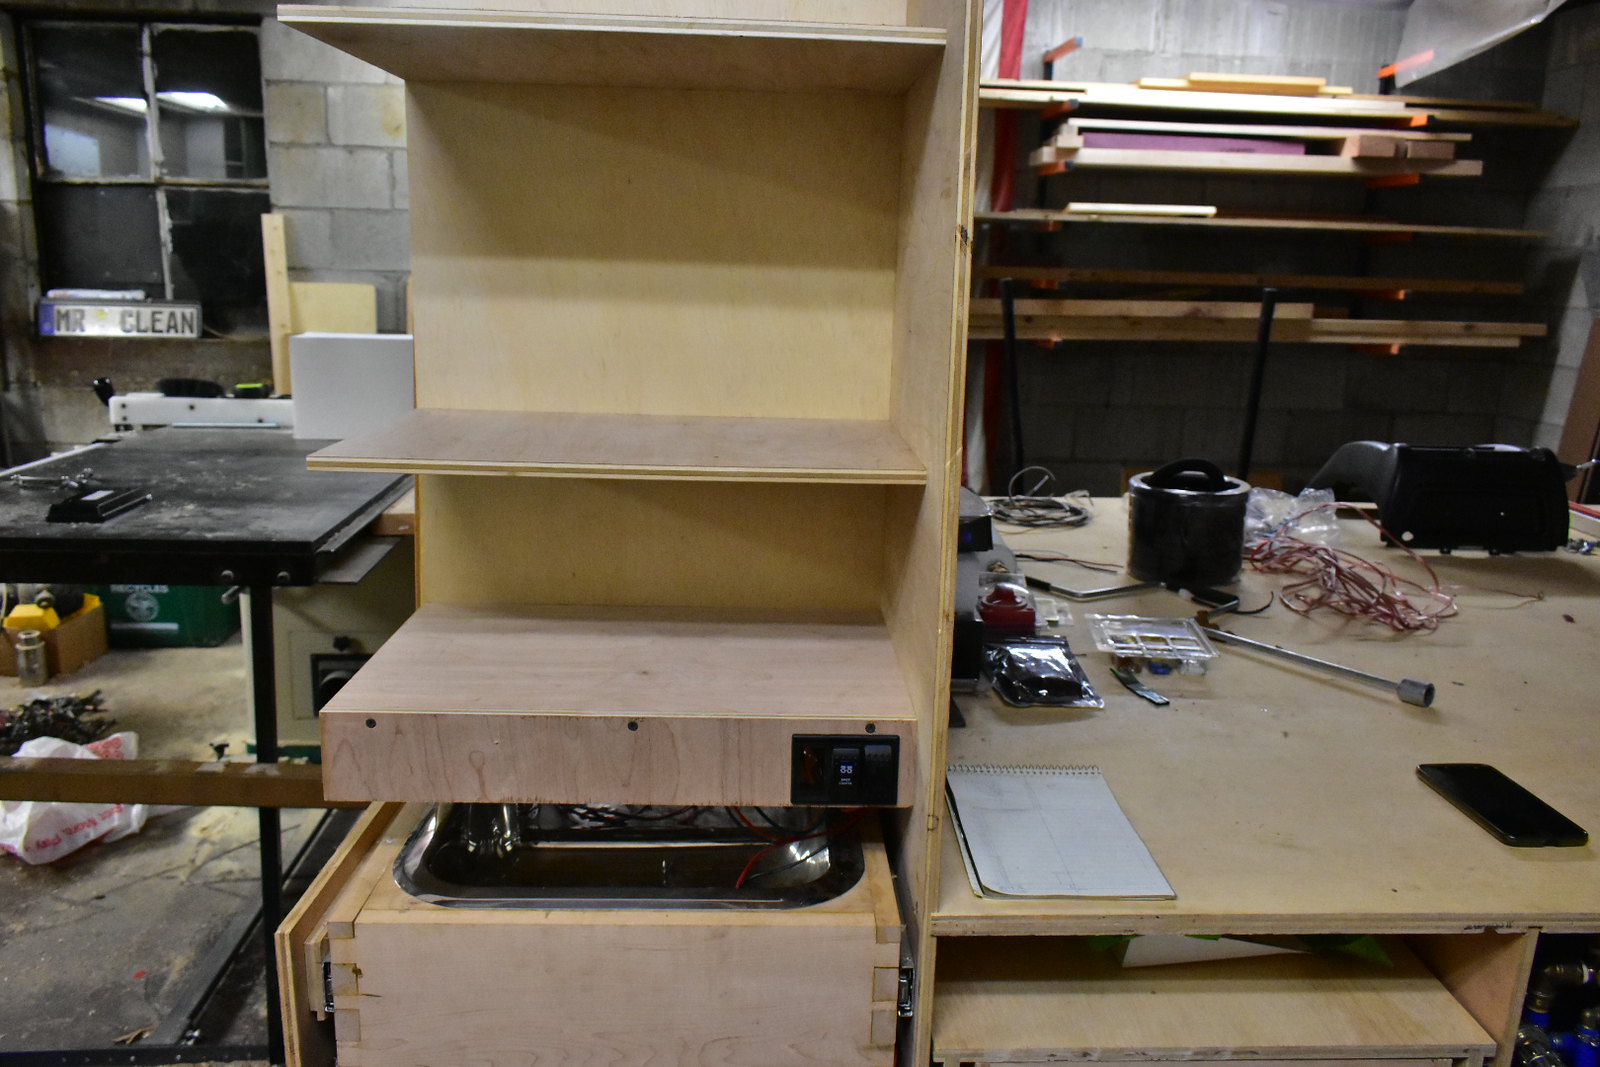
We put all our cookware that we're planning to carry with us out to the garage, and found homes for everything. This drove the size/height of some shelves above the sink. We cut those panels and secured them in place. This should give us tons of dry food storage. Probably more than we will need, which is great. It also gave us a place to secure the rock lights switch, as well as what will become the outside lights switch, and a slot for a spare for just in case.
So after a lot of debate about the refrigerator, and a lot of shopping around, we decided to buy another. There was concern it would be a total battery hog, there's no low-voltage cutoff, there's no light inside, it's heavy, bulky, etc. We certainly got plenty of use out of it, just not in the trailer. It was fantastic to have in the back of the pickup cab for a few roadtrips we took. We fully expect that 100Ah of battery would be sufficient for the original fridge, but the new fridge is more efficient, so we will have some more freedom. Luckily, it fits nearly the same footprint as the original fridge. But it weighs about half as much, and it has a light inside so we can be choosy when we're pulling beers out next to the campfire.
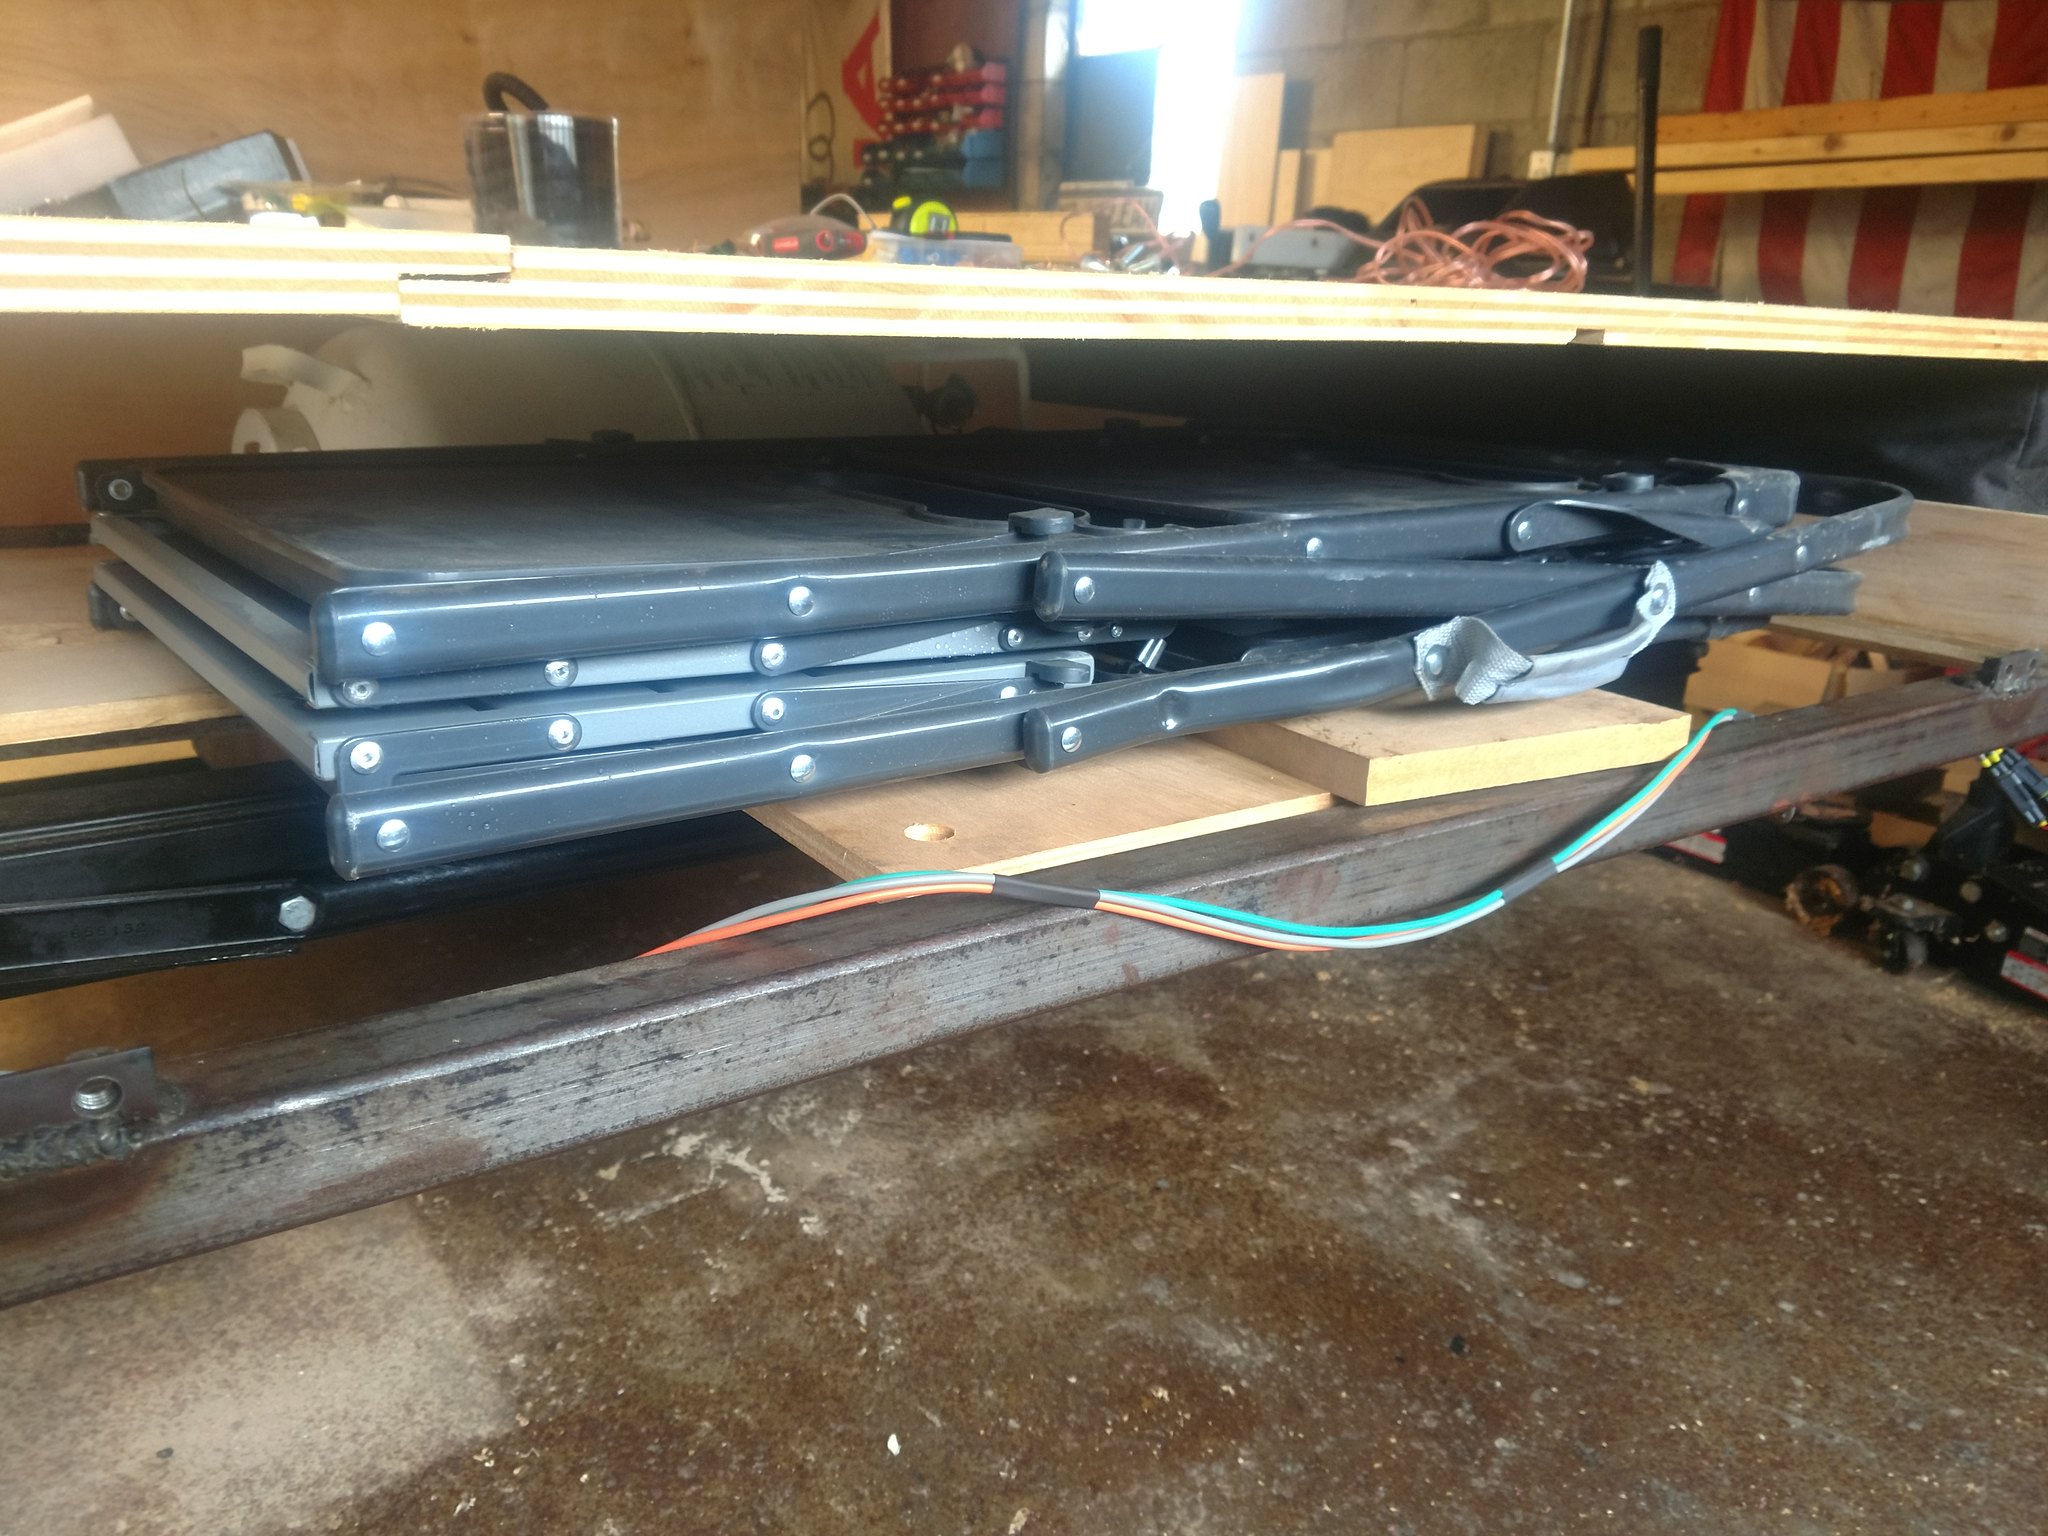
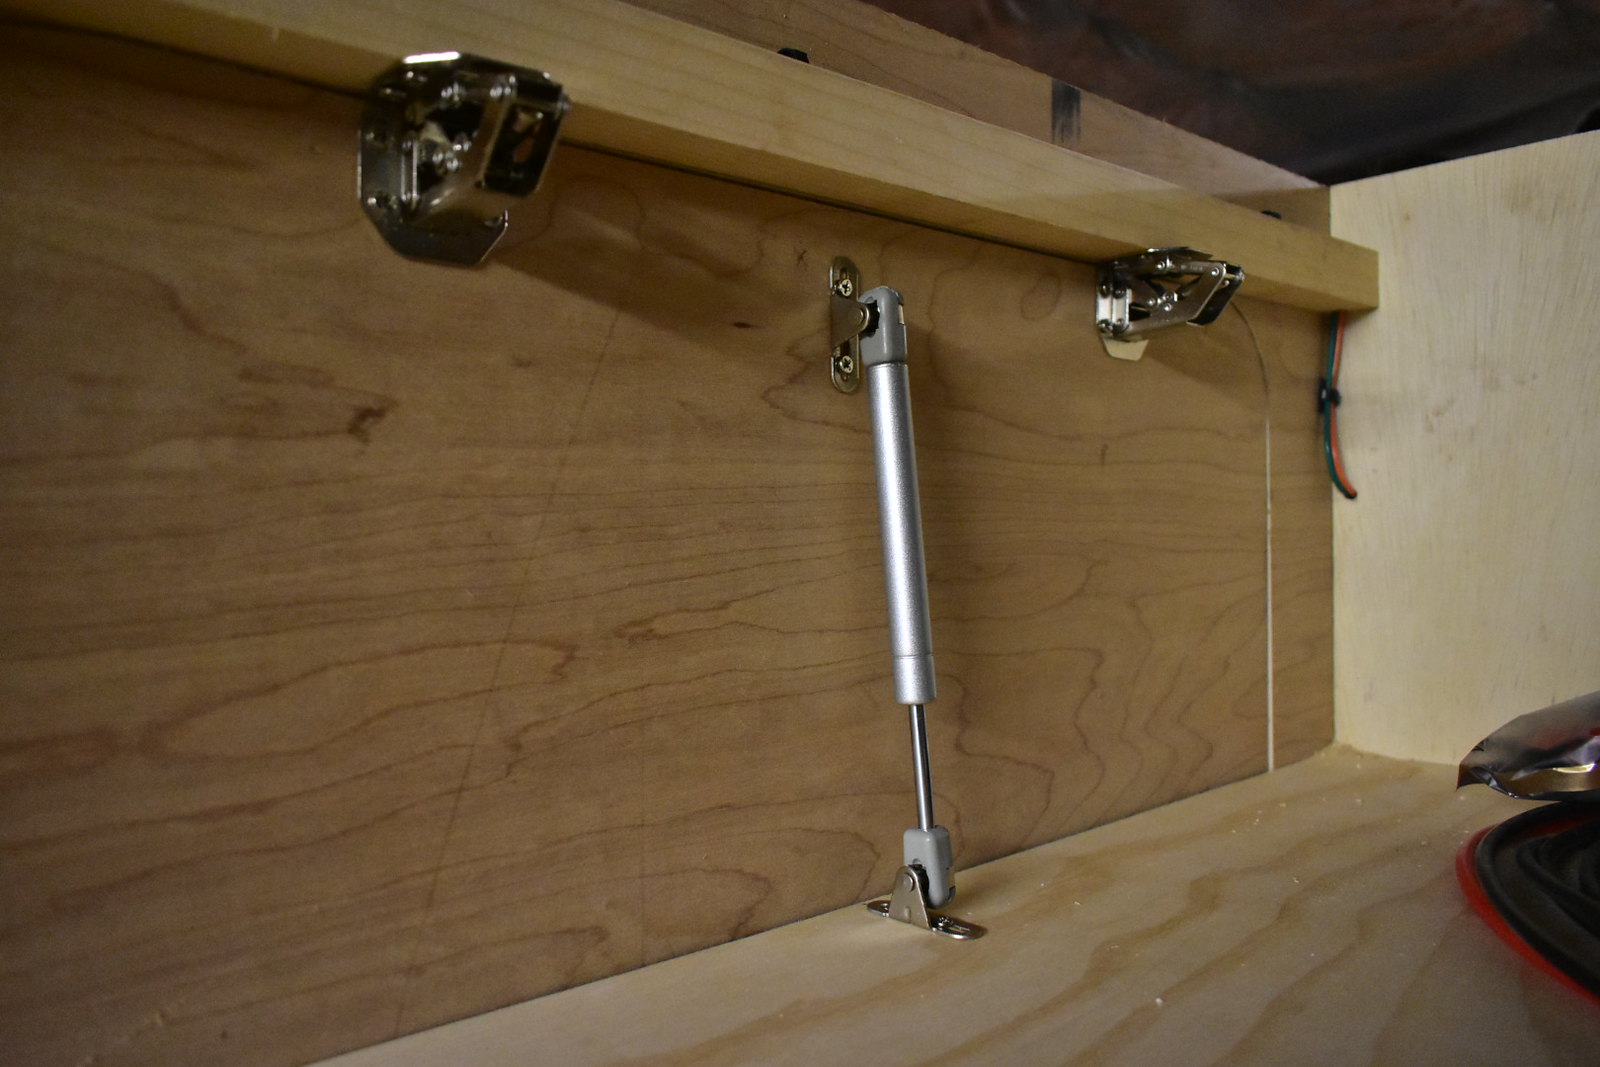
Out back of the trailer, we've had this nebulous idea of "it's going to be storage". It was time to more clearly define what that meant. We have a 10'x10' canopy tent sort of thing that folds up pretty small. I think the name brand version is called EzUp, though ours is a knockoff. It stores inside a bag with 2 wheels on it and a handle at the opposite end. We made up a simple U-shaped channel that fits it pretty snug, and closed off the forward end as a sort of stopper. So you put the wheels in first, and it easily rolls in and fits snug underneath the bed. It's not yet secured to the frame, but mounting will be straightforward using angle brackets I made way back in the beginning. Next to that is a large, open space above the stabilizer jacks. I made up a panel to cover the open frame and form a floor for this area. I made up 3 walls that will separate the storage area from the propane tank, as well as support the bed. I blew it by about 1" on the first pass, so I scrapped it and started over. The thought was that our folding table will go in the rear of this storage area, immediately aft of the propane tank. Well, the wall that I made needed to be moved forward by about 1 inch so that the table would actually fit. Measure once, cut twice. The second attempt came out better overall anyways, so whatever.
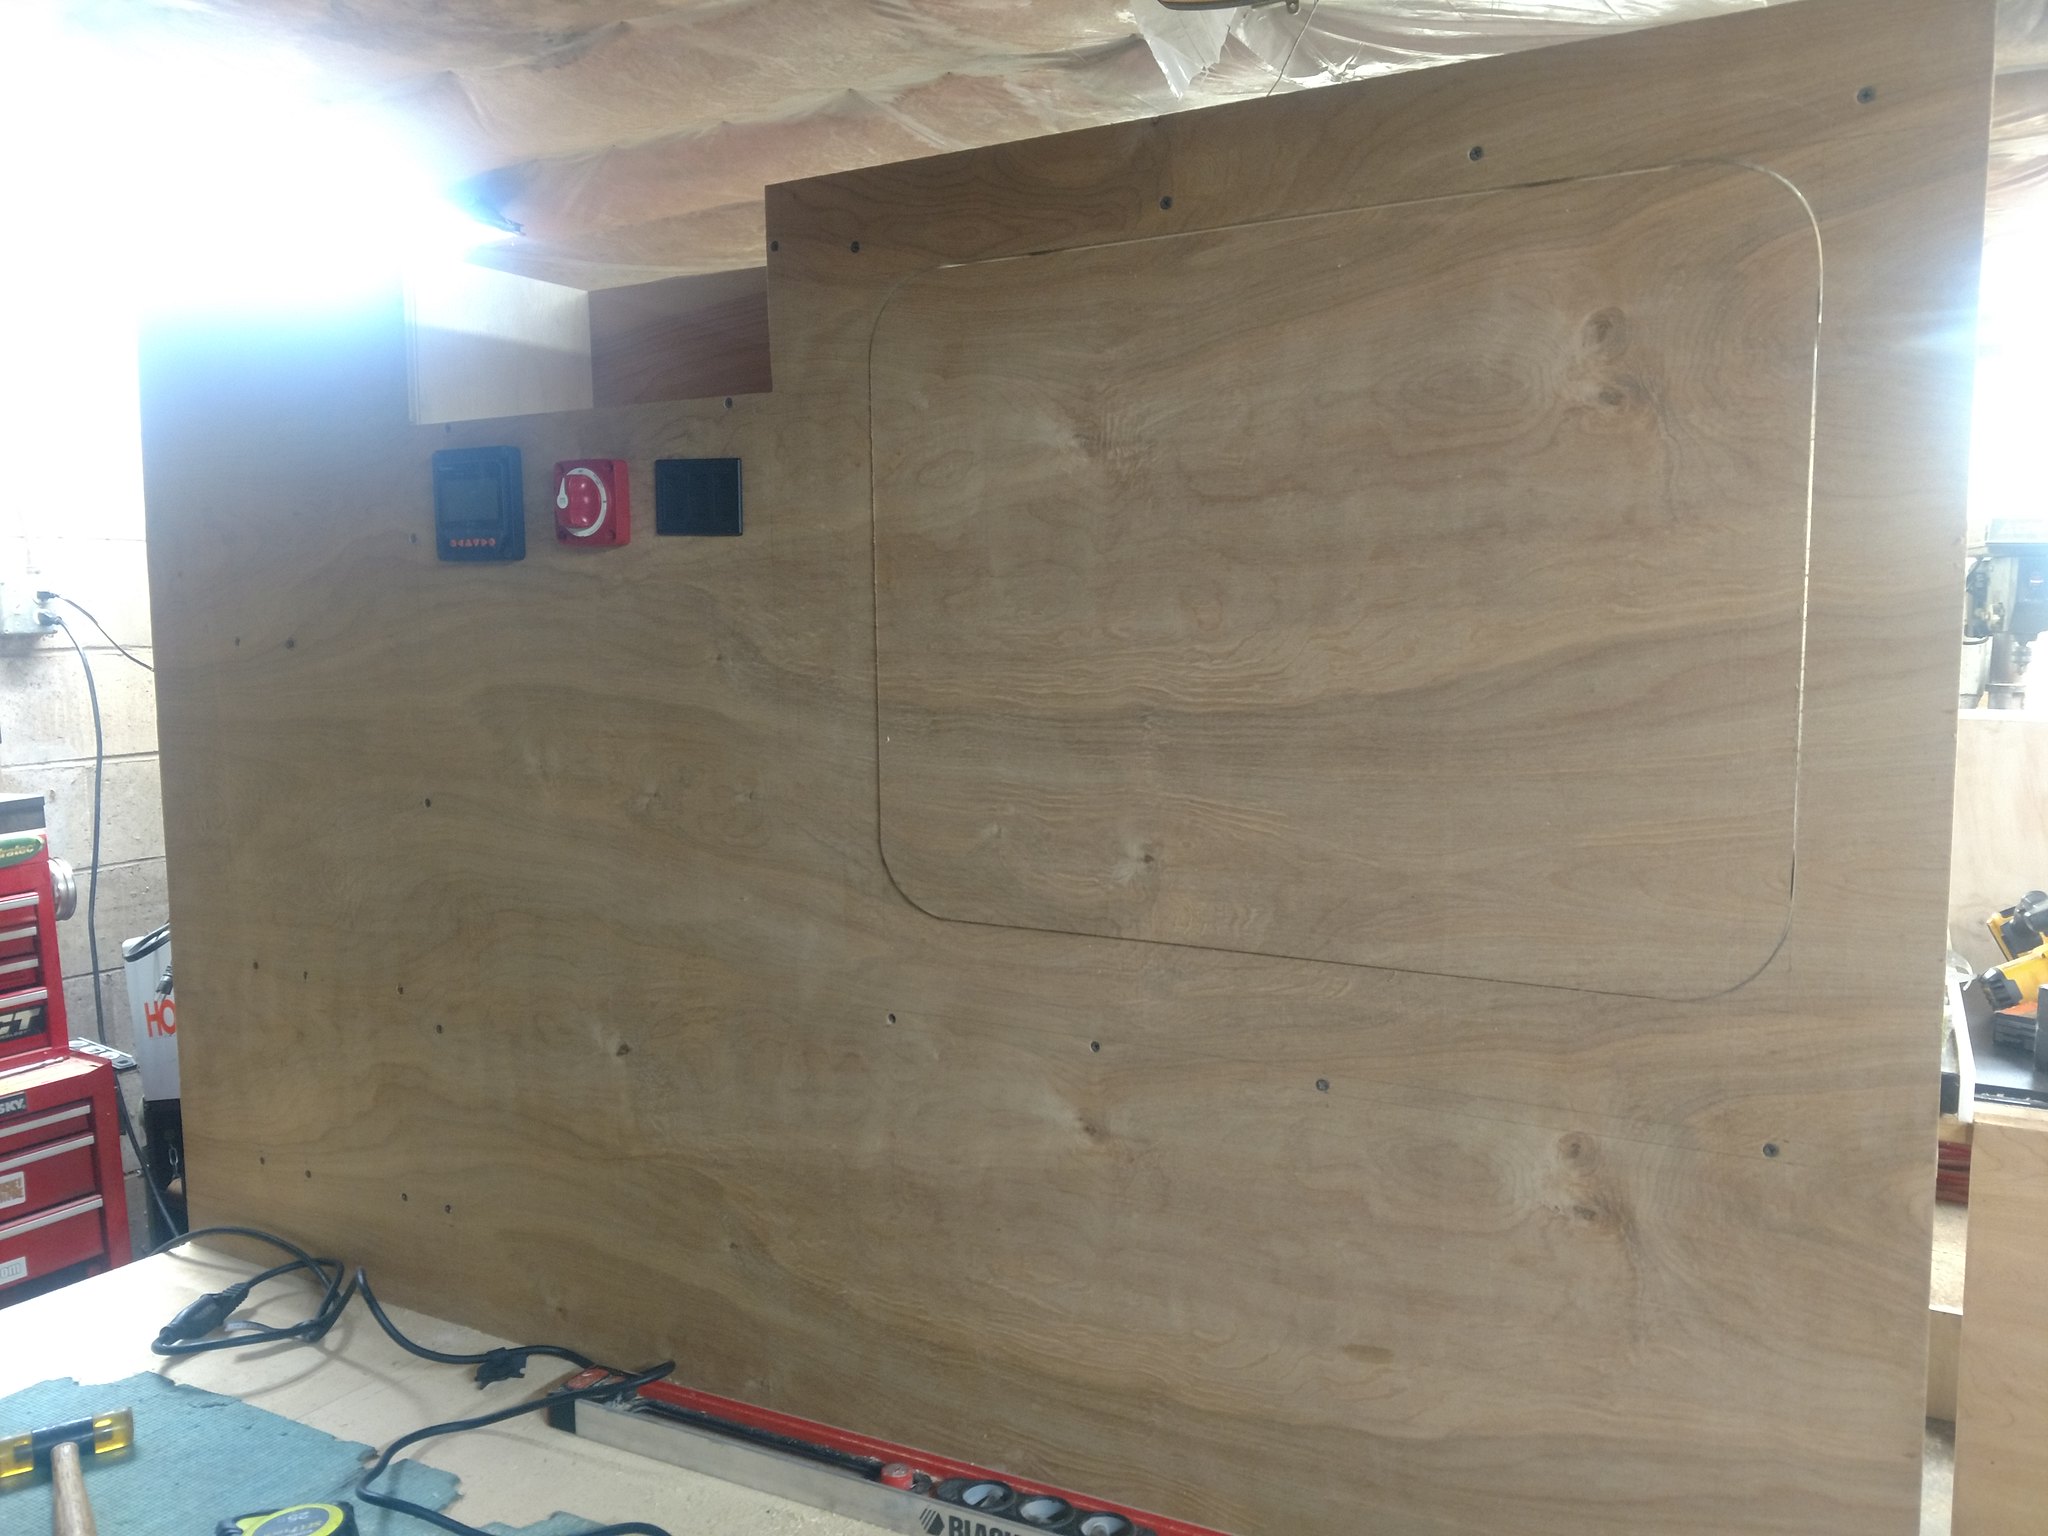
This is without the floor, obviously:
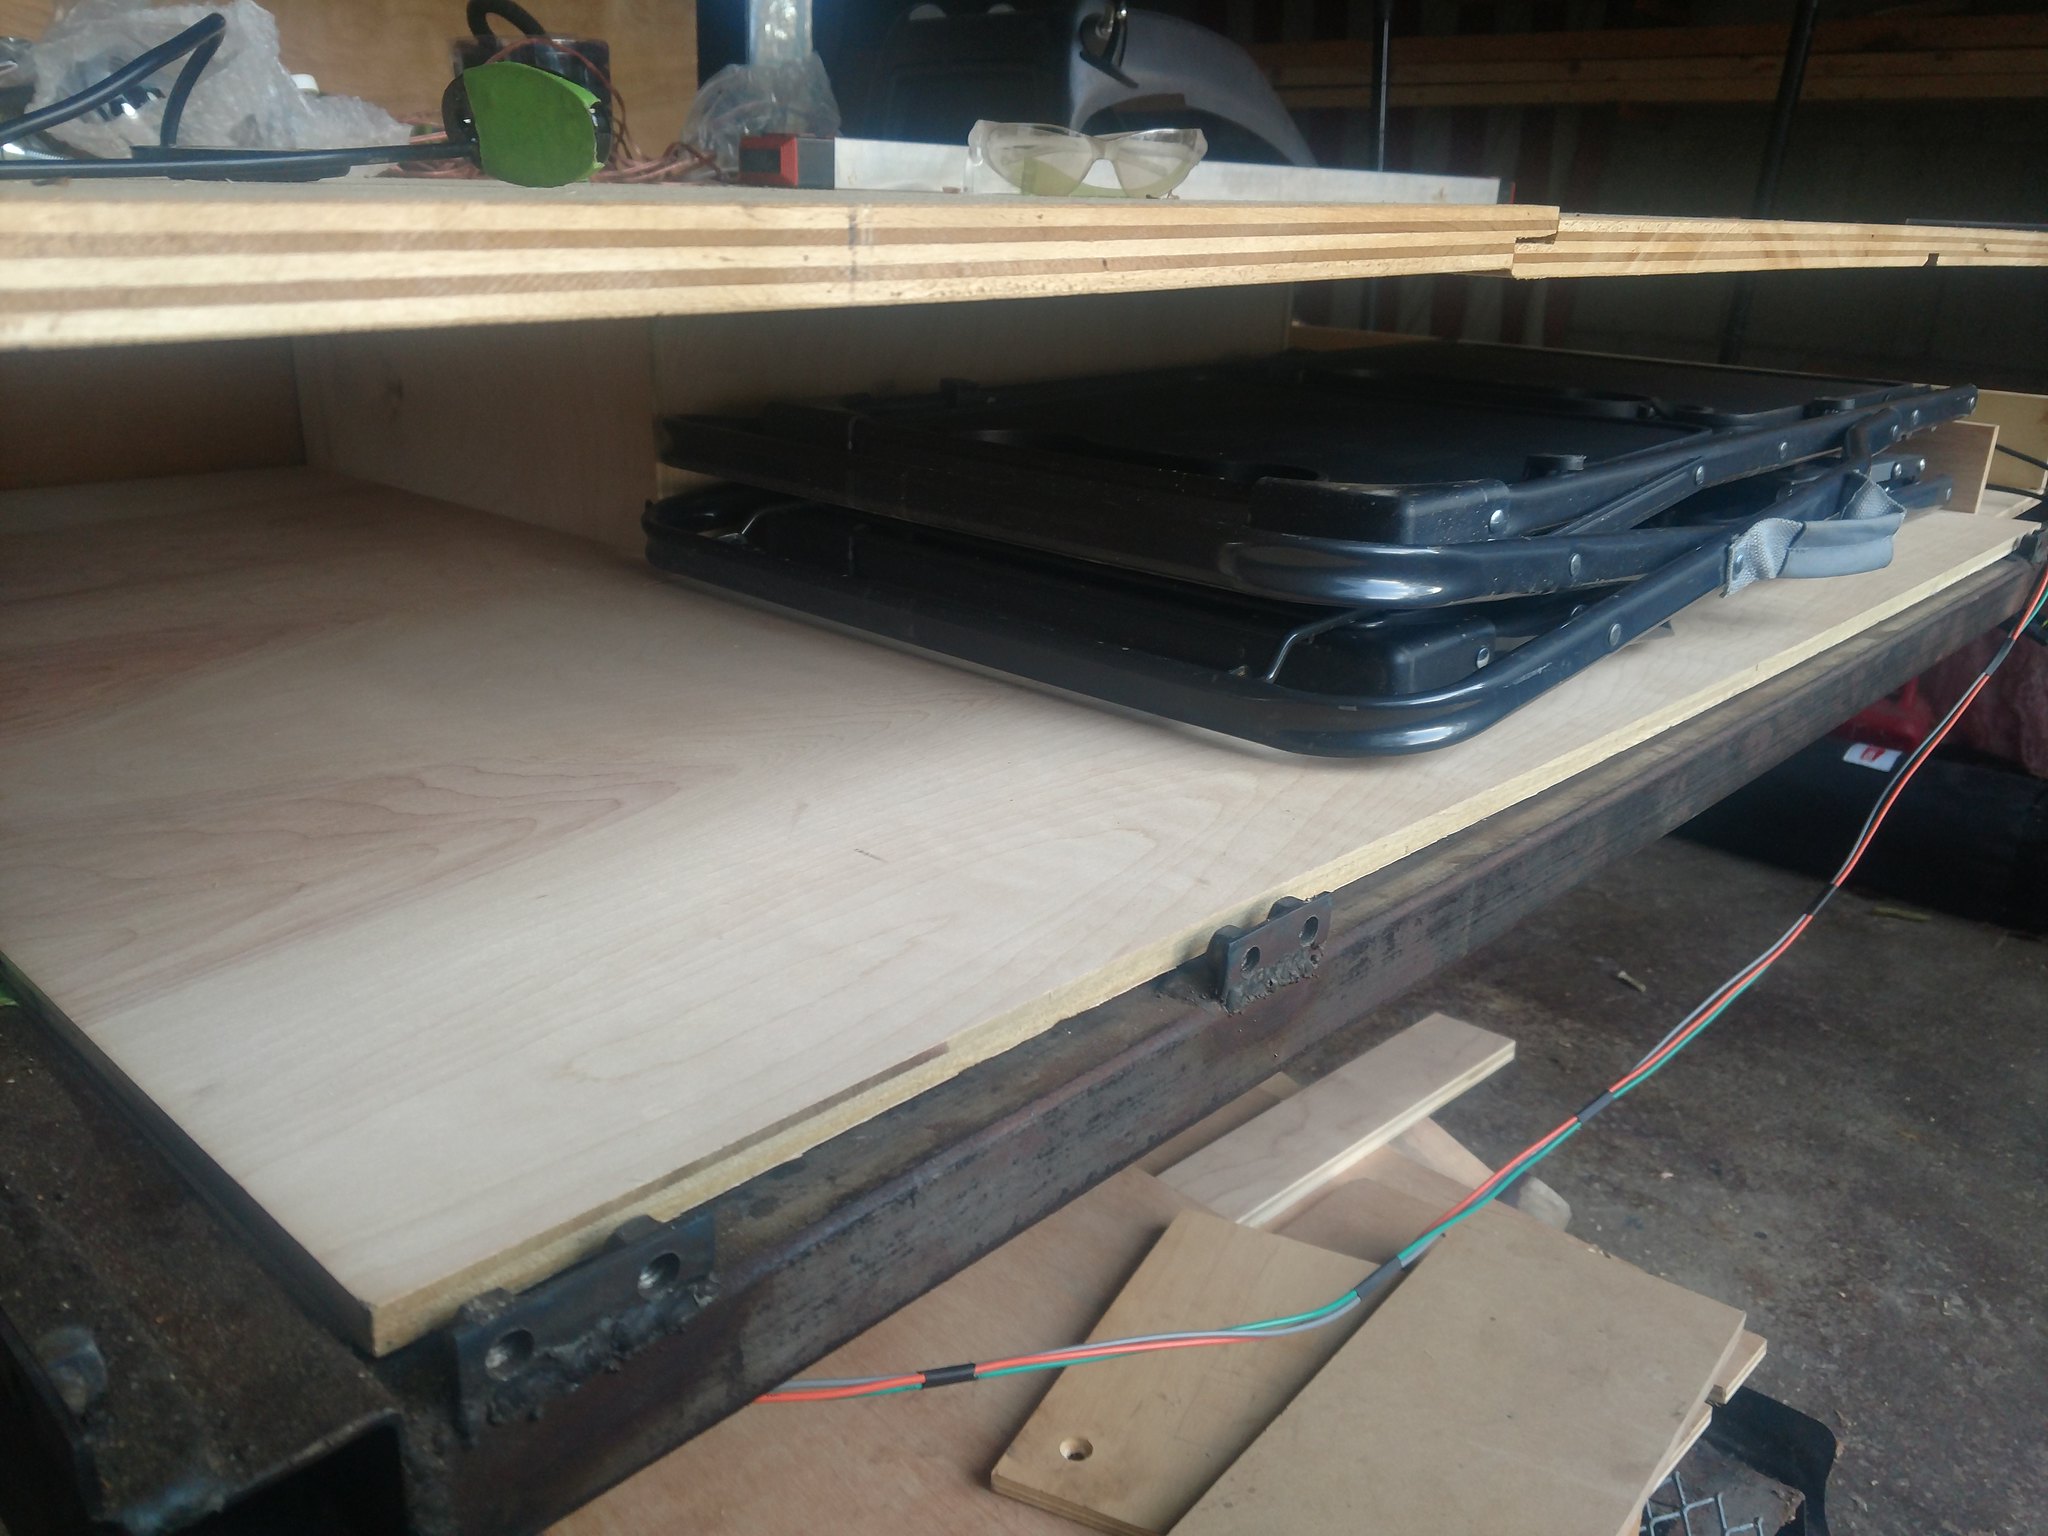
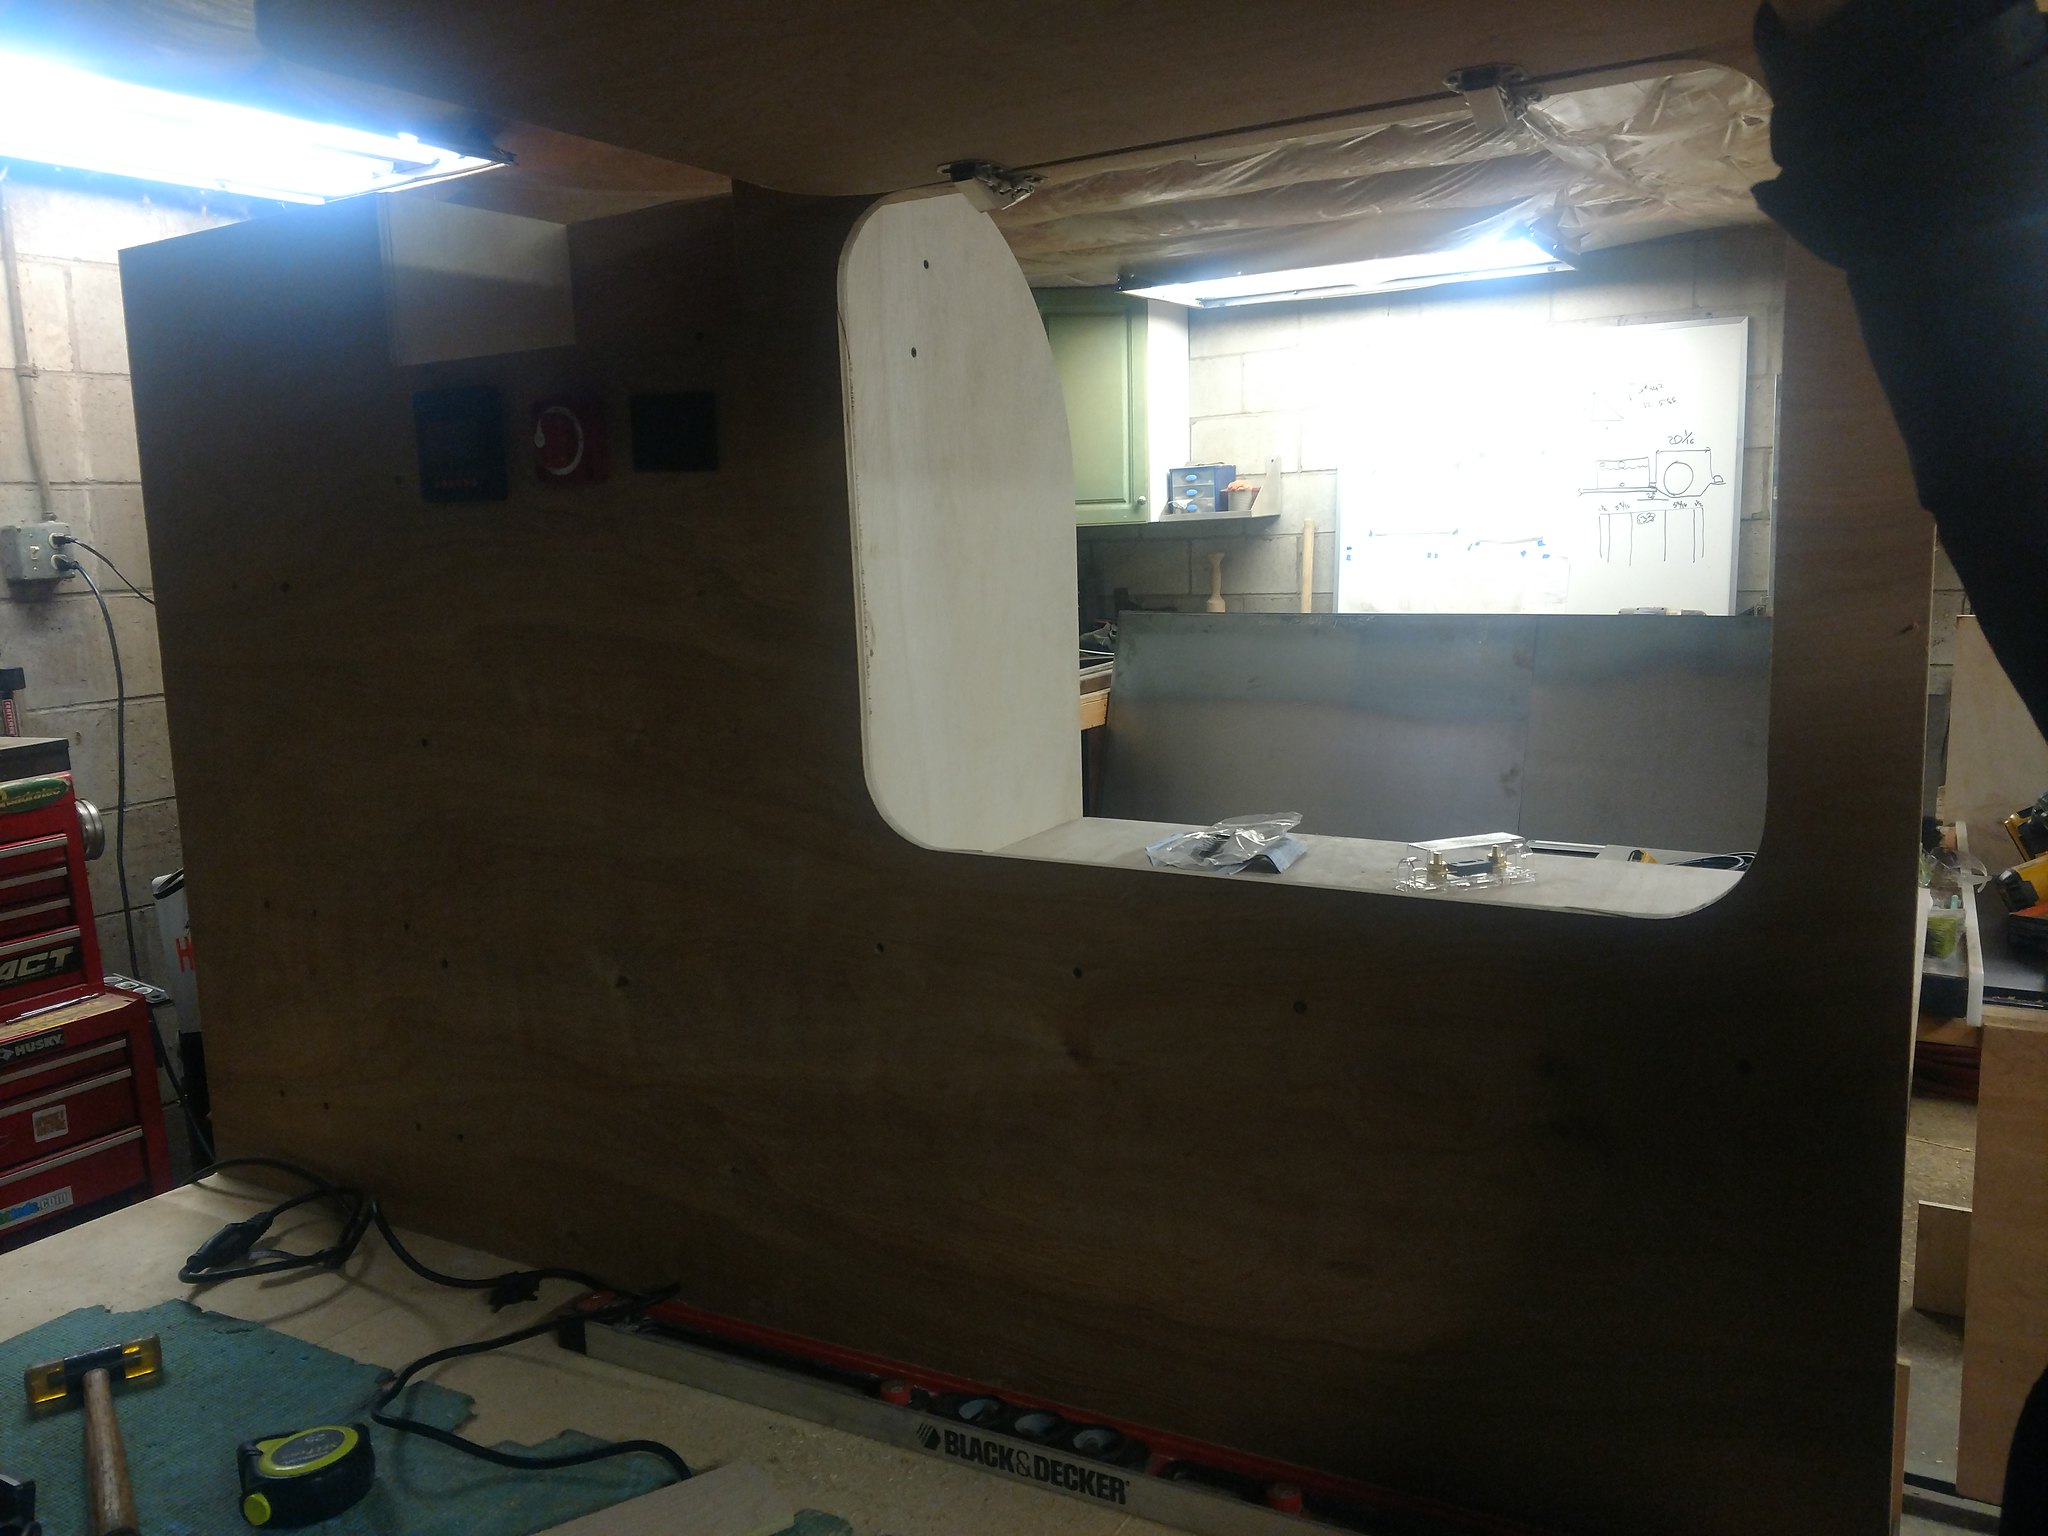
And with the floor:
You can see the "tray" for the 10x10 canopy in the background, I just realized I don't have any pictures of it specifically. Sorry.
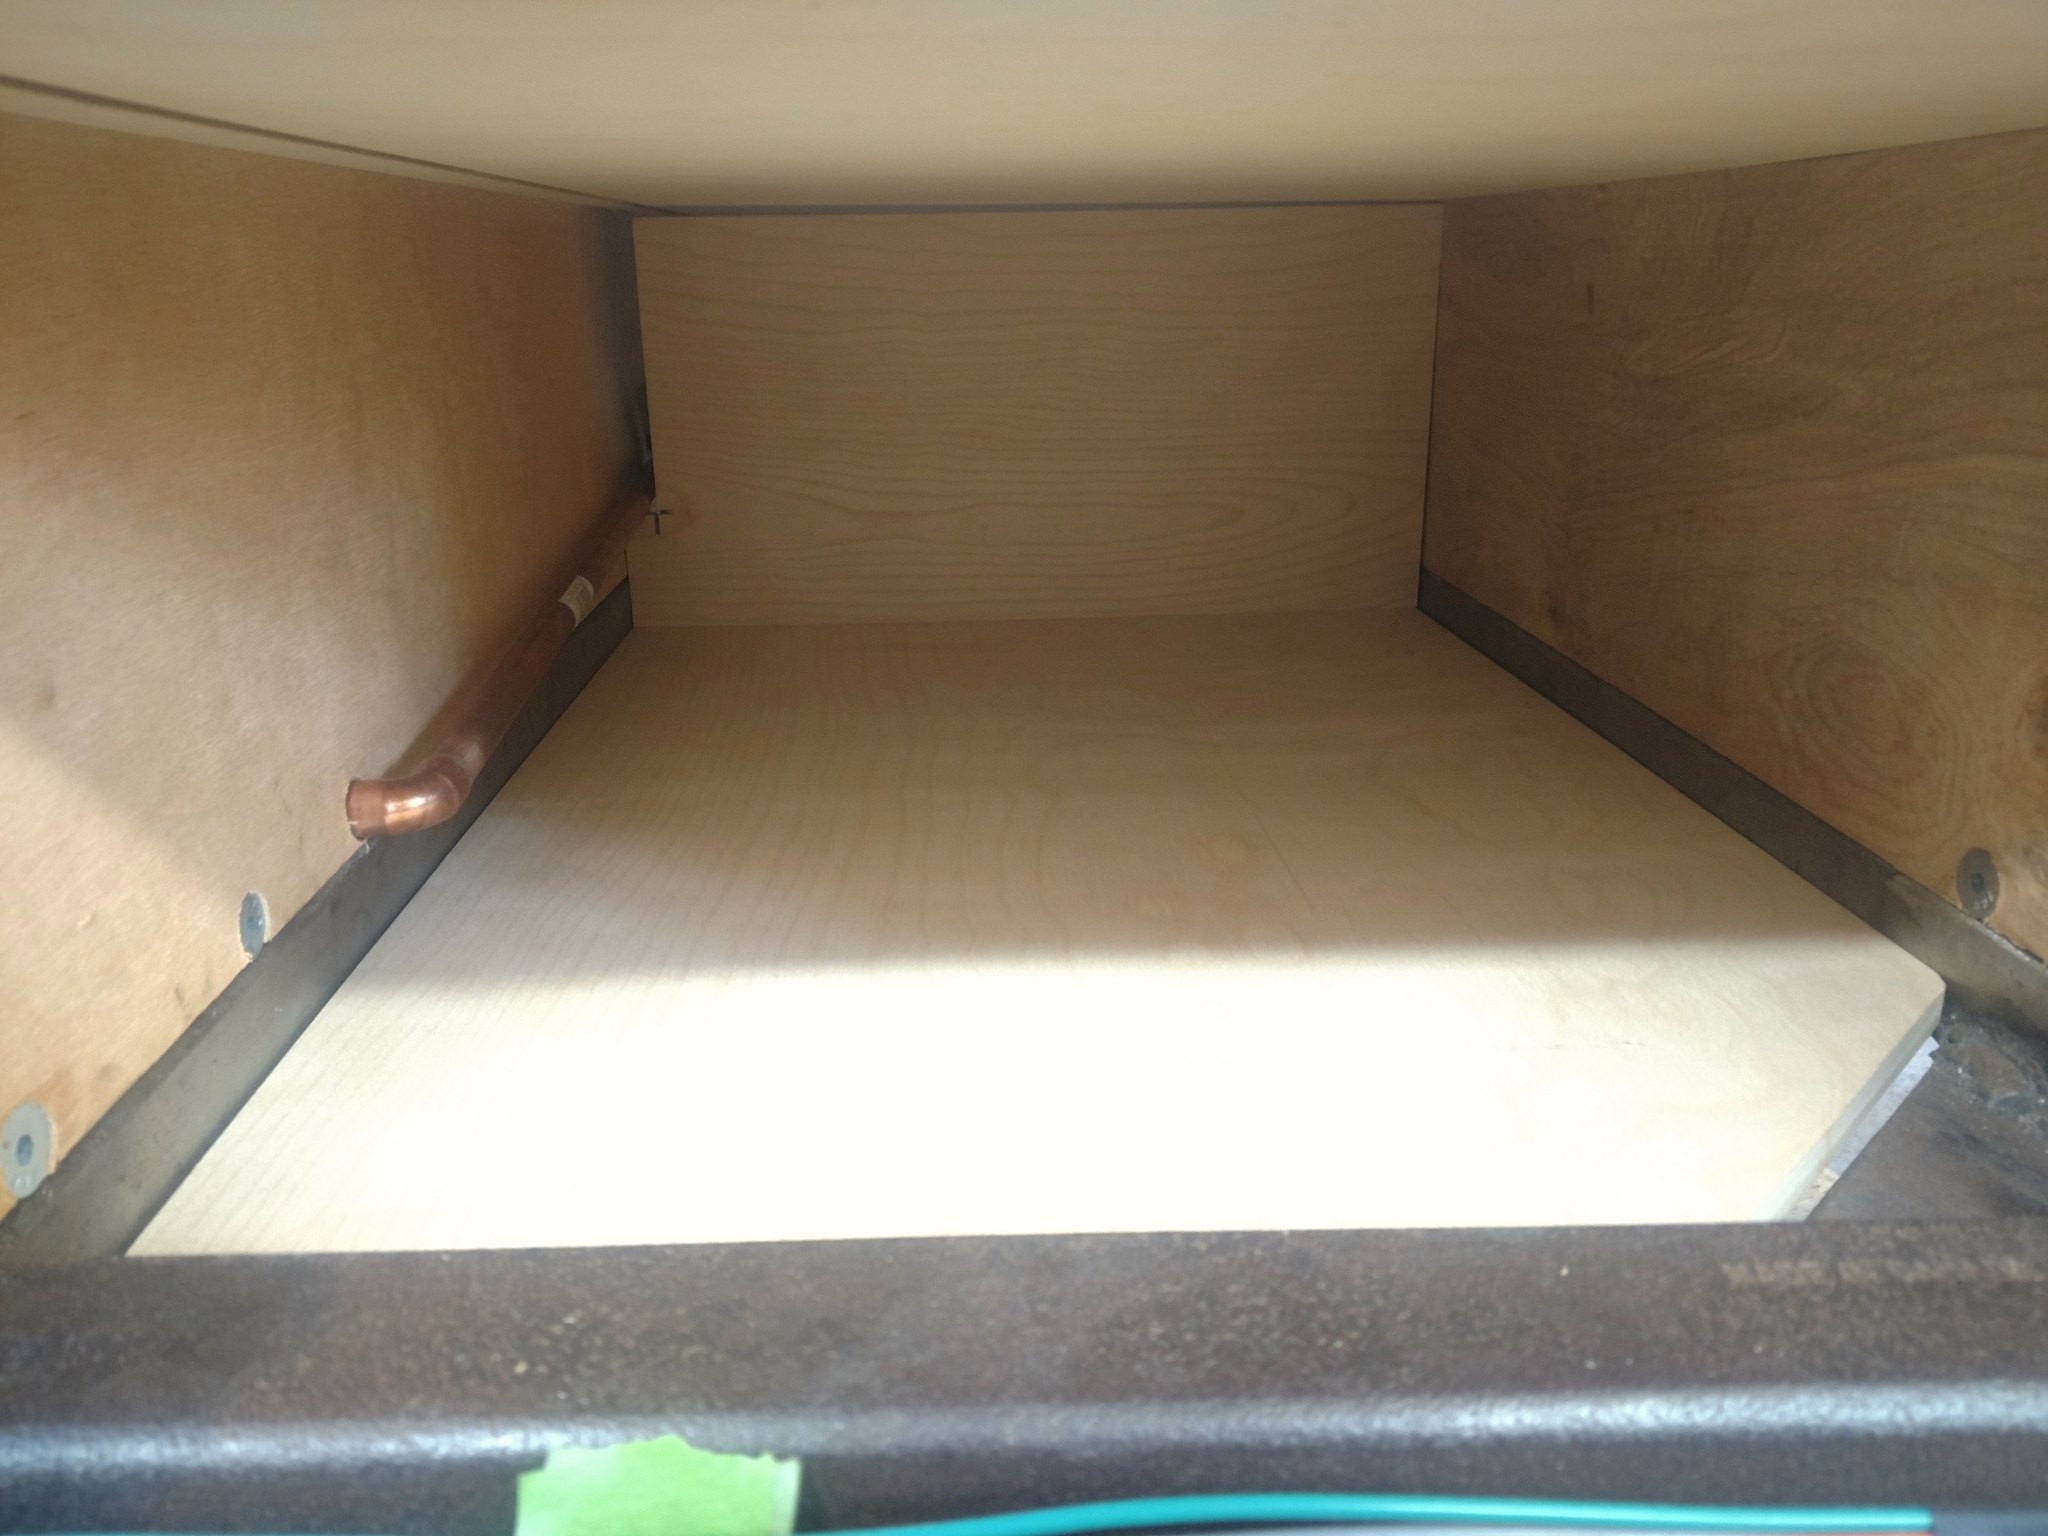
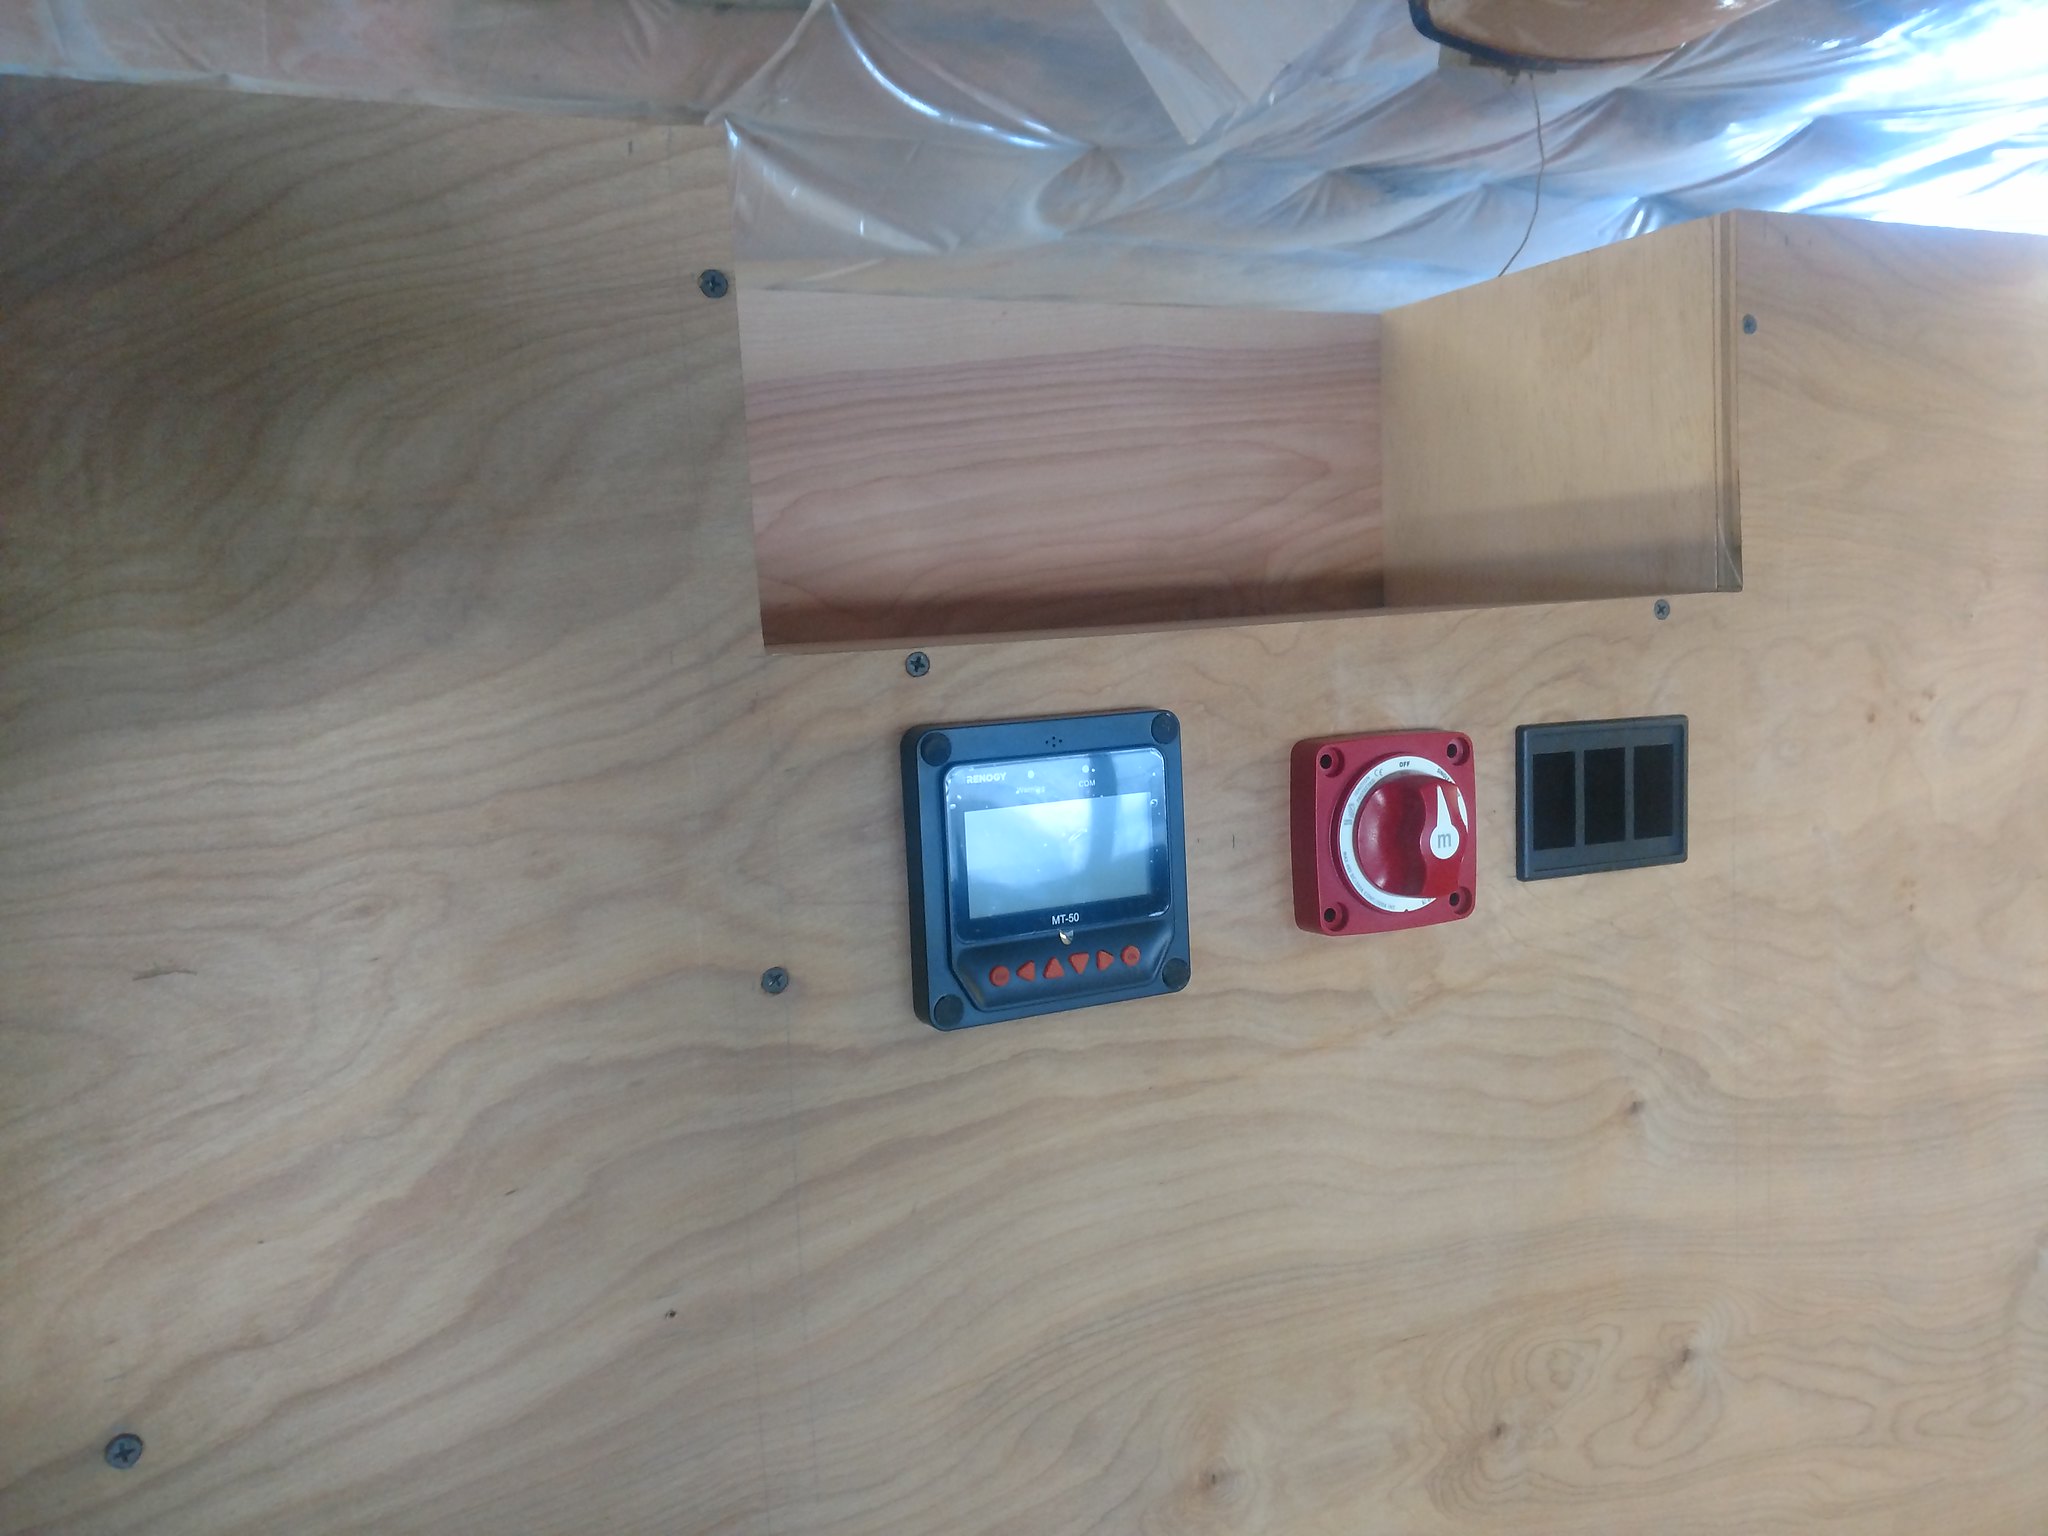
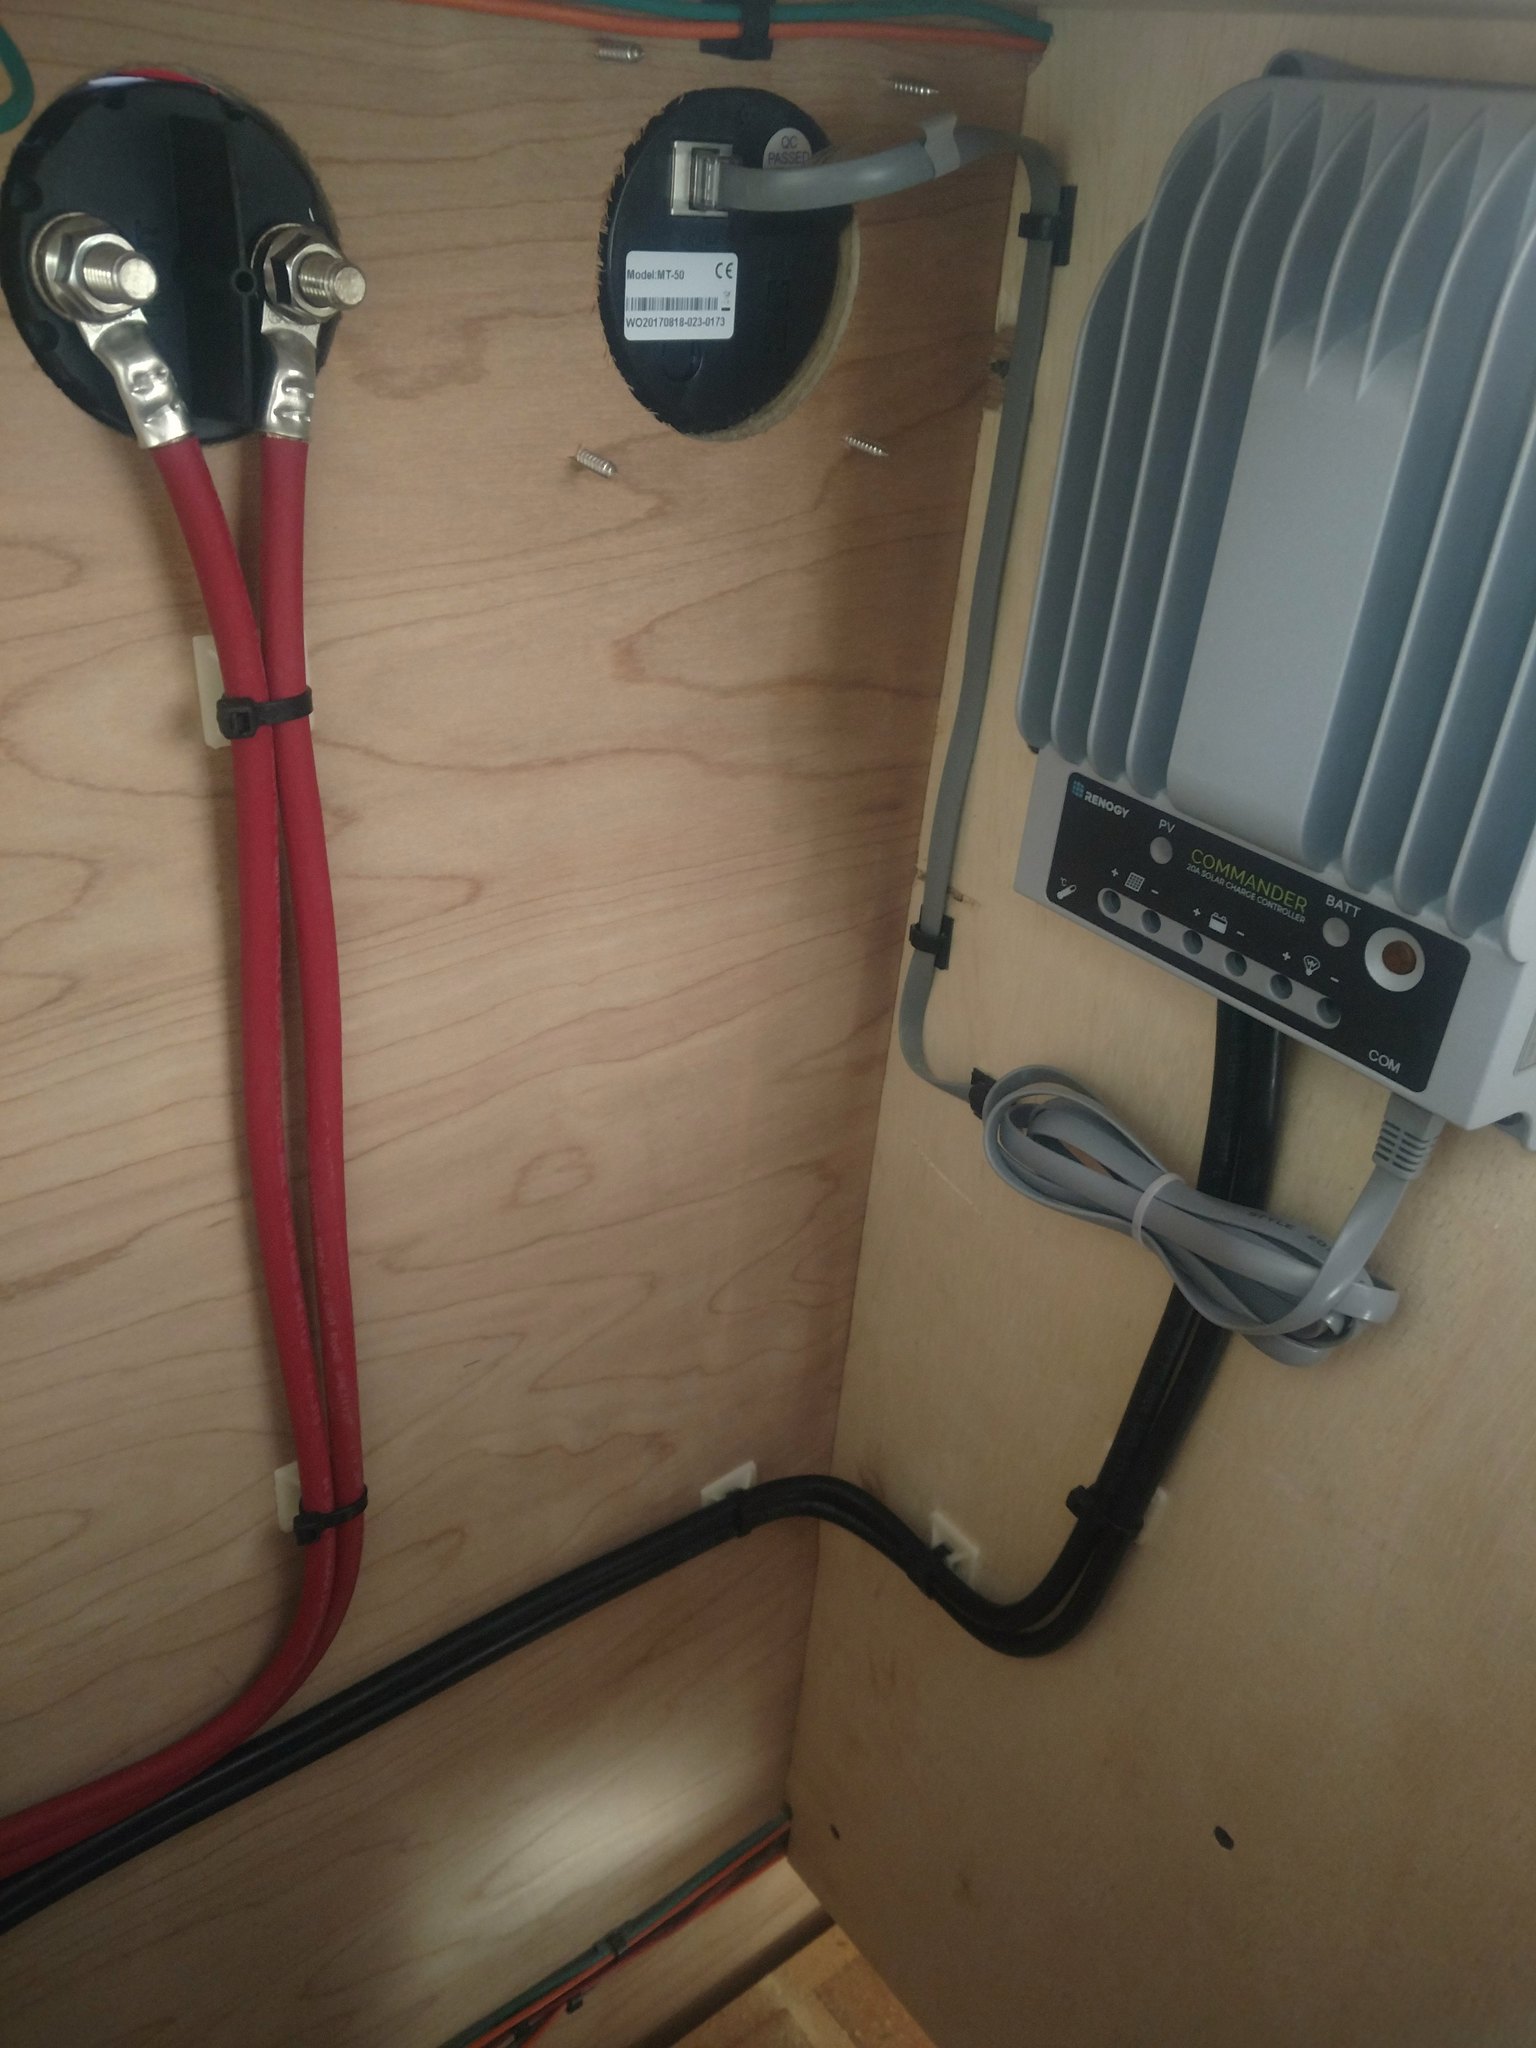
Meanwhile all of that, we were doing some other shopping as well. Lots of planning, discussion and cyber week deals pushed us to go ahead and buy a 100Ah battery. And 200W of solar kit as well. Some of the parts were back-ordered but we used dimensions from the internet to make cardboard models of components, and find homes for things. We triple checked the size of the battery, and found a home for it under the bed and near the fuse block. This allowed us to make up a simple battery box, and gave us a place to route wires to. We found a good spot for the charge controller that should have sufficient airflow. We also set to work designing a control panel in the headboard. Our original plan was to put a single-DIN car head unit in, and a pair of speakers. We opted to skip that unnecessary complexity, and instead make a cubby for a portable bluetooth speaker. The control panel will also house an interior light switch, and one or two spares just in case, the solar charge monitor, and a battery cutoff switch. The layout is sorted, but we are awaiting components before we make any cuts. Just in case.
I'll leave you with a shot of the battery box for now:
To be continued
")