Overland Comanche

tuckertj

Observer
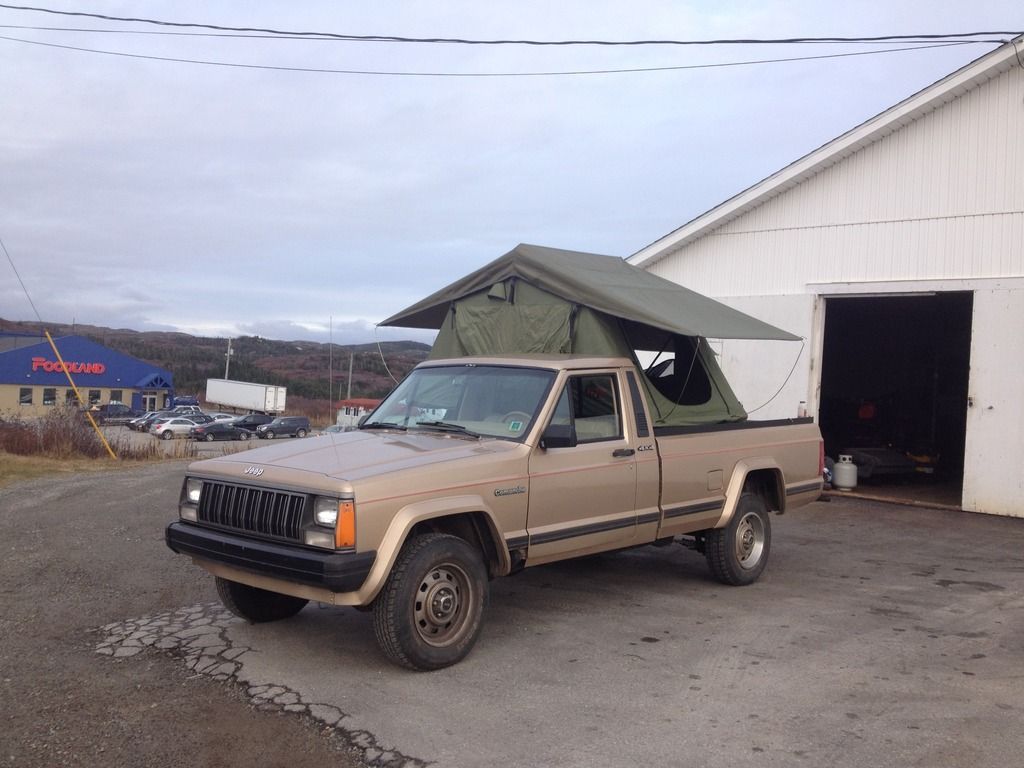
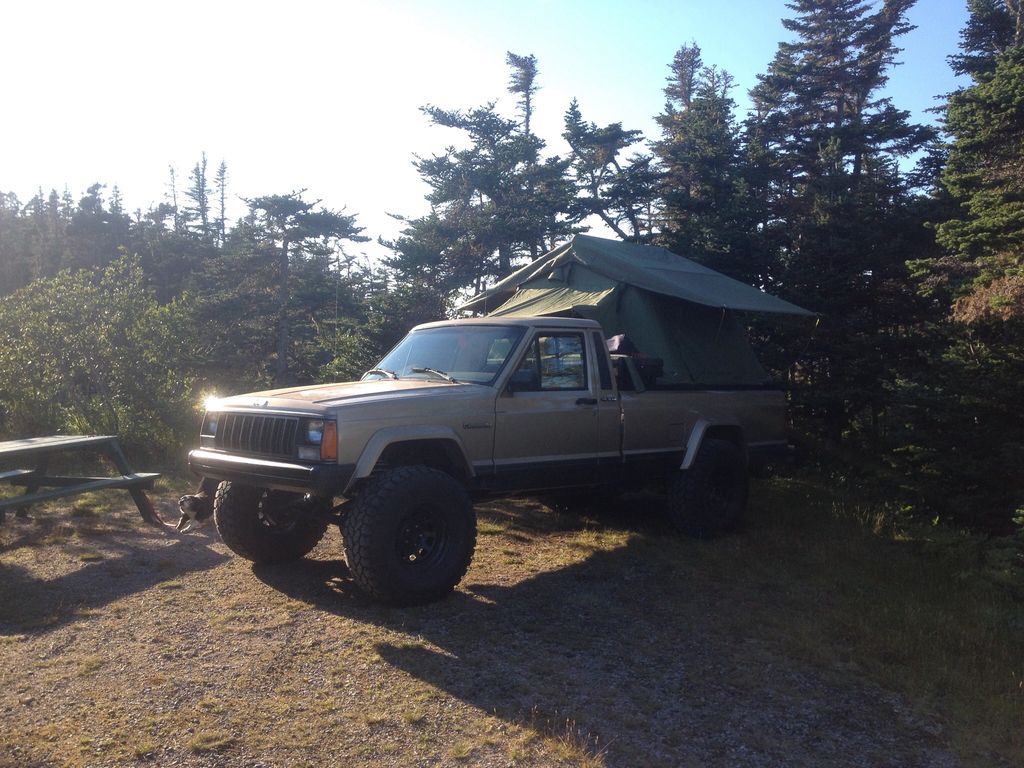
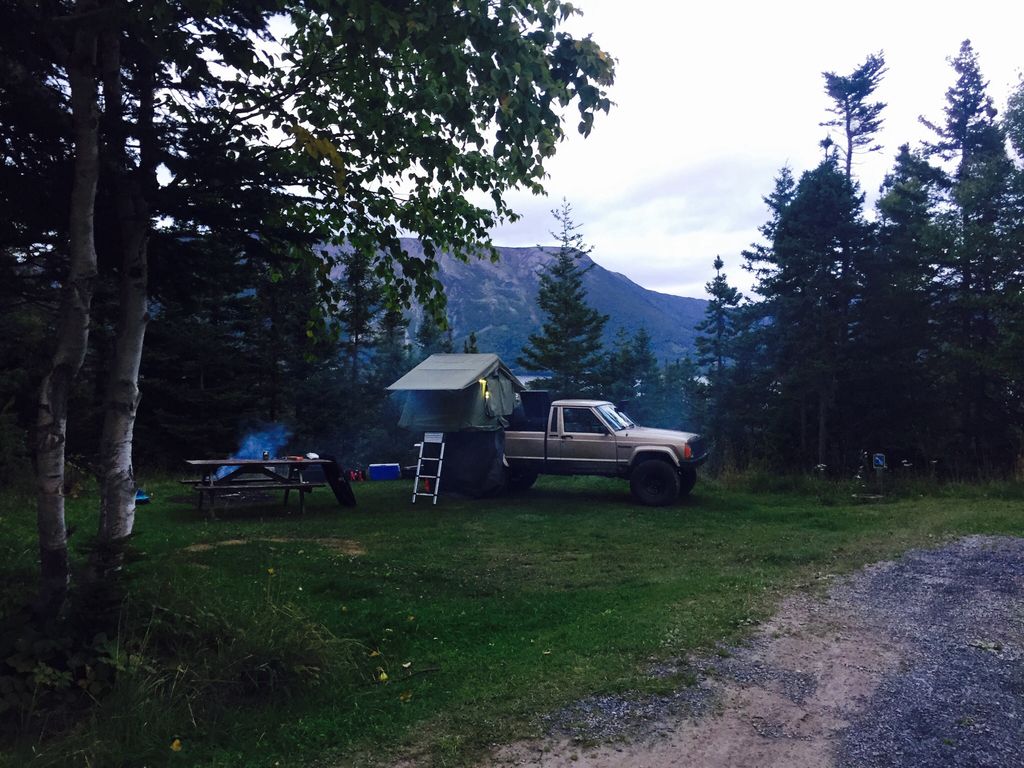
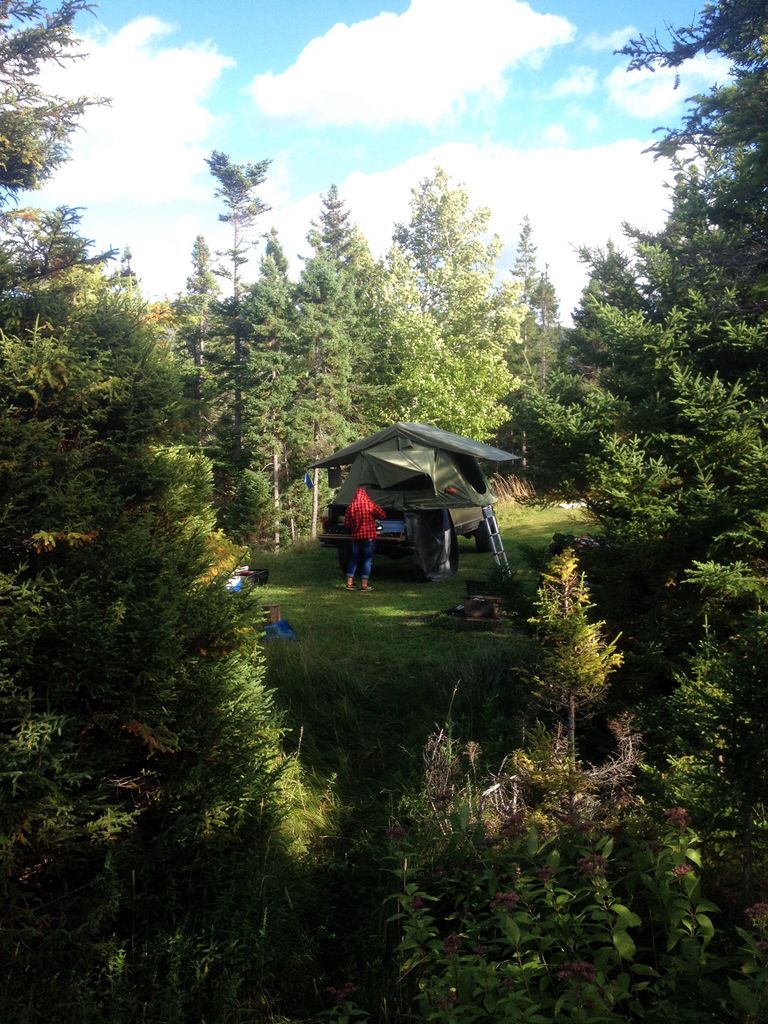
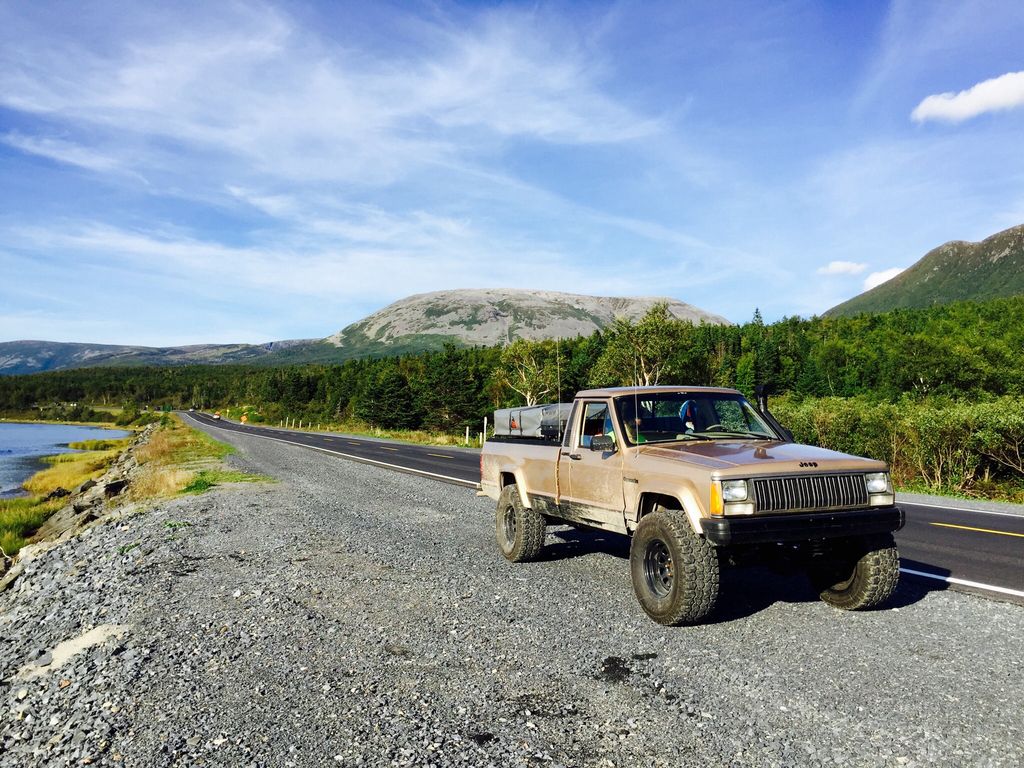
I started this build thread over on ComancheClub.com and it's being built towards a daily driver, overland, camping rig, so I thought I'd share it here.

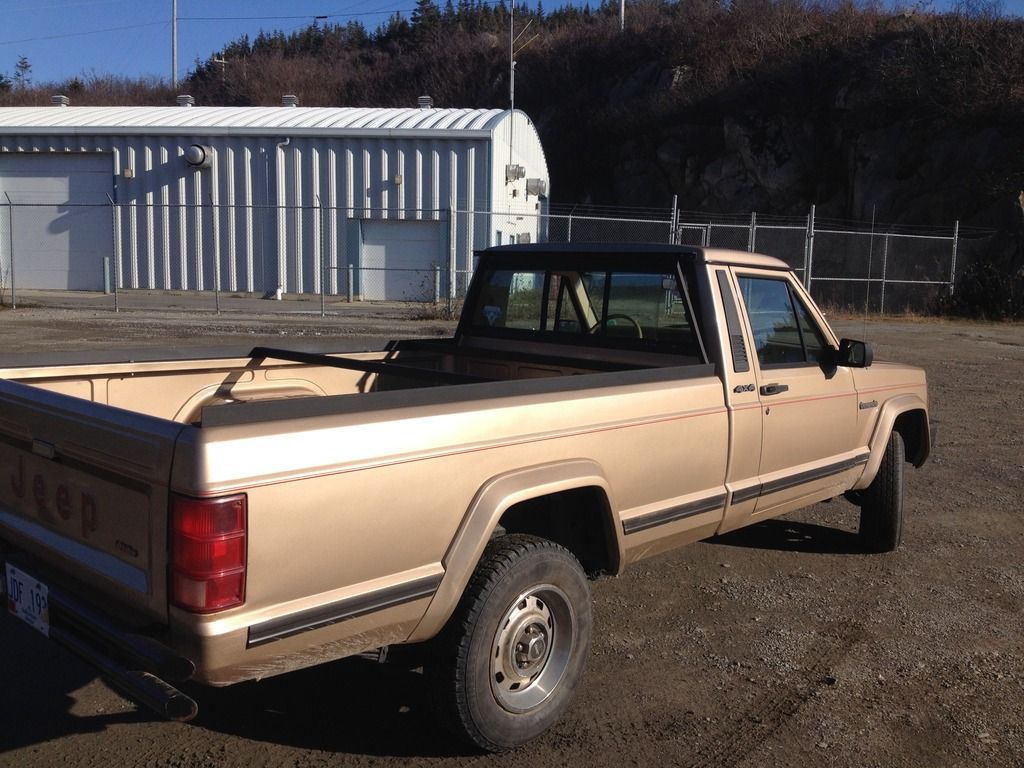
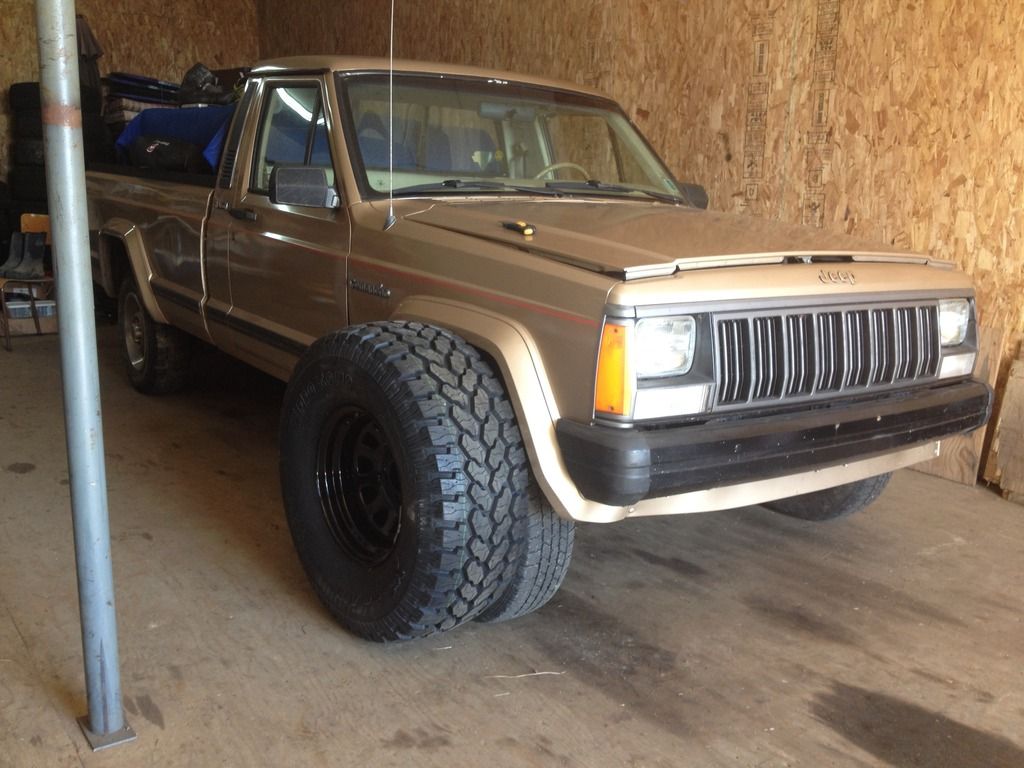
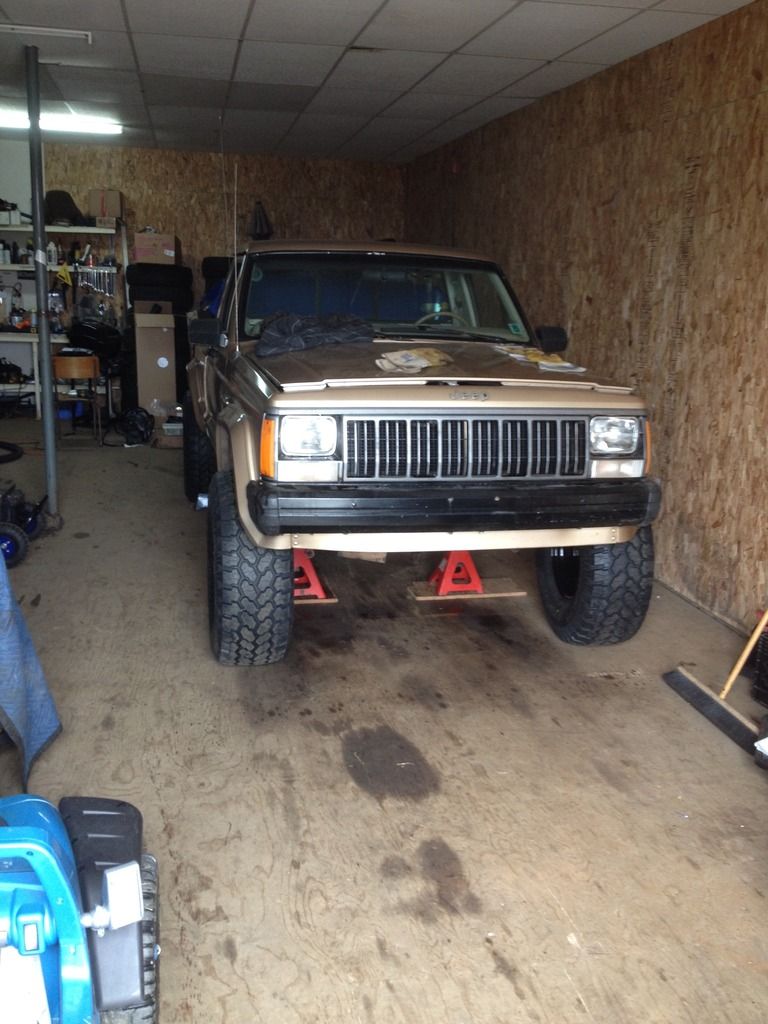
I purchased this MJ in October of 2015.. Got it ready for the road and inspection and parked it in November. I will be away from December until April so nothing was being done except lots of comanche club reading! Pictures from the kijiji ad:
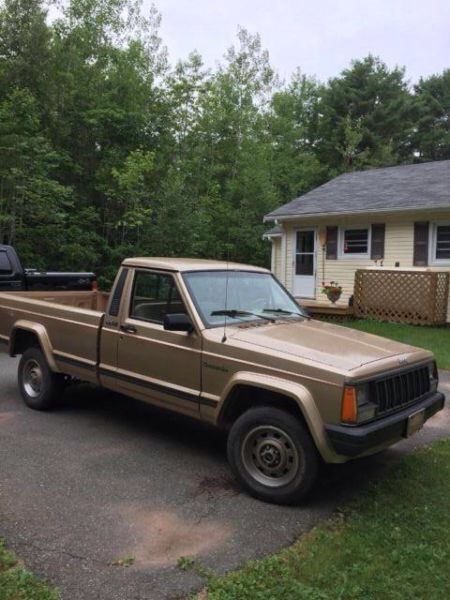
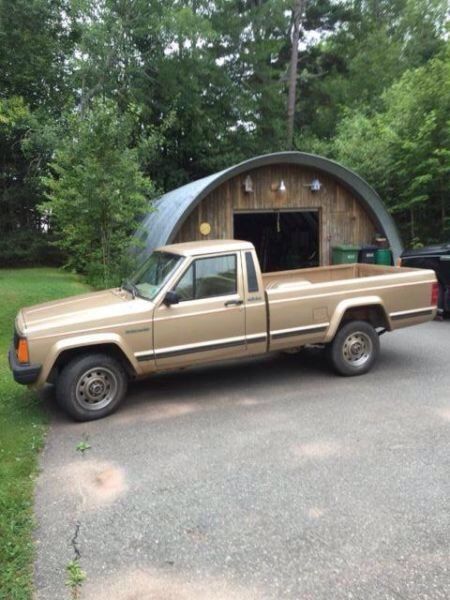


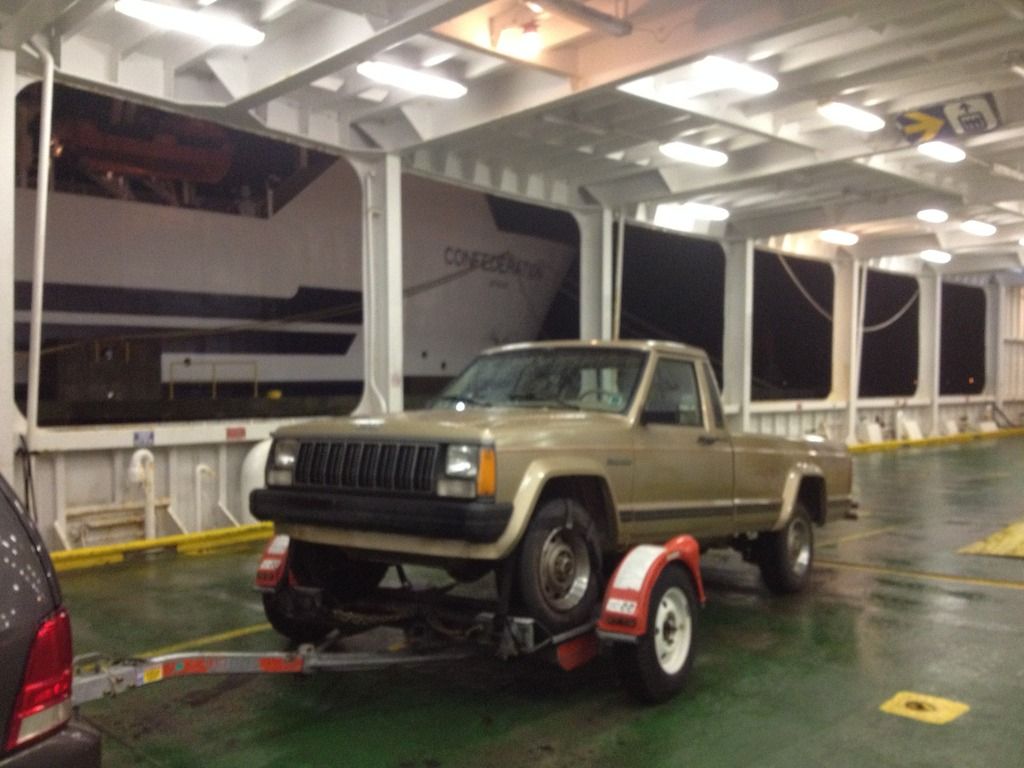
It's about time to actually start working on the jeep so I will try and keep this build page updated. Mostly with pictures. I live on the Island of Newfoundland, Canada. Saw the ad posting for the Mj in PEI (Prince Edward Island), so that means two ferries and a small road trip to go check it out. Loaded up in a Ford windstar mini van and off I went. Looked at the Jeep, hooked it up to a set of tow dollies, unhooked the rear driveshaft (which to my surprise came off easy) and headed home.
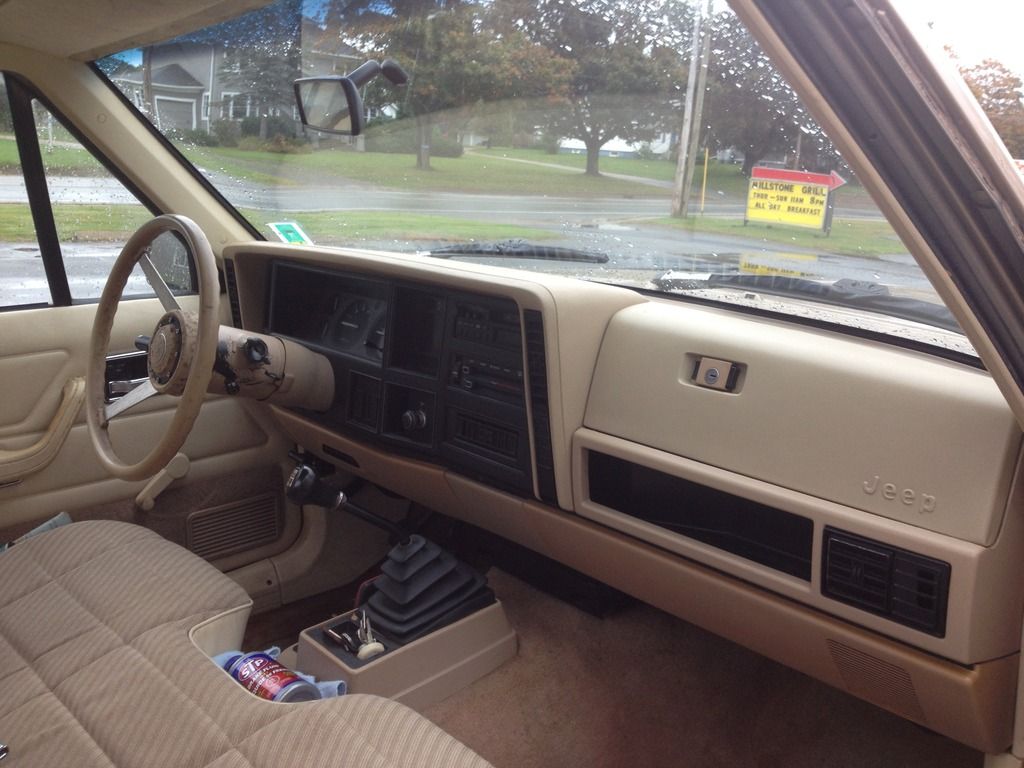
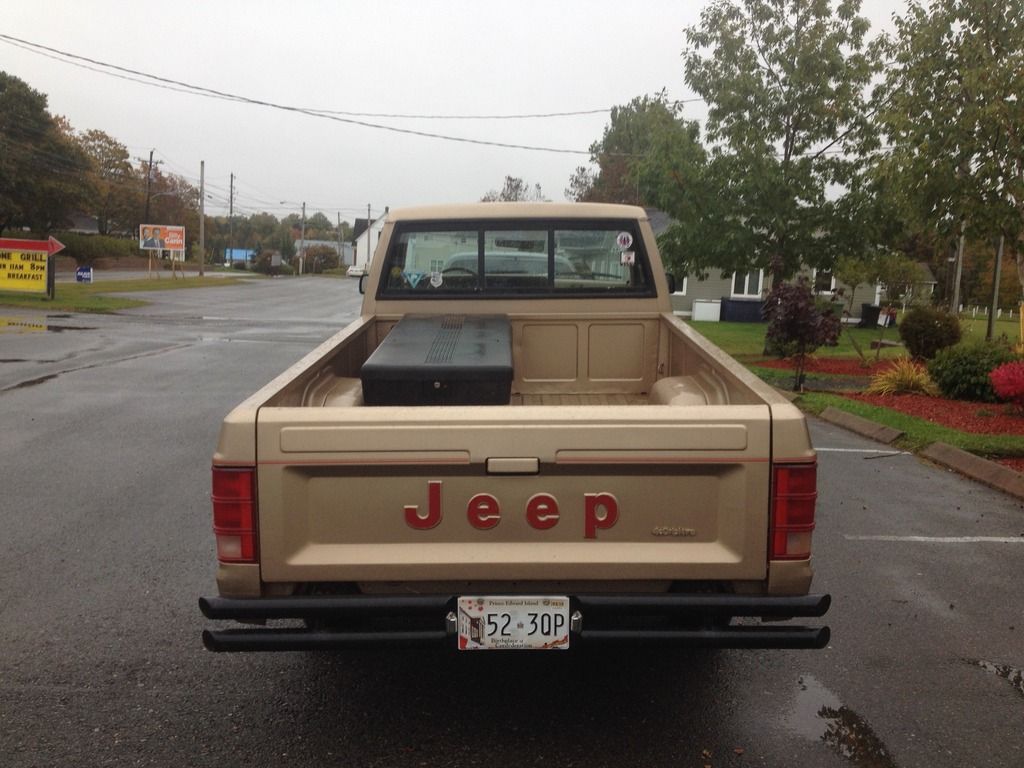
80DB7181-301B-4172-8F27-0AFDF1A9E601.jpg

0C6D183A-F723-468D-BC14-C4AFFCCF889B.jpg

19667EA4-7346-4B79-901B-EDBE54581C05.jpg


7A55AFF5-FA21-4B40-BFB5-06E214C26F91.jpg


Got it home and really sized it up, more rust than I initially thought. So this is going to be a faily big project that I got to "sleep on" all winter. I did however fix the floor rust and few other things that it would need to be inspected and registered.
I'm the second owner of this Jeep, I bought it off the original owner who picked it up in '89. Nice older gentleman who said the truck as been sitting in his shop for the past couple years. It only has 155,000kms on it. I was expecting it to have some maintenance needed.

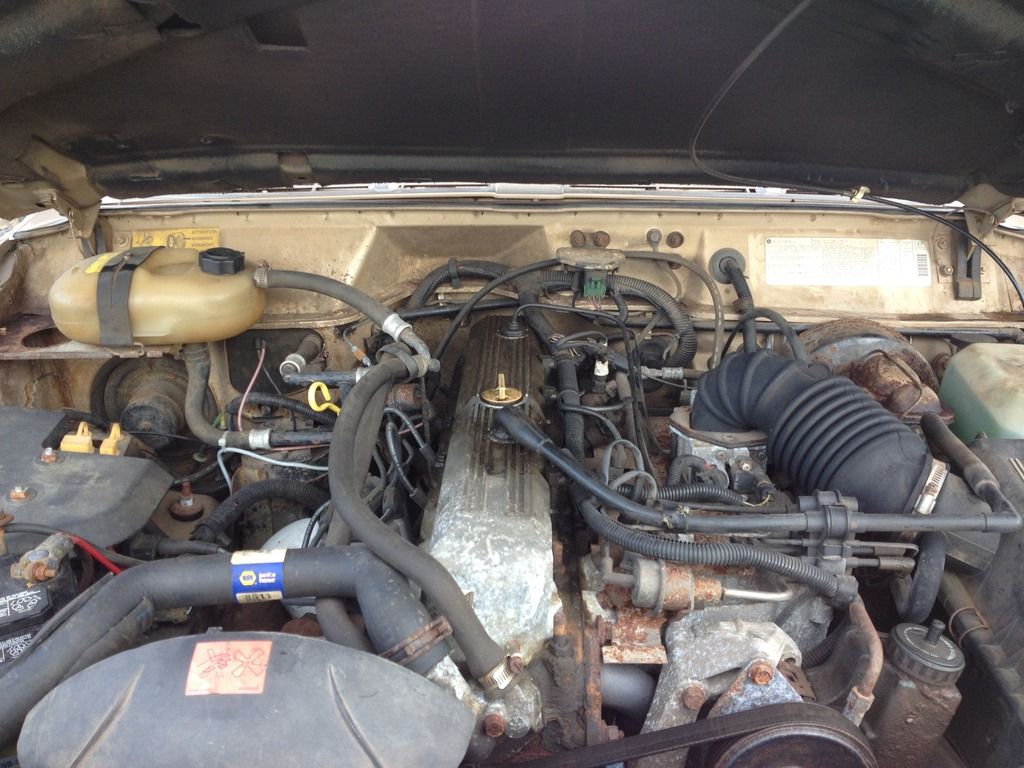
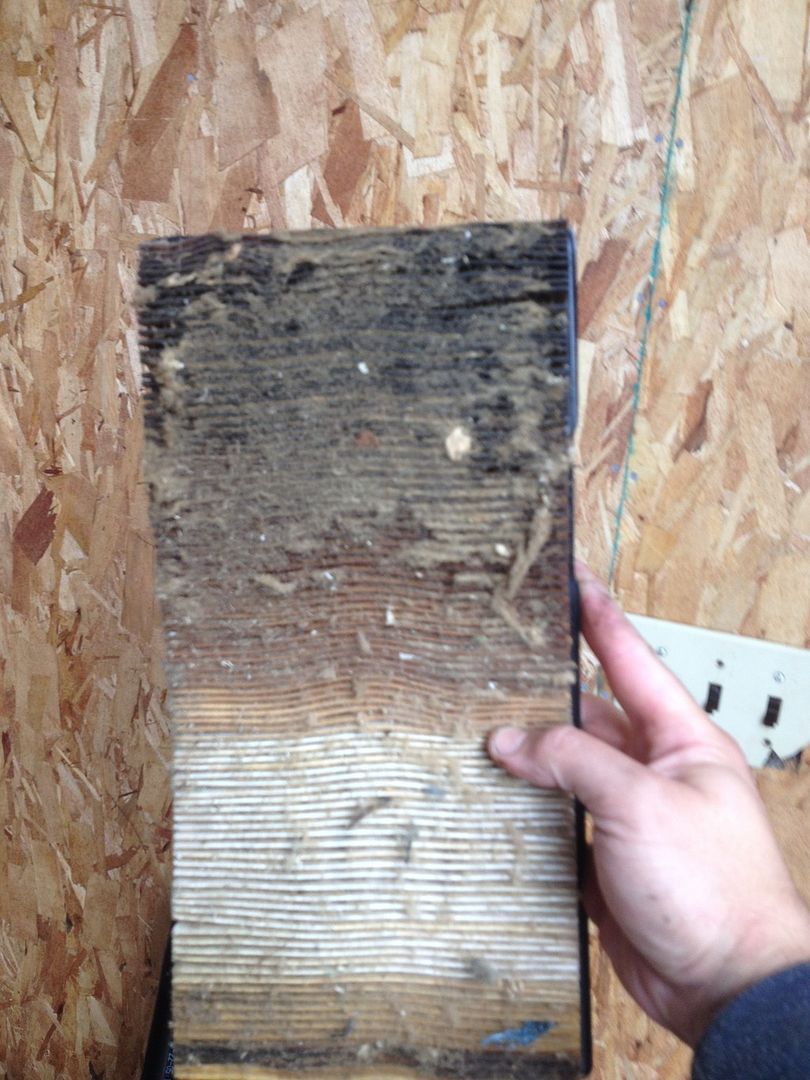
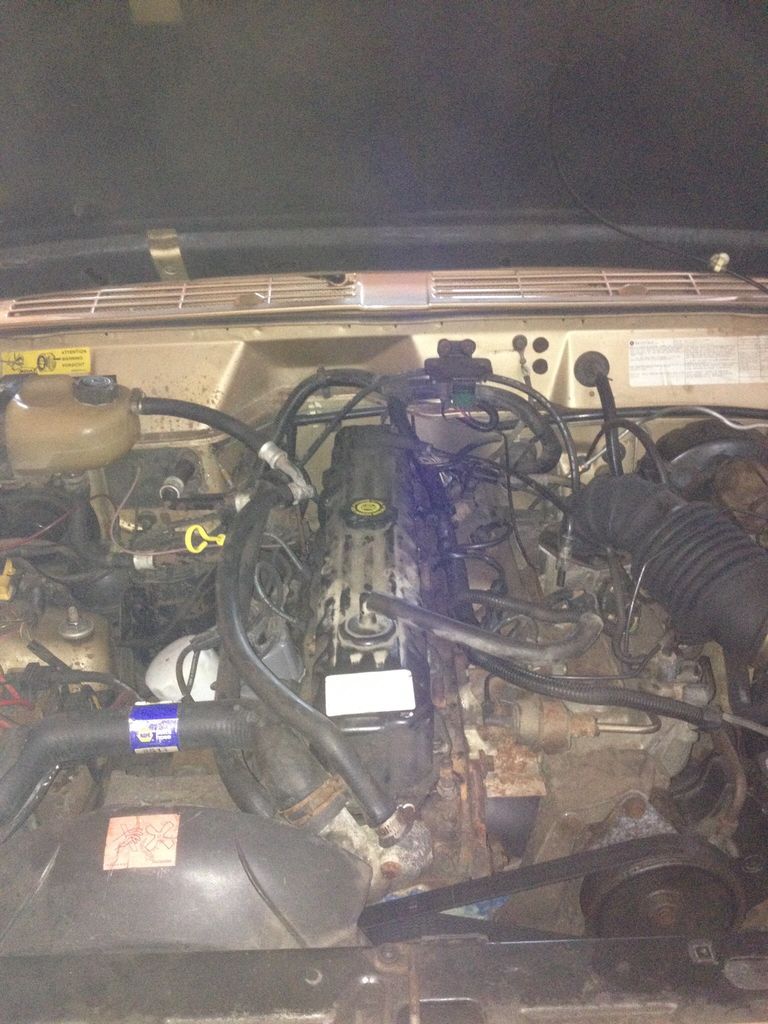
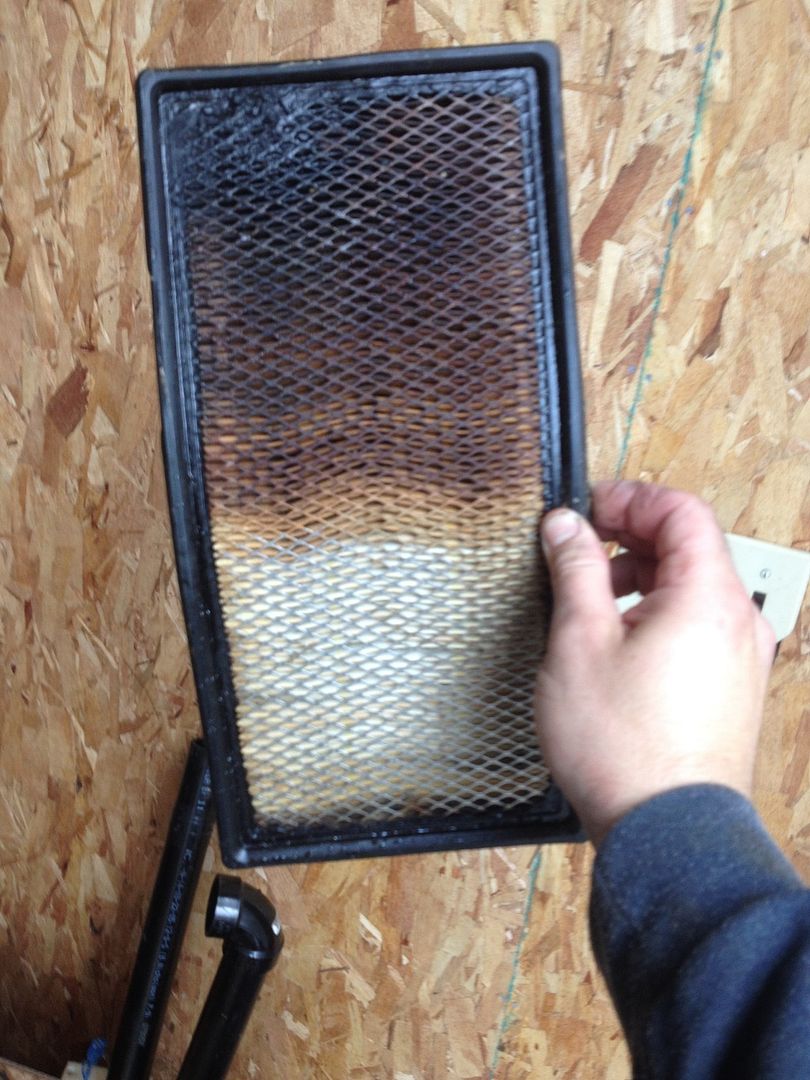
I didn't get pictures of the actual nest in the intake box..
9964791A-787E-4307-B66C-5DCF94CD8106.jpg

2EDEE0A4-D9CF-4F96-91EC-EA46083A3E8C.jpg


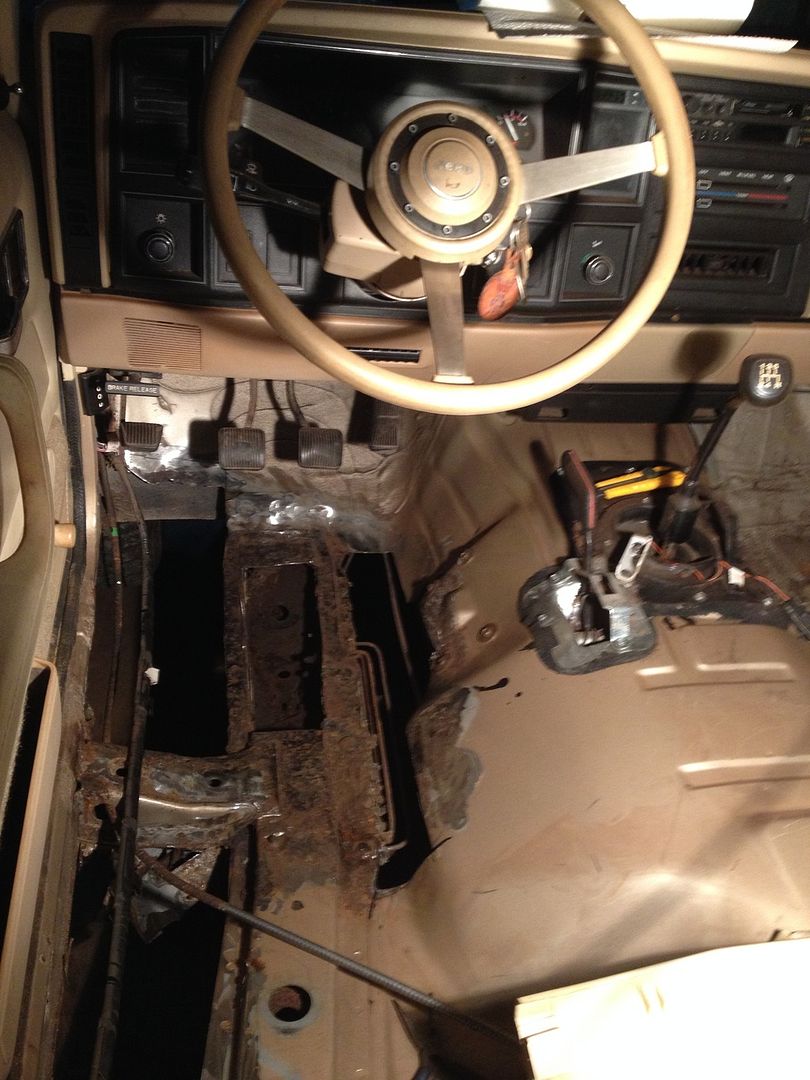
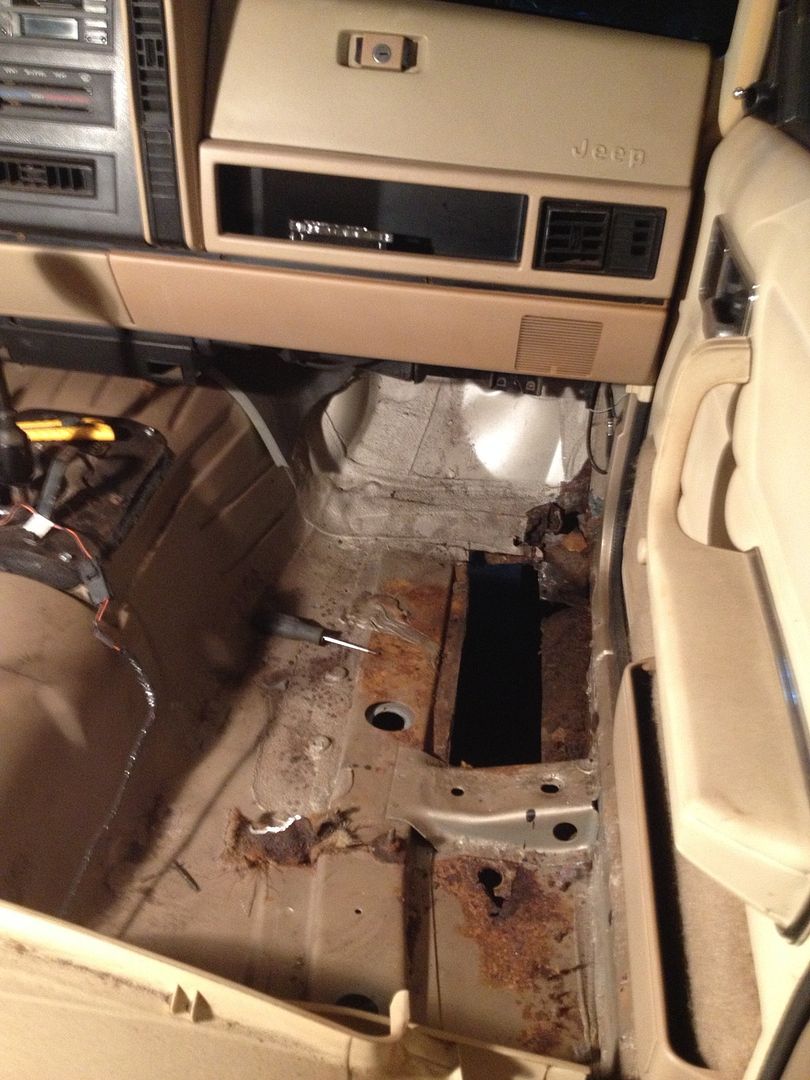
One thing I did learn from here is to pull your carpets.. I was kind of nervous about it, seeing as the Jeep came from a Island on the east coast.
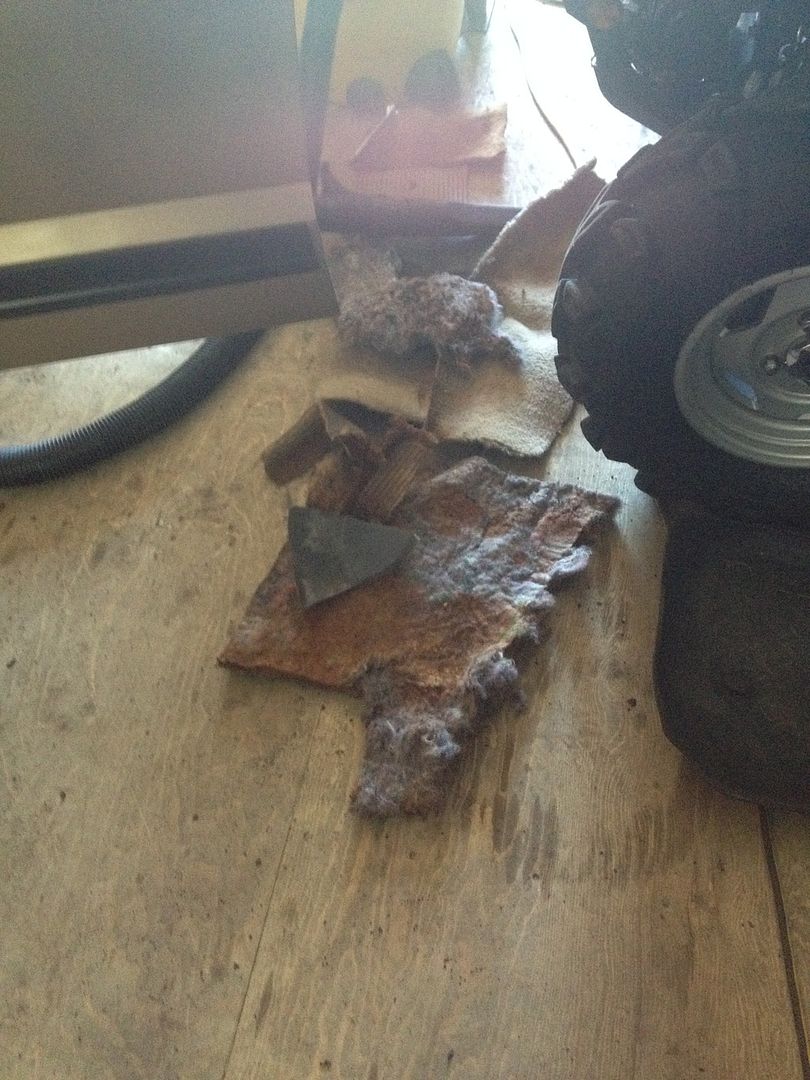
02C59A8A-9816-4774-8C6B-0D441A5A9B4F.jpg


I shouldn't have been too shocked but I was
kind of taken back when I seen the carpet was half the floor
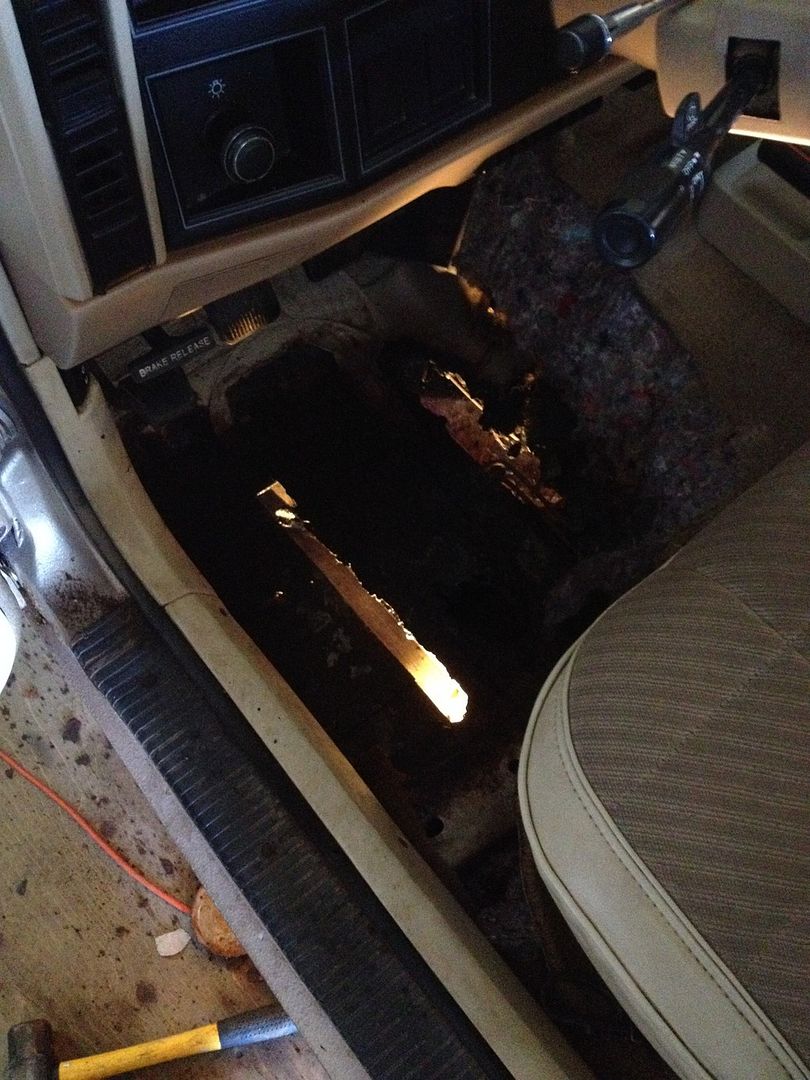
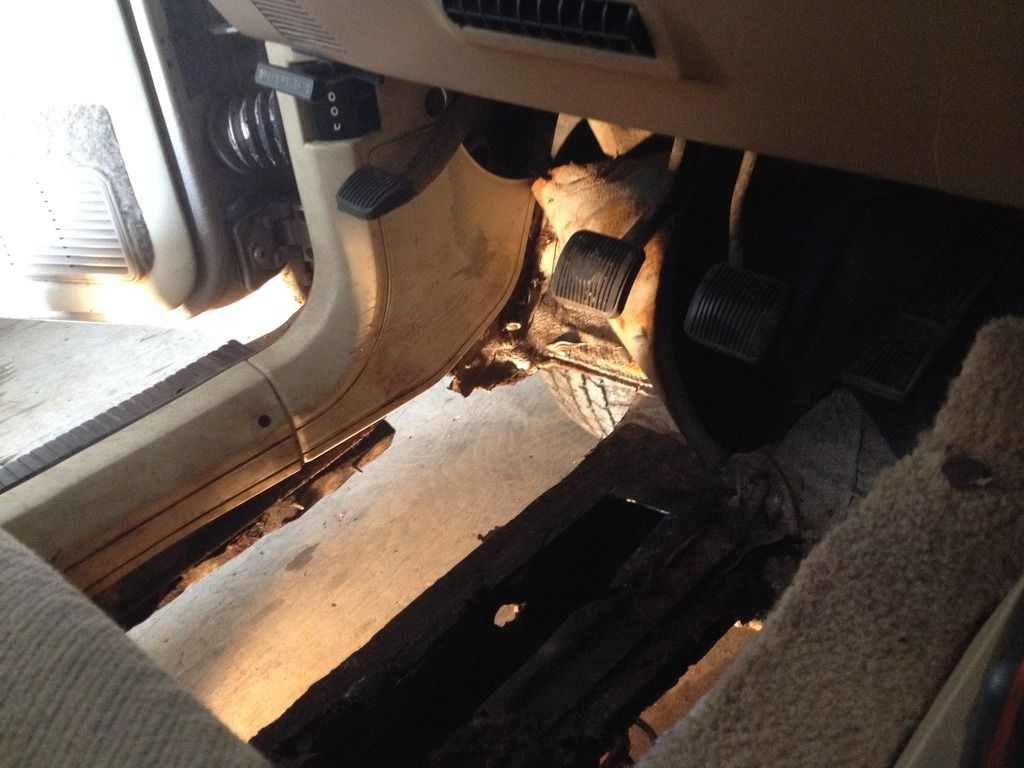
A3E06409-088A-4ACD-B626-CCF3D6F264D6.jpg

3A223169-7BAB-4507-AC8C-1D43516F4155.jpg

B4975173-A690-43FE-862C-4C19F820B487.jpg


Passenger side wasn't as bad
217395E2-1B1A-4DC8-83AA-D31783666A95.jpg


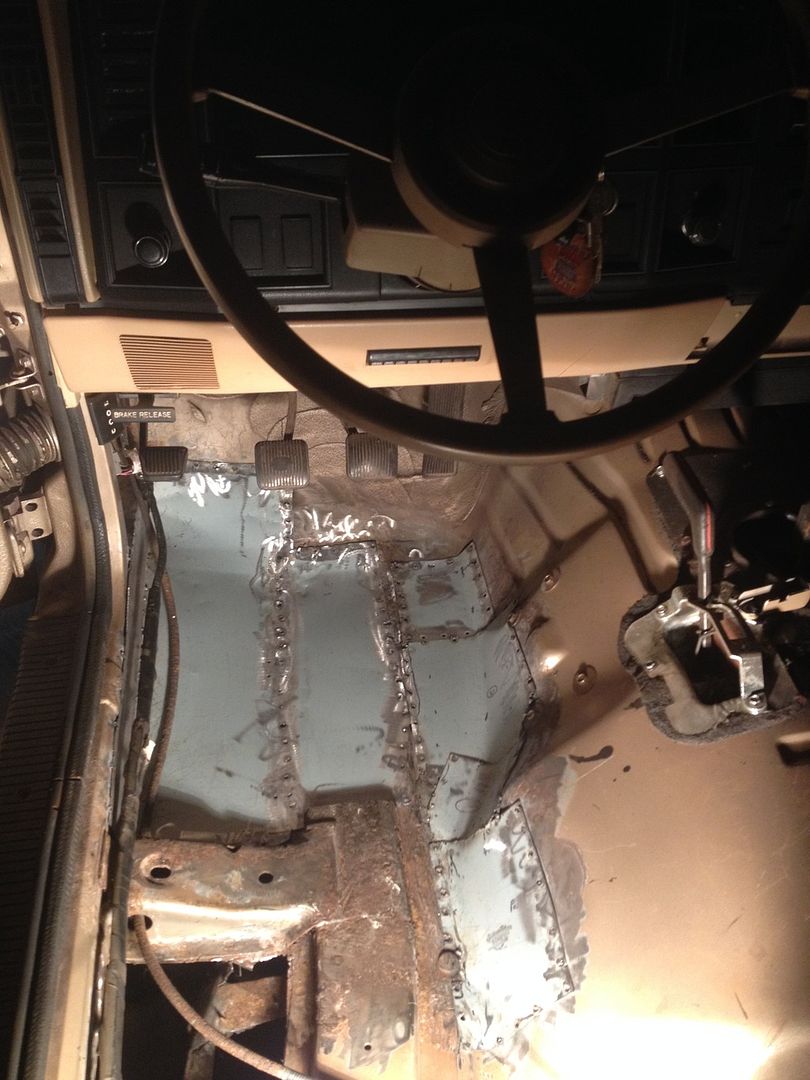
Never having done body work before I was kind
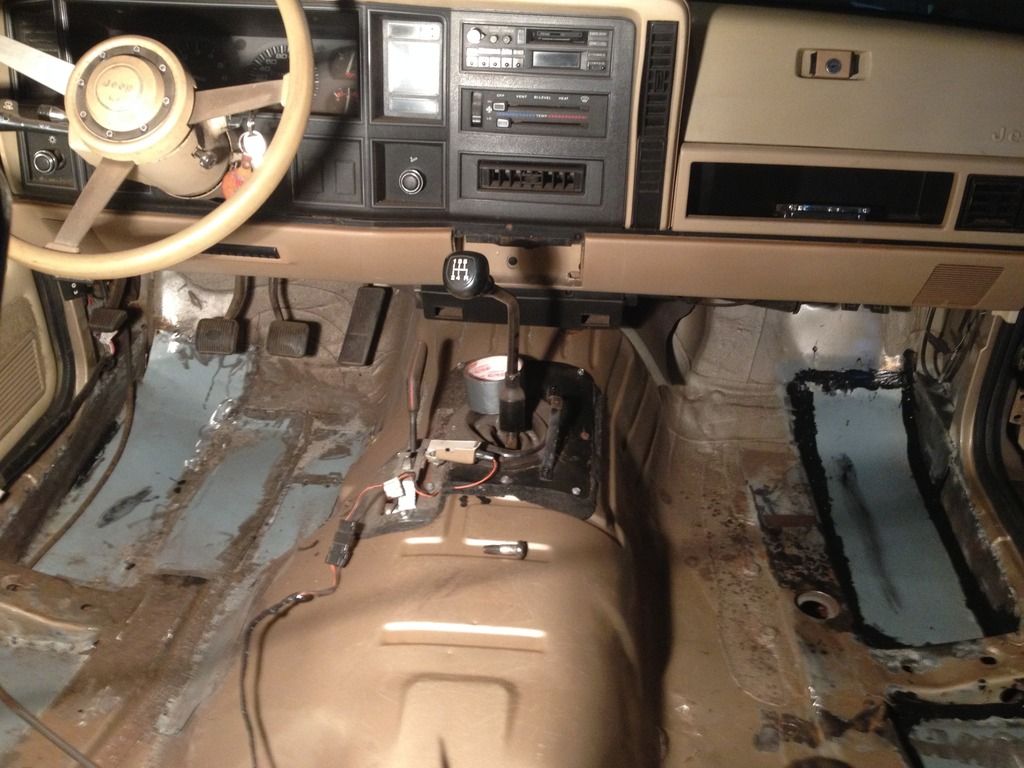
of discouraged but in the end I think the floor turned out ok.
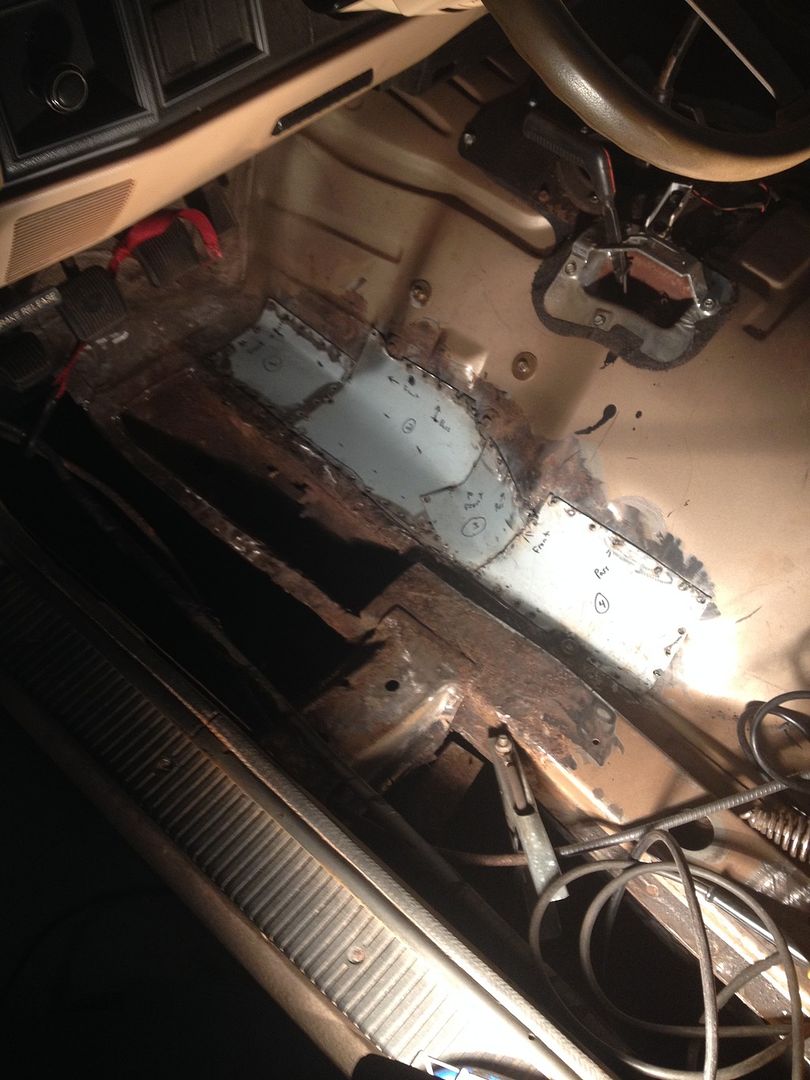
ABDDAA73-82E7-44D3-915E-F30B01AB7612.jpg


BD618363-C1D8-4F3D-A52B-BA09802766D5.jpg


Patch work done and passenger side sealed
945C7485-C37F-4A51-AEB1-301F8178EAA8.jpg


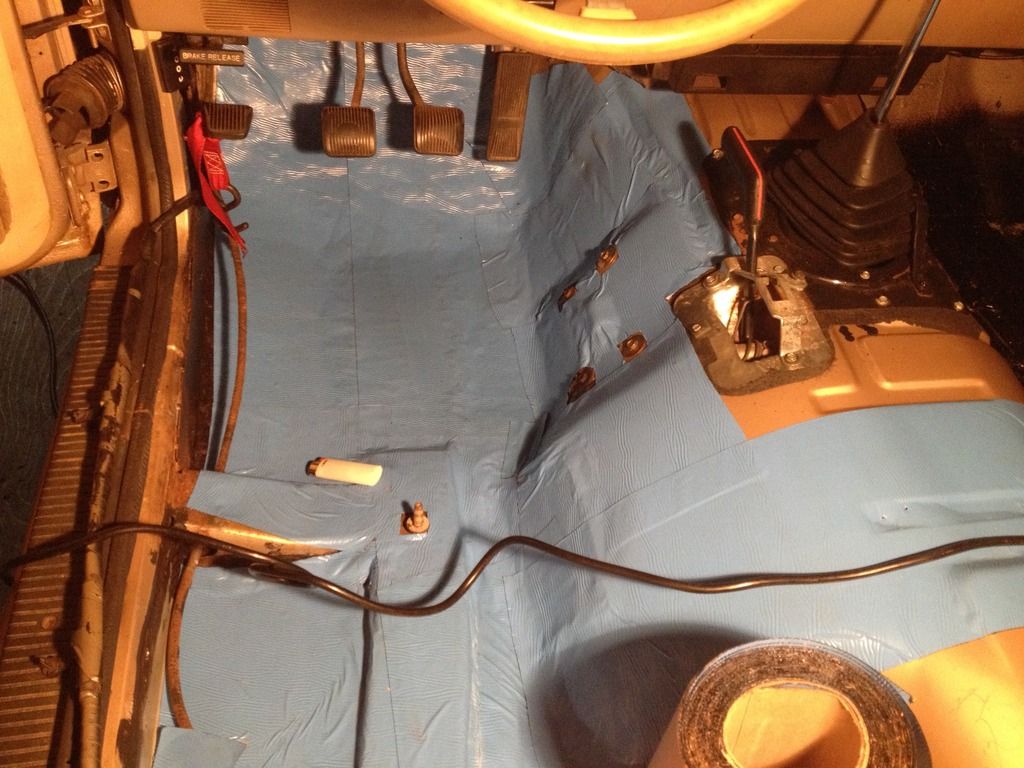
I did put down some rubber water seal but I'm not too sure if I like it. It doesn't stick as good as I was hoping, but it was colder when I installed it.
02B36029-AAC6-4307-AFB8-EF8CEBCFB4B0.jpg


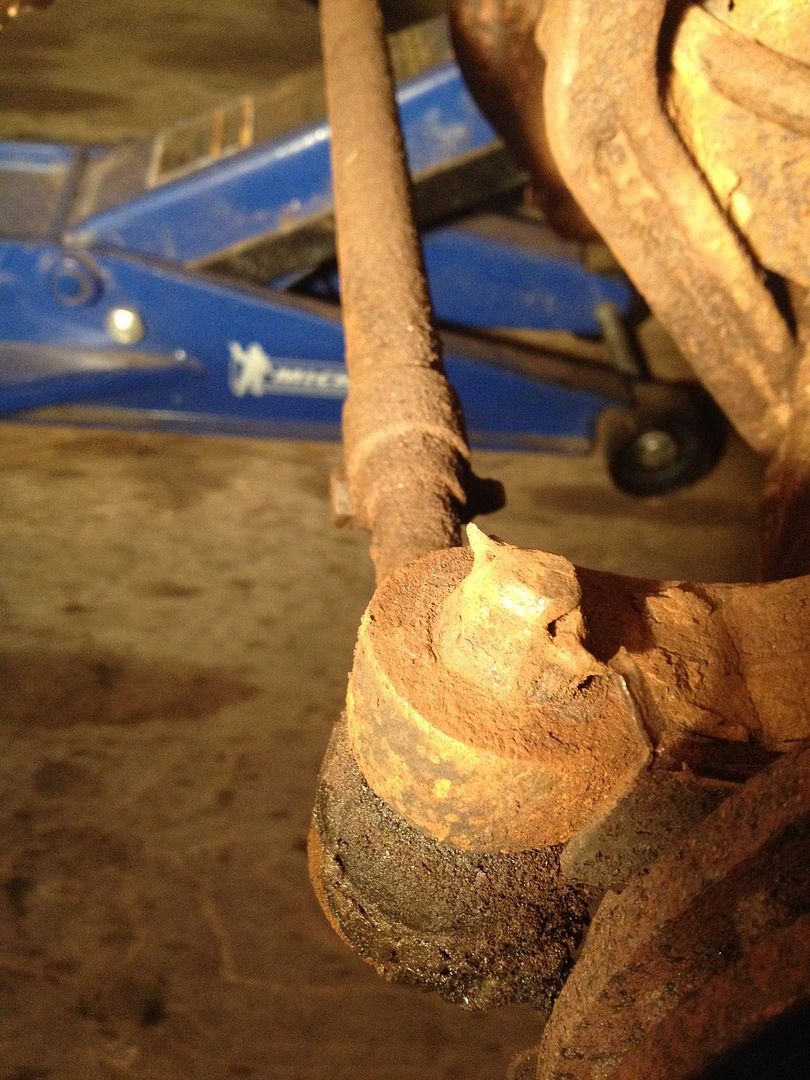
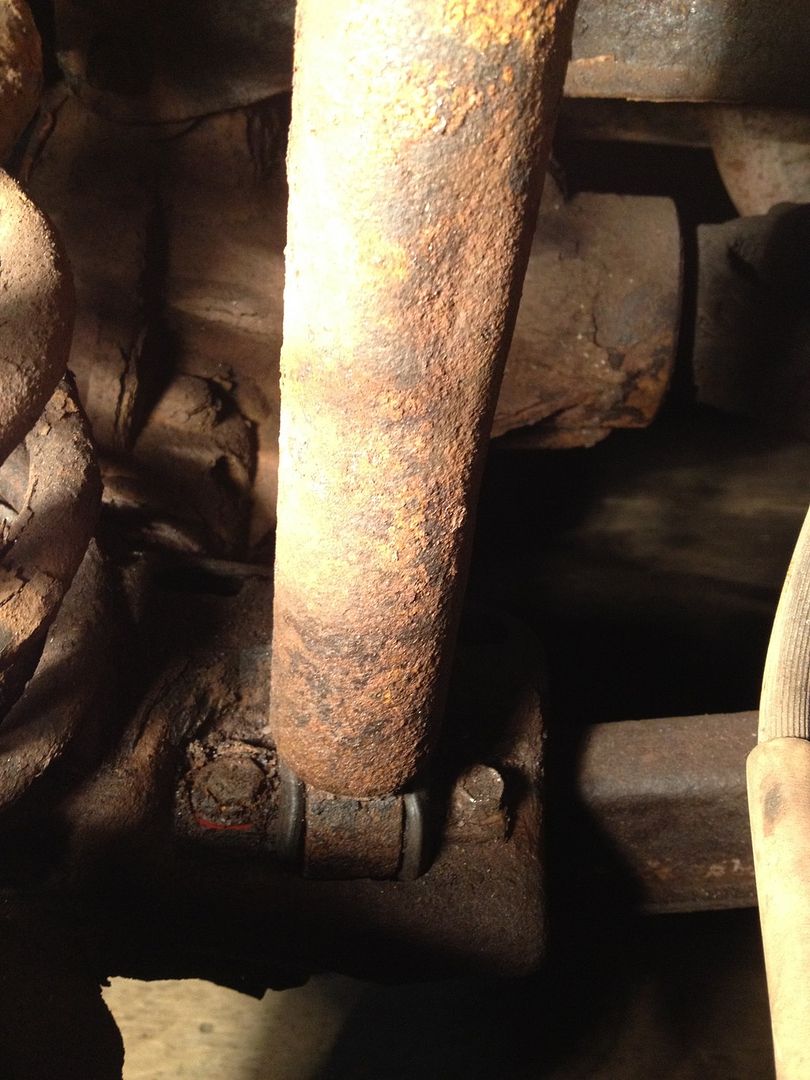
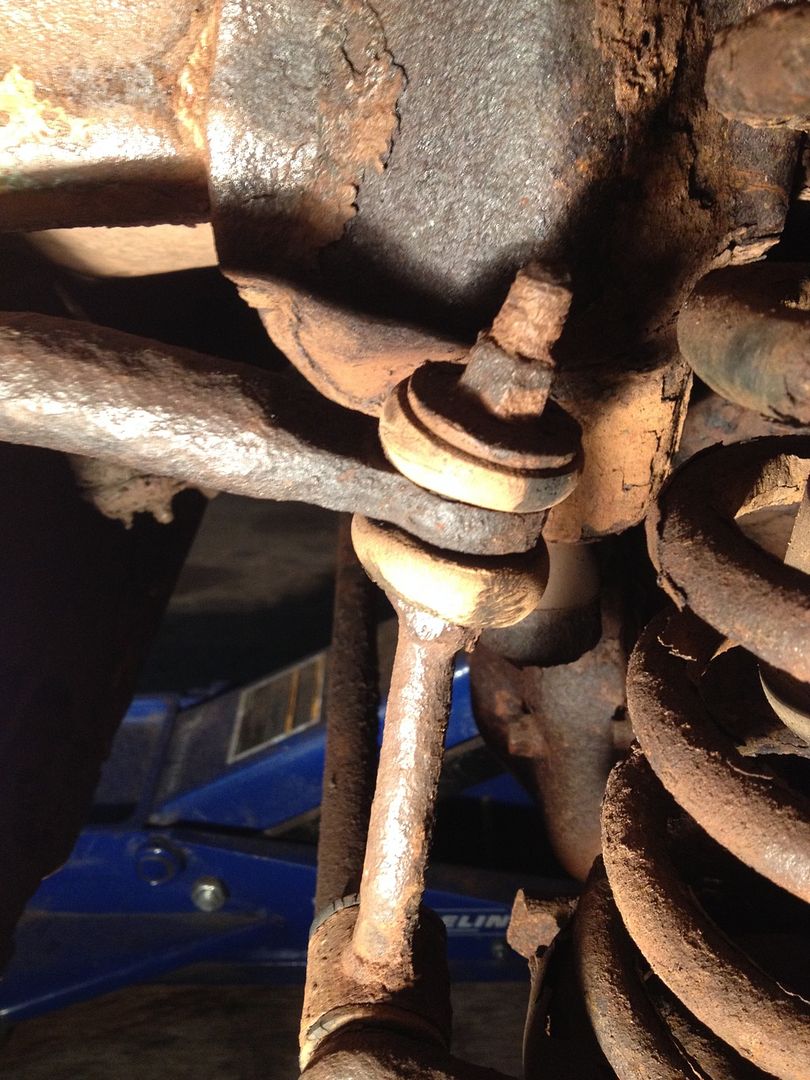
Looking underneath it was certain rust
was going to be my biggest issue with this build
2E571AA5-9B63-422F-A272-178DD157ACC4.jpg

1864D47F-C24E-4030-B097-34BEB3196C6F.jpg

466D5C98-0907-46D3-A7D2-FF7C78B5C4CF.jpg


I'm planning on a front and rear axle swap, XJ front and the Explorer 8.8 so I'm not too concerned with the axle rust. The frame and body are in overall decent condition. It looks as though the bottom of the doors and the box have been redone before.
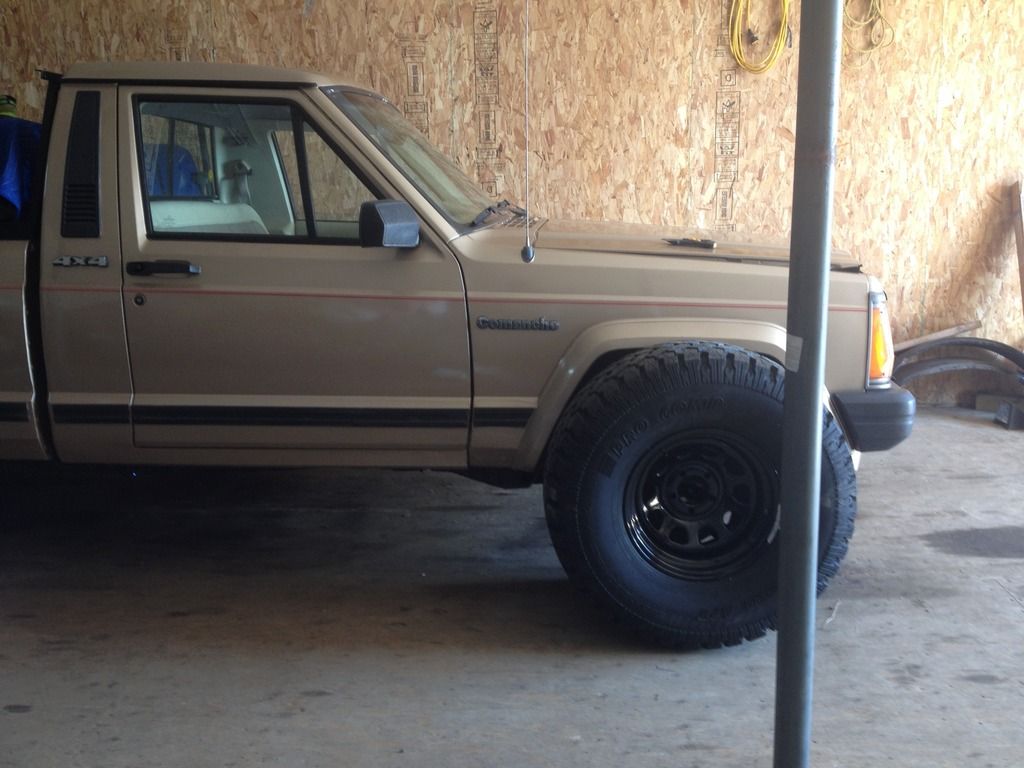
I did get it inspected, insured and registered before I parked it for the winter.
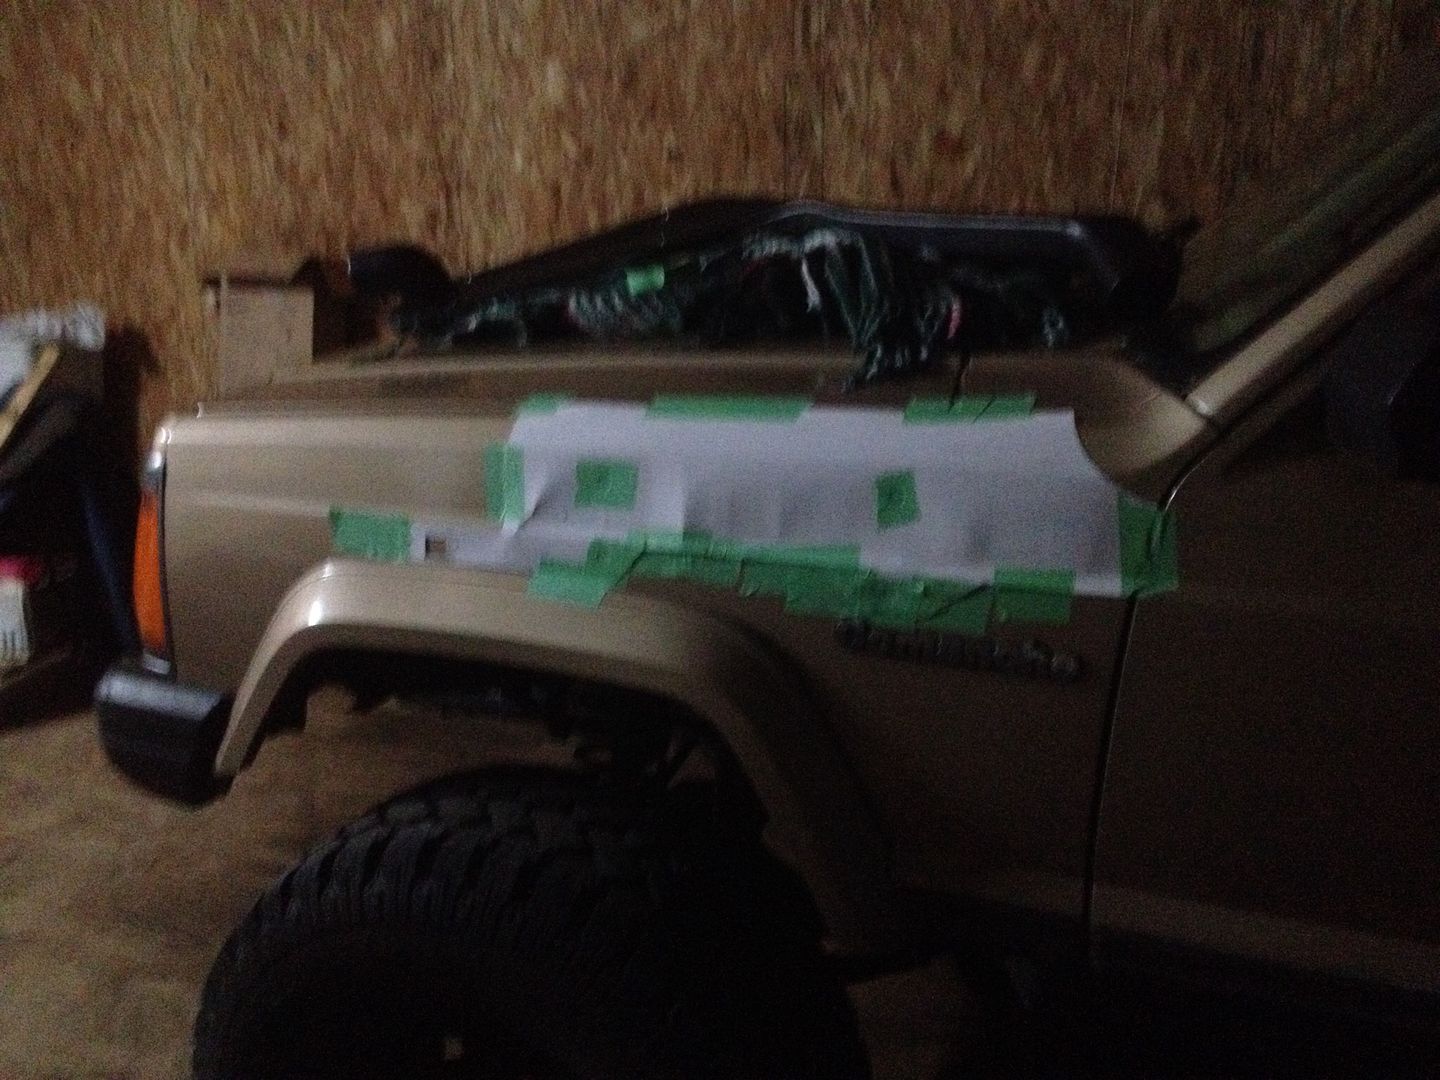
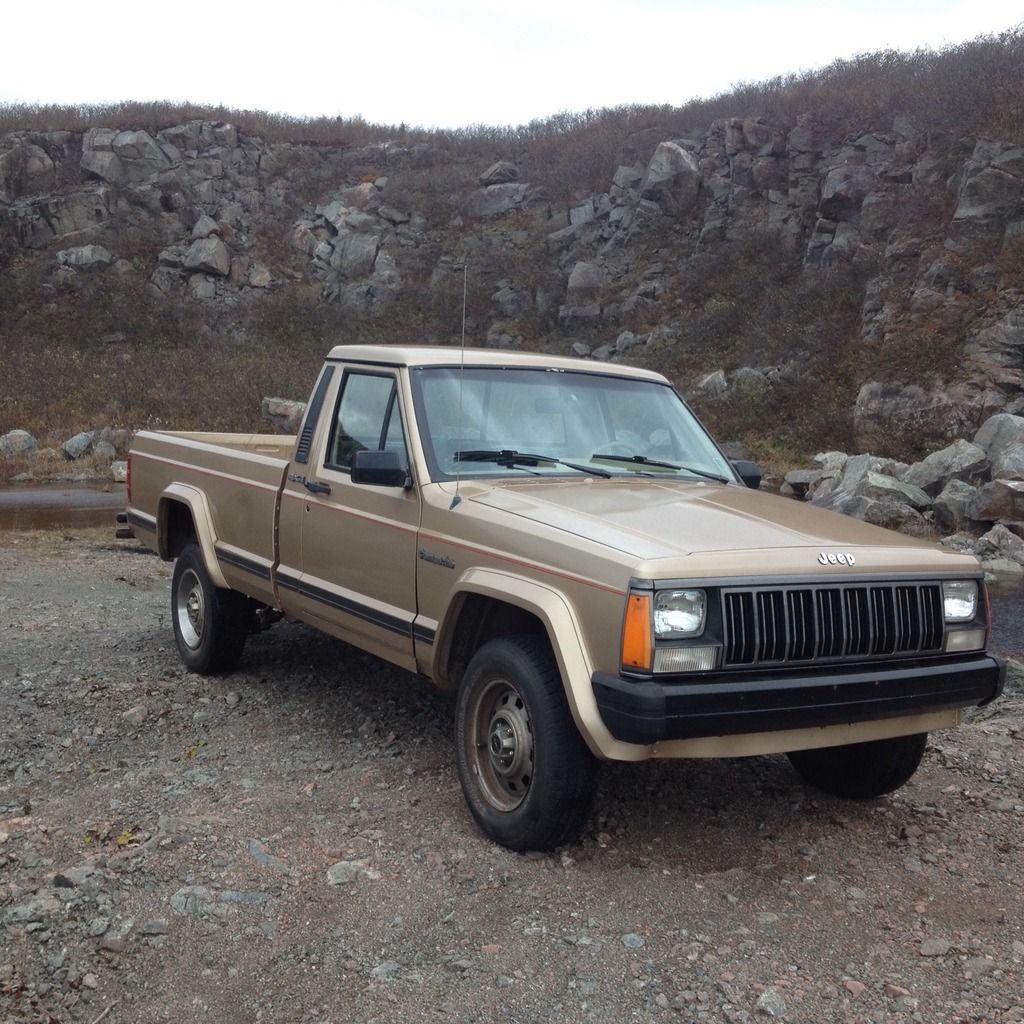
First actual drive.. Can see where the fender meets the door area that it doesn't look factory/lined up properly. It will most likely be cut out for rock rails anyway.
7CB72B10-6071-4657-9F7D-2BC44BE8B7B1.jpg
 

tuckertj

Observer
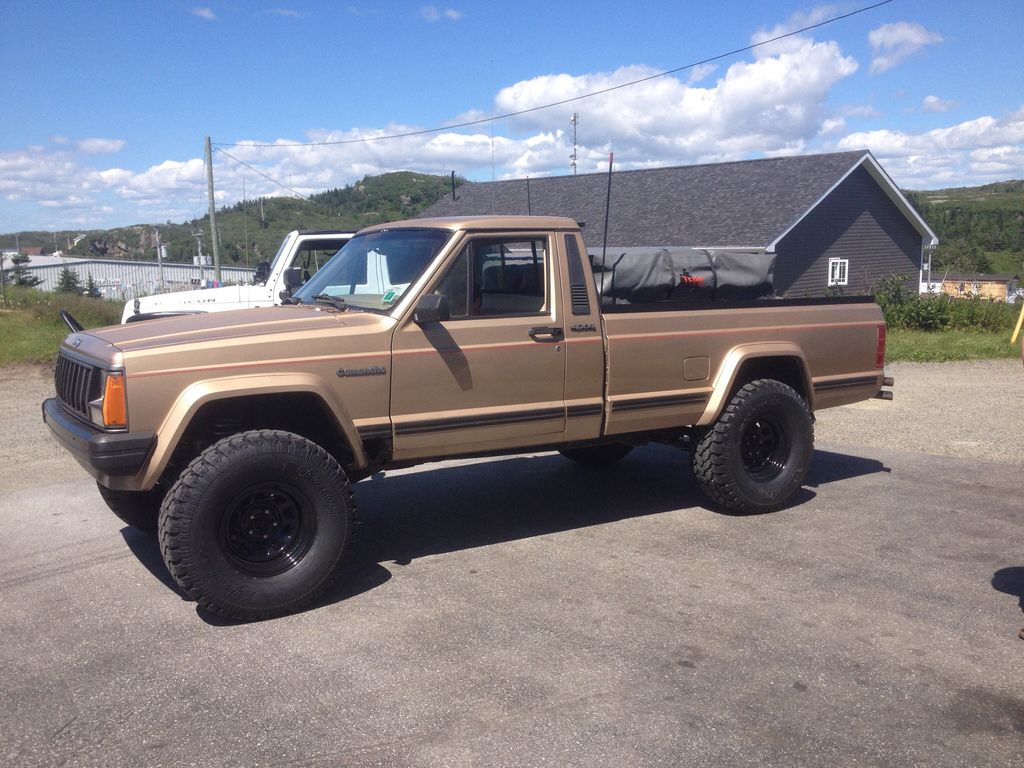
I'm building this Jeep to be a daily driver/camping/overland vehicle. It'll get the SOA in the rear, lift the front to match, didn't want to go as high as the 5.5" I've read I'll gain but I think after looking at some (a lot) of the Jeeps on this site, 5.5" lift and 33" or 35" tires will work out ok for my intended purpose and look good in the process.
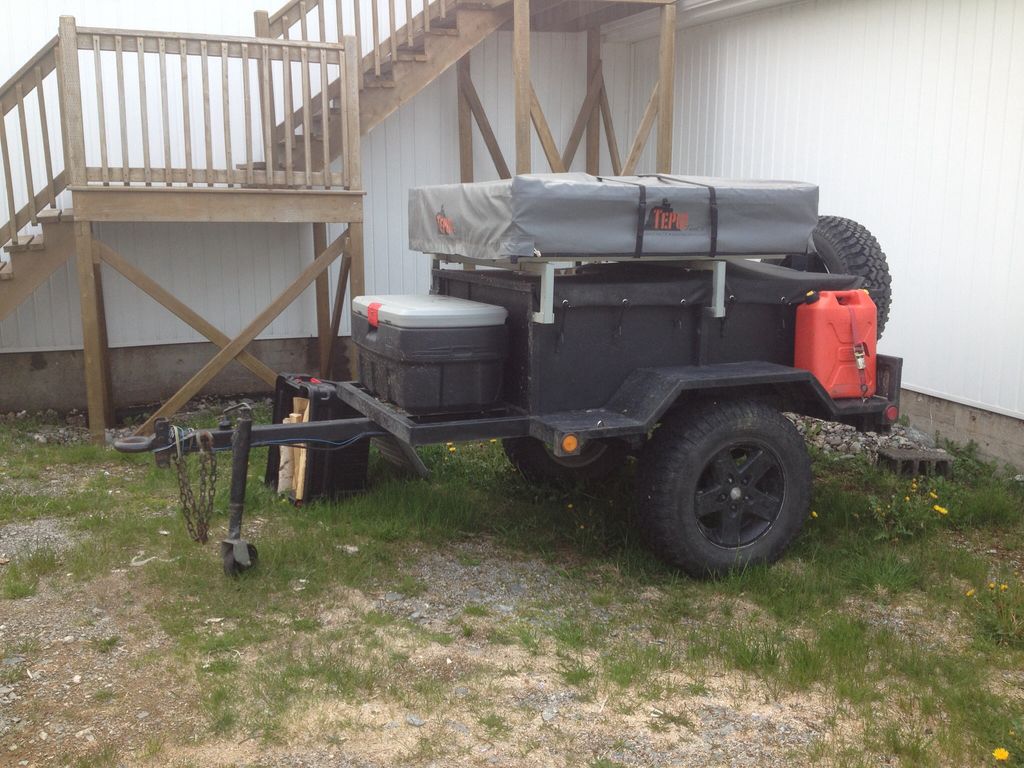
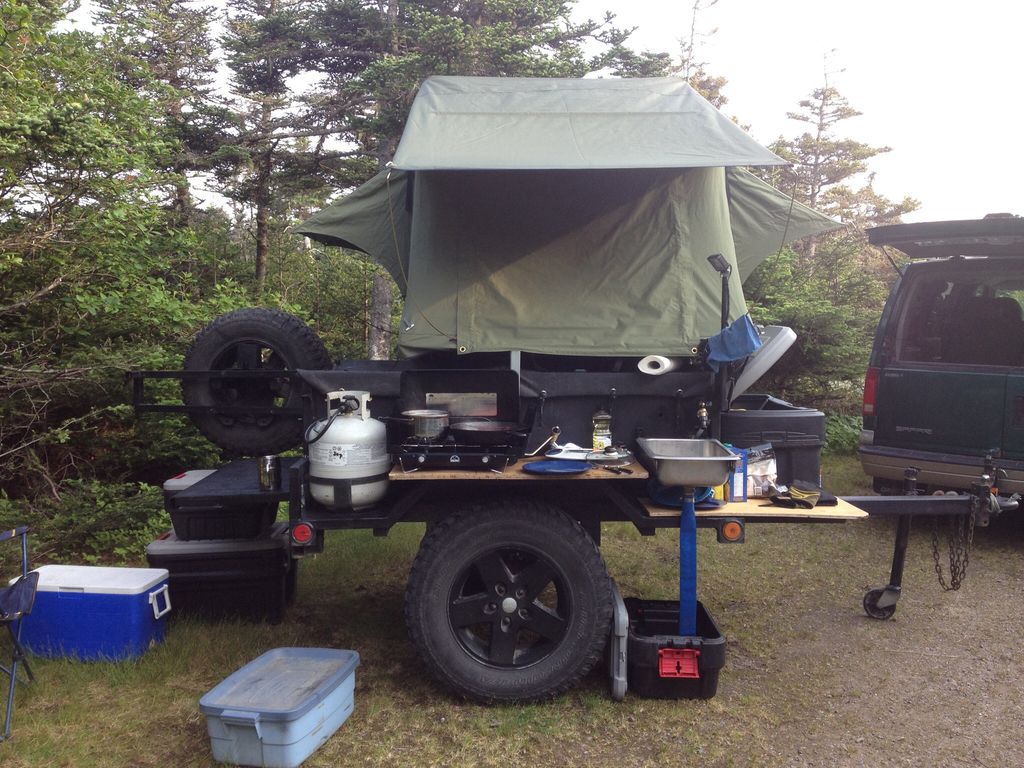
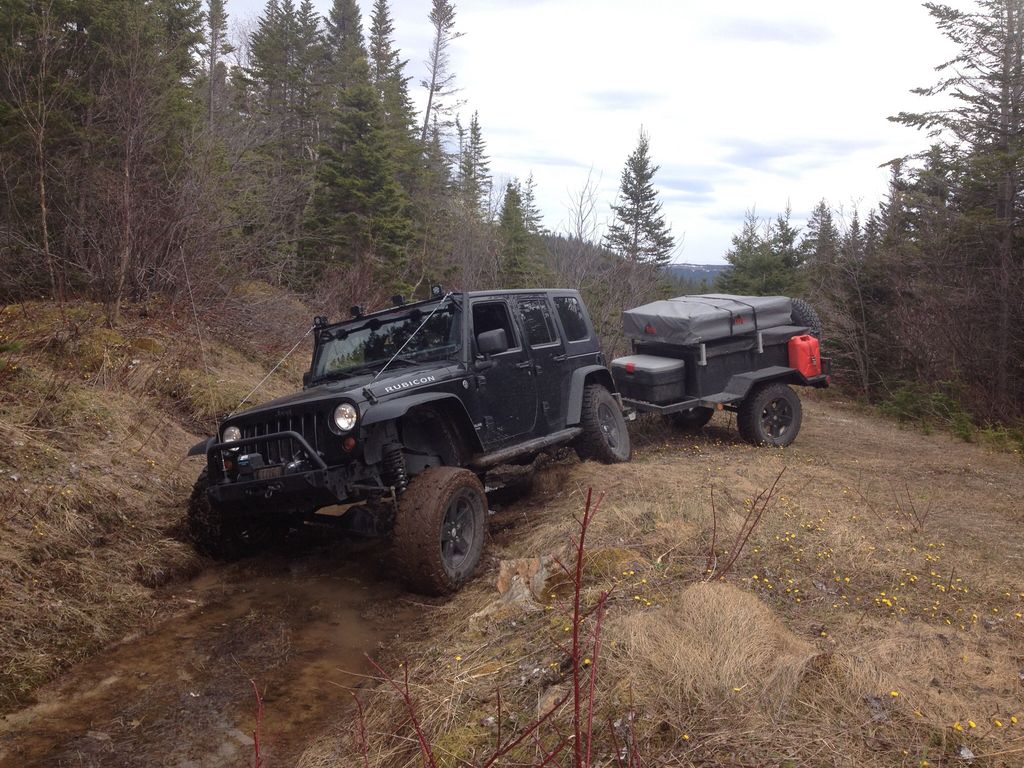
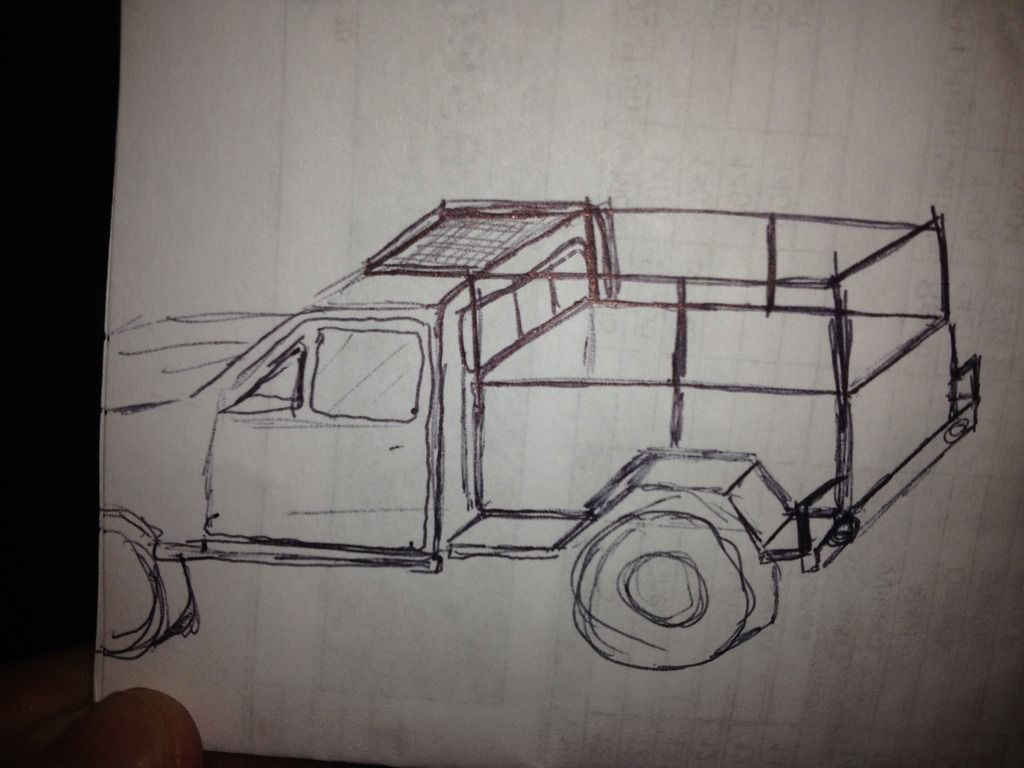
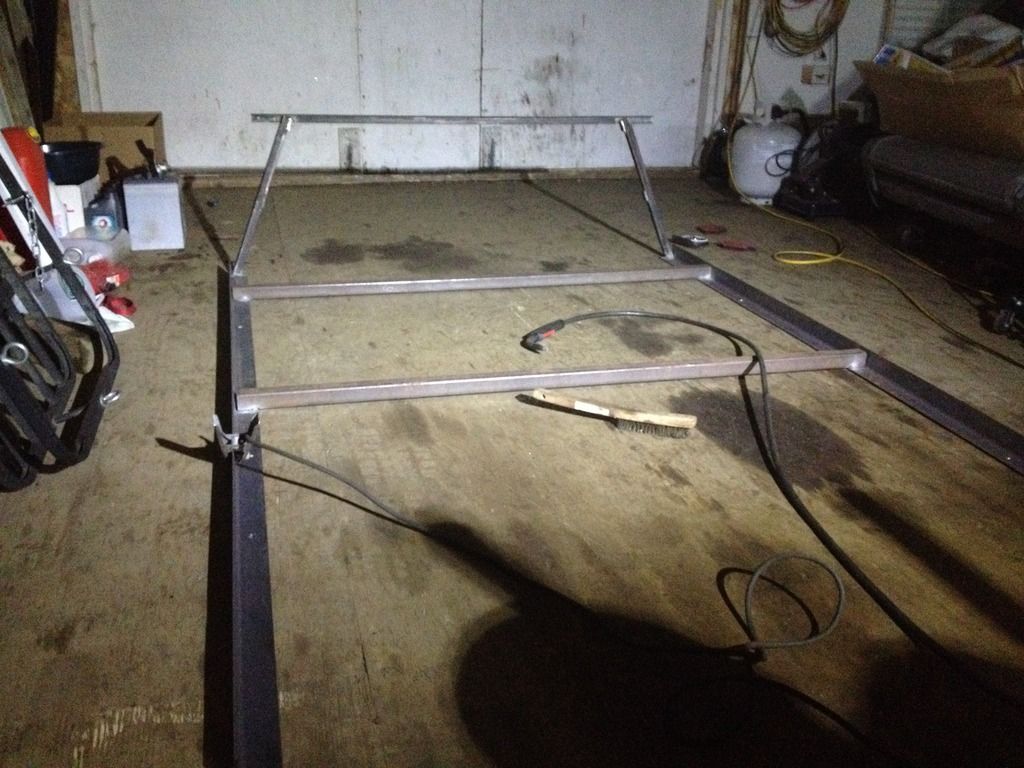
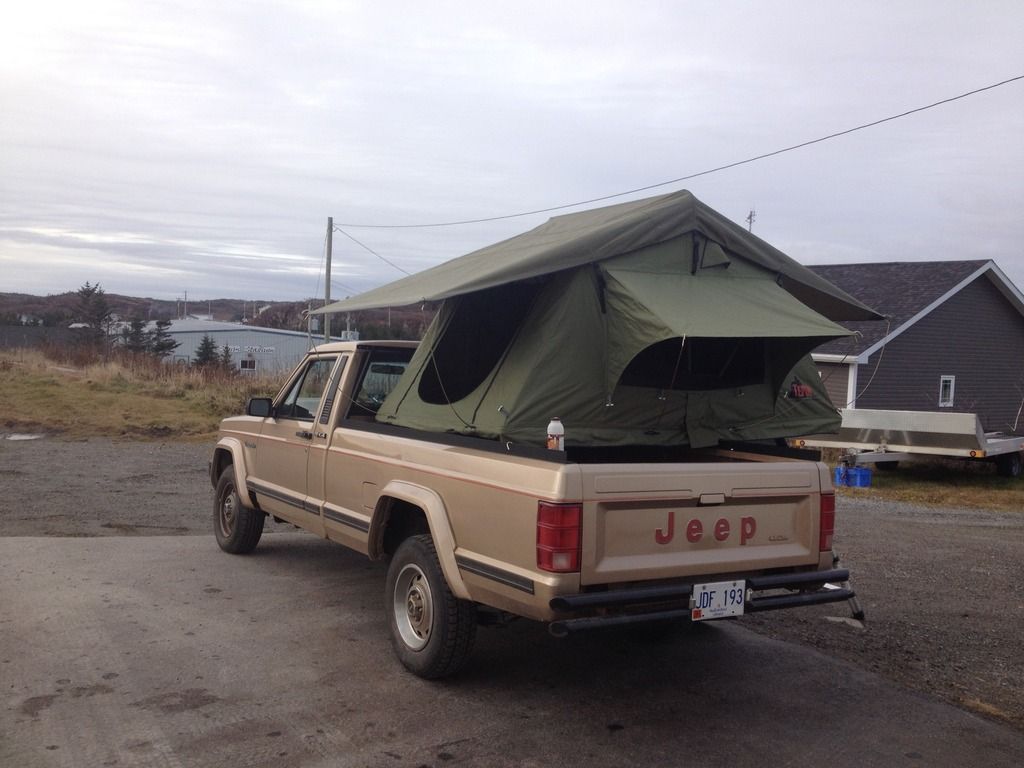
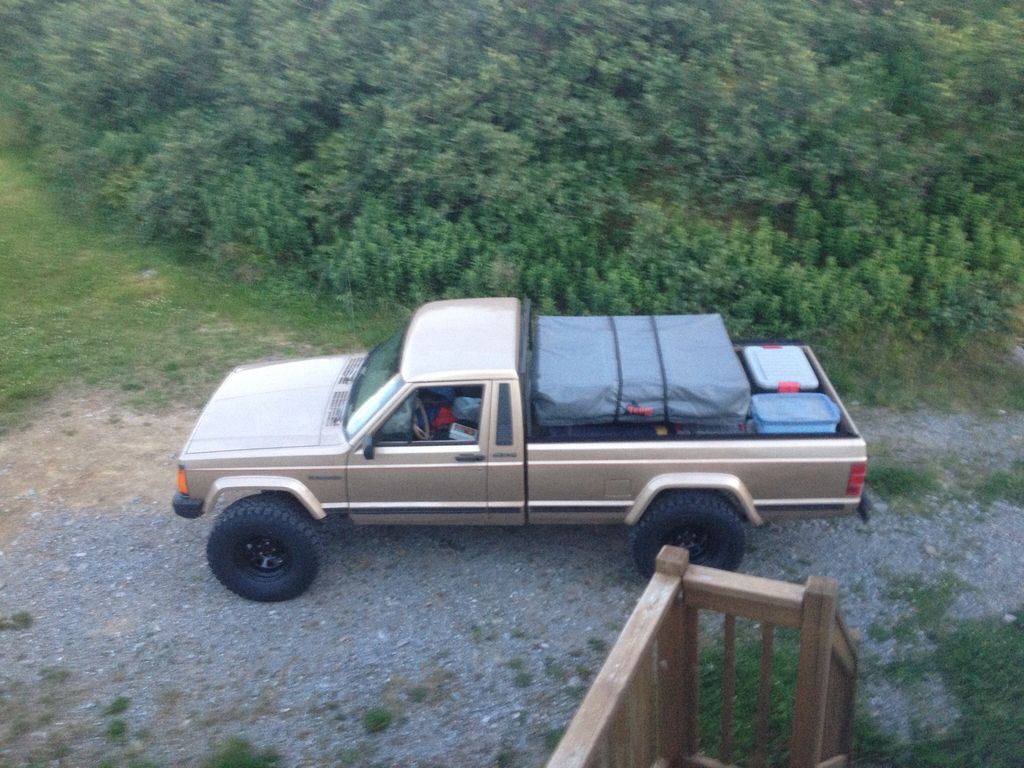
I will be building a bed rack to hold the Roof Top Tent and the rack will extend over the cab. I'm still undecided if I'll build the rack on the stock bed or remove the bed and build a custom bed. I had a JK with an off-road trailer I built for the same purpose as this MJ will be. I'm thinking of building the custom bed the same style as the trailer.
a0cafc524dbcf379aa34a575399bb11c.jpg

f2beedf8228d36bc5cc4893f4cd7af4a.jpg

ad42a0615e848536c274532e208faf47.jpg


I'm thinking it could look something like this (rough sketch below)

1DF1C399-009C-4F43-A4CD-BD85B211B0FF.jpg


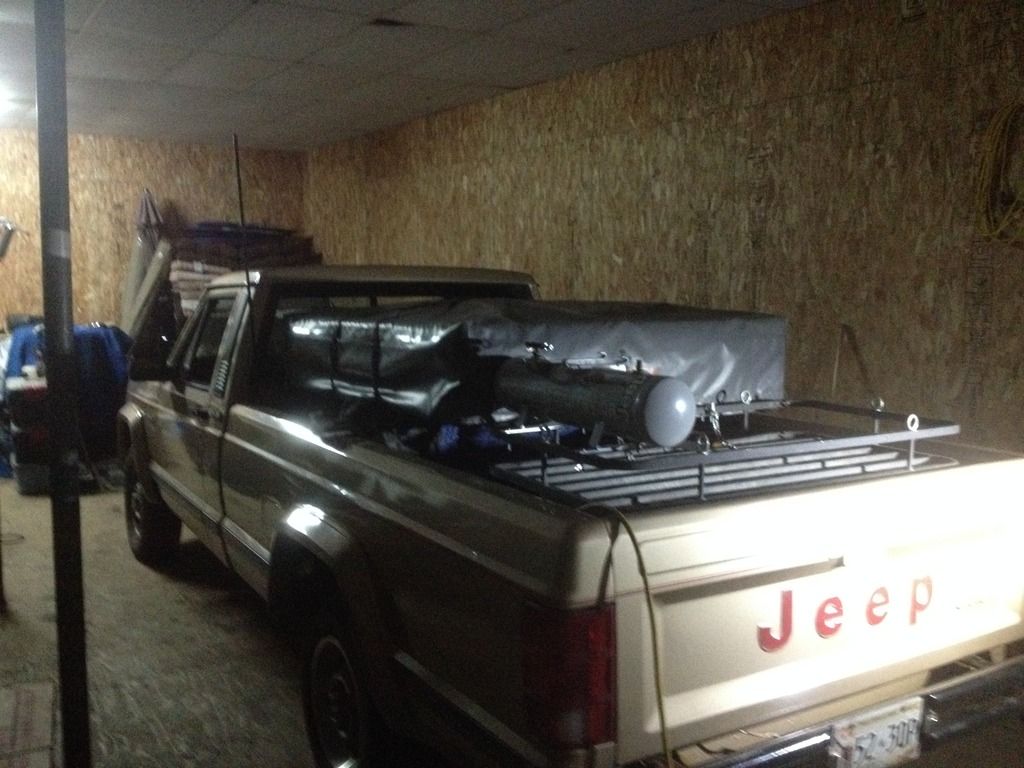
For now I just built a basic rack to mock up the RTT on the MJ and to have a place to store the tent for the winter.
988CC653-CAF0-4914-B65E-1A05A41AB7A2.jpg

B08D14FE-DE7B-49A2-A5D9-746E220CFFC9.jpg

16DE6638-7082-48E4-8514-C08707DDF399.jpg

2EA1CE98-DEC5-4CDD-8FA2-65E8BEB40D19.jpg

DB8F75C6-6D3B-41D1-9563-8F0AC7E9084C.jpg
 

tuckertj

Observer
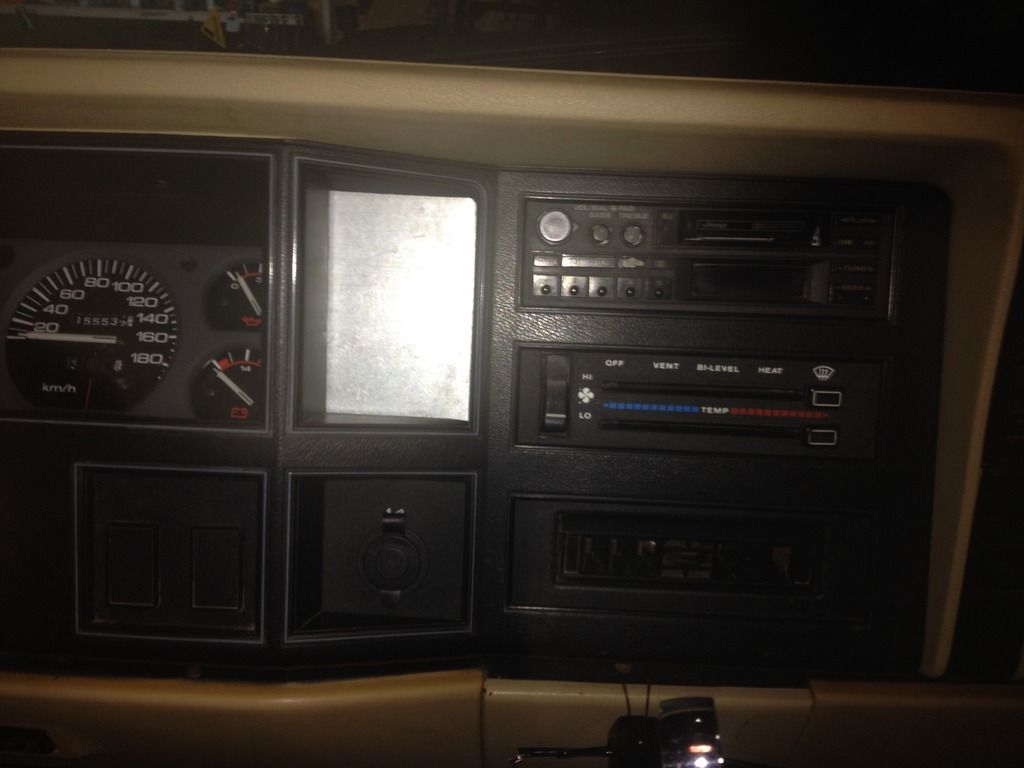
Since I'll be using this for camping and will just about everything, I will be adding on board air, driving lights and camp lights, water pump and other electrical and auxiliary batteries in the back. For that I'll need a few extra switches and gauges. My MJ didn't come with any factory options so all the blank switch panels are there, the clock didn't work so I made a blank plate to go there for possible air gauge, 12volt meter, or switches. Plus I deleted the cigerate lighter for a regular 12v outlet.
BD44F78B-04E1-4218-9B5F-293EBD683B40.jpg


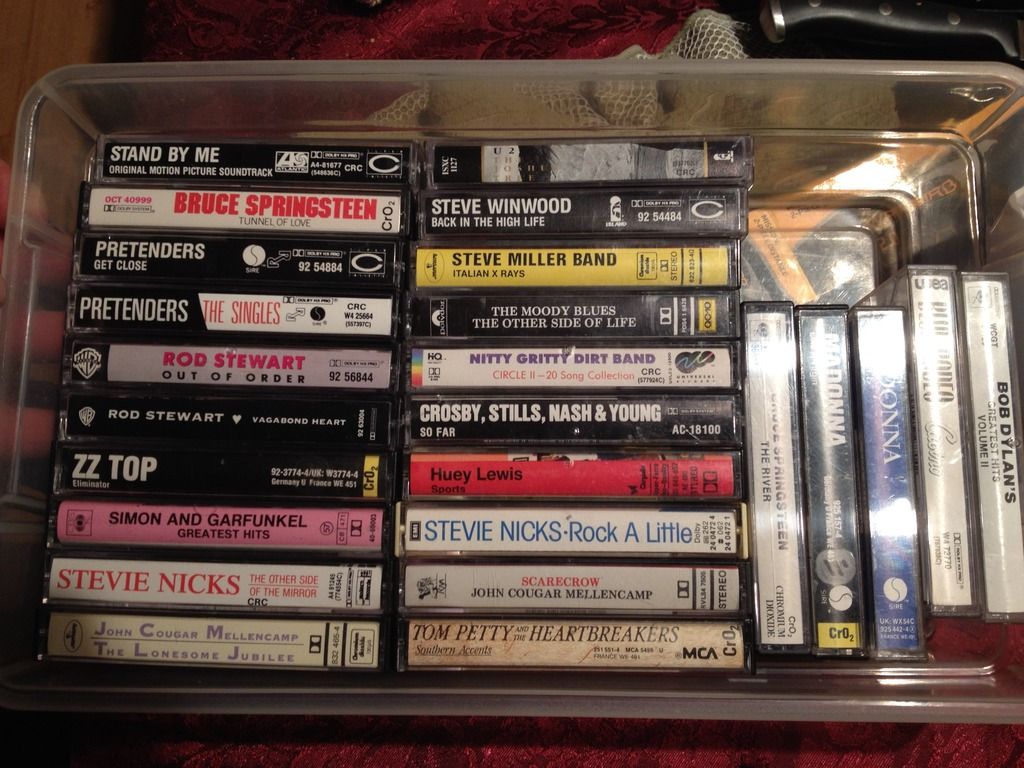
And of course since this thing as the factory
tape deck I had to dust off the old tape collection.
D966943B-253E-45AB-A167-8A17D0535585.jpg


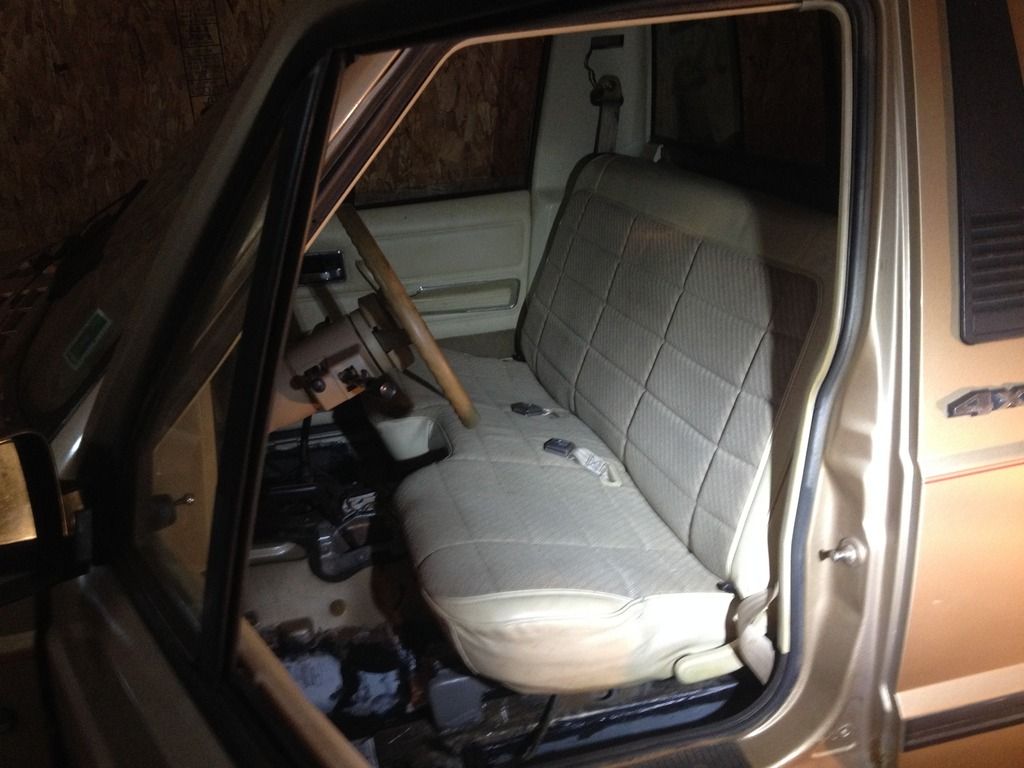
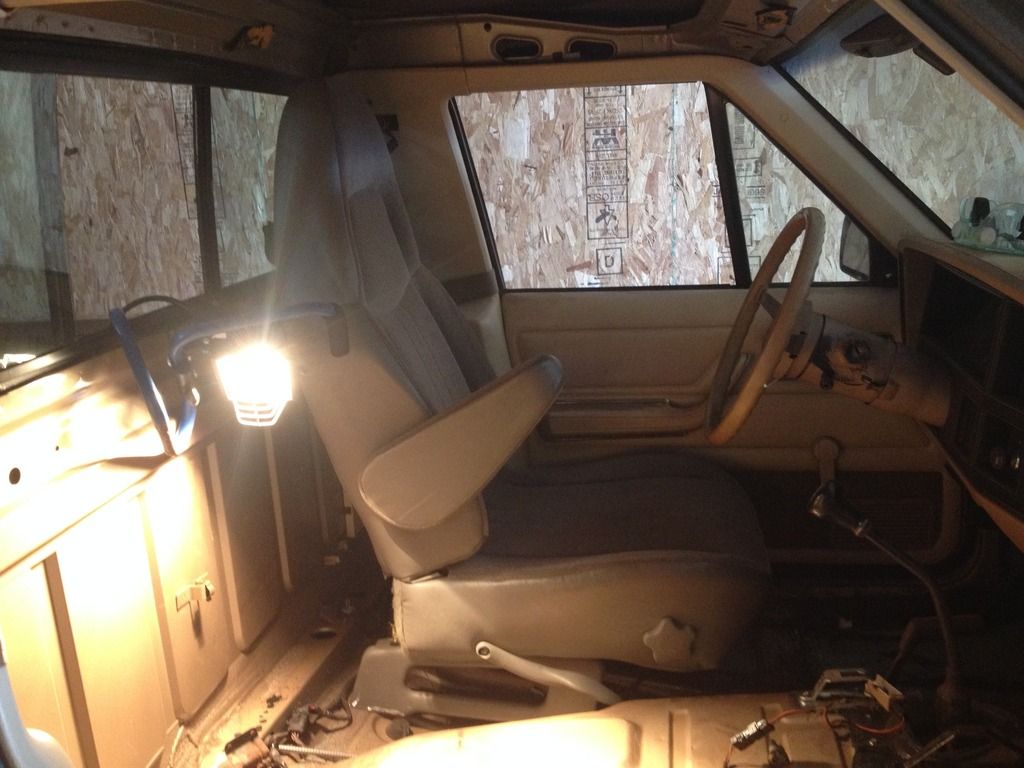
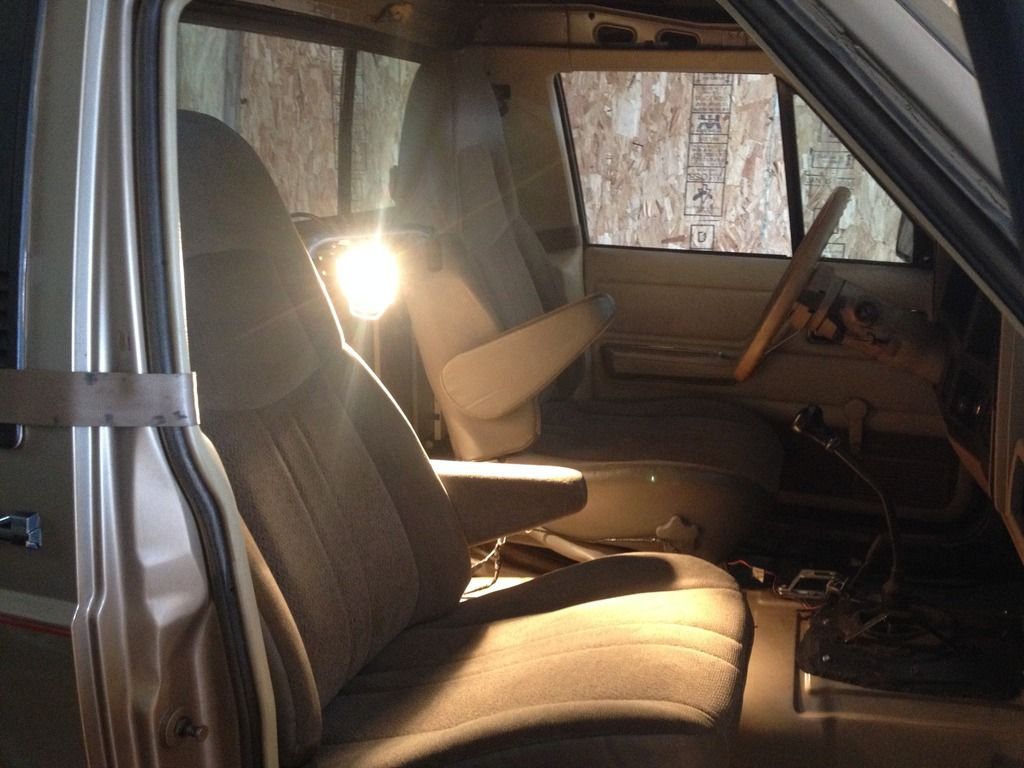
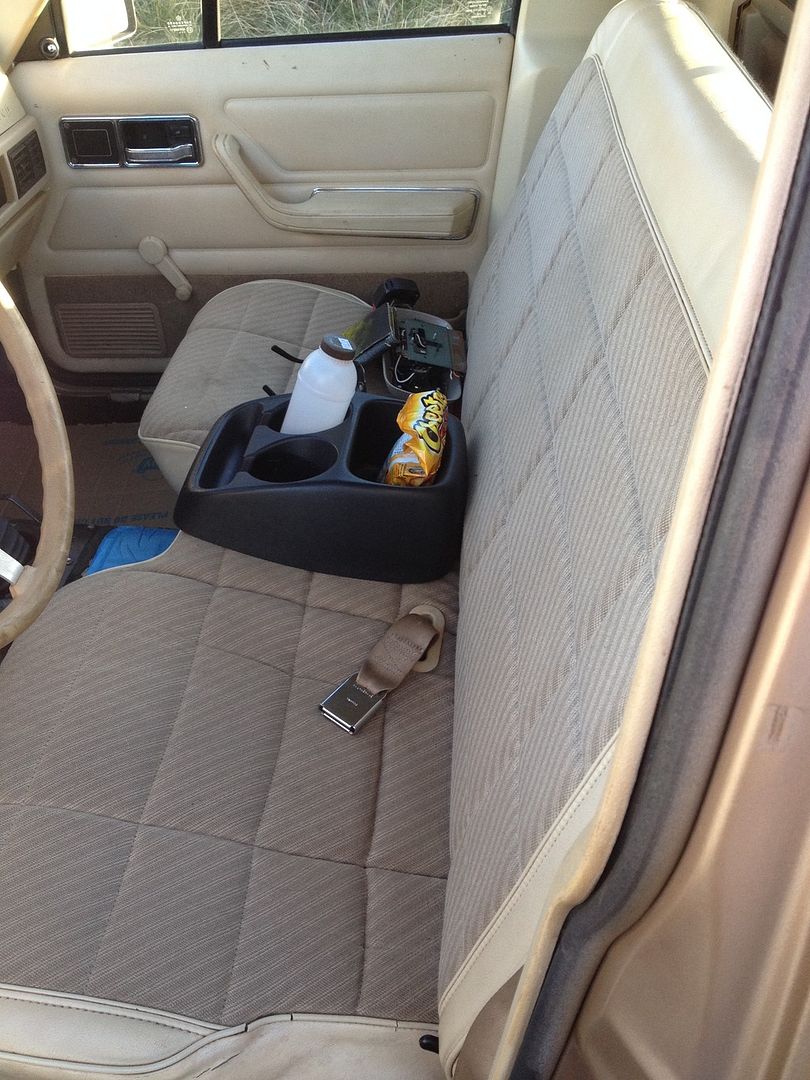
I drove the Jeep around for a couple of weeks as is. The bench seat is in good condition and comfortable but the lack of arm rest and centre console got me thinking about a set of buckets with a console. I did mock up a set of buckets from a '01 Chevy Astro van, they are comfy and fit pretty good (would need custom brackets welded up) but I realized I would need the 3rd seat option so I've settled on a set of Dakota seats or similar style with the middle seat/console setup.

5F31C13E-1B1B-4DA4-80E4-C751BF7FB2B5.jpg


96902A30-413F-45A3-8888-2AA6E7BABA96.jpg


D5A59C5E-5DC2-43CE-B8CD-E6C53B948382.jpg


Settled on this mini console out of a Ford Ranger
for a temporary situation to hold the snacks and drinks.
47F3D624-08DA-4B4E-822A-CF54795F4BE0.jpg


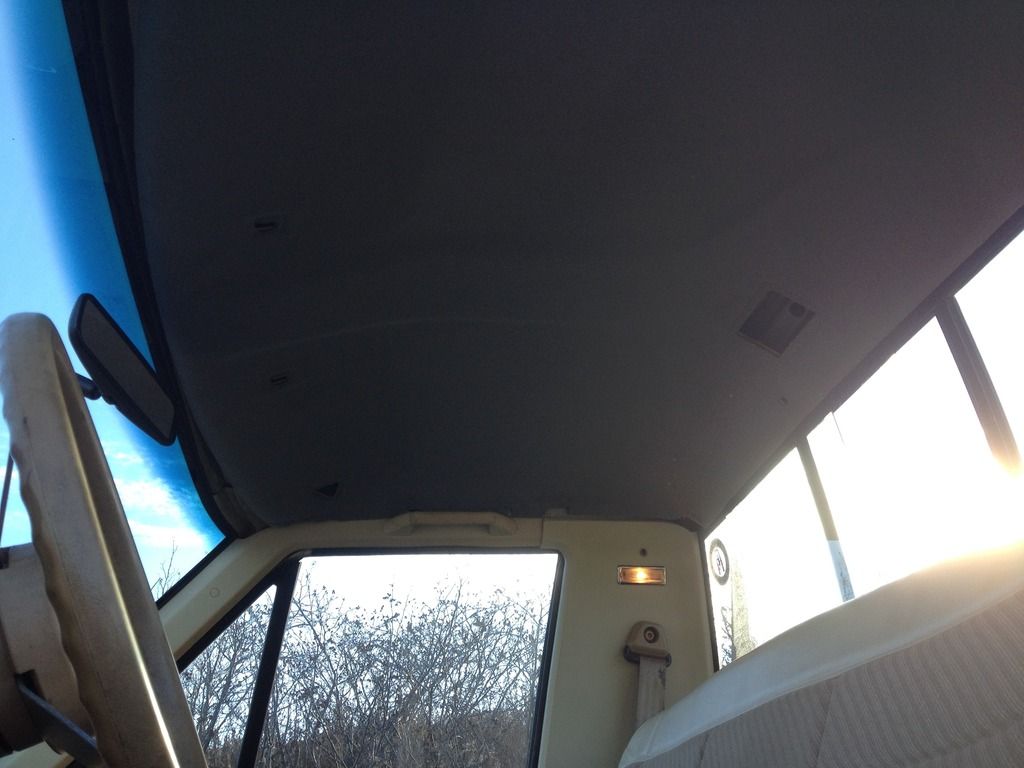
Also out of the same ranger i got the headliner, to see what kind of fit it was or if I could make something work. Overall the size is pretty close. It could possible work with some minor modifications or if you aren't that particular. It's just held in place now with the lips where the roof meets the door area.

1C7397CB-1BE2-4A79-934B-DAD2B5709188.jpg


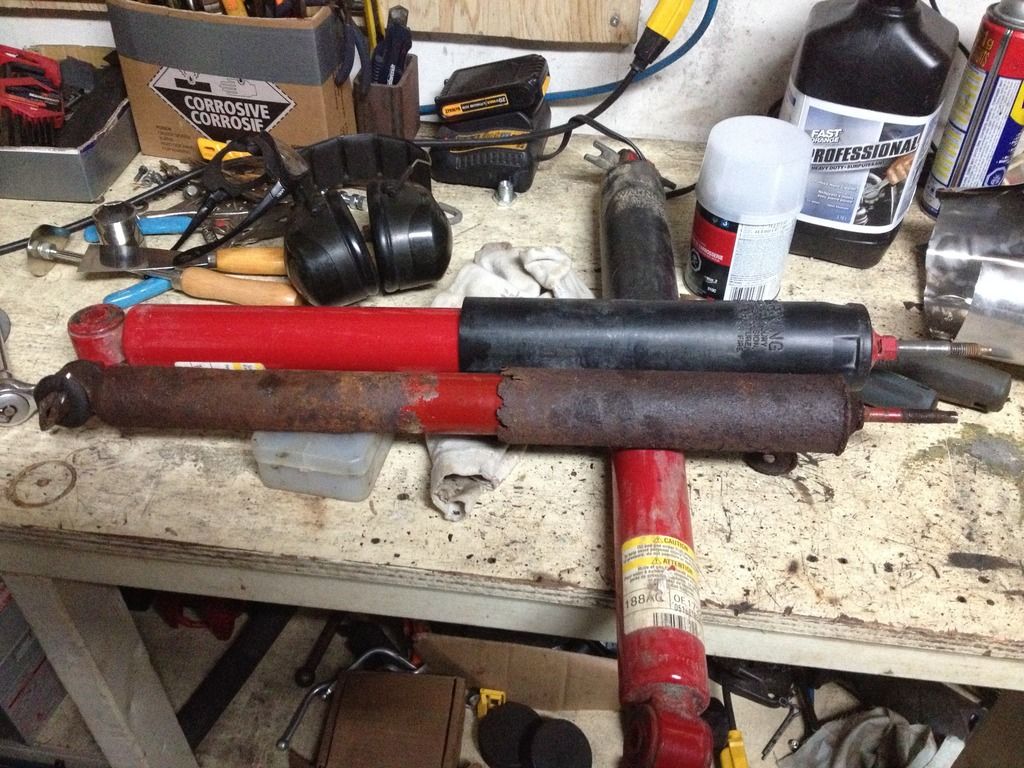
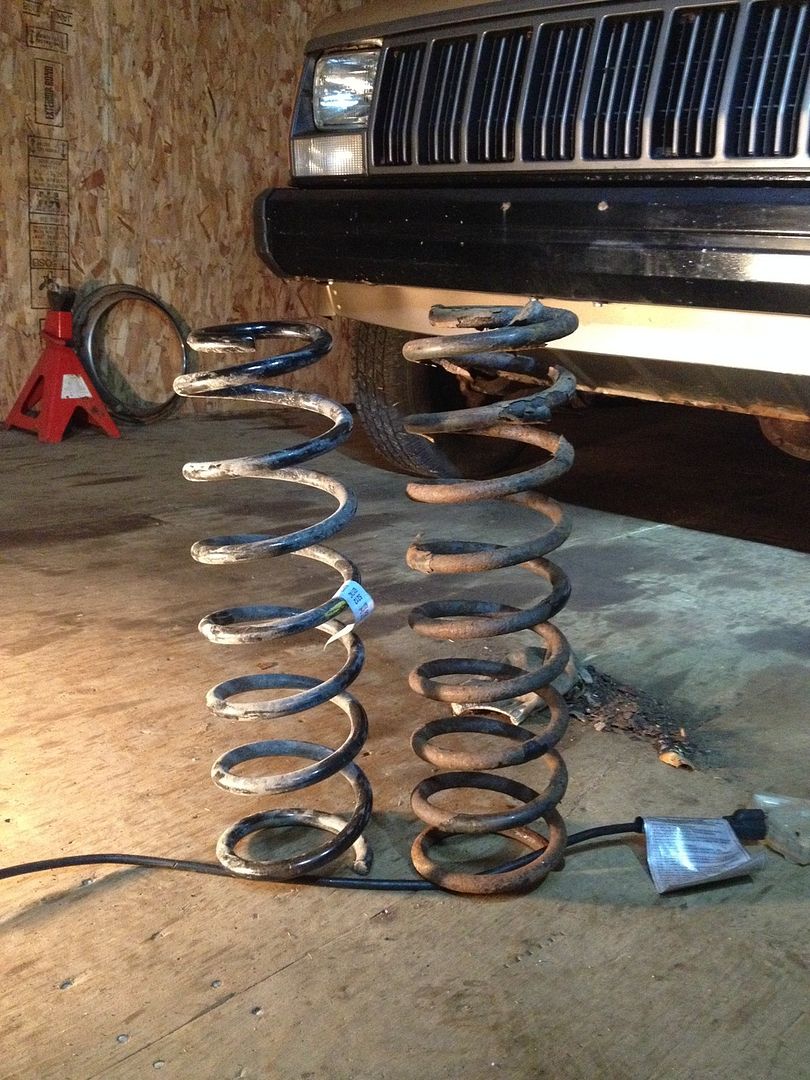
The rear shocks are basically new, the fronts were absolutely garbage. The MJ had a very bad lean to the driver side. I had some stock rubicon shocks and springs lying around from my buddies JK. The shocks are a tad longer or at least stiffer, so I tried them both out to see what it would fit like. Both the shock and spring went in without issue (other than the coil mount being rusted away to next to nothing).

123CA7FF-B02E-4D9F-9BCF-0CC357414538.jpg


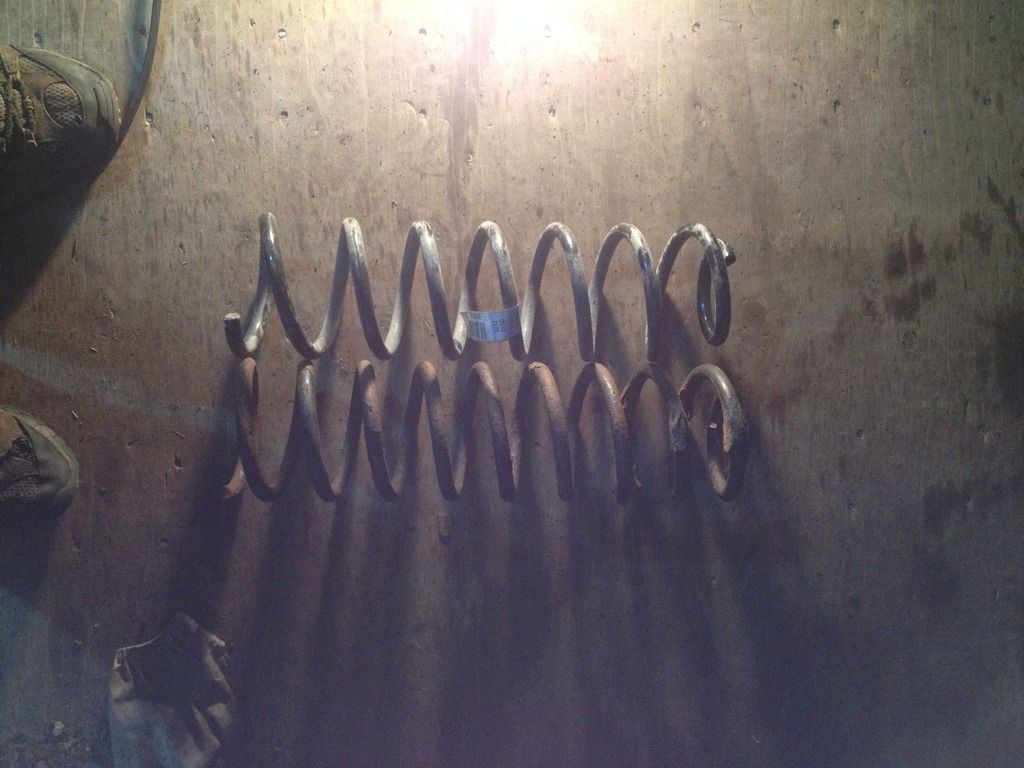
Rubicon spring on the left (first pic) and the top (second pic)

6554F1A3-0832-4DAE-9D5C-D2B37BA1EBDC.jpg

AA507808-306B-4FA3-B9E9-34C62AF205C5.jpg


The shocks made a big difference in ride, seeing as the others had no fluid at all I wasn't surprised. As you can see from the pictures the springs are actually shorter from the JK, these are off a 4dr Rubicon.


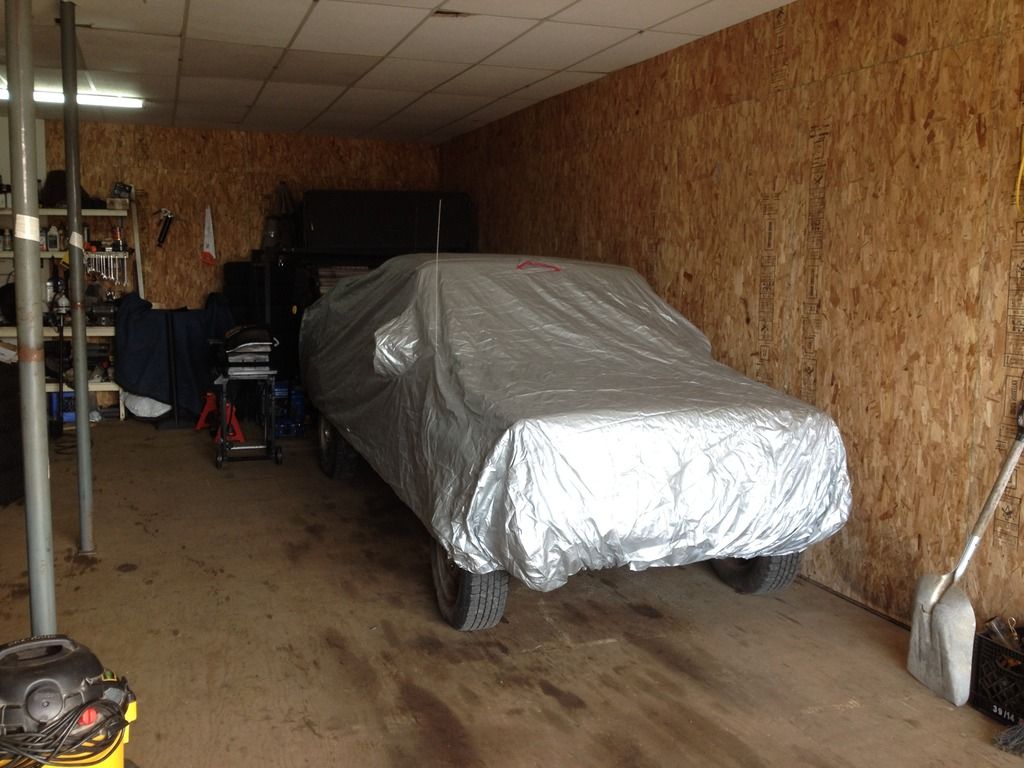
I drove it like this for a week until I left for work in December. Parked it in the garage and covered it up where it's waiting for me to get home and start the fun again. Will be a few weeks before I'm actually home working on it so no updates for awhile but I will update as I go fairly regular and hopefully lots of pictures.

B5B5A223-4EED-42B7-B35C-36BEE0DC6AFB.jpg
 

tuckertj

Observer
I live in Newfoundland but work in Alberta. I also have friends and family in Fort McMurray Alberta.
I was driving home and about half way home I got the call that Fort McMurray was being evacuated for the wild fires. I have a bunch of friends there, and more importantly my kids live there. So I headed for home and was home for 3-4 days and flew back to Edmonton to pick up my kids who were now evacuated from Fort McMurray. Now I'm home again and getting the kids settled into a new school, I can get back at the Jeep and get it back on the road.

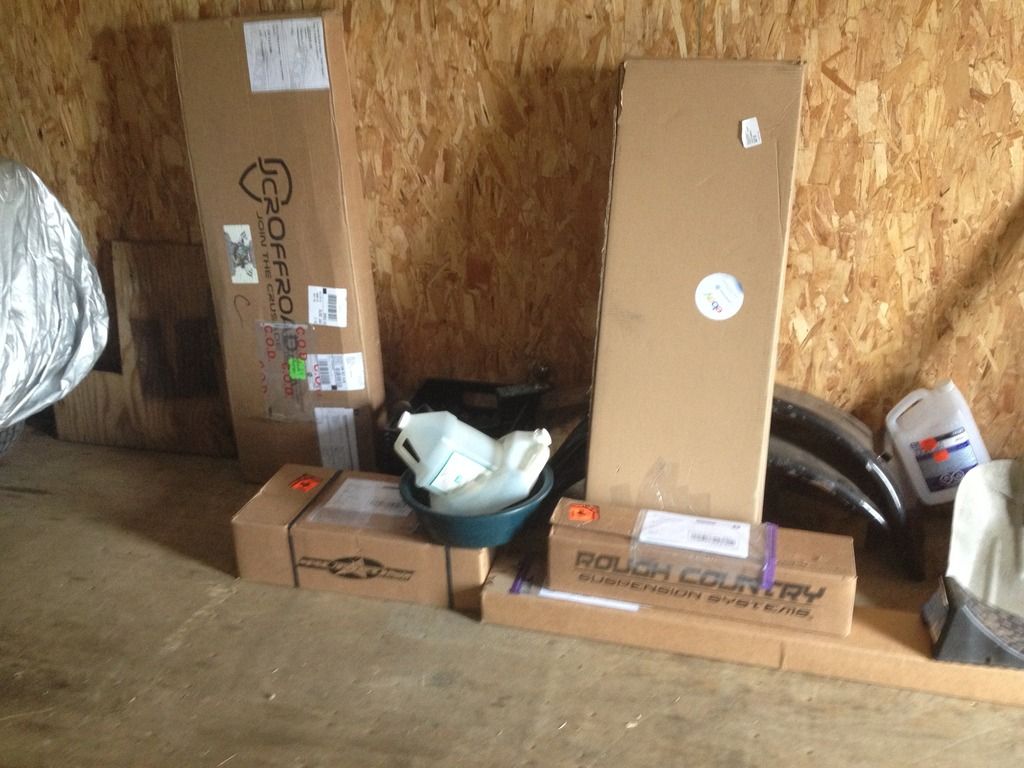
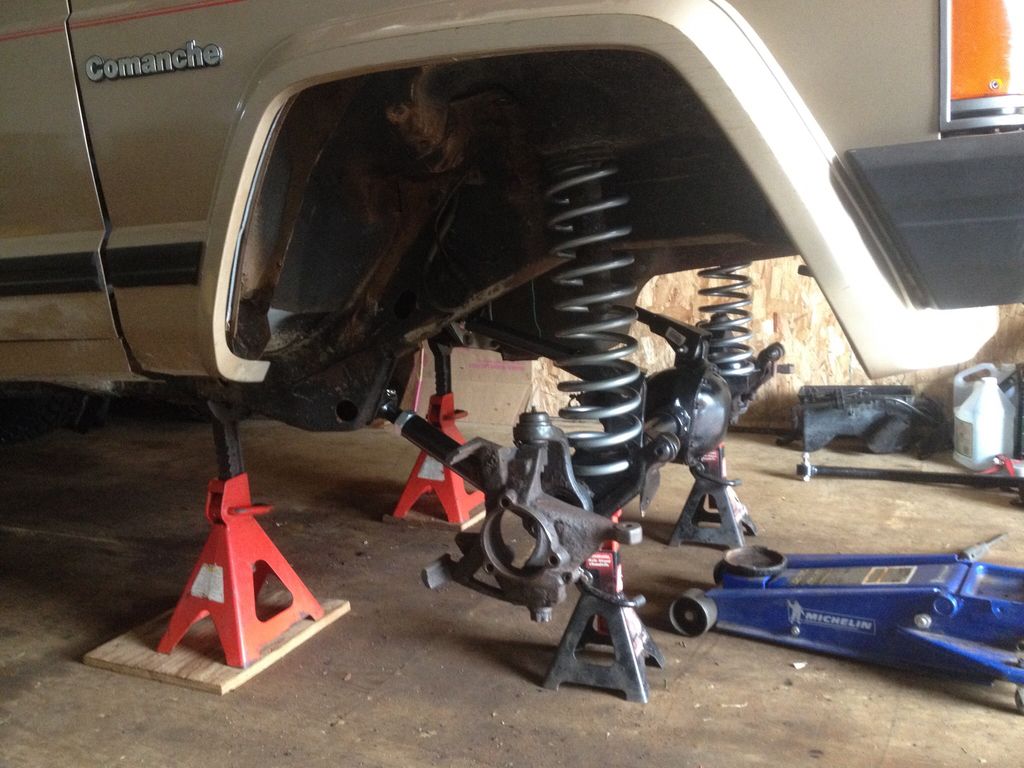
While I was away I orded a bunch of parts, they arrived before I even got home. Ordered 4.5" RE coils, rough country adjustable arms (upper and lower), Rock kralwer track bar. Also in the box on the left is a JCR Offroad DIY winch bumper

18B5674C-236D-4D13-A308-CB6913CCA306.jpg


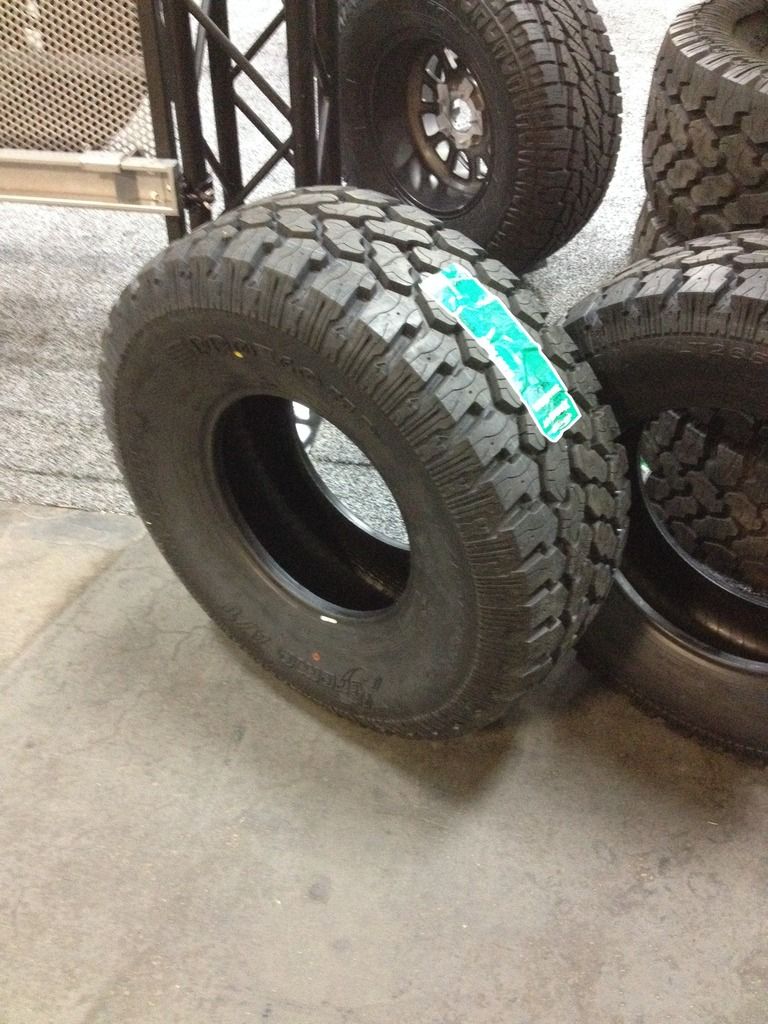
Before I left Alberta to drive home (Newfoundland). I went to 4wheel Parts, truck and Jeep expo in Edmonton. Went to the pro comp booth, saw their tires with a "sale" sticker on them. 33x12.50x15 Procomp ATs, $99 each. Decision was made that I'll be running 33s.

C49FB56B-0CE5-4307-8A9C-C800D57AEA92.jpg


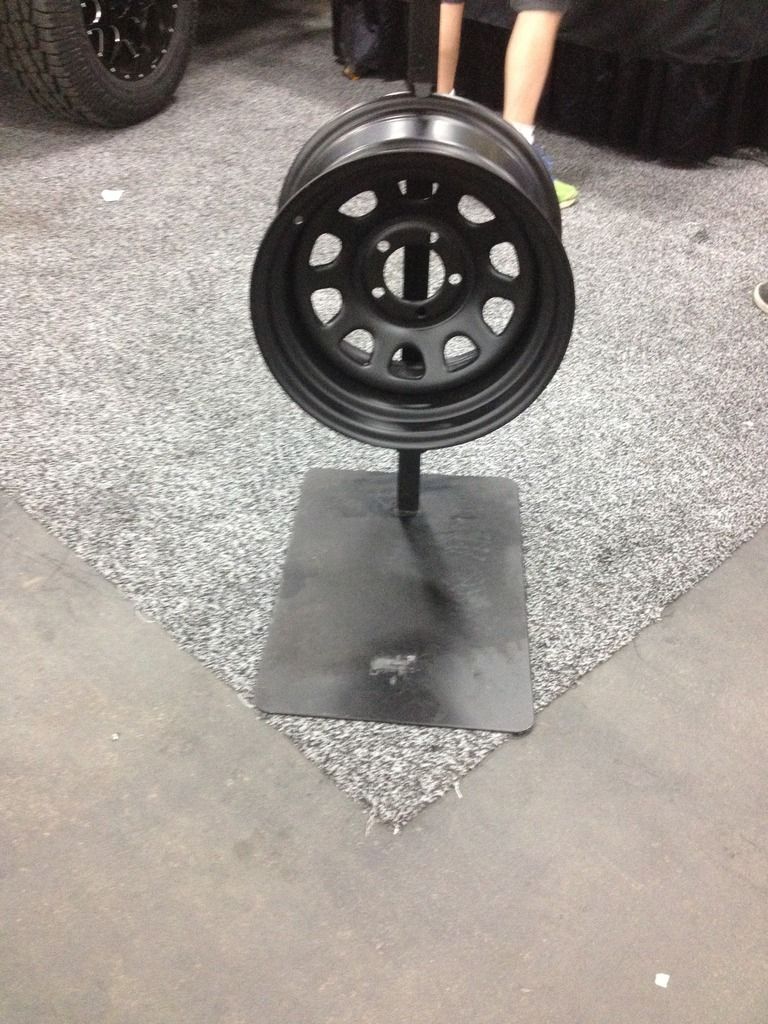
Got some black D window steeleies for $49 each. Ordered up 5, mounted and balanced and shipped to my door for around $1100. Pretty good deal for around my parts.

B6851558-D15E-4619-8C59-66911463C6E2.jpg


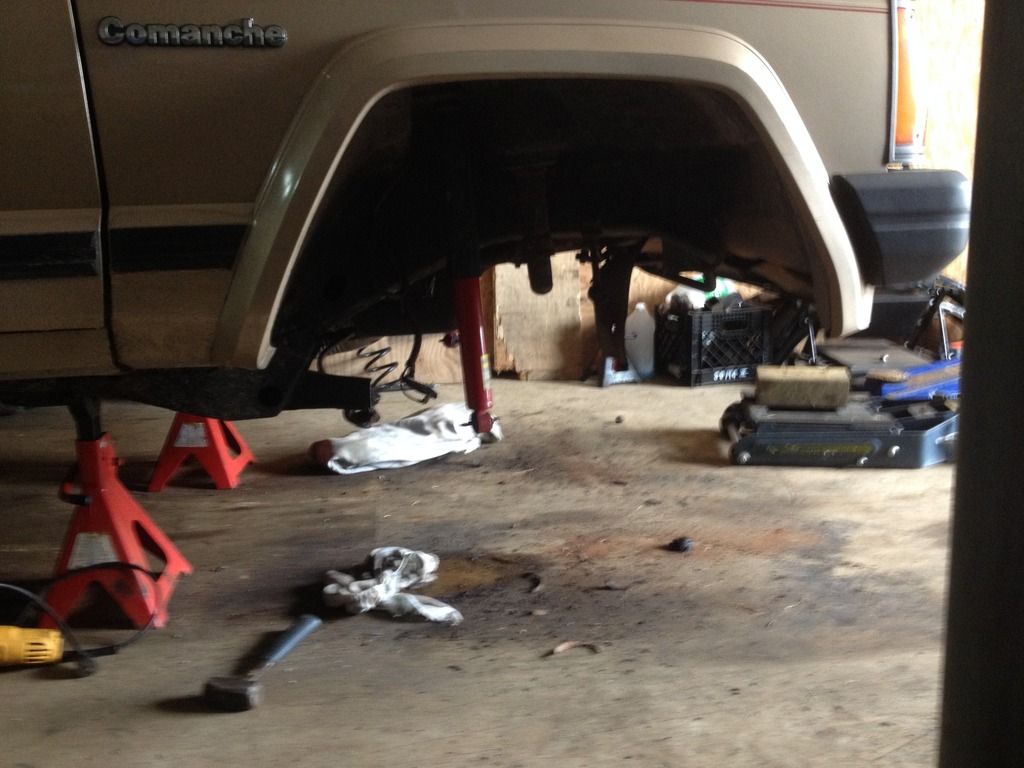
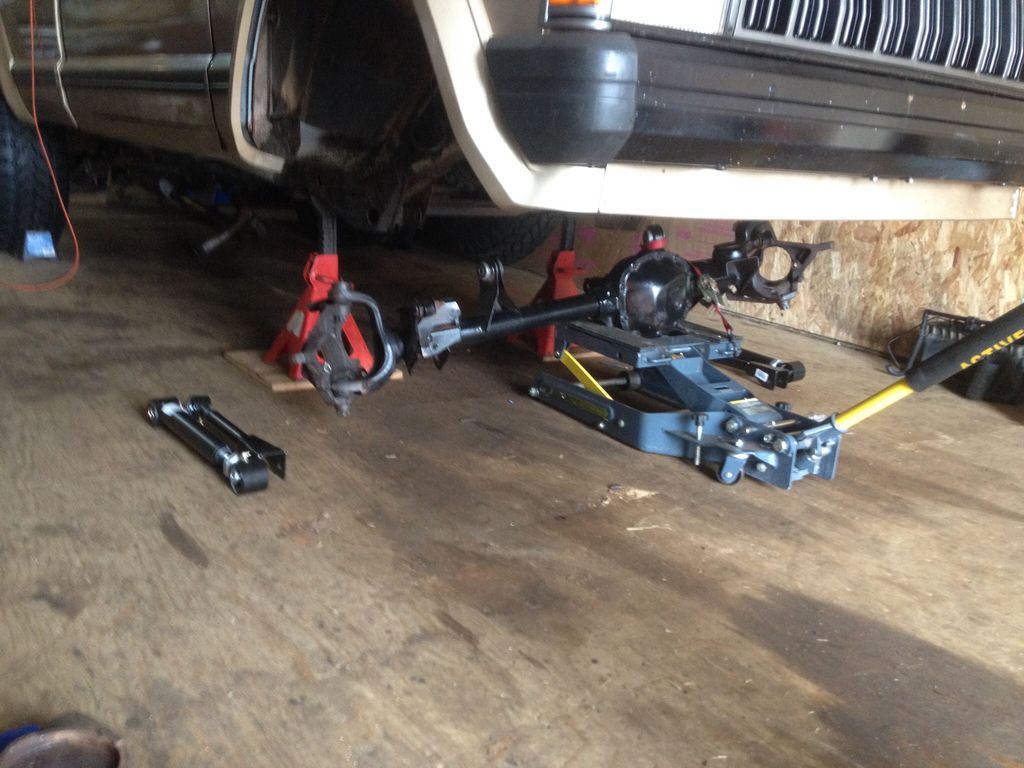
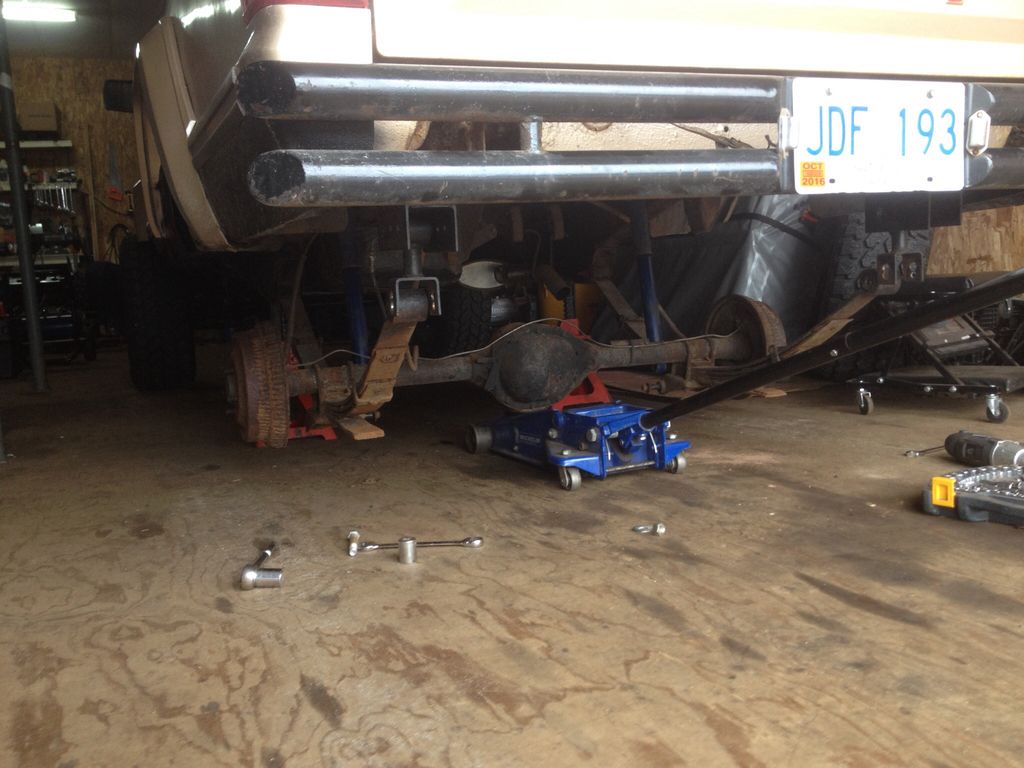
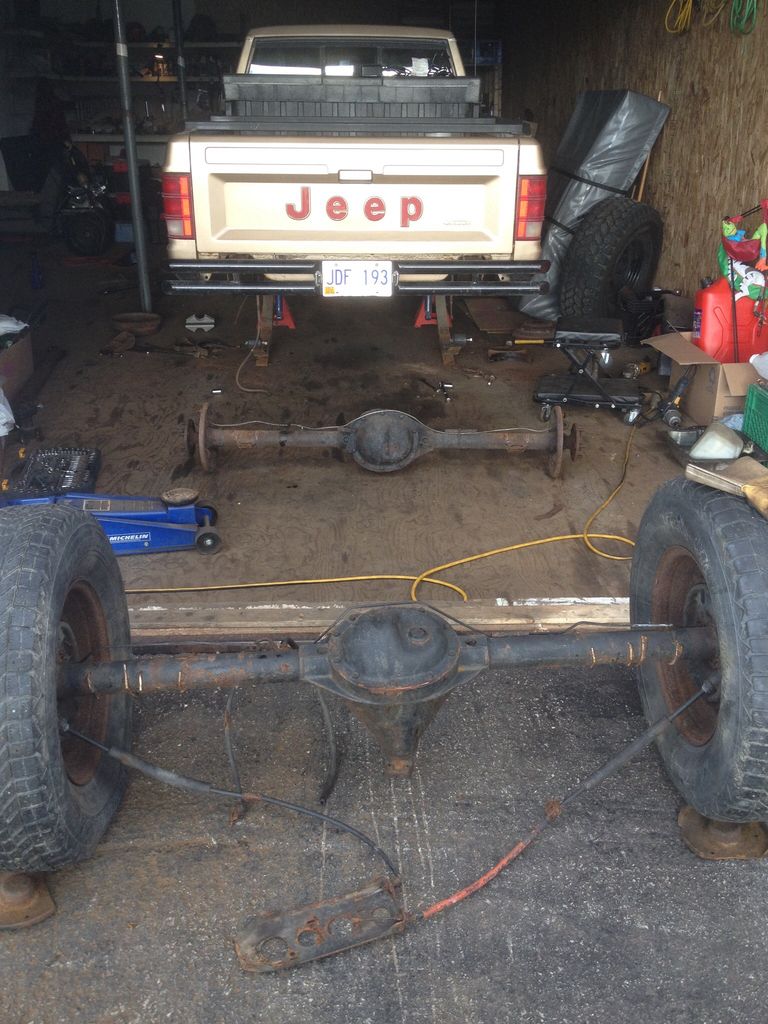
It will be a little bit before everything is bolted up. Front axle is out and being replaced for a TJ Dana 30. Not much upgrade, maybe a down grade with the low pinion but with the shape my stock axle was in it will be a upgrade in that sense.
84DEDBF9-990D-4F0D-9988-1D69C2AA6AA8.jpg


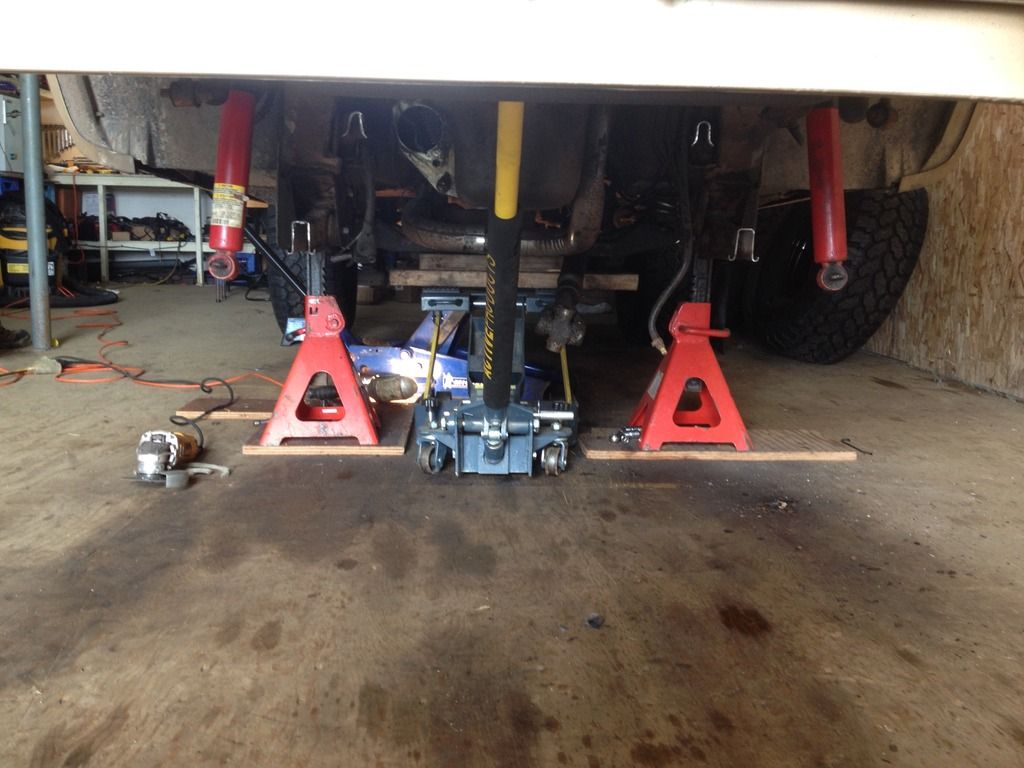
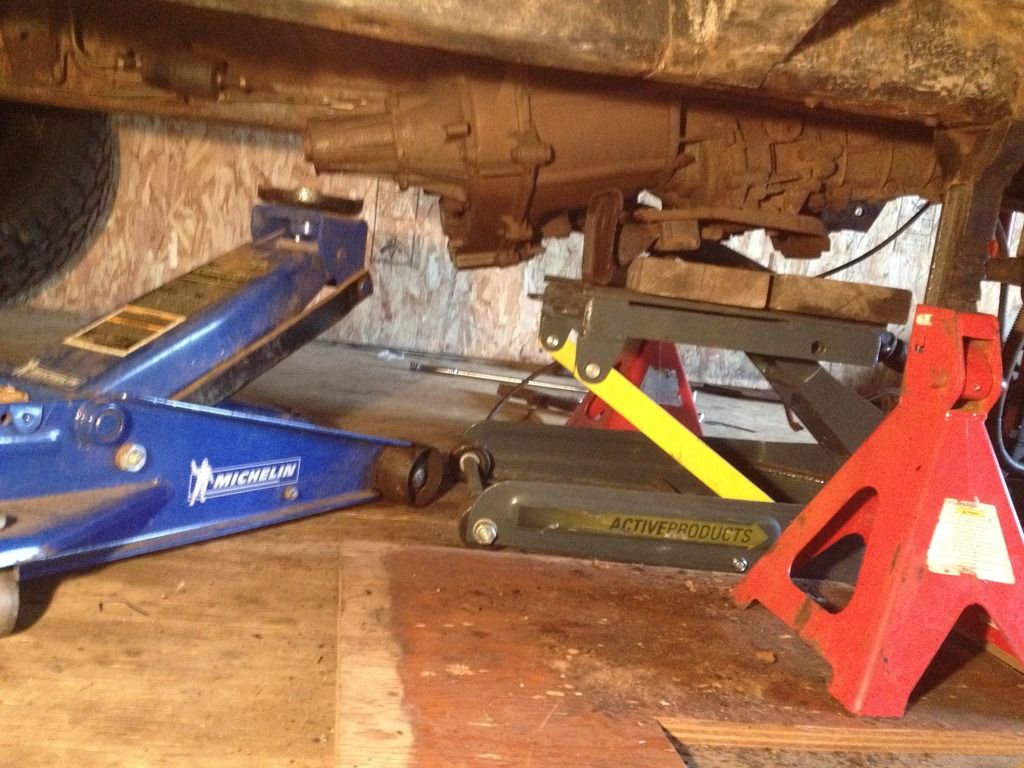
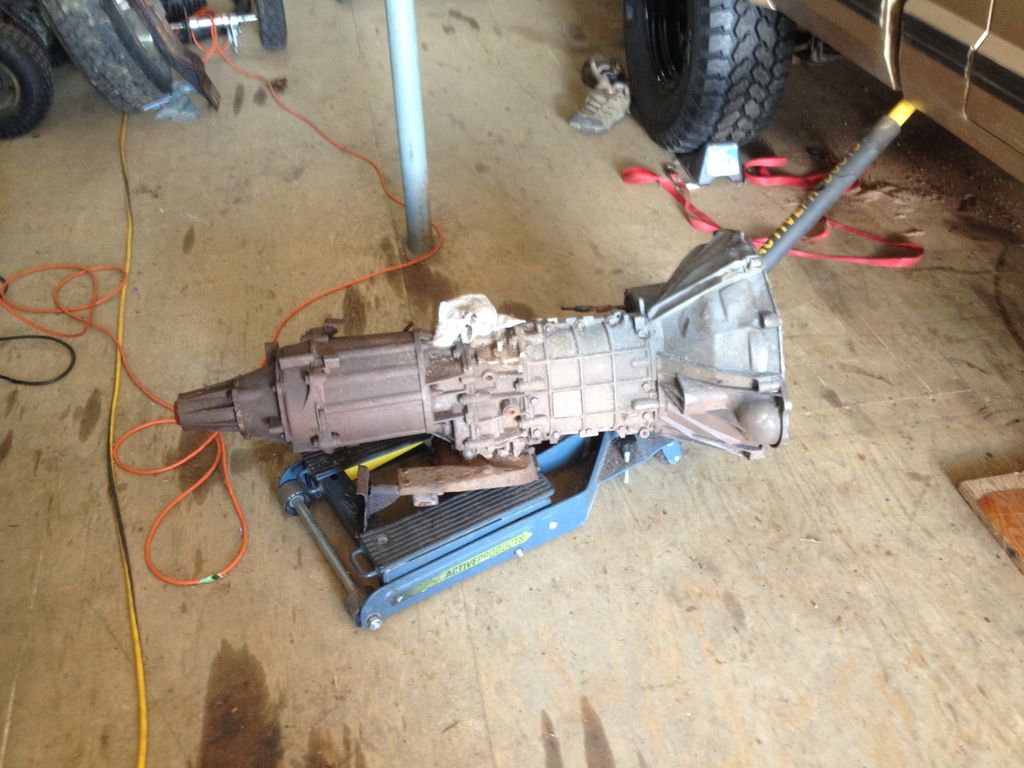
Also before I put the Jeep away the clutch would only engage (disengage?) right at the floor, or basically no clutch. I checked the master, no leaks, no real noticeable wetness around the bellhoushing. Decided to drop the transmission and check out the clutch assembly and since I picked up a TJ bellhoushing/NV3550/transfer case combo, a swap was and still is on the table.

69D6EDED-E7E2-42BF-A1BE-990BDAB526CA.jpg

05374511-F87E-428F-AB75-603BF3A2669F.jpg


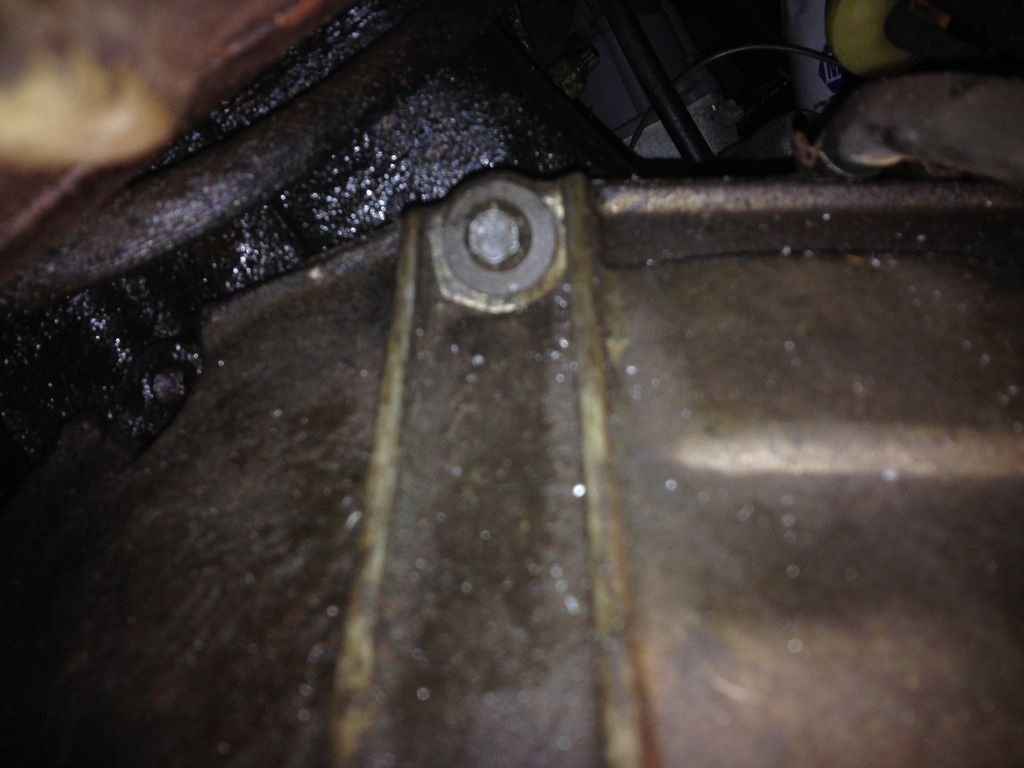
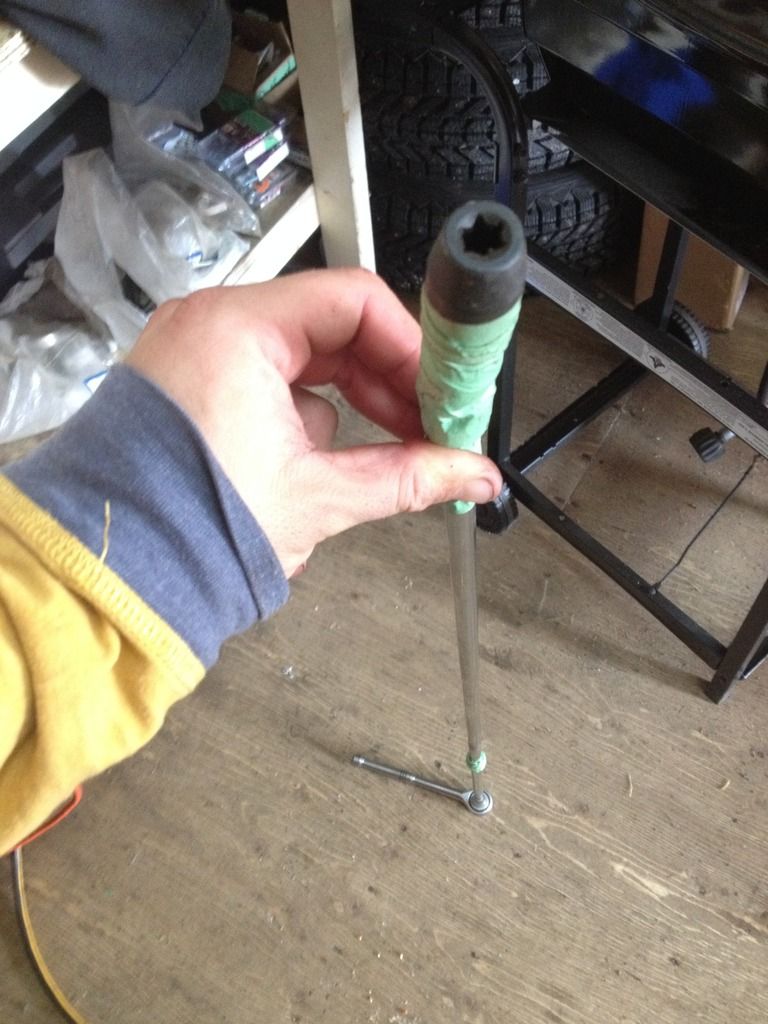
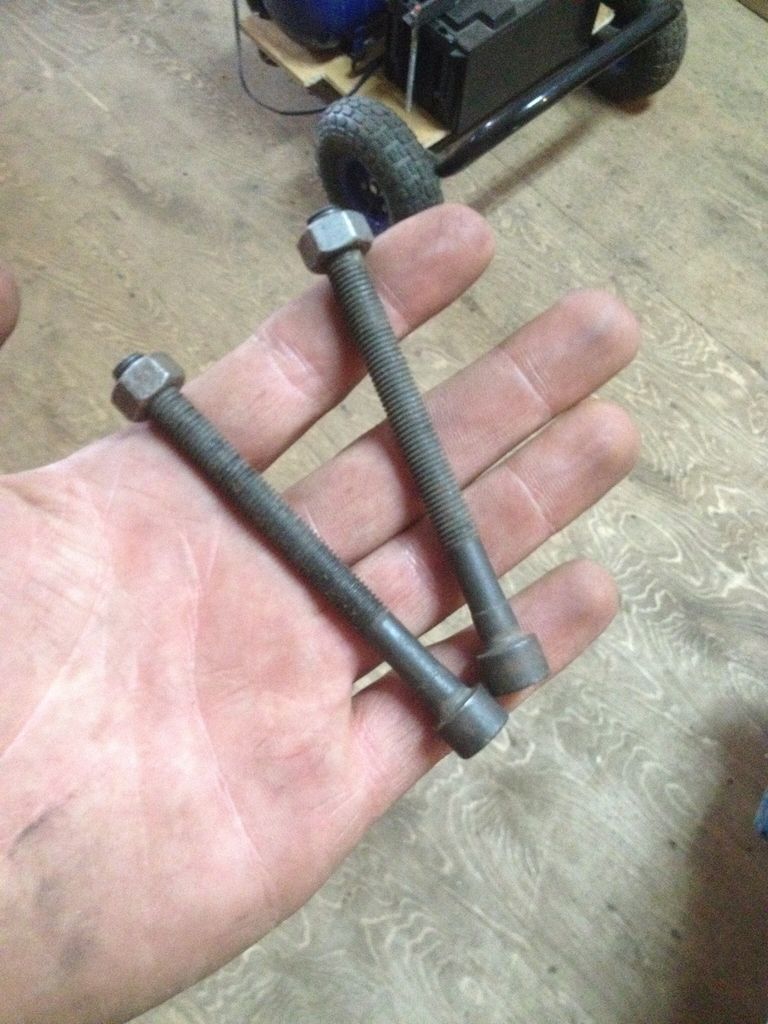
Thanks to one of these 2 lovely bolts, it was a struggle! Even with the right socket and this extension contraption. Driver side one came out, was in there tight but came out just fine... Passenger side one... Not so fun.

A20E4C7B-5DFD-4685-812D-FF113AB7224C.jpg


0AD89B2C-8B83-49F5-88F9-3DD1B6D258FB.jpg
 

tuckertj

Observer
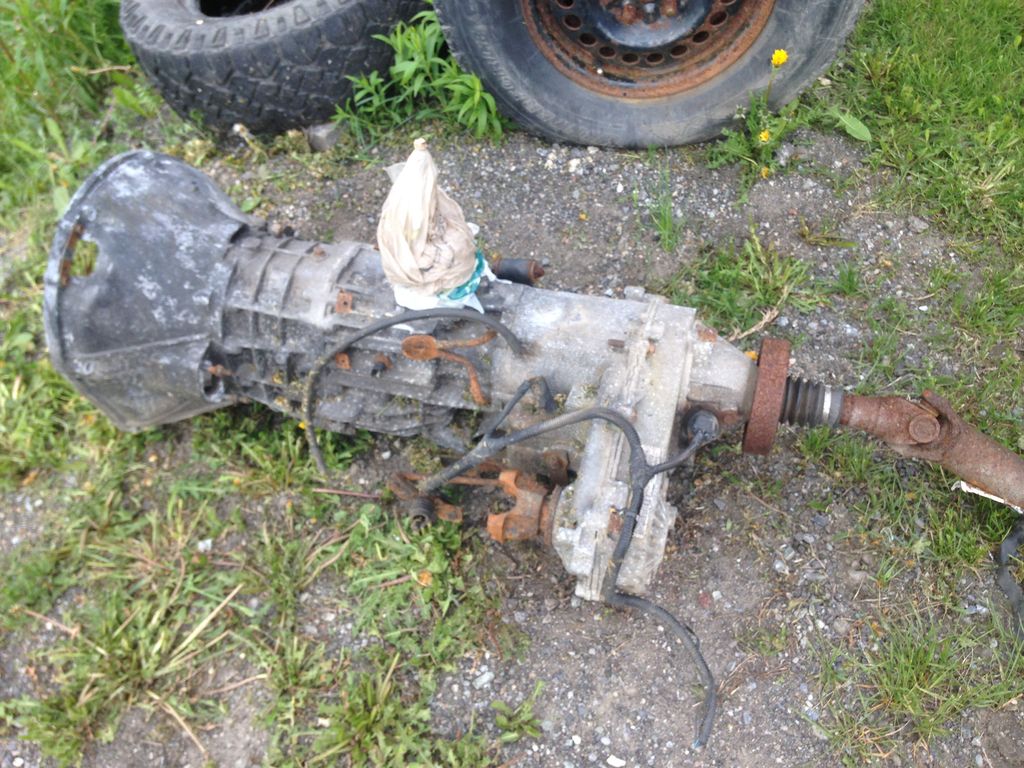
I have a "new" transmission that will need a new master and slave cylinder (external). It's a NV3550, transfer case and bellhoushing from an 04 TJ. The original transmission (Peugeot) mount is separated and will need to be replaced and I have a TJ mount on hand so I'm thinking I will go ahead or at least attempt the swap instead of spending any money on the current setup.
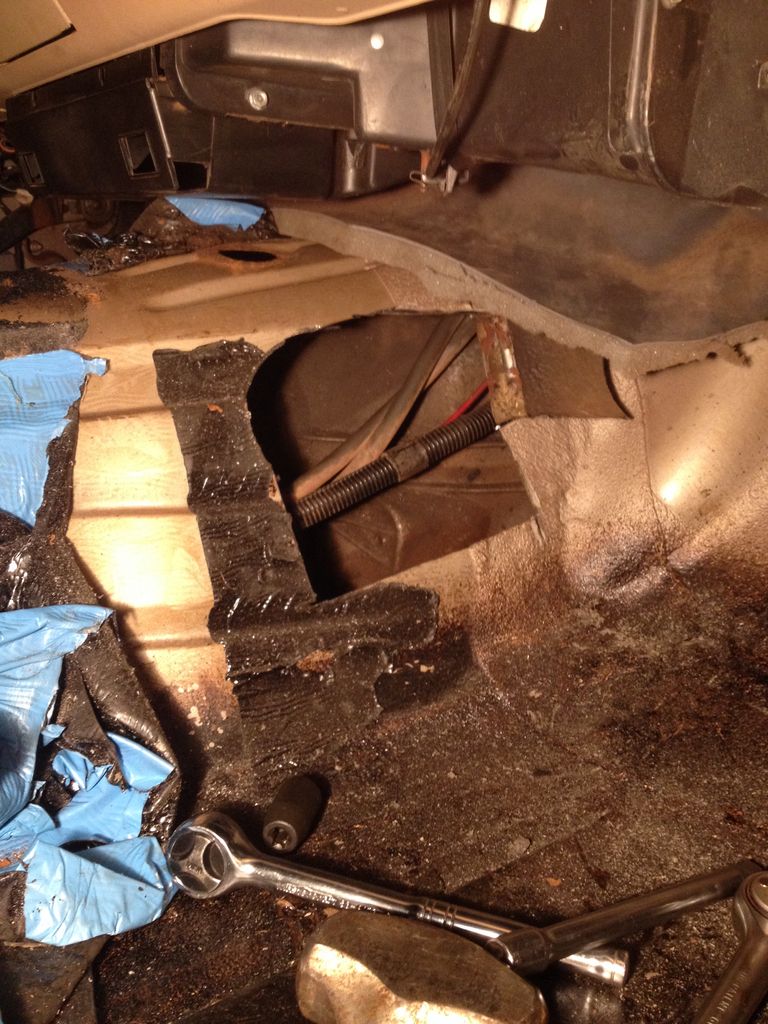
I got the transmission out. That one e12 torx was a pain. Actually ended up cutting the floor and got a grinder in there to grind off the bolt head. Once the bell housing was separated and the transmission was on the floor, I reached up and unscrewed the bolt with my fingers. I did do that bolt first too.

fc0ac53ff3fc7bfe28fc81acbcf6e2d1.jpg


Hole in the floor, I figured with the condition the floor was in when I picked up the jeep, what's one more hole?! Ha

0a2508b5b46db34042528f1bf9c8301e.jpg


Donor to go back in.

81ae6429131695c369a821c1e39b60d6.jpg


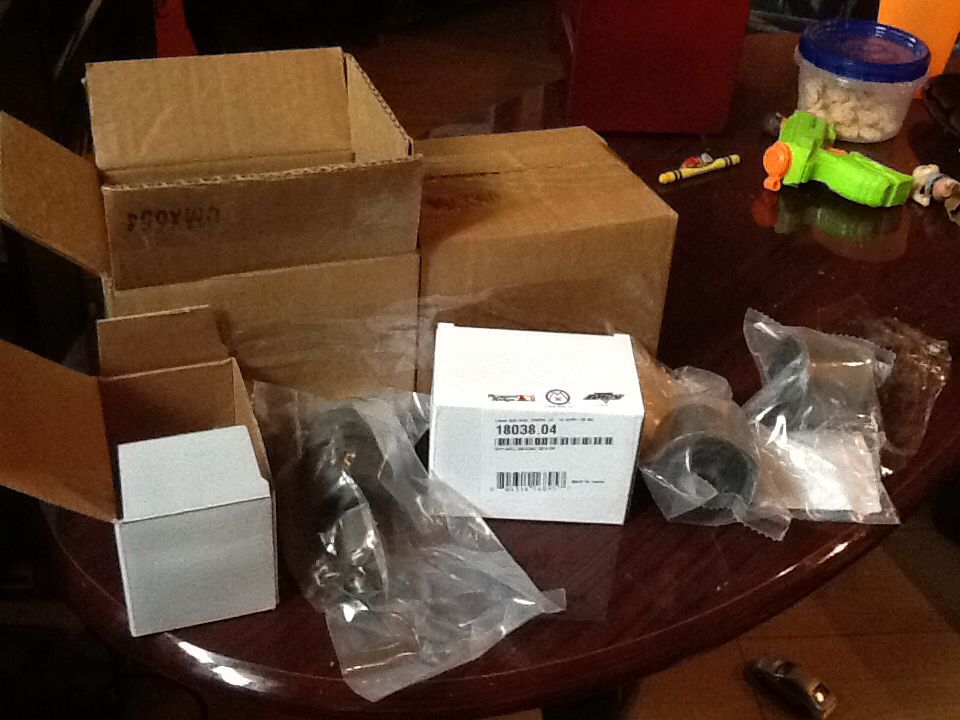
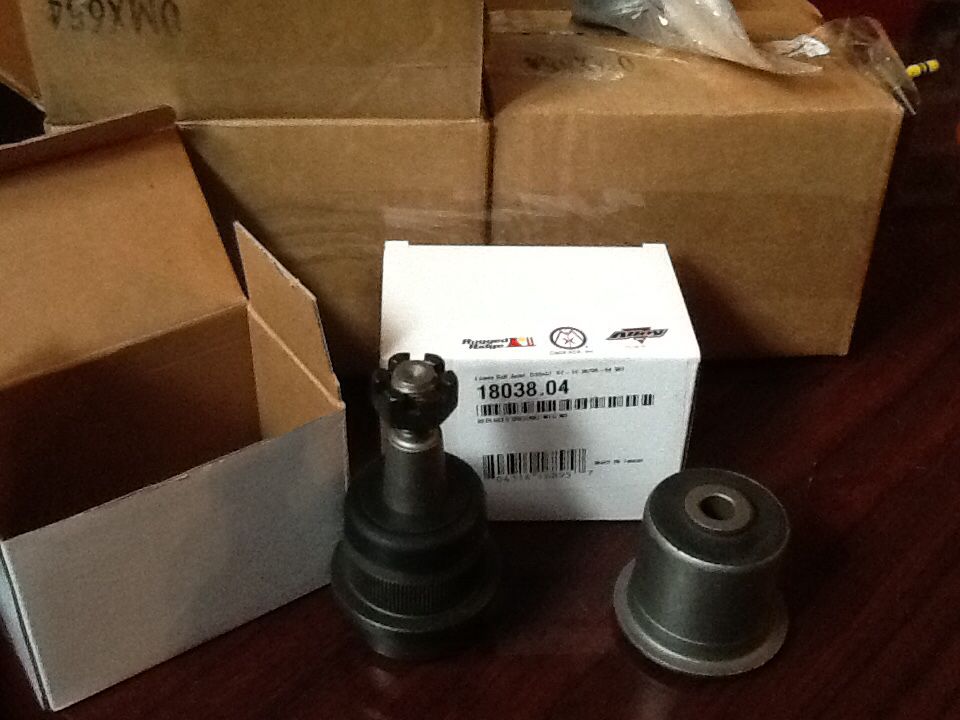
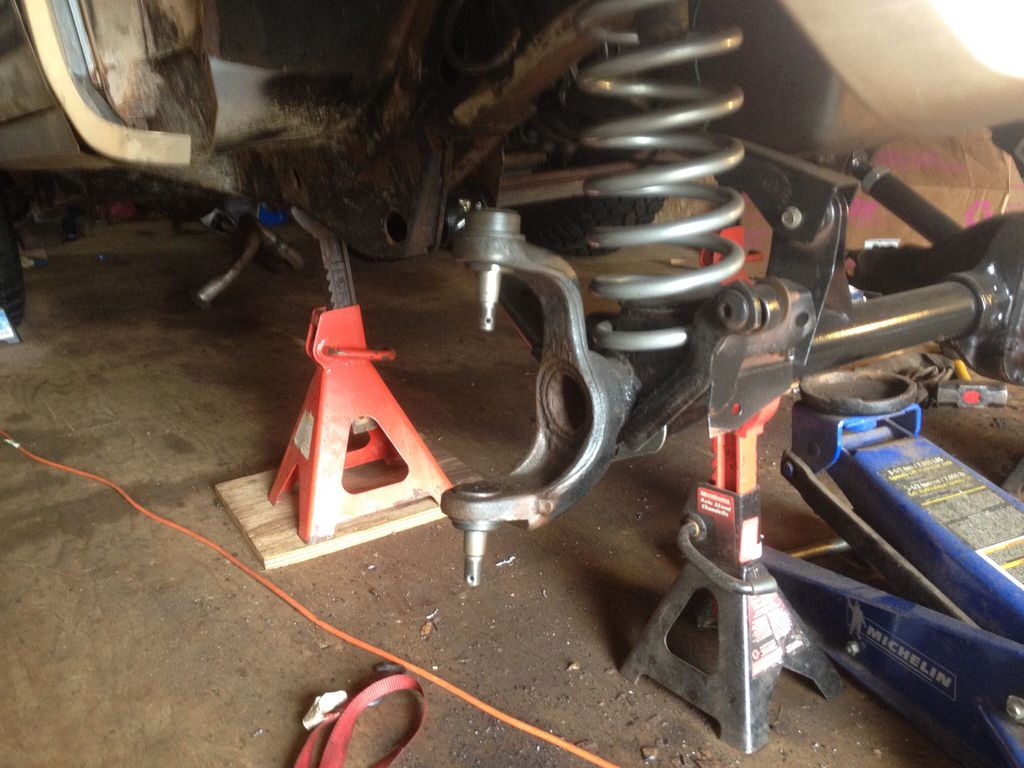
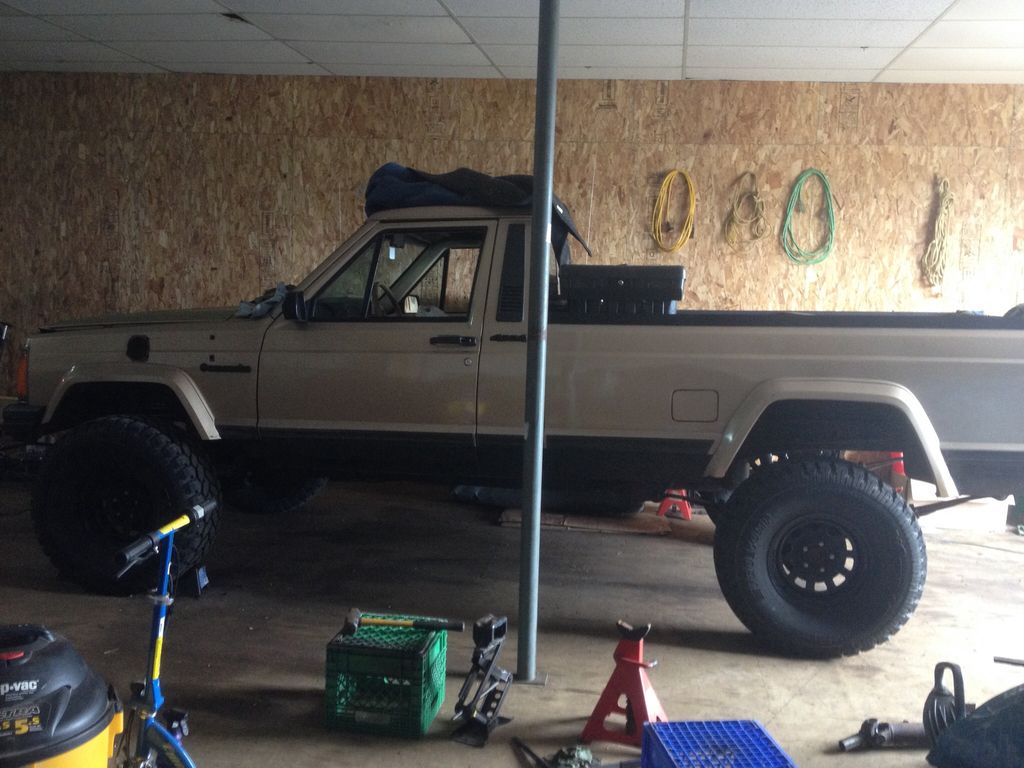
Ridght now I'm just waiting on parts, ball joints and axle side control arm bushings, master/slave cylcinder. My wheels and tires came in. Had to mock them up.

Next to the Jeep on stock tires : 33x12.5x15 vs 205/75/15 (27")

7D5E2C88-F3CB-4DCC-AA5F-EAA80DC65D19.jpg


BDF113E9-93B9-4B4B-8C7F-14BDF9D61408.jpg


Under the jeep with the the axle removed. Changes the look completely that's for sure.

3F9E7985-B9A0-4837-822D-2BAF975B0AE3.jpg


5CC45CB3-486E-4A62-801F-CAE41641064D.jpg


Rear mounted at stock height

835EA5F5-95F9-4D85-9014-F0640E442A48.jpg


F9FE55AA-71D6-4323-9EB8-ED029F623E82.jpg


Hopefully parts will be in soon and I'll actually get the Jeep lifted and driving again
 

tuckertj

Observer
Not working at the Jeep as much as I'd like, but that's how it goes sometimes. Small update, but progress is progress I guess.

Bushings and ball joints showed up

d54f55b936f863fe9869e7c1de3f2514.jpg


830a8c3bdd44449b600ec9a1d5f4879c.jpg


Got the old bushing sleeves out, passenger side came out fairly easy

6be4fb9ed3732cb4613917b769229569.jpg


Driver side needed a bit more coaxing

a12da5d5bde93ec1e8ba6fd9f4492710.jpg


Axle primed up, still needs ball joints replaced, new hub assembly/wheel bearings and brakes.

6481e43a0db07386d7931aa6e027c673.jpg


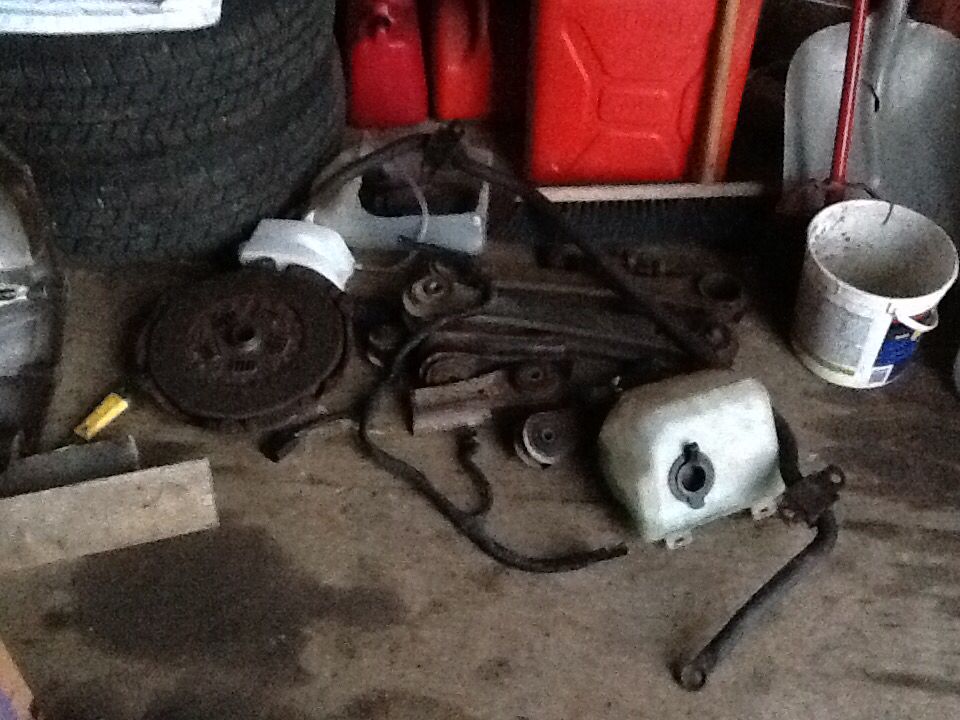
Also removed the stock sway bar, it will be replaced or at the least new bushings. Plus stock control arms and washer bottle, more room for working at the master cylinder and to clean up in the engine bay.

f01206f6b3ddc95a0e9430e690940022.jpg


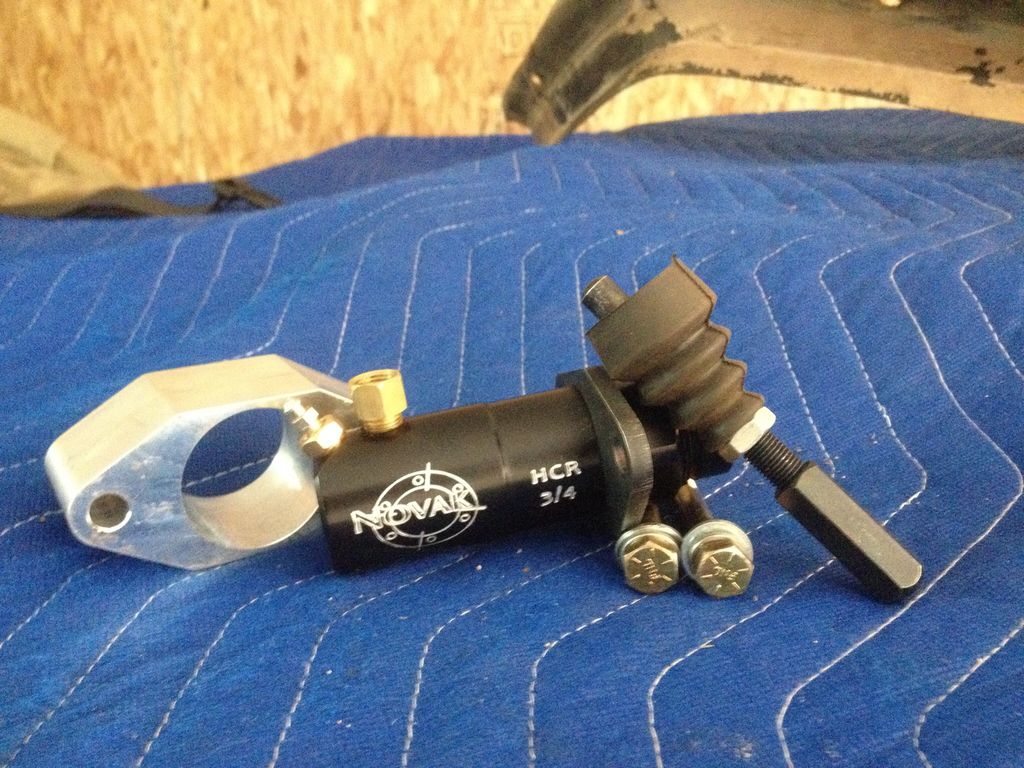
Waiting on some parts from Novak , pilot bushing, new slave and hose from slave to master for the TJ NV3550 transmission. The hose was back ordered for 2-3 weeks so I'm hoping I can find a different solution for that.


Got the parts from Novak.

d128d1f7e427a33e5d245aaa05f94bb0.jpg


5e9d1187bd1a06839fa28453e54ab204.jpg


No pics of the pilot bushing and hose. But I did get the bushing installed. Removed the stock pilot bearing with wet paper and a dowel, was pretty sceptical but I was pleasantly surprised that it came out effortlessly.

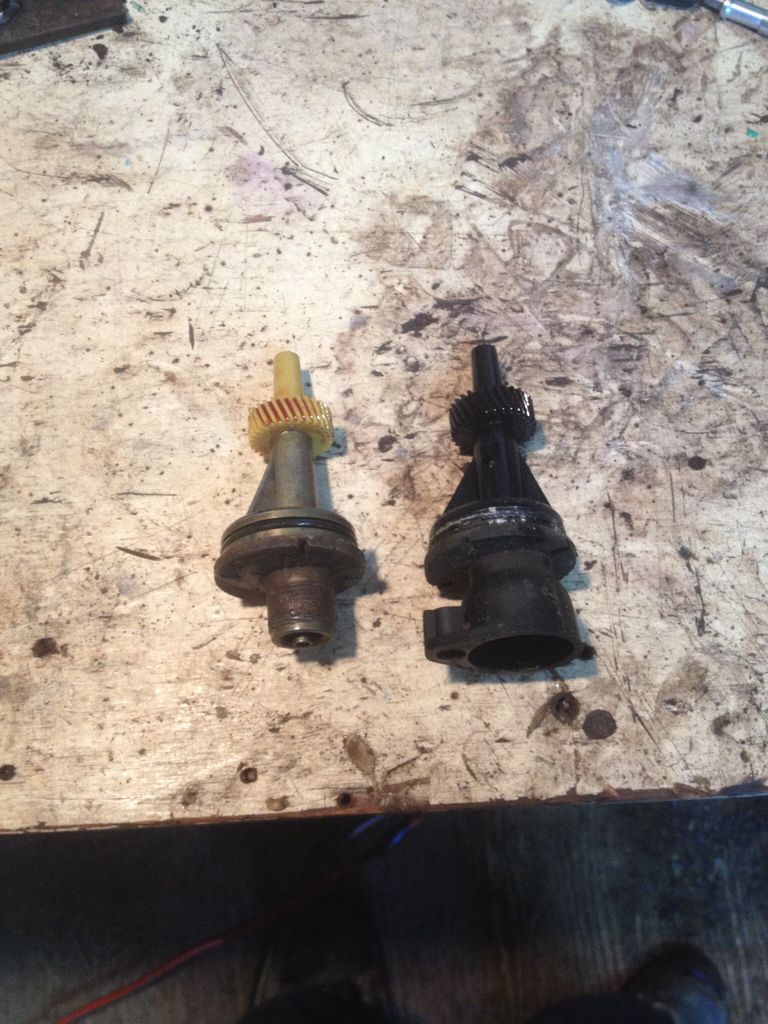
Installed the mechanical speedo gear from the MJ transfer case into the TJ t-case.

9319669e7dc723d0486a00737688ff73.jpg


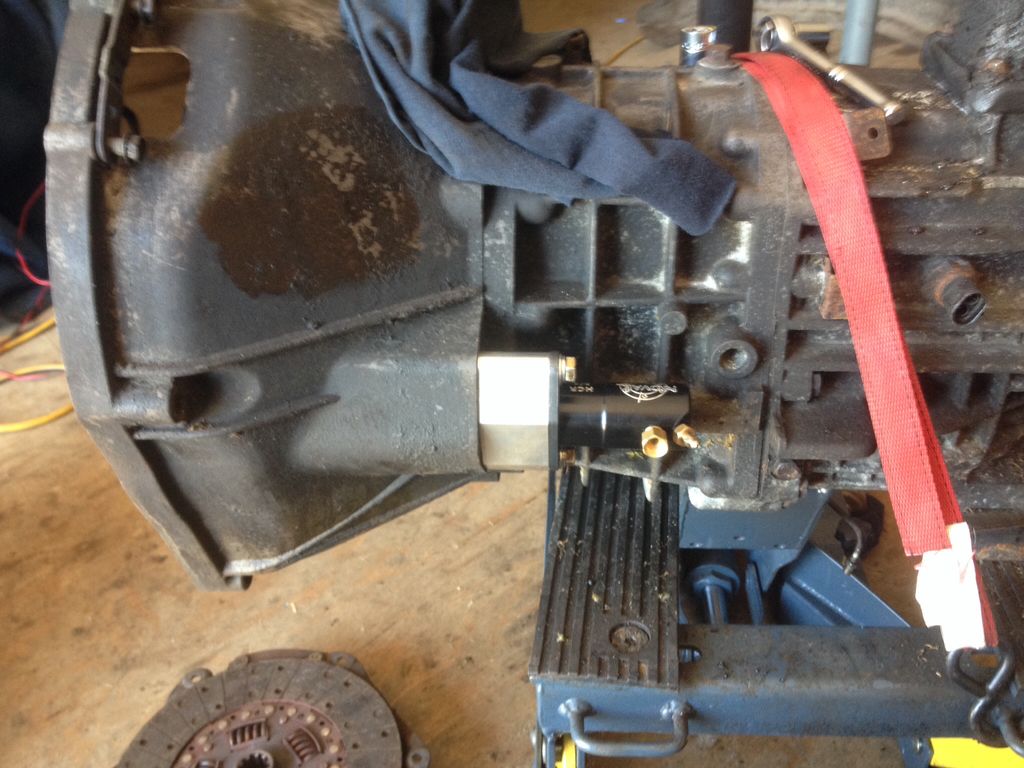
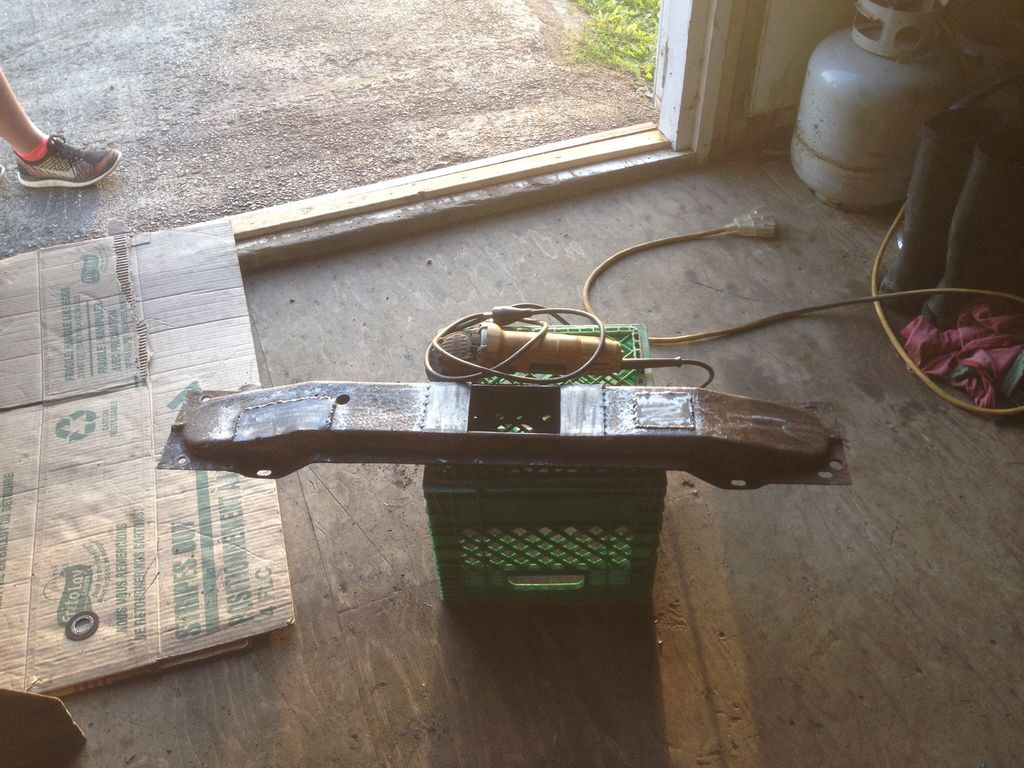
Got the TJ transmission and bell housing bolted to the engine, everything went fairly smooth there. Had to redrill the stock MJ crossmember for thr TJ trans mount but the crossmember is bolted to the original mounting holes on the frame.

3f9cf79fc9126b7b3b0eaf3bc04e27c5.jpg


With the trans/tcase in and held up with the crossmember, adjusted the slave cylinder, bled the clutch and fired up the jeep. It was the first time it was started in months, fired up fine. It's still sitting on jack stands cause it has no front axle still but I did shift through the the gears and everything sounded and felt good. It was time to get the front axle in and actually drive it to get a better feel for the new swap, the transmission was told to have less than 100,000km on it but it wasn't from a jeep I knew.


1b29ed848430bf682168b4430911ed56.jpg


3c5e74046e4dd4b3500578443b6f063b.jpg


8ddf2a10189f52ffc80315b93ea3ece5.jpg


Nice to be putting new things back on the jeep.
 

tuckertj

Observer
With the front lifted and the rear stock, it had a big rake and the rear tires rubbed just sitting on flat ground. A lift in the rear was needed and I was planning it anyway of course. I had the perches and U bolts ordered in anticipation.

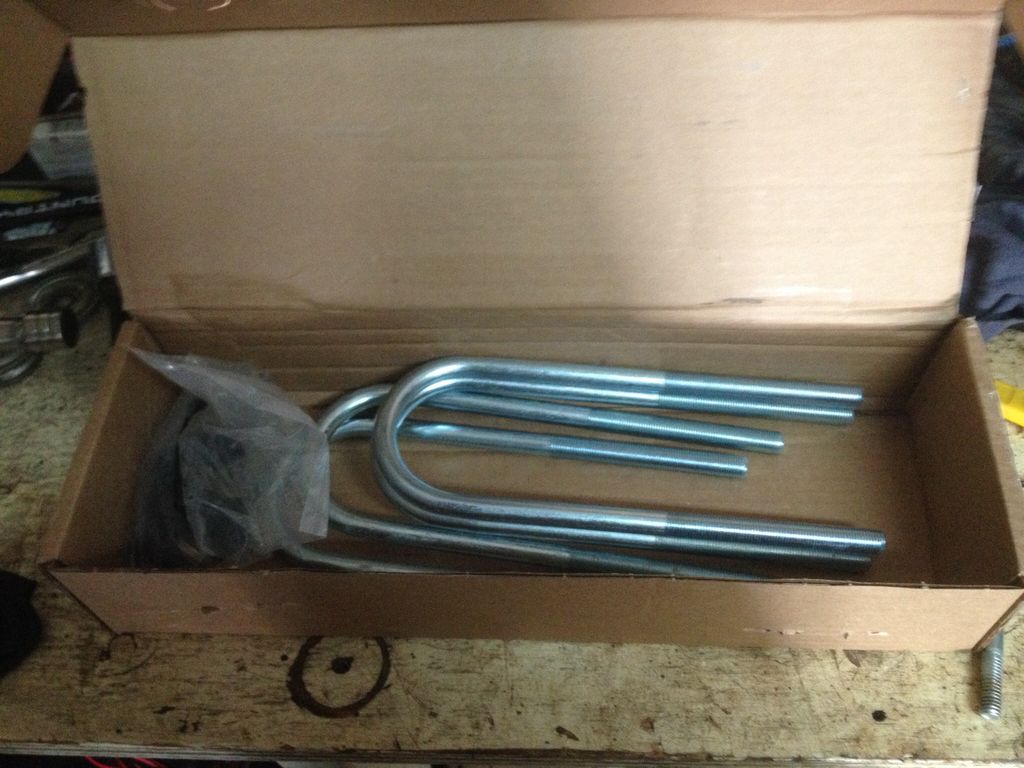
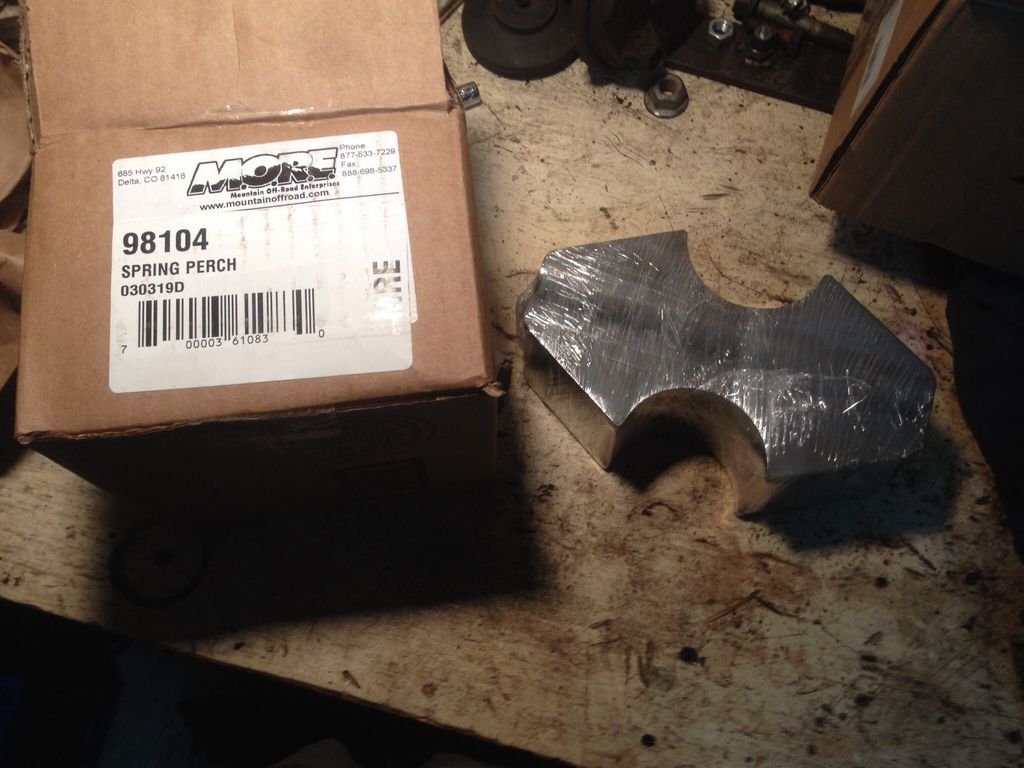
Rubicon Express ubolts and MORE spring perches from 4wheel parts. For the TJ Dana 35. Was hoping to go with something other than a 35 in the rear but the TJ F/R axles , transmission/tcase deal was good and easily accessible, it'll do for now.

2cdcc164c2e146ce657c51525b5e0623.jpg

779cb44bf14454725c1b0778282d1f83.jpg


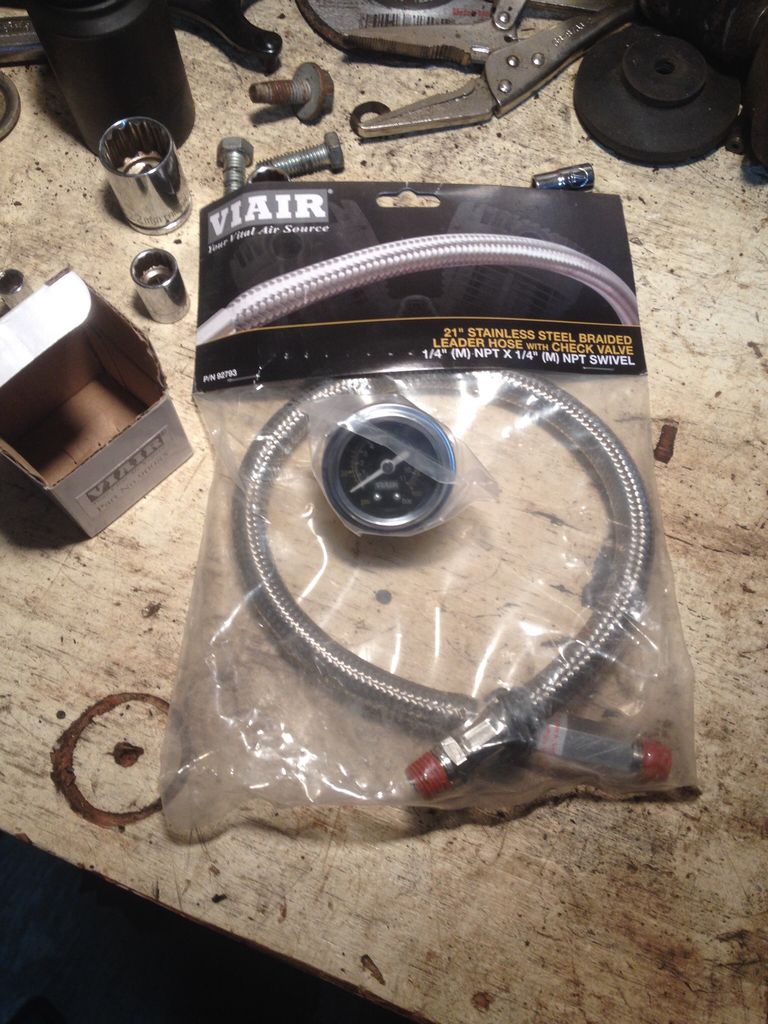
Also ordered a air gauge and check valve for my Viair compressor for future on board air.
c9e63013dcc140b33703720aea7c7950.jpg


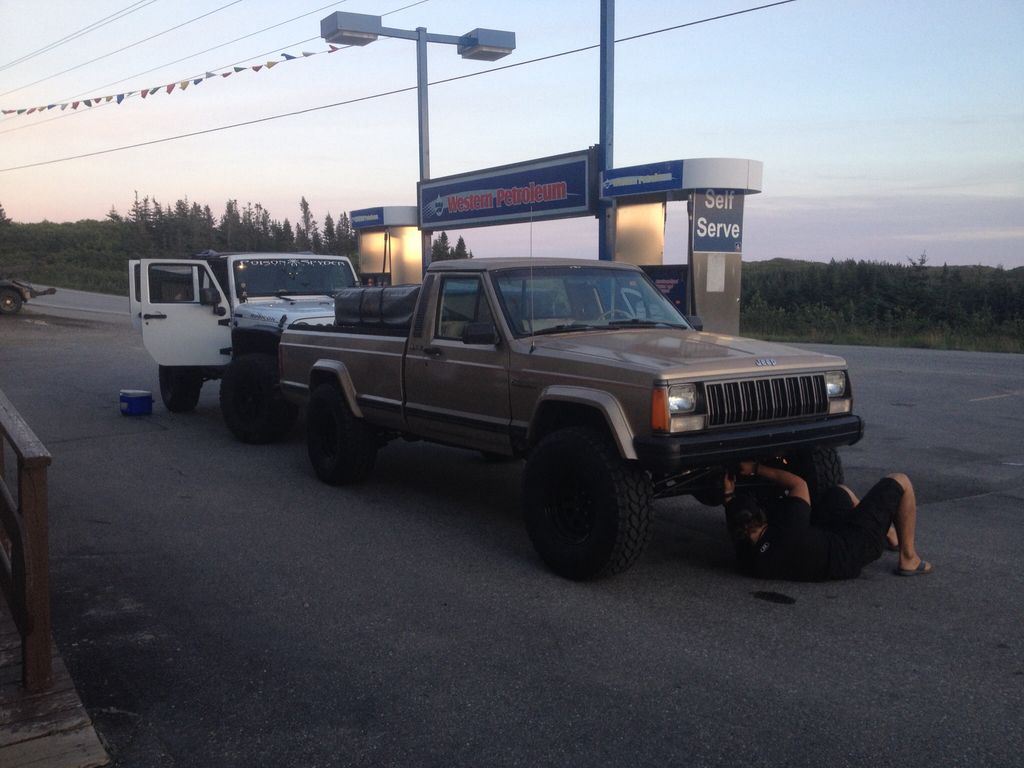
Had a trip "planned" and didn't think I had time to do the axle swap and spring over so I decided to make a spacer for the shackle mount and new shackle.

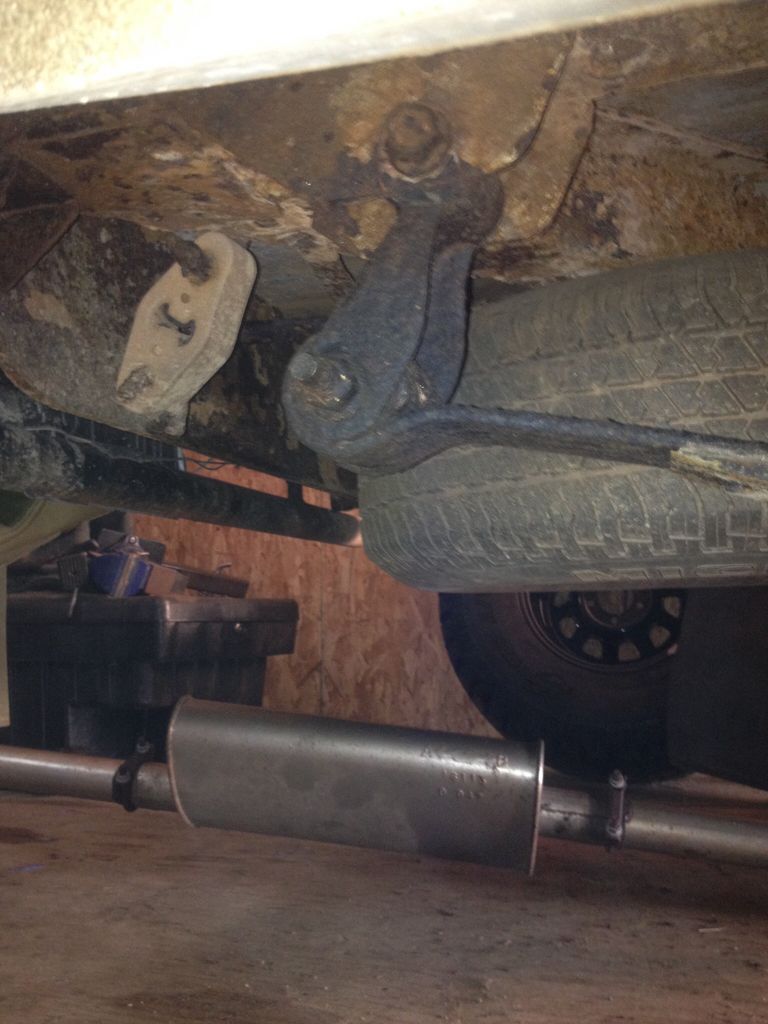
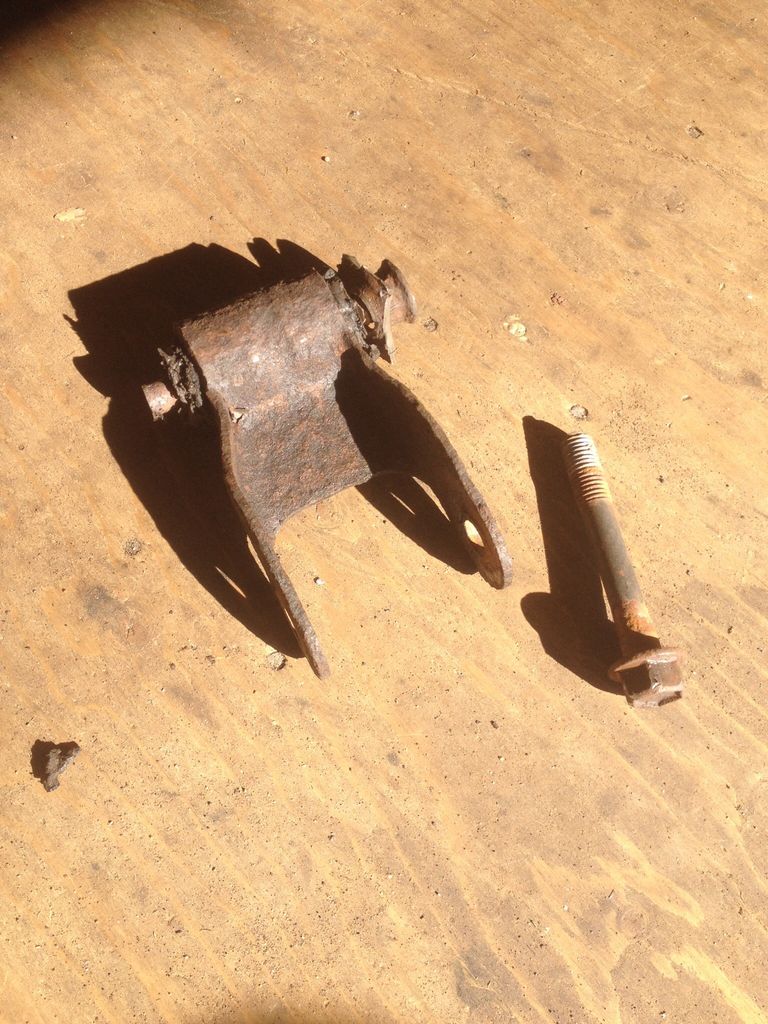
Stock shackle removed, bolt was seized in the bushing. Grinder with cut off wheel was a very common tool on this thing so far.
81173621ef9dc758340c0ebc18450b85.jpg

5be908580e6d5bd8ef3eceeb95ede97c.jpg


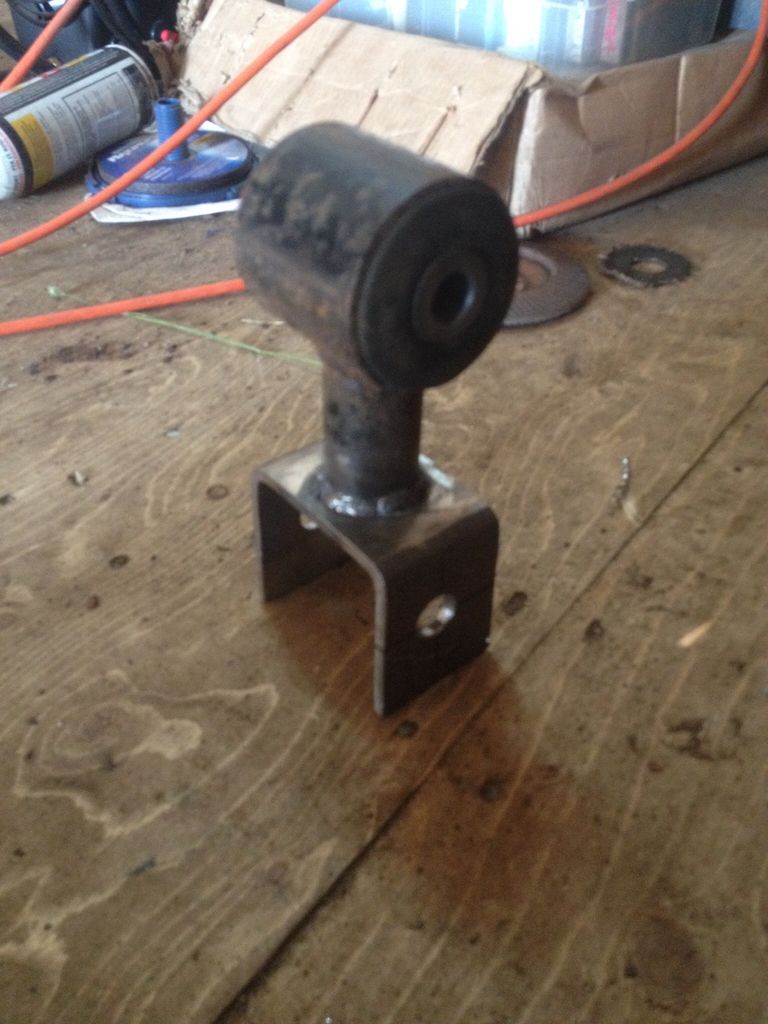
Made a new shackle from a stock JK control arm and some square tubing
1bf1f05dcc7bbb282848639d94eccb45.jpg


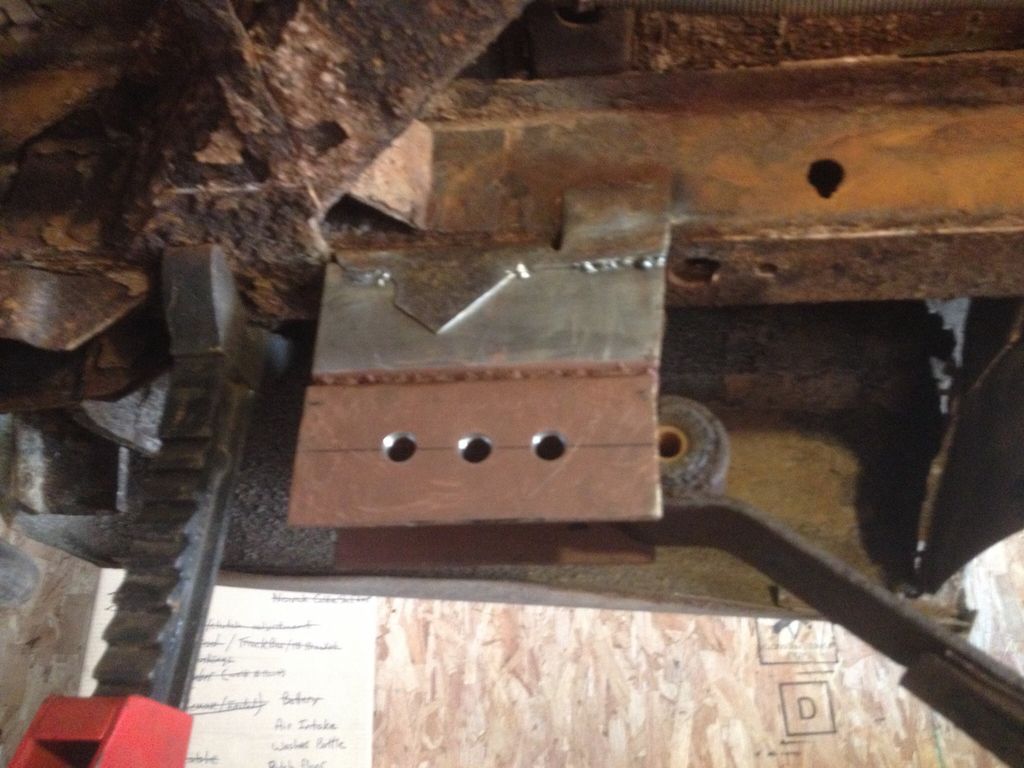
New shackle mount made and tacked in. Not overly happy with this but it'll get the tires clear of the fenders for the up coming trip.
69bcee751f934058e58a24df4ca6873b.jpg


After a long time sitting on jack stands in the garage... It rolled out, under its own power, still sitting lower in the rear, no sway bar installed and holes in the floor, but it was still a good day after nearly 9 months to be able to drive it again.

4c87c6dcc46543d3a5184349dff47e21.jpg


Loaded up for an over night camping trip.
aabf3bc45698b62ee4dc6c1ebb6ffce8.jpg


Being the first time I ever dealt with leaf springs, I think I made the shackle holes to far towards the rear and in a sense "stretched" the springs when mounted. Stock with the same weight aboard the rear didn't settle much, if at all. Now with weight in the box it settles down a fair bit. Will be doing the spring over soon.

5575706589a9767533f944f781ee8c8f.jpg


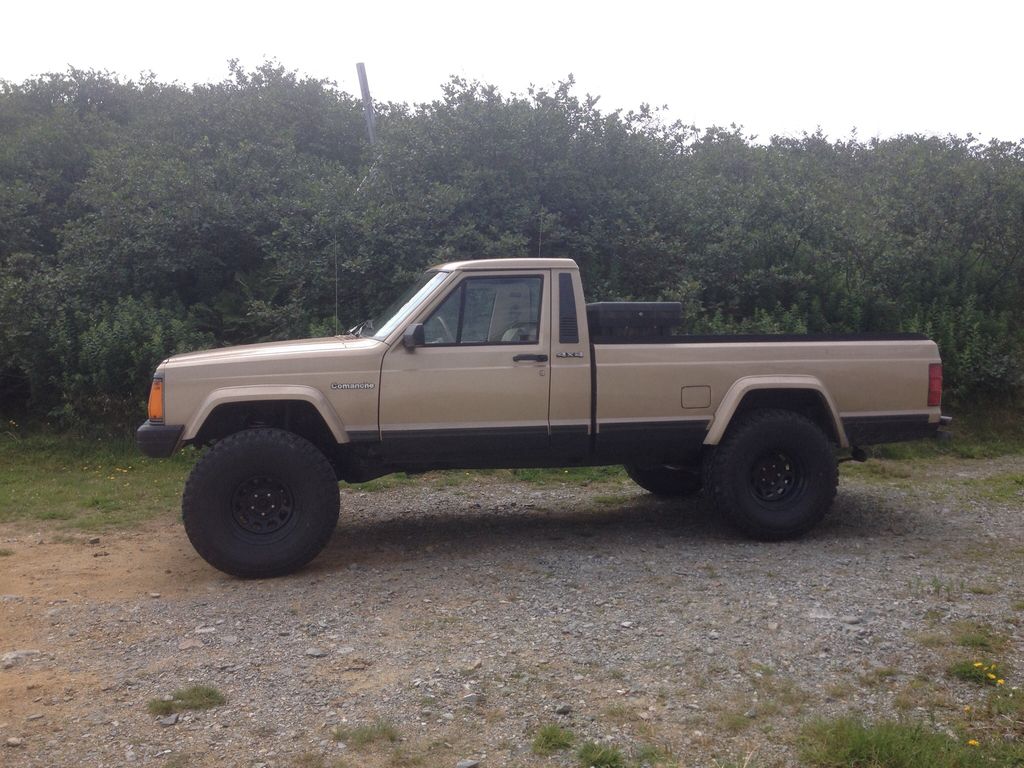
But it did make it out for its first trip, some rubbing in the front and a lot in the rear, taking my time and trimming a bit more of the fenders.

Few pics from the trip...

Tightening the drag link
a13f1f77b81cd7646efc8f15d93f7b9b.jpg


430586504fc97b80d112e43ee5abdcf1.jpg


b509e35dc244cda1757f56d573b023aa.jpg


95233b10f9df18065a260ac05ec5f852.jpg


Other than the rubbing of the tires and swaying due to lack of sway bar, it made it there and back, about 120km of pavement and 12km of dirt trail. Only thing that fell off was the windshield mounted rear view mirror, which is useless with my tent mounted. Overall it was a successful trip. Spring over and axle swap next.
 

tuckertj

Observer
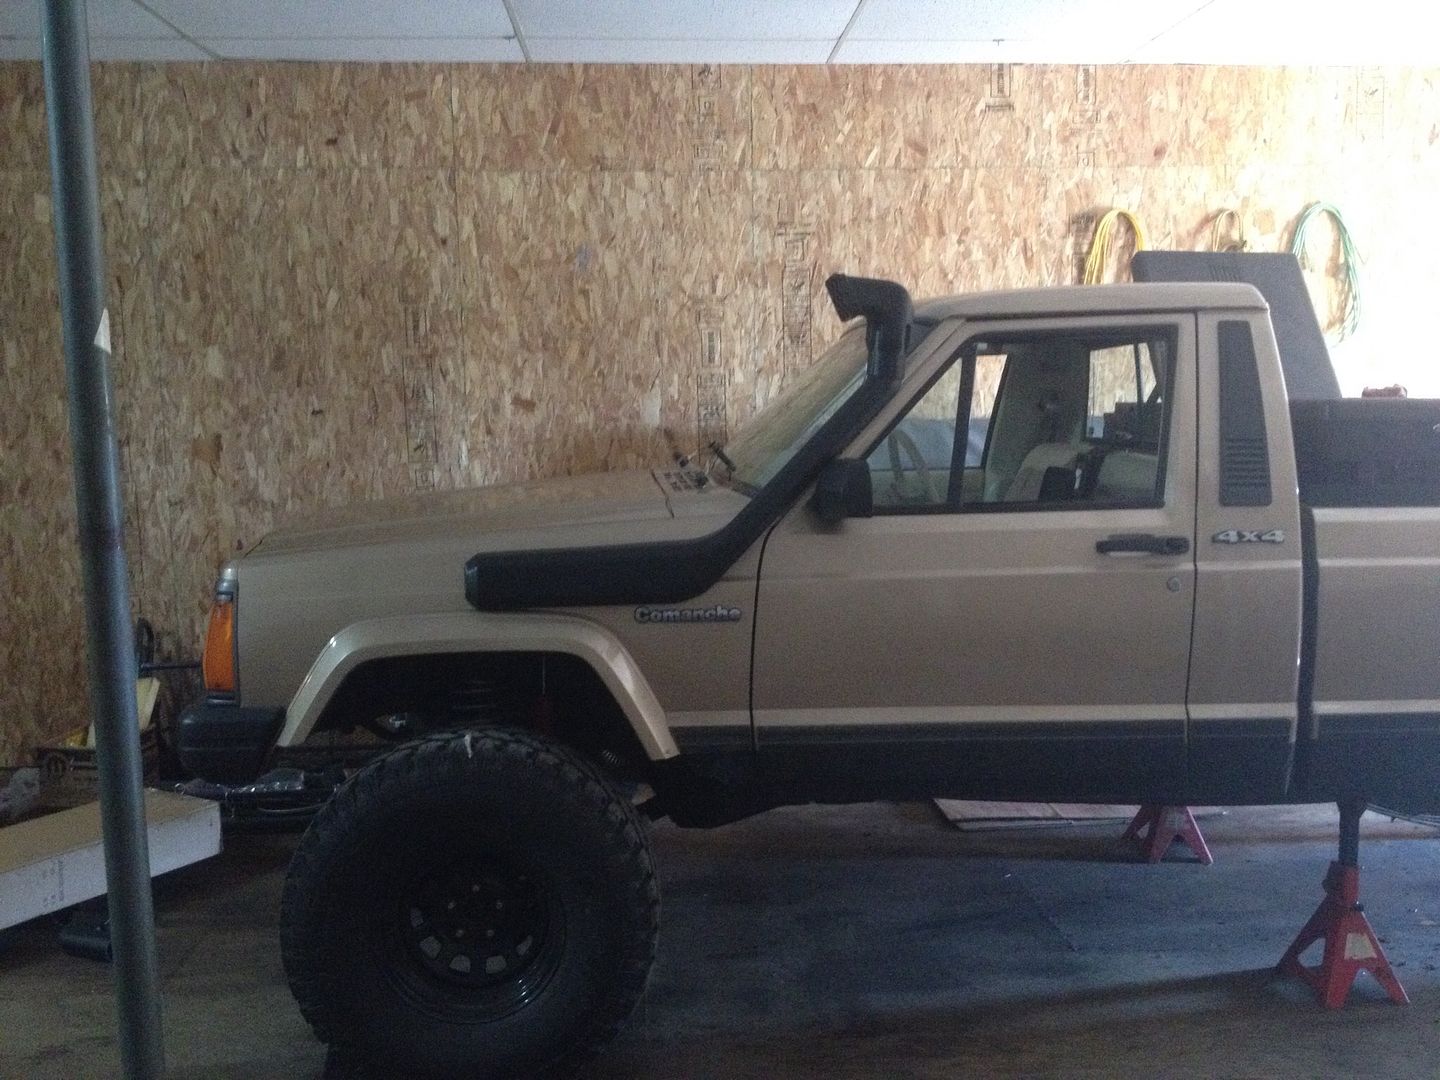
After the first trip, I painted the bottom of the Jeep to kind of hide the cut flares and front fender. I kinda like it too. Added a tool box in the bed. The box is rose up off the bed rail about 4" to clear the 15 gallon water tank that will sit underneath.

eff4ae5d12824e675a81667bc7bb170e.jpg


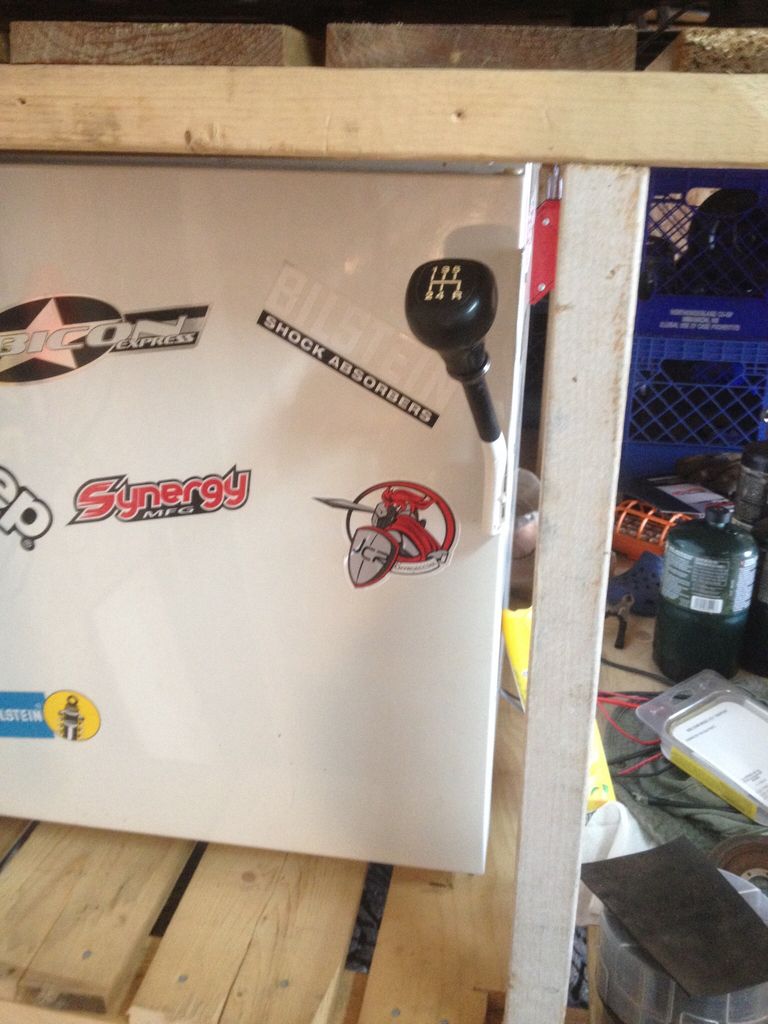
Since the stock shifter knob would slip off the shifter and I had the TJ transmission in, I used the stock MJ shifter for the garage fridge handle, small tribute .

5d0332504d4cc24ba0d4698f5333ebf5.jpg


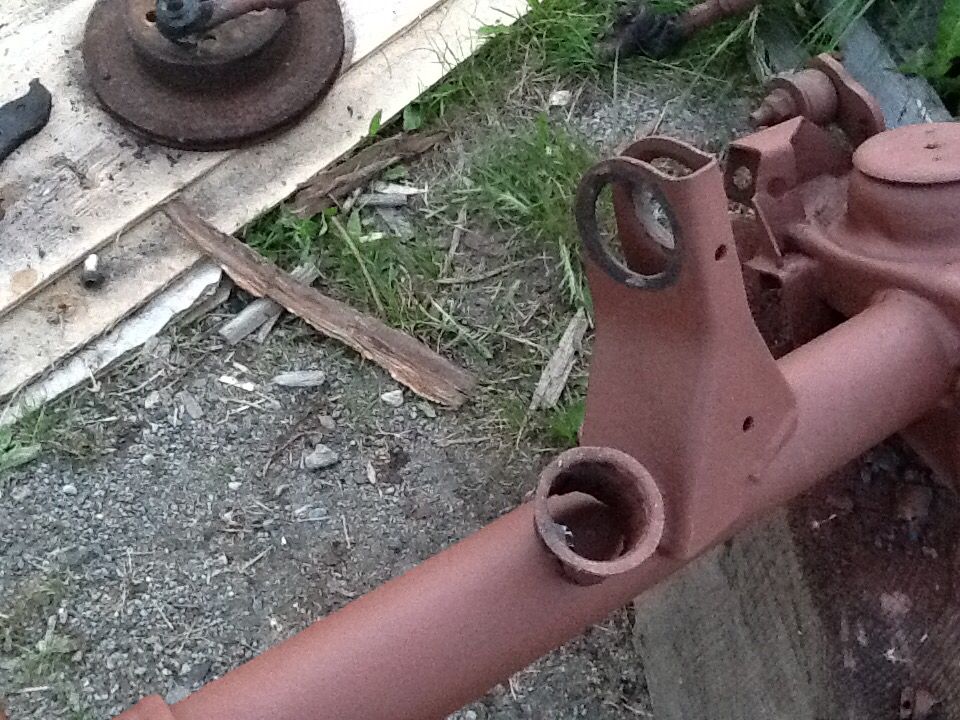
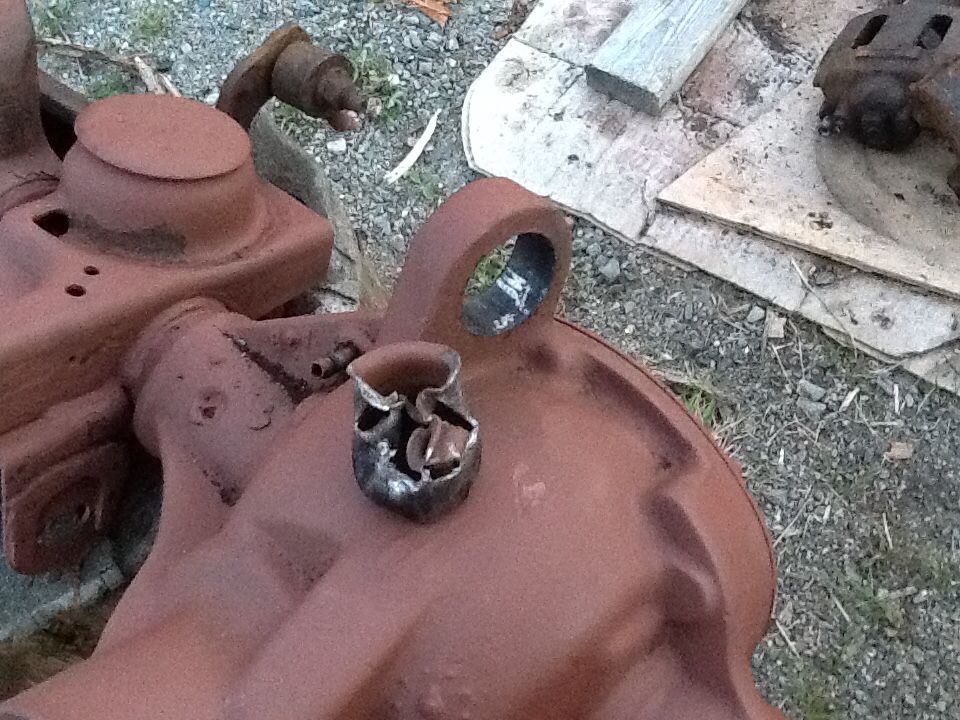
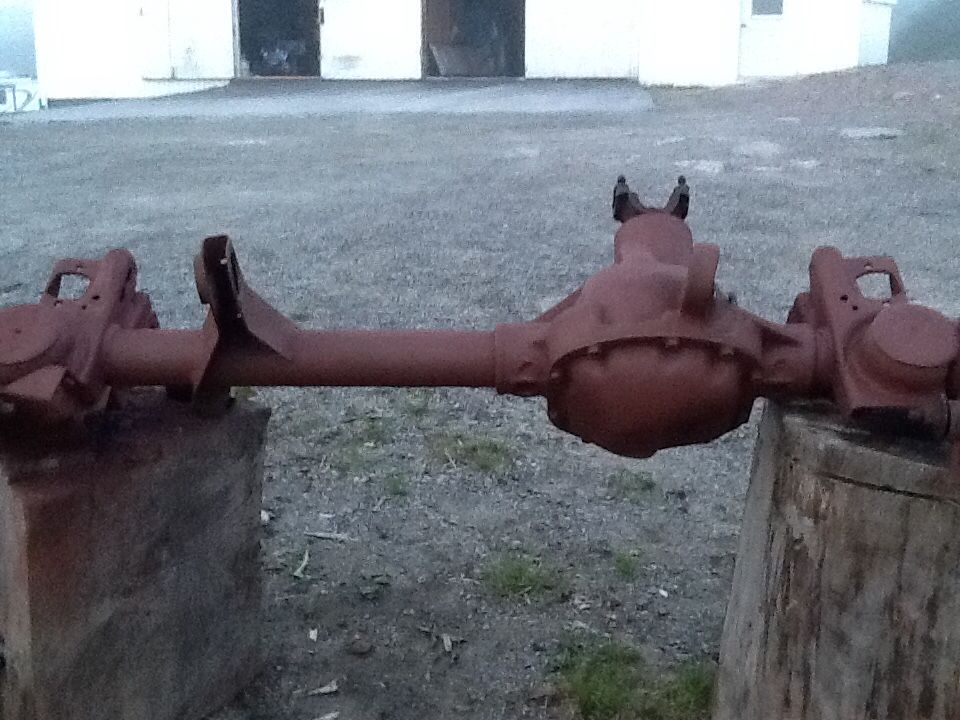
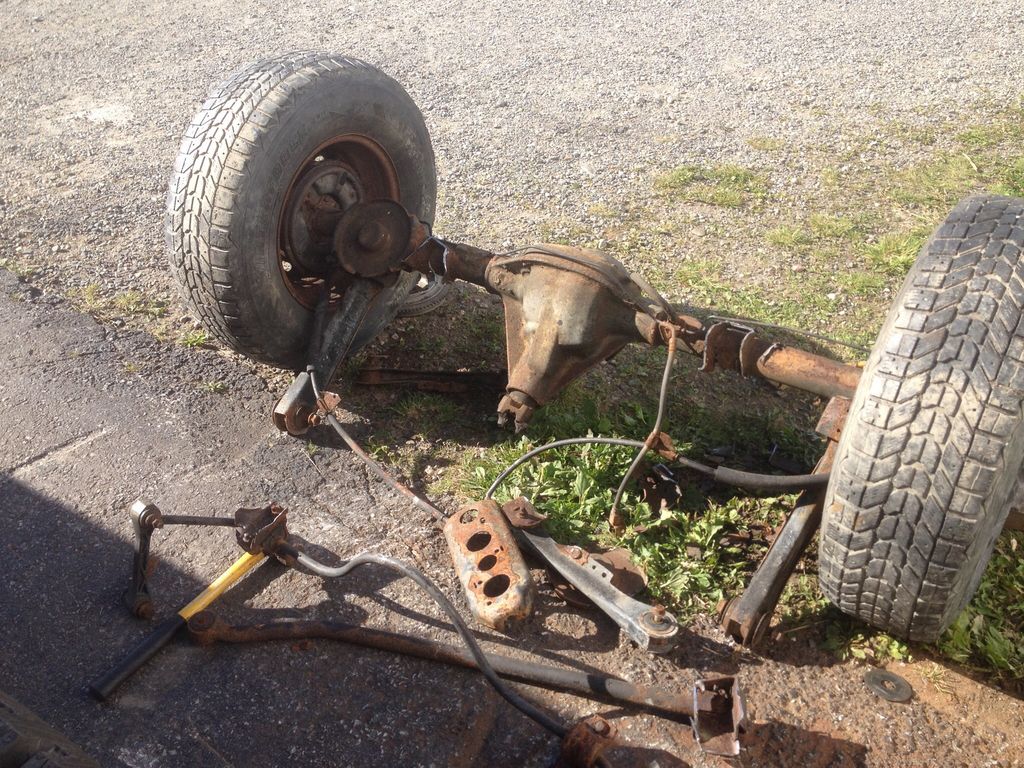
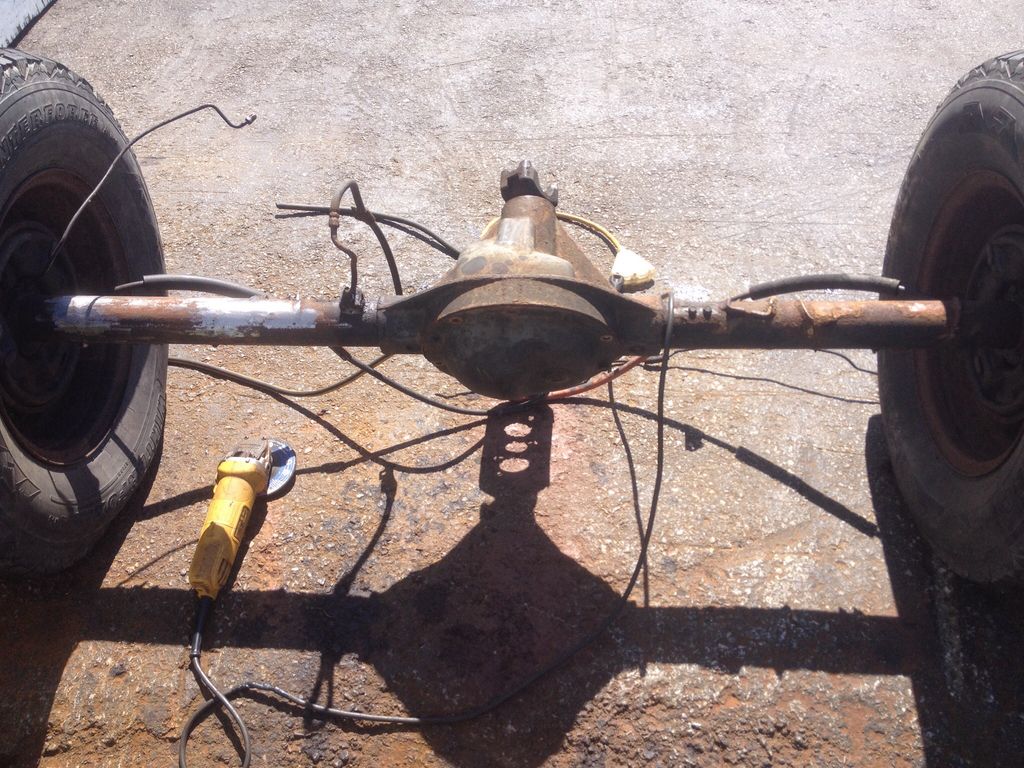
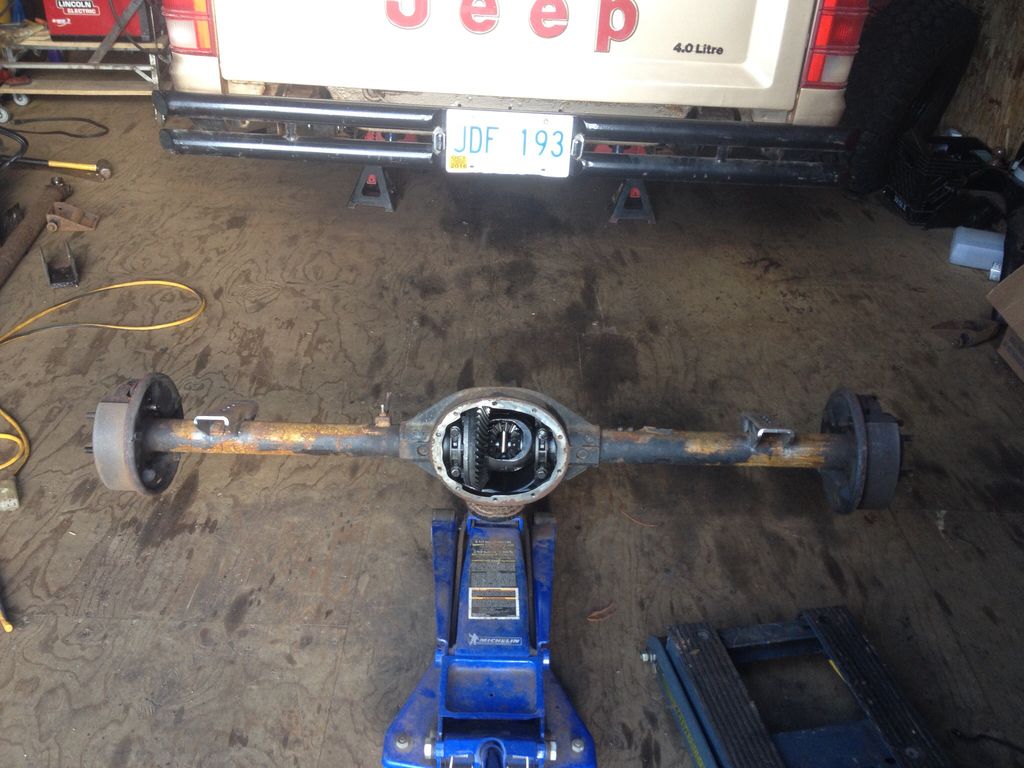
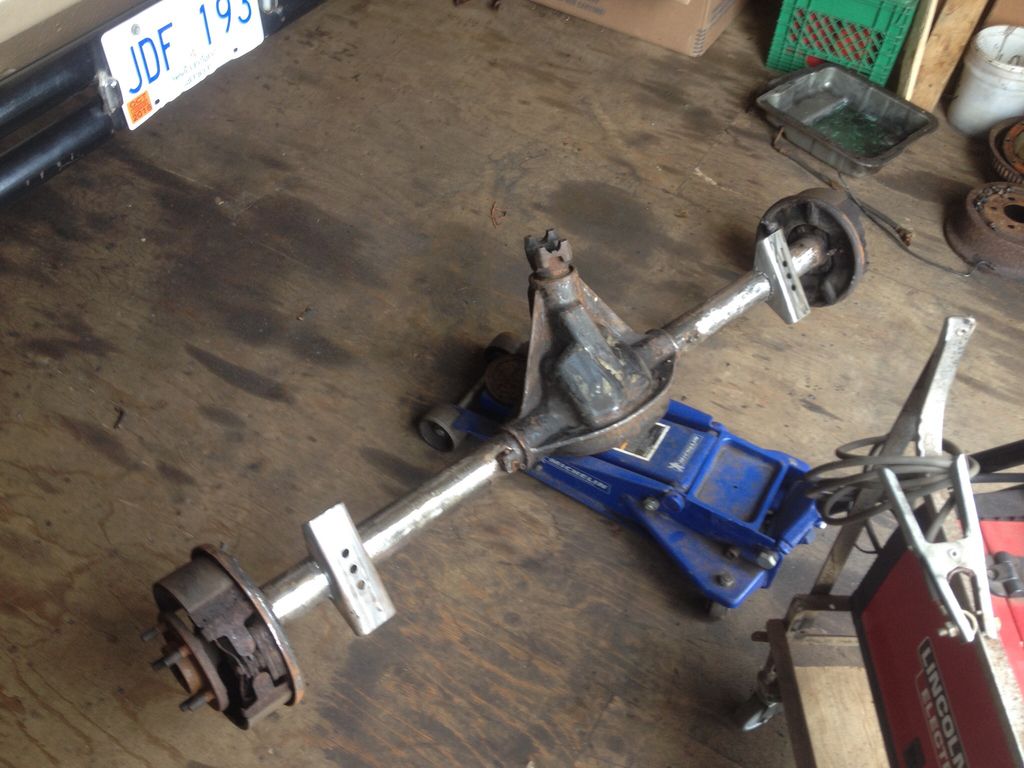
After some side tracking I got at the TJ rear axle , a lot of cutting was coming up. A lot of work for zero upgrade other than its 15 years newer, but i was doing the SOA and I could work on this axle and still drive the jeep.

ec6663ee4d72e97a2b3871933003f7d4.jpg


Got side tracked/ took a break from cutting and grinding and went camping for the night.

f405928f9356525c6c874a348fcf3bd9.jpg


More grinding

ccdb6bb907c15b35fe27d56d78612a01.jpg


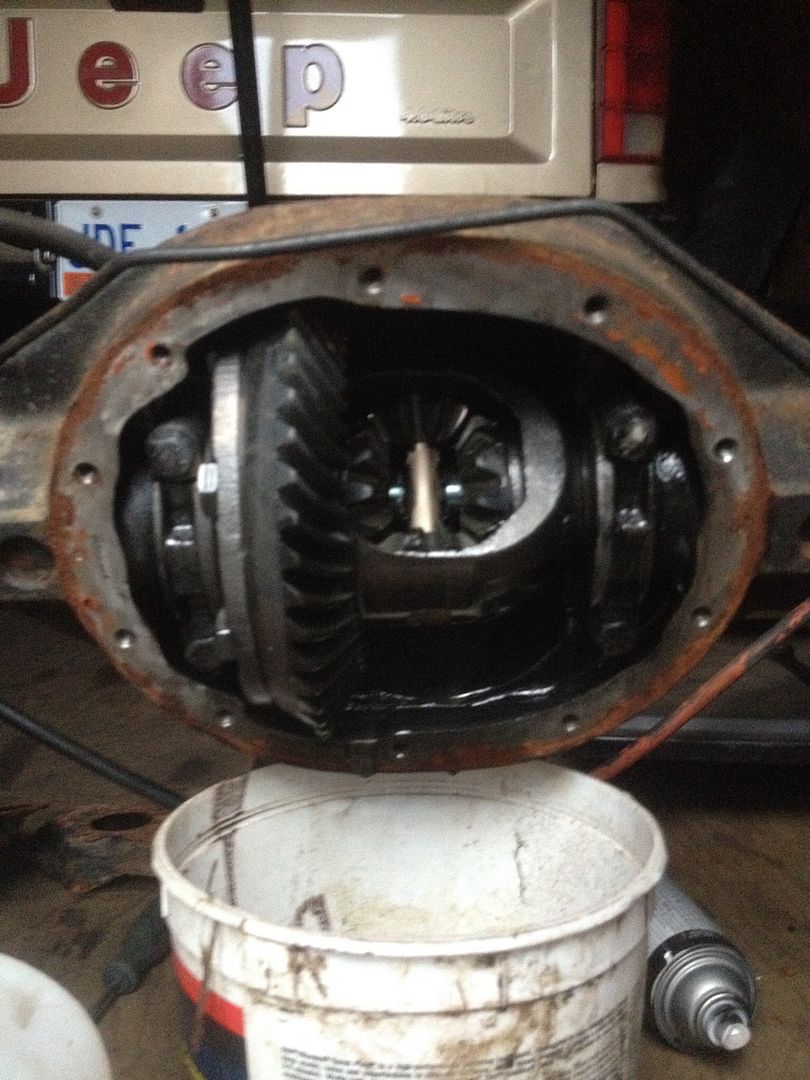
Maybe I should have opened this up before I started cleaning up the axle, luckily everything looks fine inside.

5d9a0f432cda7e369ae6242239f61472.jpg


One thing I hadn't read about spring overs , I'm sure the information is there and me being a complete newbie when it comes to leaf springs, I'm sure I missed it but centering pins. Other than the normal issue of the spring perch having to line up in them I didn't even think they had to be inverted to actually work, duh. So I had to hunt down some new ones, which turned out to be an easier task than I thought, again, leaf spring newbie.

5f5b14ccf5370d6106e8e5544a4fabc0.jpg


Old brackets all ground off and new ones tacked back on

c6e07c82053add4c5ca997abd87038c8.jpg


6f0c3238c919339819e20ddbffc8d3a5.jpg
 

tuckertj

Observer
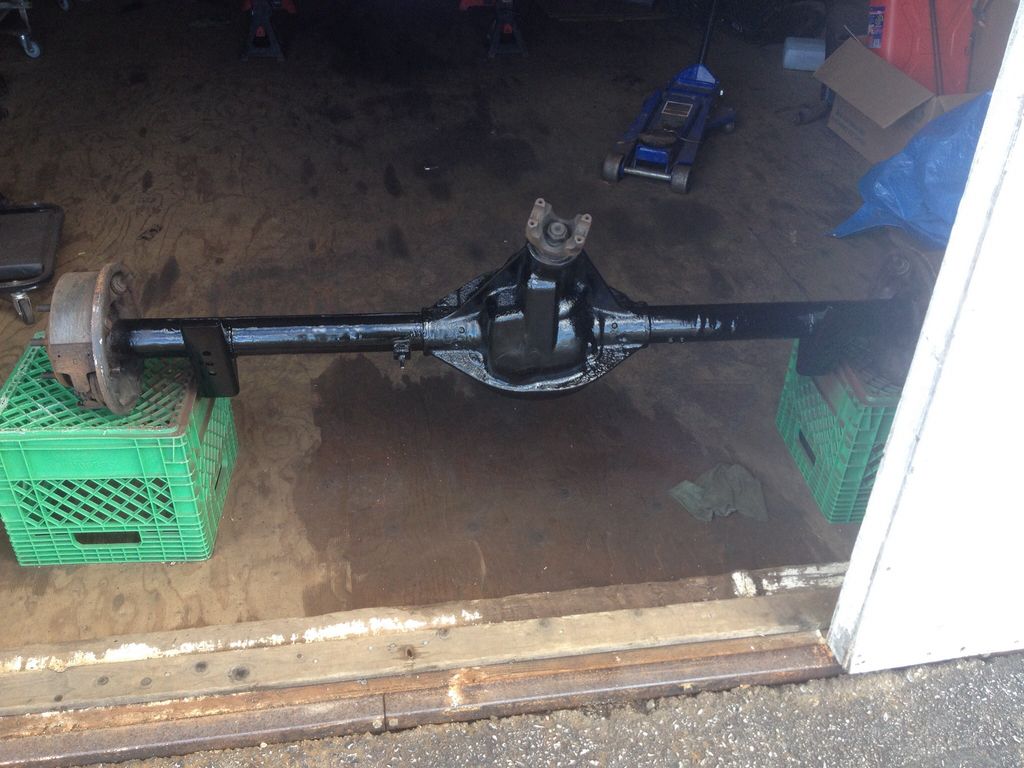
Brackets welded on and starting on the paint

63458c8ffcb488cdffe47c1dfa46ef34.jpg


Waiting on paint to dry... I get side tracked easily it seems

8b230f67c9d1e6f84ec22d1c2aa458fe.jpg


5a2d741d2e53952982c5a259a2041cd4.jpg


5dd321dab8094d1d01d13d0b55f73a43.jpg


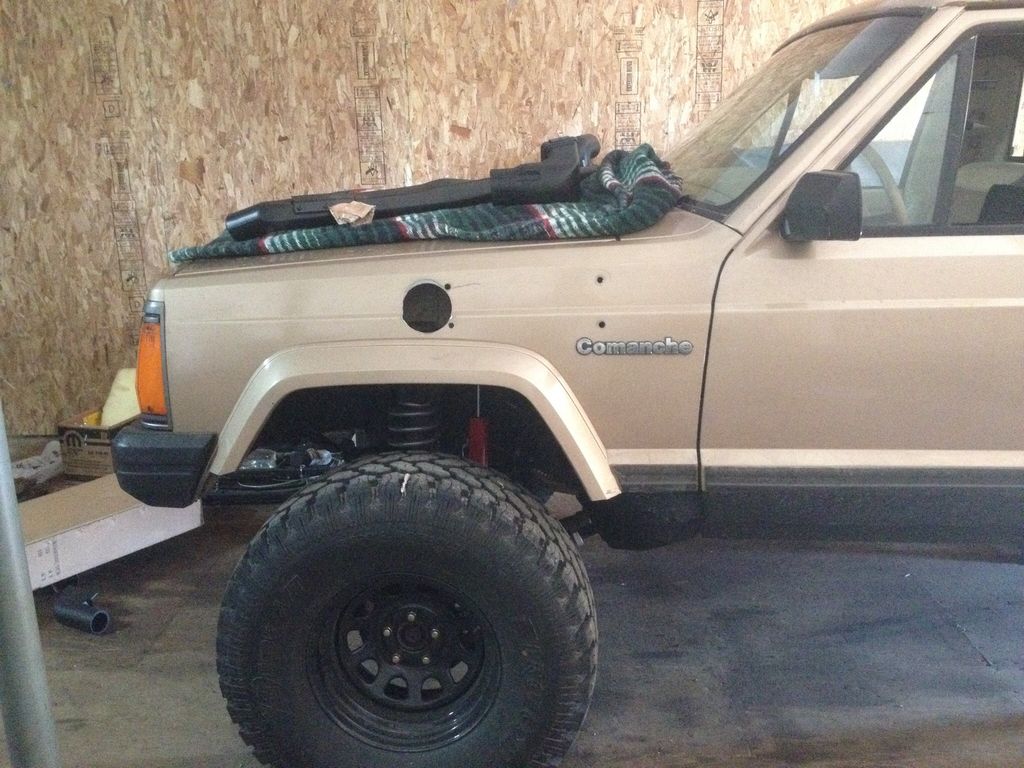
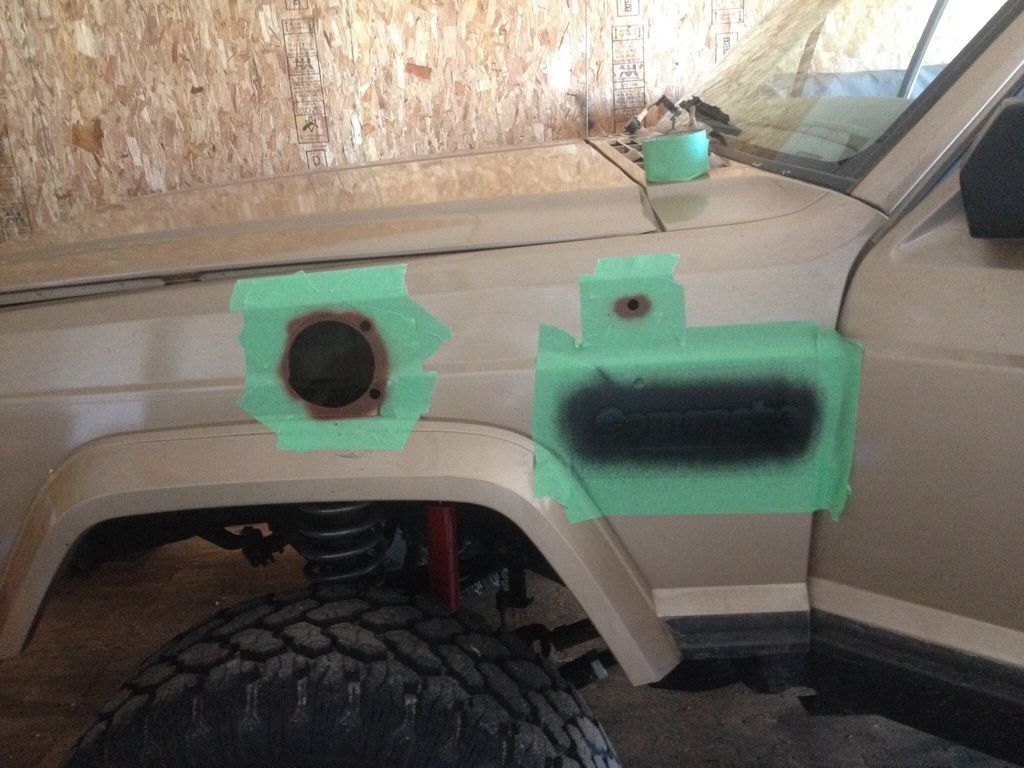
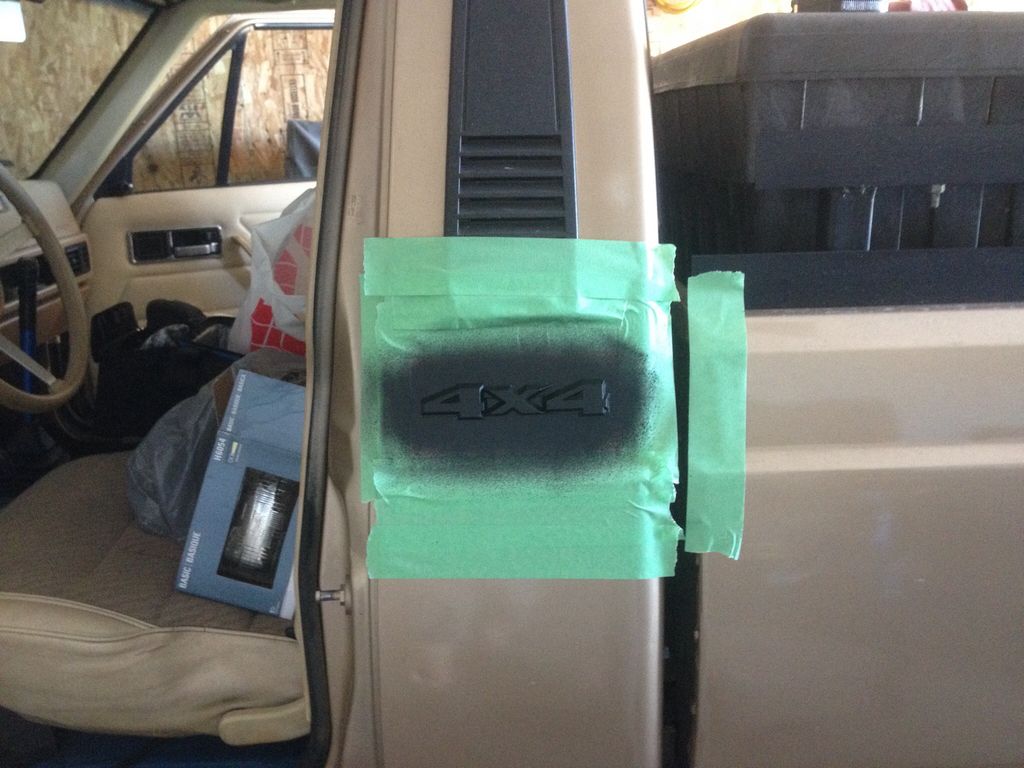
Painting up the bare metal and plasti dipping the emblems

b26c0a513c0884e8038b88f9893a8373.jpg


8c91859653d91b3f8c8777a22557b62f.jpg


Let's see if I can't finish what I stared ha

5e64adbab29ac5c333ef9796c7f6dc50.jpg


Tandem axle MJ ?

0ea8186d82797aa664f5efbd1e703084.jpg


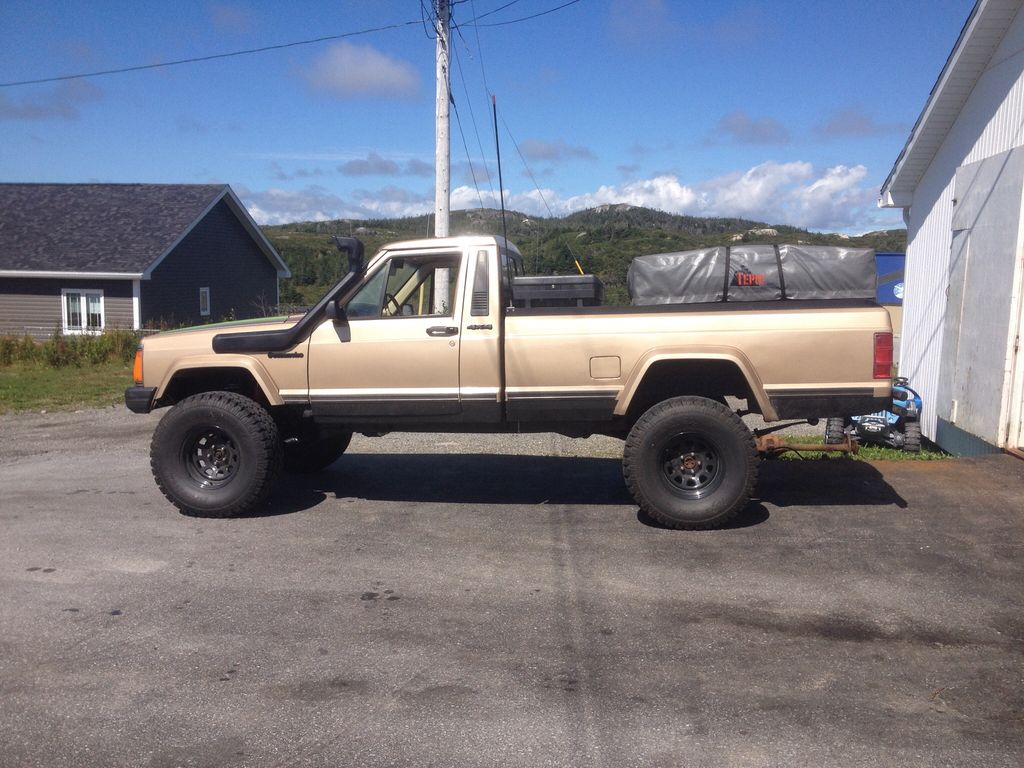
Guess I'll keep it simple and keep it in its original configuration ha. Axle bolted in and back on all fours again, it definitely came up some! Opposite rake from before

1e241d690406cbfea7ec26ba23da3661.jpg


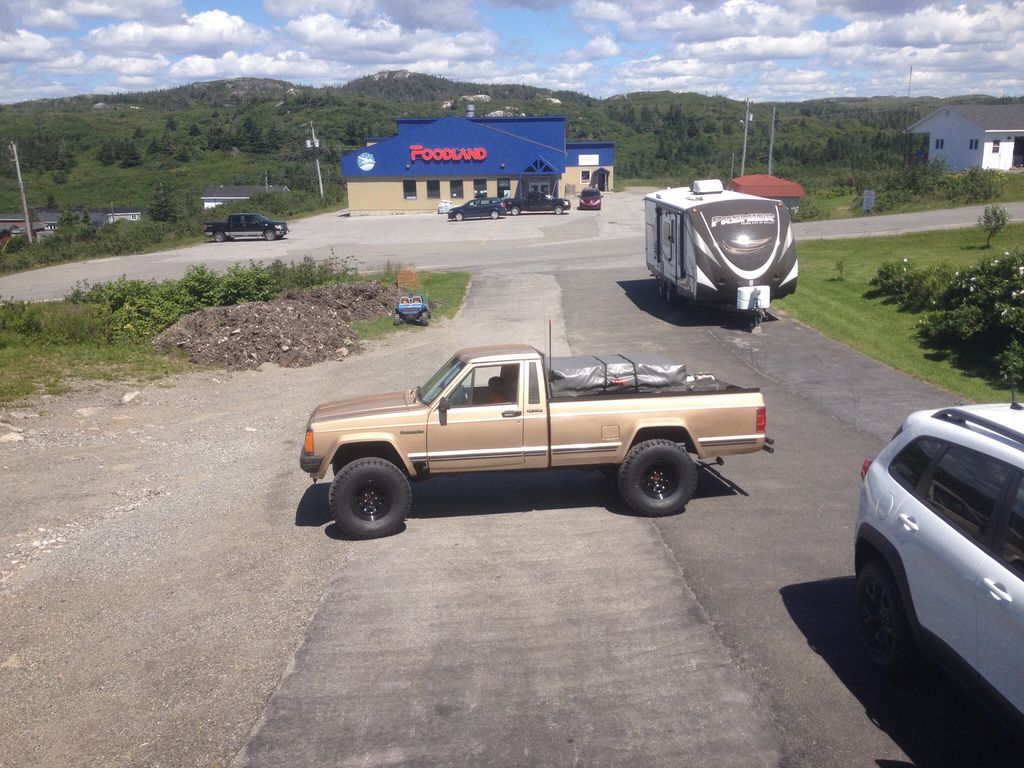
Even with the the RTT in the back it doesn't sag like it did with the the spring spacers that I made (which are now gone). It's sitting much better, IMO.

a086ddfd01f254e4b7d1319e6c7bd92c.jpg


My buddy Nolan was in town, so a test drive , visit, poser picture seemed like the logical thing to do

f71215624f9a8994183a381ad2071a9f.jpg
 

tuckertj

Observer
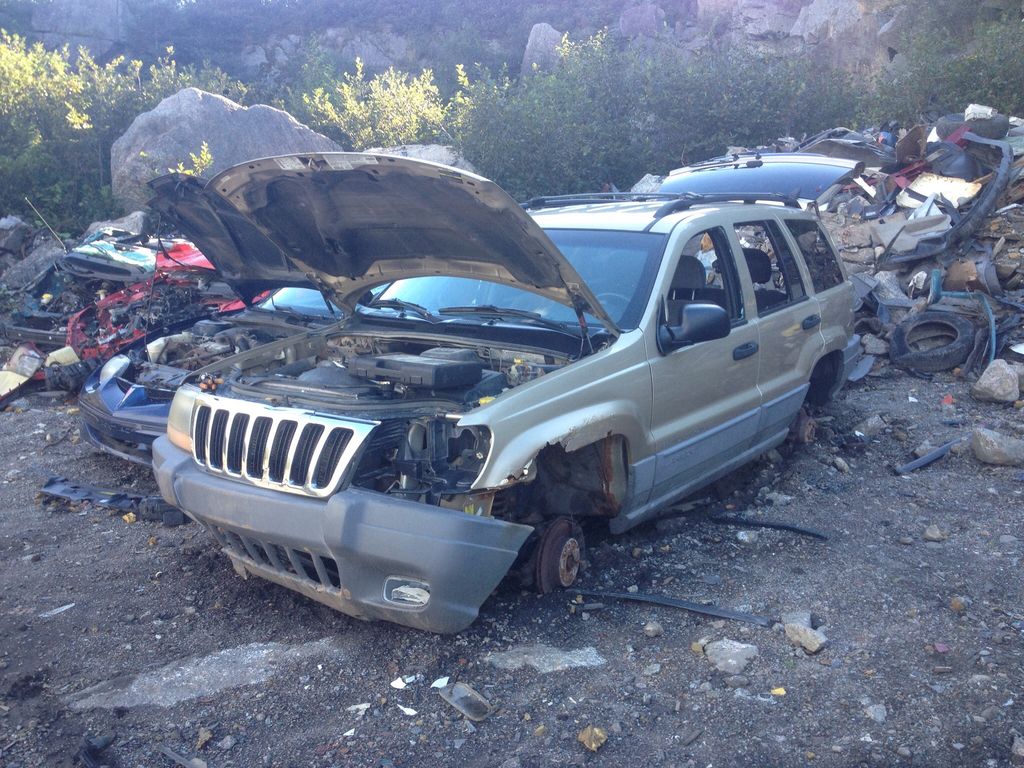
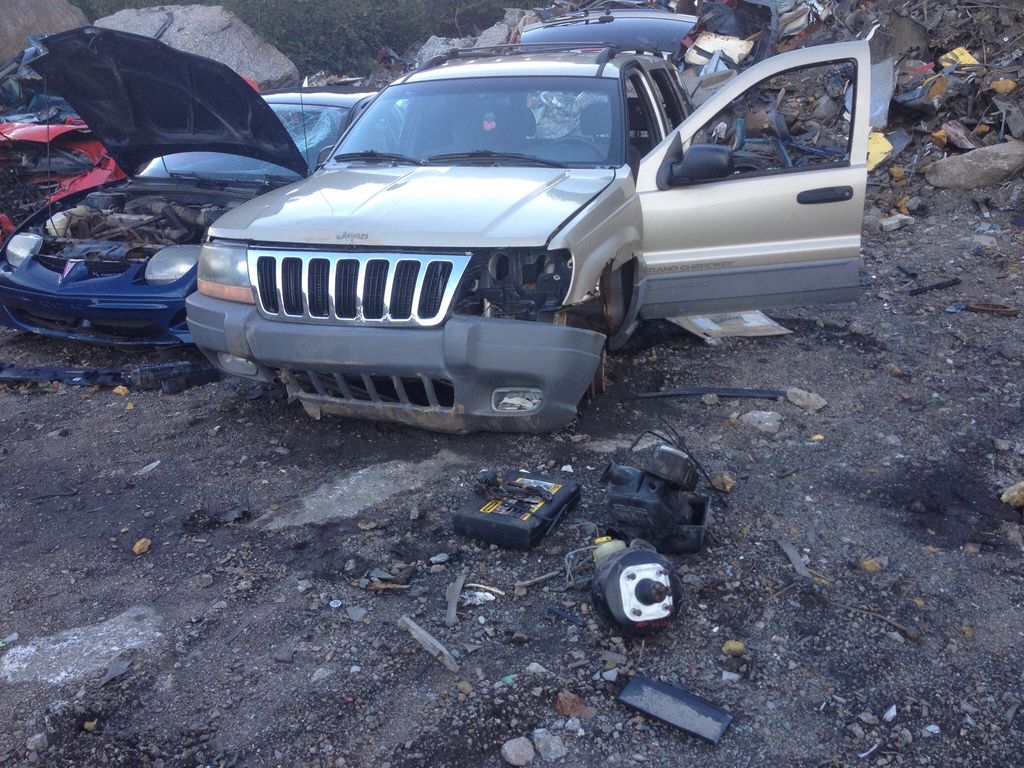
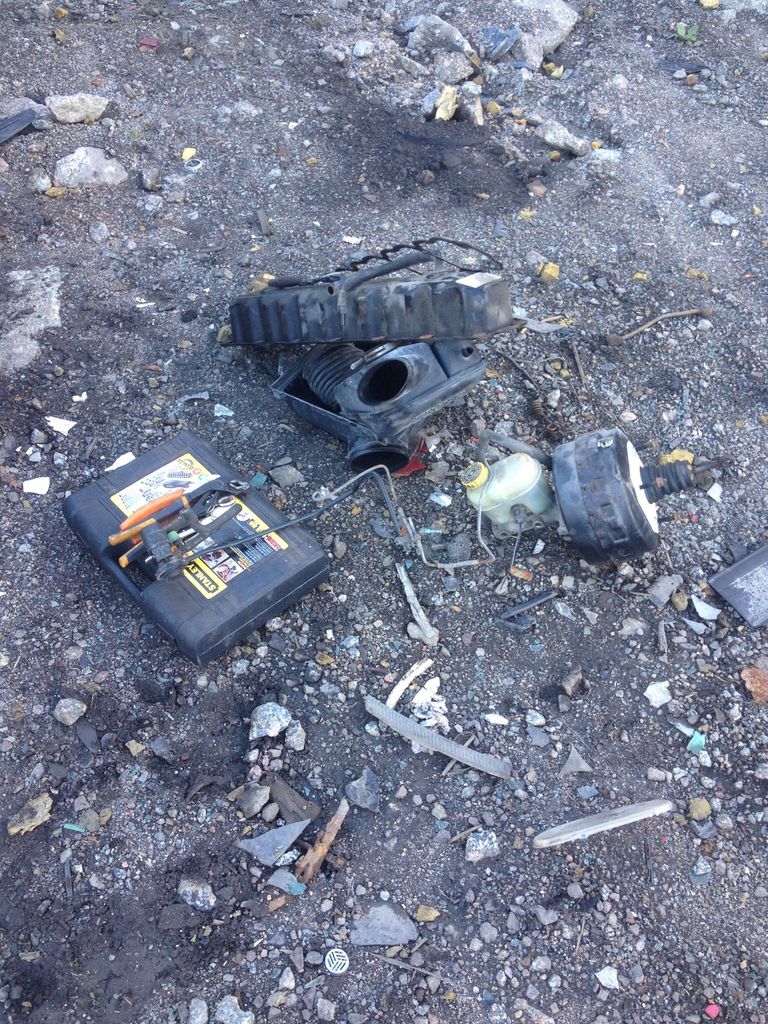
Went to the local "car dump" , kind of like a scrap yard but no one runs it, just an old pit where old cars are dumped/stored before they are shipped off to the crushers. You can go there and pick what you want , if there is anything there, usually not. I'm only in a town of 1200 people, next town being 200km away. But I did find a 2000 or 2002 Cherokee with the 4.0, I pulled the valve cover and brake setup. Is there anything else worth grabbing from this thing while it's still there?
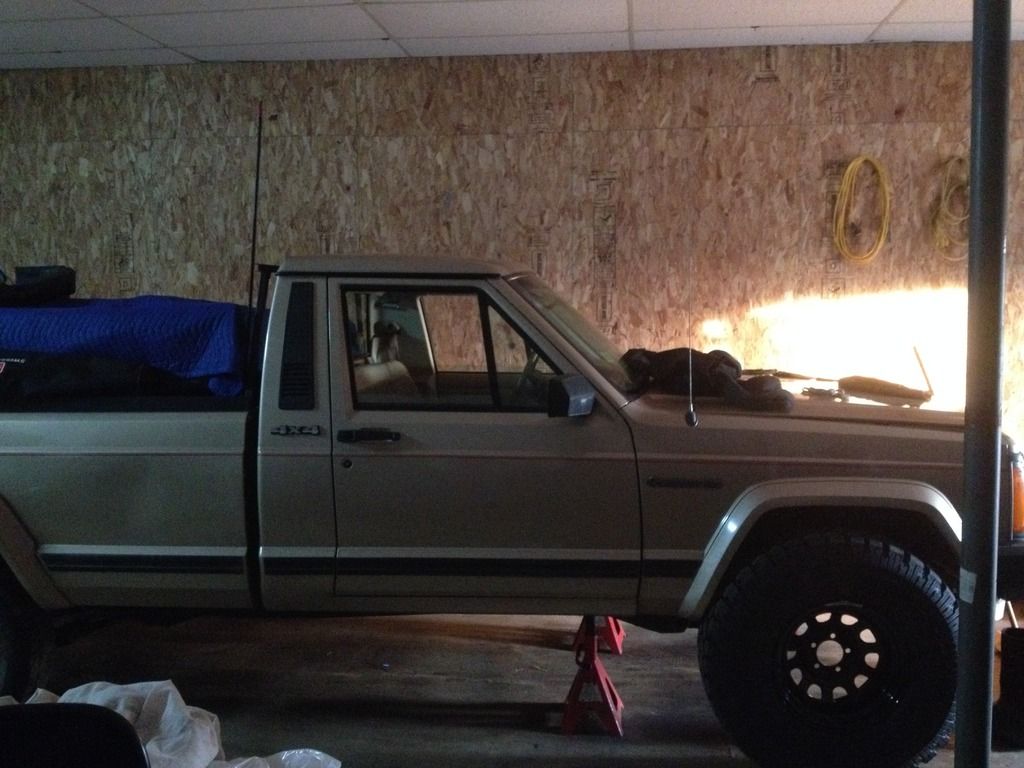
f41230f227baf71416897cef461a8d40.jpg


089942b1bdf32504a96b36a83168fc50.jpg


9478fabcc49c684b65559aad03a0a093.jpg


The valve cover was a simple swap, it took care of the broken elbow mainly, newer style cap and it gives the engine bay a little bit of an updated look. Apparently it helps with oil blow by too. I haven't noticed much oil in my new filter but the previous owners filter was really oily (and rat nesty).

Before:
19667EA4-7346-4B79-901B-EDBE54581C05.jpg


After: crappy pic
810f708d501ffad930c3cfcceb5fb6e9.jpg


Old oil filter:
2EDEE0A4-D9CF-4F96-91EC-EA46083A3E8C.jpg


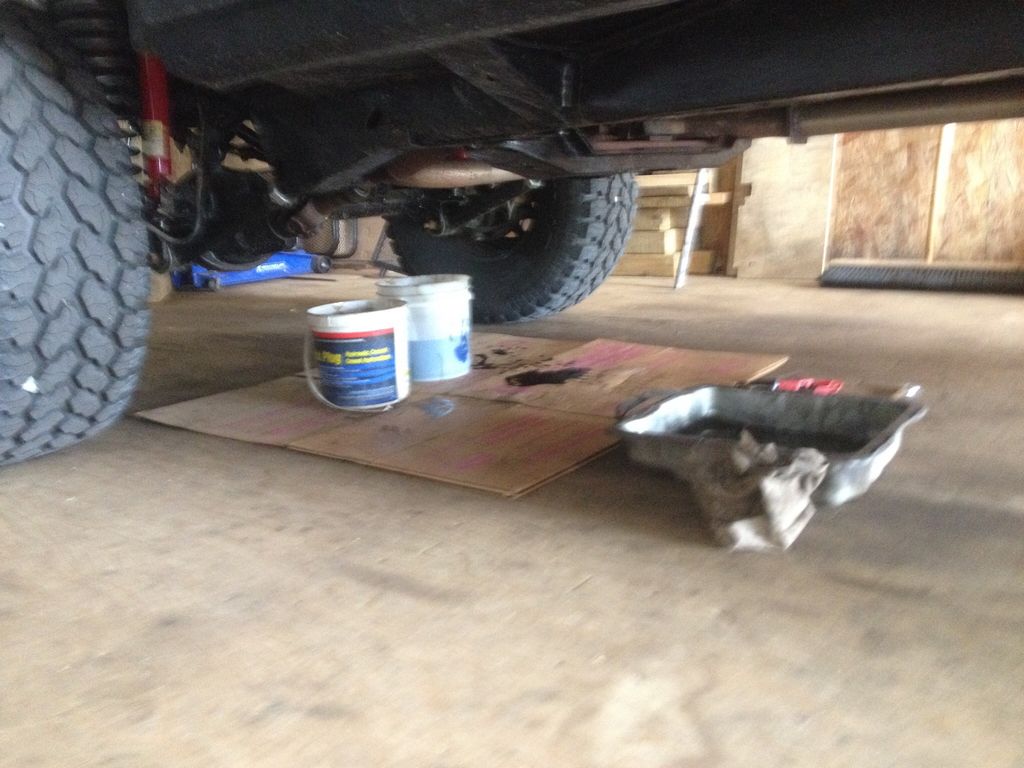
Changed the oil and Also changed the "new" transmission, fluid

82f4904dab7d7f12784ca586b0fb3a3f.jpg


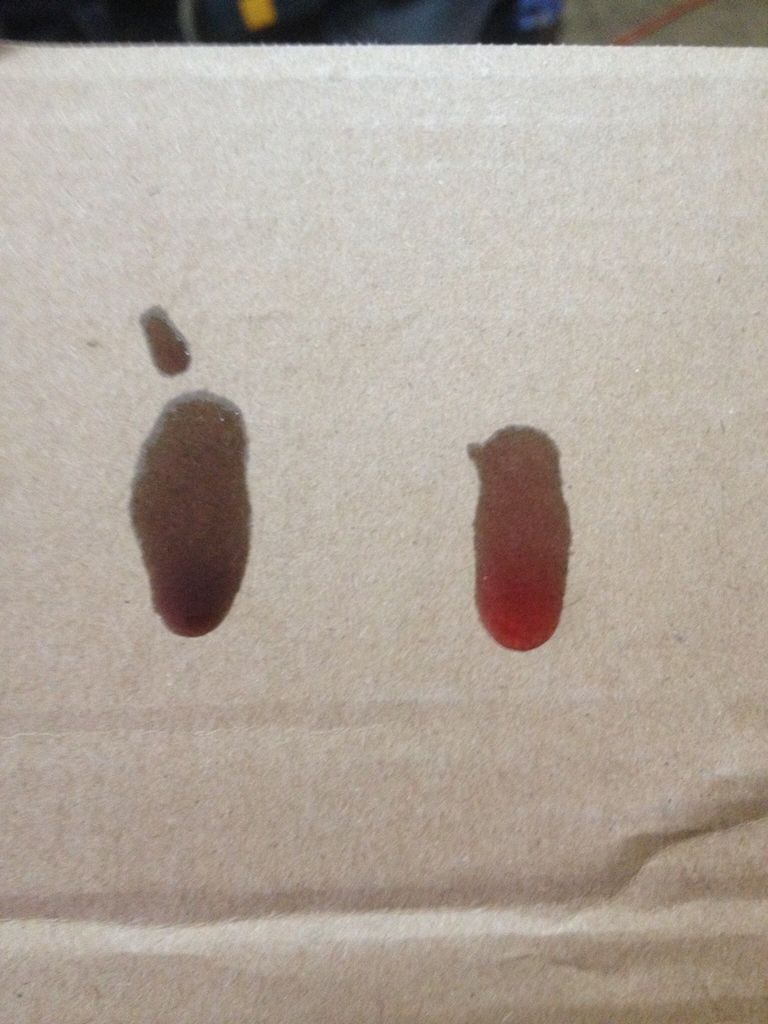
Old fluid vs New fluid , Transmision

eda24234b50536e3fd348d8aeb0b8979.jpg


Then it was time for another test run camping trip.
 

tuckertj

Observer
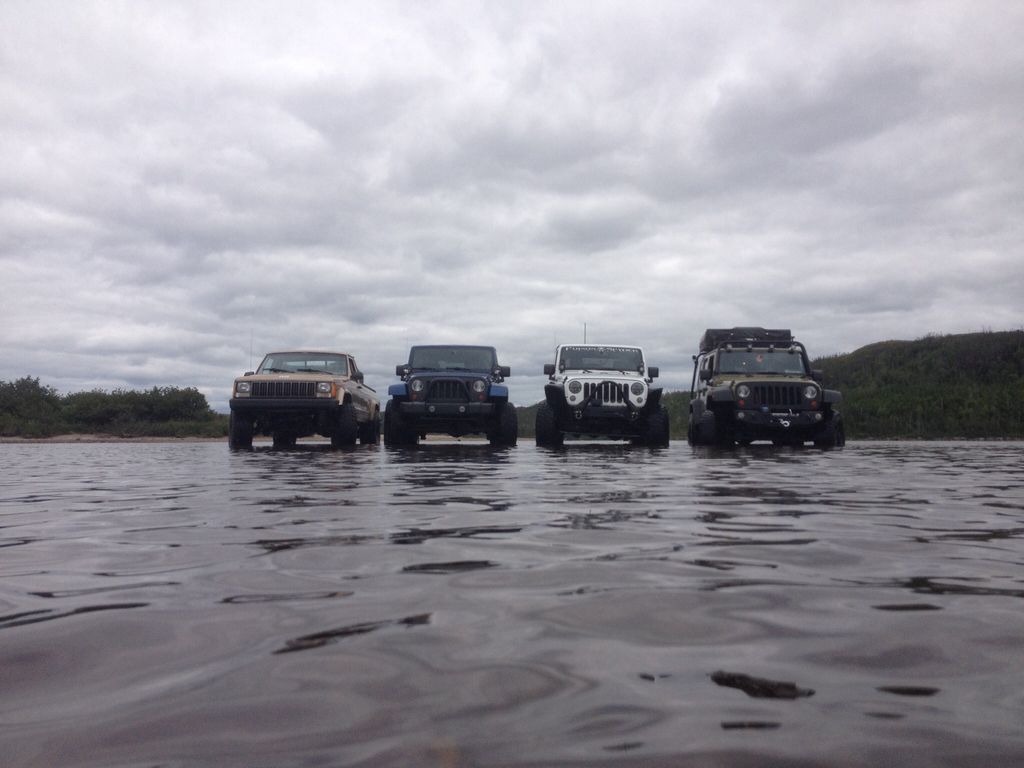
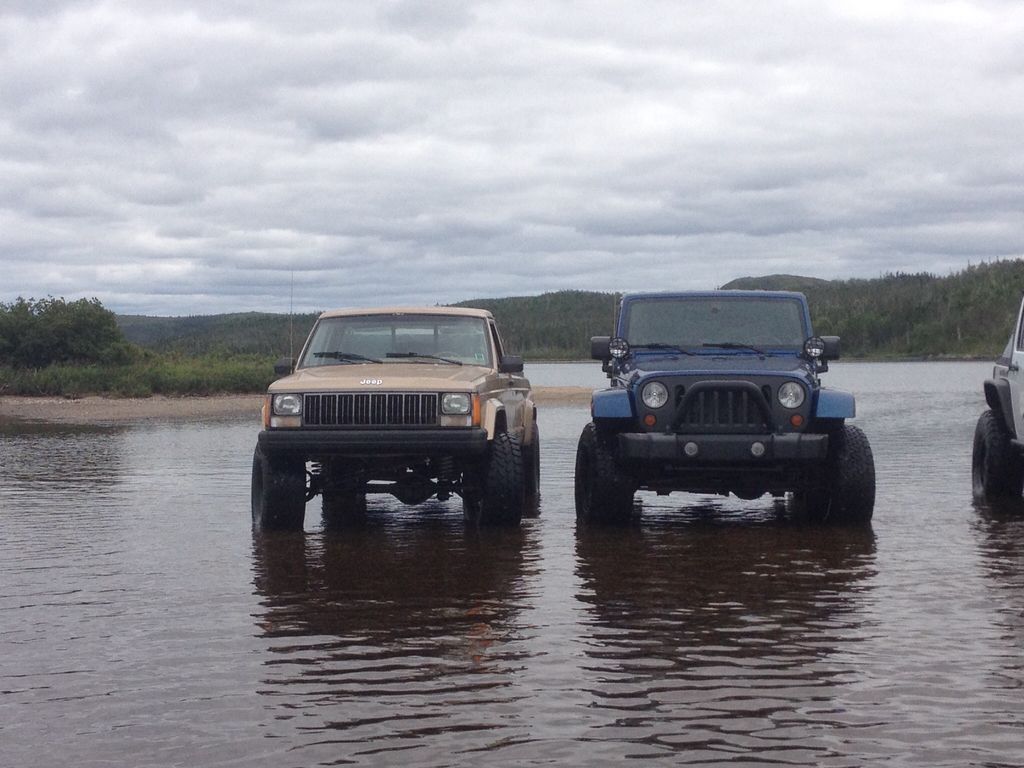
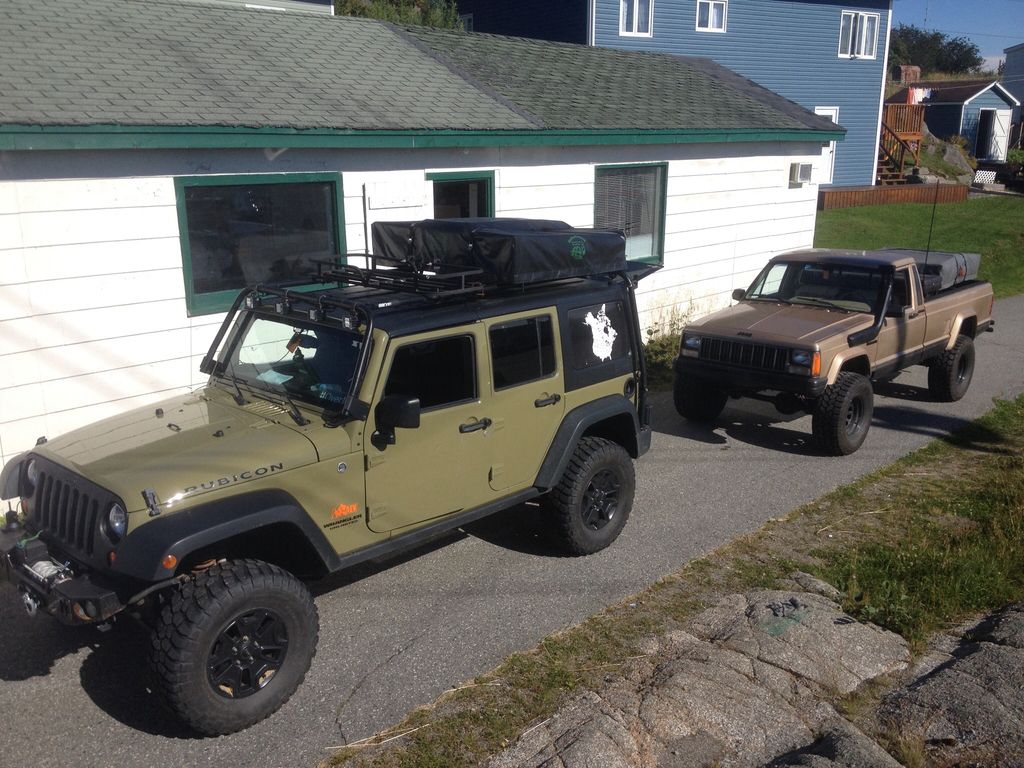
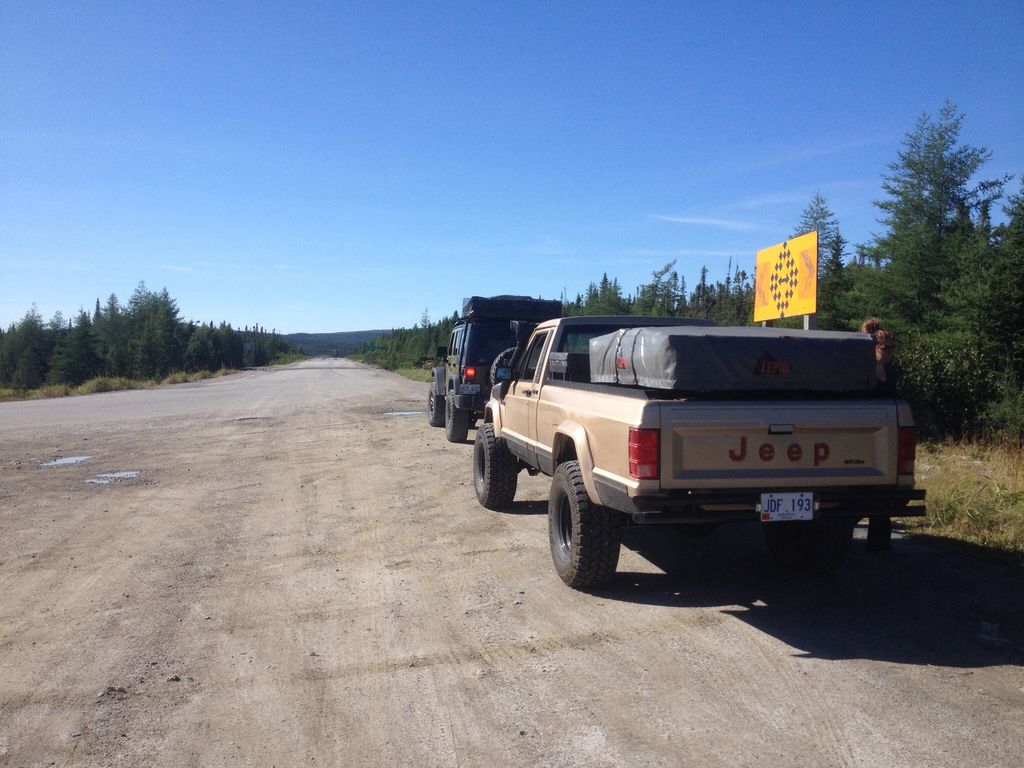
Went for a couple nights about an hour from my house. Met up with Nolan in his Rubi JKU, he lives about 200kms from me, so we decided on a place in the middle.

6eb8c4eceddd1e1eeb711d8bc86452bc.jpg


1a05f10539852e39a3a0367ca7e9f19a.jpg


fe91cfb74bbc1a80c92a71186fe6d467.jpg


7806d8637debe35a15a8f5eaf17993f0.jpg


638e5a89fc27ca34aa2c7cb807a3f2e3.jpg


During this trip I could smell gas fumes, spent some time underneath, couldn't see any leaks. After I got it home and parked for a day or so, I noticed a spot under the rear driver side, right under the tank. The tank doesn't have a skid but it has a thick coating of some sort, don't know if it was the previous owner or if the stock tank came like that.
Either way I noticed it had a wet spot and a very slow drip. I chipped a piece off and the drip got pretty steady. I scrapped off a fair amount of the stuff, coming off in chunks , almost like a plaster. Could see where the tank was seeping in several spots. The more I scrapped off, the more leaks appeared.
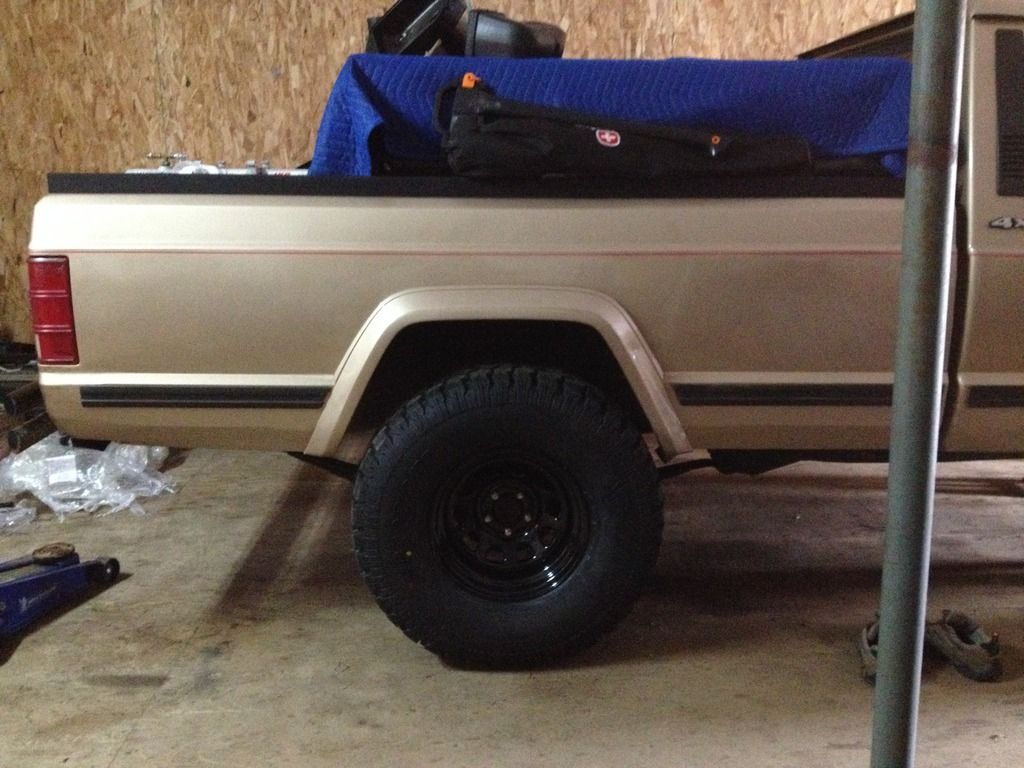
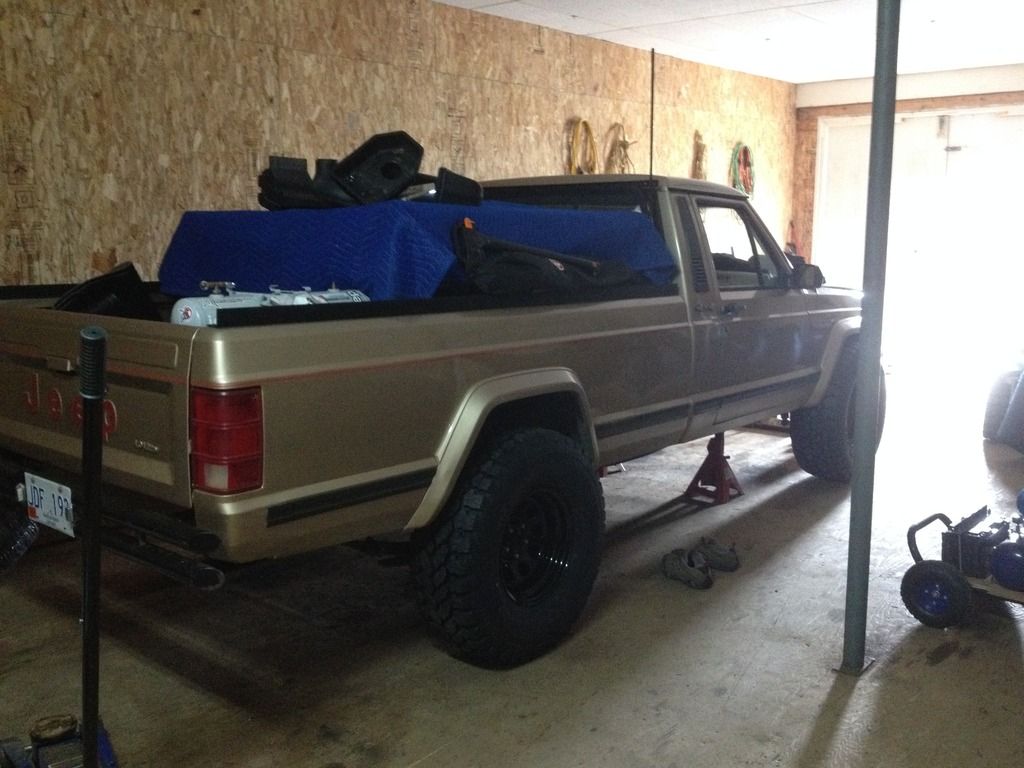
I had a 5 night camping trip planned in the next couple weeks and now I have a really bad leaking tank. I wouldn't get a new tank in time, so I drained the tank and patched it with a couple different types of putty, JB weld for gasoline was the main patch, covered in regular JB. No pics but it worked, I went on the camping trip with no smell of gas. After the trip I parked the jeep back in the garage as I was heading out for work for a couple of months. I'm currently not home yet but I do have a tank, pumps, sending unit and straps ordered from rock auto. I will be home this week and the tank should be there about the same time. Updates to follow and pics from the camping trip.
 

tuckertj

Observer
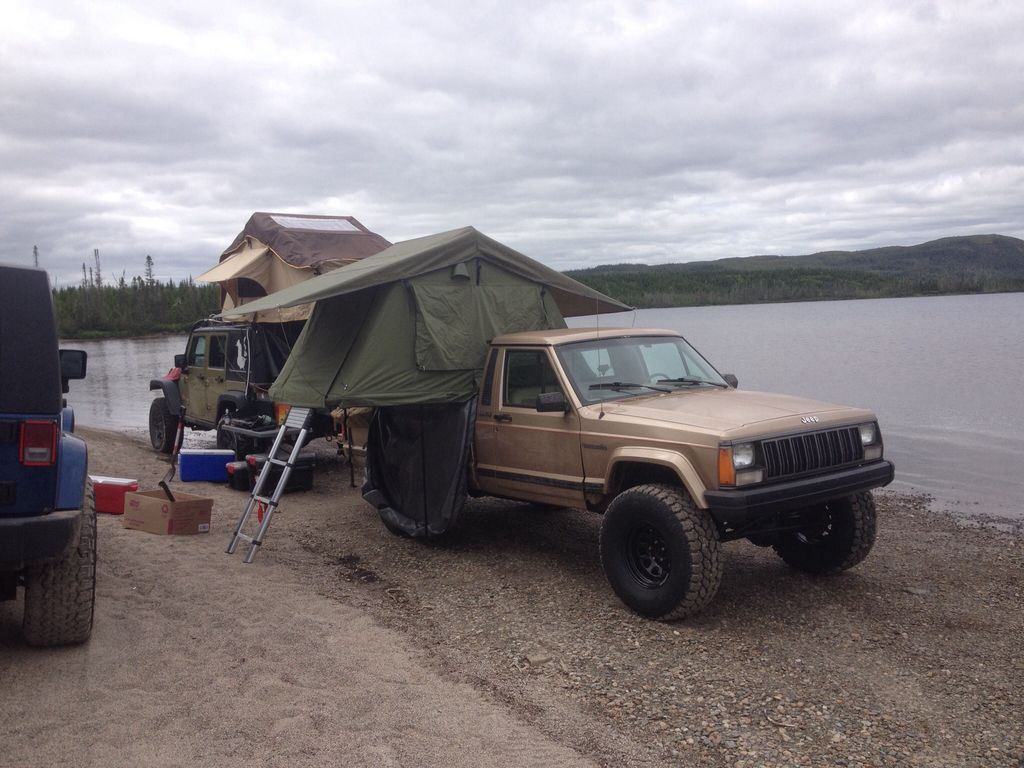
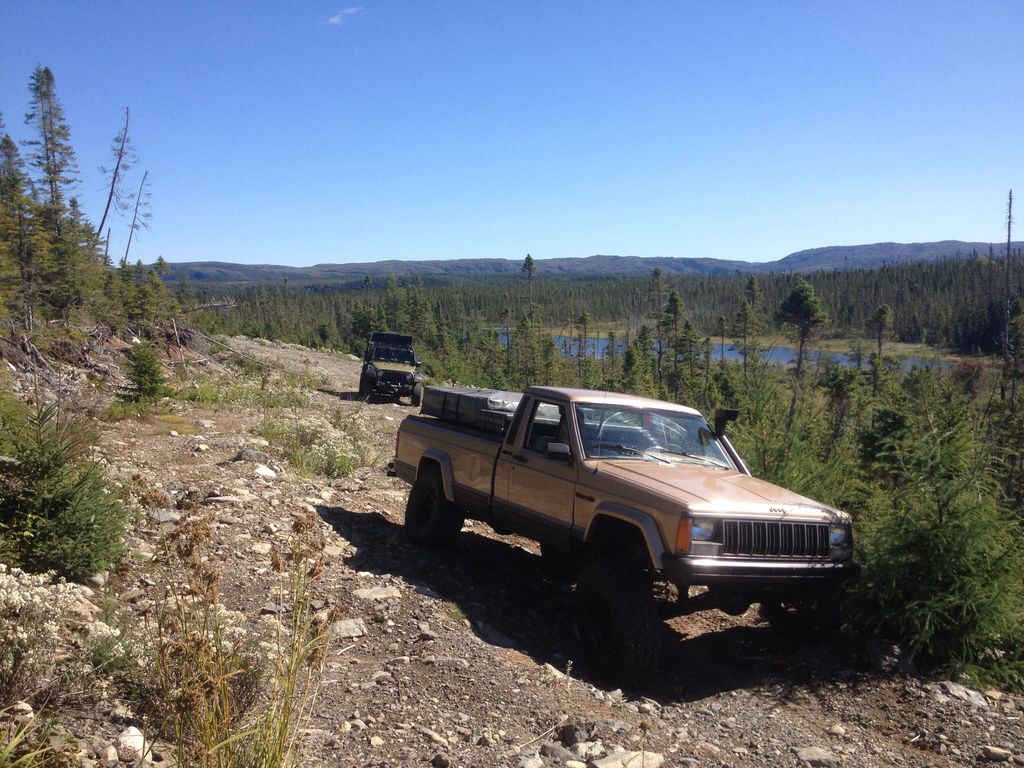
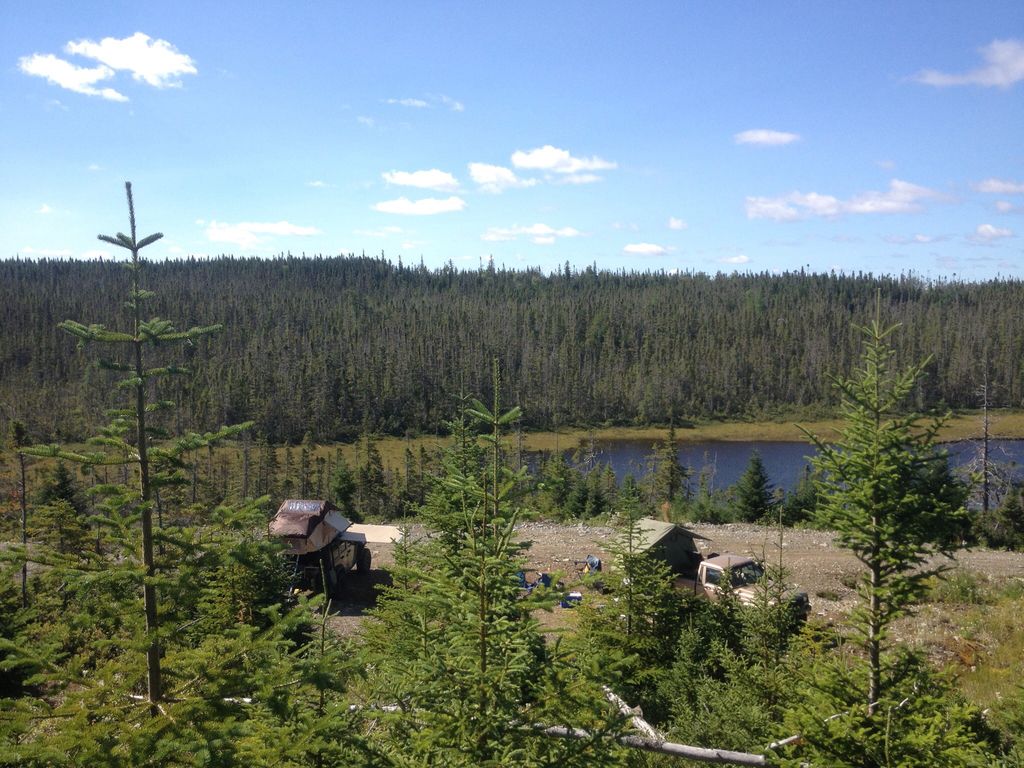
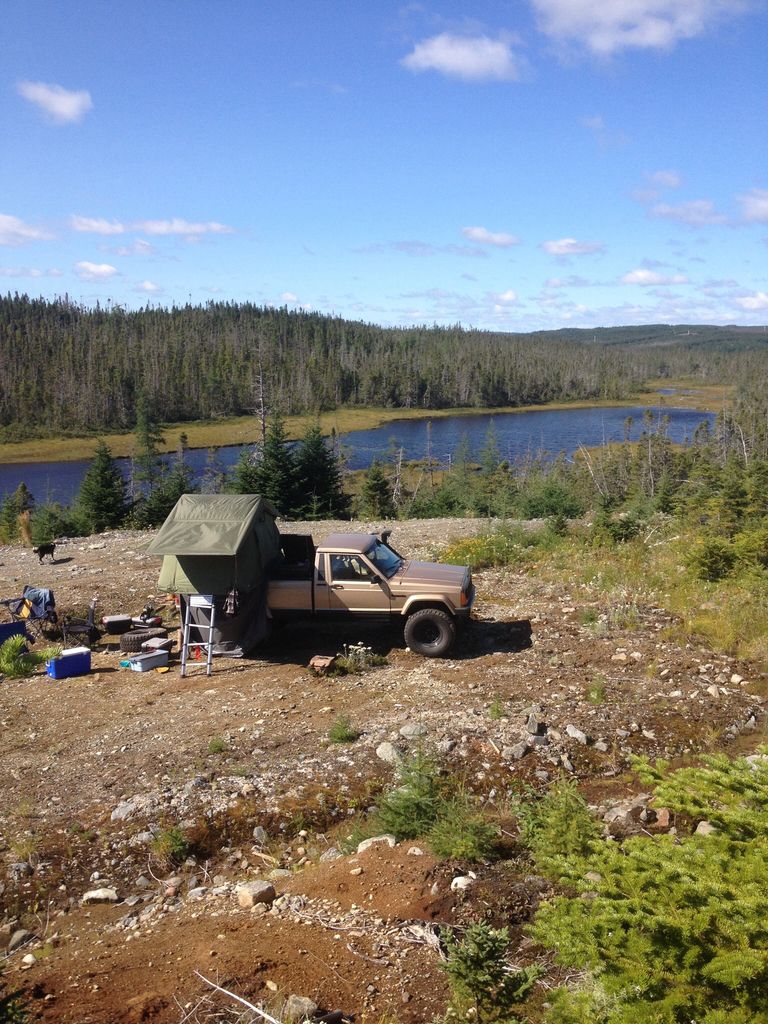
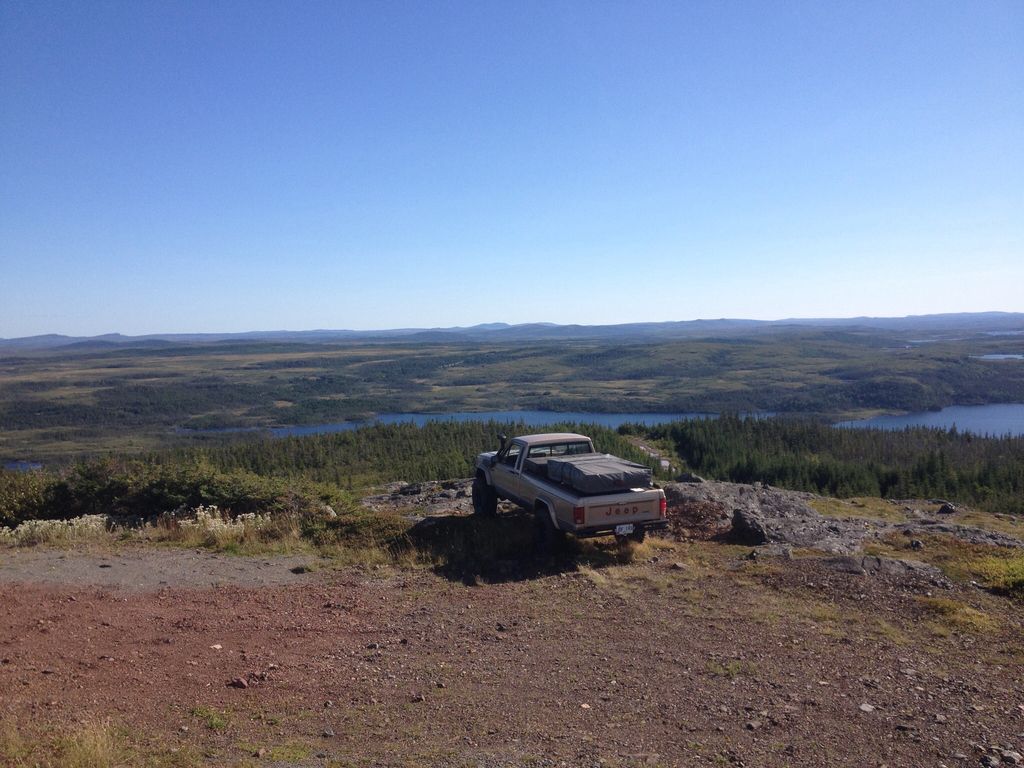
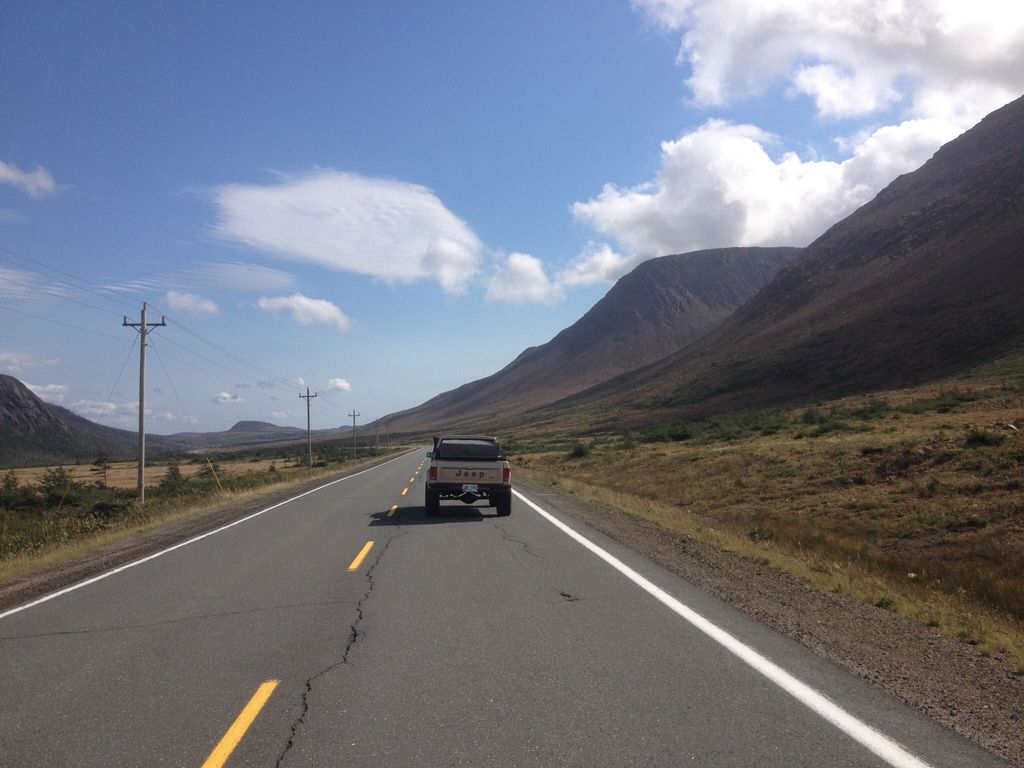
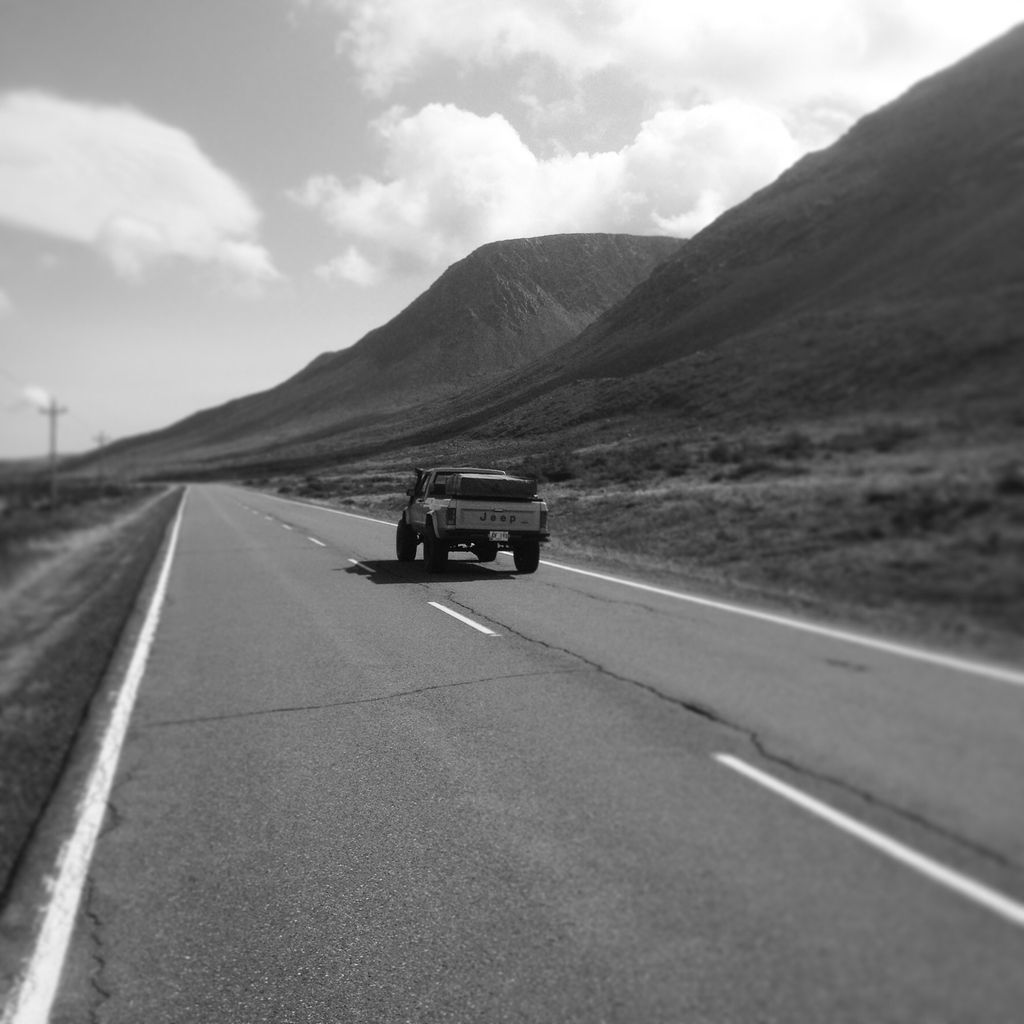
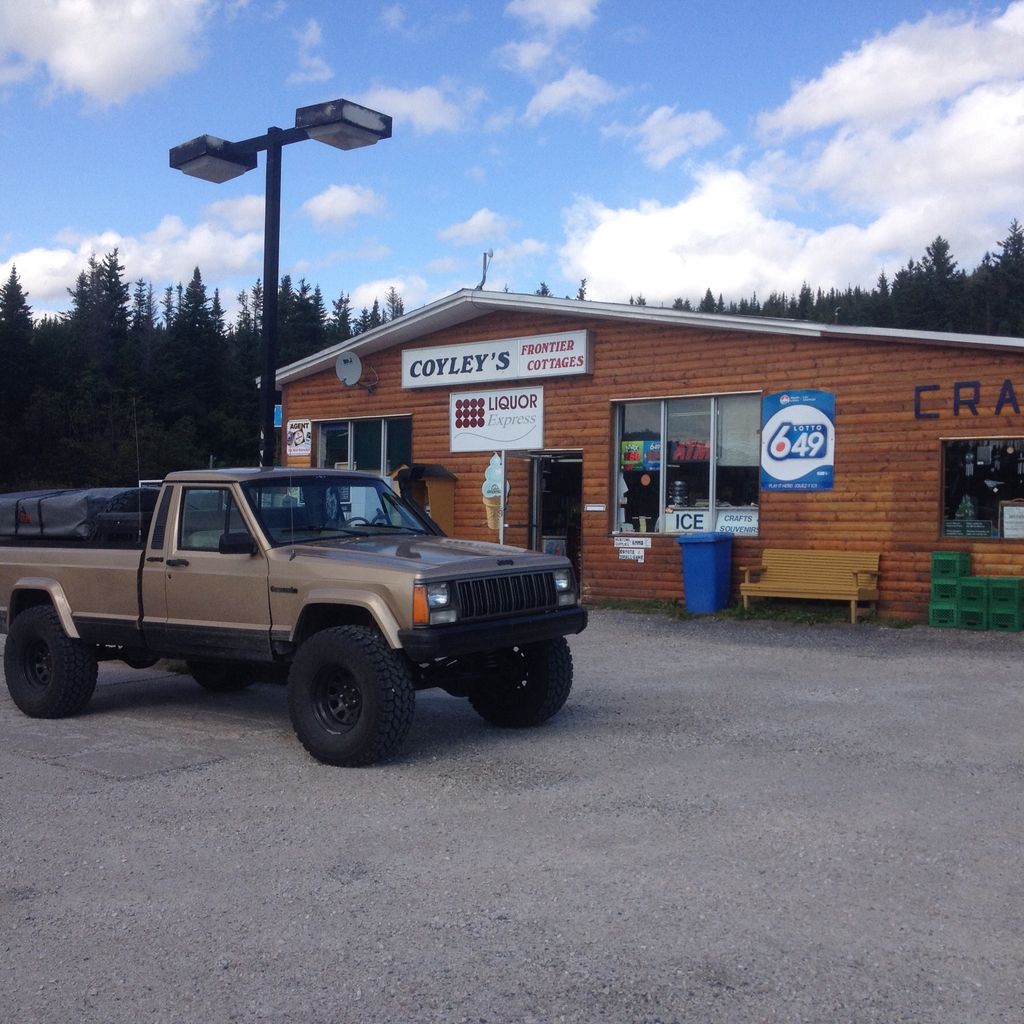
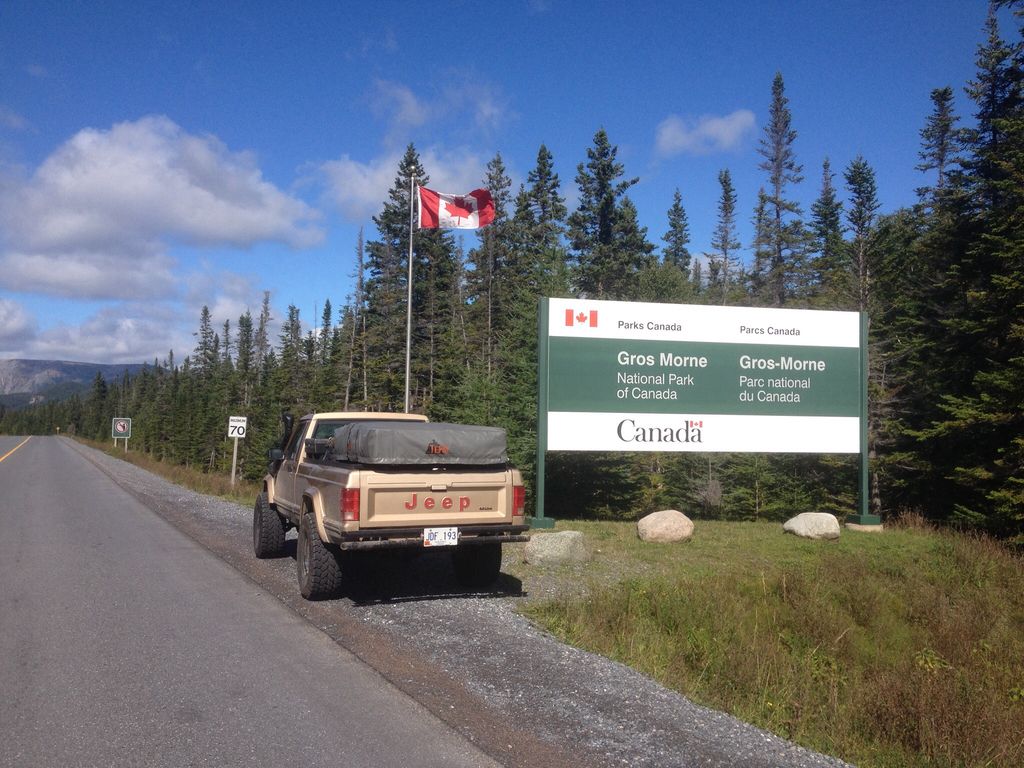
Some pictures of the 5 night trip through Gros Morne National Park.

01204889b8440f8f7df21b4fcf4d15fb.jpg


2f3eaed5f717729d2512d57fef2f9fe8.jpg


80c4b2482270324817ecc272f78d131a.jpg


12a1b59223179874a32da8788003148f.jpg


053d77baa78e2f761f758be85274e880.jpg


48627dd940832823aed54a567b6fc51d.jpg


7095aca38dc5ffc4ab0103ed29c5296d.jpg


5a7633eef9176a3fd274d71ca49d4925.jpg


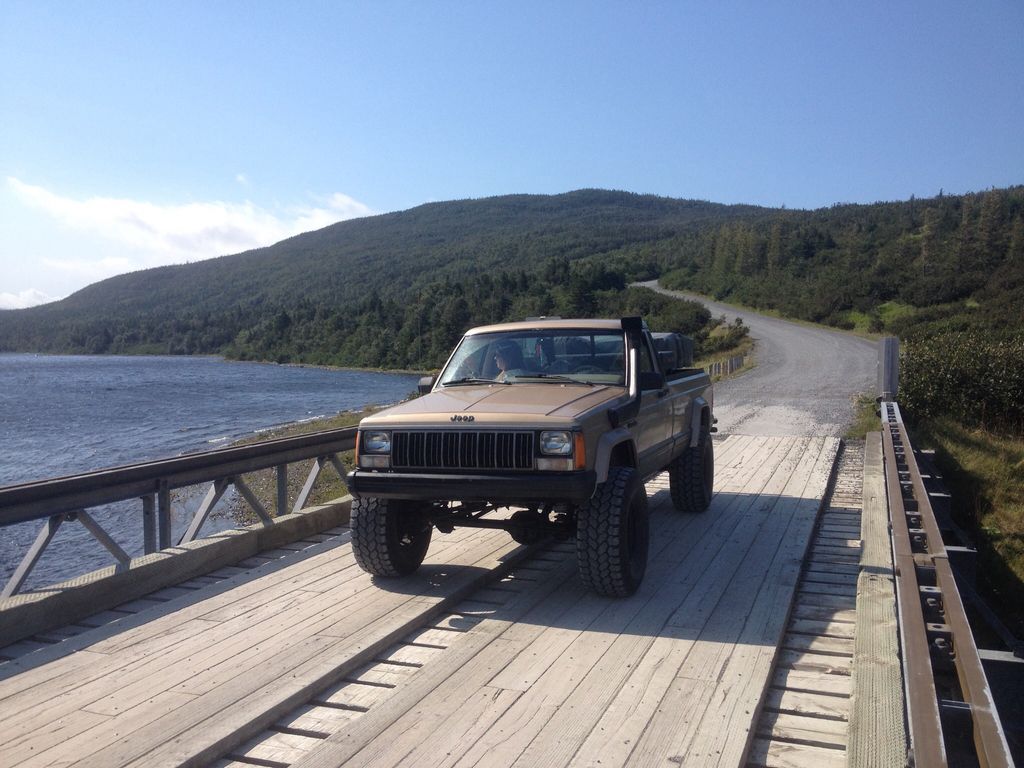
This is the purpose of this Jeep.
 

Topo.Ranger

Adventurer
5a7633eef9176a3fd274d71ca49d4925.jpg


This is the purpose of this Jeep.

Man that is a great looking Jeep! I have always dreamed of getting a Comanche. Still searching for one. Id love to get my FC150 patched up and turned into a camping truck aswell. I will be following this closely.
 

Forum statistics

Threads
186,662
Messages
2,888,570
Members
226,767
Latest member
Alexk
Top