Did the by-pass - pretty easy job
This by-pass project was not the night mare I spent half the morning psyching myself up for. I can imagine trying to replace the PHH to factory specs being a major pain, however.
Basically this and adding an oil pan heater and sheepskin seat covers took less than three hours. Not what I expected.
Pictures follow, but I will outline the steps for ExPO member to spare a trip to mud. Which is a real favor, btw. :sombrero:
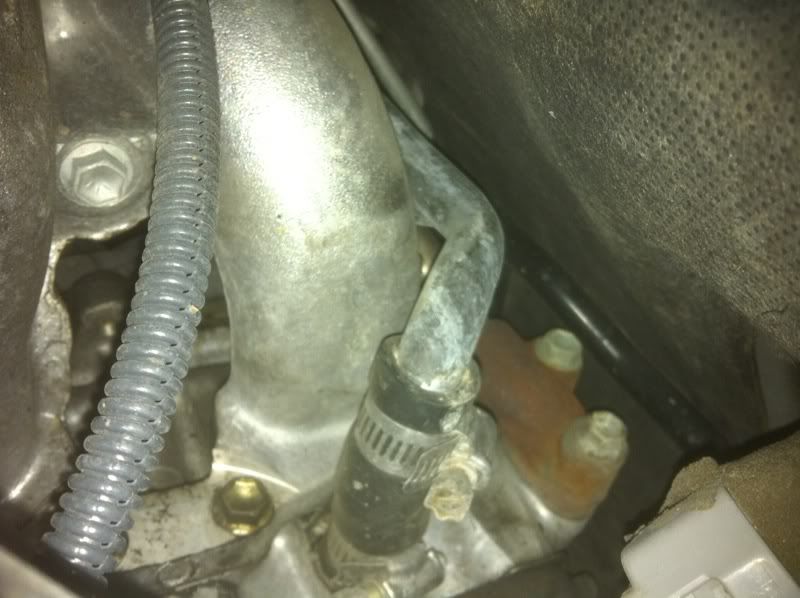
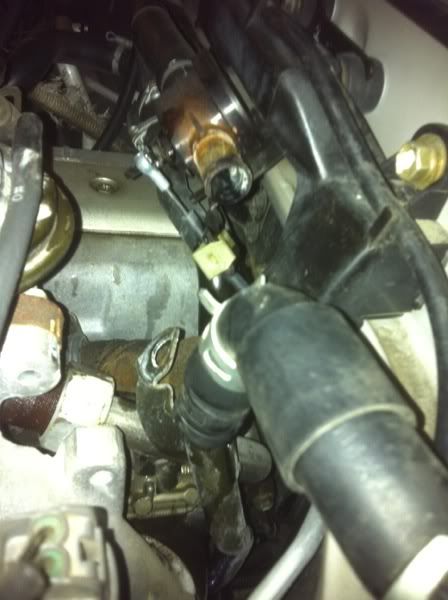
1) Jacked / used stands for the driver front, removed the wheel and only the rear-most fender skirt. I used a door panel tool and everything stayed in tact for easy reassembly. You can look up toward the rear intake runner and see the offending hose taunting you. I then loosened the PHH clamp on the head side of the hose only.
2) Removed the top bolt supporting the metal pipe and removed the associated heater valve hose clamp and removed the hose from the valve.
3) Did the wiggle thing. Bent the bracket that the top bolt was removed from in order to get a wider throw and, with the bottom hose clamp loose but the phh still in place, I rocked the metal pipe back and forth and to and fro for about 10 minutes. The bottom, impossible to reach bracket acts a fulcrum and will cleanly brake away, freeing the assembly for removal. Stay with it, it's a short time well spent. This photo shows the heater valve hose spun 180 around to make a handle for rocking the tube free.
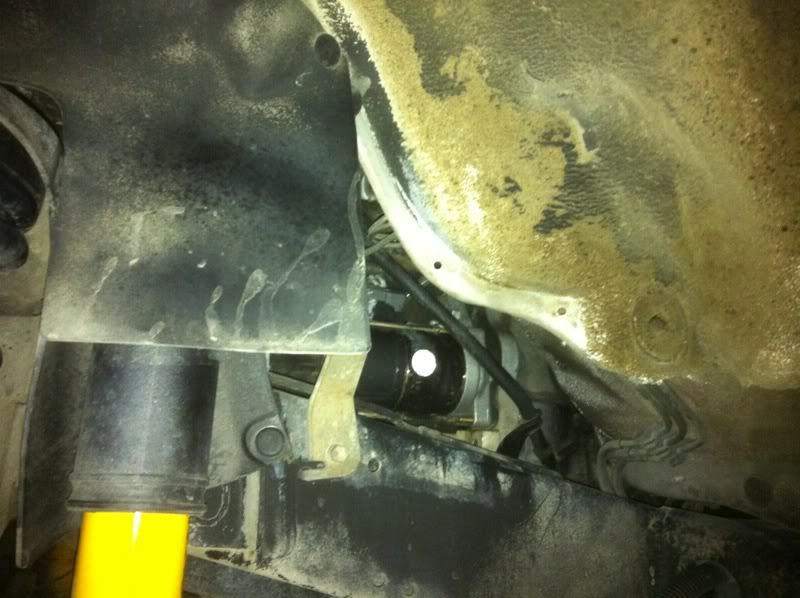
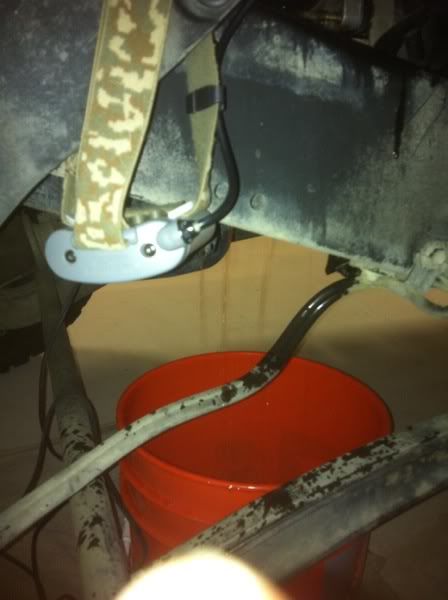
4) pulled the PHH free of the head. Have a bucket ready as you will loose some juice here. I am a pet guy, so i used the cotton paint tarp that is treated on one side. Soaked up the splash off and did not get any on the floor!
5) now the assembly is free, it just a matter of getting it out of your way via fishing it through the tight, limited room available. I pulled it up and out.
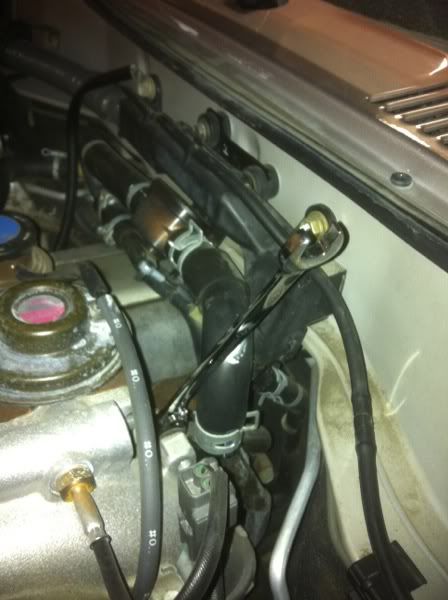
6) the silicon hose is quite flexible yet sturdy. A BIG HELP was soaking the by pass hose in really hot water for 10 minutes. This allowed it soften and expand a little and sliding on the head pipe was made pretty simple. I struggled for a bit before doing this. It makes a vast difference in your favor to heat it up with water first.
7) routed it around the break master cylinder and hooked it up to the heater valve. Tightened the clams, refilled the radiator with the coolant in the bucket (going to flush it soon, but later) and started it up for a test. It came up to normal temp but the heater output was only warm. After several more minutes, the heat came back up to normal too - the delay likely due to air in the system.
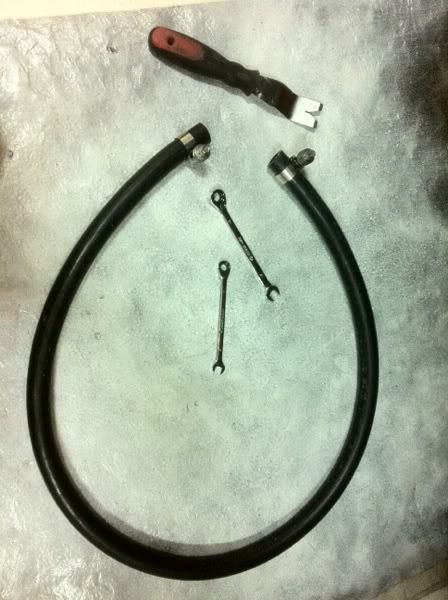
I only used a ratcheted boxed end wrench for the hose clamps and the top bolt and the door panel tool for the fender skirt.
This job proved to be entirely unnecessary. The PHH on the truck looked very new and had worm drive clamps vs. the factory cotter pin arraignment. Oh well, such is life. I am very happy with the peace of mind and the ability to very easily service or repair this vs the factory PHH. Time and money well spent indeed.
Afterward I tended to the oil pan heater and then the sheep skin covers. I had budgeted an extra three hours for the project and was pleasantly surprised how easily everything came together. So far, anyway...
:snorkel:
Get your kit here!