Here's how we did the canvas (hope this makes sense):
The canvas is sandwiched between aluminum on the inside and outside. Inside is seen here:
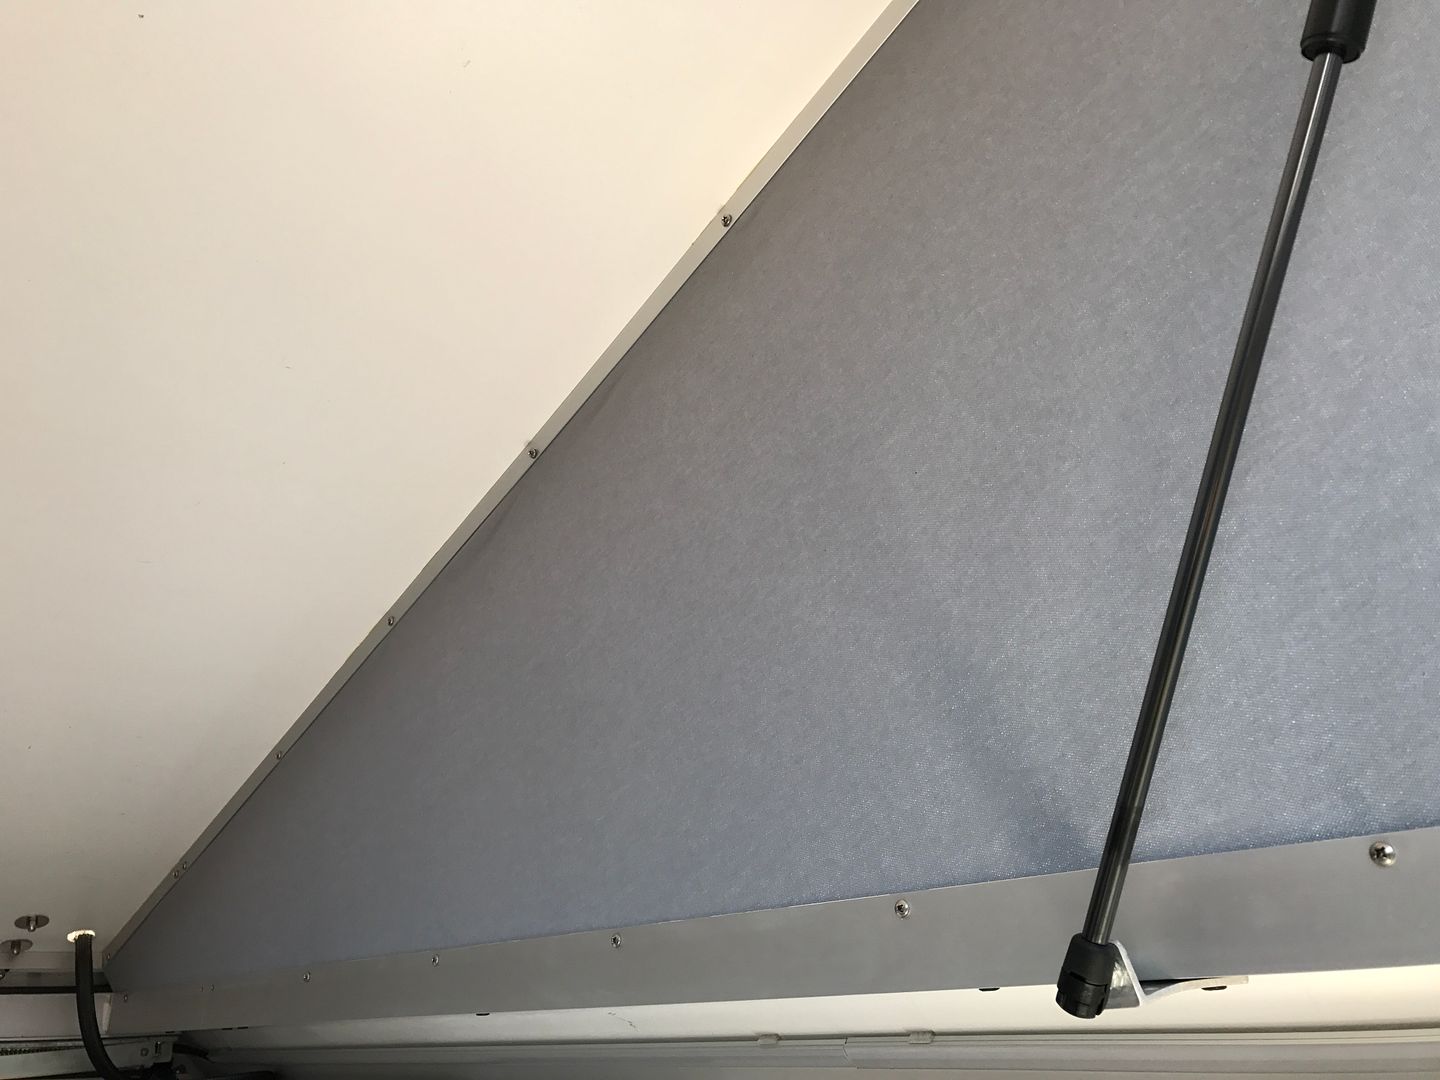
The upper is 3/4" X 3/4" angle riveted and epoxied in to the roof. Lower is 1-3/4" X 1-3/4" angle riveted and epoxied to the slide up.
The screws seen in the above photo tap in to 1/2" X 1/2" square tube on the outside with the canvas in between, seen here from the outside.
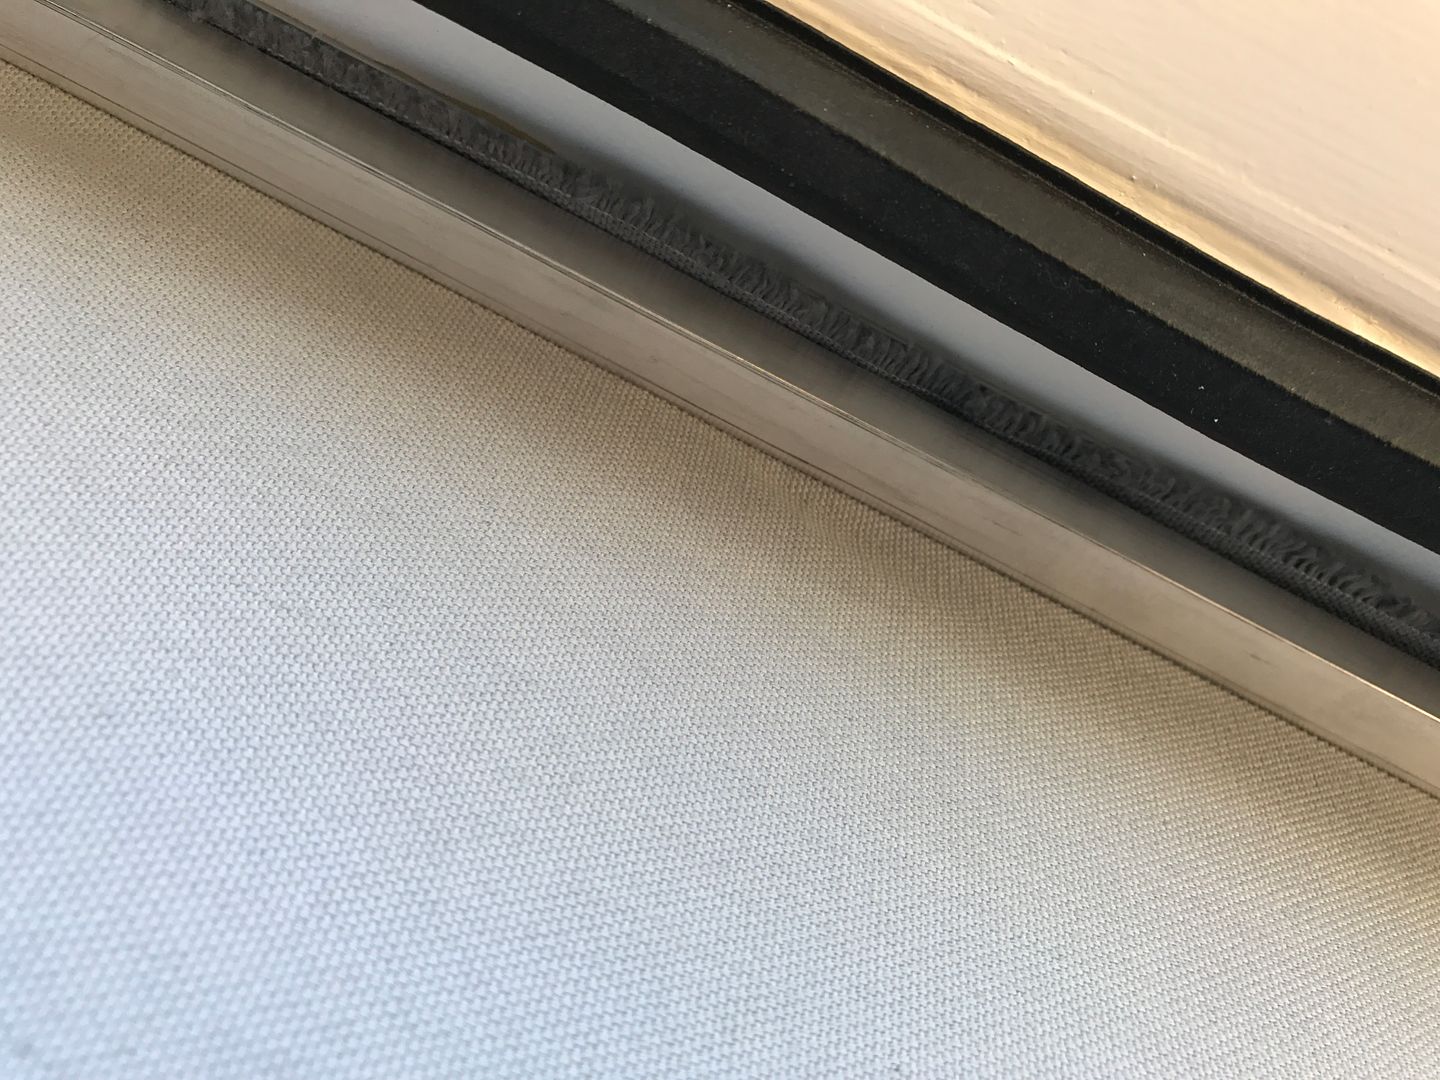
Pointy ends of the screws end up inside the square tube.
The process of installing was to do the upper edge first. We used the factory cut edge on the canvas and lined it up evenly all the way around. We then pulled the roof down about an inch so that there would be tension on the fabric when done.
The lower edge was attached the same way, starting in the back middle and working out to the edges one screw on each side at a time. Pulling the fabric tight before screwing. Okay that last sentence sounded weird.
Where was I. Oh yeah. Here's how it looked in progress.
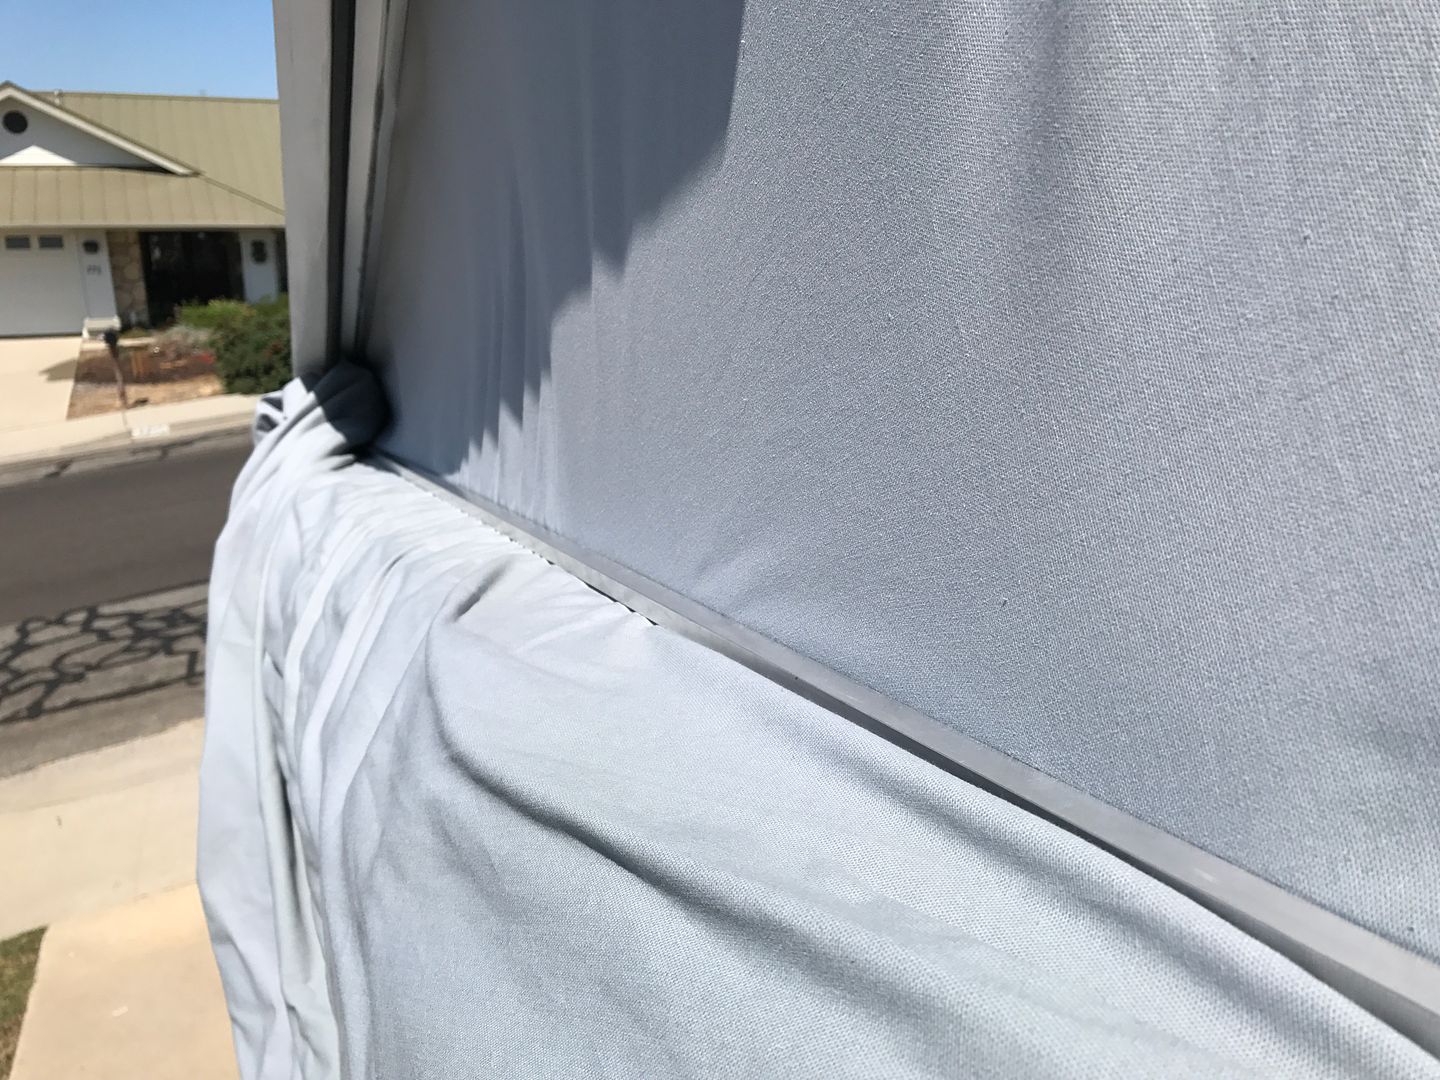
Section at right is sandwiched and section towards the left is not done yet.
Once it was all attached at top and bottom, we cut off the excess.
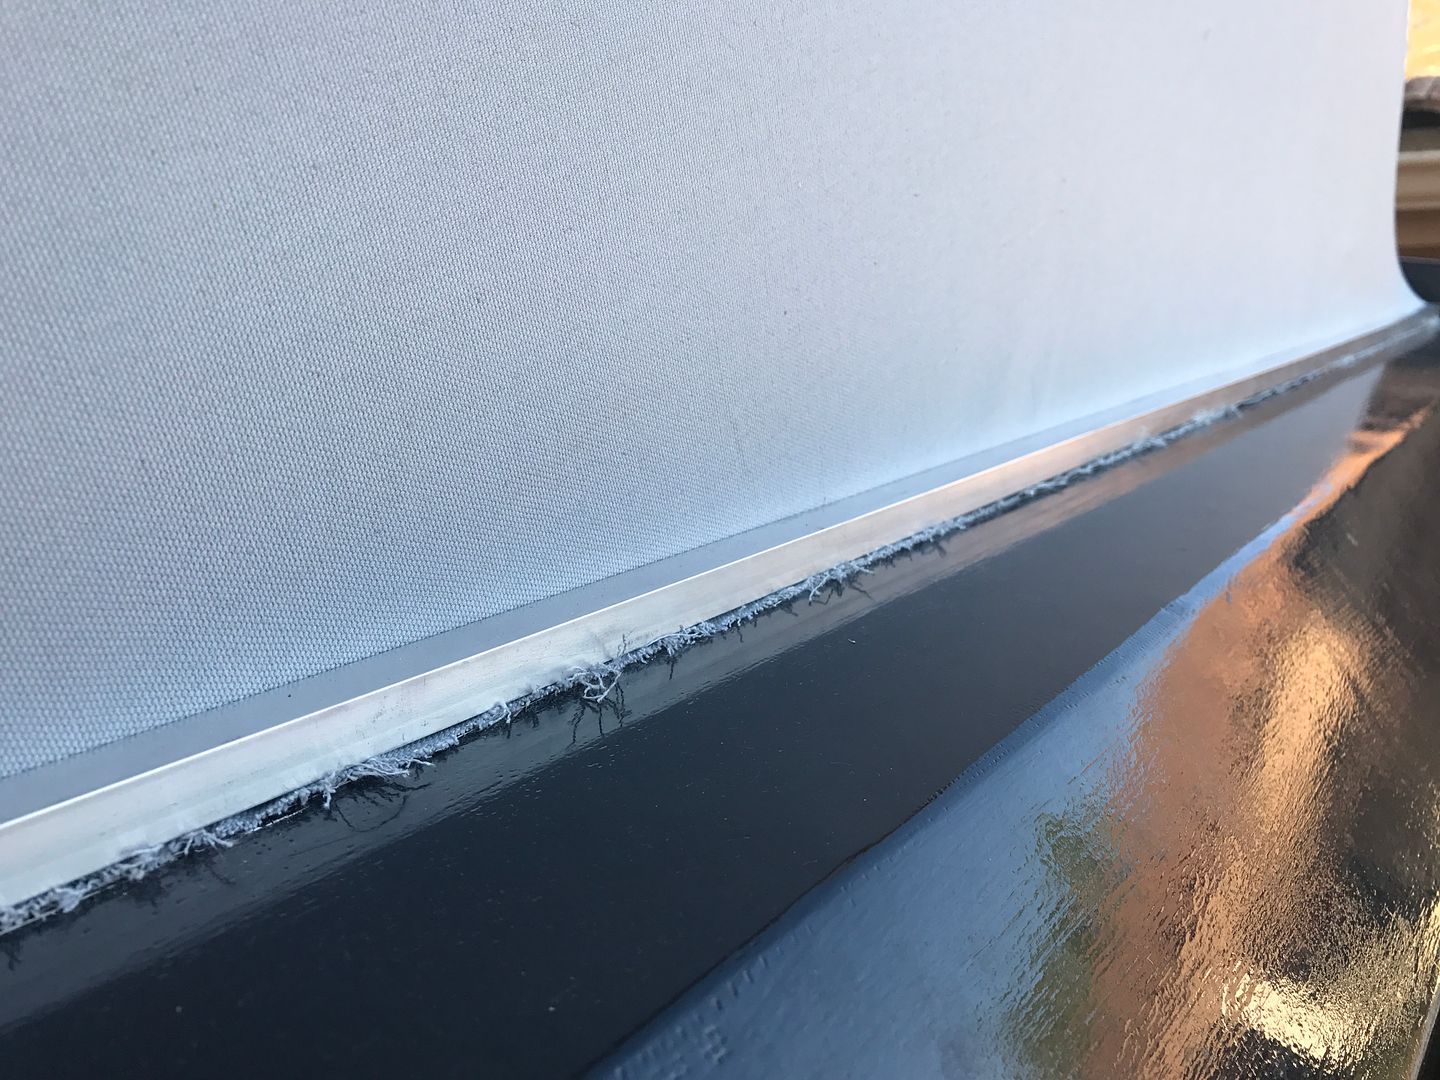
The messy bottom edge was sealed up with some messy black 4200.
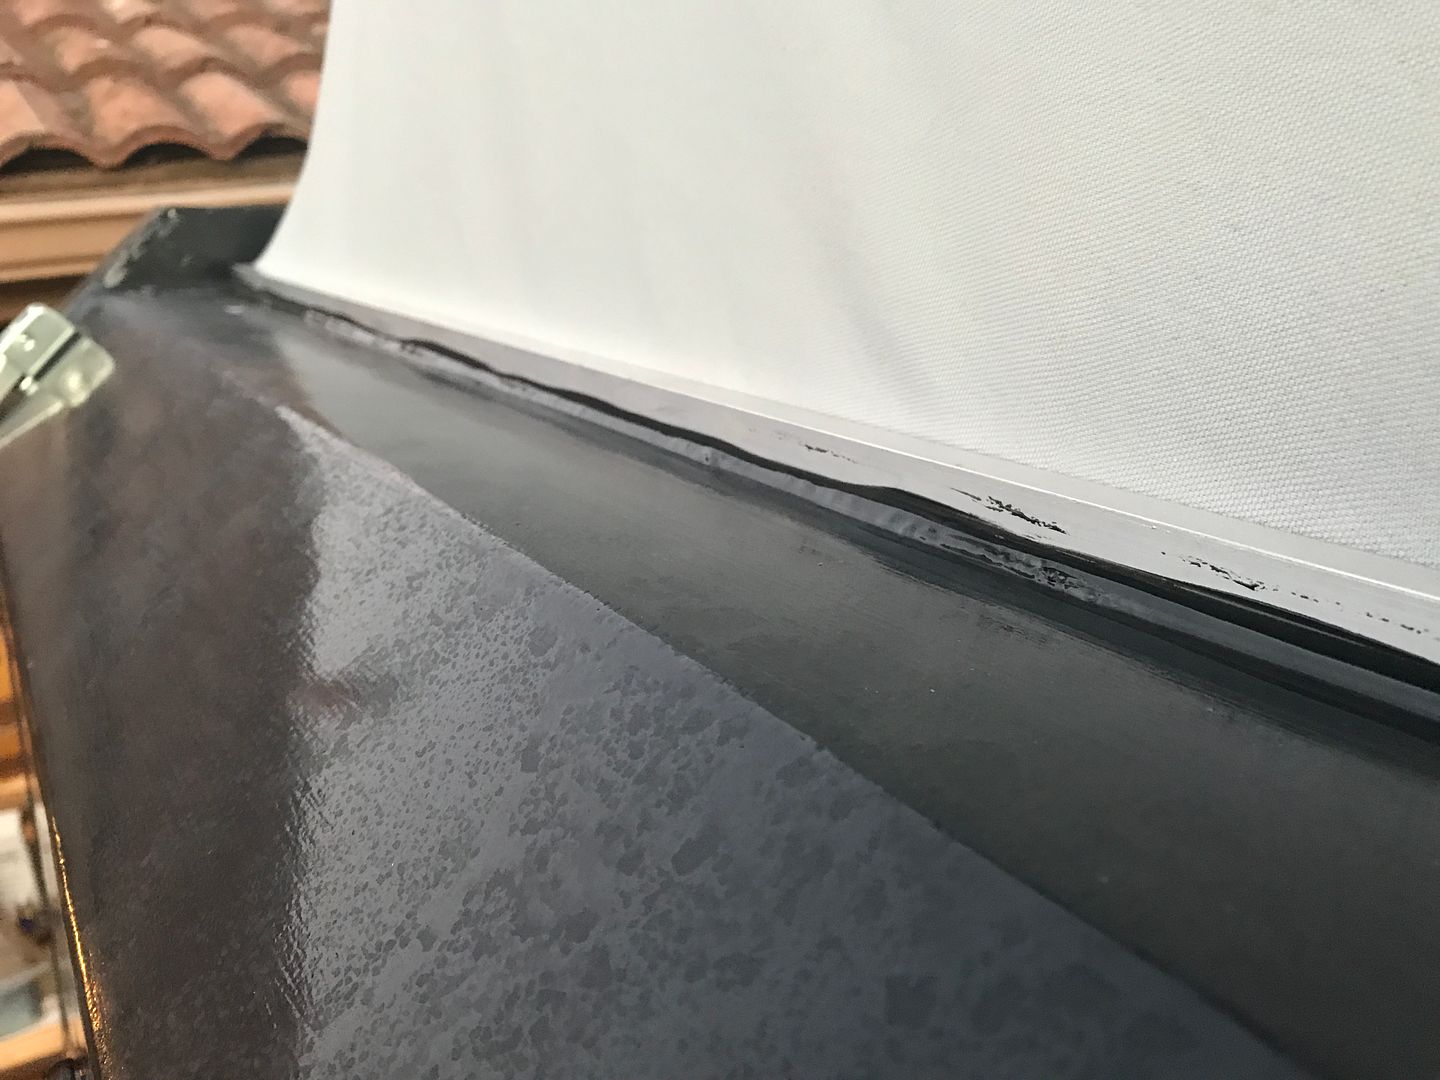
So, there isn't a water channel really and no, it's not waterproof. We are planning on doing some sort of spray-on water resistant coating (Scotch Guard?). If it's really nasty out, we'll just close the pop-up and live with a low ceiling (Kind of like Gandalf in a hobbit house :sombrero

.


