barlowrs
Explorer
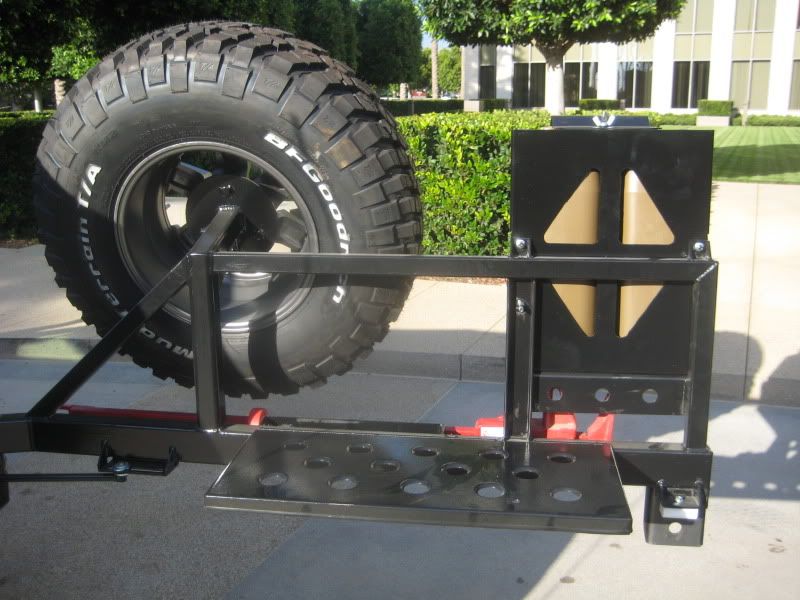
Well everyone says all good things take time, and this bumper was no exception, but it finally arrive in the mail…my FULLY LOADED CBI Rear bumper. :wings::wings: This puppy includes the following:
- High clearance bumper (Bushmaster 2.0)
- Tire Gate
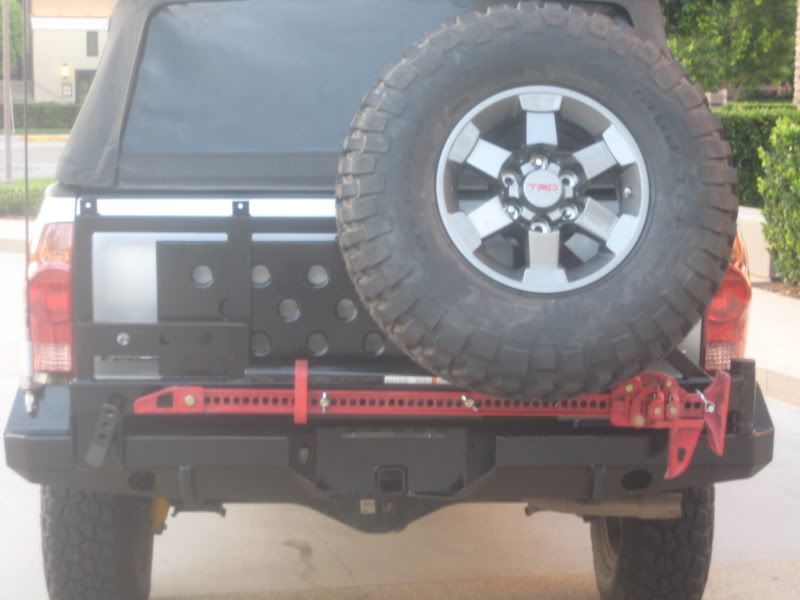
- Hi-Lift Mount
- 2 Jerry Can Holder
- CB Antenna Mount
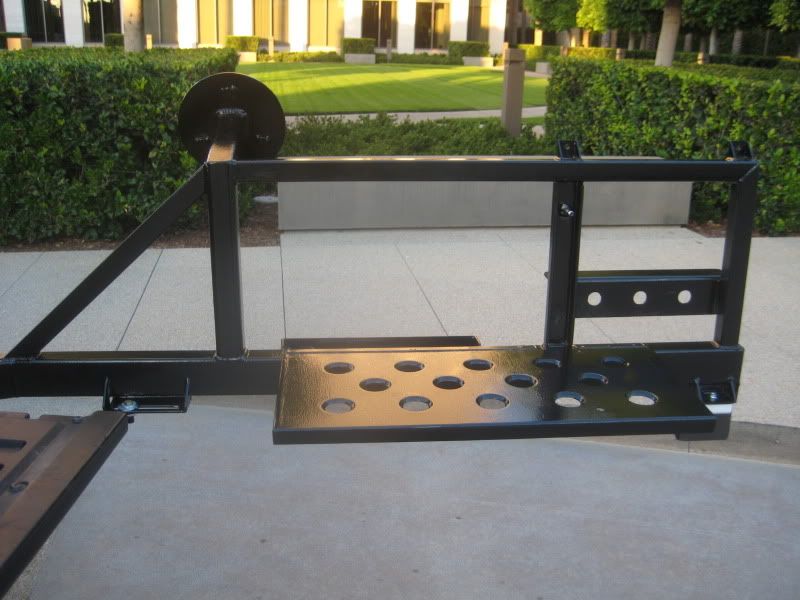
- Fold Down Table (Perfect for my camp stove)
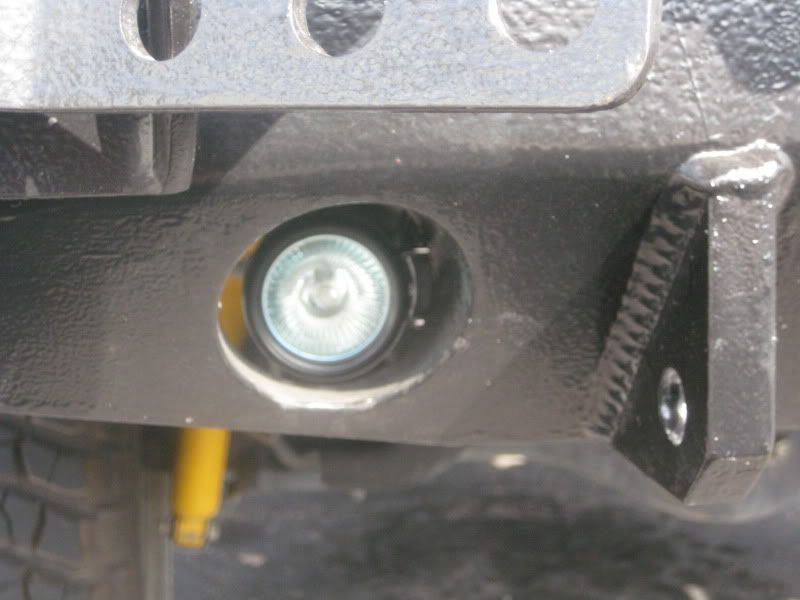
- Backup Lights
- Hitch
So, although CBI does have a wait, trust me, their workmanship is WELLLLL worth the wait! :drool:
The jerry can holder and fog lights should be arriving end of the week, so for now, this write-up does not include them, but I will revise it once I get them and install them…so onto the write-up and pics!
First step was to paint it. Obviously, this is meant to be used (I cannot afford things like this just for looks) so I chose rust-oleum so that I could touch it up easily. I originally planned to do Rust-oleum Hammered, however, after the first coat, I realized that it was more silver/grey than black and did not like it. So I topped it off with a coat of plain old semi-gloss rust-oleum. All in all I think it turned out well. (Take your time doing this, as there is a LOT of metal to cover!)
One thing I want to make clear, do not paint the spindle or the bushing on the gate, this will make it impossible to install later (trust me, I made the mistake of painting the spinal, luckily my gf had a great idea and used acetone to take the paint right off).
Once I had the painting done, the fun began. CUTTING TIME!....I guess my snorkel broke the ice, because it was much easier for me to cut into my truck this time around (no more tears..haha).
Because this is a “cut to fit” type thing, there is no template or standard way to do this, as each one will fit each truck differently. I chose to make cardboard templates to get an idea of where the cut should be, then made it nice and strait using the body lines as reference:
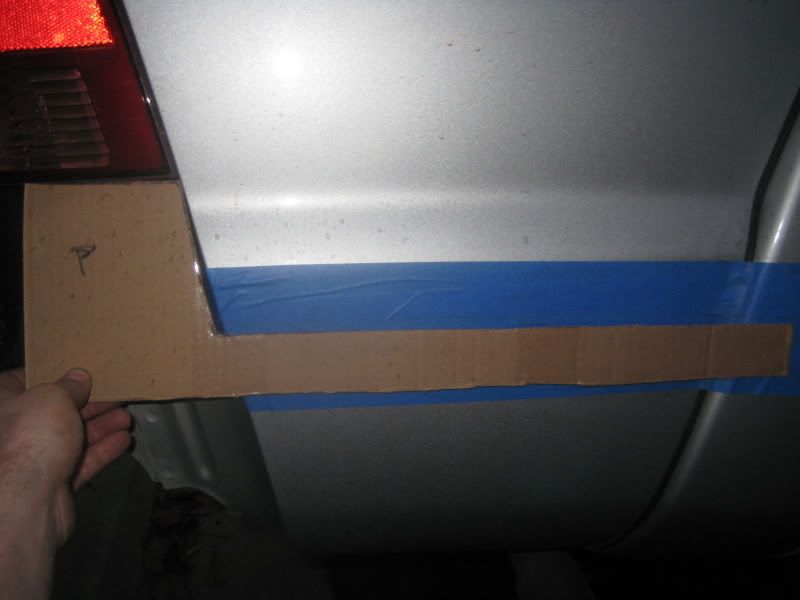
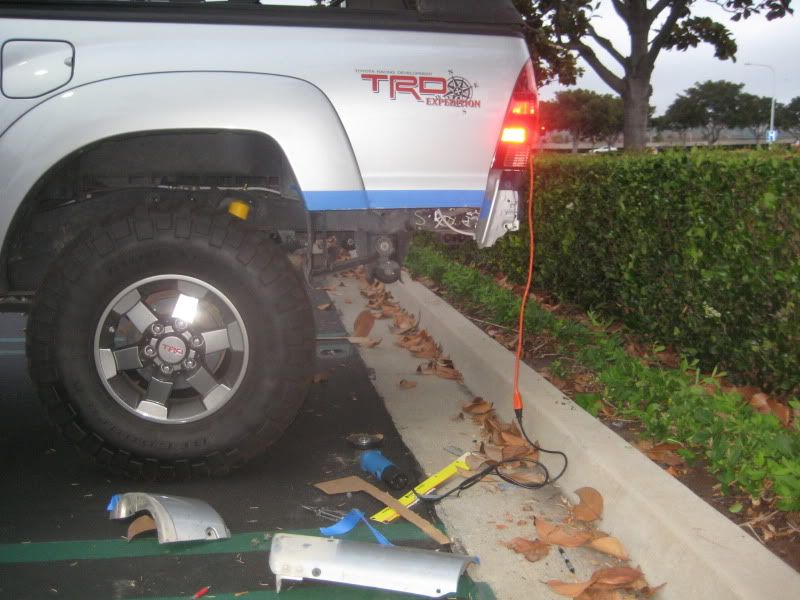
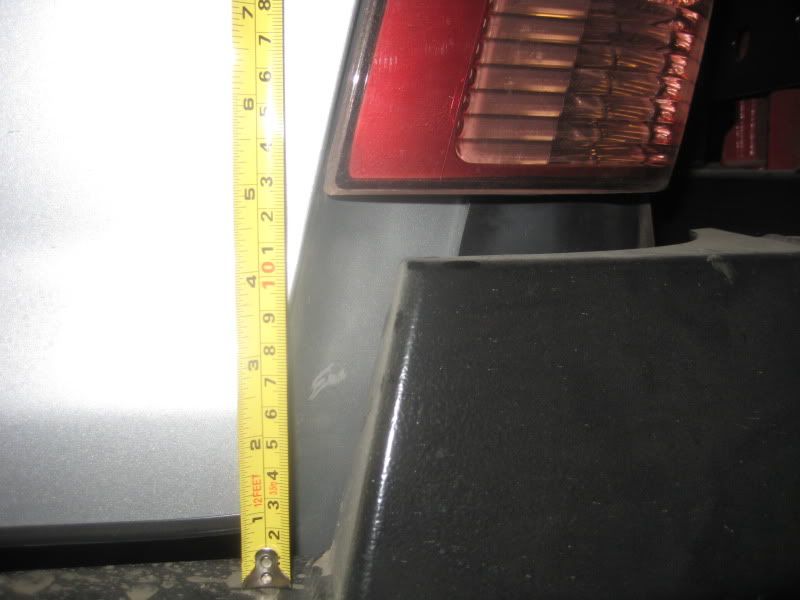
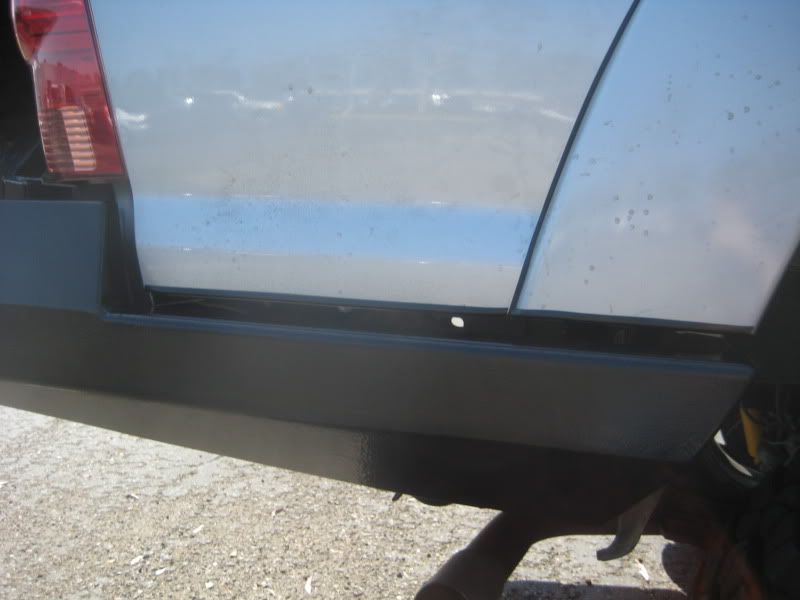
Here it is all cut up. Note that you do not need to cut the crap directly below the tail light (it is much thicker as well):
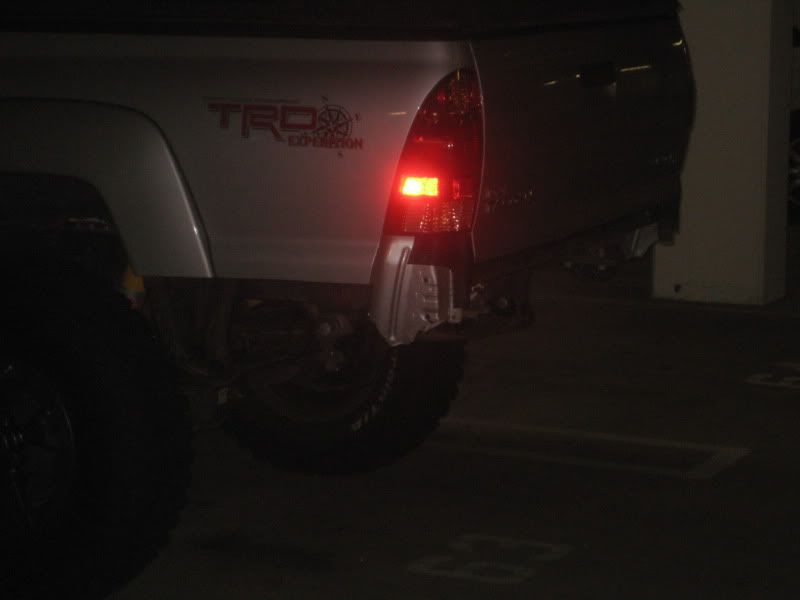
I have not had time to clean the cut up yet, but I plan to clean it up, use touch up paint to keep it from rusting, then using that door jamb plastic liner crap to make it a nice clean line.
Next it is time to mock it up and see if my templates worked. This part was difficult because I had to figure out a way to lift the bumper in place, with only the help of my gf (the bumper weights more than her!). I finally figured out a good plan of attack. I used ratcheting tie straps anchored inside my bed to ratchet it up into place. It actually worked very well:
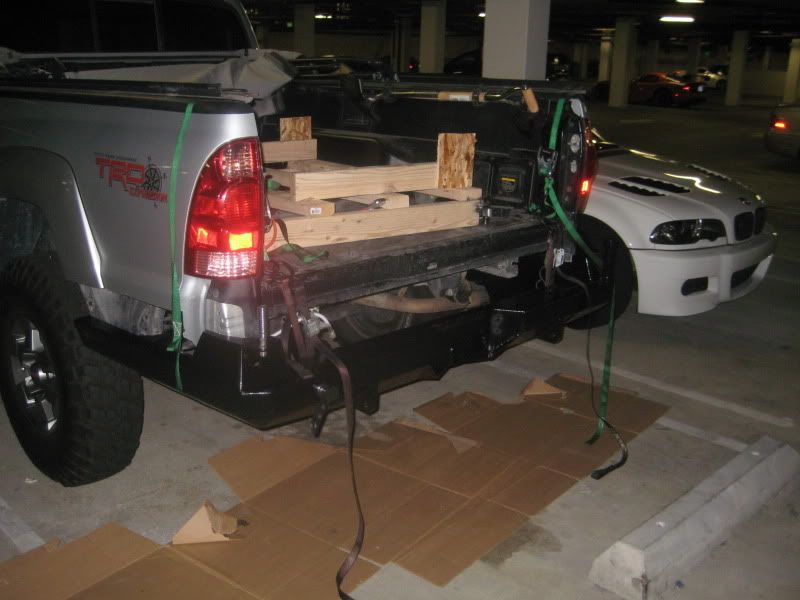
Once again, CBI great craftsmanship showed, as all the bolt holes line up perfectly, and the grade 8.8 bolts they supplied worked perfect. I may upgrade to 10.9 someday, but this thing is very solid as is.
My templates actually worked great and there was no need to trim anymore, so I was able to bold her up for good.
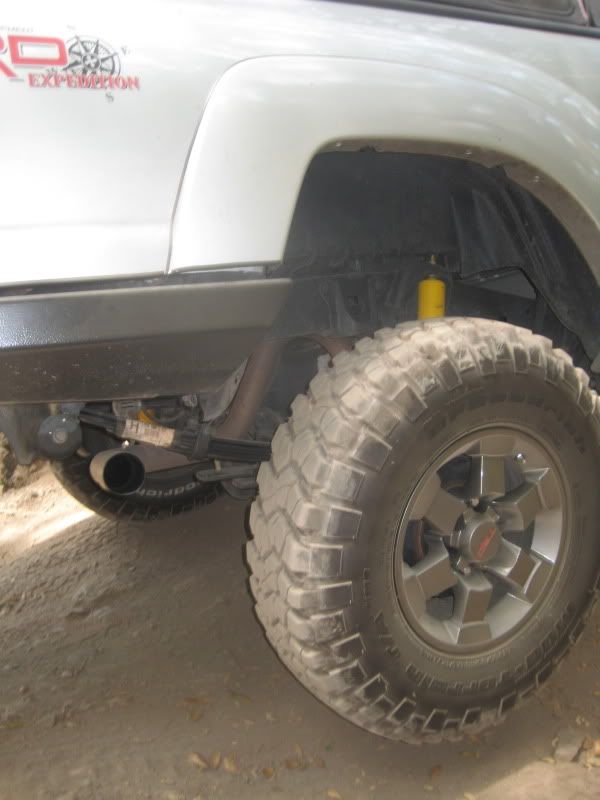
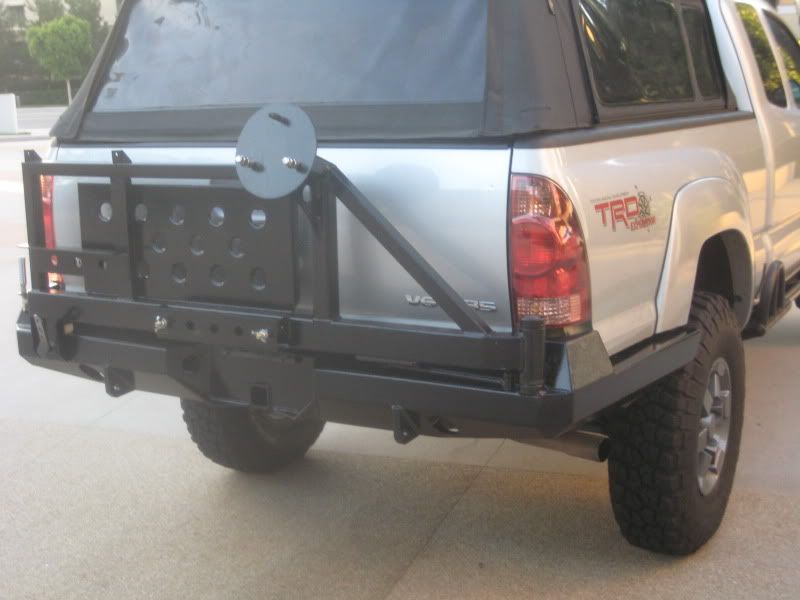
Here you can see the bumper itself.
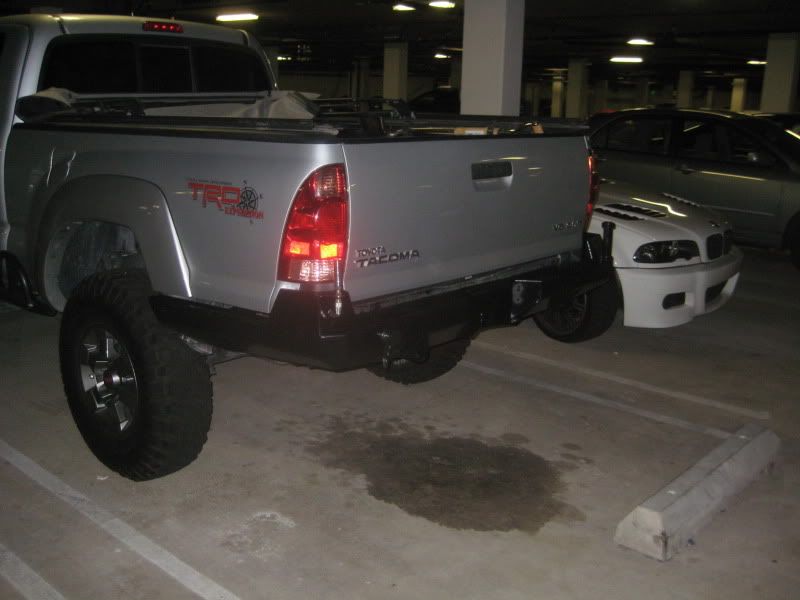
The tire gate slides right into place (assuming you did not paint the spindle or bushings) and here is the final product!
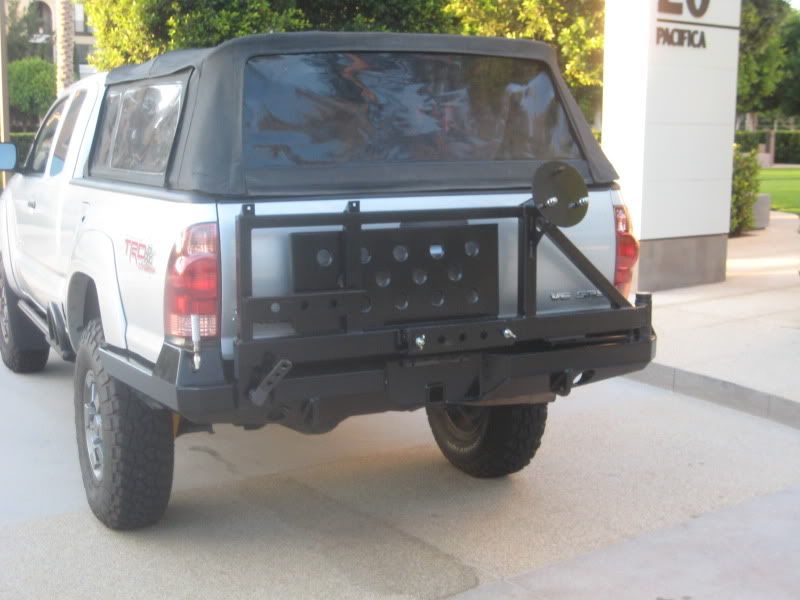
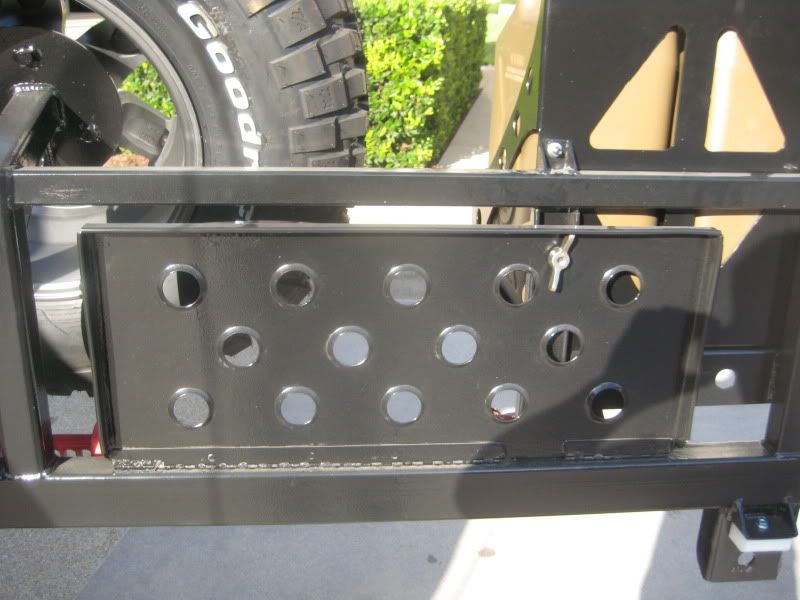
Swing down Table:
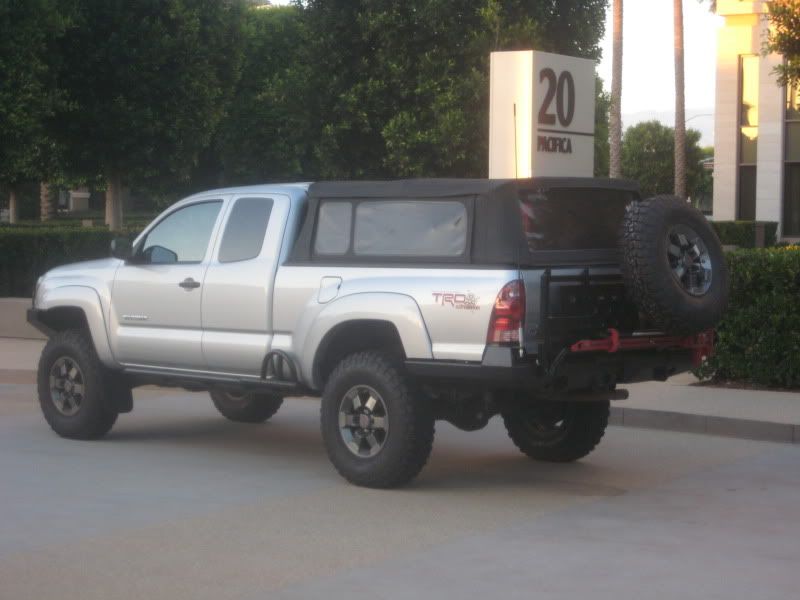
And here she is all loaded up. As I said, the fog lights and can holder is not on yet. I will update this with those once they come in.
- High clearance bumper (Bushmaster 2.0)
- Tire Gate
- Hi-Lift Mount
- 2 Jerry Can Holder
- CB Antenna Mount
- Fold Down Table (Perfect for my camp stove)
- Backup Lights
- Hitch
So, although CBI does have a wait, trust me, their workmanship is WELLLLL worth the wait! :drool:
The jerry can holder and fog lights should be arriving end of the week, so for now, this write-up does not include them, but I will revise it once I get them and install them…so onto the write-up and pics!
First step was to paint it. Obviously, this is meant to be used (I cannot afford things like this just for looks) so I chose rust-oleum so that I could touch it up easily. I originally planned to do Rust-oleum Hammered, however, after the first coat, I realized that it was more silver/grey than black and did not like it. So I topped it off with a coat of plain old semi-gloss rust-oleum. All in all I think it turned out well. (Take your time doing this, as there is a LOT of metal to cover!)
One thing I want to make clear, do not paint the spindle or the bushing on the gate, this will make it impossible to install later (trust me, I made the mistake of painting the spinal, luckily my gf had a great idea and used acetone to take the paint right off).
Once I had the painting done, the fun began. CUTTING TIME!....I guess my snorkel broke the ice, because it was much easier for me to cut into my truck this time around (no more tears..haha).
Because this is a “cut to fit” type thing, there is no template or standard way to do this, as each one will fit each truck differently. I chose to make cardboard templates to get an idea of where the cut should be, then made it nice and strait using the body lines as reference:


Here it is all cut up. Note that you do not need to cut the crap directly below the tail light (it is much thicker as well):

I have not had time to clean the cut up yet, but I plan to clean it up, use touch up paint to keep it from rusting, then using that door jamb plastic liner crap to make it a nice clean line.
Next it is time to mock it up and see if my templates worked. This part was difficult because I had to figure out a way to lift the bumper in place, with only the help of my gf (the bumper weights more than her!). I finally figured out a good plan of attack. I used ratcheting tie straps anchored inside my bed to ratchet it up into place. It actually worked very well:

Once again, CBI great craftsmanship showed, as all the bolt holes line up perfectly, and the grade 8.8 bolts they supplied worked perfect. I may upgrade to 10.9 someday, but this thing is very solid as is.
My templates actually worked great and there was no need to trim anymore, so I was able to bold her up for good.
Here you can see the bumper itself.

The tire gate slides right into place (assuming you did not paint the spindle or bushings) and here is the final product!


Swing down Table:

And here she is all loaded up. As I said, the fog lights and can holder is not on yet. I will update this with those once they come in.


Last edited:

