Alright finally getting our ducks in a row to get some build progress going for you all. Still trying to figure out the best flow for getting updates posted here as I also am posting to our
blog.
Day 1
We are doing the build in the dead of winter here in McCall Idaho. We had a heck of a time finding a shop to do the build in since we no longer have our own place. We were able to find someone who ‘s building a large shop that was willing to let us do some work there. It’s not heated or finished but at least it does provide some cover.
When we sold our house one of the things we couldn’t justify keeping was my large cabinet table say. To replace it I am trying this Kreg track saw system and so far it looks great. I think it will even replace our chop saw as that feature works really well.
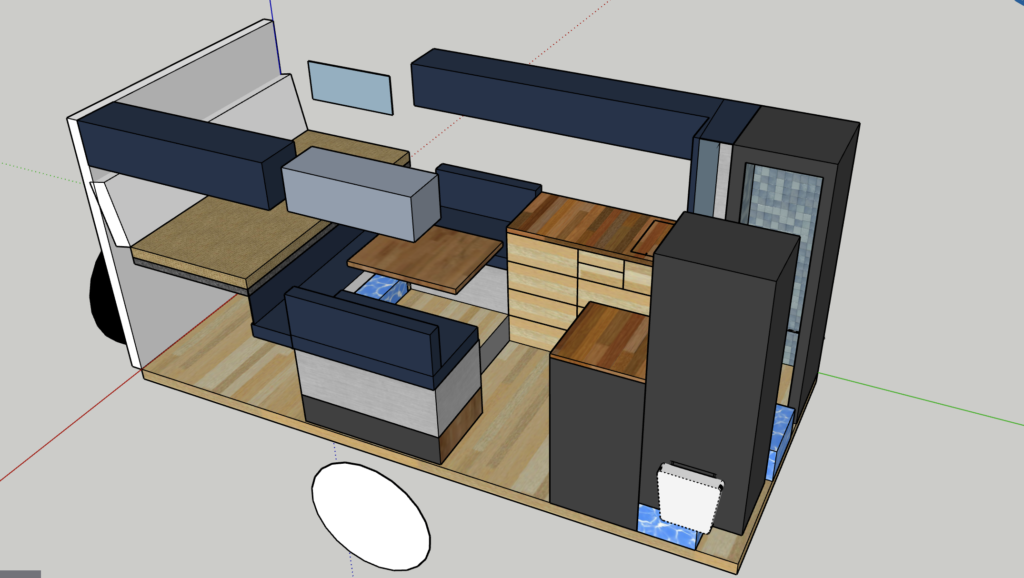
Checking The 3D Model
We spent some time going over our 3D build plan with the actual box. Up until now or plan was based off of tape and cardboard from our mock build. It’s nice to finally have the actual box.
Everything was looking good and the measurements from the box blueprint and box itself were spot on. Next we started taping things out in the Total Composites camper box. I’ve a got a video coming out later today showing the 3D build using Google Sketchup. I'll post that up on our
Youtube channel.
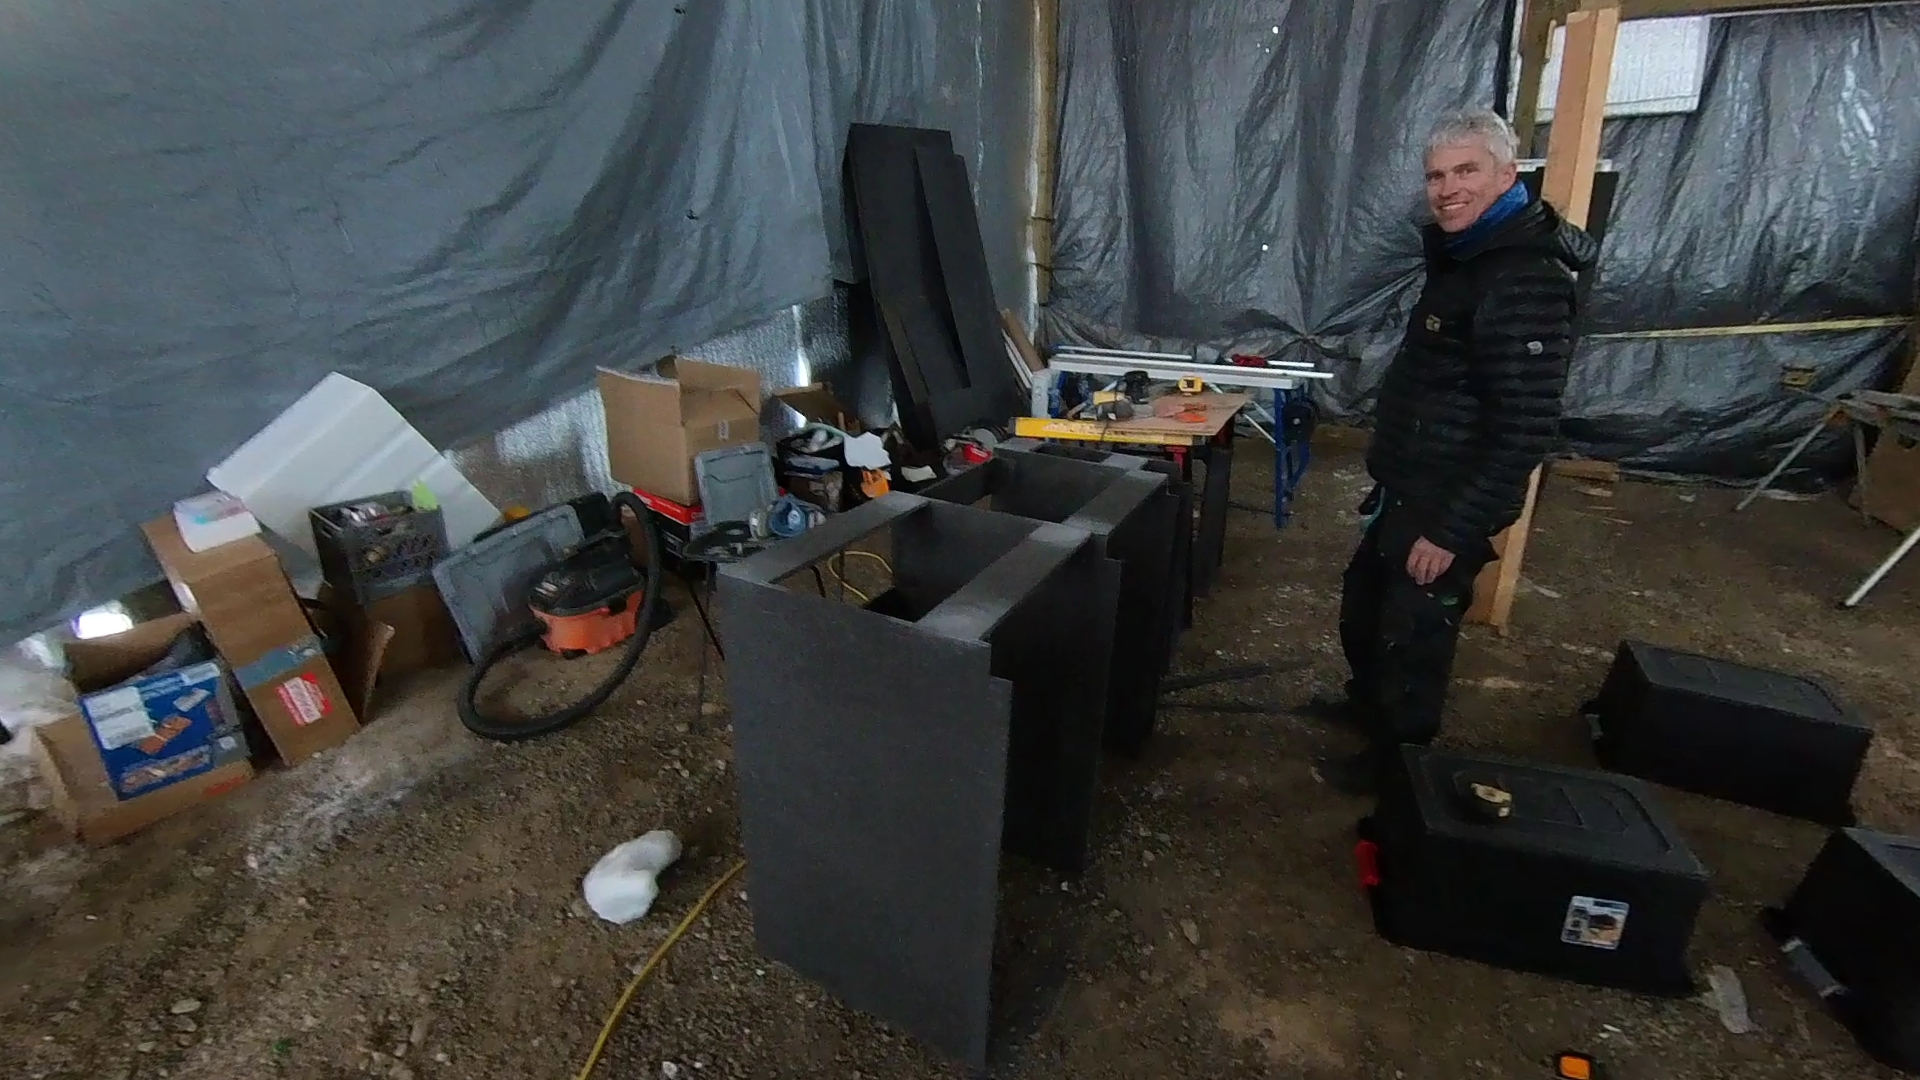
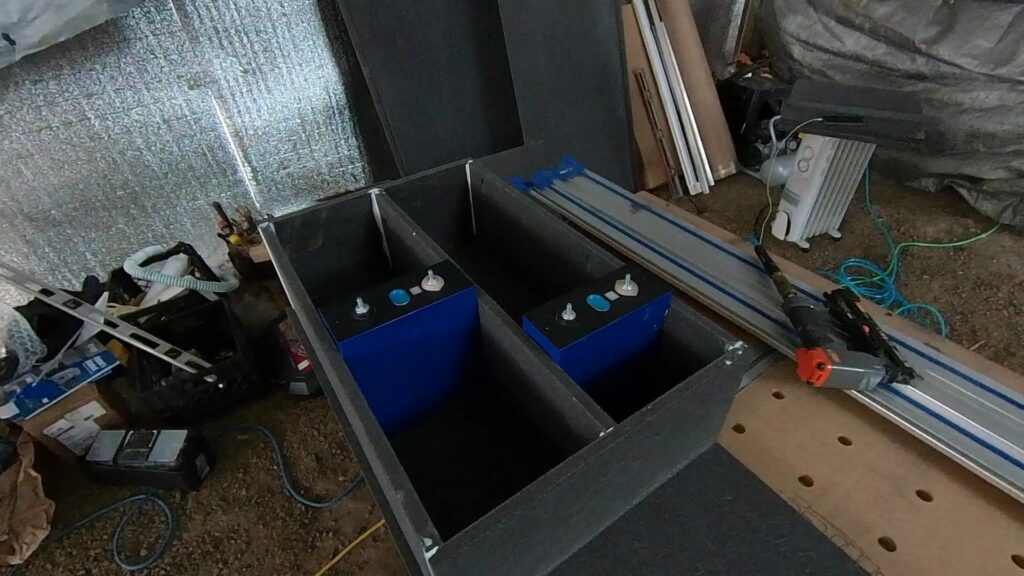
Coosa Composite Panels
We are building the interior using 1/2” Coosa composite panels. Coosa is a foam board with fiberglass stranding. It’s incredibly light and easy to work with.
The board can be shaped and cut using normal wood working tools. They have a rough finish to them and also have some air bubble imperfections so don’t expect a perfectly smooth surface.
My plan is to use a skim coat of Bondo for any areas that I want a perfectly smooth surface but I think a few layers of paint should do the trick. Coosa recommends starting with Kilz 3 primer and then using any standard interior paint.
Here I was doing some glue strength tests using the
glue that Total Composites recommends for their boxes. Coosa is used a lot in the marine industry and works well with Epoxy and glassing techniques. While I am familiar with that process it adds a lot of complexity and mess so I was excited to see how well this other glue worked.
The Total Composites recommended glue is dispensed using a caulking gun making for fast and easy application. I may still use some epoxy for the kitchen cabinet but everything else I will likely use the Total Composite caulking glue.
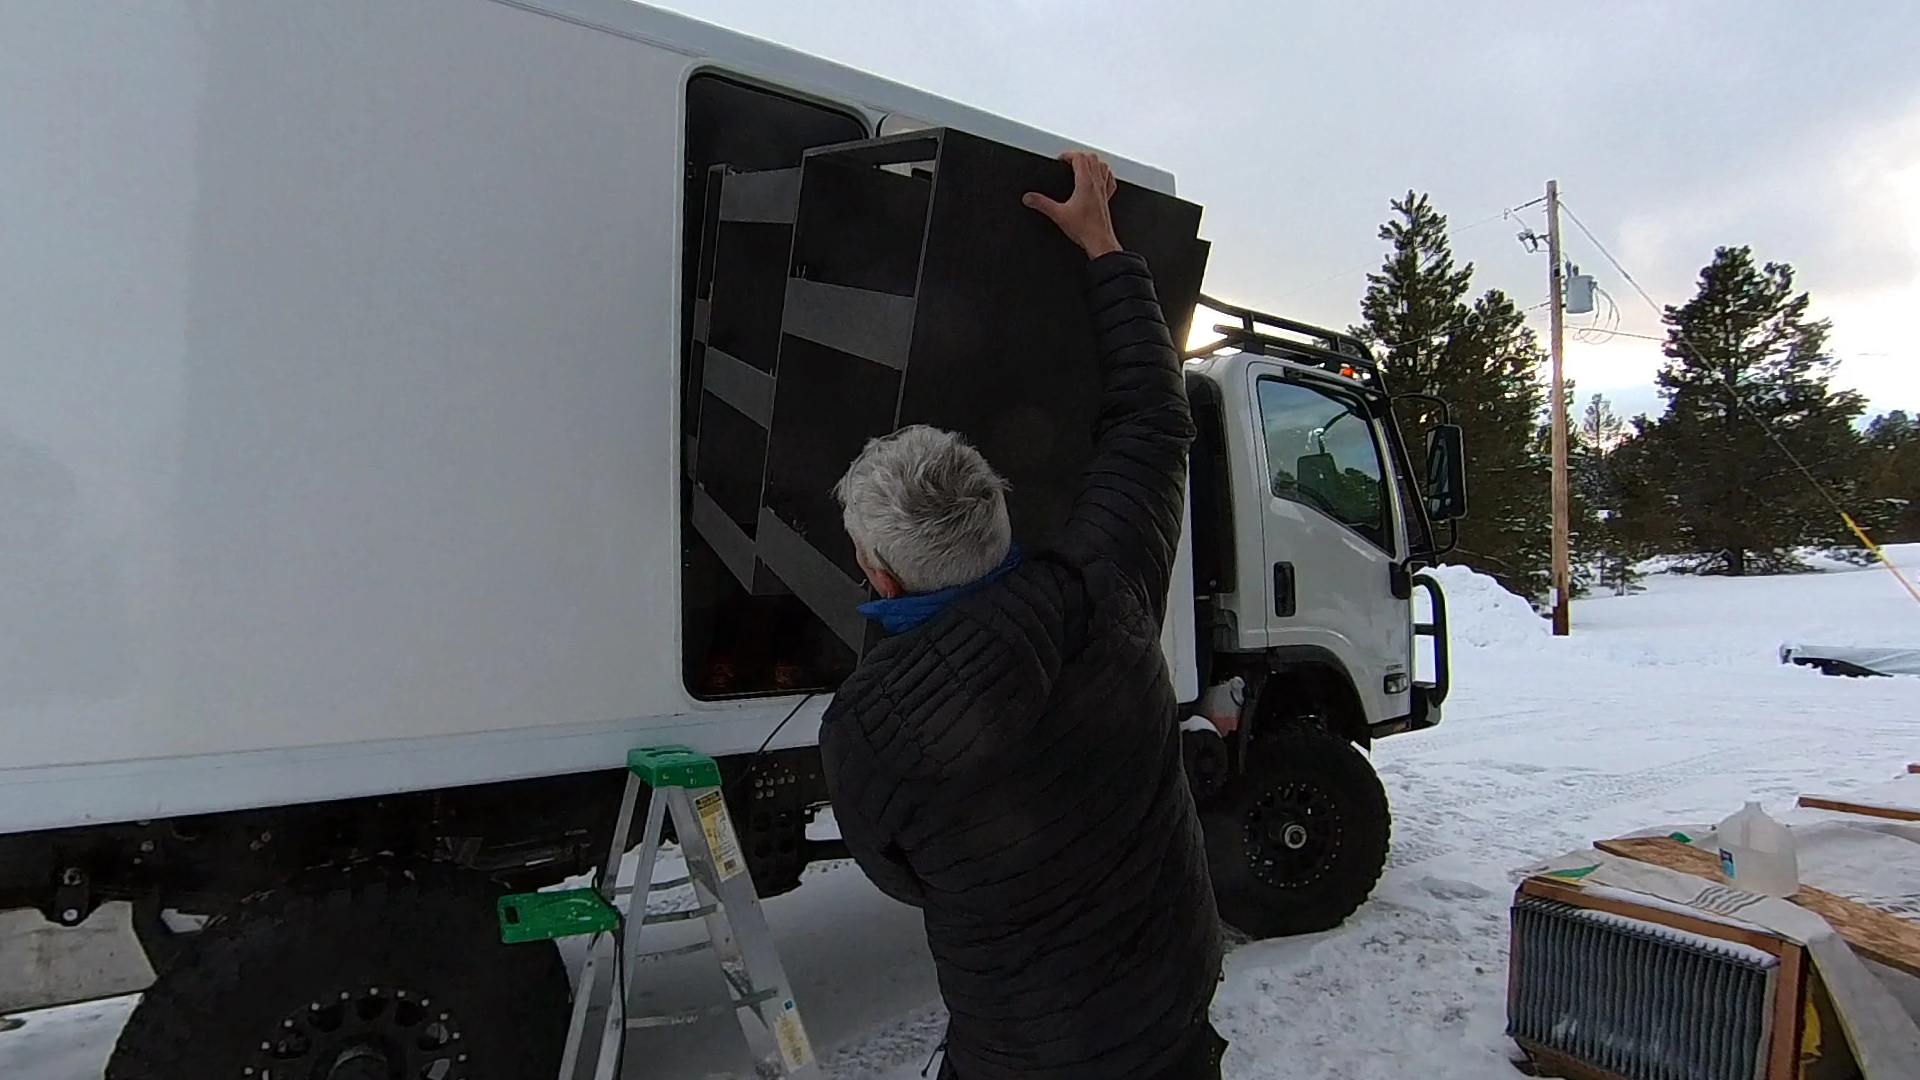
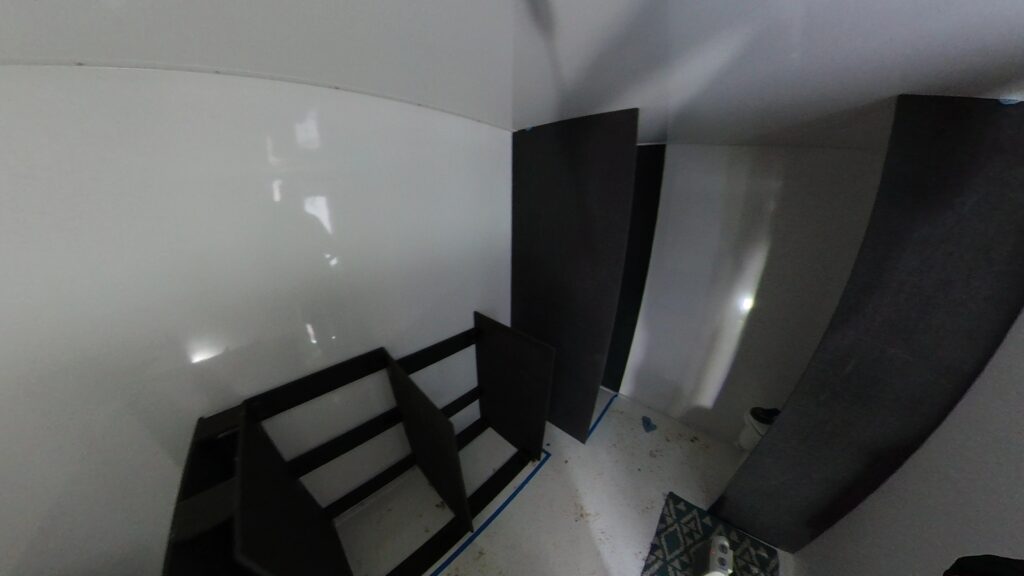
The big drawback with Coosa is screw retention. While it works well with glues it does not hold screws very well. You can use screws to help hold things together while the glue dries but that’s about it. I’ll be using some pocket hole screws to help glue pieces were clamps won’t work.
I’m also testing this glue using a metal activator on the drawer slides as I don’t trust using only screws to secure the drawer hardware. I also want to use some aluminum angle iron to secure cabinets to the camper box walls. That reminds me, it’s important to know you can’t screw anything into the walls or ceilings of the total composite boxes. Everything must be glued. You can screw into the floor of the box since there is a layer of marine ply directly beneath the fiberglass skin.
I purchased the Coosa panels from Fisheries Supply In Seattle, they only charged $100 in freight to ship 8 sheets! They accidentally sent me one sheet of 5/8 and if I did this again I would probably just go with 5/8” throughout. I think the 5/8” is the best bang in terms of strength and weight and will require less bracing to make things rigid.
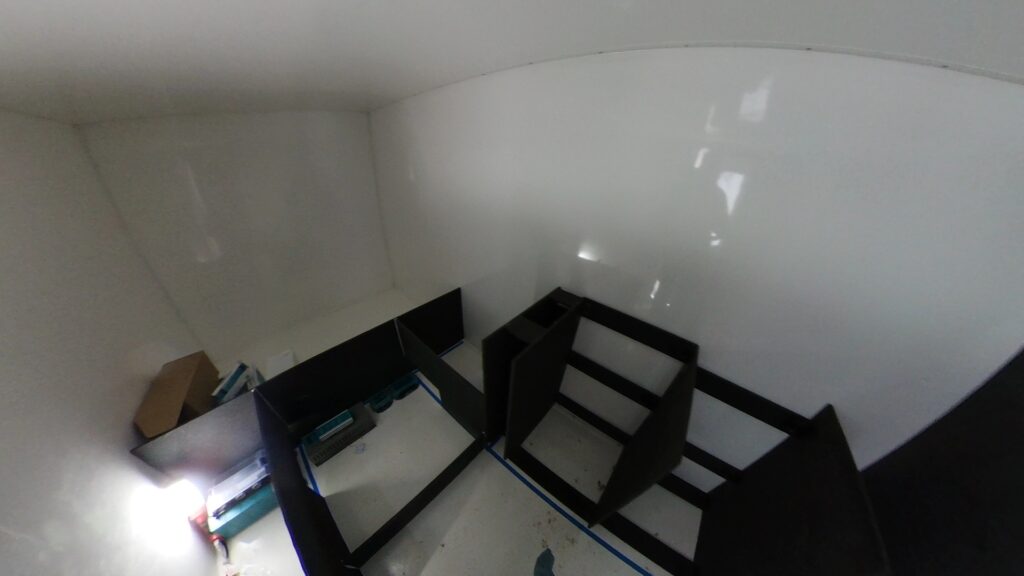
Dinette Seating Area
We got a few parts of the dinette seating area put in. The short side is 32″ and the longer seat is 42″, I may shorten the 42″ side a bit. Between the seats is going to be a raised 7″ platform to accommodate electrical and some storage. Behind the dinette is our 54″ wide Full size bed area. Bed will sit about 36″ high to allow for storage under the bed.
Better get back to work....