wikid
Adventurer
I was asked by another member to start a thread about my lighting system . It's on a FJC, but many of this could be useful on most types of rigs
Where it begins is the design and implementation of my Roof Rack and how the lighting was designed
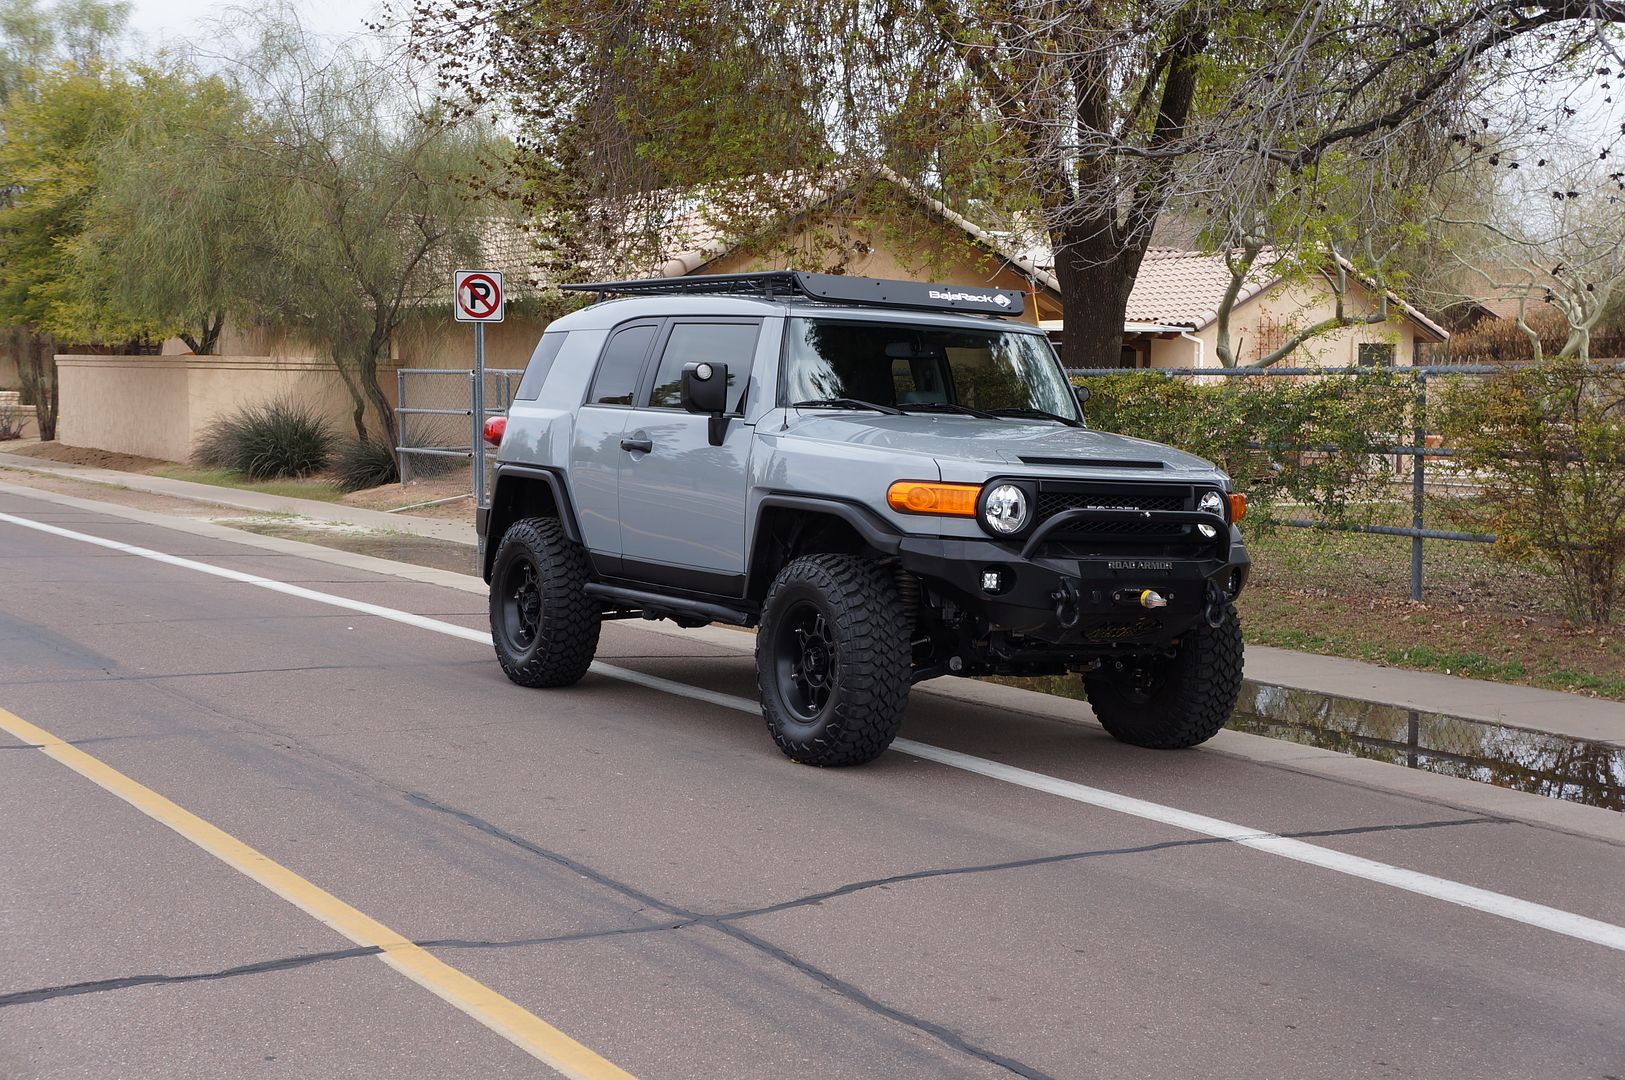
To start I have the Baja Racks Spylight system. Initially it was developed in my garage, then, with cooperation from Baja Racks, it is now in production for more than just the FJC
http://www.youtube.com/watch?v=JjFREV4eedo
The Spylight is complimented with a Baja Designs 40" Stealth Bar it is comprised of 20% fllood beam on the outside and 80% spot bean in the center. It fills out nicely and has very good distance .
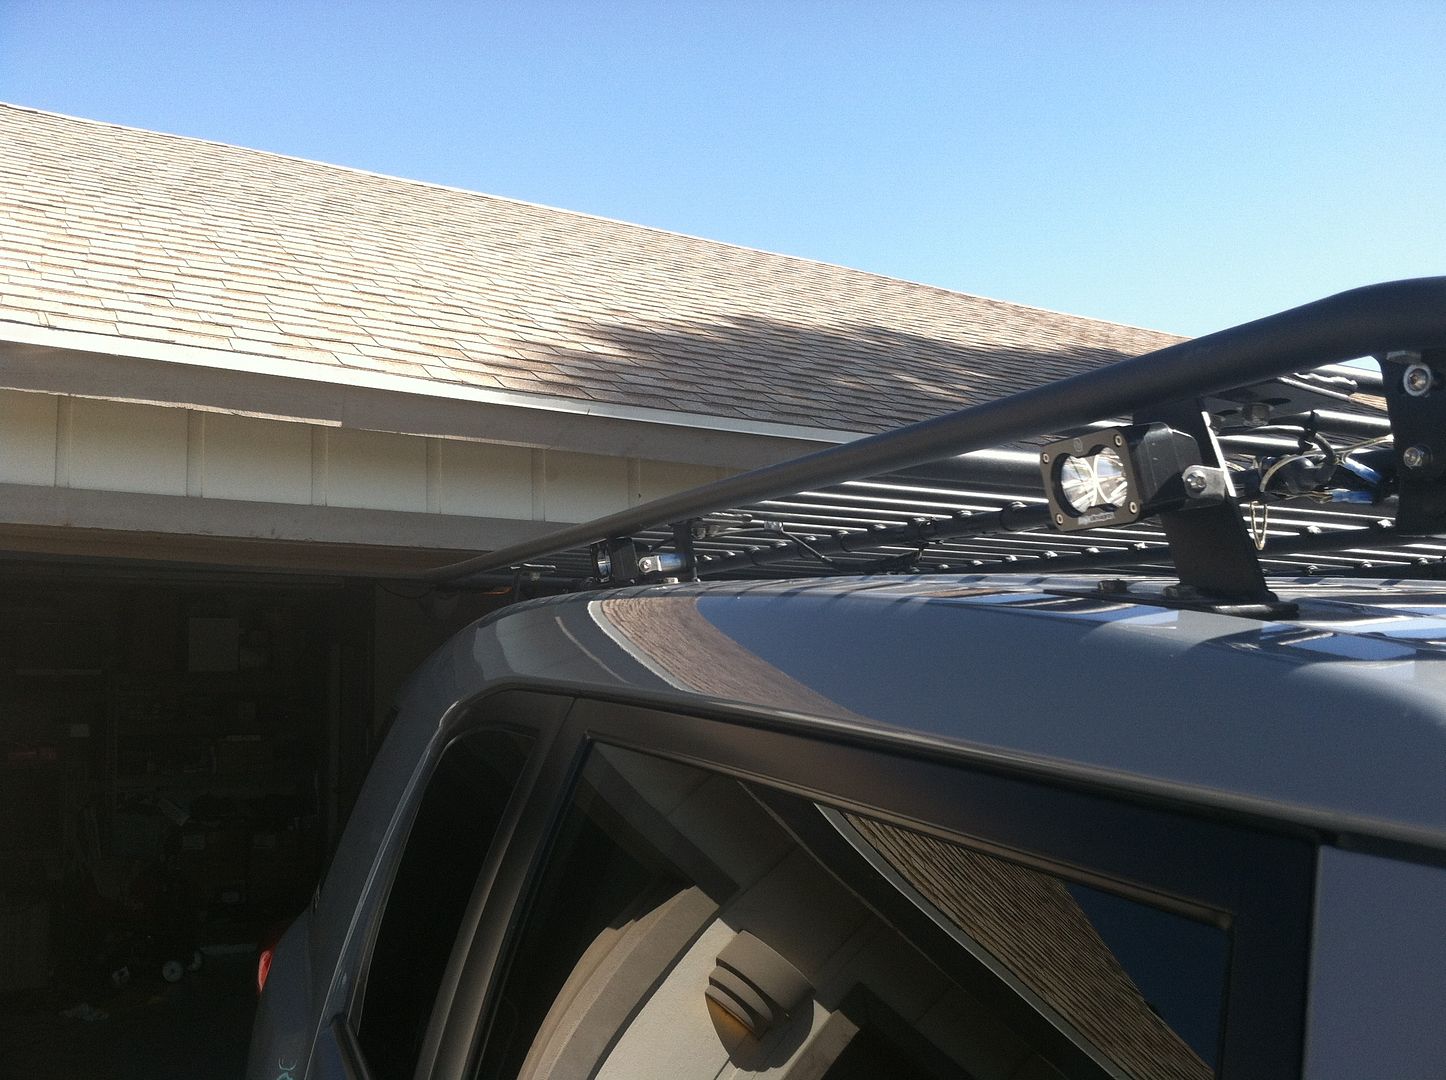
with the combination of the Spylight System, the light can be adjusted up or down, which may be handy while looking farther up a hill, or to subdue the aim for other drivers in a group.
Here is a picture of it in the up position. Some modifications the the system were made after this pic, but it does the same thing
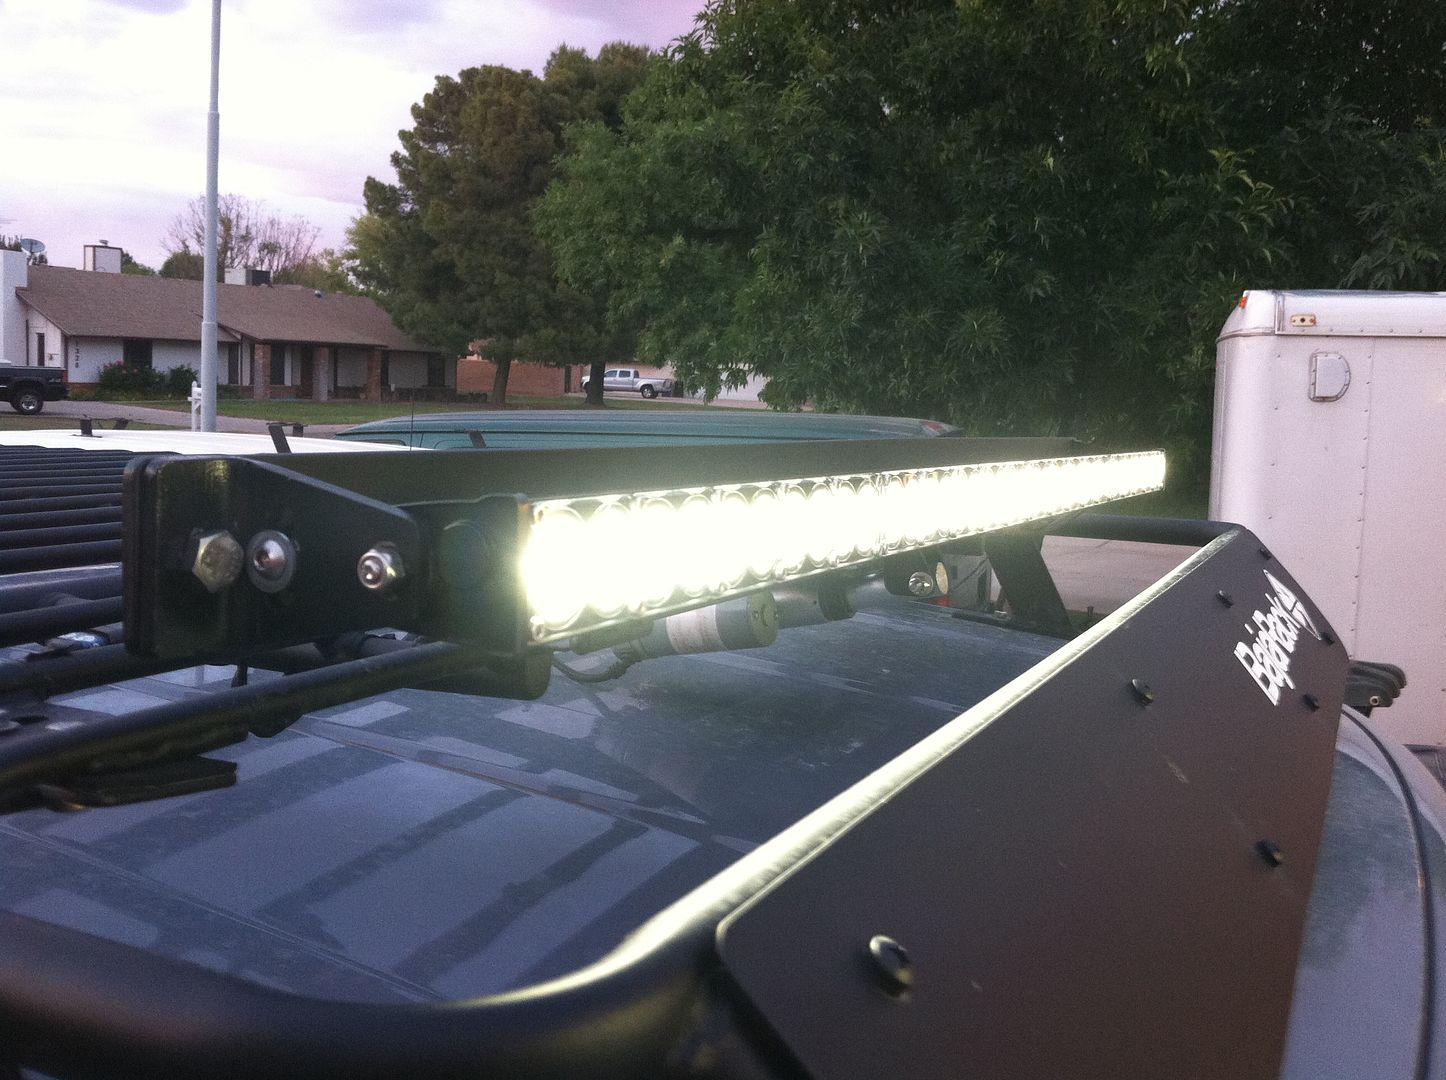
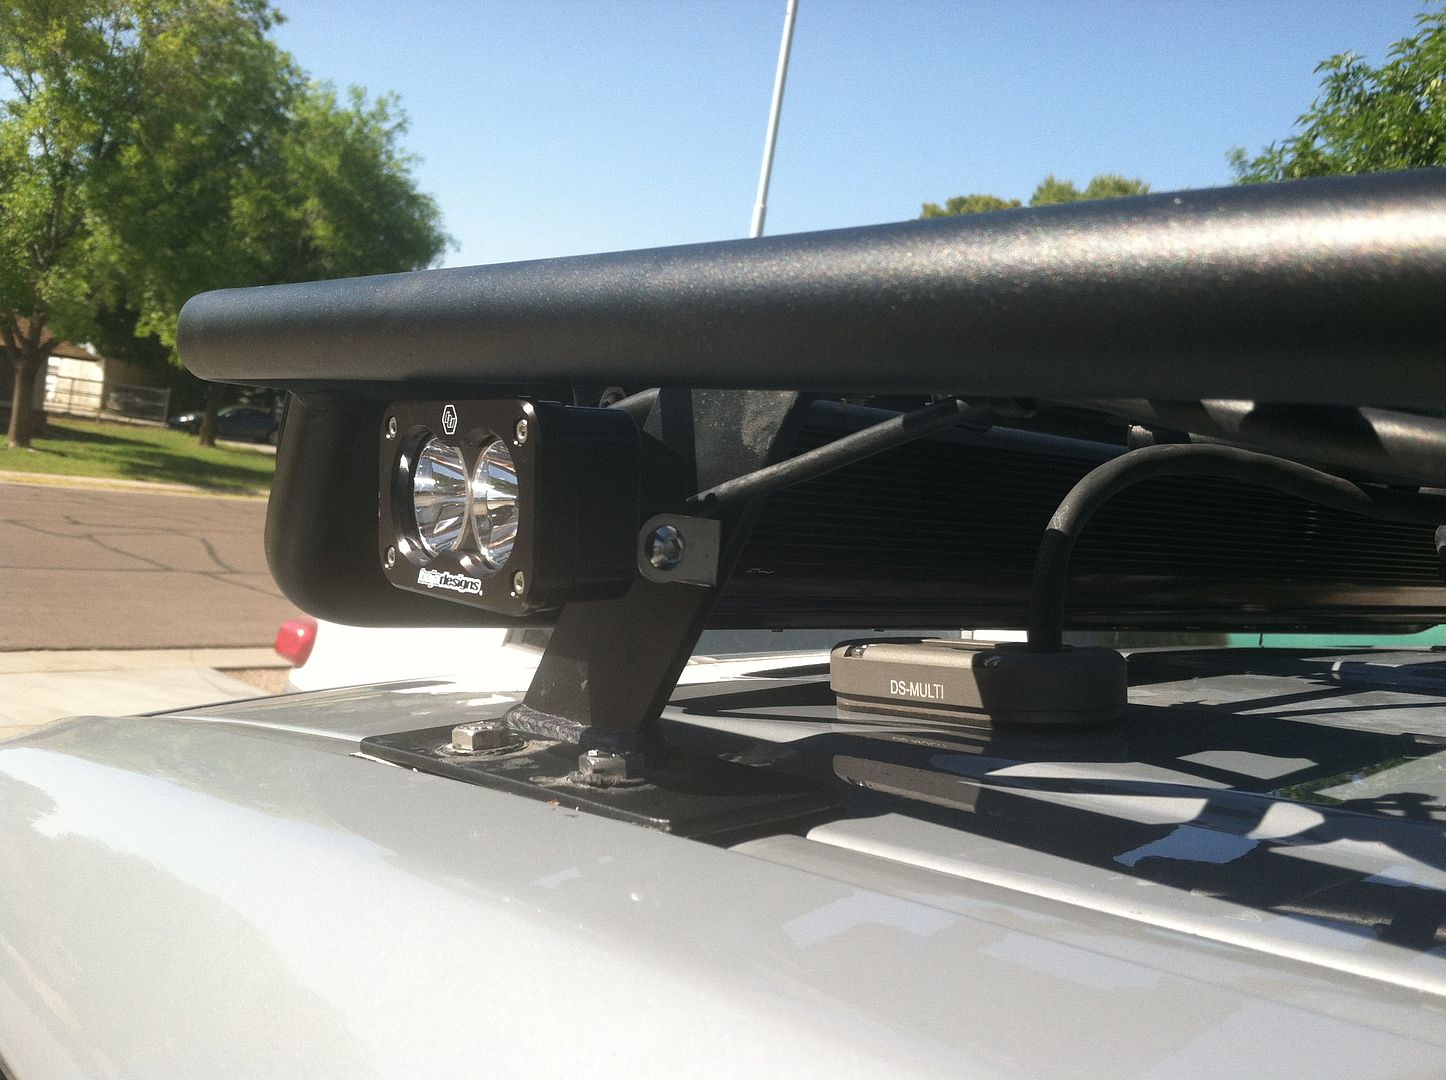
This is tucked in and away from harm. As you can see it stays level with the rack, and even is slightly hidden from plain site.
This is also available for the Jeep Wrangler, you will have to check with Baja Racks for other fitment
Roof wiring is the next subject to cover
I have seen many solution for putting the wires through the roof, but wasn't quite comfortable with some or most of them
I wanted to have a total wiring solution that I could easily unplug and remove without having to take everything apart
Here was the key
Its called a DeckSeal
The first picture shows the the rubber block that sits in a anodized housing the rubber block is about 3/4 inch thick and shaped like the the outer portioned, then tapered at the bottom.
The way it works is you drill the wire size through the rubber , push wire through then when you put the housing over the rubber block it compresses around the wire . This system is used in the high end boating industry

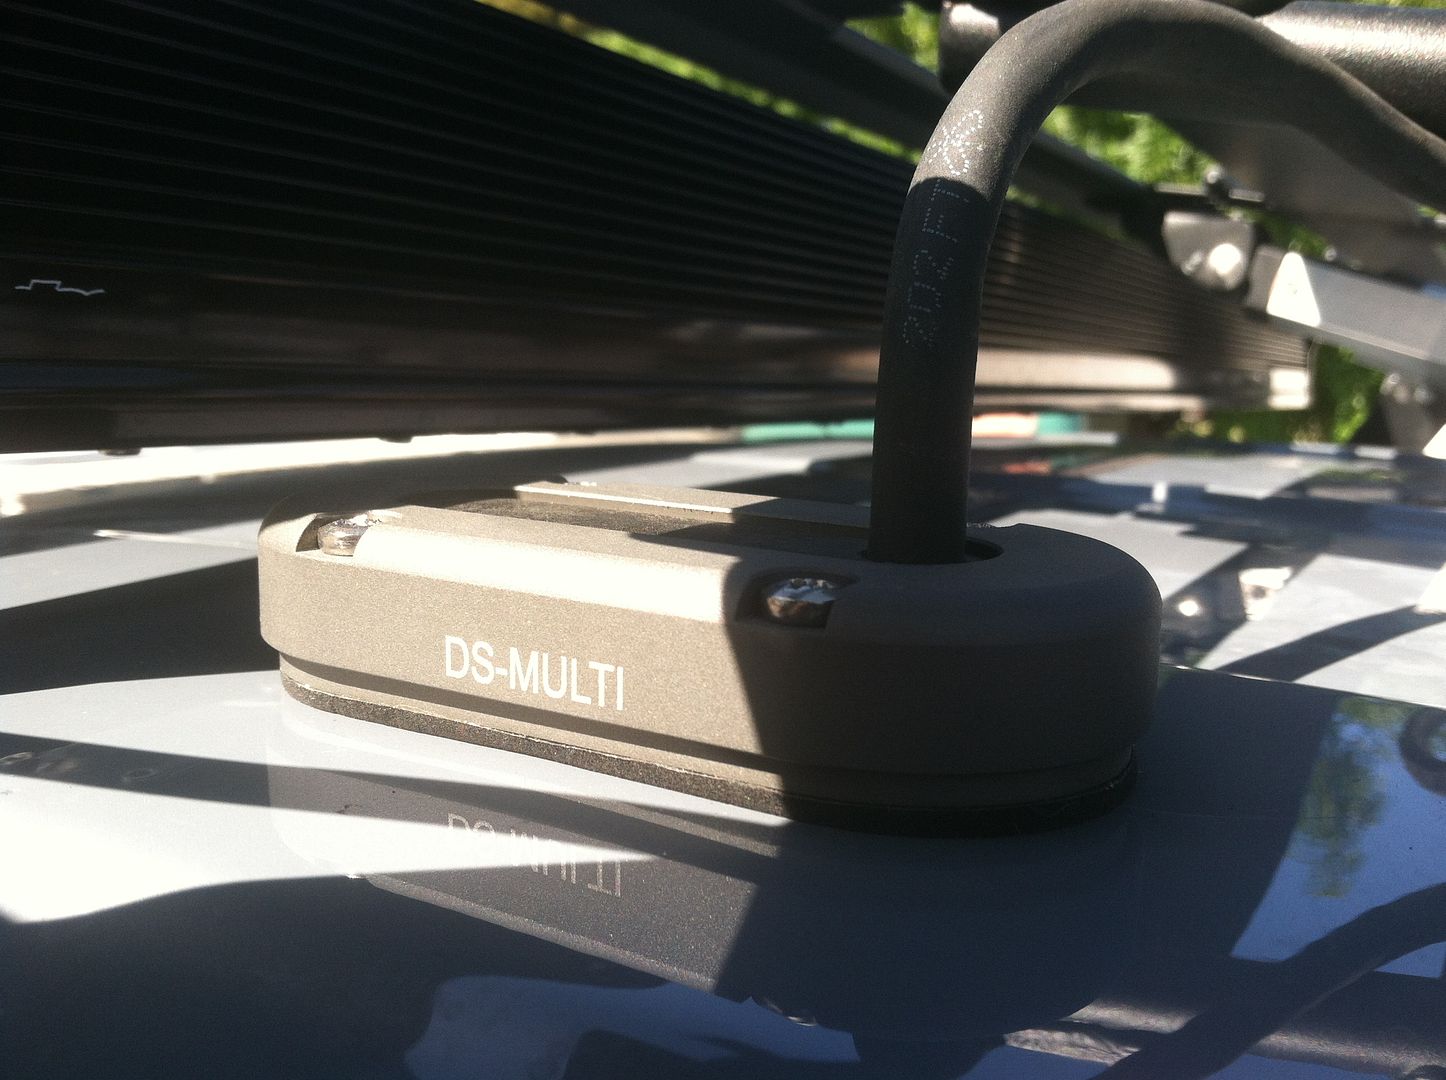
I have 3 cables with a plethora of wires through them. I am happy to report, they don't leak. Verified by 1 week, of almost solid rain when we went to Ouray Colorado
Next is the rest of the lighting on the roof
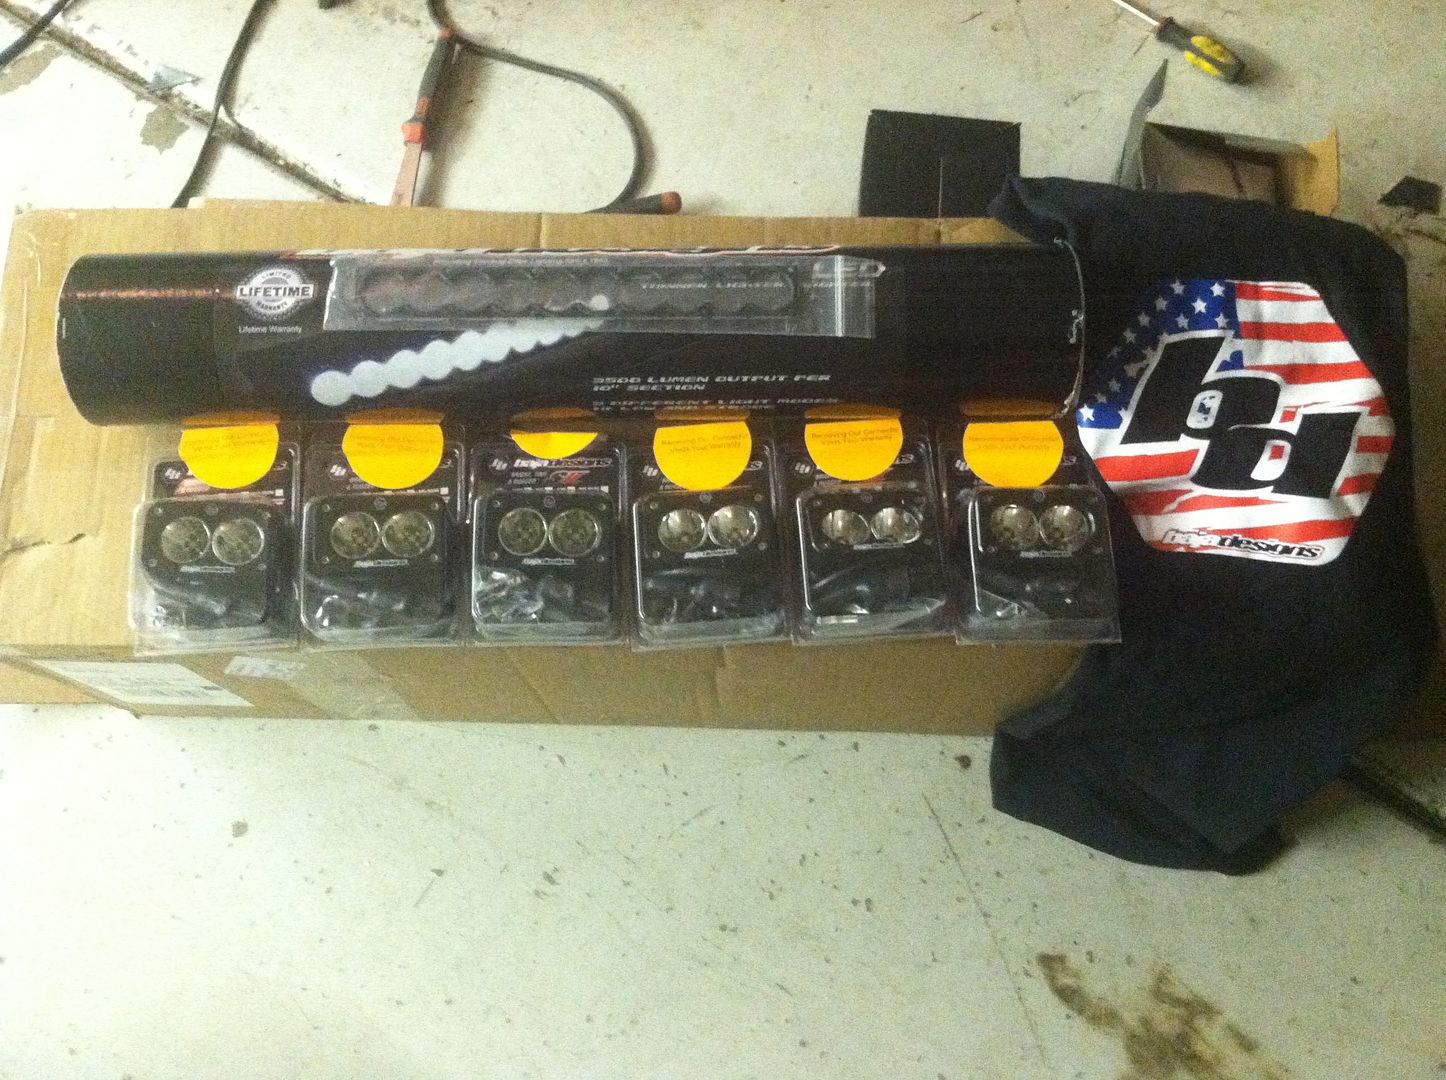
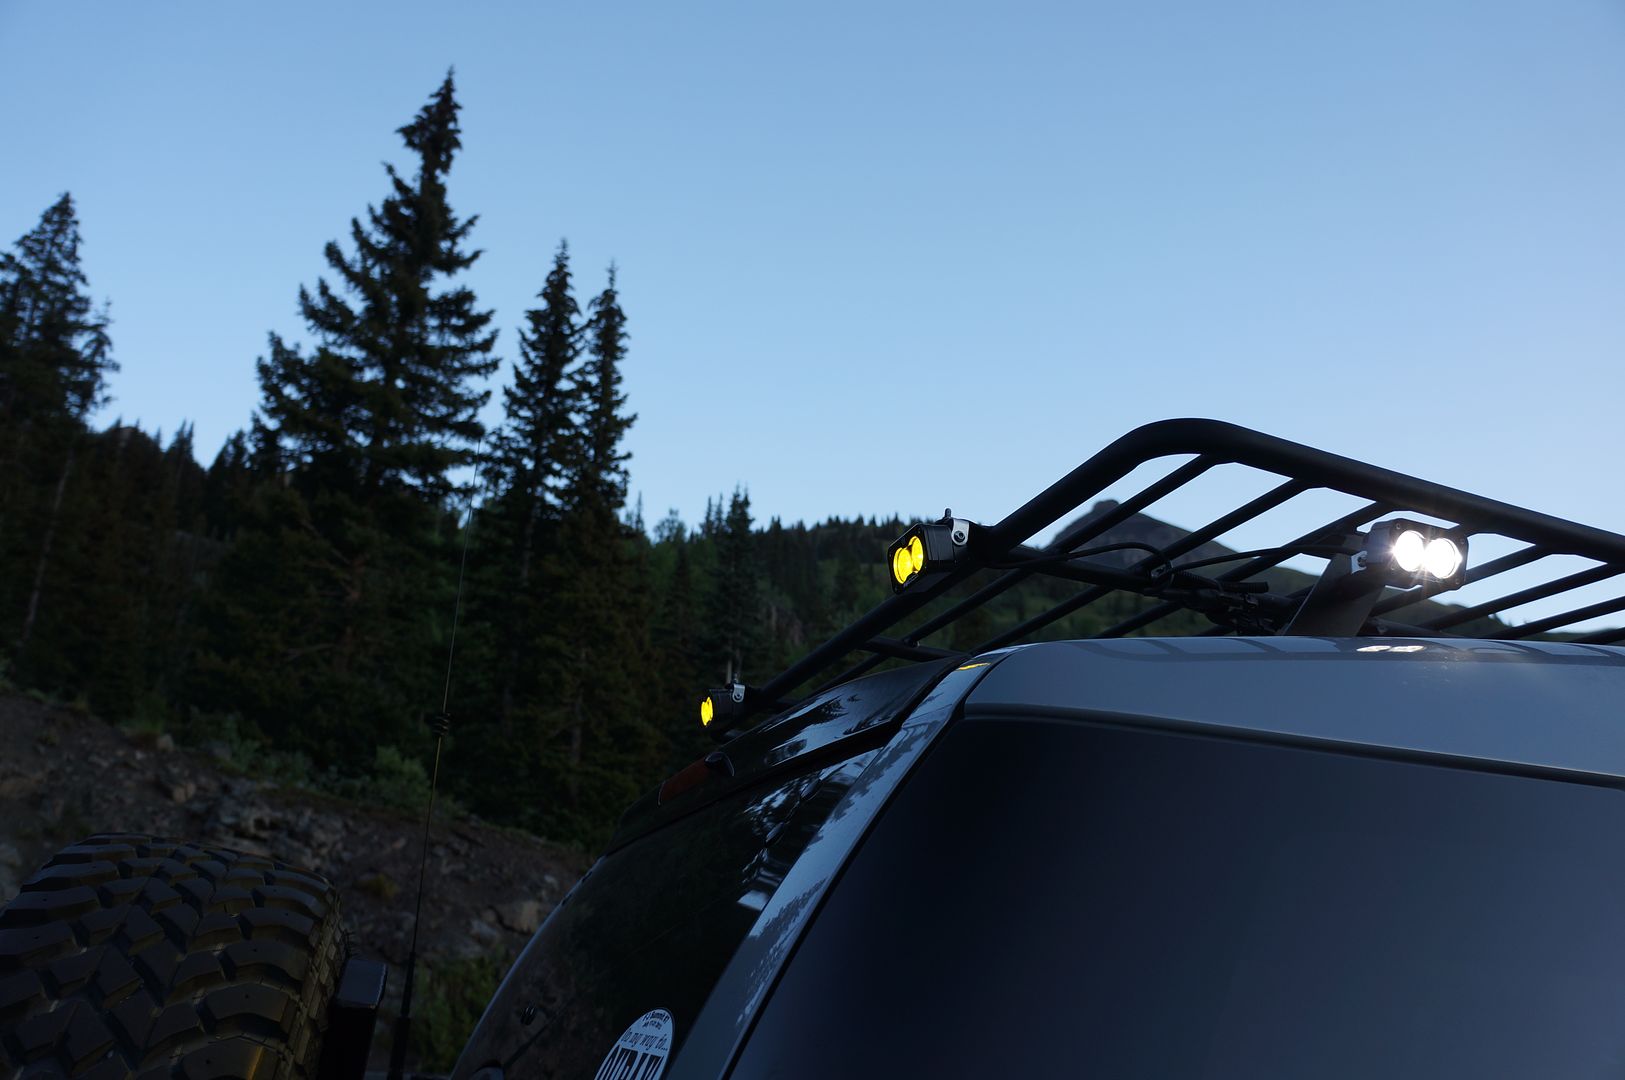
Here are some of the other lights in my plan
Baja Design S2's for side and rear lighting. I have 2-2-2 each side and the rear. They have a combination spot/flood pattern. This could be adjusted to all flood for good camp set up light
Mounted version
This will consume some time to get this all posted, so it will get continued
Where it begins is the design and implementation of my Roof Rack and how the lighting was designed
To start I have the Baja Racks Spylight system. Initially it was developed in my garage, then, with cooperation from Baja Racks, it is now in production for more than just the FJC
http://www.youtube.com/watch?v=JjFREV4eedo
The Spylight is complimented with a Baja Designs 40" Stealth Bar it is comprised of 20% fllood beam on the outside and 80% spot bean in the center. It fills out nicely and has very good distance .
with the combination of the Spylight System, the light can be adjusted up or down, which may be handy while looking farther up a hill, or to subdue the aim for other drivers in a group.
Here is a picture of it in the up position. Some modifications the the system were made after this pic, but it does the same thing

This is tucked in and away from harm. As you can see it stays level with the rack, and even is slightly hidden from plain site.

This is also available for the Jeep Wrangler, you will have to check with Baja Racks for other fitment
Roof wiring is the next subject to cover
I have seen many solution for putting the wires through the roof, but wasn't quite comfortable with some or most of them
I wanted to have a total wiring solution that I could easily unplug and remove without having to take everything apart
Here was the key
Its called a DeckSeal
The first picture shows the the rubber block that sits in a anodized housing the rubber block is about 3/4 inch thick and shaped like the the outer portioned, then tapered at the bottom.
The way it works is you drill the wire size through the rubber , push wire through then when you put the housing over the rubber block it compresses around the wire . This system is used in the high end boating industry


I have 3 cables with a plethora of wires through them. I am happy to report, they don't leak. Verified by 1 week, of almost solid rain when we went to Ouray Colorado
Next is the rest of the lighting on the roof
Here are some of the other lights in my plan
Baja Design S2's for side and rear lighting. I have 2-2-2 each side and the rear. They have a combination spot/flood pattern. This could be adjusted to all flood for good camp set up light

Mounted version


This will consume some time to get this all posted, so it will get continued
