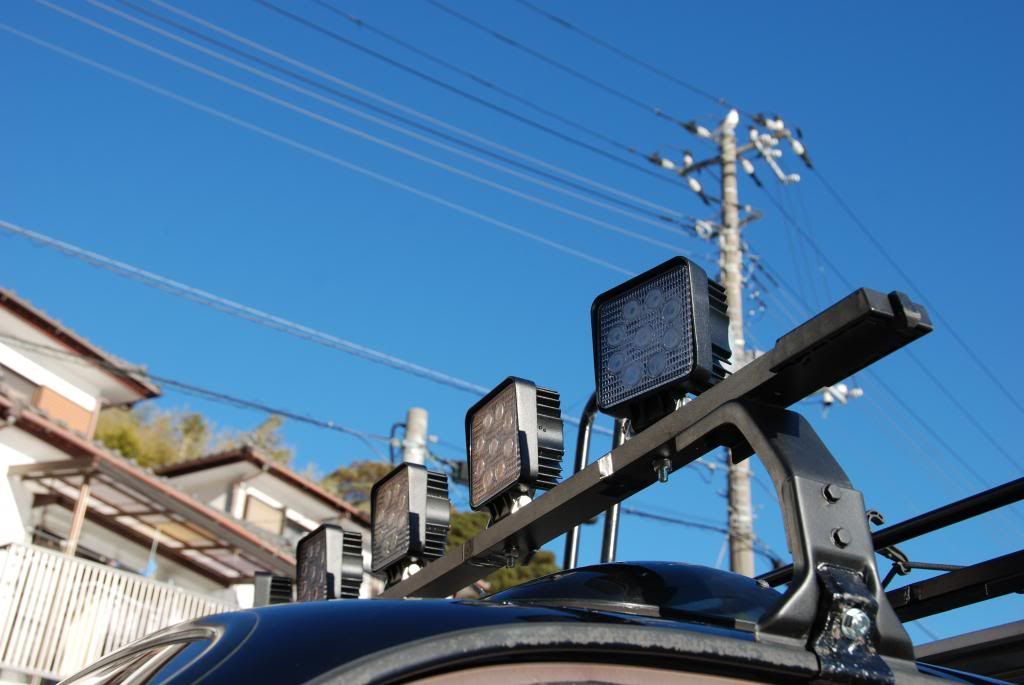
Rugged Expeditions FZJ80 Build

Quick introduction, my name is Dan, and this is the first time we have put our expedition group's name out there, Rugged Expeditions.
What we will be doing is exploring most of California's beauty and sharing it through our cinematography and photography. But not limiting ourselves to just that.
We will also share our engineering and fabrication skills that aid us in doing our exploring.

1994 FZJ80 - 199k and counting.

Specs:
- Stock Motor
- Stock Drivetrain
- Dual Optima Batteries
Suspension & Tires:
- 2.5" OME Heavy Lift
- 285/70R17 BFG AT on Gear Rims
Body:
- ARB Front Bumper equipped with XRC10 Winch
- Kaymar Rear Bumper
- Surco Roof Basket
- PIAA Hi-Lo Beam Fog Lights
Utilities:
- PROwatt SW2000 Power Inverter
- Cobra 18 WX ST II CB Radio with Firestik Antenna
- Custom Center Arm Rest
- JVC Deck Bluetooth USB
- Galaxy Tab 3 for GPS & Maps with RAM mount
- Custom Leather Bucket Seats (x4)
- Smittybilt GEAR Seat Cover
- Smittybilt Clinometer
- SMD48 LED Dome Lights

In Progress:
- Custom Rear Storage Units
- Slide out Grill
- 360 Degree LED Lighting

To Do List:
- Spare Tire/Jerry Swing out Carrier
- 7-Pin Mod
- Trail-Gear 67" Rock Sliders
- Rock Lights
- LED Lightbar
- Tepui Roof Top Tent
- Roof Awning
- Viair On Board Air with Tank
- Custom Wrap with logo

When and IF the motor goes, 4.7L swap. :ylsmoke:

Most Recent Pictures of My 80 on my last expedition:
4xiDHtW.jpg

iuPnD6h.jpg

Dau8cVr.jpg

iNFordY.jpg

and another:
o3YXQth.png

GFD6ezF.jpg


With some of the crew:
4rTlITE.jpg

KcidiJI.jpg
 
Last edited:

NM-Frontier

Explorer
Welcome to ExPo! Looks like you guys are off to a good start! Looking forward to you travels and to watching you finish your "to-do" list.:sombrero:
 
Custom Storage and Slide Out Grill

I started my storage drawers and grill slide out today. Basic design for simplicity. 43" wide, 36" deep, and ~12" high (about the height of the tailgate).

We have the basic structure done and one pull out completed, grill in front storage in back. Maybe thinking of adding another drawer above the grill. Next is to build the other drawer and add fold up sides and two panels facing toward the back on each side, with 12v outlets/switches for LEDs. Also planning on adding Molle Racks on each side against the windows.

This is how my layout was for the last year, I did have my spare in the roof basket, but it was killing my MPGs. So I decided to place it into the back for now until I can figure out my bumper situation.
q5P6NTK.jpg


Quick mock up of the basic structure.
CStqynI.jpg


Once everything was squared out, then we built the slide to the width of the grill on the right side.
TOdCQ35.jpg

24" slides.
1snBBv9.jpg

tQP8ztf.jpg


End of the day photos:
l4FRHWK.jpg

UEP5grT.jpg


Oh and these just came in:
yChPOsU.jpg


To be Continued...:ylsmoke:
 

4wdx4

New member
Nice. I just joined myself although I am just getting started. Looking forward seeing what you come up with and may give me some ideas as well. I am starting my storage space in about 2 or 3 weeks also.
 
Custom Storage and Slide Out Grill -- Part 2

Its been a while since I have been able to work on my storage. Work has been busy, so I had a buddy build some drawers for me and they turned out GREAT! :Wow1:

I did get to build my prototype basket ceiling storage unit. About 6" depth of storage.
ePcJtHt.jpg

AnchLxm.jpg


I made some quick tabs and tacked on some hooks to hold the basket in place, they are bolted into where the handles were.
39jVTCb.jpg


For the bracing of the storage unit, I used the existing holes that were in the corners and bolted them to the chassis on both corners
5RWeqSm.jpg


And the one holding the unit back against the seats. VERY SOLID!
cXP1qye.jpg


It got dark quick! this is the only end of the day photo I have:
v7uFIUj.jpg


My buddy brought these by for me and they are sweet!
MDRRokX.jpg

ofNd0ZI.jpg

aGpEIOY.jpg

(small one is for the center console)

Look forward to these drawers installed and some more of the storage unit next time, the side wing storage pieces are traced out just waiting to be cut and then attached onto the unit.
 
Attic racks are a great use of dead space, one of my favorite mods.
Yeah I figured since I had these racks sitting around might as well try to use them! lol

How bout some details on the 2nd row seats?
I can get you more pics of those tomorrow. I dont have many details because the previous owner had those installed, I do know that they are high quality and damn comfortable! haha
 
LED Dome Lights

More Pics of the rear bucket seats:
xBf8cSp.jpg

71KwGmw.jpg


Installed the center console drawer (aka the junk drawer :p) it will be painted when Im done and ready to paint the storage unit:
YN3SLGl.jpg


Final received my SMD48 LED dome light kits, got them on amazon for about $2 per panel!!
Old worn out BA9S bulb.
LUL3Re8.jpg

Replace with BA9S adapter and connect to SMD48 panel.
nO2FkK6.jpg

Peel 3M adhesive back, stick it, and your done!
XYQAqi0.jpg


Here is how the Festoon adapter went in:
KiTcw4c.jpg


Night shots, a must have for anyone wanting more light in their cab.
oyx8FEF.jpg

15bA8bB.jpg

8fzfDmN.jpg
 
Storage Build - Part 3

Its been a while since I have posted. Been busy with other things around the house and work. So here is a big update...

Built the side wings for the storage:
U8Mscxj.jpg

k10QkwN.jpg

BYMtR5N.jpg

fXDTOU3.jpg

And the big drawer put in:
GnTxWtW.jpg


Jump forward, to about 90% done, it was lined on the top surface with spray on bedliner, then paint rolled on with rustoleum, the closest color I could find to my brown interior.
p2zLSvO.jpg

WRCApUt.jpg

grill mounted:
KZmZ0Ed.jpg


The attic rack up top, I welded on some tubes for rigidity and solid mounting points, then painted a flat camo tan.
kKaZytz.jpg

qajy0bZ.jpg

EuSRWgp.jpg


This is what I will be working on next week... Zombie Lights :ar15:
YV88K5y.jpg
 
Last edited:

Forum statistics

Threads
187,878
Messages
2,899,401
Members
229,073
Latest member
fireofficer001
Top