Slow build of the 4runner

soonenough

Explorer
So is that small block the main fuse holder or what is it?
Yea that's a Blue Sea fuse holder for a 125-amp main fuse. See my post here for more info.

Blue Sea - Fuse Blocks: http://bluesea.com/category/5/21/productline/126
Blue Sea - Fuse Holders: http://bluesea.com/category/5/21/productline/128
Blue Sea - Sea Fuses: http://bluesea.com/category/5/22/productline/overview/134

EDIT: Here's a picture to help describe how it should be layed out. The bold lines represent large gauge wire (2 - 8 AWG, again depending on overall current requirements), and the smaller lines represent smaller gauge wire for the individual circuits. In general, since these circuits are no more than 30-amps each, 10-gauge wire is the largest you'd need for an individual circuit.

BatterySchematic.jpg
 
Last edited:

ttora4runner

Expedition Leader
Thanks soonenough.

Well, I ended up ordering the following from Marine Technology.

Blue Sea 5025 ATO Fuse Block, 6-Circuit with Cover and Negative Bus
Blue Sea 5001 SEA Mega Fuse Block
Blue Sea Mega SEA Fuses 100A-300A (ordered a 100amp fuse, fiqured that be enough).

OEM Toyota Foglight Switch

I fiqured if I'm going to do this I'm going to do it right and at the same time clean my engine bay.
 
Last edited:

ttora4runner

Expedition Leader
Need some input

Need some input if this sounds right?

Ok. If I got this fiqured correctly.

Lightforce 170 lights - 12v x 100w = 8.33 amps per light
Piaa 510's - 12v x 55w = 4.5833 amps per light
Cobra ST WXST II CB - 12v x 4w (I believe) = .33 amps

Total amp - approx. 30 amps. So 7 gauge wire would then (I won't use it though)? Could I get away with 6 gauage?

http://www.powerstream.com/Wire_Size.htm
 

ttora4runner

Expedition Leader
A few things first.

1. Thanks to those whole helped me with the my wiring ?'s. It wasn't that hard, I just tend to overthink things

2. Thanks to Wil and Wen at Sierra Expeditions. Great to wokr with. :victory: Still don't know what I'm going to do with that kangaroo??

3. For those 3rd gen 4runner owners with the Shrockworks bumper. If you decide to get a set of Lightforce 170 lights they will not fit in the holes provide by Shrockworks. You have to drill new holes about 1-1/2" over from the exiting holes and request the low light mounts. Otherwise the lights will be too tall by roughly 1/4 - 3/8". Thanks to Wil for the new mounts.

4. My mounting setup is for the Shrockworks bumper with the single hoop.

5. I reversed the lights mounts so no modification was required to the grill (have about a 3/8 -1/2" clearance).

6. The wiring hook up for the lights suck!!! The crappie connectors they supply you with in the wiring kit are junk (IMO). I ended up destory two of them.

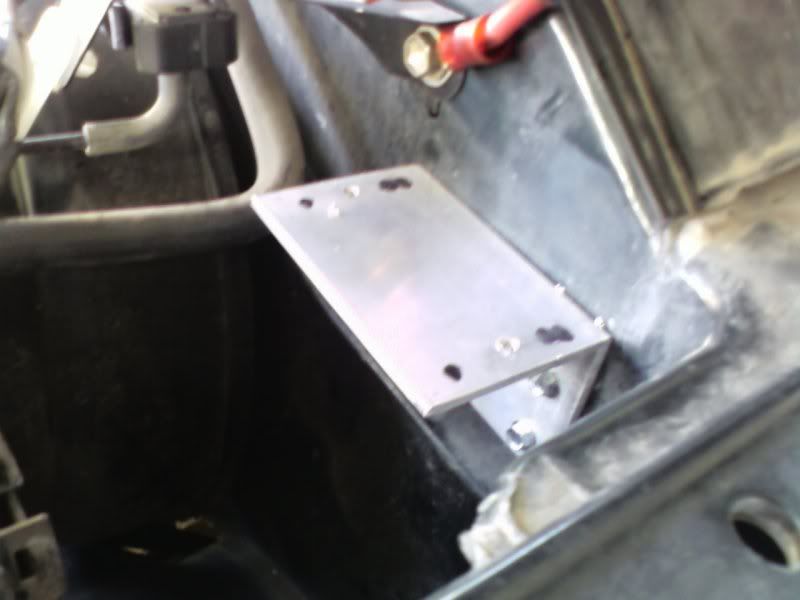
7. Thanks to Johnny Lange of the Wasatch Cruisers for helping to mount the aux fuse block and fuse.


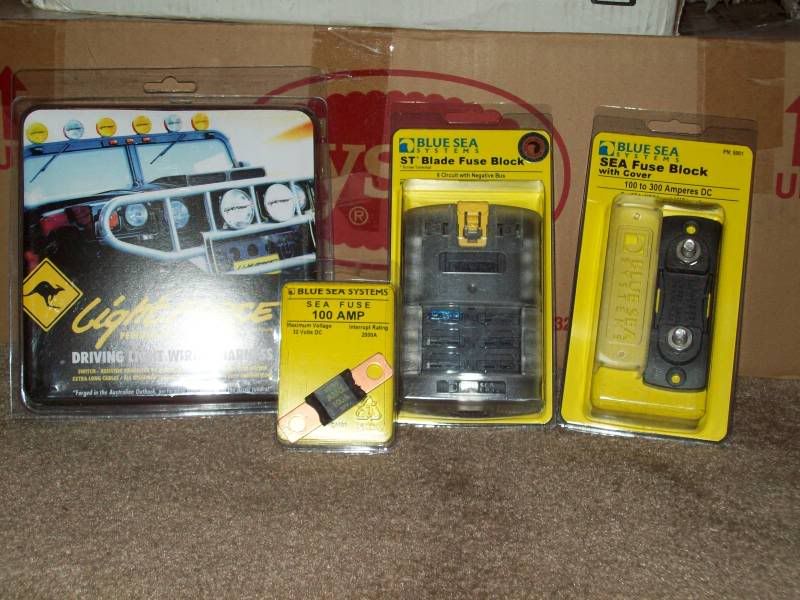
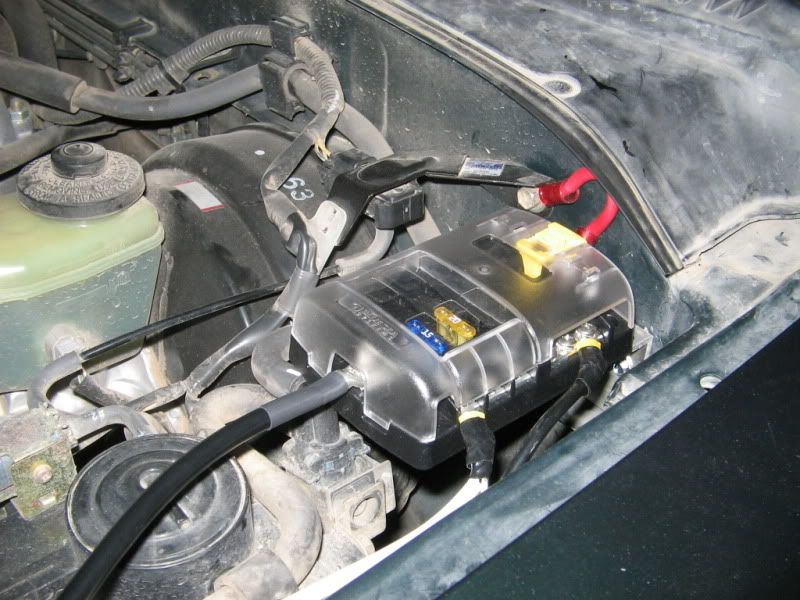
Okay, so here are the pictures after that little rant/soap box :sombrero:. Pardon the dirty battery. I still need to do some clean-up.

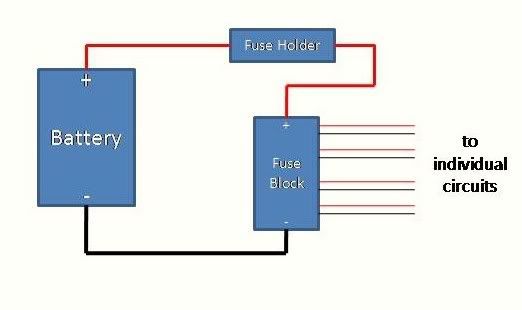
Aux fuse block mounting bracket (see #7). Kind of took us awhile to fiqure out where to mount the block since there are not that many good places in the 4runner's engine bay to mount it too.

1025091305.jpg


Aux. Fuse
IMG_0107.jpg


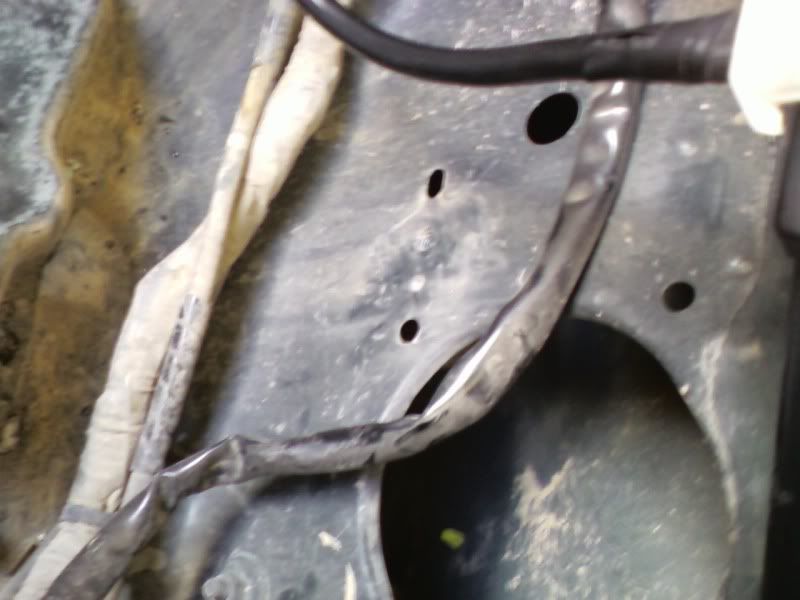
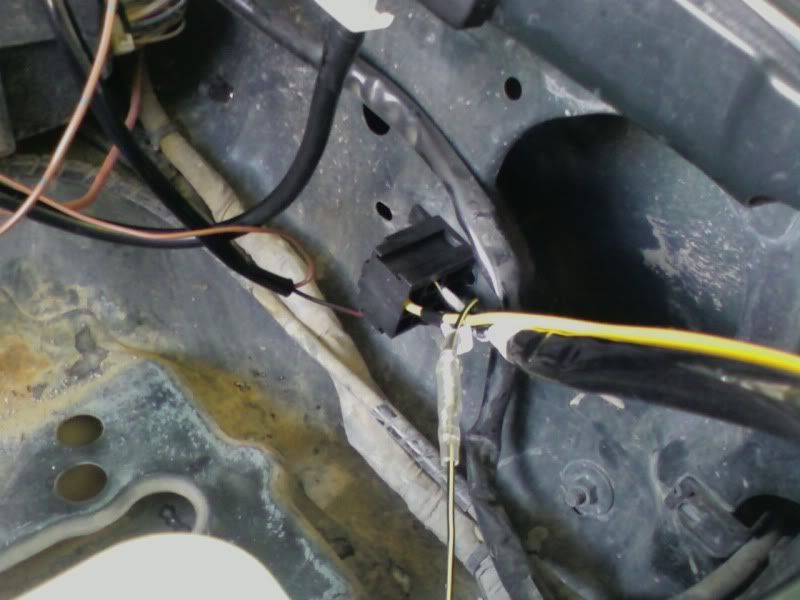
Since I already have a set of PIAA fog lights installed I had to fiqure out a new mounting location of the lightforce relays. The best solution I could come up with was to mount it where the control for my DRL's was. Since I already disconnected them prior to this in seemed like a good place.

Where the module used too be:
1025091328.jpg


Relay installed
1025091336.jpg


I ended up mounting the inline fuse to the bolt/location that I have the relay for my other lights installed. By the way the mounting hole in the inline fuse is a little small. All of the wiring I tried to run along the left side fender under some of the hose's which made for some fun times.


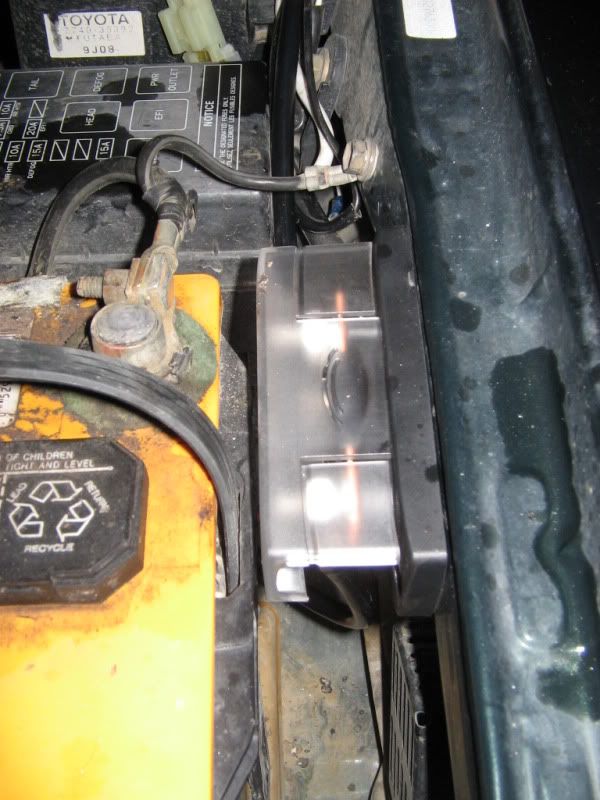
Aux. fuse block all buttoned up.
IMG_0106.jpg


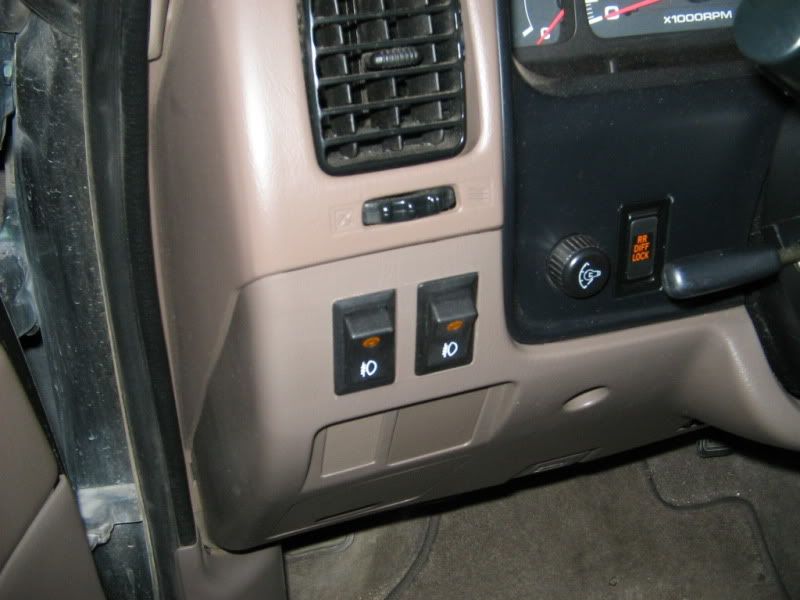
The stock switch proivded with the wiring kit again sucks but that's my opinion so I picked up another factory switch. Only thing I have to do is run a ground wire so it will light up.

IMG_0102.jpg


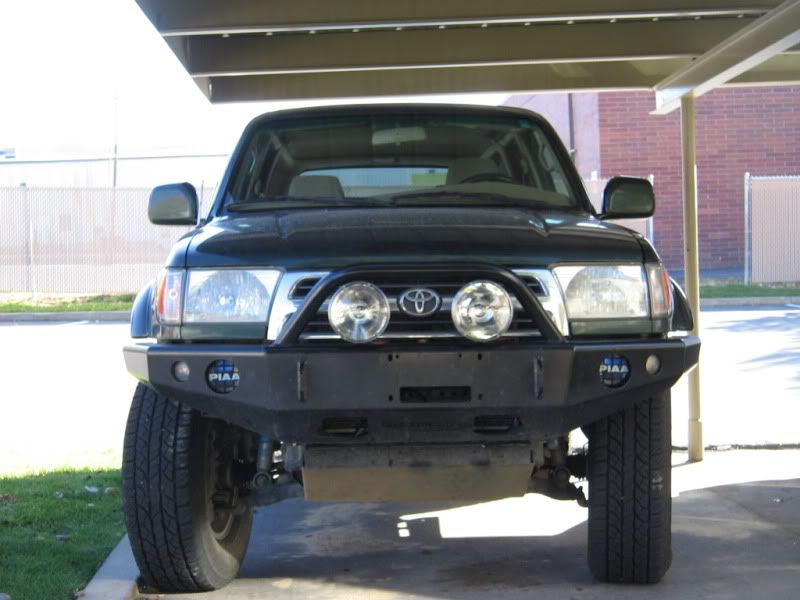
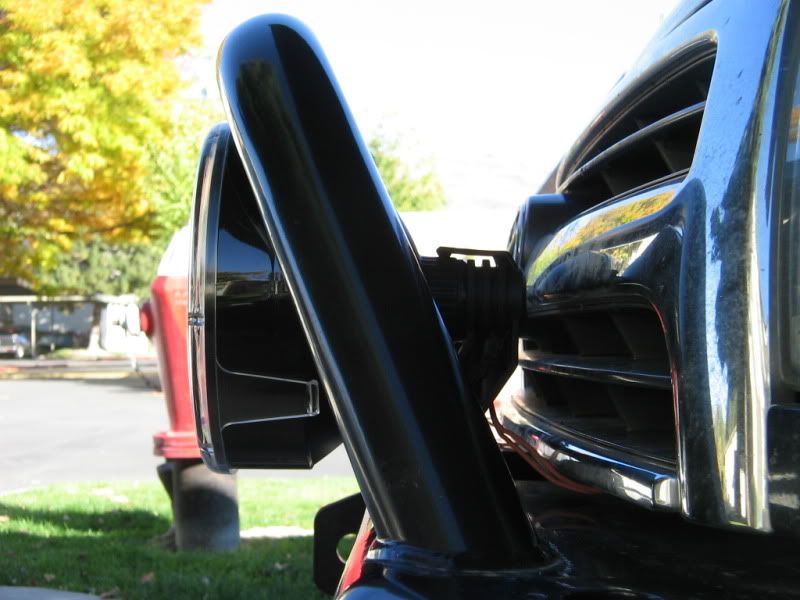
The finished product

IMG_01031.jpg


The clearance issue I mentioned in #3 and 5 above. The lights sit pretty flush/inline with the front of the hoop.

IMG_0104.jpg


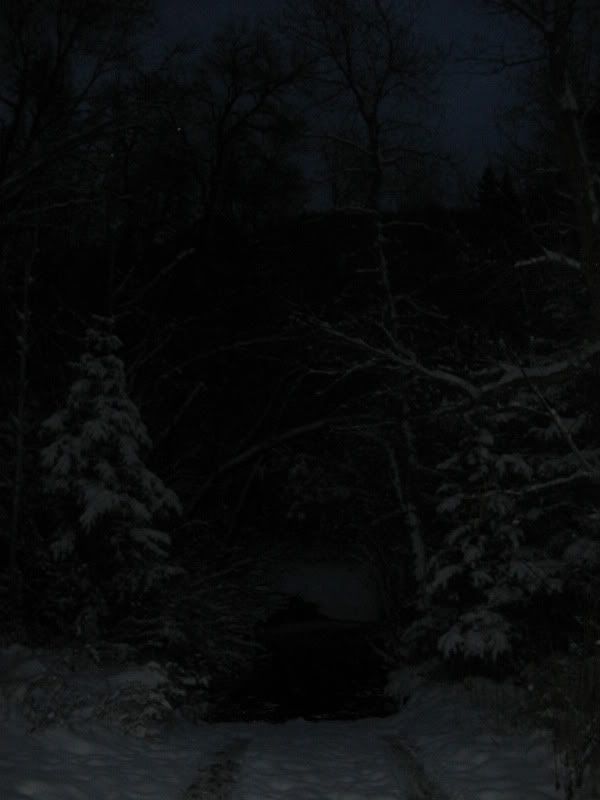
I'll post up some night time pictures tonight once it gets a little darker.
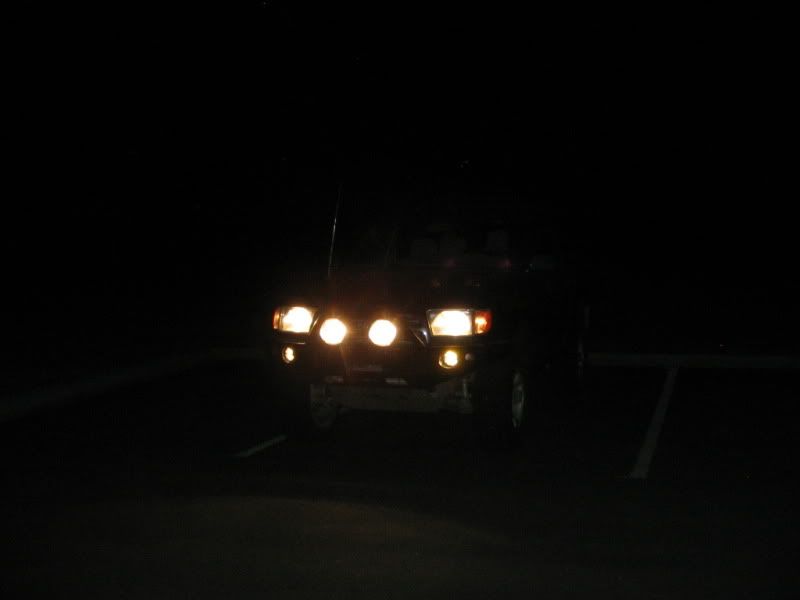
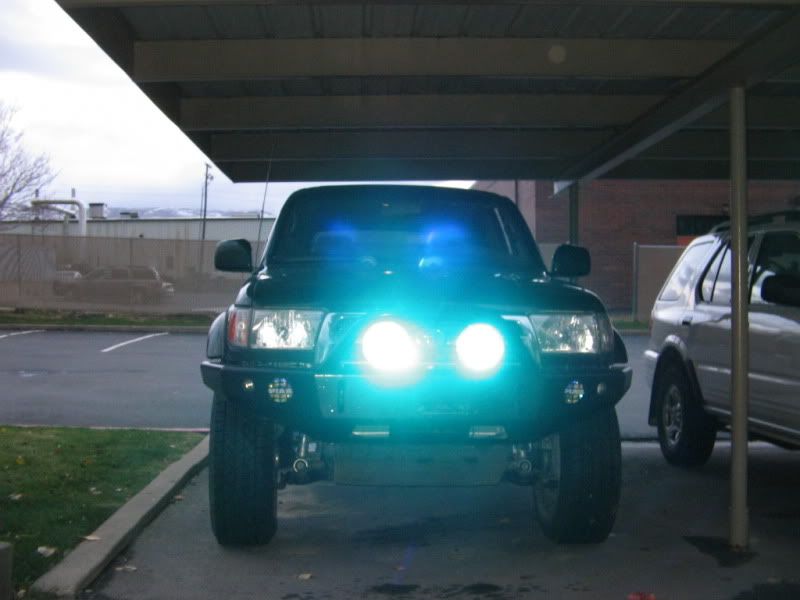
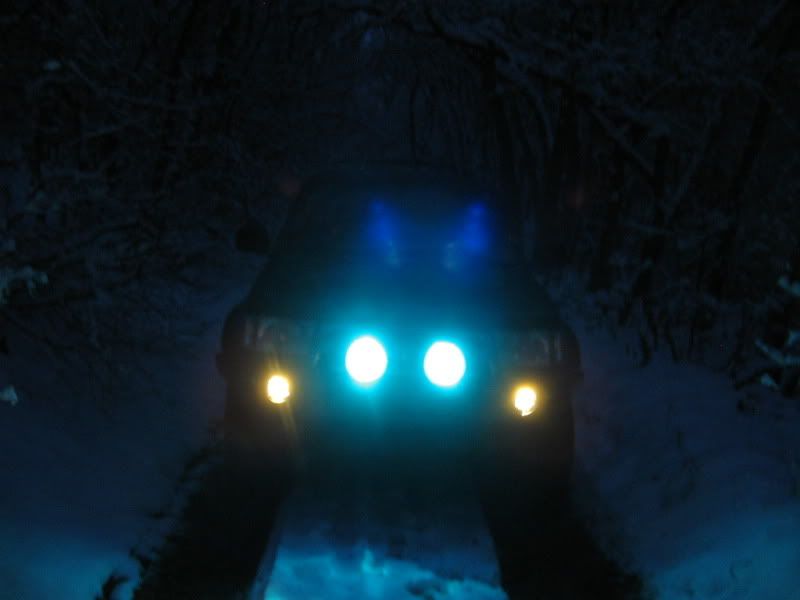
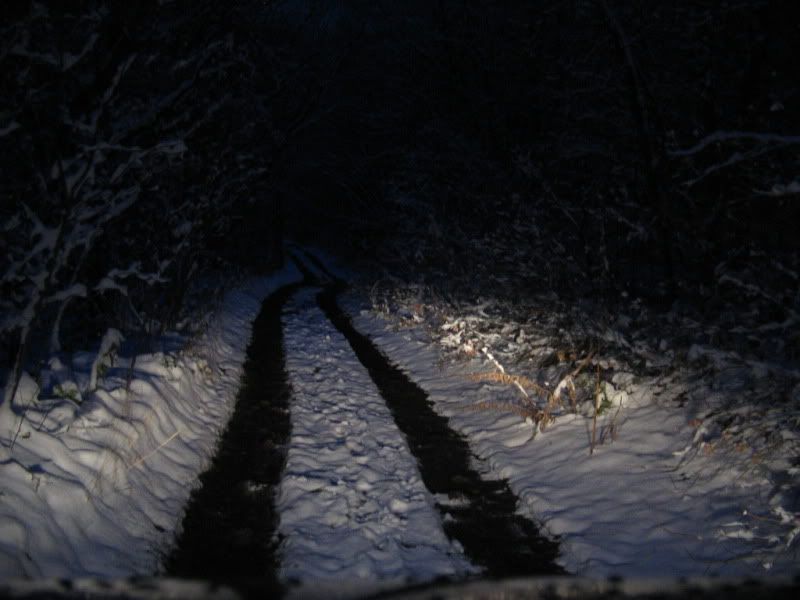
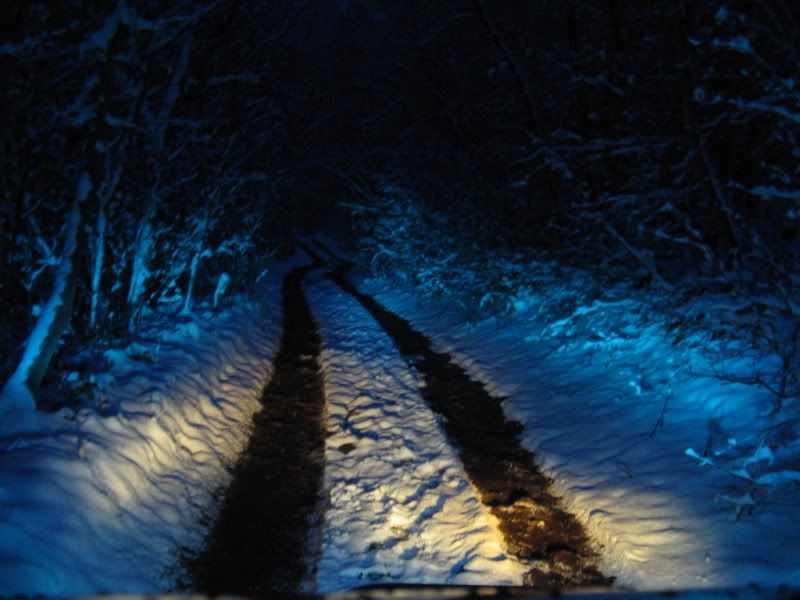
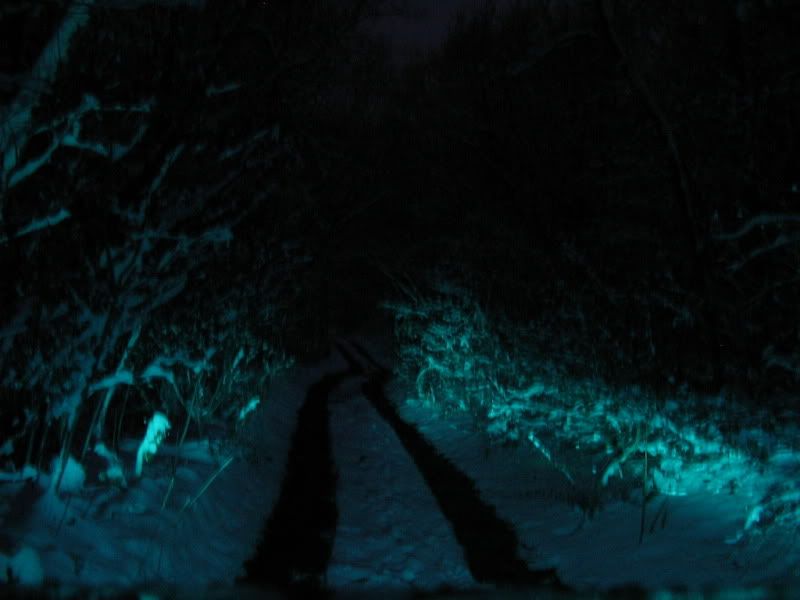
 

laxtoy

Adventurer
great write up on the electrical, gives those who are not so electrically literate a great step by step. runner looks great man!
 

ttora4runner

Expedition Leader
Well, another little item I picked up when I bought the lights were the Blue colored lens. I thought they would be a good investment for the winter time up here in Utah. You know for when I want to go play in the snow. :victory:

Any who these are the Combo lenses - pencil beam with a wide beam. The clear covers aren't that great in the snow since thye produce a little too much glare. Tried that out this morning on my way to work.

So I went out tonight to Canyon Creek (just a short little trail)to see how they looked and truth be told I had a blast with them.

That which is blue:
IMG_0117.jpg


IMG_0118.jpg


Without the flash on:
IMG_0132.jpg


Headlights alone -
IMG_0140.jpg


Lightforce light with my Piaa fog lights turned on -
IMG_0139.jpg


Lightforce by themselves -
IMG_0141.jpg


It was interesting trying out the lights with different settings
1. Headlights only
2. Fog lights by themselves
3. Fog lights plus headlights
4. Lightforce with fog lights
5. Lightforce by themselves
6. Headlights plus Lightfoce
7. Headlights plus fog lights plus Lightforce.

Lets not forget the high beams, which adds another four combs to the mix. :sombrero:.
 
Last edited:

ttora4runner

Expedition Leader
Having that main combinations is interesting. I found myself on the return trip just running my fog lights and the Lightforce lights all with no other lights on (got to love removing the DRL module :sombrero:). Running the Lightforce lights just by themselves was quite interesting. They provide plenty of light to drive with but I found that just running them by themselves kind of threw off a little how different obstacles/objects in the road looked. When I ran them with the fog lights in corrected that problem for the most part. I felt all sneakie, sneakie just runnning the fog lights or Lightforce lights by themselves. :victory:

http://www.youtube.com/watch?v=8lYBVi3ALWA

As you can you tell I'm very happy with this purchase. I wonder how those inferred light covers do?? :drool:

One other benefit of this little run was I found out where I having been rubbing at under full flex.
IMG_0123.jpg

IMG_0124.jpg


Saw this little feller and his friend playing around.
IMG_0122.jpg


Was going to cross this but not this late at night. Kind of hard to see how deep it was.
IMG_0126.jpg
 
Last edited:

ttora4runner

Expedition Leader
How did you figure out how to remove the DRL module?

On the drivers side front fender, right behind the headlight there should be a little box with a plug type adpater that goes to the headlights. Just disconnect the plug from the module and volia no more DRL.
 

soonenough

Explorer
ttora4runner - sorry, I just realized I never replied to your PM about the fuse block. I guess you got everything figure out though; the install looks great!
 

RusM

Adventurer
On the drivers side front fender, right behind the headlight there should be a little box with a plug type adpater that goes to the headlights. Just disconnect the plug from the module and volia no more DRL.
Third best 5 minutes I ever spent in my truck! Thanks man!
 

Forum statistics

Threads
186,654
Messages
2,888,507
Members
226,767
Latest member
Alexk
Top