ChrisCosta416
Well-known member
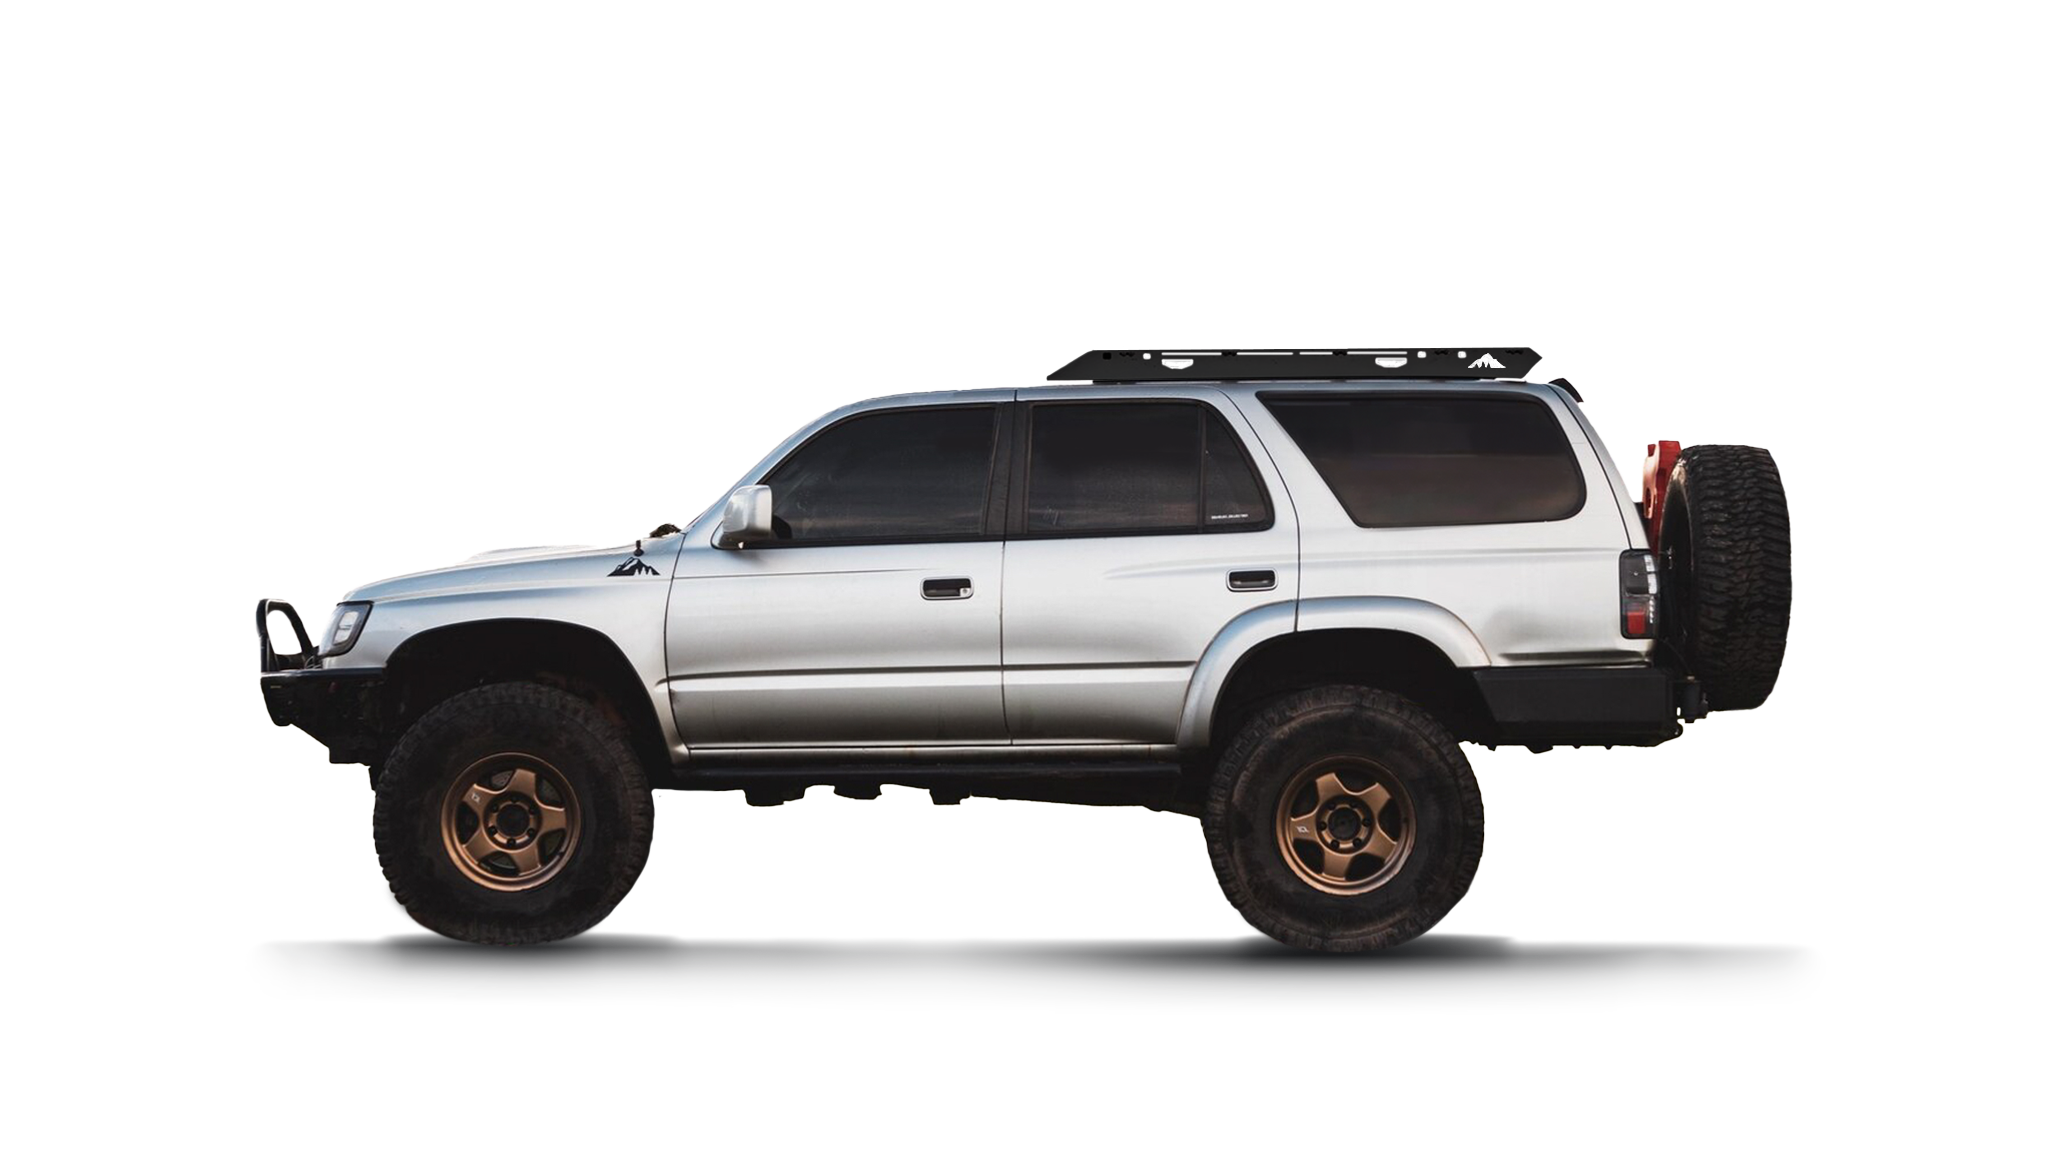
With my last "So you want to..." thread so popular it is time to make another small one. This time I will do my best to list step by step instructions on how to drop the headliner on a Gen3 Montero (01-06 for US) - I am going to also briefly touch base on some popular foot rail systems that will allow the use of a flush rack...
Why drop the headliner?
I HAD to drop the headliner to install a Front Runner Foot rail system which I will touch on later, but I also wanted to take the time to install/add sound deadning & insulation. (but got lazy and found out their is little room) Dropping the headliner might also be necessary when working on the sunroof, clearing the sunroof drains or installing roof mounted lights (if you want a clean installation).
Roof racks and "foot rails"
Love him or hate him, here is a pretty good video that will talk about roof racks and platforms (see if you can spot the Pajero towards the end of the video)
Great so the video briefly covered roof racks, now lets move on to mounting them, specifically a Front Runner rack...
A Front Runner Slimeline II rack is made of aluminum which keeps it relatively light and has SO many accessories available to it. Of course it comes with a hefty price ranging from 1-1300$.
Front Runner just so happens to have a specific "Foot rail" for the Gen3 Montero. The reason I bring this up is because I believe foot rail style mounting solutions offer benefits over the factory luggage rails such as...
- Lower Profile
- Increased strength and rigidity of rack
- aesthetically pleasing
- coolness "overland" factor (obviously)
- Increased weight rating compared to stock luggage rails
Some kits offered by popular rack companies specifically for a Gen3 Montero
Front Runner Foot Rail Kit - https://www.frontrunneroutfitters.com/en/us/front-runner-foot-rail-mitsubishi-pajero.html - Product Code - FAMP001
Front Runner Foot Rail Kit AND Roof rack package - https://www.frontrunneroutfitters.com/en/us/mitsubish-ipajero2006-currslimlineii-roof-rack-kit.html - Product Code - KRMP018T
ARB Roof Rack Fitting Kit - https://www.dirtyparts.com/store/detail.cfm/ROOF-RACK-MOUNT-RAILS/pid-203126 - Part Number - ARB-3734010 (Note: currently none are stocked in the US, I am sure part can be ordered from any ARB Distributor)
ARB Roof Racks - https://arbusa.com/products/roof-racks/arb-roof-racks/ (ARB has many options and you can order one to fit your Monty based on the length and width. Use the Front Runner size as comparison)
Rhino Rack platforms and "fit kits" - http://www.rhinorack.com.au/fit-my-...bishi-pajero-4dr-4wd-lwb-nm-np-05-00-to-10-06 - Please see all options listed
I am sure I missed some but these are some of the most popular options used in the US and Australia.
GREAT! YOU FINALLY DECIDED ON WHICH RACK TO BUY! IF YOU PURCHASED A RACK THE REQUIRES YOU TO REPLACE THE FACTORY LUGGAGE RAILS WITH A FEET/TRACK KIT YOU WILL NOW NEED TO REMOVE YOUR HEADLINER. LETS GET STARTED.
Dropping your headliner... DISCONNECT YOUR BATTERY BEFOREHAND
Before we begin here are some items I suggest having around
BEFORE YOU READ ANY FURTHER PLEASE NOTE THAT I DID NOT REMOVE THE FRONT MIDDLE COURTESY LIGHTS AND SUN-VISOR RETAINING CLIPS. I WAS ABLE TO GET ENOUGH ACCESS TO INSTALL THE FOOT RAIL SYSTEM WITHOUT REMOVING THESE TWO ITEMS. YES YOUR HEADLINER WILL BEND AT FIRST BUT THIS IS OK AS IT WILL RETURN BACK TO ITS NORMAL STATE ONCE YOU PUT EVERYTHING BACK ON.
Front
After removing all these items your Monty should now look like this... (with the two yellow clips removed)
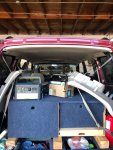
Please continue to the second part below (ExPo has a character limit... grrr)
Why drop the headliner?
I HAD to drop the headliner to install a Front Runner Foot rail system which I will touch on later, but I also wanted to take the time to install/add sound deadning & insulation. (but got lazy and found out their is little room) Dropping the headliner might also be necessary when working on the sunroof, clearing the sunroof drains or installing roof mounted lights (if you want a clean installation).
Roof racks and "foot rails"
Love him or hate him, here is a pretty good video that will talk about roof racks and platforms (see if you can spot the Pajero towards the end of the video)
Great so the video briefly covered roof racks, now lets move on to mounting them, specifically a Front Runner rack...
A Front Runner Slimeline II rack is made of aluminum which keeps it relatively light and has SO many accessories available to it. Of course it comes with a hefty price ranging from 1-1300$.
Front Runner just so happens to have a specific "Foot rail" for the Gen3 Montero. The reason I bring this up is because I believe foot rail style mounting solutions offer benefits over the factory luggage rails such as...
- Lower Profile
- Increased strength and rigidity of rack
- aesthetically pleasing
- coolness "overland" factor (obviously)
- Increased weight rating compared to stock luggage rails
Some kits offered by popular rack companies specifically for a Gen3 Montero
Front Runner Foot Rail Kit - https://www.frontrunneroutfitters.com/en/us/front-runner-foot-rail-mitsubishi-pajero.html - Product Code - FAMP001
Front Runner Foot Rail Kit AND Roof rack package - https://www.frontrunneroutfitters.com/en/us/mitsubish-ipajero2006-currslimlineii-roof-rack-kit.html - Product Code - KRMP018T
ARB Roof Rack Fitting Kit - https://www.dirtyparts.com/store/detail.cfm/ROOF-RACK-MOUNT-RAILS/pid-203126 - Part Number - ARB-3734010 (Note: currently none are stocked in the US, I am sure part can be ordered from any ARB Distributor)
ARB Roof Racks - https://arbusa.com/products/roof-racks/arb-roof-racks/ (ARB has many options and you can order one to fit your Monty based on the length and width. Use the Front Runner size as comparison)
Rhino Rack platforms and "fit kits" - http://www.rhinorack.com.au/fit-my-...bishi-pajero-4dr-4wd-lwb-nm-np-05-00-to-10-06 - Please see all options listed
I am sure I missed some but these are some of the most popular options used in the US and Australia.
GREAT! YOU FINALLY DECIDED ON WHICH RACK TO BUY! IF YOU PURCHASED A RACK THE REQUIRES YOU TO REPLACE THE FACTORY LUGGAGE RAILS WITH A FEET/TRACK KIT YOU WILL NOW NEED TO REMOVE YOUR HEADLINER. LETS GET STARTED.
Dropping your headliner... DISCONNECT YOUR BATTERY BEFOREHAND
Before we begin here are some items I suggest having around
- Philipps head screw driver or drill with a Philipps head
- 100% Silicone - MAKE SURE IT IS 100% SILICONE that is UV PROOF and of course waterproof/temp resistant - Thanks Leo!
- Blue masking tape
- Blue locktite - gluestick type works best
- 17mm socket with ratchet
- Extra car interior trim pieces (referring to the clips and tabs)
- Car trim pry tool kit OR (which I used and works better) a tiny flathead screwdriver from an eyeglass repair kit
- Clean work area
- Mattress bag - If you remove the headliner you will place it in here for safekeeping while you install the foot rails - THANKS AGAIN LEO!
- Gloves
- Alcohol pads
- Patience
BEFORE YOU READ ANY FURTHER PLEASE NOTE THAT I DID NOT REMOVE THE FRONT MIDDLE COURTESY LIGHTS AND SUN-VISOR RETAINING CLIPS. I WAS ABLE TO GET ENOUGH ACCESS TO INSTALL THE FOOT RAIL SYSTEM WITHOUT REMOVING THESE TWO ITEMS. YES YOUR HEADLINER WILL BEND AT FIRST BUT THIS IS OK AS IT WILL RETURN BACK TO ITS NORMAL STATE ONCE YOU PUT EVERYTHING BACK ON.
Front
- Start by removing both sun-visors which are held on by 2 silver Phillips screws, be sure to unplug the wire connecting the light for the visor. Store the visors on the dashboard (Be sure to unclip the sun-visor from the retaining clip FIRST)
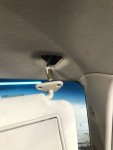
- Pull the trim piece for the sun roof control (use your trim tool to pry around the plastic slowly) - Remember solid arrow faces the front and open arrow faces the back
- Pull all grab handles for the front driver and front passenger side (use your trim tool to carefully remove the plastic/rubber covers concealing the Philipps head screws) There will be a total of 4 grab handles for the front (2 A-pillar handles, 2 roof handles)
- Pull apart front passenger and driver a-pillar panel trim using trim tool
- Remove front passenger and front driver weather stripping (along door gaps)
- On each front seat belt pry the plastic cover where the top part of the belt comes out of
- Use a 17mm ratchet to remove the 17mm bolt holding the upper part of the seatbelt in place
- Once upper portion of seatbelt is removed use trim tool to remove the b-pillar plastic trim pieces on the driver and passenger side
- Again pull all grab handles for the 2nd row (use your trim tool to carefully remove the plastic/rubber covers concealing the Philipps head screws) There will be a total of 4 grab handles for the middle (2 roof handles with hanger hooks and 2 handles on the b-pillar
- To remove the climate vents first pry around the plastic carefully to remove the plastic trim, then unscrew the 2 Philipps head screws holding the metal bracket in place
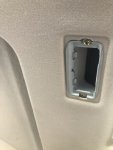
- Proceed to remove the interior courtesy lights by simply prying around the plastic trim (be careful to not pull out to fast as there is a wire you need to unplug)
- Remove 2nd row passenger and 2nd row driver side weather stripping (along door gaps)
- Again pull all grab handles for the third row (use your trim tool to carefully remove the plastic/rubber covers concealing the Philipps head screws) There will be a total of 2 grab handles for the middle (2 roof handles)
- To remove the climate vents first pry around the plastic carefully to remove the plastic trim, then unscrew the 2 Philipps head screws holding the metal bracket in place
- Remove the rear hatch weather stripping (along hatch gap)
- Use your trim tool to pry the courtesy light glass/plastic to reveal 2 Philipps head screws - REMOVE THE RIGHT ONE ONLY
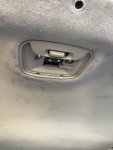
- Pull apart the side upper side panels using your pry tool (I recommend prying just to enough to get leverage then pull straight out)
- Pull 3 trim tabs in the headliner near the rear hatch
- Pull a 2 yellow retaining clips revealed after removing the 2 side panels
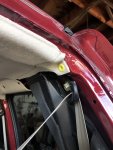
After removing all these items your Monty should now look like this... (with the two yellow clips removed)

- Proceed to pull your headliner down, slowly work your way from the rear to the front. The headliner is held on by very strong velcro so it will seem hard at first. (As mentioned before I did not remove the front middle lights so I will not be dropping my headliner completely but just enough to install the foot rails.
- With the headliner dropped we will now remove the vents for the climate system, the vents are held on by 3-5 brass screws on the driver and passenger side on the vehicle
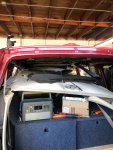
- Once the brass screws are removed pull the plastic venting out (be careful not to talk out the retaining clip for the sun roof drain hose
Please continue to the second part below (ExPo has a character limit... grrr)
Last edited:


