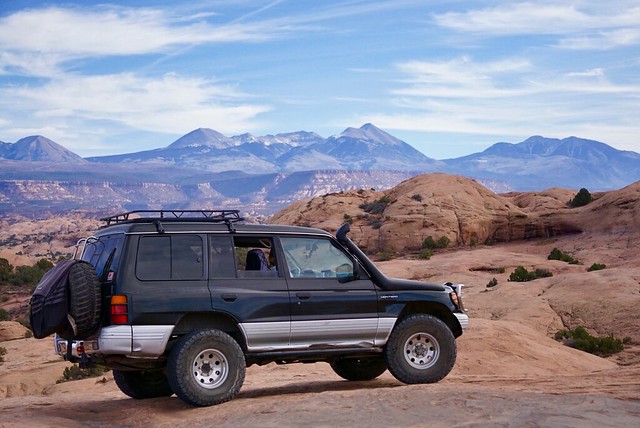
SONICMASD's 98 Montero LS Build & Adventure Thread: Black Betty

SONICMASD

Adventurer
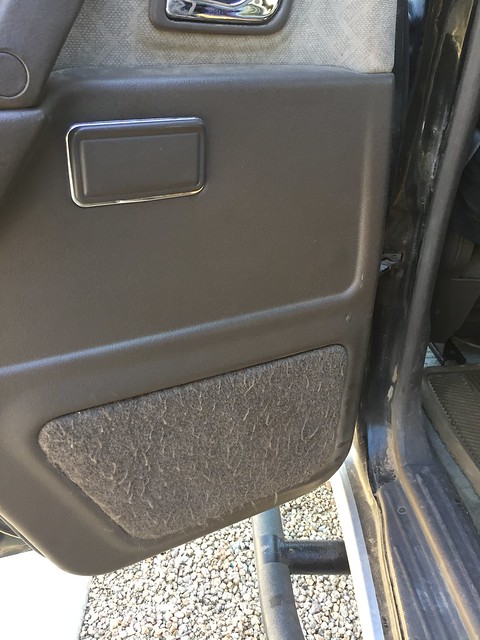
2/27/18: Staying on the whole safety and mounting stuff thing. I mounted a fire extinguisher onto the rear pillar on the driver side using 3 self tapping metal screws. I just used the cheap plastic mount/bracket the extinguisher came with. I hope it holds up on bumpy dirt roads. If not, I drilled 3 holes in the vehicle that I'll then probably have to cover up and redo haha.

I picked this spot because I think it is probably the most out of the way place I could put the extinguisher while still being easily accessible.
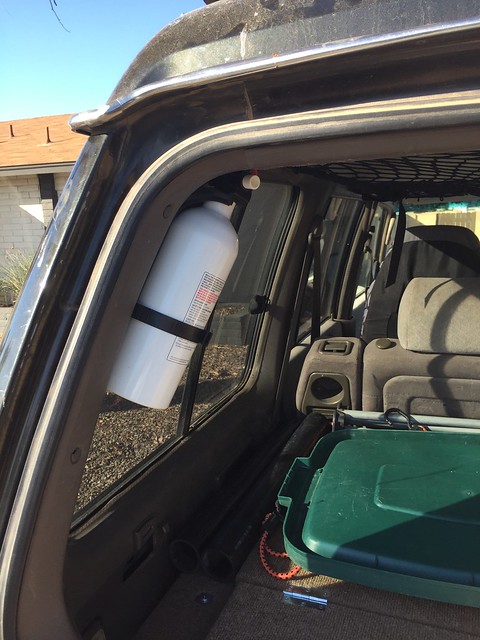
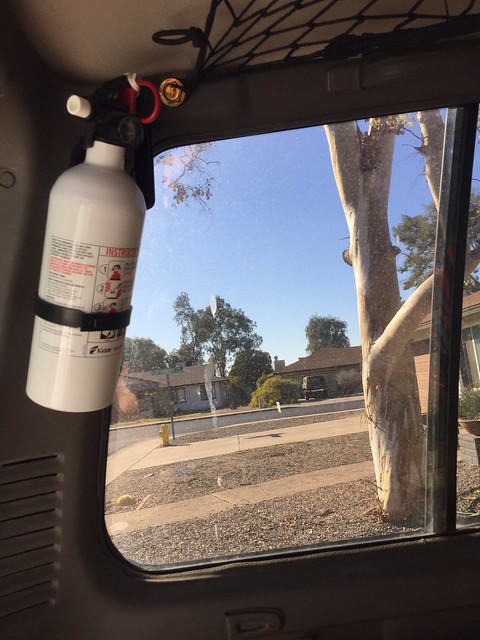


Oh PS - The whole molle velcro thing got me thinking, you could mount more pouches here if you want:
 

zerodrift

Adventurer
Great tips with the Velcro bags and carpet! I'm keen on the idea and gotta say that was well executed!

Sent from my LGLS992 using Tapatalk
 

Jarommd

New member
I have really enjoyed reading through your build and adventure thread. I just bought a 2000 Monty and as I was reading through your General Li build I have to say I wondered if I had somehow bought General Li. It seemed like every problem you mentioned the General having my Monty has. I hope you keep this thread up as I turn to it for inspiration just about every day now. I have two question regarding a couple of things you have mentioned in your General Li build. First, you mentioned a few times referencing the FSM. I can not find an FSM to save my life. Where did you go to get one? Second, did you ever solve the problem with the washer fluid not coming out of the headlight washers?
 

SONICMASD

Adventurer
hings you have mentioned in your General Li build. First, you mentioned a few times referencing the FSM. I can not find an FSM to save my life. Where did you go to get one? Second, did you ever solve the problem with the washer fluid not coming out of the headlight washers?

Hey there, sorry for the long delay in getting back to you!

1. No chance you bought the General Li, haha. It is still in town and now running 37s and 5.29 gears. :)

2. You can get a FSM here: http://mitsubishilinks.com/ I also highly recommend downloading ASA (further down the list) so you can look up replacement part numbers.

3. The windshield washer fluid was a very easy fix. I just replaced the nozzles from parts from the dealer. MR388448 & MR388447
 

SONICMASD

Adventurer
As some of you may have noticed, my attention has been focused on my new to me Gen3 previously owned by Imnosaint and Marutuk. You can read about it here: https://www.expeditionportal.com/forum/threads/2003-montero-limited-lawrence-of-arizona.194361/

I forgot to update this build thread so here is the most recent thing I've done to Betty:

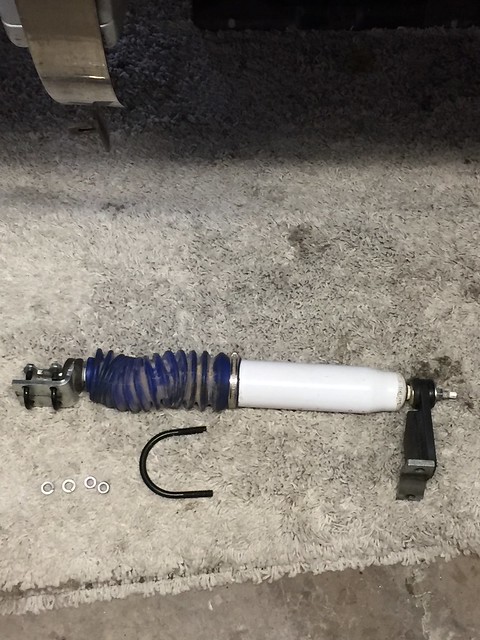
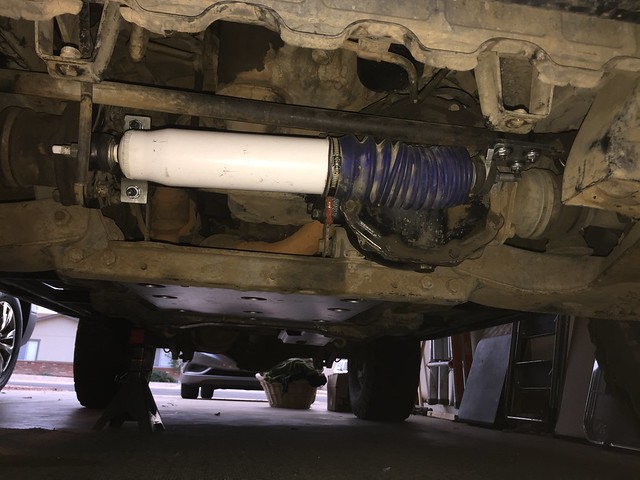
4/15/18: AZ Crew Mechanic In Chief, Ernest, decided to strip down and sell his insanely built Gen2.5 because he got a JK. As such, I got his custom steering stabilizer set up for a song.

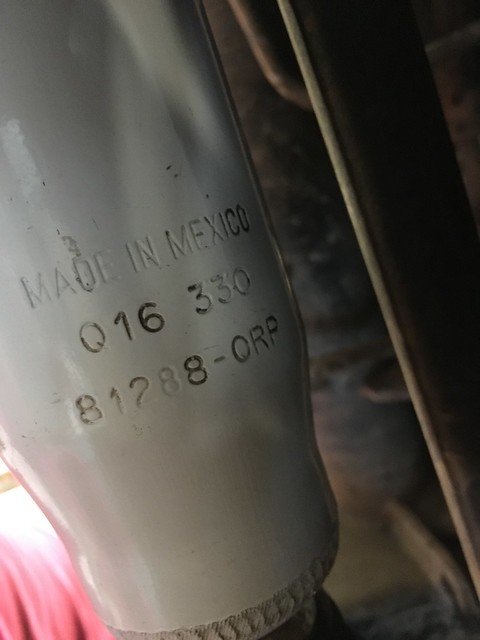
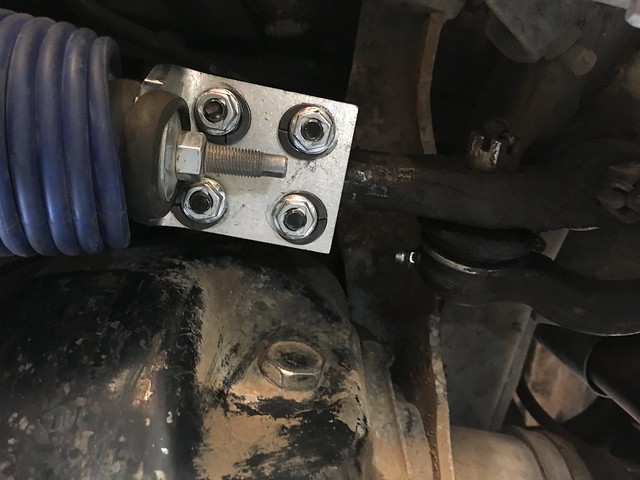
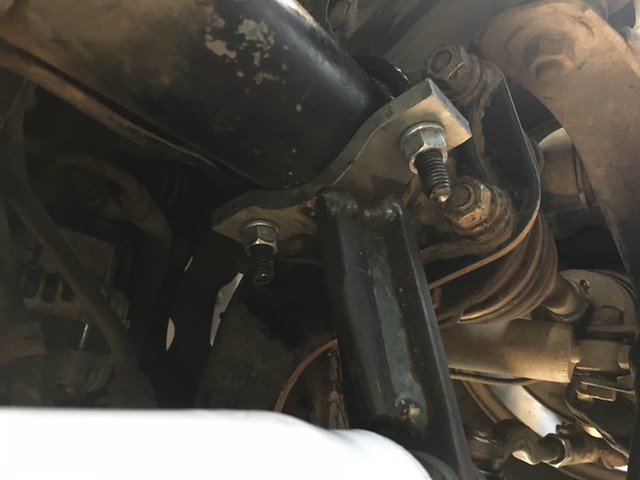
It's a generic Moog steering damper but the trick to making it work on the Montero axle is the extended bracket that Toasty welded together.

The weld on the passenger side axle tube helps hold that side's bracket in place so you want to be right up against it. For positioning the driver side - turn your wheels from lock to lock and make chalk marks on the ground. Then take a guess where the other side of the damper goes on the center link, turn your wheels lock to lock and confirm that the steering damper hasn't reduced the wheels ability to turn at all. If it has, adjust accordingly.

I was hoping that this might take out some of the vibrations/play that are in the steering wheel but no such luck - that's going to take some new front suspension stuff and probably steering box work. But I can say that this definitely does reduce the effect of bump steer when offroading. So when you hit a small rock or divot, your wheels wont' tend to follow that line as easily and will stay pointed straight easier. It was helping Ernest much more on the 37s he had and probably isn't working too hard on my 33s.

Here are some pics:

IMG_0483
IMG_0500
IMG_0501
IMG_0503
IMG_0486
 

SONICMASD

Adventurer
Well, time to update this thread for the last time, as seen in the Lawrence of Arizona thread:

Black Betty is now sold, she's currently on her way to her new home with Cosmos99 in Boulder, CO. If you see them out and about, be sure to say hi. It is bittersweet but I'm excited to see him take that rig to the next level and rock out to Ram Jam when starting a trail as was my family's custom.

I'll miss saying out loud when Betty made an obstacle look easy or snatched a stuck vehicle out of the dirt: "Such a nasty woman". I'll miss seeing her wide hips and perfect stance in a parking lot and thinking "What a bad **********" as I approached. She will definitely be missed.


IMG_0056
IMG_2556
 

Cosmos99

Member
Reporting in from CO. Betty did great on the trails in Sedona before we made the trek back to Colorado. The 4.90's really are a great improvement at altitude and long highway inclines. Cruise control never had an issue to keep here at 70. She even did great in the 60-80 mph winds and sandstorms. Saw several tractor trailers flipped on the highway and even had a reckless semi driver pass me while the back wheels of his trailer came off the ground. Thought he was going to crush me.
 
8/31/16: Time to install my custom sleeping platform. I decided to open up the rear panels and remove the 3rd row seat belts. I went back and forth on just leaving them in even though there is a 99% chance I will never need them. But in the end, I decided it would be too weird to have them just dangling there and they would get in the way a little.

The last time I did this job on my previous Montero, I also took the opportunity to replace the rear speakers. But these speakers still sound good so I said screw it and decided to do all that work to simply remove the 2 seat belts, tuck the cd changer wires behind the plastic trim, and vacuum/clean some more.

With everything put back together, the bed only takes a few minutes to reinstall (it's just 4 bolts, 4 screws):

View attachment 366345
View attachment 366346

Then I did a little upgrade to the platform by adding a D ring at each corner so I can tie things down on the top level and keep them secure.
View attachment 366347


----------------
I had been searching for floor mats for a long time and found some nice Armorall ones at O'Reilly. I just had to trim the drivers side a bit and it fights really nicely. The only downside is that these come as a 3 piece set for around $40 (1 front driver, 1 front passenger, and 1 2nd row runner) and the 2nd row runner mat was too wide by about an inch or two because this set is made for full size pick ups. But I sold the runner on OfferUp for $10 so not a big deal (it was insane, I posted it and got like 10 messages instantly, there must be a floor mat void in the market haha).

The rubber quality is really good, not too soft, not too hard. Nice big voids to trap mud and they stay put pretty well. Part #78990-Blk
View attachment 366351
What does your bed frame screw into? Are you using the bolt holes on the wheel arches where the 3rd row seats used to bolt too? I have something similar, but I have used legs to support the bed frame which is fine but they kind of cut into my storage space. Yours looks quite nice!
 

Forum statistics

Threads
188,177
Messages
2,903,357
Members
229,665
Latest member
SANelson
Top