Finished most of the electrical and started building the inside!
View attachment 614184View attachment 614181View attachment 614183View attachment 614182
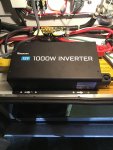
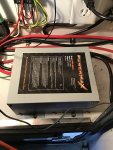
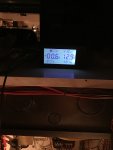
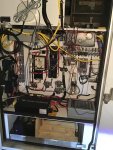
Swapped out the old 600w inverter for this 1000w Renogy one to run my window AC unit and other 120V AC loads. Also swapped out the 20amp charger for this 55amp charger. Added a battery monitor to keep an eye on my loads/discharging/charging. Originally, the box would only have power to it if 2 conditions were met--vehicle is running and the "ambulance connect" switch is on. We bypassed a relay that required the vehicle to be running but after putting the battery monitor on, we realized that with everything wired to the ambulance connect, there was a parasitic load of about 2-3 amps. I plan to put a 120V AC fridge in it so the inverter needs to be on all the time so that's too high for my liking. We bypassed the ambulance connect and rewired a bunch of stuff so now the battery monitor reads -00.6 amps. I'm not sure why but it's not really a problem. If I had to do this again, I would probably fully gut the electrical. It would probably take quite a long time to separate the electrical required for vehicle operation but I think the space I would have gained and having better organization of the electrical would have been worth it. The last picture shows what the "electrical compartment" looks like. Lots of stuff to clean up but it's the best we can do for now.
View attachment 614225View attachment 614226
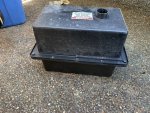
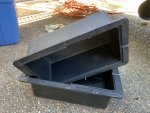
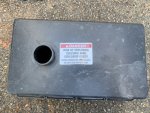
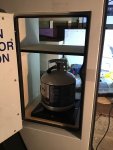
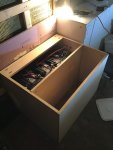
We've also built this propane/window AC locker to take advantage of the existing vent in this door to vent the propane/hot air to the outside. It's not finished yet (still need to properly mount it and put a "back wall" in). Now that I'm looking at the picture, it seems like we way oversized the locker but that's probably because we sized it to fit the air conditioner on the upper shelf.
View attachment 614227View attachment 614228
I built a locker to contain the batteries and vent them to the outside. This box is going to eventually double as storage and the frame for one side of my pull-out slat bed. I still have to plan out the rest of the cabinets that are going to make up the base of the bed.
View attachment 614229View attachment 614230
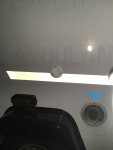
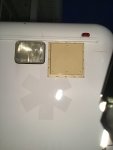
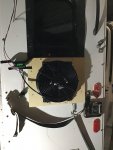
This last part was inspired by advice given in this thread. I expanded the hole of one of the scene lights that I wasn't using to fit a 9" x 9" pop-out vent. It's ugly, cheaply made and overpriced but it does the job really well and I haven't been able to find anything else that is this size. There is a T-bolt on the inside that you can turn to open and close the vent. On the opposite side of the box, there is a window in the side door that I've mounted the radiator fan that was suggested by Bikersmurf. I've rigged it up with a potentiometer so that I can manually control the speed (and volume) of the fan. At 50% the fan already moves a lot of air and with the vent that I installed there is a constant and strong breeze. However, I will likely be testing other fans in the future as this one is a little bit louder than I had hoped for and it's kind of power hungry when it's at full power (8 amps, where as at 50% it only takes about 2 amps).
That's it for now! I'm pretty excited about the things we've been able to accomplish and what I've been able to learn. Now I'm looking forward to building out the interior. Hopefully we get some good weather soon and I'll get some more progress pics up!
), but I still LOVE it! I really enjoy the physical and mental aspects of it, but it's challenging keeping up with the younger guys sometimes.


