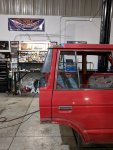
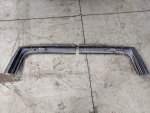
Next step in the reconstruction is to graft on the lower corner/taillight sections. Originally I welded in a brace across the rear tailgate opening and cut all this off as one piece. You can see it laying in the floor in the photo below. My idea was to keep it all as a single unit to maintain relative positions of the taillights and make it easy to keep everything square.
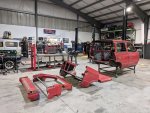
When I lifted this unit up into position it was clear this wasn't going to work. Much like I found in the upper corners, the lower portion of the rear body has some taper. This was evident when I tried to match the surfaces where the side panels and character lines run on the two pieces. The rear sections were about 1/2" too narrow to match the surfaces where the body is cut at the C pillar.
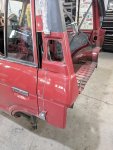
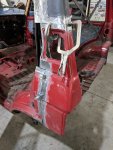
The only way forward was to separate the two sides and fit each corner separately. I cut the cross brace out, cut off the upper crossmember/corners and then began prepping the individual lower corners. I had originally left some of the inner structure in those panels but after some quick test fits found that I'd have to strip everything out from the interior so all that was left was the skins. After some careful work with the sawzall and cutoff wheel I was left with this.
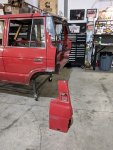
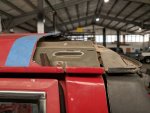
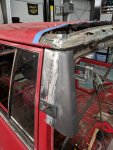
Test fitting started by overlaying the rear corner on the existing metal surface of the body. The first step was to get the cut line at the top edge trimmed to just the right height. The key reference for this is the indented body line and corner lip just below where the glass runs. As you can imagine, this is an exercise in patience. I spent a lot of time slowly creeping up on the fit so that I wouldn't cut too much and have large gaps to fill in. The shot below is it in "pretty close" condition.
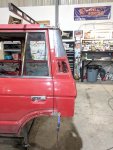
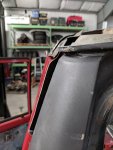
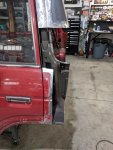
As I was working through this, the next big problem jumps out. The body has a small ledge that runs under the rear quarter window. As the window comes up at the rear that ledge curls up and everything blends back in to the main surface. Because I've cut the D pillar sections back to behind the rear window I've lost that ledge and the blend is now gone. The closeup below shows how the two overlay and difference in planes between the D-pillar in front of the rear vent and the C-pillar plane which is above that ledge.

I debated how to address this for a while. You could try to pie slice the panel just below the pillar vent and pull that section in to match the C pillar, but I think that would require too much stretching and the surfaces wouldn't quite align so I didn't go that approach. Blending the forward flange of the vent and the corner of the C-pillar seemed like the best idea, but it will leave a small vertical wall where the door frame comes up (just above the chrome trim). In an ideal world we wouldn't have that sort of overhang but it seemed like the most aesthetically appealing solution given the choices. By making a custom corner transition I can blend the two surfaces into a single plane and only have a small step in the body at that corner. (I know this sounds a little complicated, future pics will help illustrate).
 IMG_0630 by Adam Tolman, on Flickr