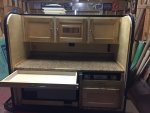
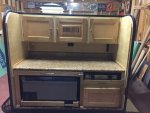
The next build my brother and I

sroth

Fabricator
Thank you for your interest in the build. The 1x2 is welded to the main frame, it has two purposes: The first is to give the floor a place to be sandwiched in and the second purpose is to give the walls a starting point. As far as the tubing bender, I only used one radius die (1 1/4 in ). For me the key was to write every bend down as I bent the first set then duplicated the bends/measurements. You have to get creative when on a budget. The dividing wall will stay: Front 2/3 is the cabin and the last 1/3 is the galley only accessible from outside. And as for your final question, all the interior structure is attached to the skeleton via self tapping/drilling screws. This is the reason the frame took a bit of time to figure out, had to know the end picture (where everything attached to) before I could call the frame done. Well I hope I answered all your questions. Thanks again for reading.
Richard if your referring to the 1x2 on the very top of the frame it is in place to bolt the roof rack to. Prior to the skin installation all mounting points must be established.
 

sroth

Fabricator
You have a square and round die for the bender you listed earlier in the thread?
What size round tubing did you use for the fenders and steps?

I only have a round die, the best way is to go with a square but I gave the round die a shot and it worked no problem. The round tubing is 1 1/4 OSD, pretty strong yet lighter than the 1 1/2 OSD tubing.
 

Crush Jeep

Adventurer
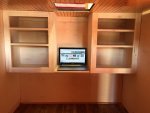
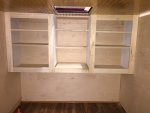
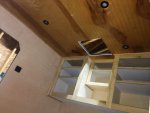
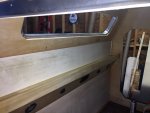
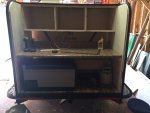
Installing the rear shelving inside the cabin.

IMG_1648.jpg

IMG_1649.jpg

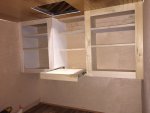
Slide out on the bottom.

IMG_1650.jpg

Taking the weekend off to attend the Expo East.
 

sroth

Fabricator
Great job. I will use alot of the ideas in my build soon.
How are the cabinets installed on the walls?

Sorry for the long reply we headed out to URE13 this weekend.

The cabinets are screwed from the outside walls into the cabinets. This is one of the reasons the skin will be the last to get installed. They are actually built in place, I found it easier to just build verses try to match up multiple cabinets to span the 62 inches.

Hope this helps.
 

Crush Jeep

Adventurer
It's been a very productive week. The sleeping cabin is complete, the only thing it needs now is the mattress.

IMG_1682.jpg

IMG_1683.jpg

IMG_1684.jpg

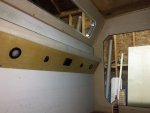
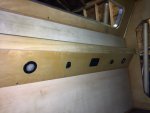
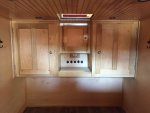
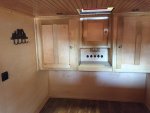
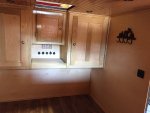
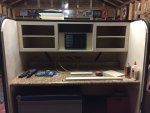
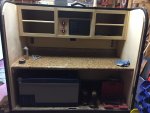
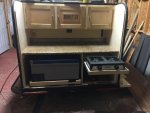
On to the kitchen. This is where the power box is, the batteries, the refrigerator, the propane, stove and the water tank. Water will be gravity fed under the counter top on the back right behind the propane tank. The two batteries are going behind the refrigerator.

IMG_1685.jpg

IMG_1686.jpg

It's exciting to see this come together.
 
Where did you purchase your star gazer window and what are the approximate dimensions? I want to install one on a build I am currently working on and I would like to install it on a 2ft rad. curve on the front of the trailer. I'm not sure if the curve presents a big problem.

BTW - nice looking build so far!
 

Crush Jeep

Adventurer
Where did you purchase your star gazer window and what are the approximate dimensions? I want to install one on a build I am currently working on and I would like to install it on a 2ft rad. curve on the front of the trailer. I'm not sure if the curve presents a big problem.

BTW - nice looking build so far!

I bought the doors, fan, hinge and star gazer window from http://teardroptrailerparts.com/ . The window dimensions are 9" by 44" and 2 3/16 width. We had to thicken the area where the window was going to make it fit right. You can call them, Frank is the owner he will help you out with any questions, he built over 100 teardrops and is very knowledgably. Hope this helps you out.
 

Crush Jeep

Adventurer
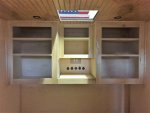
A few updates, the kitchen is almost finished now. The wall between the counter and cabinets is installed.

IMG_1687.jpg

The top cabinets now have doors and are complete.

IMG_1688.jpg

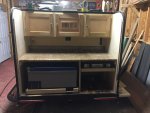
The slides for the frig and the stove are complete.

IMG_1689.jpg

IMG_1690.jpg

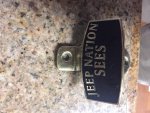
The bottle opener just came in.

IMG_1691.jpg

PS the top picture is not a microwave, it's the power panel and cut off switches.
 

Crush Jeep

Adventurer
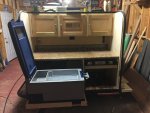
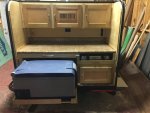
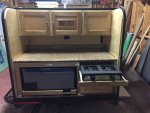
The kitchen is now finished, the slide outs are done and the cabinets in the back are complete.

IMG_1731.jpg

IMG_1732.jpg

A drawer was in stalled above the fridge.

IMG_1733.jpg

IMG_1734.jpg

The only thing left to do is skin the outside, put in the doors, window and fan then paint it. Picking up the metal today.
 

Forum statistics

Threads
188,055
Messages
2,901,632
Members
229,411
Latest member
IvaBru
Top