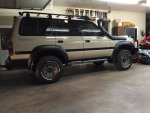
The Restoration And Build Thread For My 1992 FJ80

Summit Cruisers Jr

Well-known member
Headlight Disassembly and Cleaning

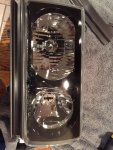
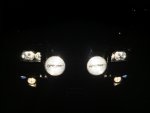
This is something I wish I had done back when the paint was completed. At the time, I was debating on purchasing some Depos, but decided to clean the OEM headlights and buy depos if I happened to crack a lens. Looking back at photos with the clear corner lights and clear lower lights, I always hate seeing the brownish tint to my headlights.

Tools used
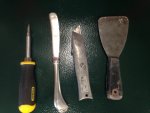
image.jpg
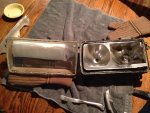
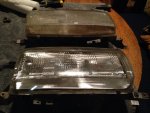
Using 2000UZJ's (from IH8Mud) advice I baked the headlights glass down on a cookie sheet for 8 minutes at 275 degrees. Then I started prying them open from the grille side with a rounded knife. As they began to open and the glue was stretched, I cut it with the box cutter to keep it from going everywhere and getting on things it didn't need to be on.
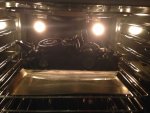
image.jpg

image.jpg
Then I used a microfiber cloth to wipe the dust away, and then spray-a-way glass cleaner on the inside of the glass and lower portion of the reflectors. I'm not sure if that's the best thing to put on the reflectors, but the bottom of my reflectors were oxidized/dull and they took a little bit of light rubbing to bring back the shine. A bit too much and it will take the chrome off. I didn't do the cone parts, just the lower flat portion.
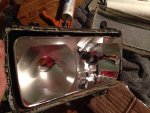
image.jpg
All the crap in the headlights not to mention a coating a brown dirt on the backside of the lens.
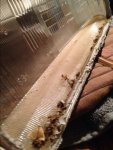
image.jpg
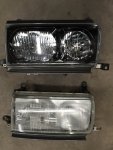
Before and after comparison
image.jpg
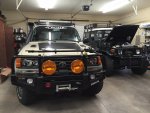
I had since gone back to orange corner lights for a more retro look and to match the orange LightForces. Note the air outlet with the red cover.
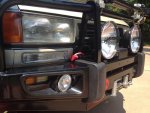
image.jpg

We had a spare headlight, which is why I decided to do this and use it as a test, that I noticed had these rubber boots on the back of the headlights and mine didn't. Now I knew how all the crap was getting in.
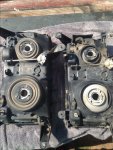
image.jpg
I proceeded to put them in without the seals anyway due to needing to drive the vehicle.
 
Last edited:

Summit Cruisers Jr

Well-known member
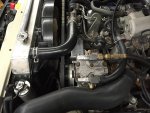
Nice truck! The york compressor looks like it belongs there. Could you tell how you set up the pulley and belt? Pics would be great as I am considering this mod next on my 80. Keep up the good work.

image.jpg

Hopefully this picture helps answer your question. I can get more if you would like, but I'm not really sure what else to take pics of. The belt is a Gates TR22720.
 
Last edited:
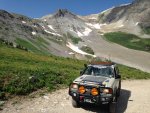
Summit Cruisers Jr

Well-known member
Depo Headlight Install

So after having the unsealed headlights on for 3 or so months, I filled the passenger headlight and blew the bulbs while driving up a river. Instead of opening them up and replacing bulbs, I figured I would buy some Depo headlights for $206 on eBay. It had been something I had wanted to do for quite awhile, and I finally decided I would bite the bullet and upgrade.

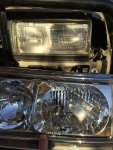
Here is one after unboxing it. A LOT OF CHROME>>>TOO MUCH!
19.jpg
Little comparison between stock. I love the clear glass lens. Looks much cleaner and modern compared to the diffused lens.
20.jpg
I then placed them into the oven and pulled them apart like the others. Then the surrounds just popped out. I rubbed them with Scotchbrite and then wiped them with rubbing alcohol. Then onto the matte black paint with a protective clear coat.
All back together
22.jpg
Because the factory headlights ran 9006/9005 bulbs with the Slee upgrade harness and these headlights are Euro-spec H4/H1 bulbs a conversion had to be wired up, I used a write up I found on IH8Mud.
Big thanks to @thedoughboy for his write up on installing the Depos with the H1/H4 conversion in this thread.

http://forum.ih8mud.com/threads/depo-lights-with-a-slee-harness.823842/

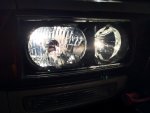
Just using some cheap bulbs from eBay, the light improvement is drastically better controlled and cleaner than the old lights with the HIR conversions.
A lot more time consuming to take apart the front end now that there is some stuff in the way.
23.jpg
Definitely a new look.
24.jpg
Installed
25.jpg
From stock using cheap bulbs, the light output is INSANELY BETTER! With my high beams adjusted, I don't even see a use for the light bar anymore. The low beams have a nice cut off and the light is close to pure white. Not even close to a yellow. I was afraid of the bulbs emitting a blue-ish tint, but there is no trace of any blue.
image.jpg
image.jpg
 
Last edited:

Summit Cruisers Jr

Well-known member
4.88s and New Body Mounts

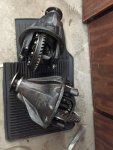
While the Depos sat on a shelf awaiting bulbs and relays for their install, these showed up...some new 4.88s!
27.jpg

After spending a day pulling the thirds, I took them to a shop in Tulsa where they charged $400 to set up both which I felt was reasonable because multiple other shops wanted $600+. The price and setting up of the gears properly always scared me away from them, and I even considered buying rear drawers instead of gears, but I'm glad I went with the gears. It's finally nice to make it quicker instead of making it slower and heavier, and now I have the gearing to run 35s when I come to purchase new tires and wheels. I did 0-60 runs before the gears were installed, and then some after the 500 mile break in period, and they improved the time by roughly 2-3 seconds. It is definitely much more enjoyable on the highway. I can now merge at 60mph, and cruising at 70 is pretty much effortless. I no longer have to shift from overdrive to 3rd. It feels like an entirely new vehicle on the highway, but around town isn't much of an improvement.
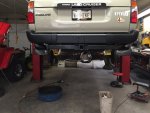
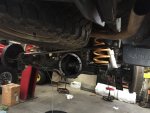
A lift in the garage made pulling the thirds much more enjoyable. Also got my custom OVERLAND badge from Toyota, then painted it black, and installed on tailgate.
28.jpg
29.jpg
While they were out, I painted the diff cover to match the wheels and trim. No flashy red, but just enough to look custom. Also threw on a Nitro sticker because I had one, but its pretty much impossible to see under there.
31.jpg
Gears are definitely beefier, and the rear required minor grinding to get the pin in/out. Also replaced axle bearings in the rear and put on new seals/serviced both axles.
30.jpg
I would have liked to have installed ARB air lockers while this was happening, but at $1200 for one locker, I just couldn't justify it. An auto locker was a possibility, but I would rather have the control of a selectable locker in general...especially when in icy conditions.

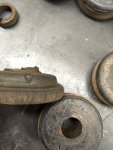
Prior to testing the 0-60 run on the gears, we redid the body mounts. When we built the sliders, we left a 1/2" in between the outriggers and the pinch weld of the body. A month or so ago, we noticed the body had settled down onto the sliders. To get that half inch gap back, we recut new body mounts out of urethane about 1/2" larger than the mounts we pulled out. After this was all said and down, we ended up gaining a half inch of lift. We didn't move the radiator, but the fan is now close to hitting the bottom of the fan shroud. It rides a little stiffer, and feels tighter. The body roll has been reduced significantly and it feels safer. The old mounts were cracking and very soft. Definitely worn out after 360k miles.
32.jpg
34.jpg
Cracking and falling apart....never a good sign.
35.jpg
The 33x10.5 BFGs are starting to look too small with the increased 1/2" of height. Especially considering they measured out to be less than 32" in diameter.
36.jpg
-
-
-
Truck currently has 360,000 miles and is still going strong.

In the future I would like to add/dream of adding a Slee rear bumper or build dual swing outs, Wagongear tailgate storage lid and flip up side windows, custom storage panels for the third row area, new tires and wheels, Icon Stage 3 Suspension, LED lights below the headlights, lockers, turbocharger, dual batteries (not sure if I can fit another with the York compressor), rear drawers, auxiliary fuel tank, and unrealistically a 60 series front end conversion/Toyota Turbo diesel motor swap.
 
Last edited:

Summit Cruisers Jr

Well-known member
Who did the gears in Tulsa? Sams or Ryno?

I cannot remember the shop owners name, but it was done by Axle Transmission, & Transfers on 3244 North Lewis.

This thing is amazing. I love the color! Thanks for taking the time to share.


fantastic build!

lets see it out in the dirt!

Thanks! It's pretty amazing looking back at the old photos and seeing where it is now.

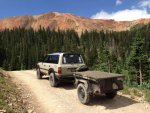
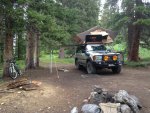
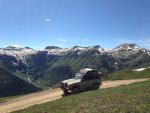
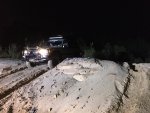
Ask and you shall receive...
image.jpg
image.jpg
photo5.jpg

IMG_7012.jpg
IMG_7043.jpg
IMG_7041.jpg
IMG_7414.jpg
IMG_0421.jpg
image.jpg
IMG_9318.jpg
 
Last edited:
Mauka2Makai

Explorer
This is a great father and son connection with your 80 series build. I only hope that when my boys get older, that my boys share my enthusiasm and passion with the LC and the outdoors, as you have with your cruiser along with your own adventures. Really dig the color BTW. Awesome build!
 

Forum statistics

Threads
188,263
Messages
2,904,710
Members
229,805
Latest member
Chonker LMTV
Top