Tim's M100 Project

Detour

Observer
well, i got to do a little bit of work today in the garage...
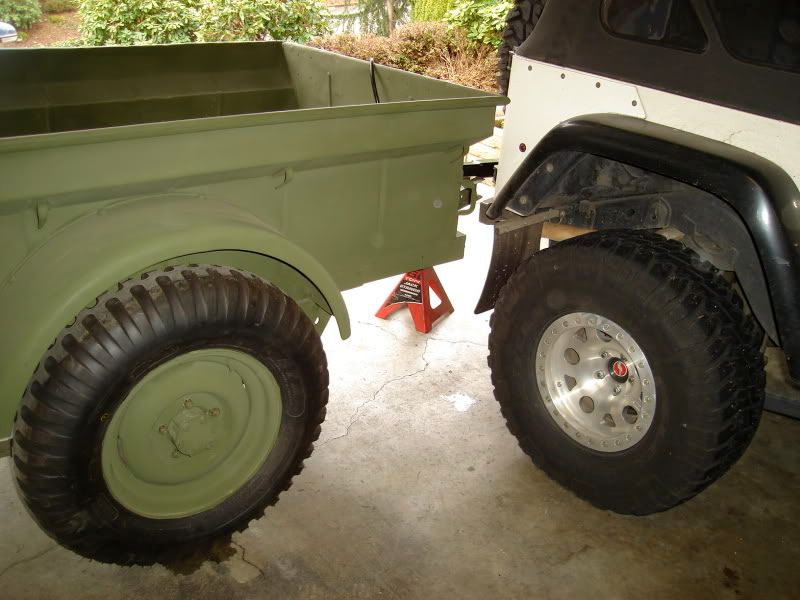
DSC05574.jpg

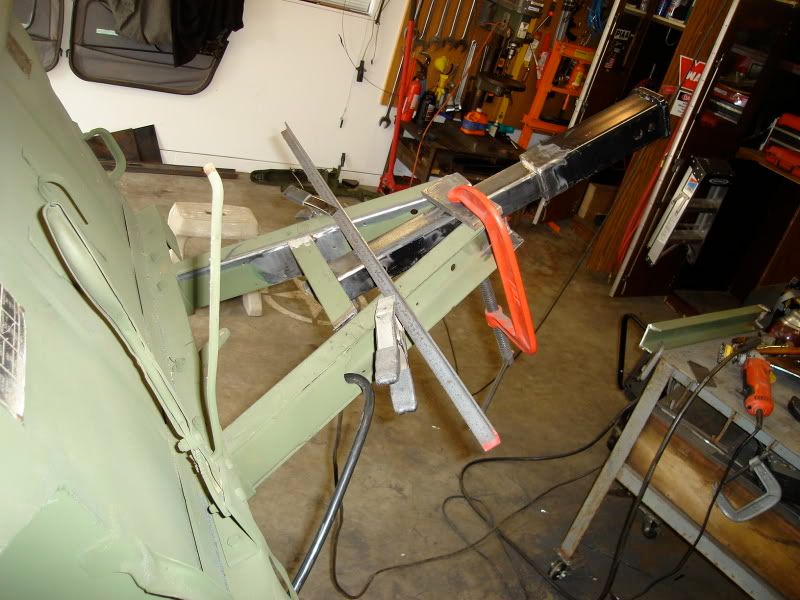
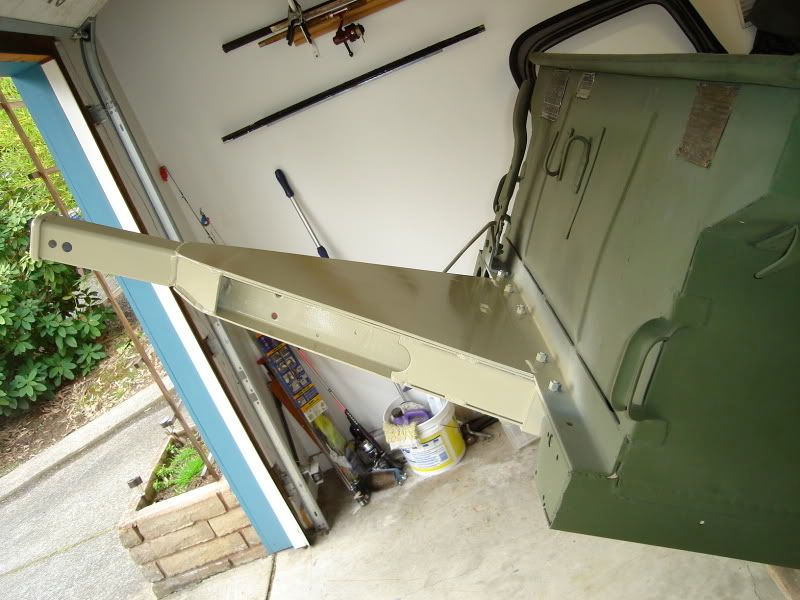
i wanted to find out where i needed the length to be
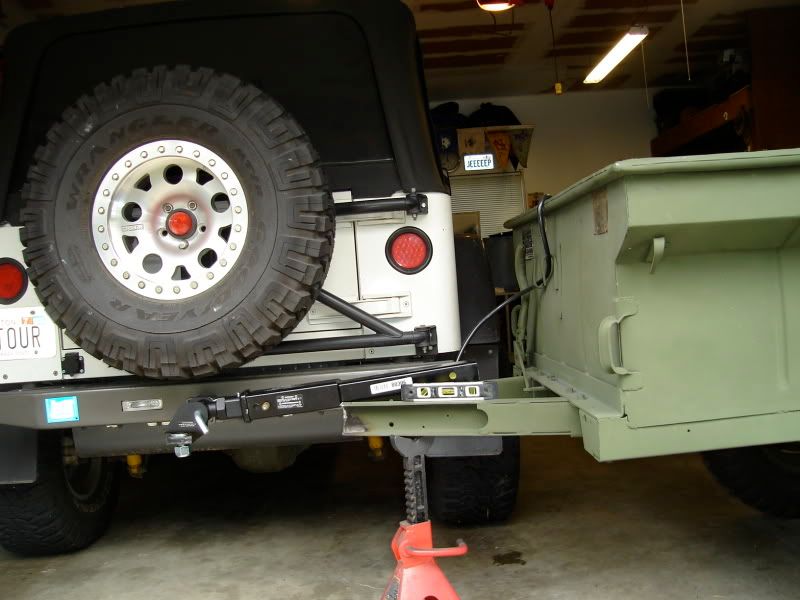
DSC05576.jpg

from the other side with things kind of laid out.
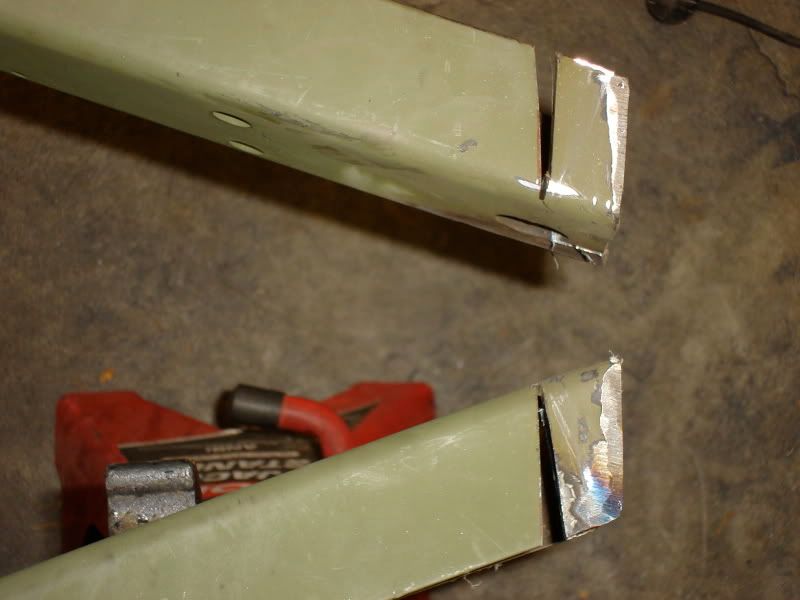
DSC05579.jpg

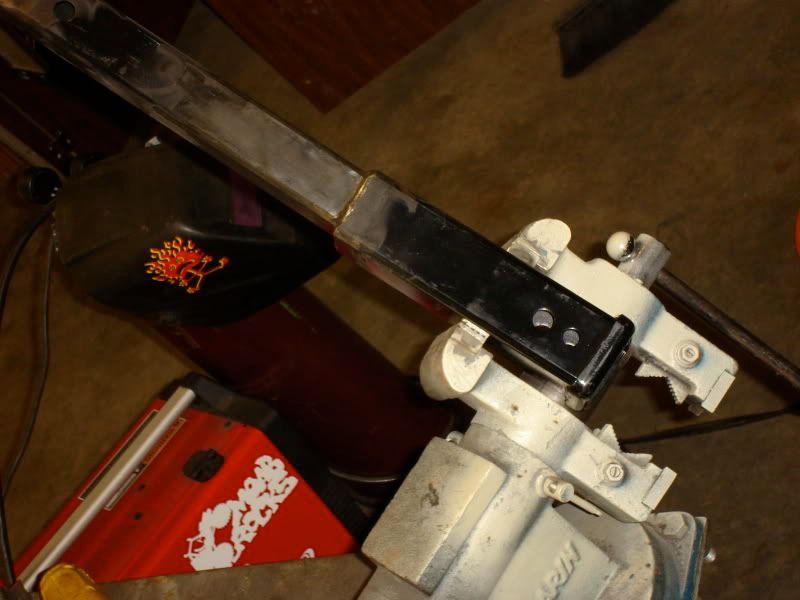
notch and bend...

DSC05581.jpg

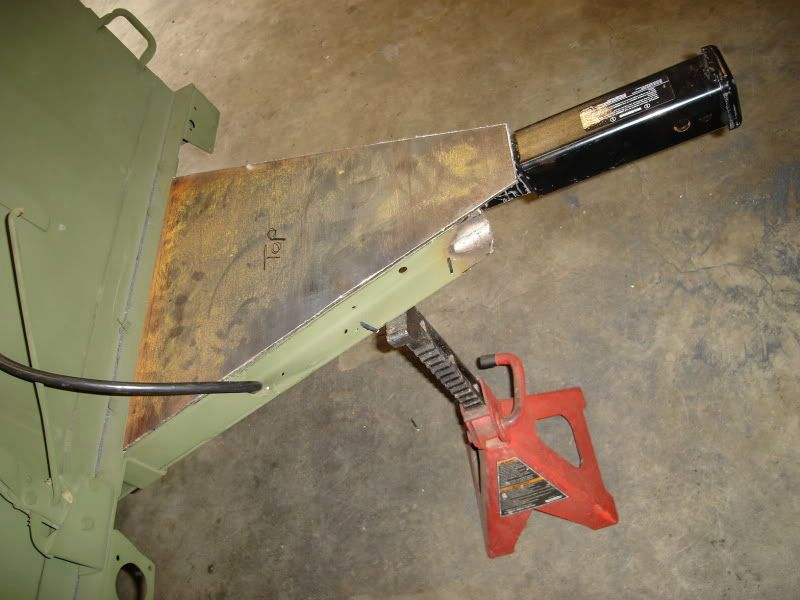
3/16" plate on top, this will be overkill i think but it will make a nice platform for whatever goes there.
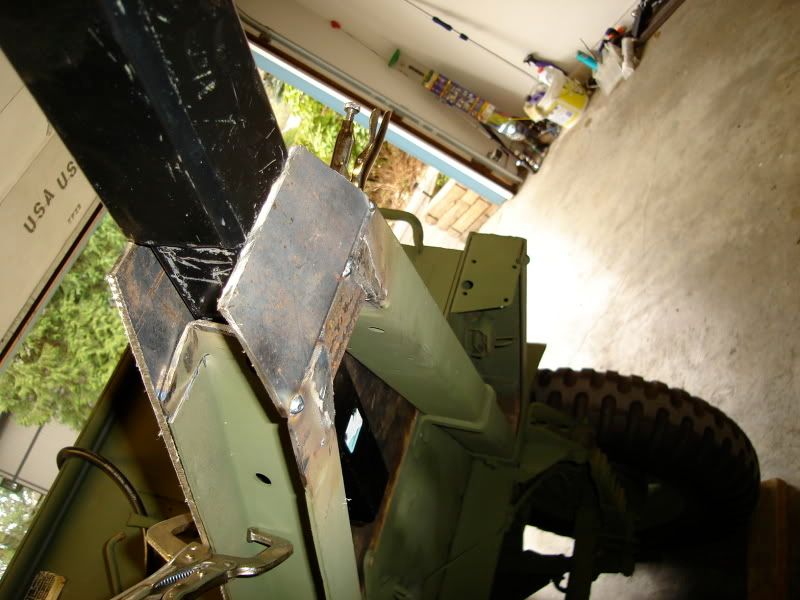
DSC05582.jpg

adding some reinforcements and such to take care of the difference in size, a piece of angle inside. the plate will keep things from getting snagged if it contacts something.

there will be sides between the top and bottom plate where i can attatch the chains.

i hope to get everything lined up and welded tomorrow...
 

Detour

Observer
been a good weekend for man time in the garage!

here's a few pix from today:

DSC05583.jpg

started off by removing the powdercoating from the extention i used. best way to do this is heat it up with a blowtorch. it is quicker with an oxy acetylene torch which blew it right off in a hurry. a wire wheel took care of the rest.

DSC05587.jpg

lining up everything and measuring everything so i can tack it all in. i placed a crossmember in there too.

DSC05590.jpg

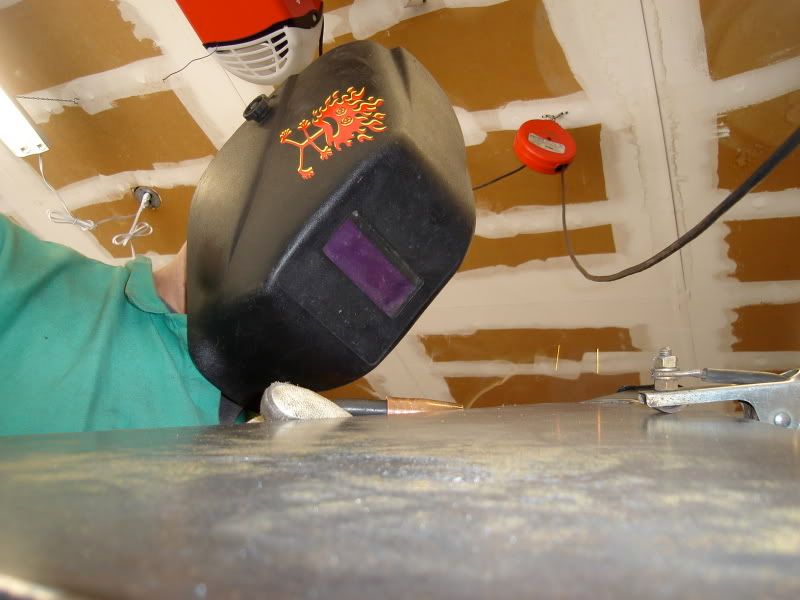
a rare photograph of the author...

DSC05592.jpg

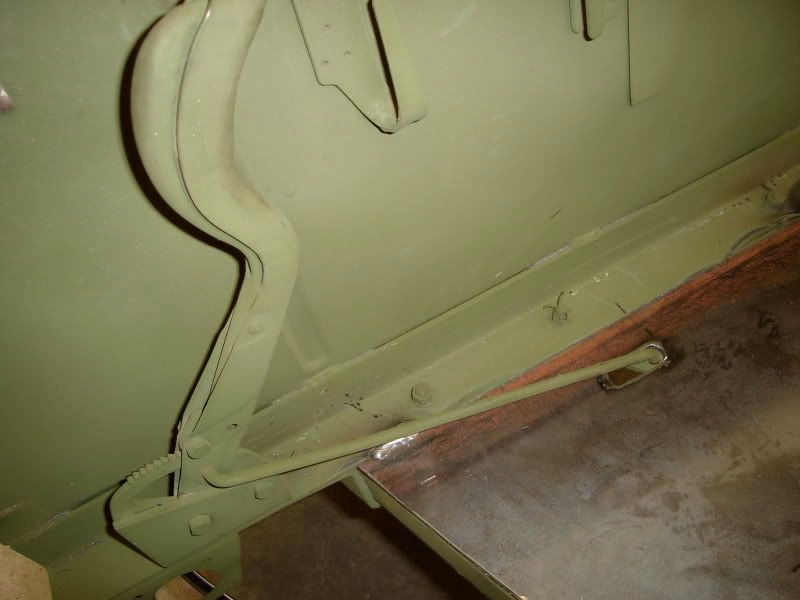
parking brake intact

DSC05596.jpg

this is as far as i got today.

i need to hook up the new chains in a clever way that will make you all say ooOOOOooo!
 

Tight_wad

Adventurer
Wow, that looks really nice. Almost like it should have been that way originally. Keep up the great work. Looking forward to seeing how you are going to make us say "ooOOOOooo" with the chains.
 

Detour

Observer
been pretty busy around here but got some more stuff done today...

well, don't think i am going to "WOW" anyone but here's what i decided to do:

DSC05602.jpg

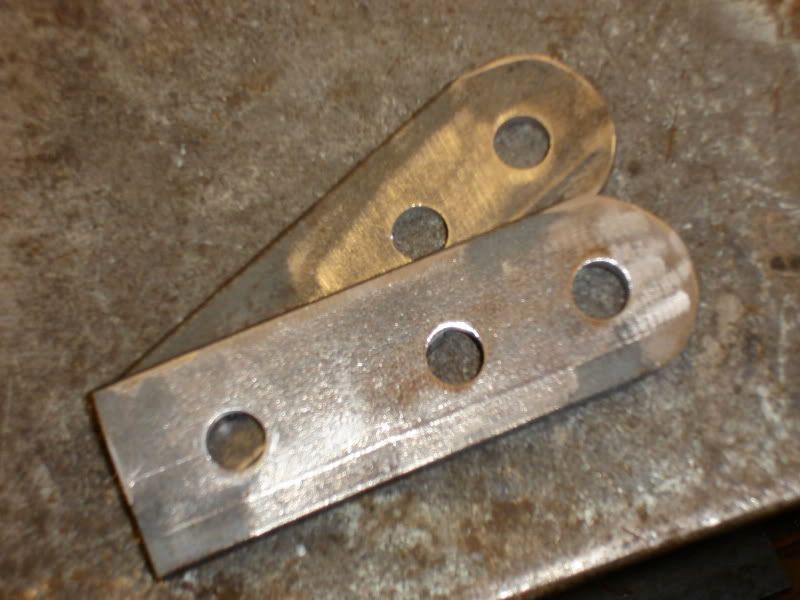
cut some strap about four inches long and attacked both pieces with the drill press and a few other manly tools.

DSC05603.jpg

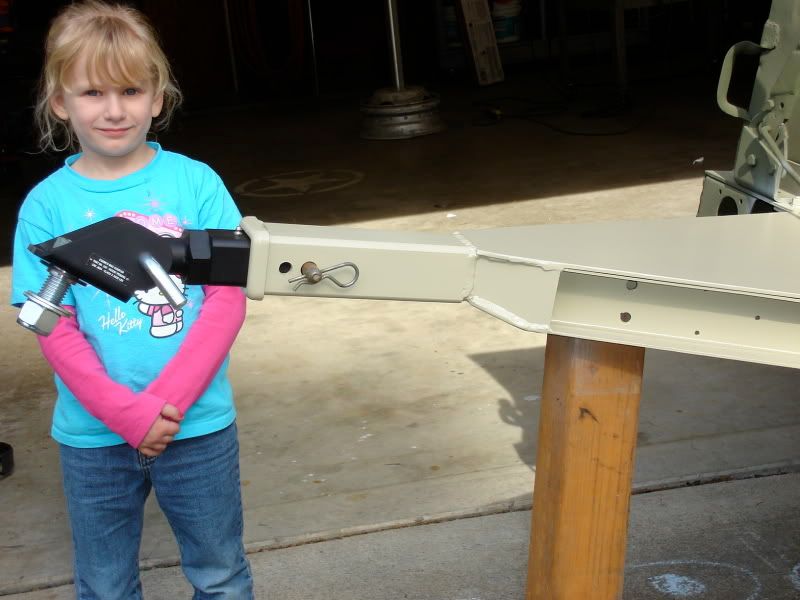
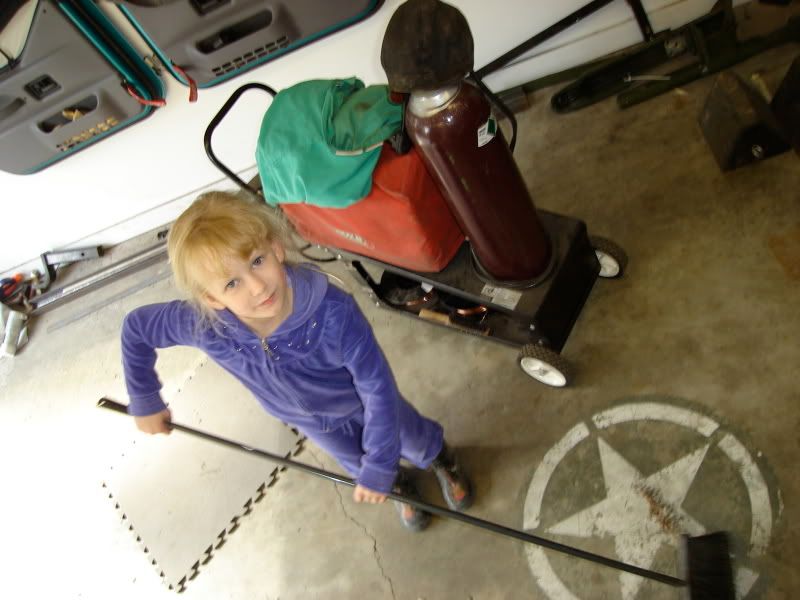
my helper today wanted her picture taken to prove to everyone that she was responsible for all the goodness pictured here.

DSC05604.jpg

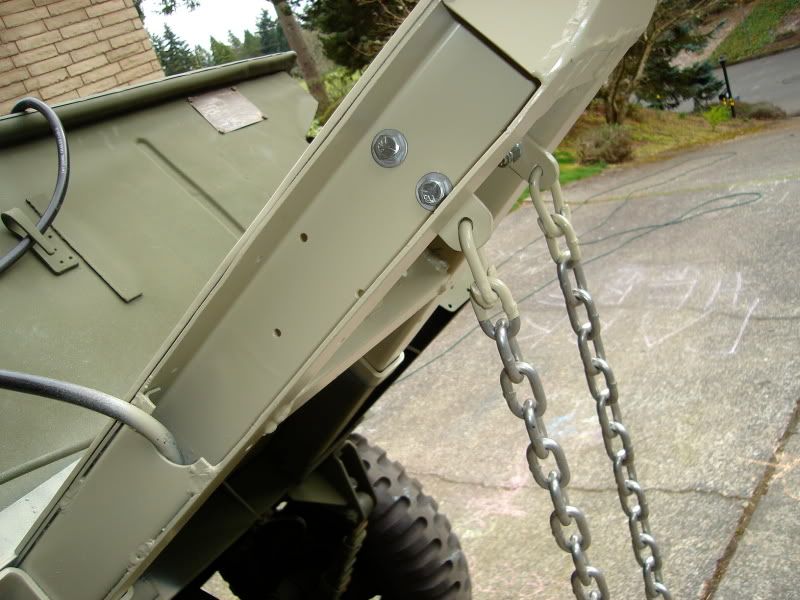
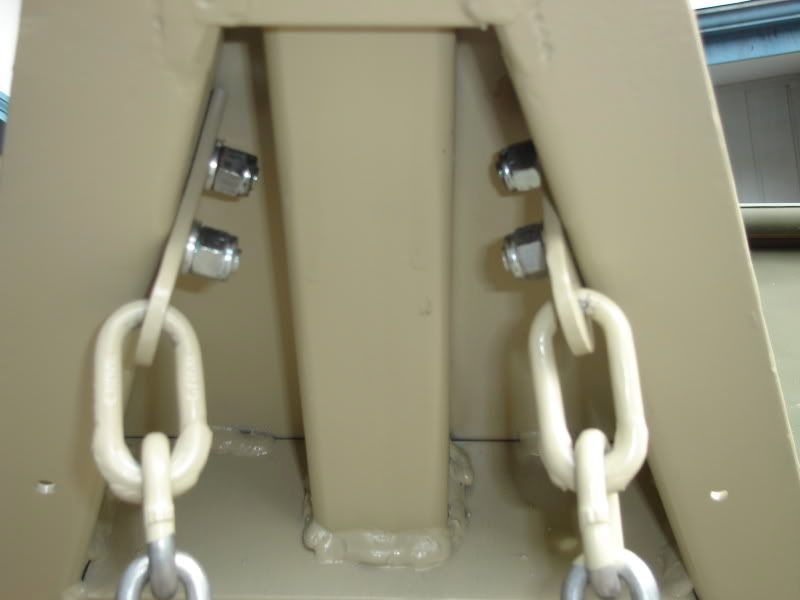
the new mounting local. i'm betting it is seventybazilloin times better than what was there before.

DSC05605.jpg

a second look from another angle.
grade five bolts, nylocks, washers, 5/16" split link that i tacked shut.

DSC05606.jpg

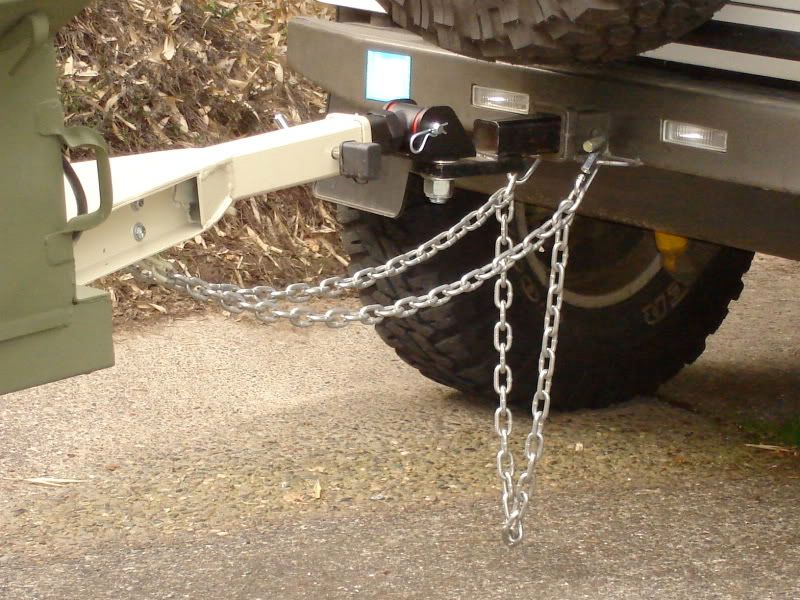
checking for length before i cut. i left a few links on the end of each for luck.
 

elmo_4_vt

Explorer
All the new fab work looks great, but in the last picture the chain isn't crossed under the trailer tongue like it should be, IMHO. You want to create a basket that will hold the trailer tongue up off of the ground if the hitch were to let loose. That additional length with the chain crossed may warrant the couple of extra links you left for luck.

-
 

Detour

Observer
All the new fab work looks great, but in the last picture the chain isn't crossed under the trailer tongue like it should be, IMHO. You want to create a basket that will hold the trailer tongue up off of the ground if the hitch were to let loose. That additional length with the chain crossed may warrant the couple of extra links you left for luck.

-

you are correct. i measured after the pic with the chains crossed before i cut and counted my lucky links. :sombrero:
 

Detour

Observer
from the washington state patrol:

SAFETY CHAINS AND ATTACHING MEANS REQUIRED
Strength Requirements Each safety chain and each attaching means shall meet
strength requirements as shown in WAC 204-70-99004,
Tables 3 and 4, and defined in WAC 204-70-040.

Installation and
Connections The means of attachment of safety chains shall be located
equally distant from and on opposite sides of the
longitudinal centerline of the towing vehicle and of the
trailer. Each means of attachment shall not be common
with or utilize fasteners common with a ball or coupling.
No welding operation shall be performed on a safety chain
subsequent to its manufacture, including the direct
welding of safety chain link to the towed and towing
vehicles. Safety chains shall be so connected that the
slack for each length of chain between trailer and towing
vehicle is the same and is not more than necessary to
permit the proper turning of the vehicles. When passing
forward to the towing vehicle, safety chains must be
crossed in such a manner as to prevent the tongue from
dropping to the ground and to maintain connection in the
event of failure of the primary connecting system.
 

Detour

Observer
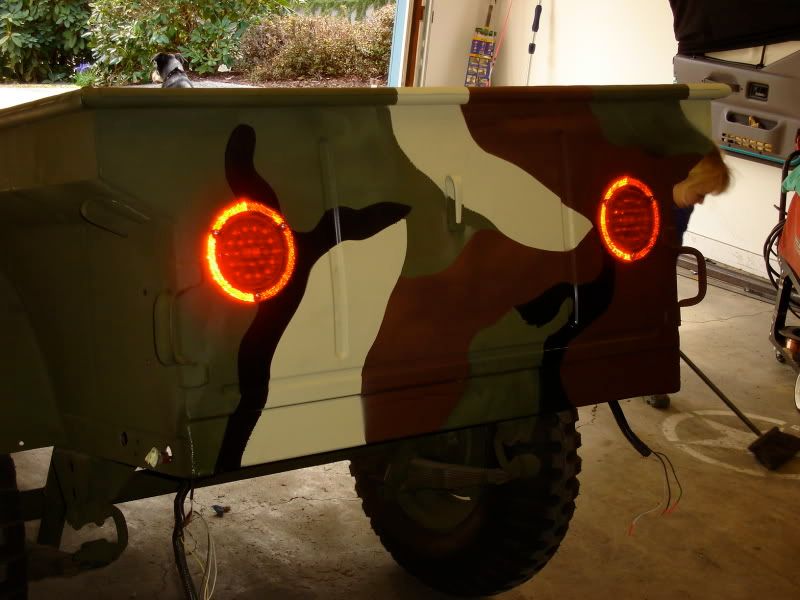
used some silicon to glue in the tail lights.. i bet i could still seperate the rings from the leds if i wanted...

this thread will prolly fade into obscurity now that i am at a place i can ponder things...

if i do anything, i will post up.
 

Detour

Observer
well, that didn't take long...

guess i got a wild hair today...

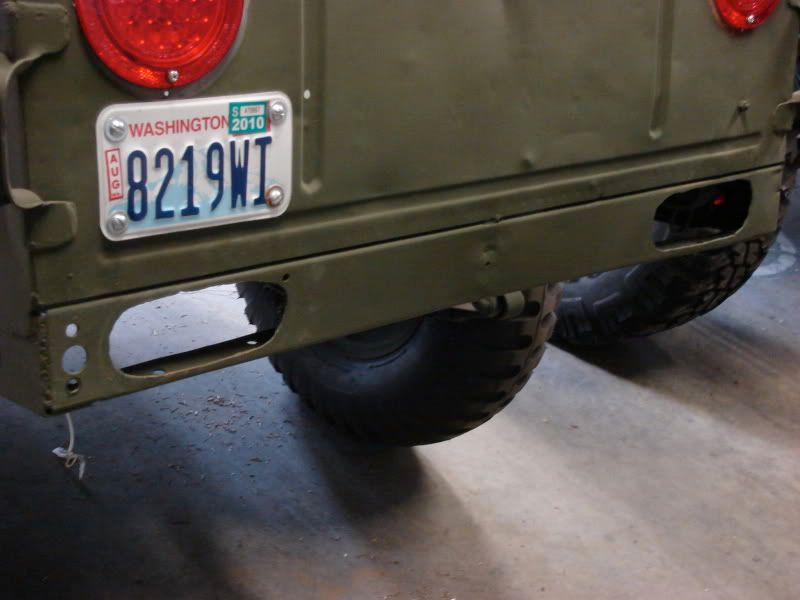
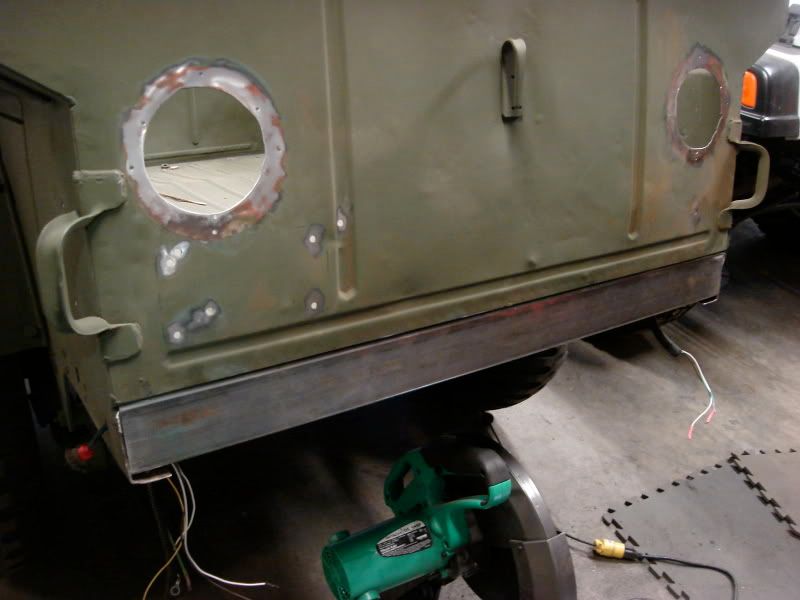
there are several things i didn't like about the rear panel of the m-100:

the oval holes
the 16 extra bolt holes (yup, 16)
the placement of the tag.
the bent up lower section
wasn't a fan of the back-up light and position...

a few pics if anyone is interested...
DSC05623.jpg

a refresher of the before likeness.

DSC05626.jpg

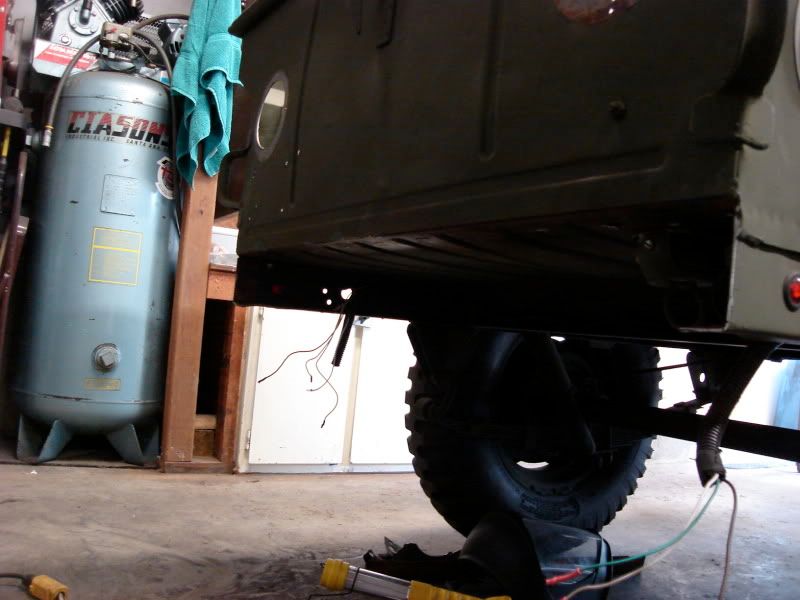
had to cut through about 20 welds total to remove the section. it came out in pieces to preserve the tub better.

DSC05627.jpg

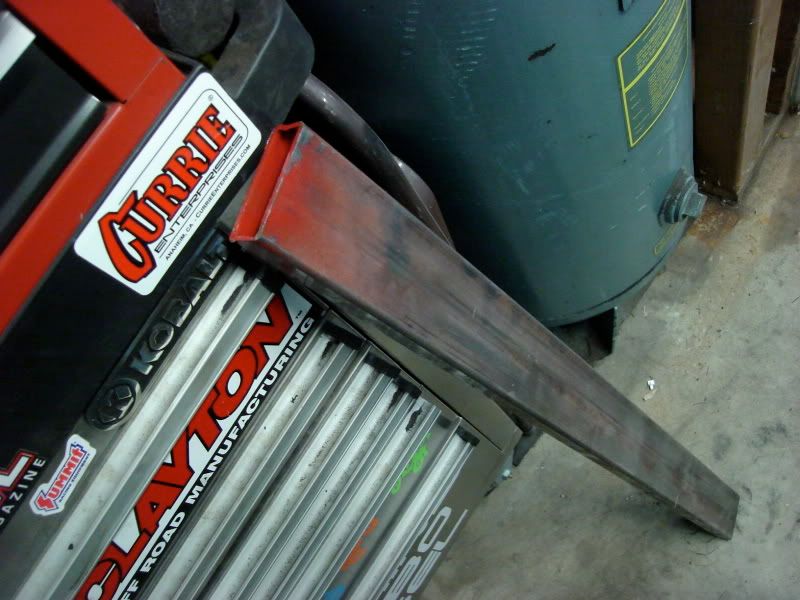
1"x3" can you believe i couldn't get 2"x3" in this town! guess i didnt need to get fancy anyways...

DSC05628.jpg

sanded around the holes for weld-up job x 16

as you can see, i cut all the wires loose. that's what i get for getting ahead of myself. good thing i don't mind soldering it all back together...
 

Detour

Observer
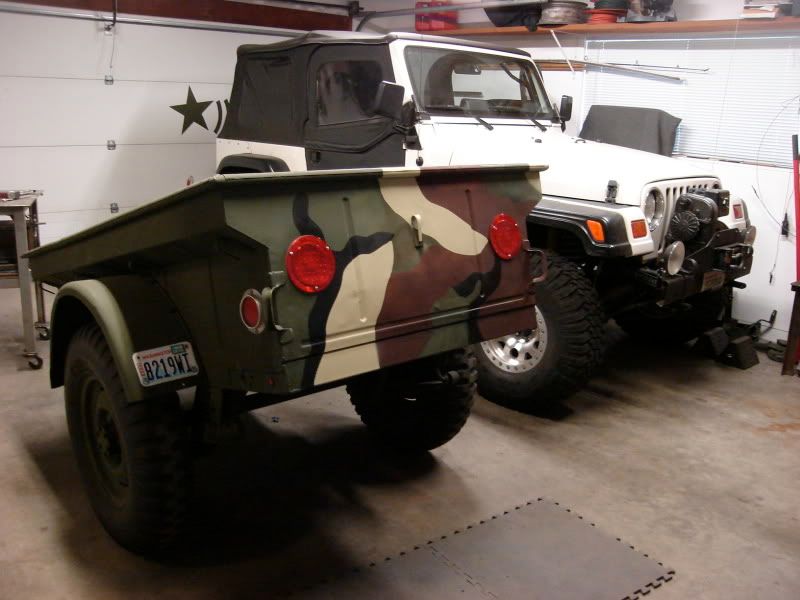
tried a little practice run on camo paint just for grins. figured out some do's and don'ts... this is not the pattern i would use in any case...

it was fun tho and looks okay i guess (for now) just the back is painted...

DSC05632.jpg

repaired and more robust bottom frame crossmember.

DSC05633.jpg

she must want something... or maybe she just likes to help. :)
 

Detour

Observer
todays happenings, and a little post whoring :elkgrin: its fun for me... 'kay?

also, a perfect opportunity to preach to anyone bored enough to be looking at this about good wiring. this might be almost interesting to read because there will be a few pictures.

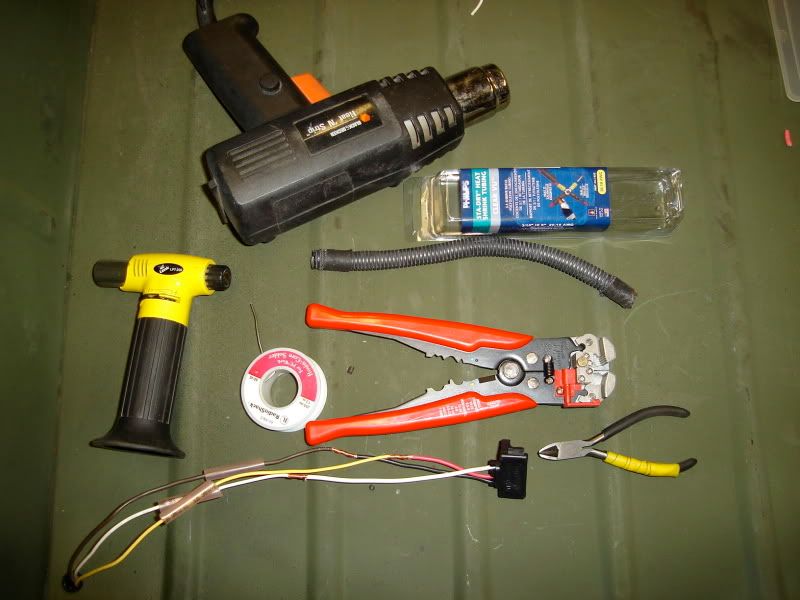
DSC05641.jpg

some of the stuff i like to have around for wiring connections:
-handheld tweaker torch
-flux-core solder
-wire strippers
-heat gun
-waterproof heat shrink
-conduit
-friction tape
-dikes

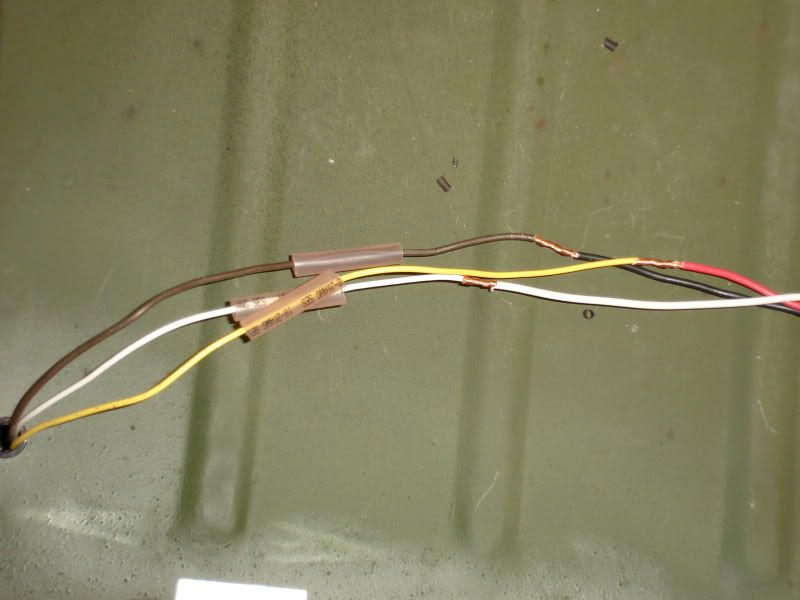
NOTE: i noticed that i don't have a picture of the wires soldered. make sure you put the heat shrink on first too!

DSC05638.jpg

this heat shrink has a type of glue in it that bonds the tubing right onto the wires and insulation for a waterproof / air tight connection that prevents corrosion. it is insanely great stuff. always an exciting time when i get to apply it.

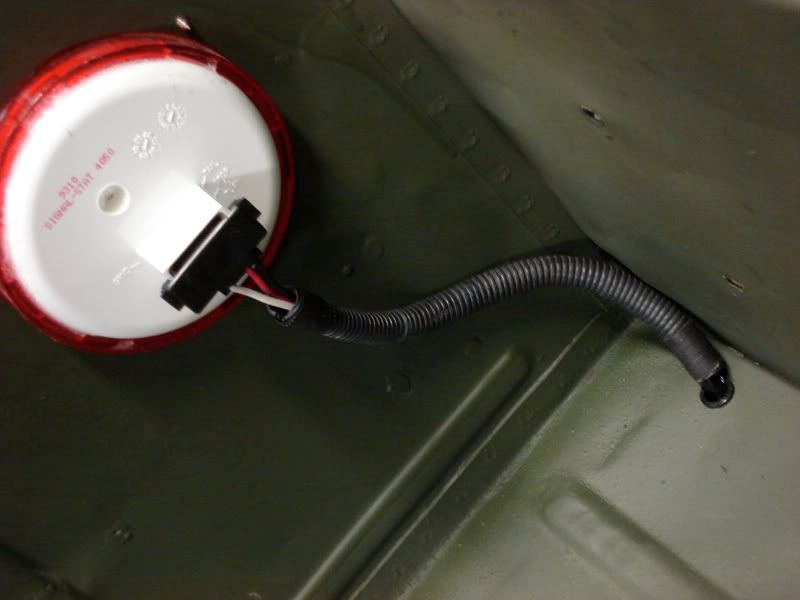
DSC05644.jpg

getting things back together after i cut it apart. yes, that is a draw back to soldering things together but i don't seem to mind doing stuff over again.
i used a grommet, conduit and friction tape to protect everything as good as possible.

DSC05645.jpg

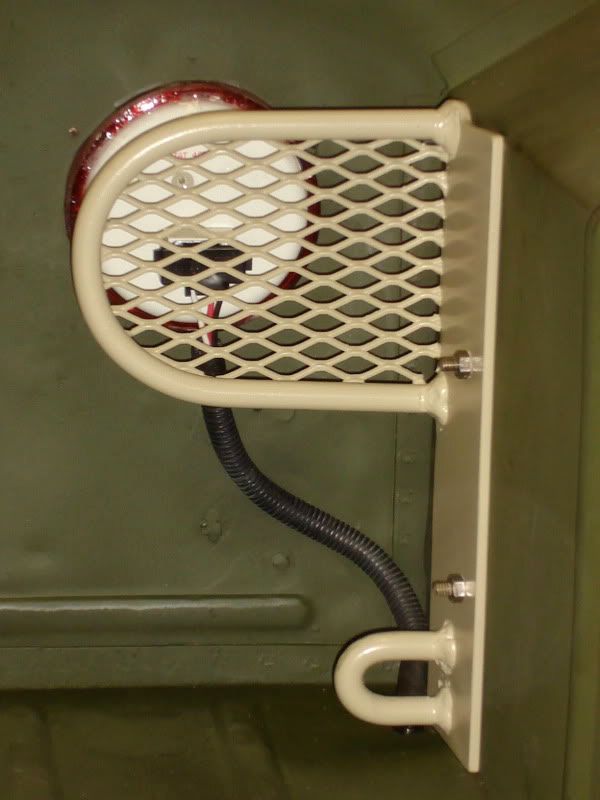
the guard / tie-downs are back in place.

DSC05647.jpg

i placed the license plate on the fender, i like it there opposed to the tub for some reason. i still haven't decided on placement for reverse light or style i plan to use. however, i do know that i don't like the tractor light in this application...

still undecided on the camo... going to wear it for a while.
 
Last edited:

Forum statistics

Threads
187,954
Messages
2,900,320
Members
229,233
Latest member
cwhit5
Top