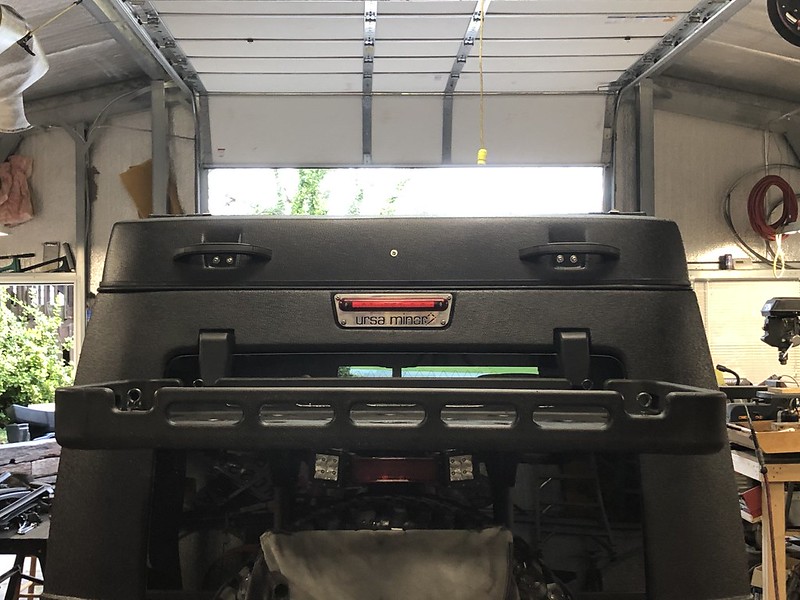
Ursa Minor Pop-Top Jeep JK

rustypayne

Active member
John is sending a replacement and I'm returning the broken part. Here in the midwest we just had a 60 degree temperature swing in about 24hrs and it happened immediately after the warmup so I don't know if the temp swing may have been the cause.

Definitely not too tight, it's on my wife's side and if it gets too tight she can't latch it, it's adjusted to compress the rubber seal but not bottom out on it.

We drove it across the TransAmerica trail last fall without a hiccup but Michigan ranks like 49th out of the 50 states for poor roads. You can bust an axle on the paved roads here ;)
 

Bam2413

Observer
I felt it appropriate to post here, I was having the issue with the tent on my Ursa Minor. After posting here about the issue John over at Ursa Minor took care of me by sending me out a new tent. I appreciate him coming through for me like that and can't wait to get it installed!
 

86scotty

Cynic
A cheap, simple way to remove your Ursa J30 top:

First, I prefer my Jeep with no top for the summer. However, I camp and travel more in whatever expedition rig I have at any given moment in the summer. A prerequisite for me buying a J30 was quick installation/removal, so basically that means a prerequisite for me buying a J30 was having a lift in my shop. Yes, they are expensive and you have to have a building with the headroom and thick concrete so YMMV.

All you need to do this yourself (one man) in about 30 minutes is:

1 two post lift
A couple 2x4's
Various wood blocks
determination
*Easily a one beer job.

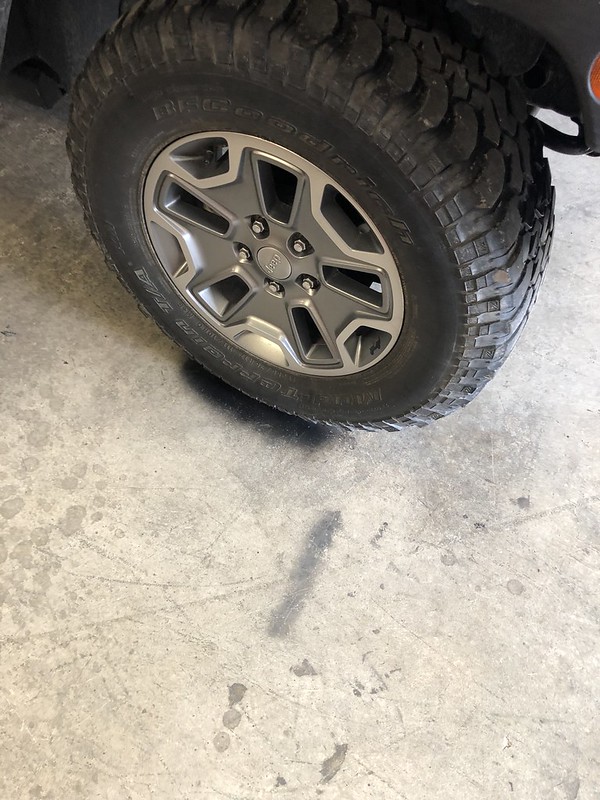
First, park your Jeep very carefully and mark the floor exactly where you put it for easier install later:
Rhino by K A, on Flickr

Next, unbolt the 8 bolts from your Ursa and unplug the wiring connector

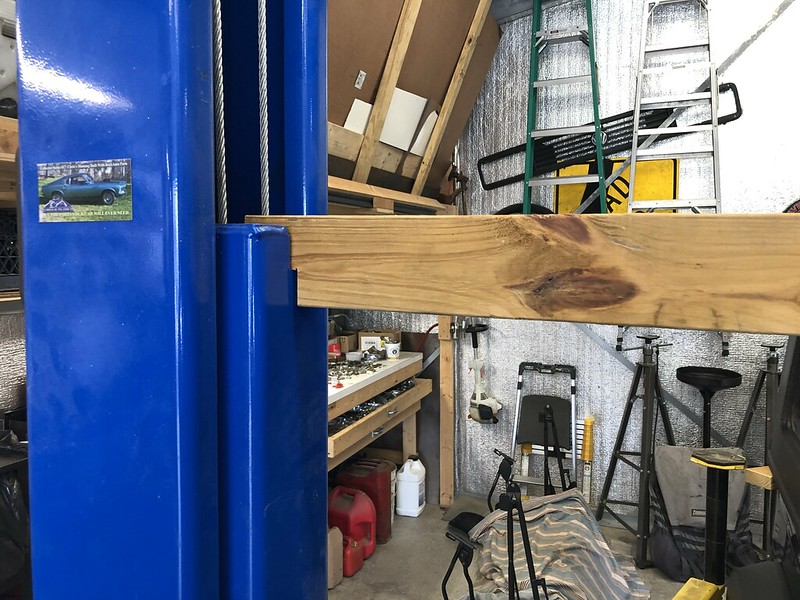
I cut two 2x4's to length for this job notching one where it will sit on the sides of my lift and gathered some wood blocks at this point:
Rhino by K A, on Flickr

Open front doors, take two blocks and lift up from each side standing inside the open door wedging a block in. 2x4's will not scratch up anything:

Rhino by K A, on Flickr

Next, stand on rear bumper with rear door and hatch open and lift the rear of the top up with your legs and back while wedging a couple more blocks in and carefully placing them on the rear corners:

Rhino by K A, on Flickr

It took me awhile the first time to find a good spot for the blocks, first putting them at angles at the front corners and then settling on this:

Rhino by K A, on Flickr

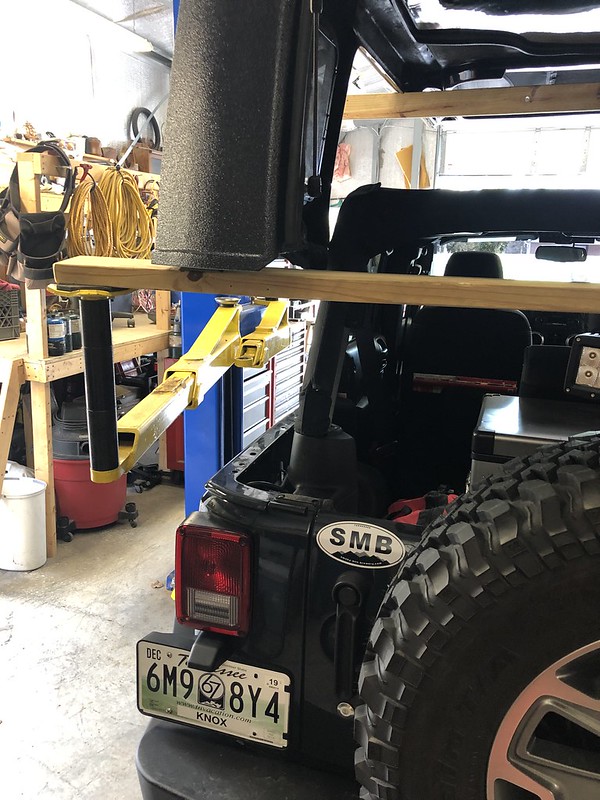
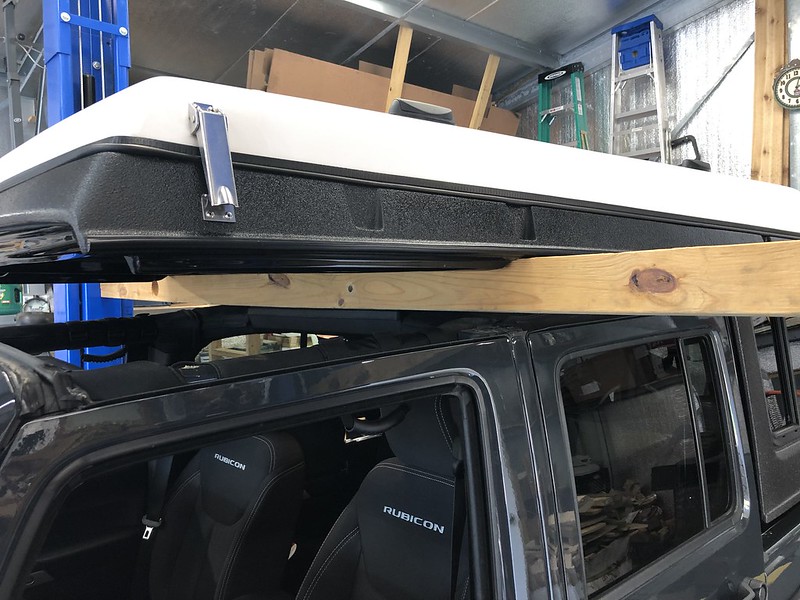
Next I moved around standing on the door sills and lifting in certain places until I could get my notched 2x4 in place replacing the front blocks:
Rhino by K A, on Flickr

Next, replace the rear blocks with a second 2x4 across the back spanning your lift arms. This is easily done while standing on the rear bumper and bending over forward letting your legs and back do the lifting while you place and adjust the 2x4 in place of the blocks:

Rhino by K A, on Flickr

Rhino by K A, on Flickr

Then lift up out of the way and drive your unincumbered Jeep off into the wilderness! Installation reverse of removal. Batteries not included. Don't forget to fill out the warranty card. No refunds without receipt.
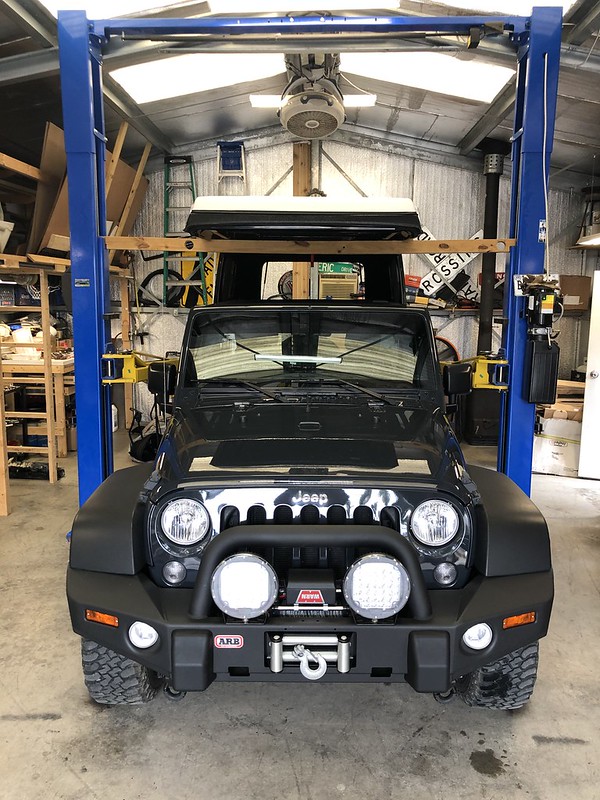
Rhino by K A, on Flickr
 
Last edited:

86scotty

Cynic
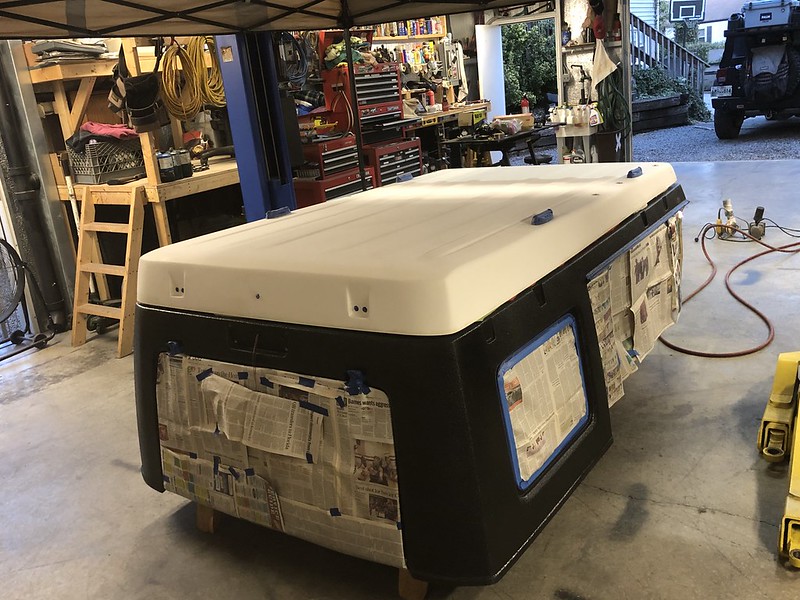
I got my white top changed to a color I can live with today. :D

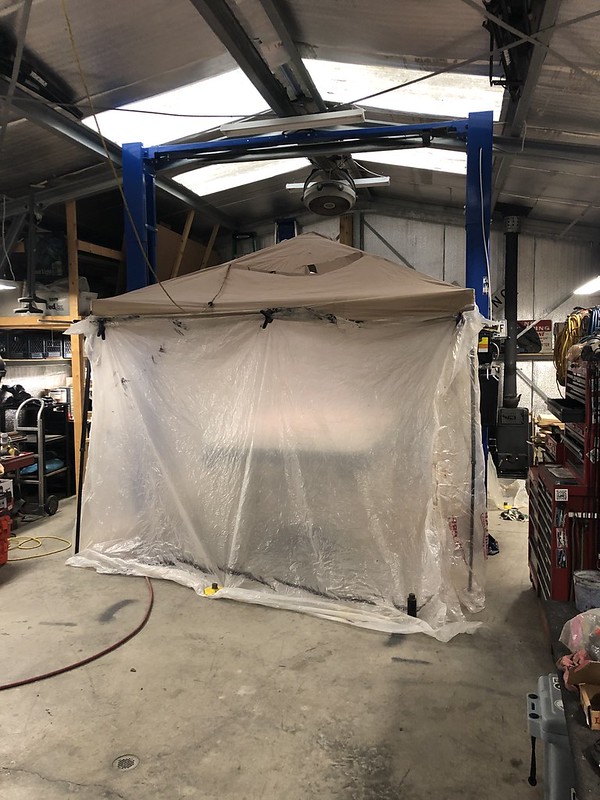
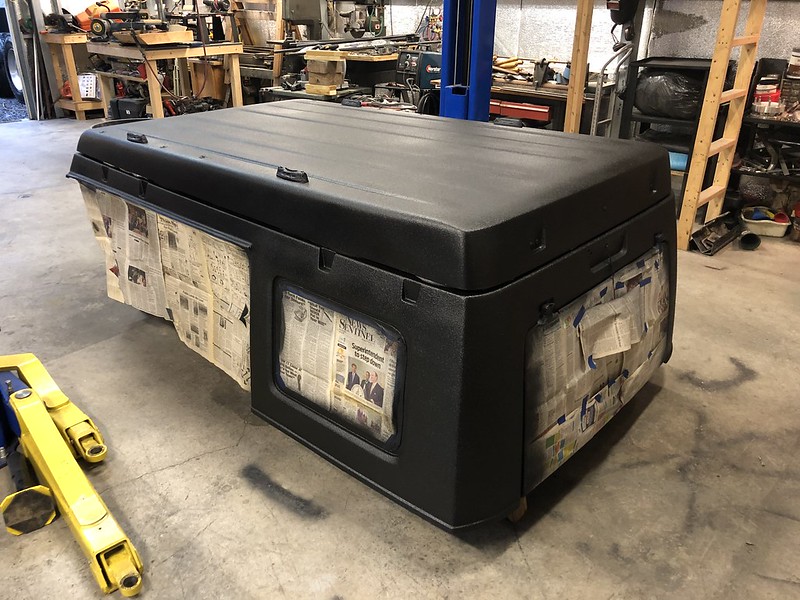
I started prepping last week. An old beat up EZ-up makes an awesome indoor paint booth. If you've never sprayed bedliner it gets EVERYWHERE. You think something so thick would be more contained but the overspray will coat everything near and far.

Untitled by K A, on Flickr

Untitled by K A, on Flickr

Untitled by K A, on Flickr

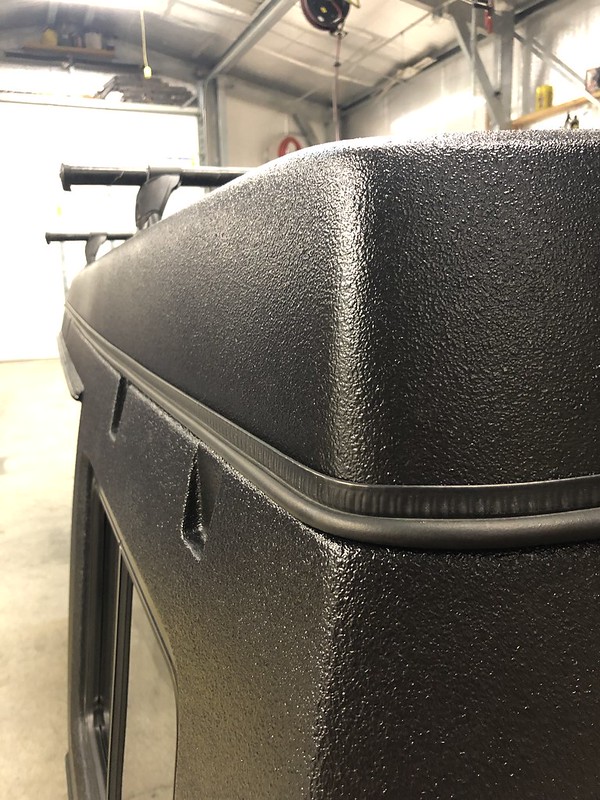
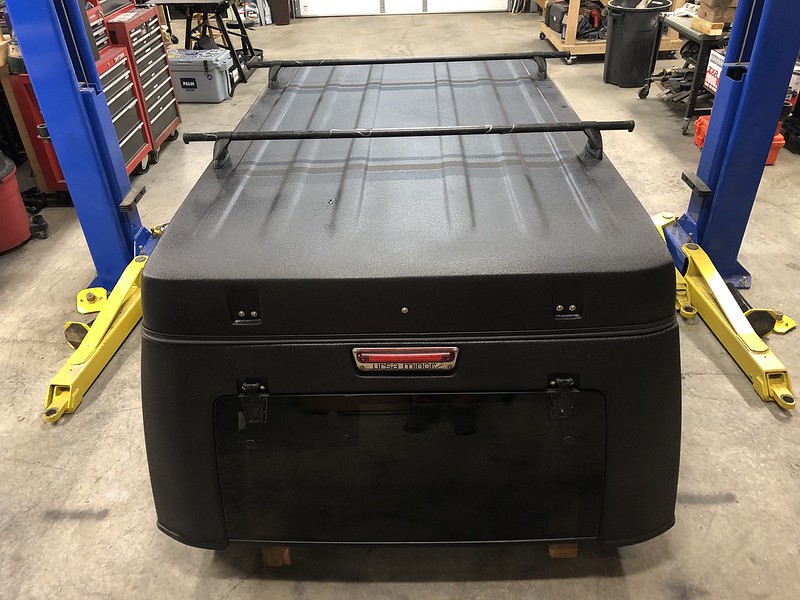
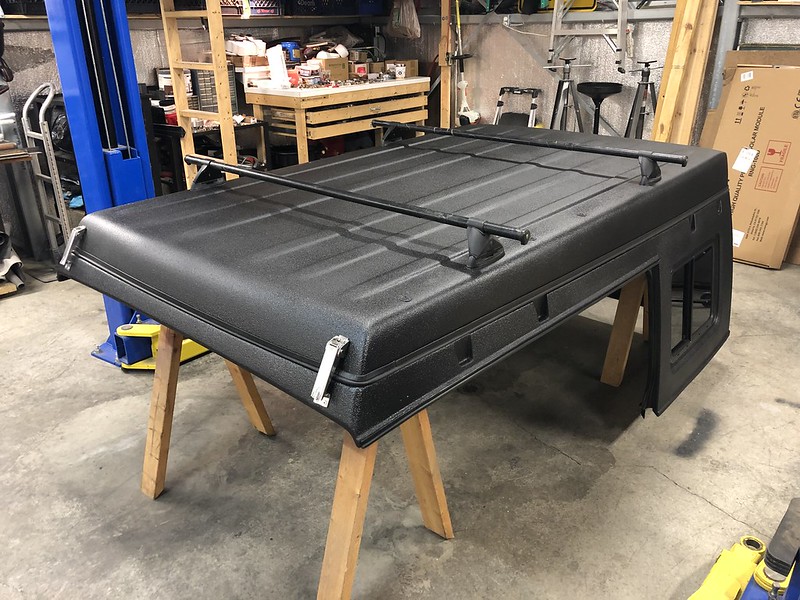
John does not use Raptor Liner on Ursa tops. He uses Bullet Liner or another one I can't remember the name of. I wasn't sure how the top I was shooting with Raptor Liner and the bottom (Ursa factory shiny black texture) would match so I went over the bottom half as well with Raptor over the original texture. I already had 3 bottles of Raptor Liner on the shelf and the gun from previous jobs so I was obligated to use it. It turned out perfect. The texture is spot on.

Untitled by K A, on Flickr

Untitled by K A, on Flickr

Untitled by K A, on Flickr

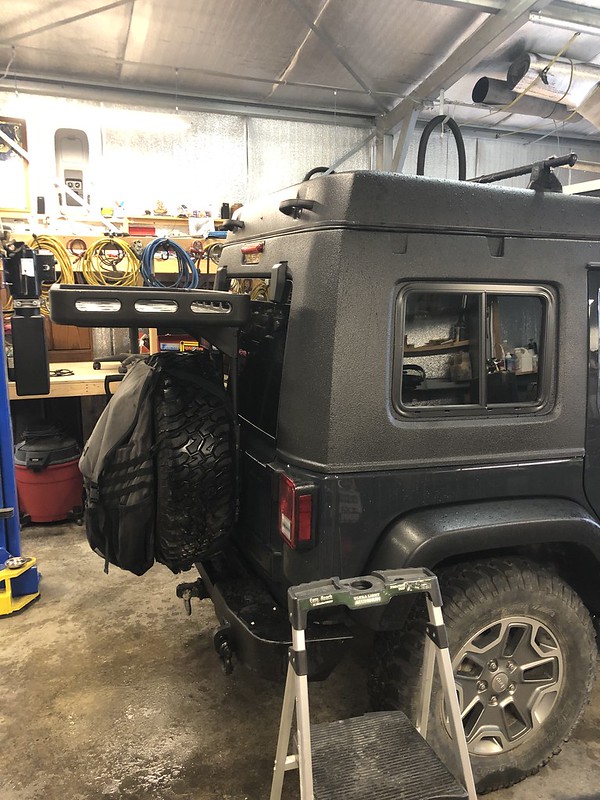
I put on some new Yakima towers and beat up bars I had on the shelf and tomorrow I'll start on my solar panel rack unless I get called out of town for work. Also, I moved the latches from the sides to the front since I just ordered an awning.

Untitled by K A, on Flickr

Untitled by K A, on Flickr
 

ventura911

Adventurer
A few questions:

Has anyone found the bottom of the floor thumping against the top of the sound bar along the front edge? If so, how did you fix it (I’m thinking of a piece of rubber, maybe about 1/4” thick, wedged between the two in the center, as a temporary fix)?

Also, has anyone experienced rattling of the cylindrical piece of metal at the top of the latch? My solution so far is to use a piece of electrical tape on them so I don’t hear them while driving down the road, but other than replacing them (and perhaps having the same issue if it’s a design problem), I’m hoping to find a better solution.

Thanks!
 

rustypayne

Active member
Mine thumps on the sound bar when I'm using it as a daily driver but when I have the Jeep loaded for a road trip it doesn't make a sound. The top is empty now but when we road trip I go against the suggestions and leave a sleeping bag laid out flat and three thin pillows lined down the center. I have to be very careful with the canvas when closing it but as long as you keep everything away from the edges the canvas folds in nicely.

My latches are silent, I posted that one of my latches broke a few weeks ago but John sent a replacement and all is fine now.
 

Dan Grec

Expedition Leader
A few questions:
Also, has anyone experienced rattling of the cylindrical piece of metal at the top of the latch? My solution so far is to use a piece of electrical tape on them so I don’t hear them while driving down the road, but other than replacing them (and perhaps having the same issue if it’s a design problem), I’m hoping to find a better solution.

Thanks!

Yep, mine rattle. What I did was cut a very short piece of rubber hose that is the exact length of the cylindrical piece, then I sliced it lengthwise and put it on the cylinder.
They have been like that for 50k+ miles and have never come off and have stopped the rattle.

-Dan
 

Forum statistics

Threads
188,181
Messages
2,903,491
Members
229,665
Latest member
SANelson
Top