Utility Trailer build (long lotsa pics)

WyoExplorer

Observer
I'm building another utility trailer, the first one was just a little too tight for it's intended use...hauling a 2-up Polaris ATV.
gedc1027.jpg

A couple other pics...

gedc1116.jpg


gedc1118.jpg


I learned a lot on the first one and plan on some minor changes.

Anyways...this is how I am doing the build, some may look familiar, as I have borrowed some ideas from other peoples build, some I am coming up with on the fly. :coffeedrink:

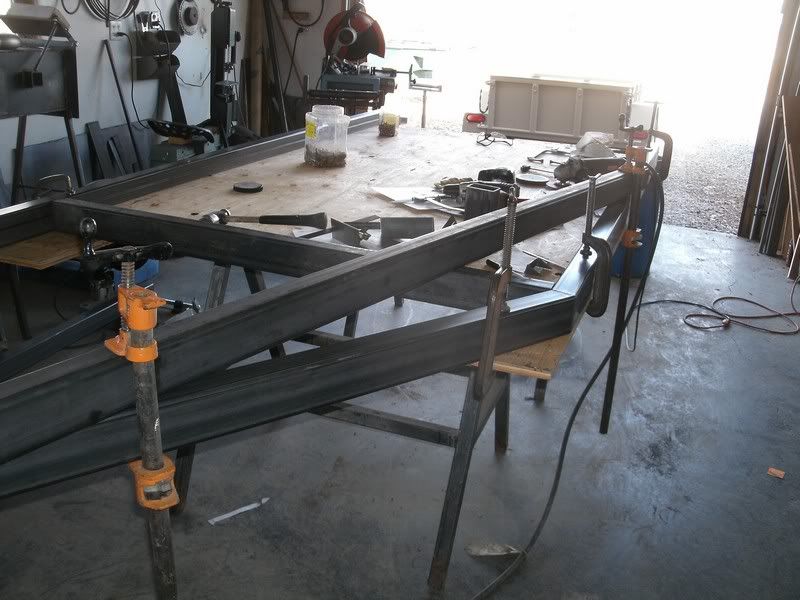
Starting with a 24' stick of 2x3x.120 (11ga) rectangular tubing, (after cleaning all the nasty crap off that they put on to keep from rusting) I cut it in half.
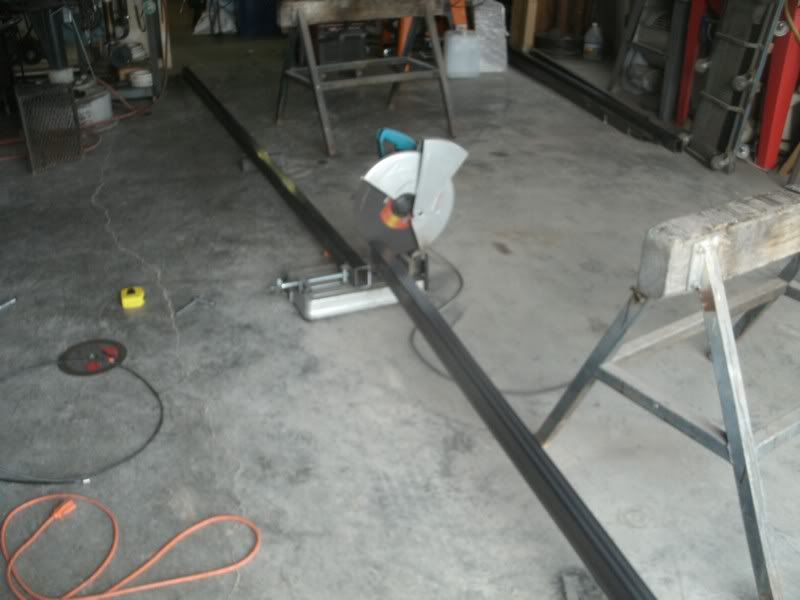
trailer11.jpg


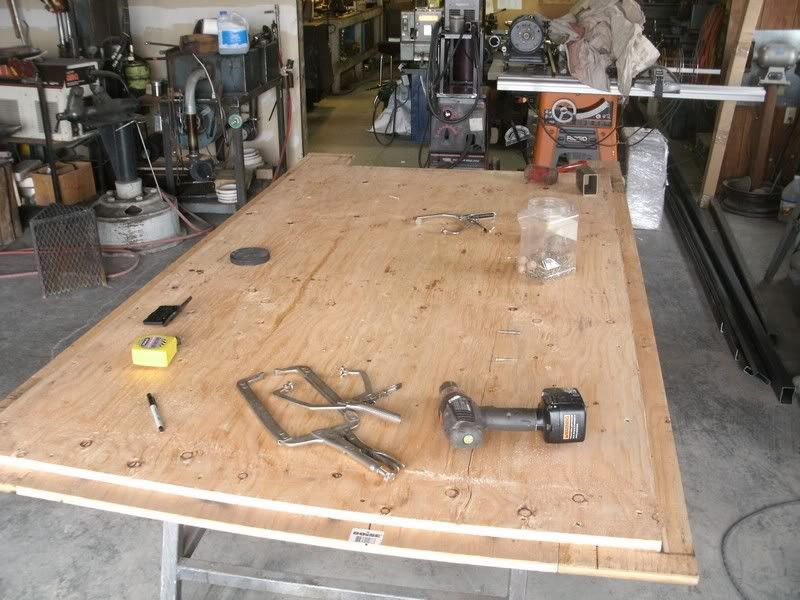
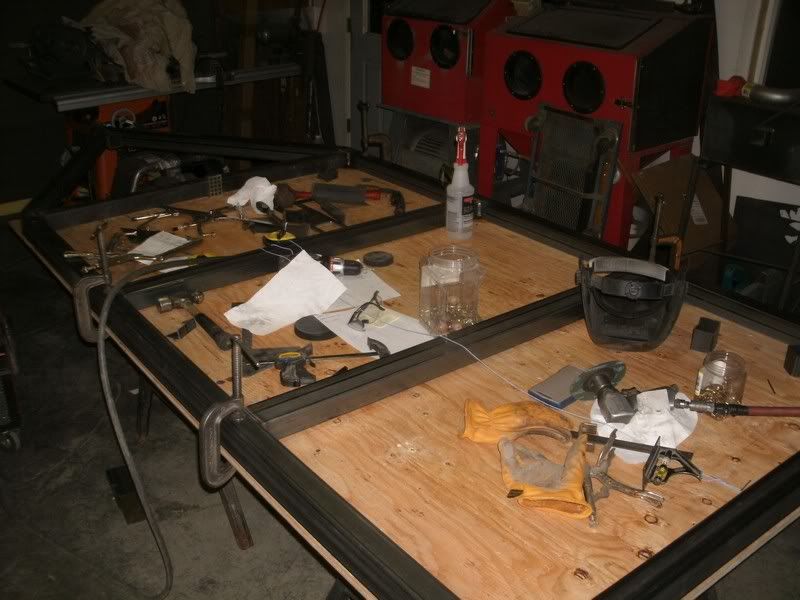
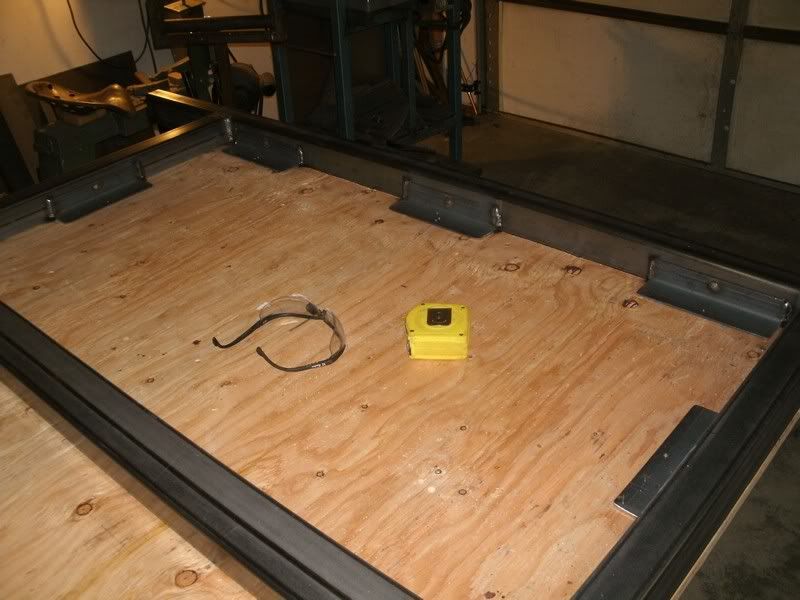
I'm building this from the inside out, well sort of...I'm using the plywood floor to keep it squared up. The inside dimensions of the trailer will be 7'4" x 4'4", the plywood floor is 4'x7'. I clamped a straight edge to a new sheet of CDX and allowed 5" for the circular saw guide to blade distance.
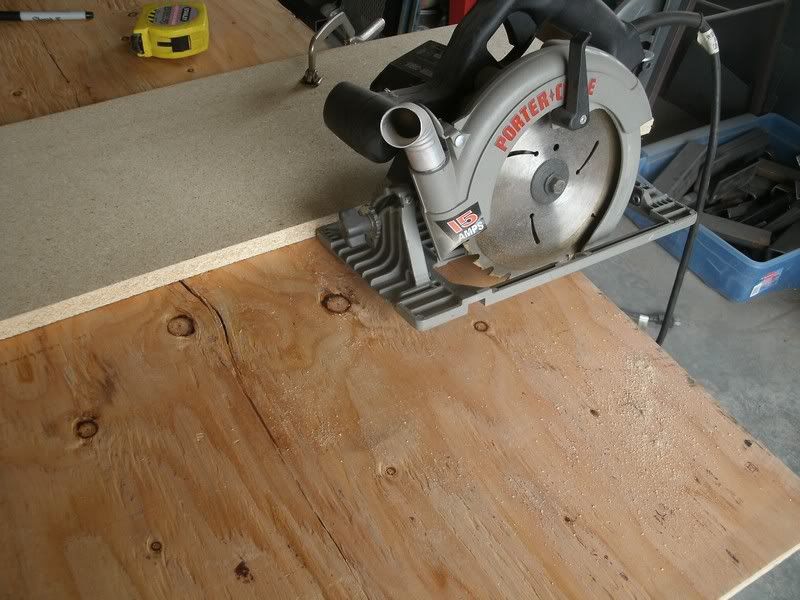
trailer13.jpg


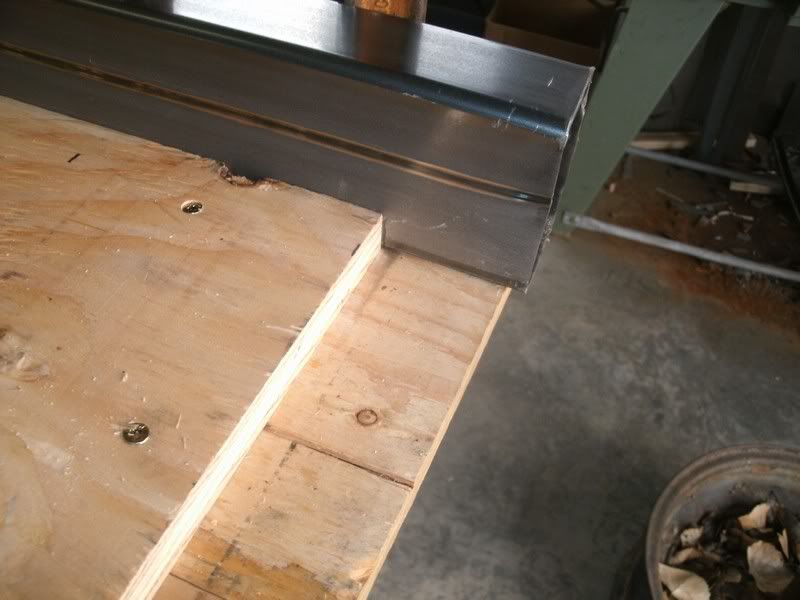
After cutting to length, I screwed 8" strips to the perimeter, leaving a 2" exposed ledge.
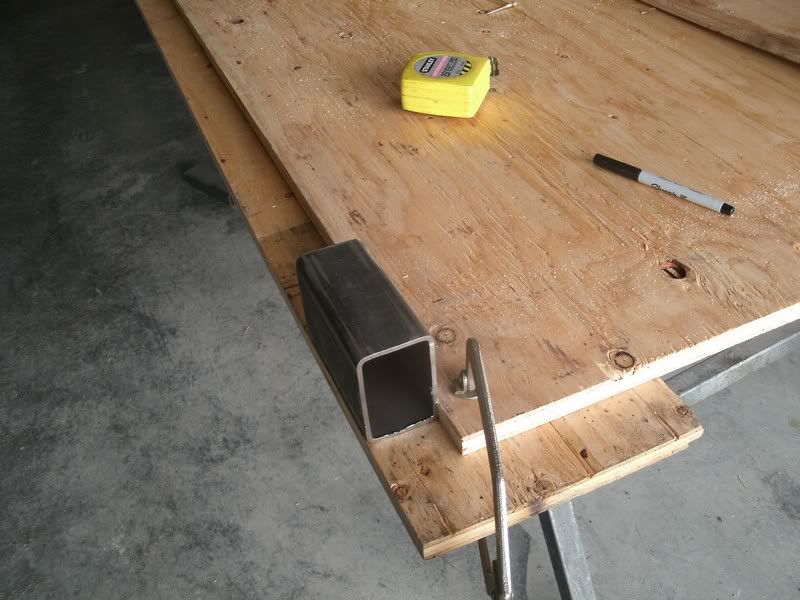
trailer14.jpg


trailer16.jpg


I marked the center of the sheet in the front and the rear.
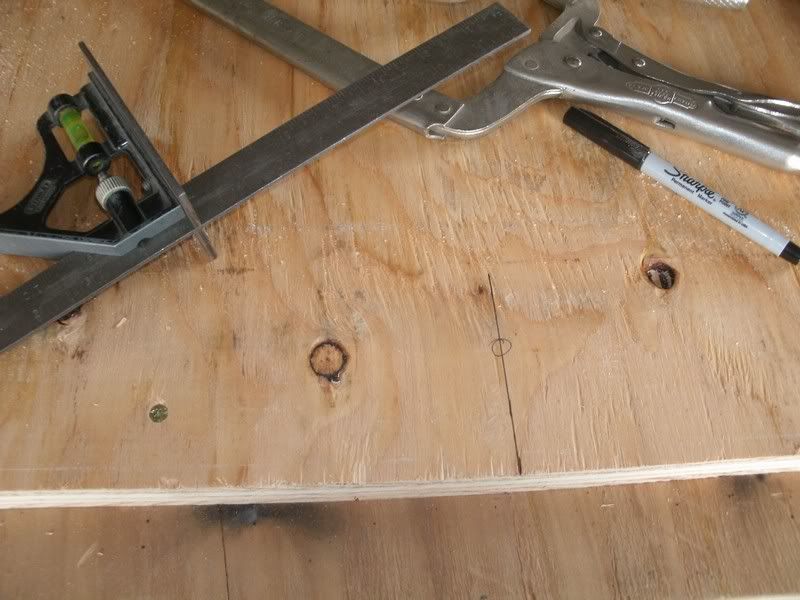
trailer17.jpg


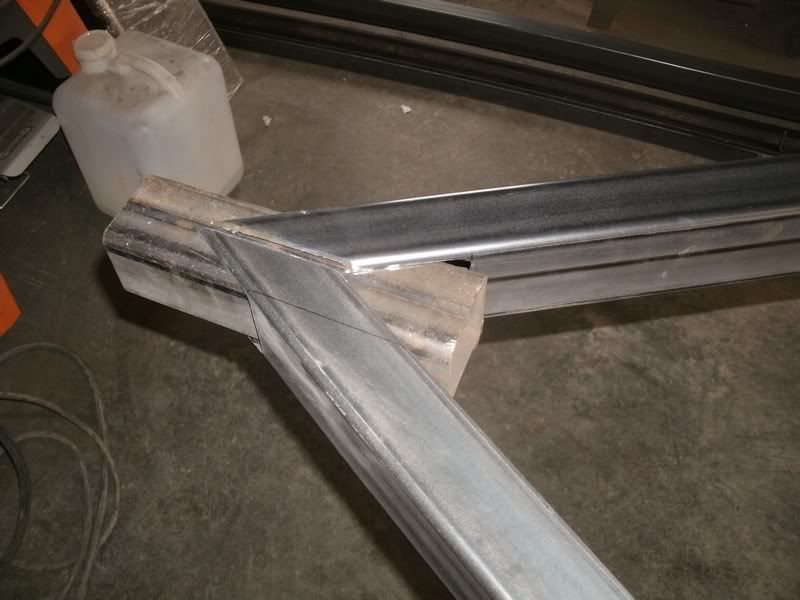
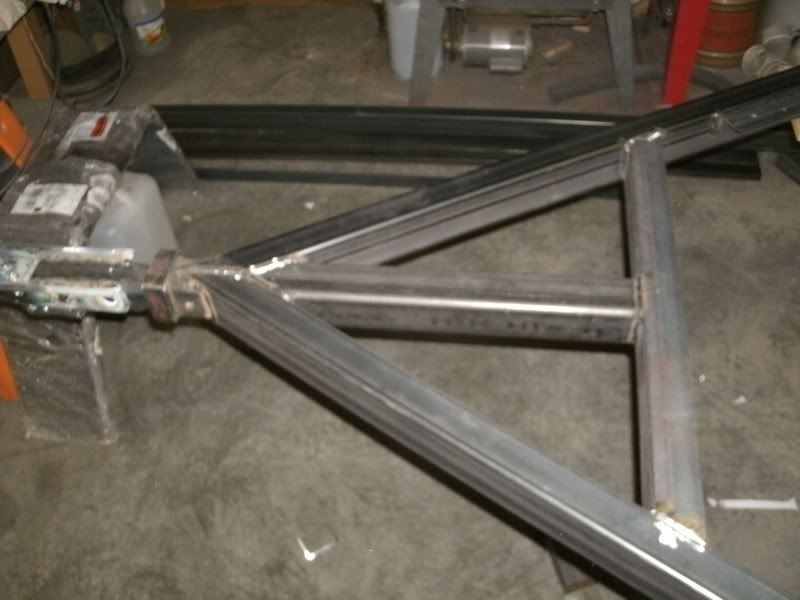
I measured 55" from the front or tongue. This will be longer than needed, just gives me a little room for adjustments. I've made some templates with different angles cut on them. I clamp them to the tube, leaving approximately an 1/8", this is the distance from the center of plasma cutter tip to the edge.
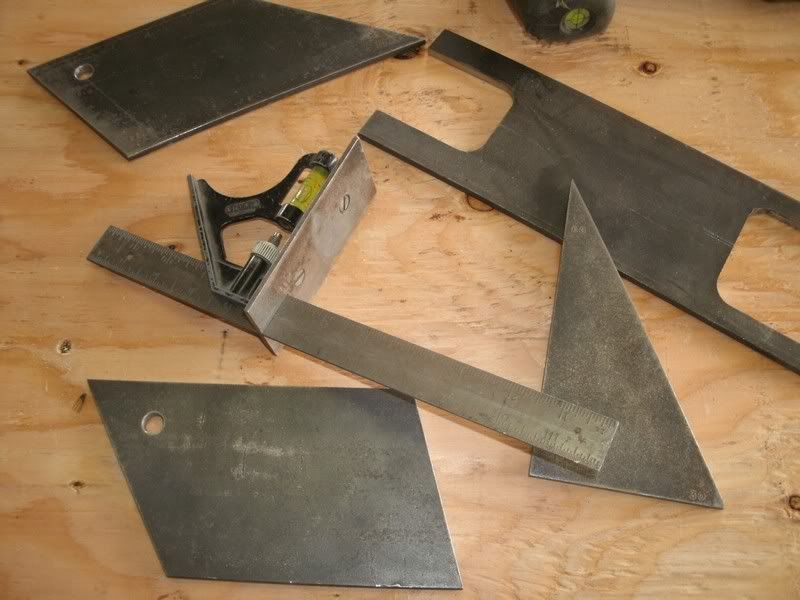
trailer19.jpg
 

WyoExplorer

Observer
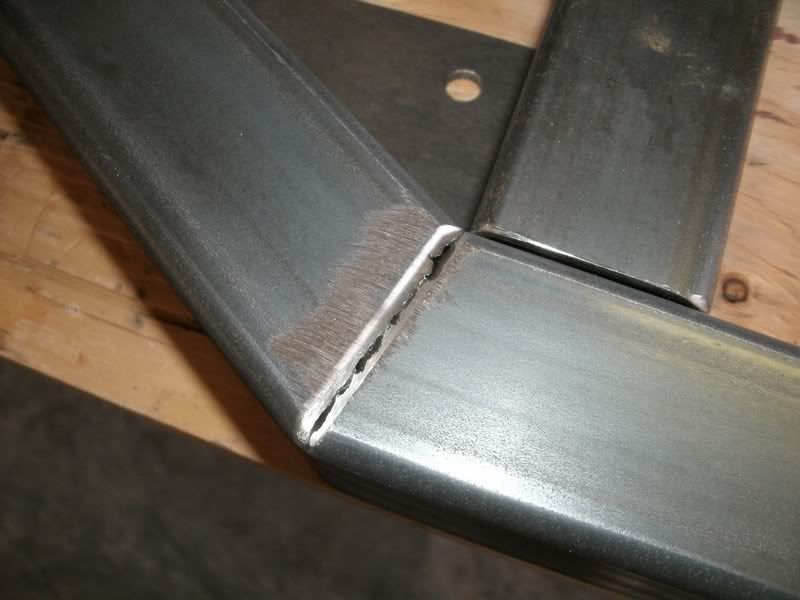
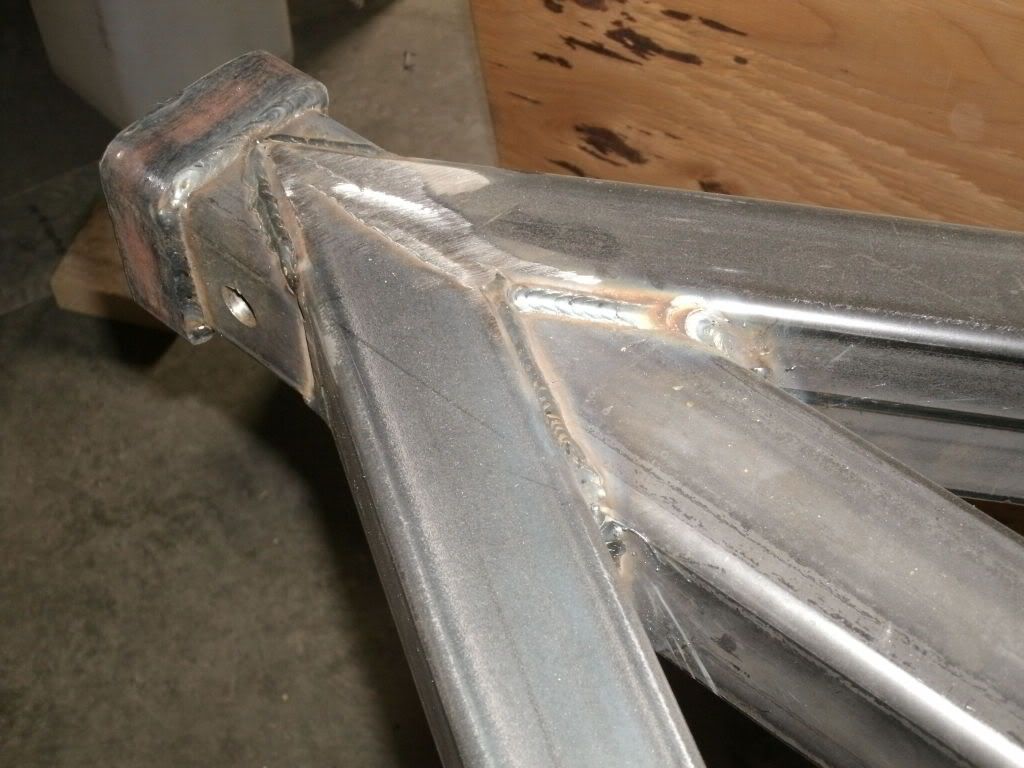
I cut back to back 15 deg cuts to remove a wedge from the rect. tubing. This gives me a 30 deg angle.
trailer115.jpg


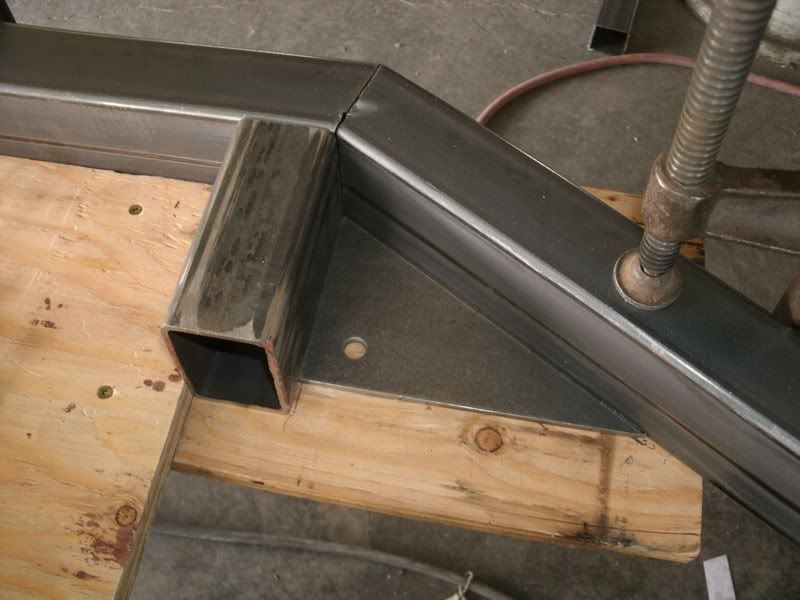
With a piece of 2x3 tube set to mock the front crossmember. I pull the tongue over and clamp.
trailer112.jpg


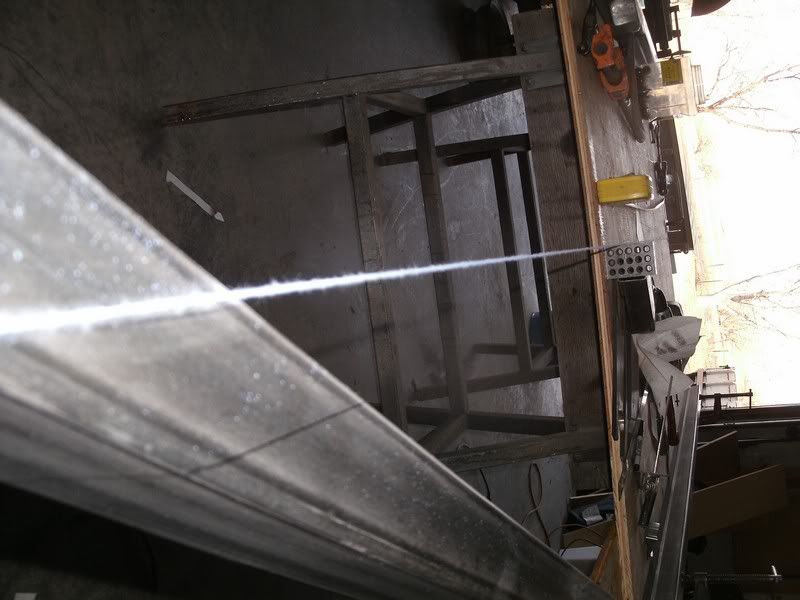
I pull a string line from the center of the trailer at the rear till it just touches a 123 block sitting on the front center mark and continue on thru till it passes the tongue, make a mark, this is the center of the tongue.

trailer116.jpg


I clamped a piece of heavy wall 2x3 tubing to the frame rail to pull it back to flat.

trailer113.jpg


I cut, fit, fussed, ground and cussed till the 2" receiver tubing fit.

trailer120.jpg


Going to the rear I marked the frame even with the plywood floor, then cut the frame to the correct length.

trailer122.jpg


I double checked the frame for square by measuring from the outside rear corner of the frame rails to the center of the tongue receiver, it should be the same. The I welded in the rear bumper (2x3x3/16") rectangular tubing along with the other 3 cross-members.

trailer123.jpg


I welded in a piece of 2x3x3/16 angle to make a support for a floor in front of the bed on the tongue. Then I welded the receiver tubing in.

trailer125.jpg


GEDC1556.jpg


I cut some angle brackets to support the floor and welded them in, remember this thing is still upside-down.

trailer127.jpg
 

WyoExplorer

Observer
I'm still waiting on the 3500# axles, so I separated the frame from the plywood and flipped it over to get started on the top....stay tuned...

mike
 

WyoExplorer

Observer
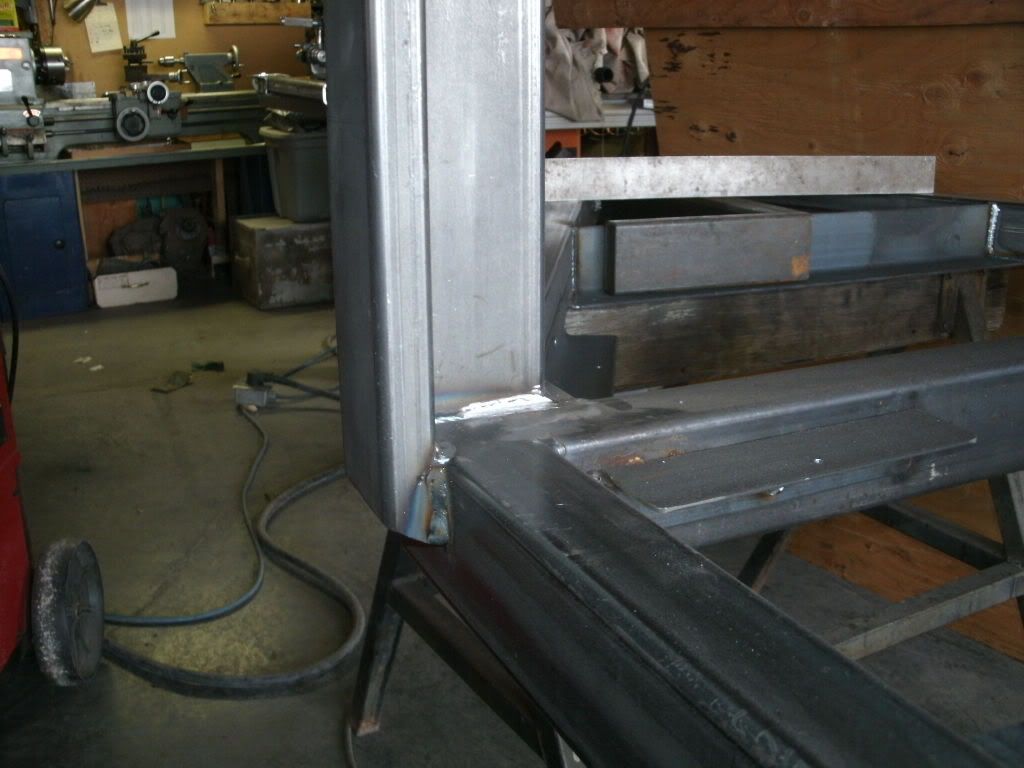
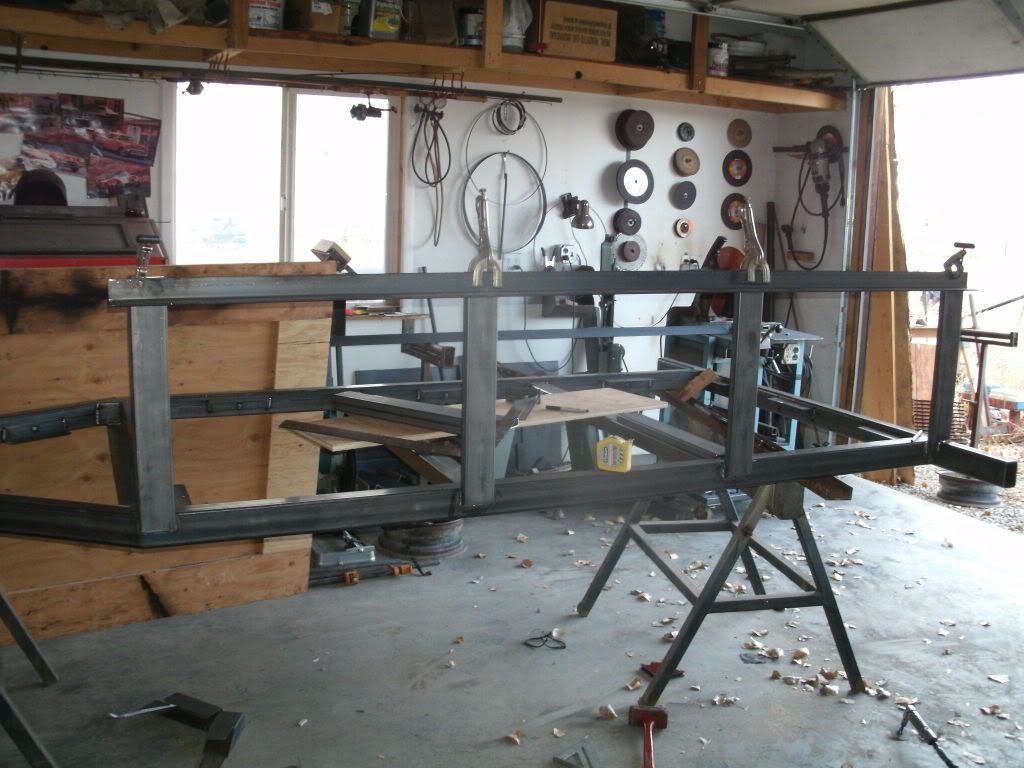
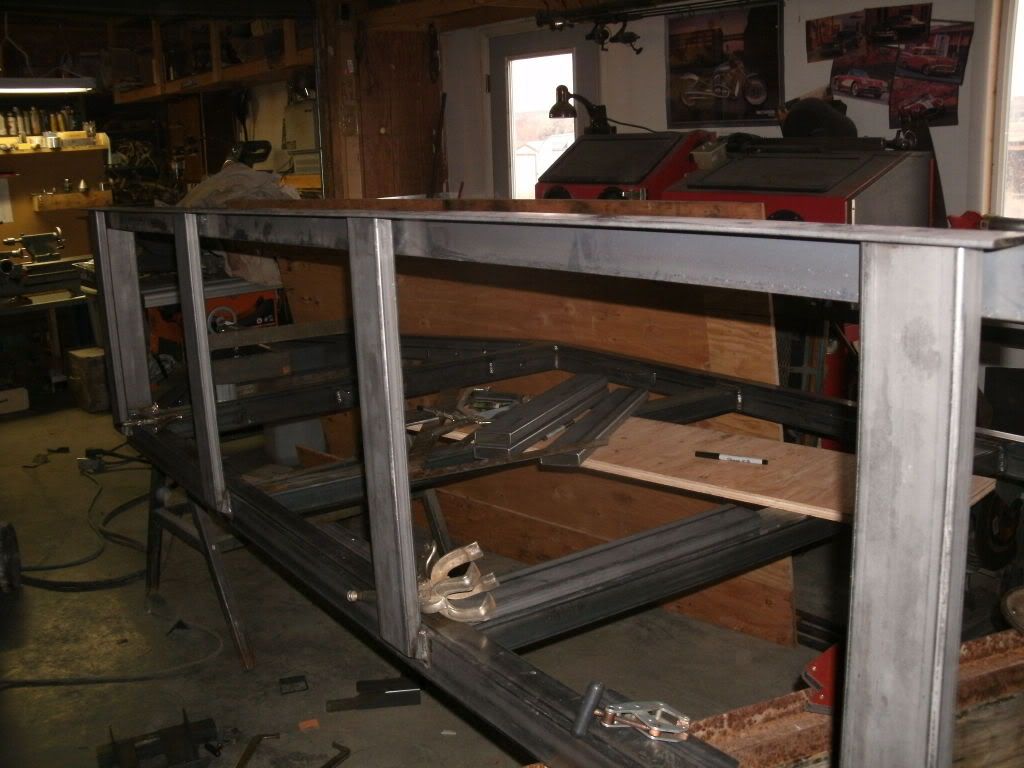
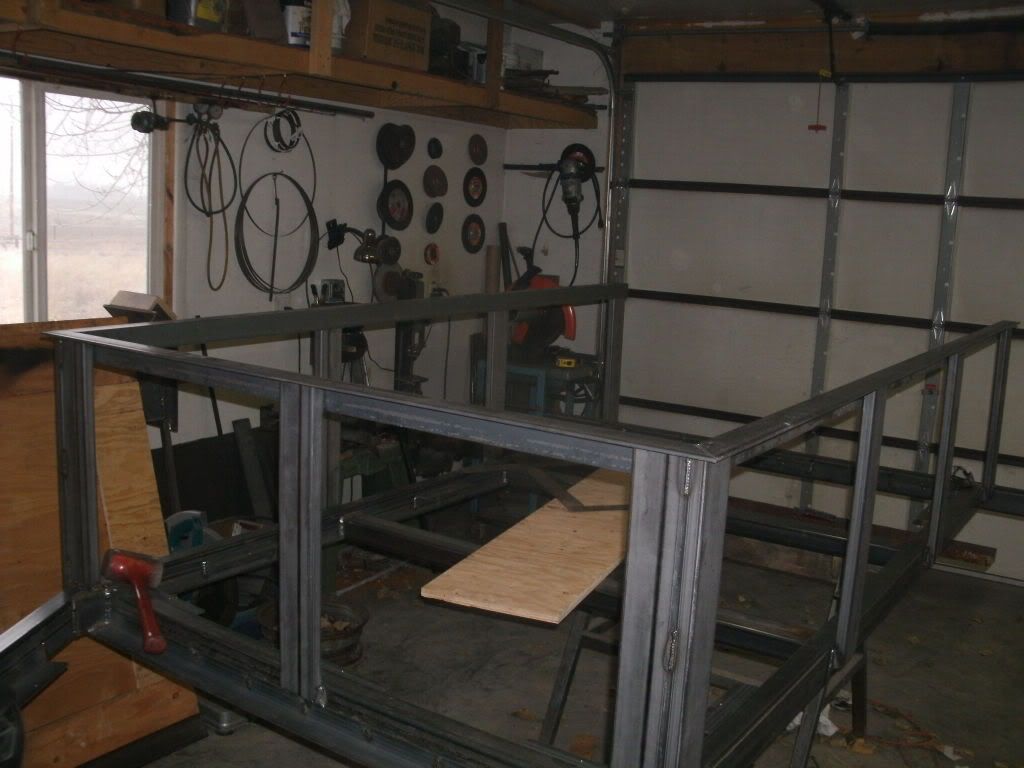
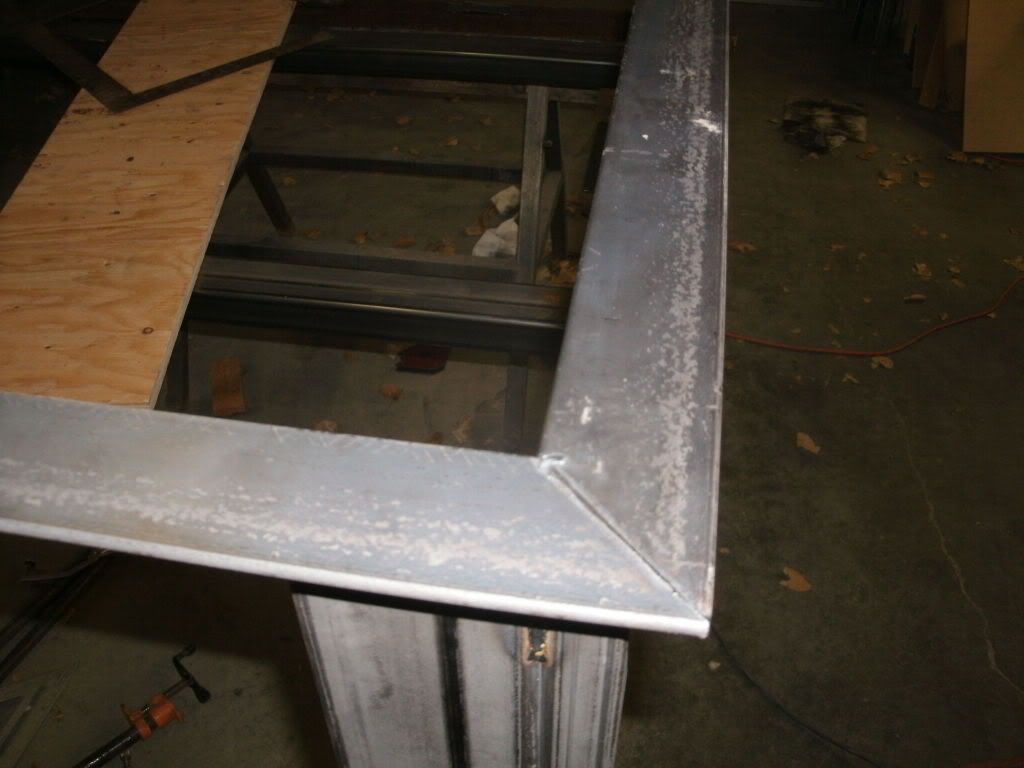
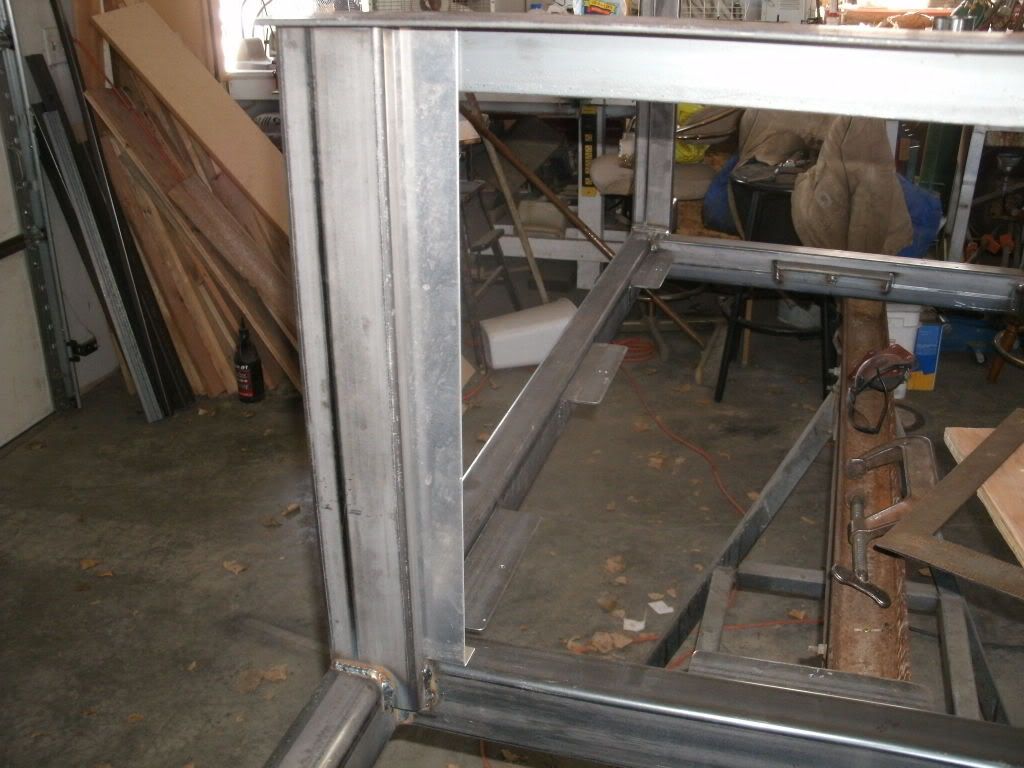
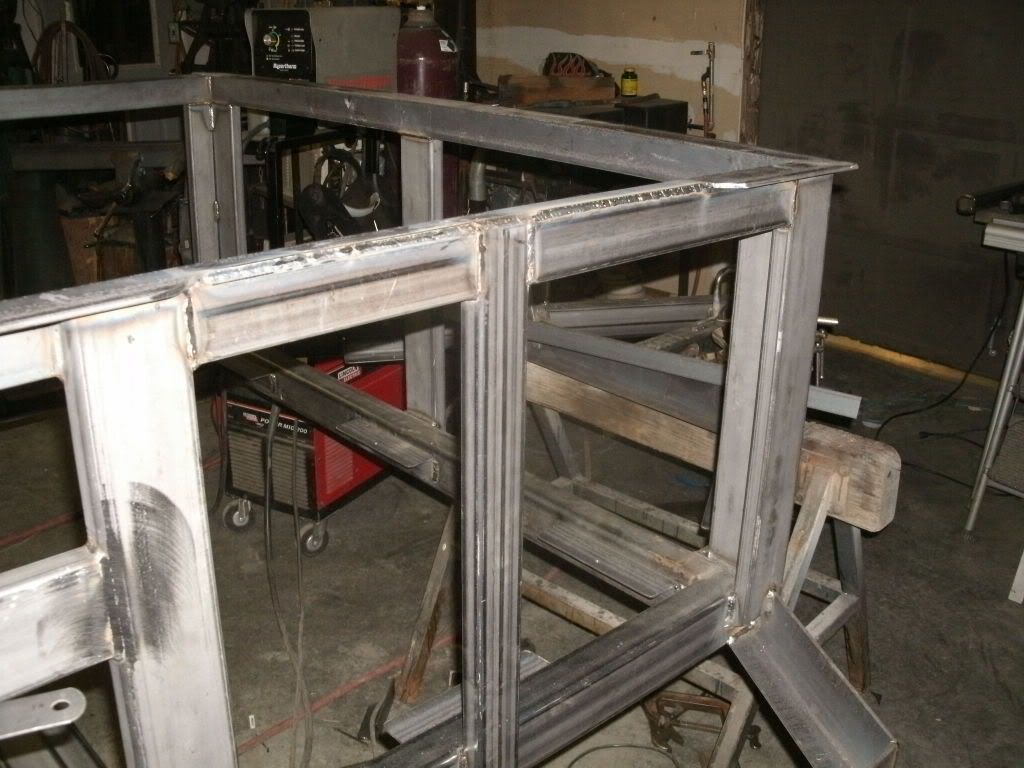
I'm making the bed 20" tall. It'll be made out of 1x3x.120 (11ga) rectangular tubing welded to the outside of the frame. I cut a 30 deg angle on the bottoms, this will allow easy installation of the floor on the outside storage racks. I notched the tubing to fit the rear, squared and welded it in.

GEDC1545.jpg


Moving to the front I welded the corner together then welded it to the frame.

GEDC1544.jpg


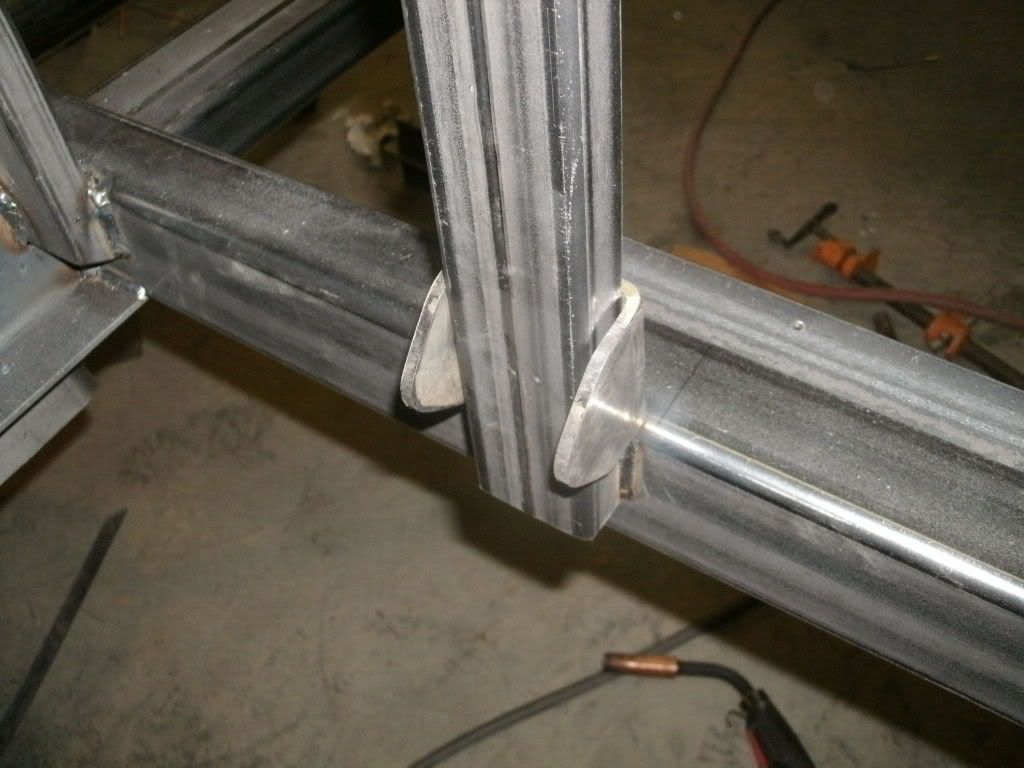
I clamped a piece of 2x2x3/16 angle (cut a couple inches long) to the uprights. this helps keep everything lined up.

GEDC1543.jpg


I centered up the remaining uprights, clamped checked for square and welded them to the frame.

GEDC1549.jpg


GEDC1552.jpg


Here's the brains of the out-fit :)

GEDC1547.jpg


I added a center upright to the front of the bed. Then I cut the corners and fit 'em all together, when I was happy with the fit I trimmed the "tails" off the rear.

GEDC1553.jpg


GEDC1559.jpg


GEDC1558.jpg


That's as far as I got...stay tuned..

mike
 

Titanpat57

Expedition Leader
You keep making such pretty miters and angle cuts....I'm gonna tell the Mrs. what a great job you could do on crown moulding for the house..lol:ylsmoke:

Beautiful work, nice welds and cuts, looks very substantial

Keep the updates coming!

Pat
 

WyoExplorer

Observer
Thanks for the comments! :coffeedrink:
The tow vehicle is a '94 Explorer that met the plasma cutter. :p It works for me...
Thread on it here.
http://www.explorerforum.com/forums/showthread.php?t=194616

Pat, I checked out your build, nice work, picked up a couple ideas. You do not want me doing crown molding for your house...trust me on that! Part 2 of this build involves a modular slide-in teardrop camper, more on that later...

mike
 

Titanpat57

Expedition Leader
Hey..thanks Mike!

That slide in sounds sweet...I'll be anxious to see it come together!


I thought about doing the double duty thing this time around, but I'm going for the "strickly camping package" on the new build. I did just pick up a sweet little trailer off the NYS surplus sight on Thursday, and not to far from home. I'm going to set that one up for dump runs, picking up materials and assorted sundries...lol

Are the sides built to support the new slide in as well, they look very substantial,and do you plan on using metal, wire or wood to finish the sides?

I'd love to know the steel weight once the smoke clears.

Take care, Pat
 

WyoExplorer

Observer
Pat, I'm wandering off topic here a bit, (I tend to do that a lot ) although some of the design of the trailer is for the future addition of a camper. The camper is still in the planning stages, it'll probably be made of wood, skinned with FRP. The plan....subject to change at any given time...is to construct it from the inside-out. First, build the framework, finish the inside with thin plywood or paneling, install door and window frames along with lights and wiring. When everything is completed I'll have it sprayed with urethane foam, this will insulate and adds a great deal of strength without adding weight, then skin it with FRP. I'm thinking about having a slight crown to the roof (front to rear) so it sheds water, and gives it strength as well. The roof will overhang the sides and I plan on making a panel or mini-awning that will fold out on each side, when folded down it'll protect and secure the camper. It'll sit on top of the bed, extend over the front and be the same width as the trailer,( I'm trying to make it so it'll fit a queen sized mattress, too damned old to be sleeping on the ground )....this will allow for storage underneath. The base of the camper will be constructed like a house floor, with joist's running from side to side...probably 4~6" tall. I plan on making drawers that will fit between the joist's for storage and maybe a kitchen pull-out. The sides of the first trailer pictured will probably be finished in plywood. The first trailer weighs in at 750#

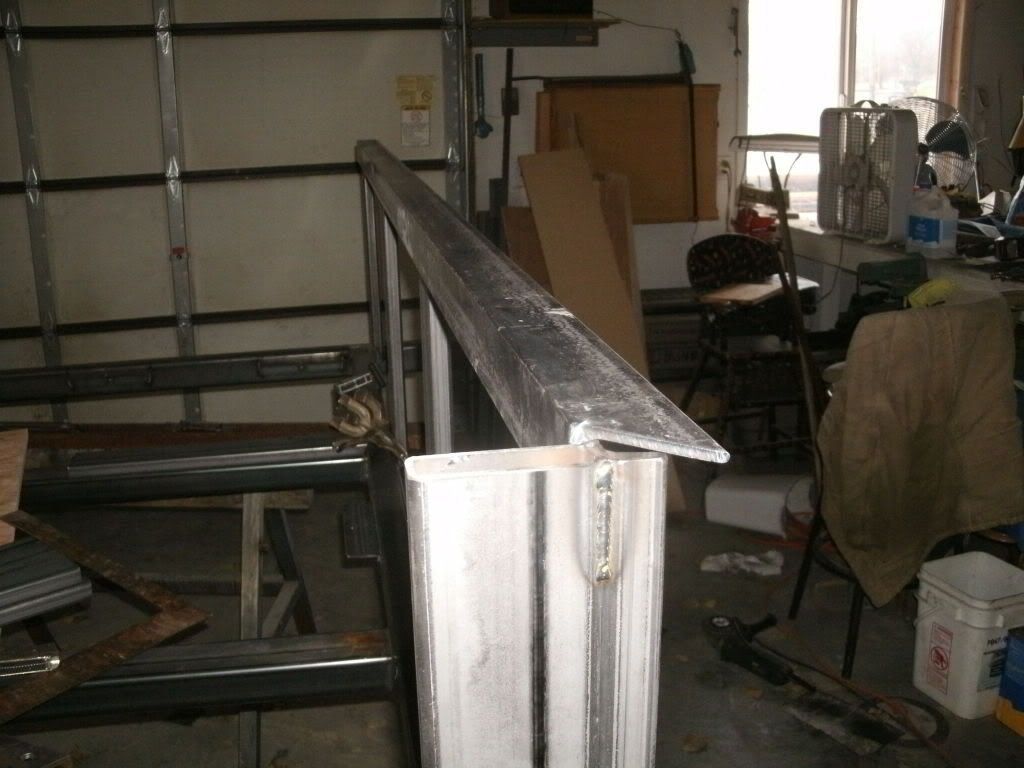
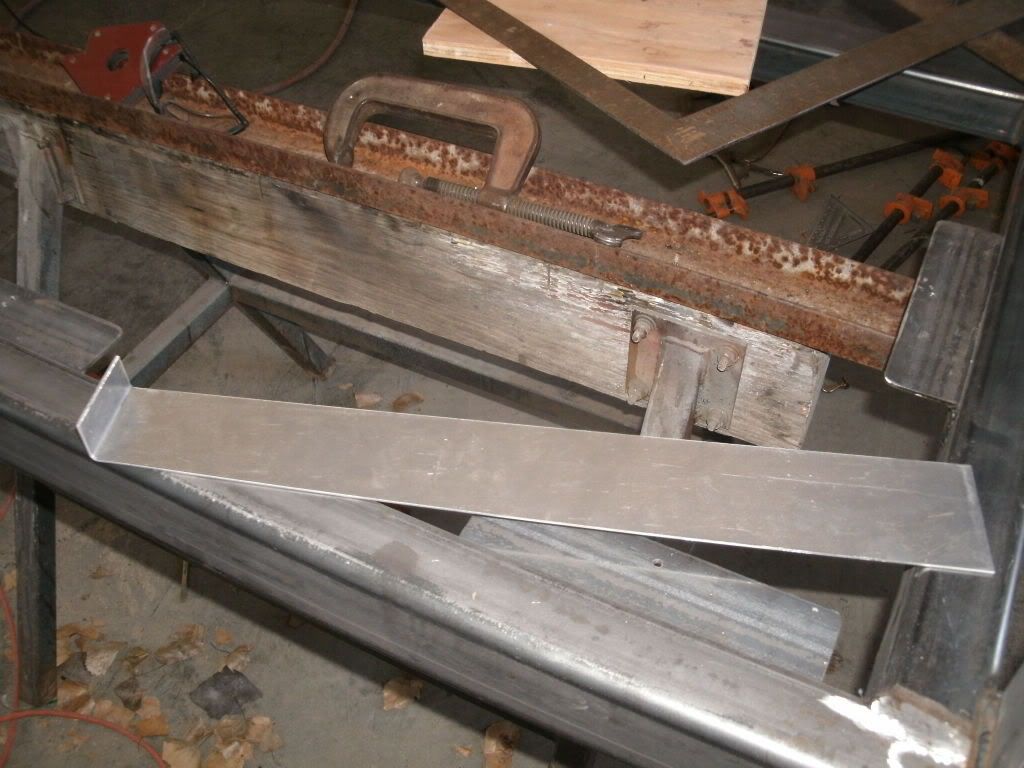
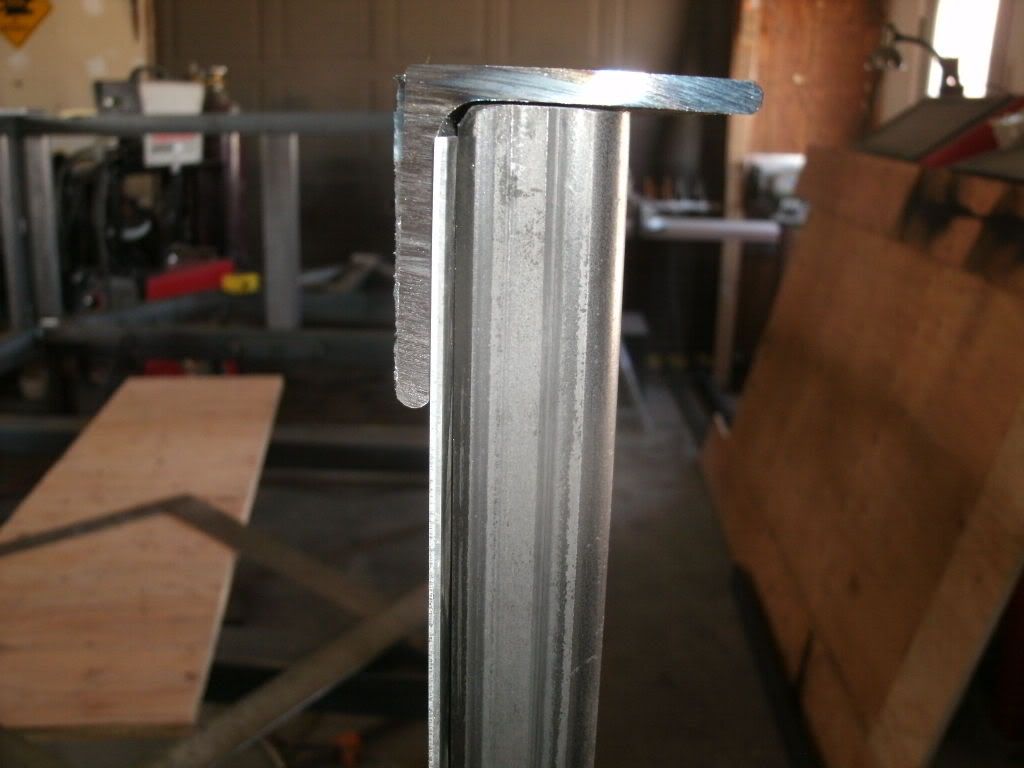
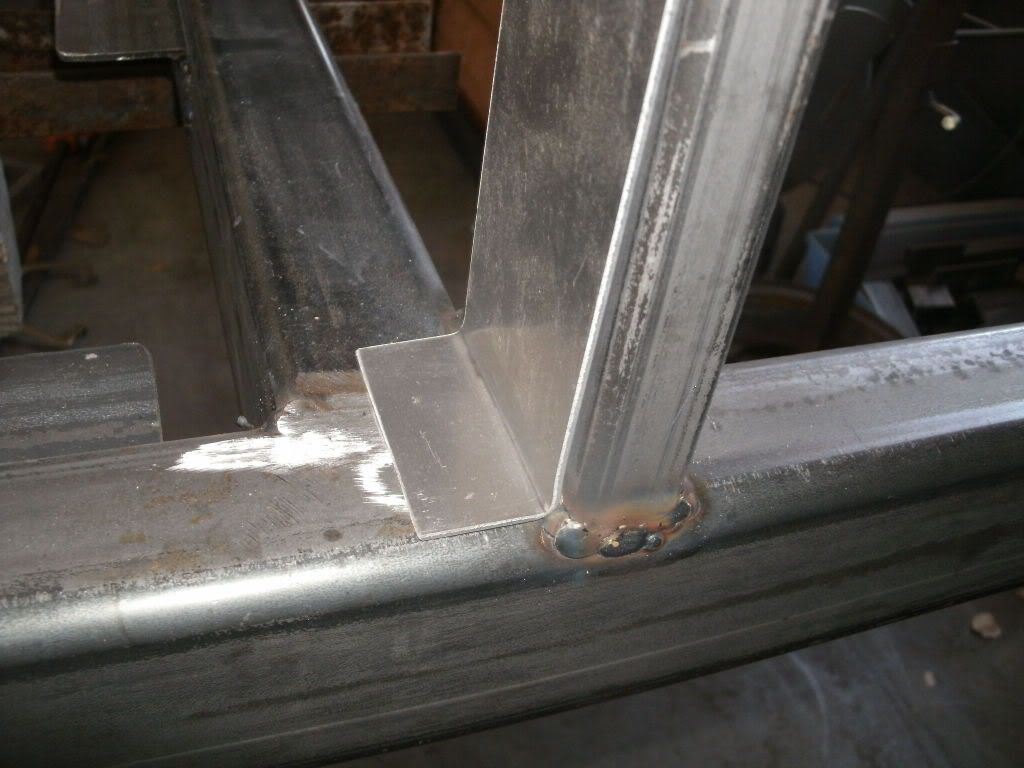
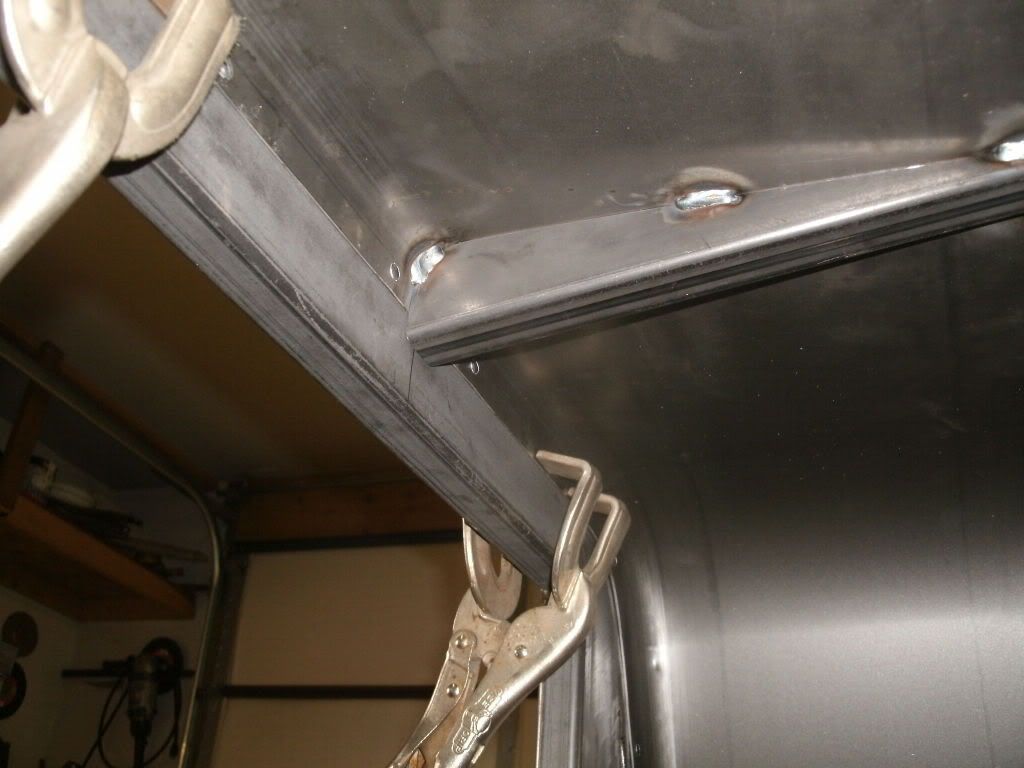
The trailer in this build will have open sides as it's primary duty will be hauling an ATV around. This one is being built for my Brother-in-law, we discussed having the sides finished, but he decide against it. For what it's worth this is how I planned on finishing the sides. I'm using a scrap of aluminum to help demonstrate what I had in mind.
I measured from the frame to the inside radius of the angle, it was 19 1/2" add an inch and bend a 90deg.

GEDC1577.jpg


I planned on leaving a gap between the angle and the 1x3 tubing to allow the panel to slide between them.

GEDC1578.jpg


The bottom I had planned on punching holes and spot welding to the frame, also punch holes to spot-weld to the tubing and angle.

GEDC1579.jpg


Kind of an idea of what it would look like from the outside...

GEDC1580.jpg


mike
 

Titanpat57

Expedition Leader
Pat, I'm wandering off topic here a bit, (I tend to do that a lot ) although some of the design of the trailer is for the future addition of a camper. The camper is still in the planning stages, it'll probably be made of wood, skinned with FRP. The plan....subject to change at any given time...is to construct it from the inside-out. First, build the framework, finish the inside with thin plywood or paneling, install door and window frames along with lights and wiring. When everything is completed I'll have it sprayed with urethane foam, this will insulate and adds a great deal of strength without adding weight, then skin it with FRP. I'm thinking about having a slight crown to the roof (front to rear) so it sheds water, and gives it strength as well. The roof will overhang the sides and I plan on making a panel or mini-awning that will fold out on each side, when folded down it'll protect and secure the camper. It'll sit on top of the bed, extend over the front and be the same width as the trailer,( I'm trying to make it so it'll fit a queen sized mattress, too damned old to be sleeping on the ground )....this will allow for storage underneath. The base of the camper will be constructed like a house floor, with joist's running from side to side...probably 4~6" tall. I plan on making drawers that will fit between the joist's for storage and maybe a kitchen pull-out. The sides of the first trailer pictured will probably be finished in plywood. The first trailer weighs in at 750#

The trailer in this build will have open sides as it's primary duty will be hauling an ATV around. This one is being built for my Brother-in-law, we discussed having the sides finished, but he decide against it. For what it's worth this is how I planned on finishing the sides. I'm using a scrap of aluminum to help demonstrate what I had in mind.
I measured from the frame to the inside radius of the angle, it was 19 1/2" add an inch and bend a 90deg.


I planned on leaving a gap between the angle and the 1x3 tubing to allow the panel to slide between them.


The bottom I had planned on punching holes and spot welding to the frame, also punch holes to spot-weld to the tubing and angle.

Kind of an idea of what it would look like from the outside...


mike

Great method Mike!! That's pretty slick the way it tucks under.

The "pod" sounds great too!! There's also a product called Filon that is used on RV exteriors...pretty pricey though.

I used the FRP (spray contact cemented to a 1/2 CDX plywood substrate). The only thing I was worried is that it had no UV rating, so I primed it and covered it with Rustoleum silver. It's holding up great to date, and Rustoleum has the UV protectant.

For roofing I used rubber applied with Mulehide adhesive. I cut and screwed aluminum corner edges seated in silicone. All holding up good. Your awning concept sounds like a winner.

If you need any Sketch Up assistance prior to actual build by all means let me know.

Keep up the good work!!
 

WyoExplorer

Observer
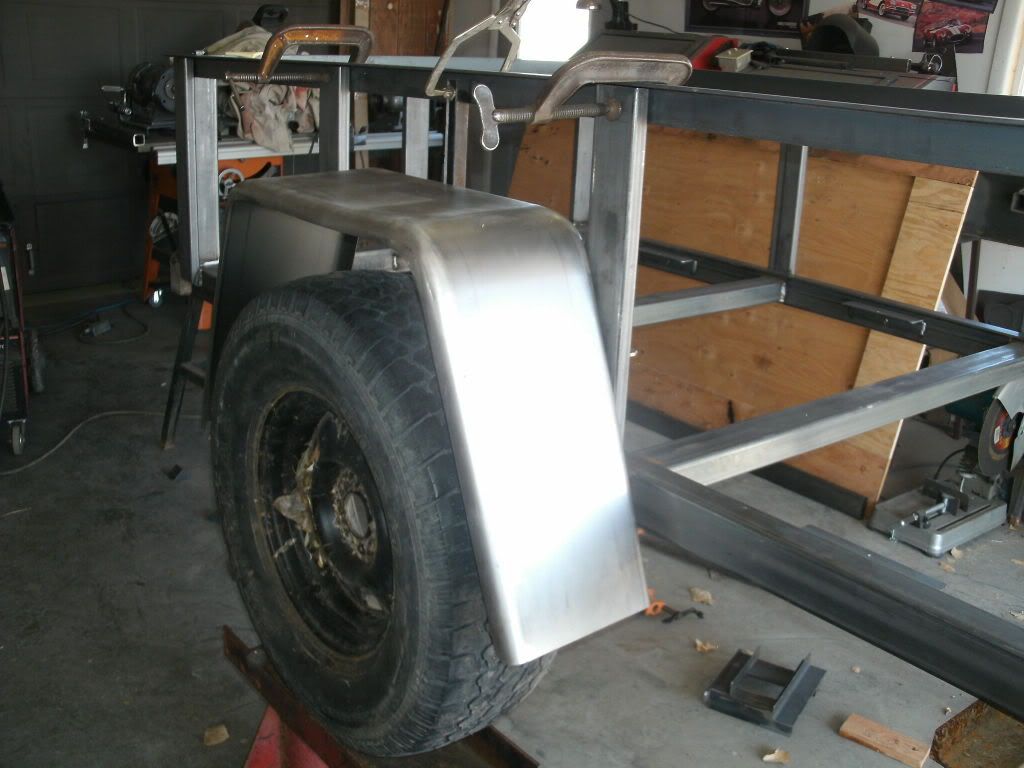
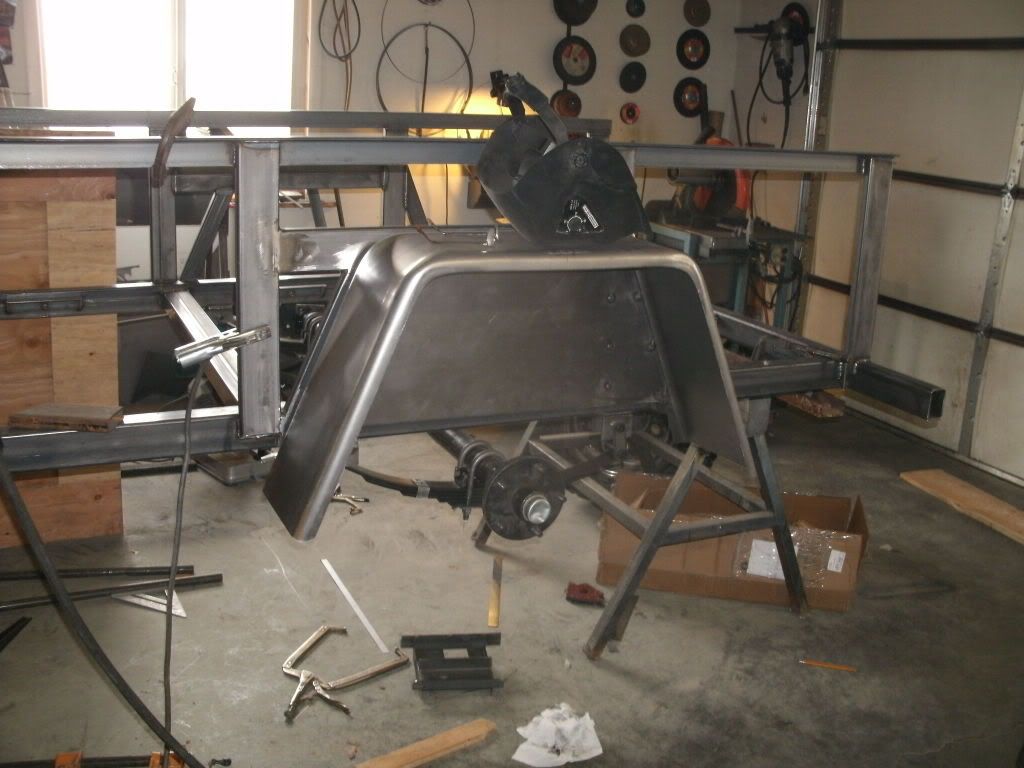
Ok...back on track. I mocked up the fender and tire/wheel combo to get the correct measurements for the axle. It took 2 weeks to have built and shipped to my door.

GEDC1581.jpg


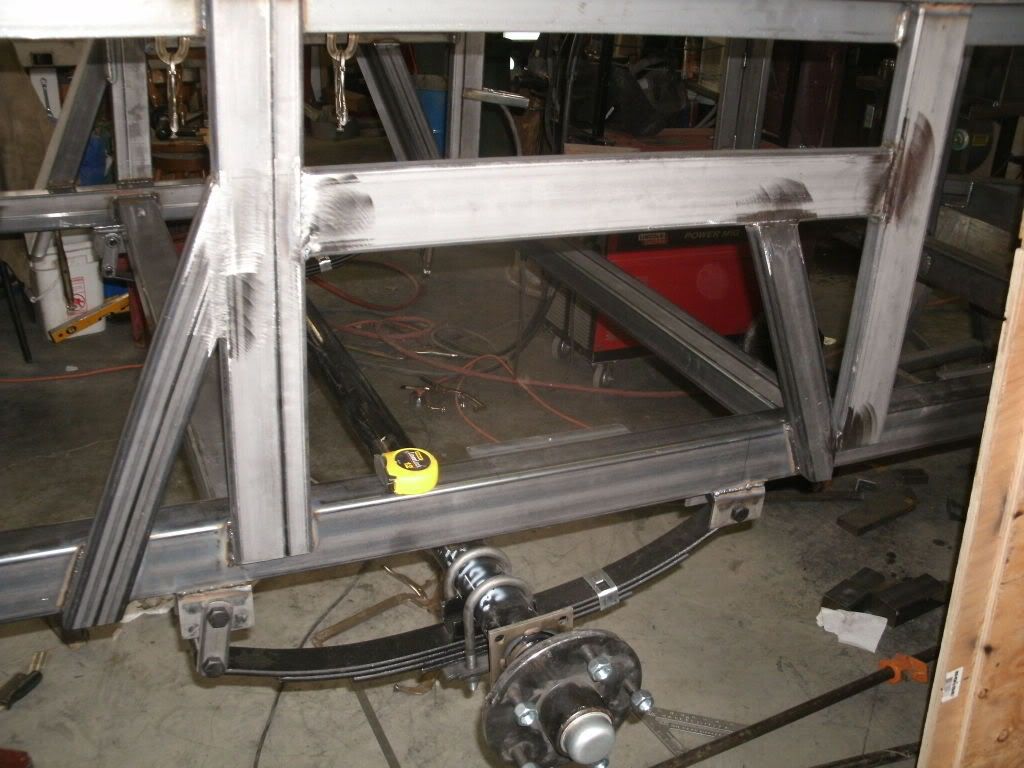
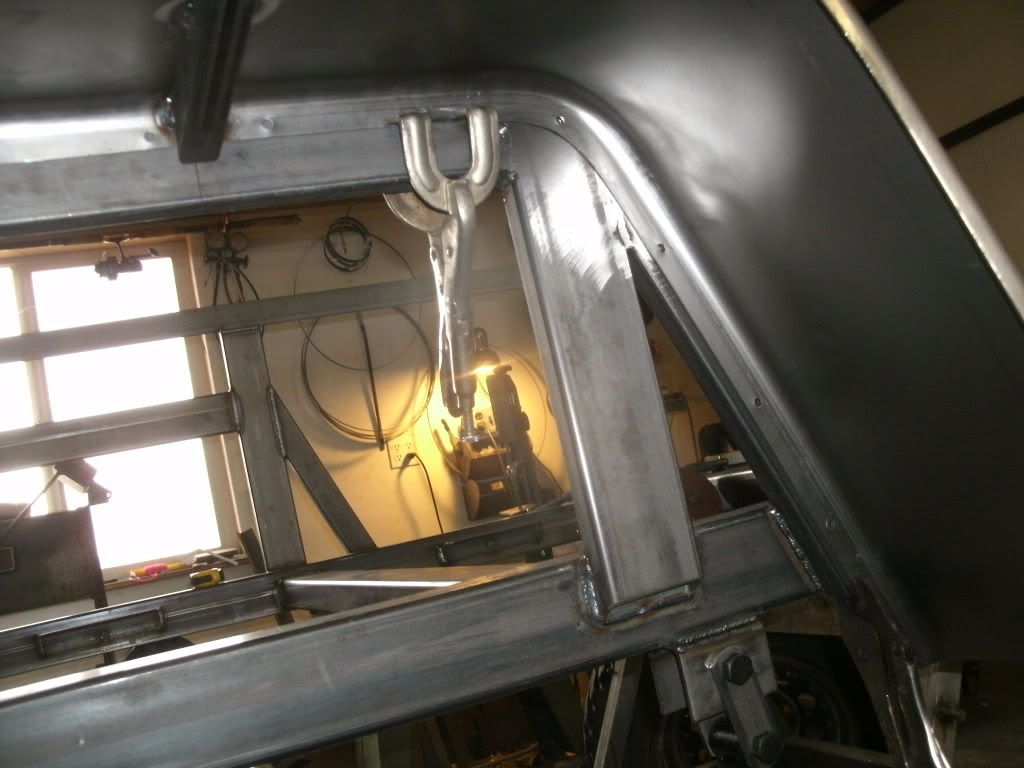
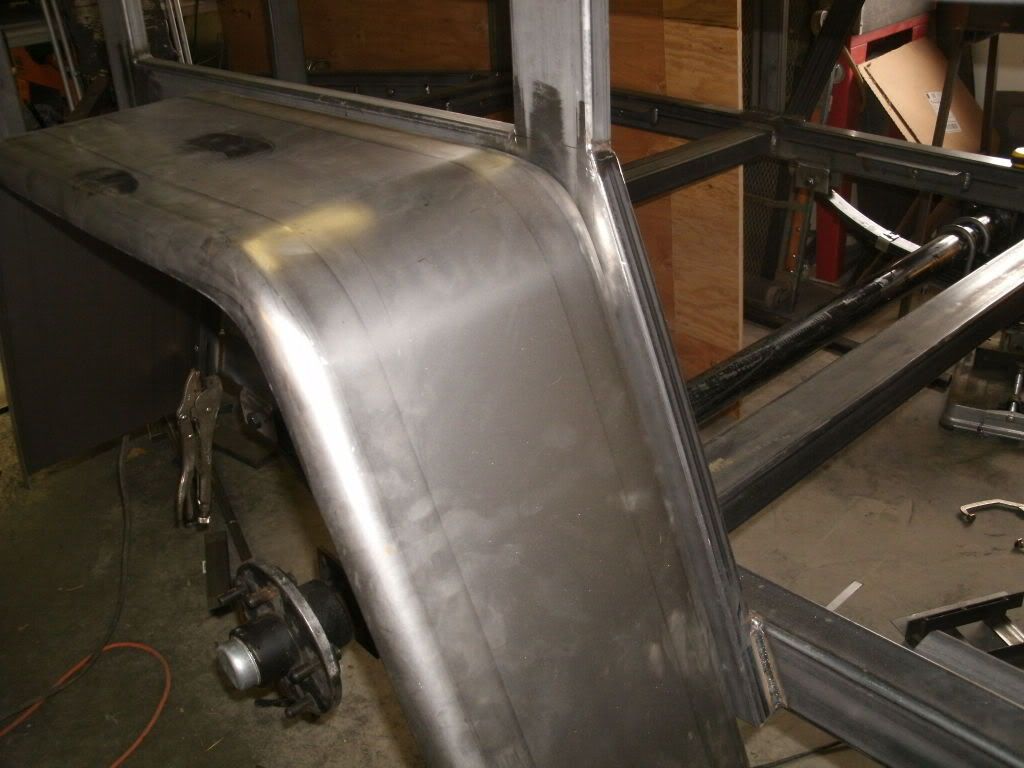
After hanging the axle, I made some braces for the fender...probably a little overkill...

GEDC1630.jpg


I figured the fender will get used as a step, so I re-enforced the center.

GEDC1631.jpg


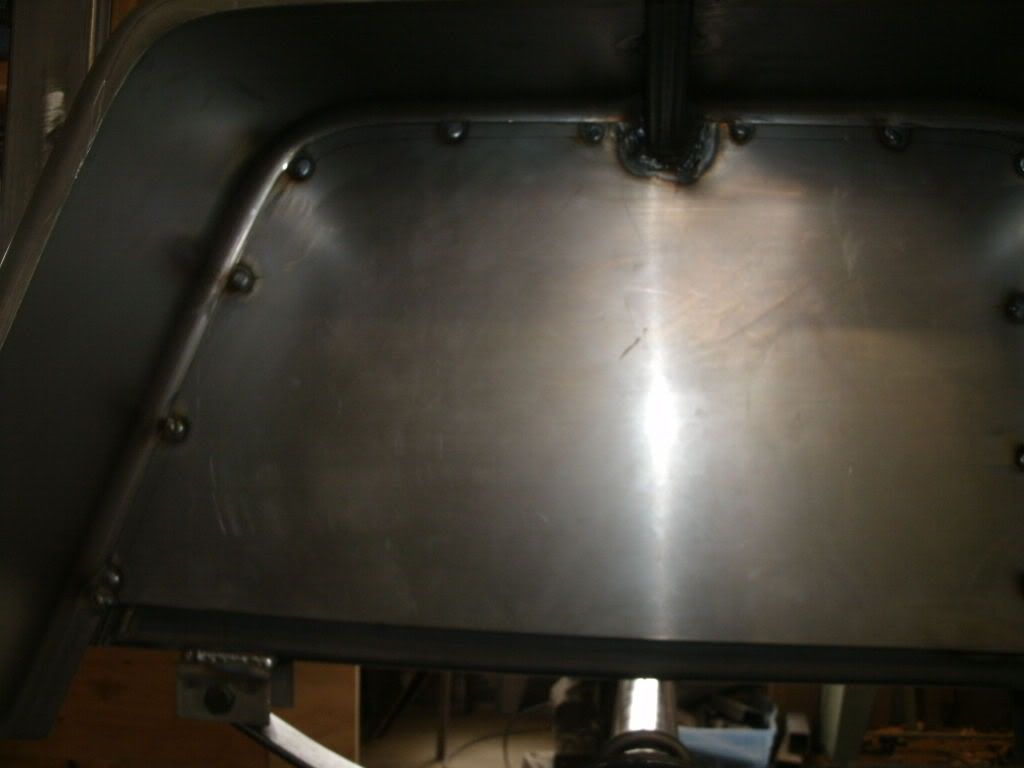
Fender located and holes for spot welds punched.

GEDC1632.jpg


View from the rear

GEDC1635.jpg


I added an inner fender.

GEDC1636.jpg


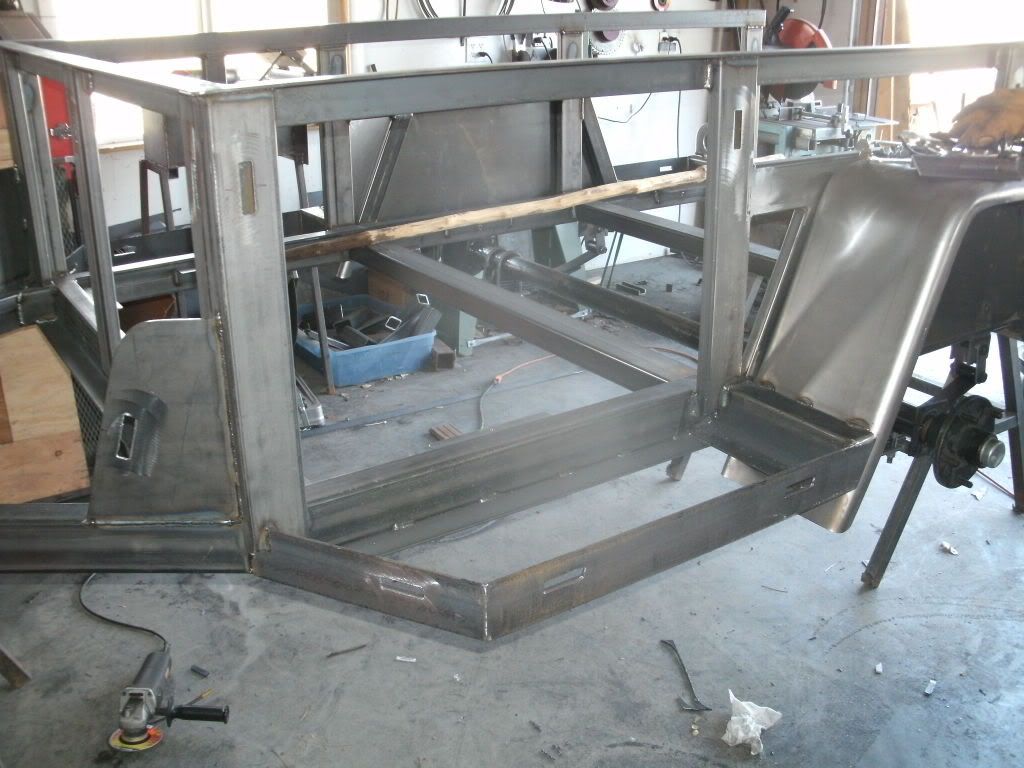
It's starting to look like a trailer :)

GEDC1638.jpg


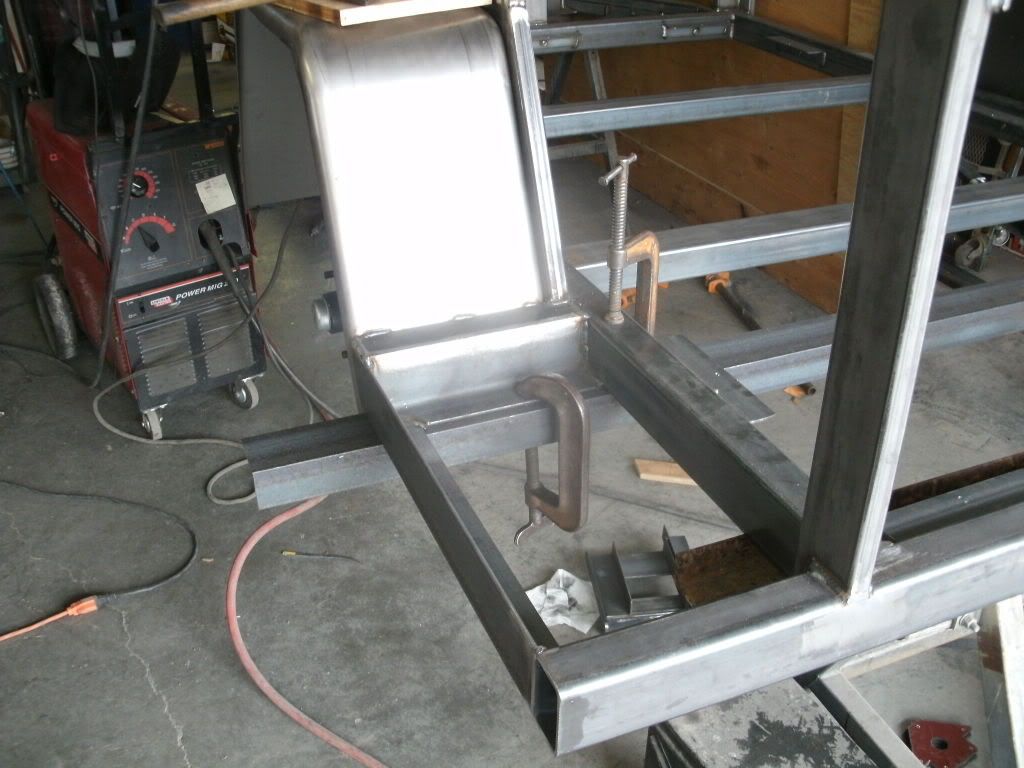
Storage racks, starting with the rear...

GEDC1640.jpg


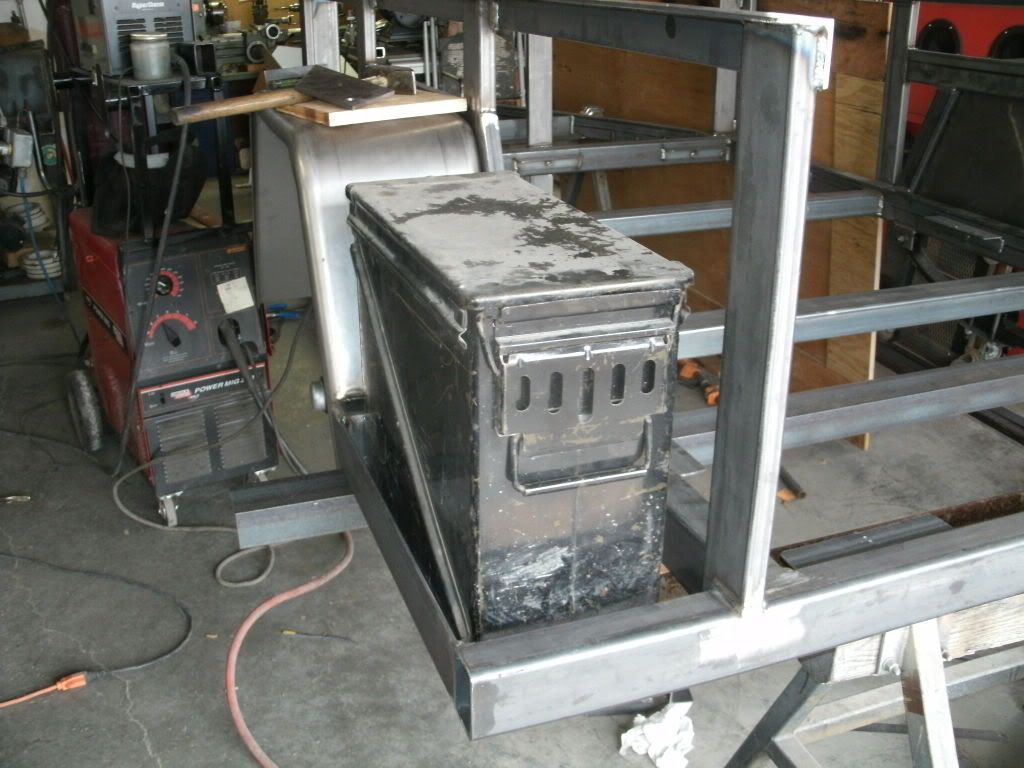
Plenty of room for an ammo can.

GEDC1645.jpg
 

WyoExplorer

Observer
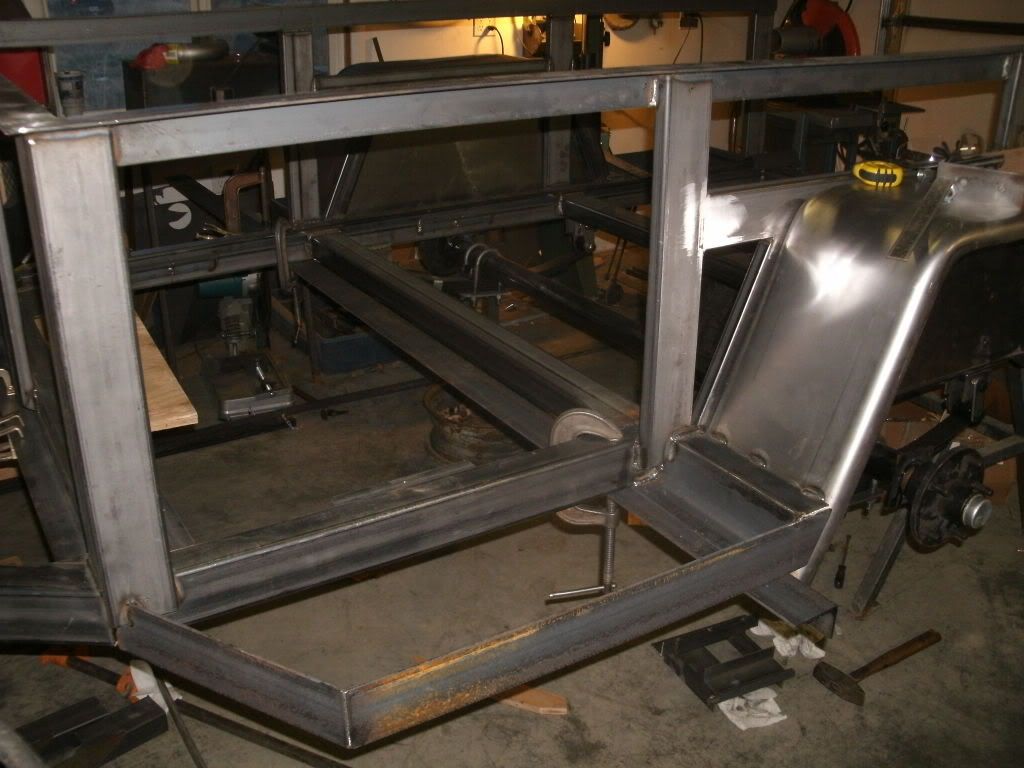
Moving to the front, another rack.

GEDC1646.jpg


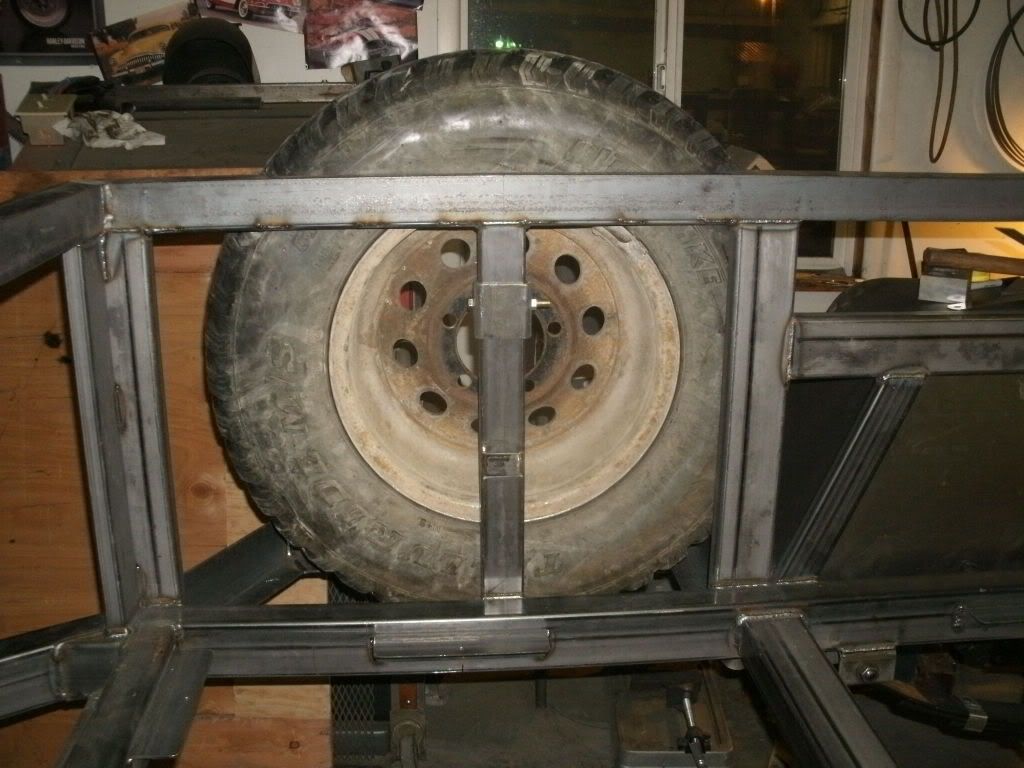
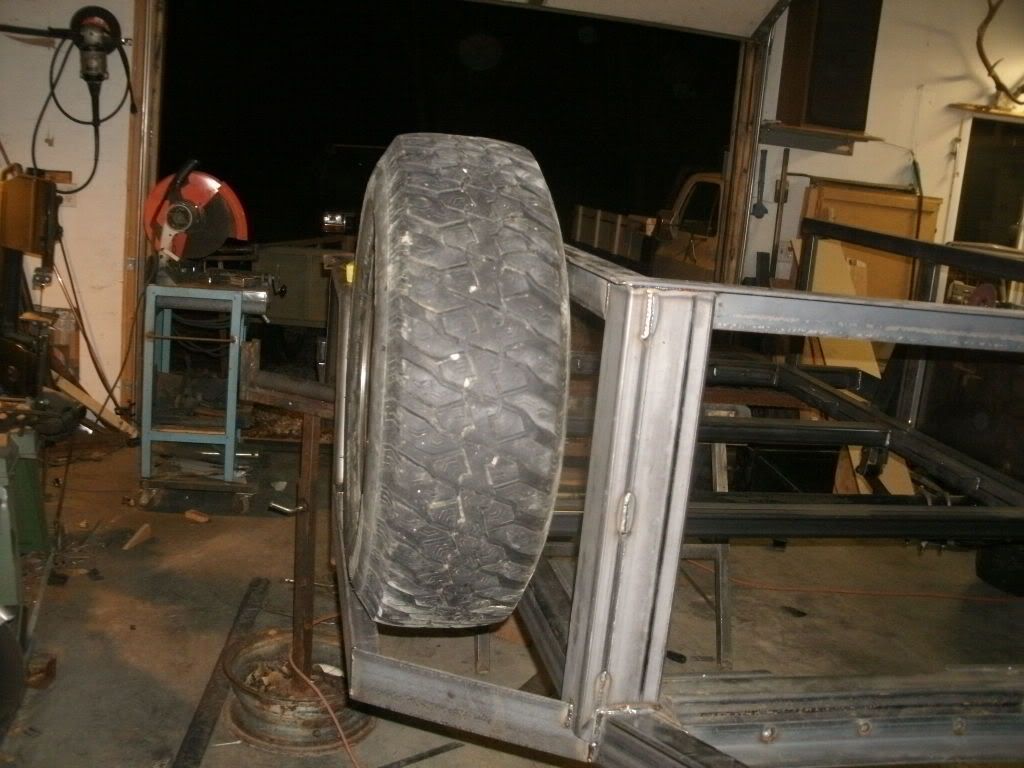
Right side front of fender will have a spare tire mount, I started by trimming away an inch of the top rail and adding 1"x2" tubing.

GEDC1650.jpg


Bracket that will anchor spare to the trailer

GEDC1652.jpg


Bolted up, inside view

GEDC1653.jpg


Looks like it was made for it...tucked in close to side, same width as fender

GEDC1656.jpg


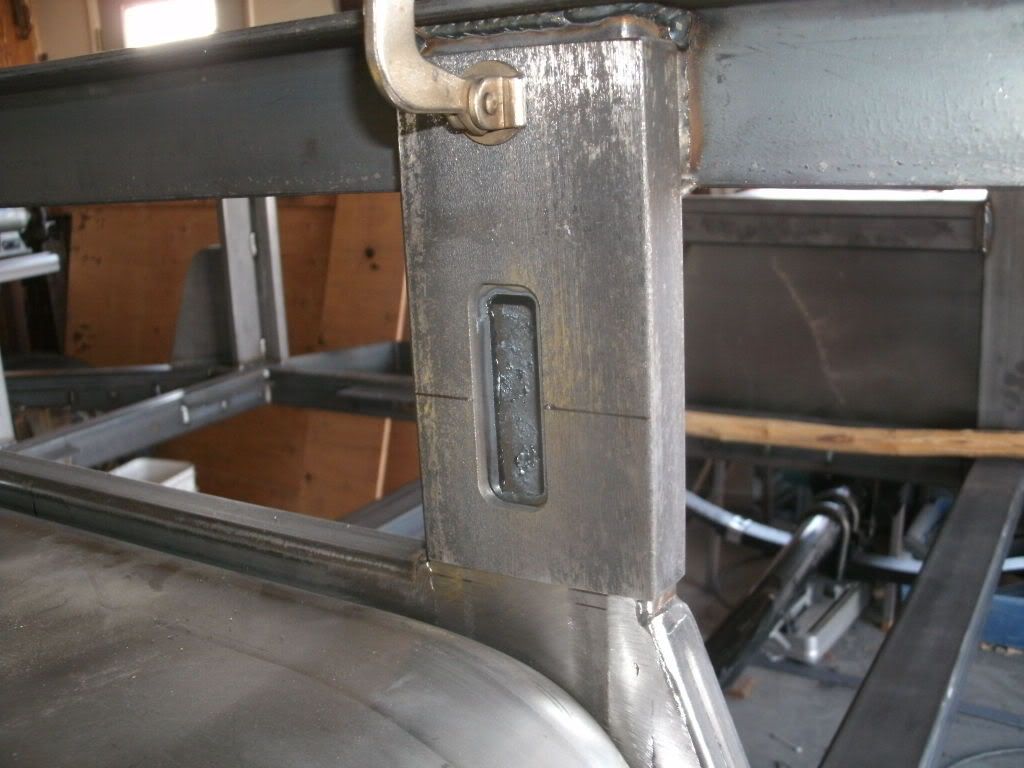
Template for the plasma to cut out slots for tie-downs

GEDC1657.jpg


They're everywhere!

GEDC1658.jpg


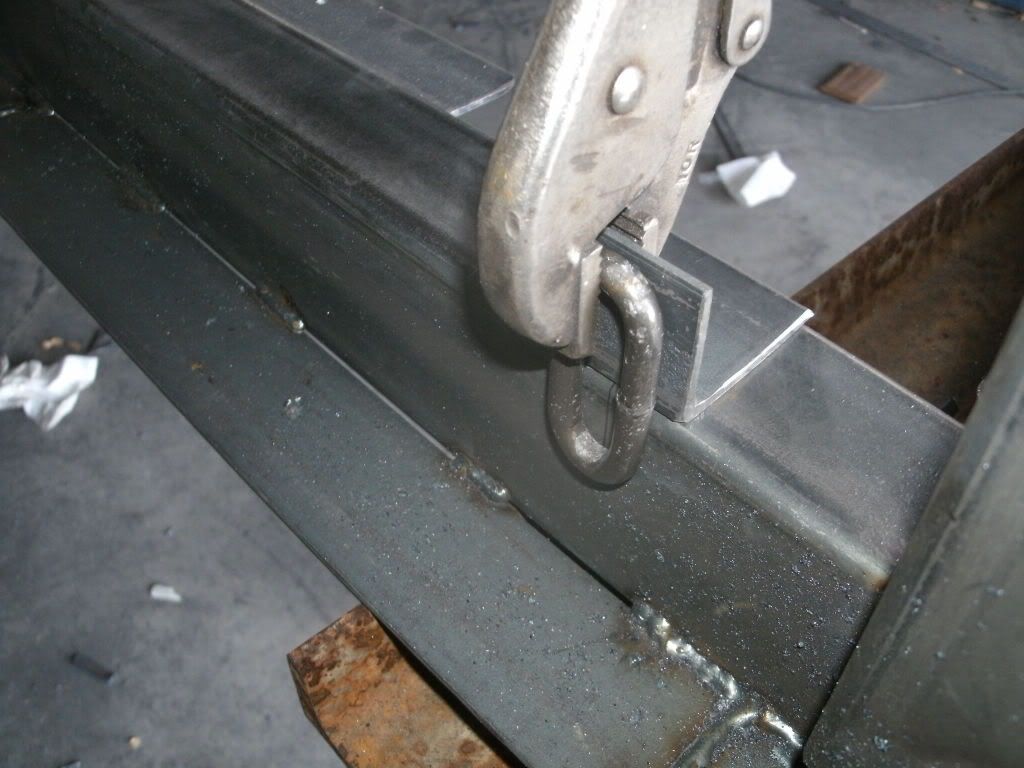
I'm using side chain links for tie-downs. I clamped to an angle scrap to keep straight and same height.

GEDC1660.jpg


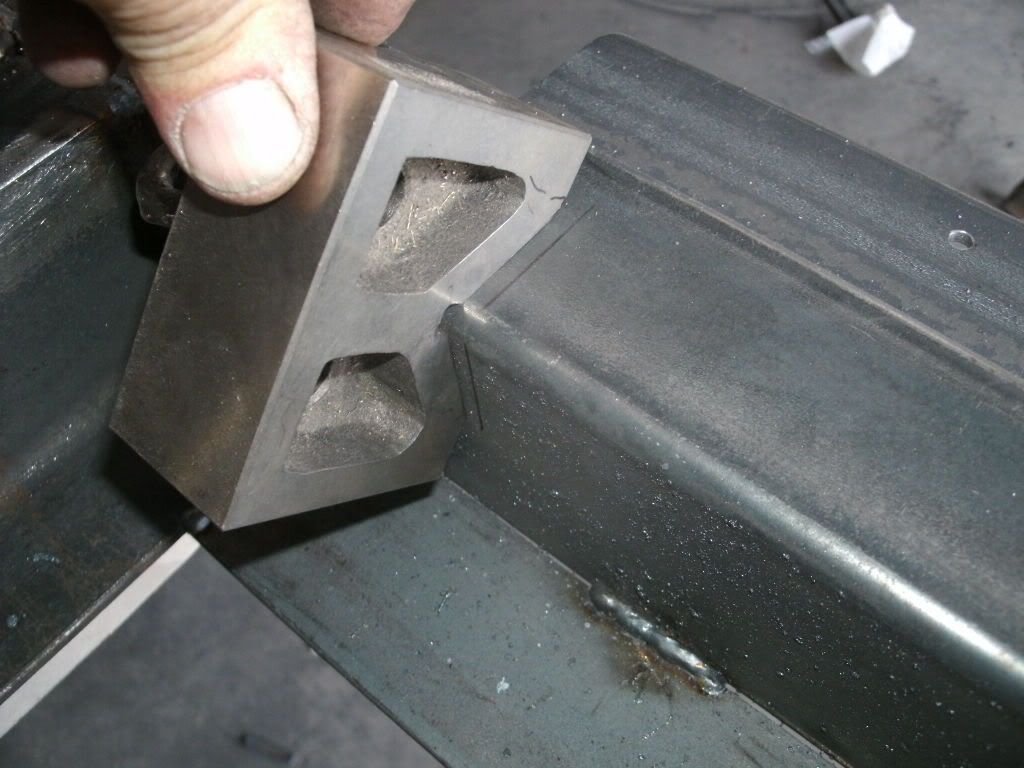
I found that a v-block works well for marking around corners.

GEDC1661.jpg


Ran out of time, I'll get more pics up tomorrow...
 

R_Lefebvre

Expedition Leader
Very very nice work. Your construction methods are great. You done this before? I really like the way you used the metal angle clamped under the frame to get your side storage racks on straight, etc.
 

Forum statistics

Threads
188,006
Messages
2,900,991
Members
229,320
Latest member
SMBRoamer
Top