Wiring Fuse panel/circuit breaker?

ntsqd

Heretic Car Camper
Not quite sure what you're saying, but I'm not nuisanced. :)

I guess the biggest problem is that my "right way to do it" is one of many right ways to do it, and that can lead to conflict (of method) and confusion.
FWIW, I'm getting less and less fearful of trying something. It's really nice to get it "right" the first time, but I seldom learn anything from those rare events. Take reasonable safety precautions and try what seems best. If it doesn't work you've learned what doesn't work and what does, so try something else based on that experience.
 

Tress

Adventurer
ntsqd said:
Not quite sure what you're saying, but I'm not nuisanced. :)

I guess the biggest problem is that my "right way to do it" is one of many right ways to do it, and that can lead to conflict (of method) and confusion.
FWIW, I'm getting less and less fearful of trying something. It's really nice to get it "right" the first time, but I seldom learn anything from those rare events. Take reasonable safety precautions and try what seems best. If it doesn't work you've learned what doesn't work and what does, so try something else based on that experience.

OOOps i meant nuanced, sorry bout that! damn spell check :mixed-smiley-030:

As for your other point, i cant tell you how much i understand, this entire project is all so new to me, dove in head first and have been treadin water since! Every time we take on something new i go insane trying to figure out why everyone says something different! And then when i finally get into i just figure out my own way, granted its not always the "right" way but i have learned as long as its thought through and done well then thats all you can do, plus try and have someone else do it, more often then not its never done to my standards, another lesson learned the hard way, no one will do as good a job because they just dont care as much! Anyways sory to call you nuisanced LOL! Take care, enjoy the time and thanks for the help...

:snorkel:
 

Tress

Adventurer
goodtimes said:
Tress, check into the cost of having someone crimp all the connections, and don't forget to include fuel costs (assuming you travel to them), and the hassle of going back and forth. You WILL make changes as you go...move things a couple inches this way or that way, etc., requiring you to change wire lengths, etc.

I picked up a decent criping tool that will handle down to 6ga for $50, and one of these for everything bigger:

990015.jpg


might be cheaper than paying someone else...

Ok i found a pretty cheap crimper for everything above 10awg so i may do my own crimping after all! but how does this heavy gauge crimper work? and where did you purchase it, i have only seen the ones that do like a 4 0r 6 awg, and i have 1/0 for my batts from the front, i know thats overkill but for the few extra bucks i figured it made sense. And as for soldering something this big, i had planned do use a 3/8 barrel connector, how does that work, it would seem to me that crimping barrel connector would be tough!
 

Tress

Adventurer
A new question, same topic

Ok so whats the rule with regard to bending wire??? I have a 25 ft length of 1/0 gauge to connect my starting batt to my charge controller, a bit overkill i know, we live and learn, but thats history anyway. I have a really tight turn to make and am not sure how far i can bend the wire without causing problems. I assume it must increase voltage drop and perhaps even break if bent too much, or tear a few strands at least. Anyways if its a bad idea to bend then how bad of an idea would it be to use say a 2gauge to connect the charge controller to the aux batts, thanks as always....
:luxhello:
 

goodtimes

Expedition Poseur
Sorry I missed your earlier question. I bought that crimper from Grainger. Unfortunately you need an account to buy from them...but I have seen the same tool available at retail web sites (don't recall which ones though...) for less than I paid. It works by setting the terminal under the [spring loaded] anvil--the chrome part--, stripping and inserting the wire into the terminal, then whacking the top of the anvil with a BFH. BFH actuated tools are my favorite.:elkgrin:

As for bending wire, you are right. Any bend will cause an interruption in the electron flow...but how much? You will probably never notice. As a rule of thumb, I will bend wire as far as it will go by hand, but no tighter of a radius than I need. Be careful to avoid chafing at the bends...wrap the wire with something if you need to.
 

ntsqd

Heretic Car Camper
I don't know that there's a specific rule for wire, or if there is, what it might be. The general rule for tube and sheet metal is 3 times the thickness or diameter. I would think that this rule applied to wire would keep you out of trouble. There are exceptions to the tube & sheet metal rules, so I would expect that there are exceptions for wire as well.
 

toyrunner95

Explorer
I know there is a whole conversation going on here about crimping and soldering, but im going to interject anyway.

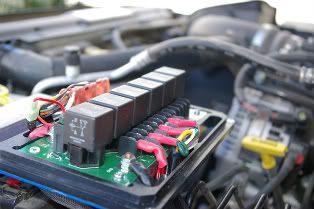
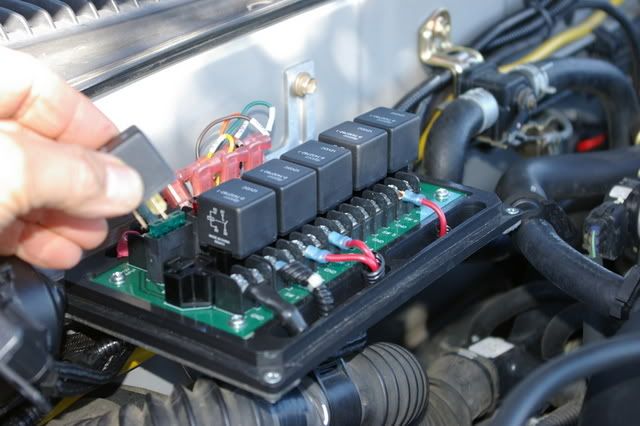
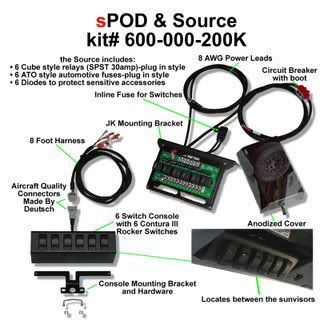
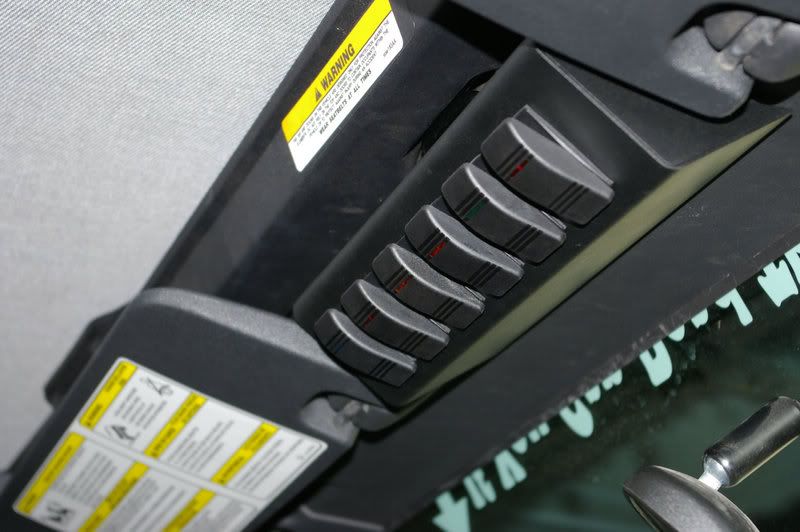
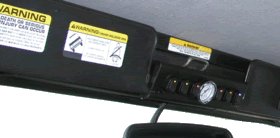
The way i run my system is rather simple. I first went to west marine and bought a 12 fuse block. Then i went to schmucks and picked up some LED toggles that were rated at about 20 amp or so. They were about 4 bucks each and i bought 6 of them, 4 blue and 2 red (there is a reason for this)

Anyway. i ran a decent size wire from the battery to the fuse block nothing like 8 guage or 4 guage, i think i used 10 or 12. This powered up the system. I also mounted my fuse block behind the passenger seat, so it would be easy access and most likely to stay dry. From there i made my switch panel and mounted it where the radio would usually be.

I ran about the same guage wires to the switches and grounded the switches to something behind the panel. This gave me power to the panel.

After that i mounted a couple tractor flood lights to the bumper and tested the system. All worked well.

Here is the beauty of the setup. All the switches are powered; so all i have to do is run one wire to whatever accessory, then ground the accessory and it works. I dont have to try and back track it to the battery and re-run 25 feet of wire!

Most of my accessories are double fused, one at the main block before the switch, then another on the way to the accessory. This gives me a double saftey plus its really easy to figure out which fuse it is, if the light on the switch is still working, and the accessory isn't, then its after the switch. of the light is off its probably the main block.

i will see if i can find a link to it.
 

Tress

Adventurer
You da man cheif, thanks so much again. Already found one of those heavy gauge crimpers online, and actually just used if for the first time today, question... the numbers on it, do they reflect where the crimp should start or where it should end? Its really confusing to me, when i put for example a 4 gauge terminal in it the part you hammer the line shows 4 gauge, but them once you start hammering the 4 gauge line dissapears and then i just have to guesstimate when its a good crimp, hope this makes sense, thanks again so much for the help though, take care!


* This is a response to Good Times last post, but thanks to everyone else too! *
 
Last edited:

eugene

Explorer
I'm partial to the metripack terminals and such. I saw mention of waytek and delcity on the first page but those parts are now available from www.mouser.com. You will probably want to go to powerandsignal.com and download the complete catalog.
I like the modular relay/fuse panels. Those you buy a mount then the blocks and crimp the female terminal on the wire, plug it in the back of the block and plug the relay or fuse in the block. There is then only one connection, the terminal on the wire to the fuse or relay.
 

Forum statistics

Threads
189,782
Messages
2,920,827
Members
232,931
Latest member
Northandfree
Top