eyehate
Member
That was for transmission flush and fill, plus t-case only. i think the trans was 240 alone. I figured i would do the diffs myself ")
Never got to run that trail in the jeep, but then again i've only been snowboarding there a few times.
So I tackled the front springs and struts today. Much more of an effort than the rears, and i had to break down and bring the fronts to the shop that does my racecar stuff to use their spring compressor as the harbor freight ones I had both broke.
So, here is said install without further ado.
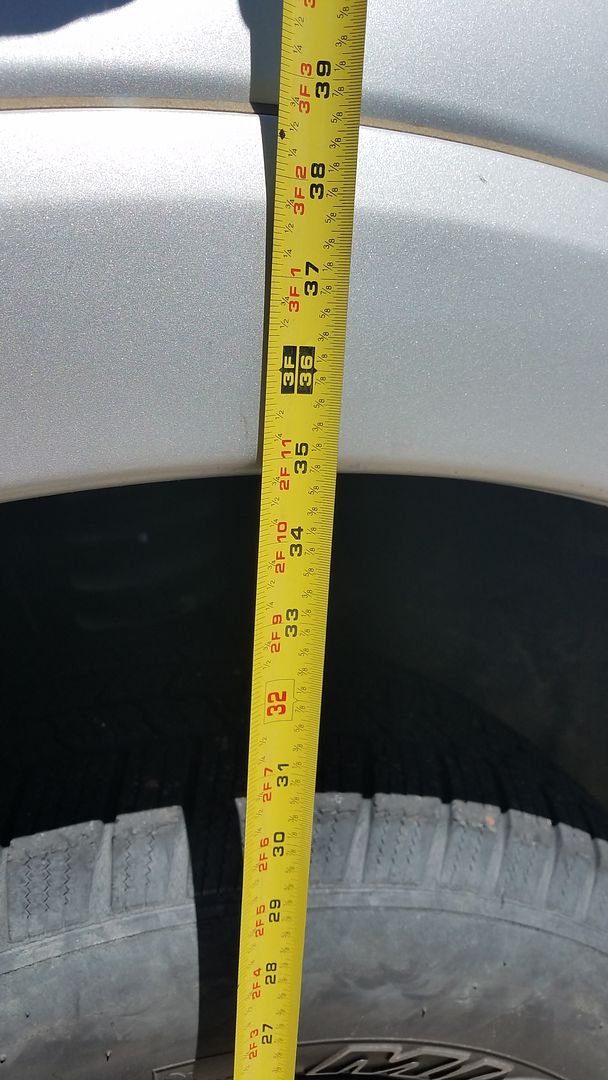
Before:
The tools:
Basically the same as the rears, plus a 22mm wrench, 12mm socket, 14mm socket, extension and a 2x4.
The steps:
Jack up, place on jack stand, remove wheels!
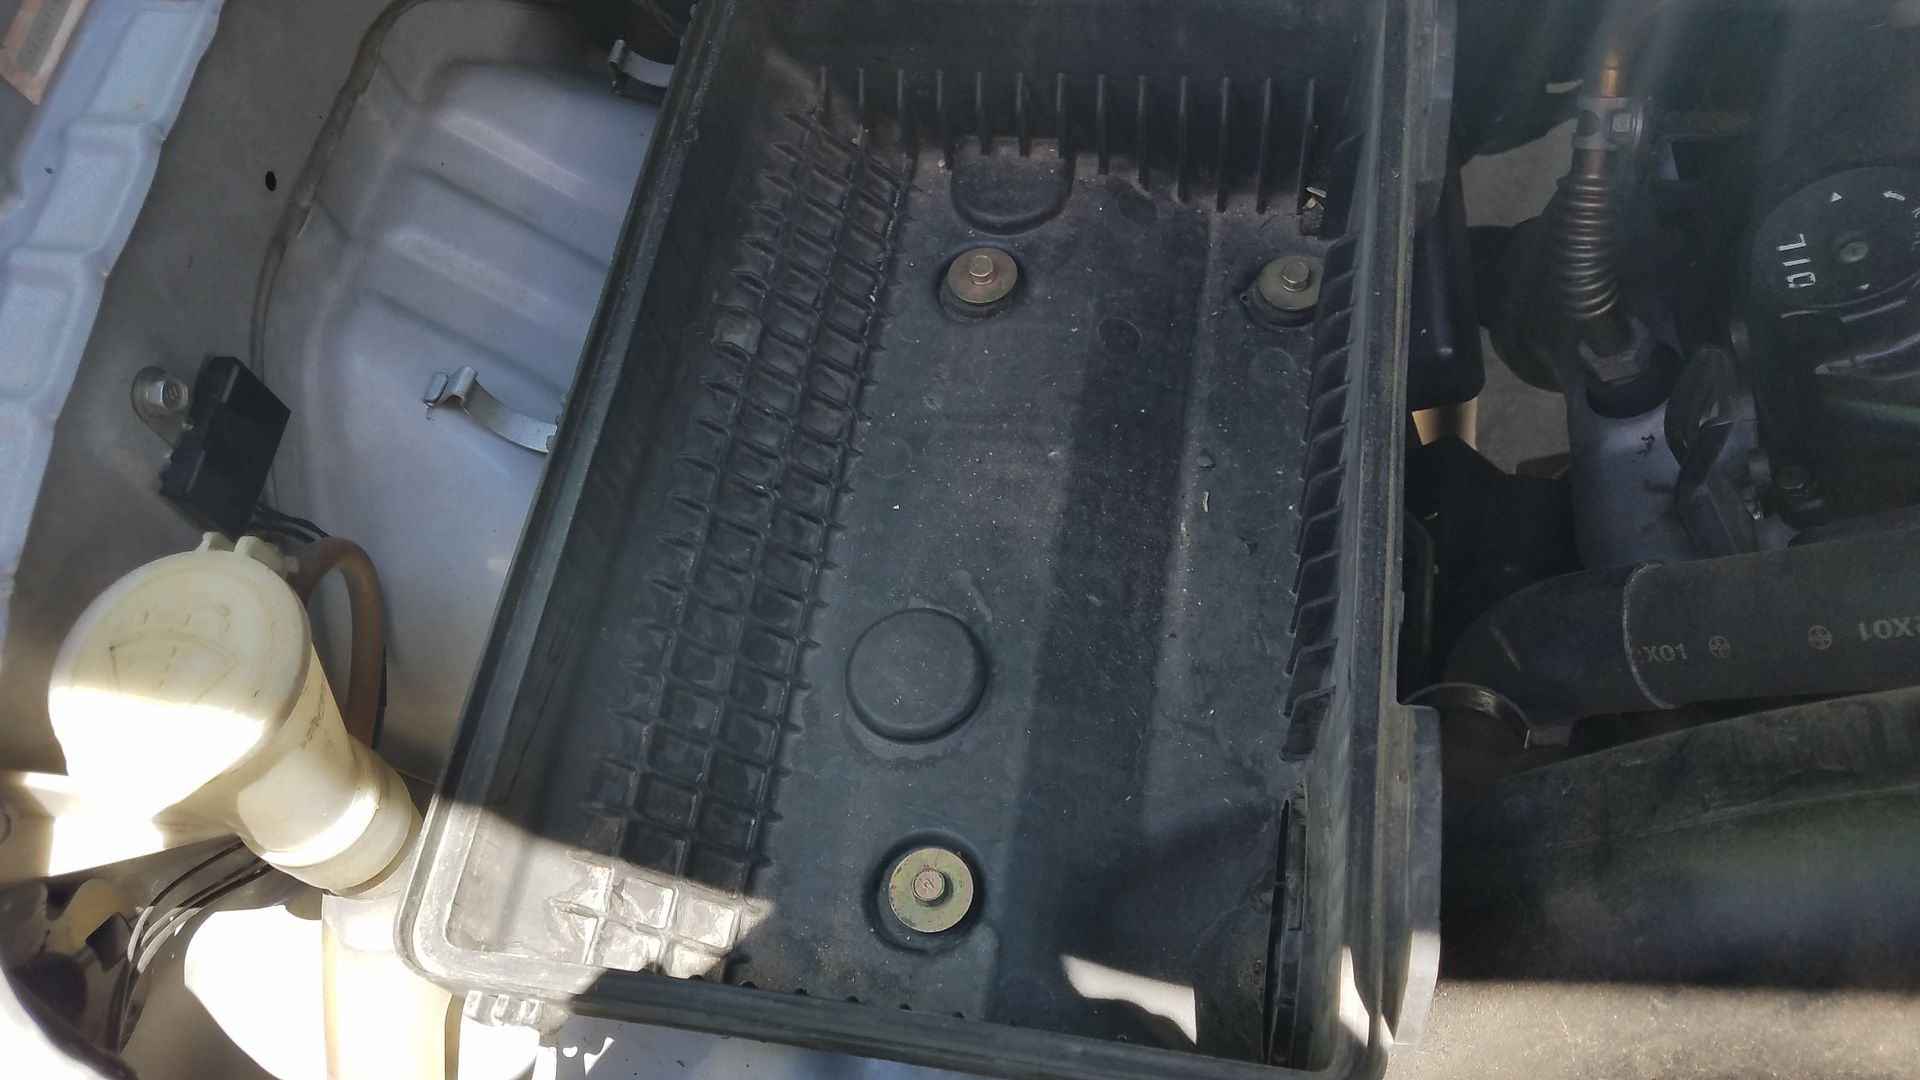
Pop the hood, and remove the airbox, and battery from the top of the motor, pretty simple process, mostly 12mm and one 10mm. Be care with the battery box, Mitsu decided it would be a good idea to connect everything in the engine bay to it.
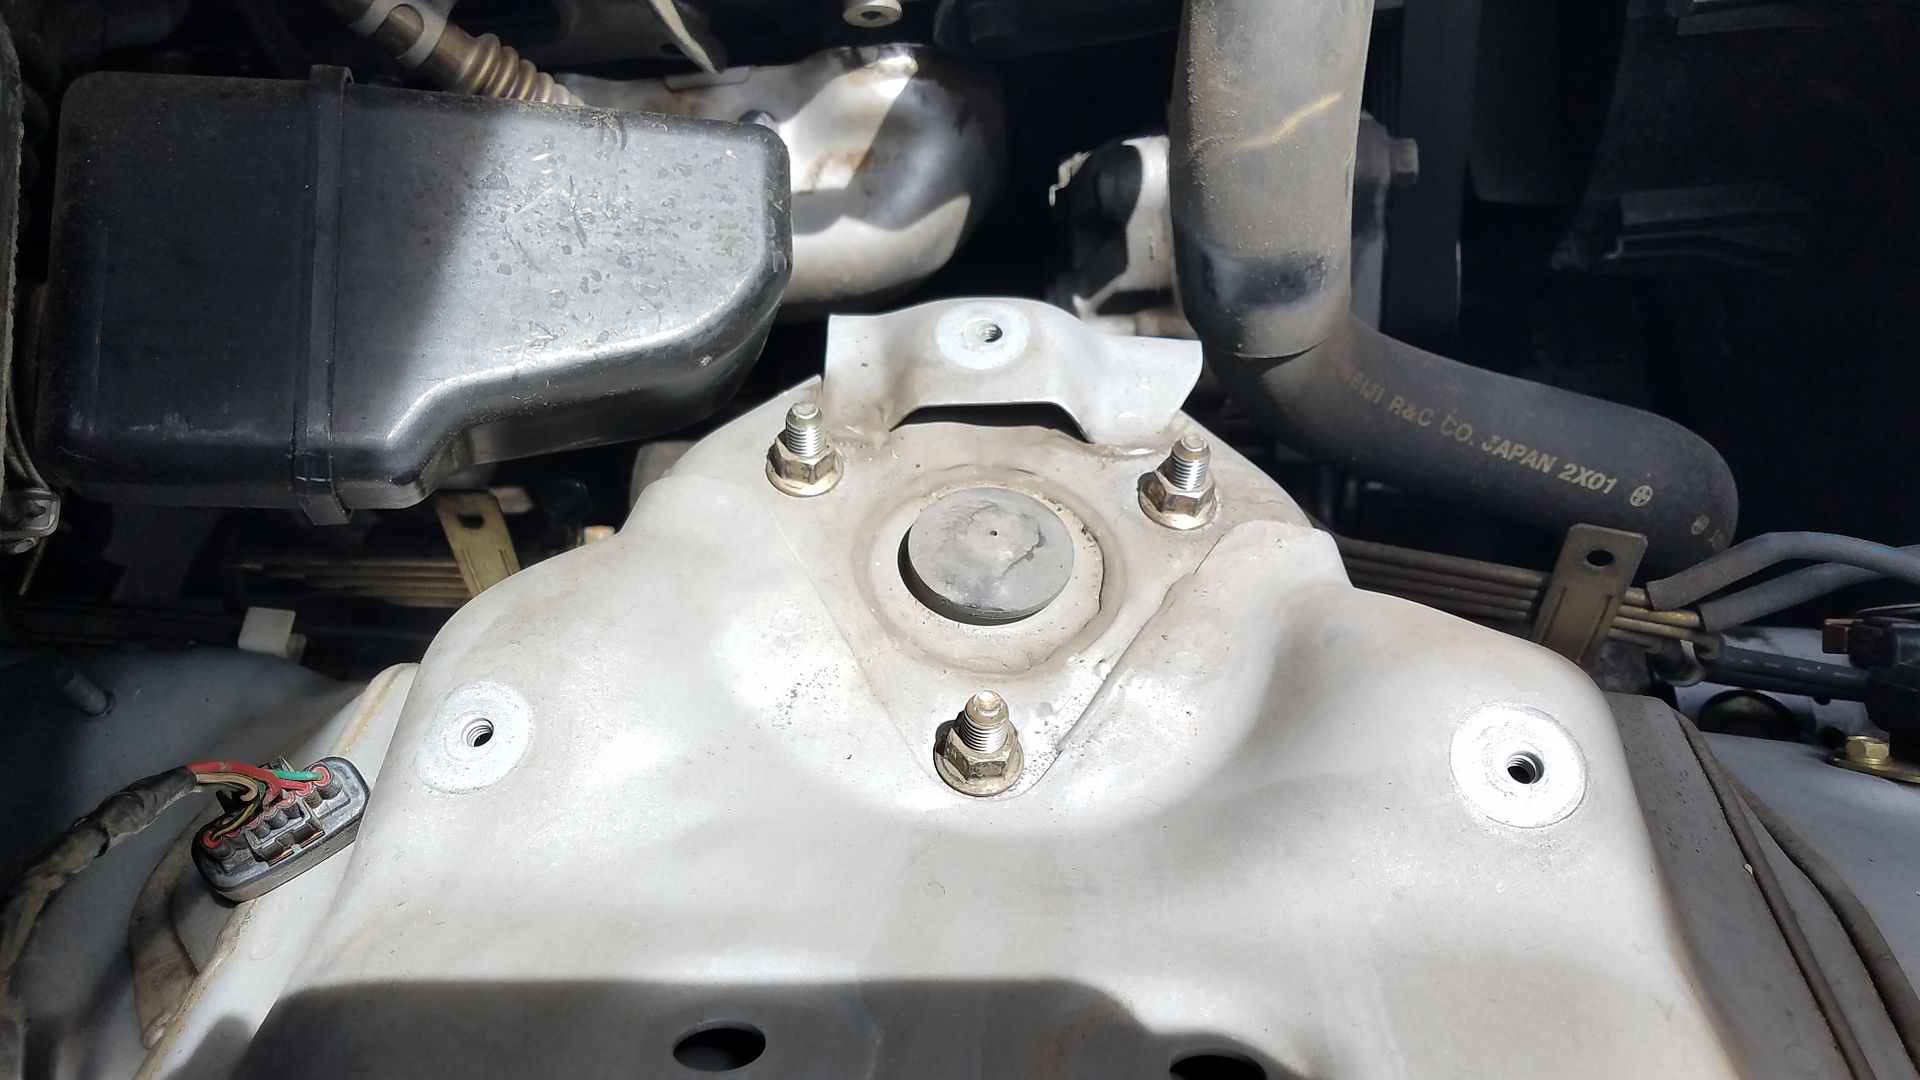
Once the battery box and air box are removed, there will be 3 14mm nuts holding the strut stops to the chassis. Remove those suckers.
Next use a 12mm to take off the 3 bolts holding the knuckle to the upper control arm.

Now there are 2 ways to get the strut out, by removing one side of the upper control arm or by not removing the upper control arm at all. One takes a long time and one doesn't, i'll leave you to decide.
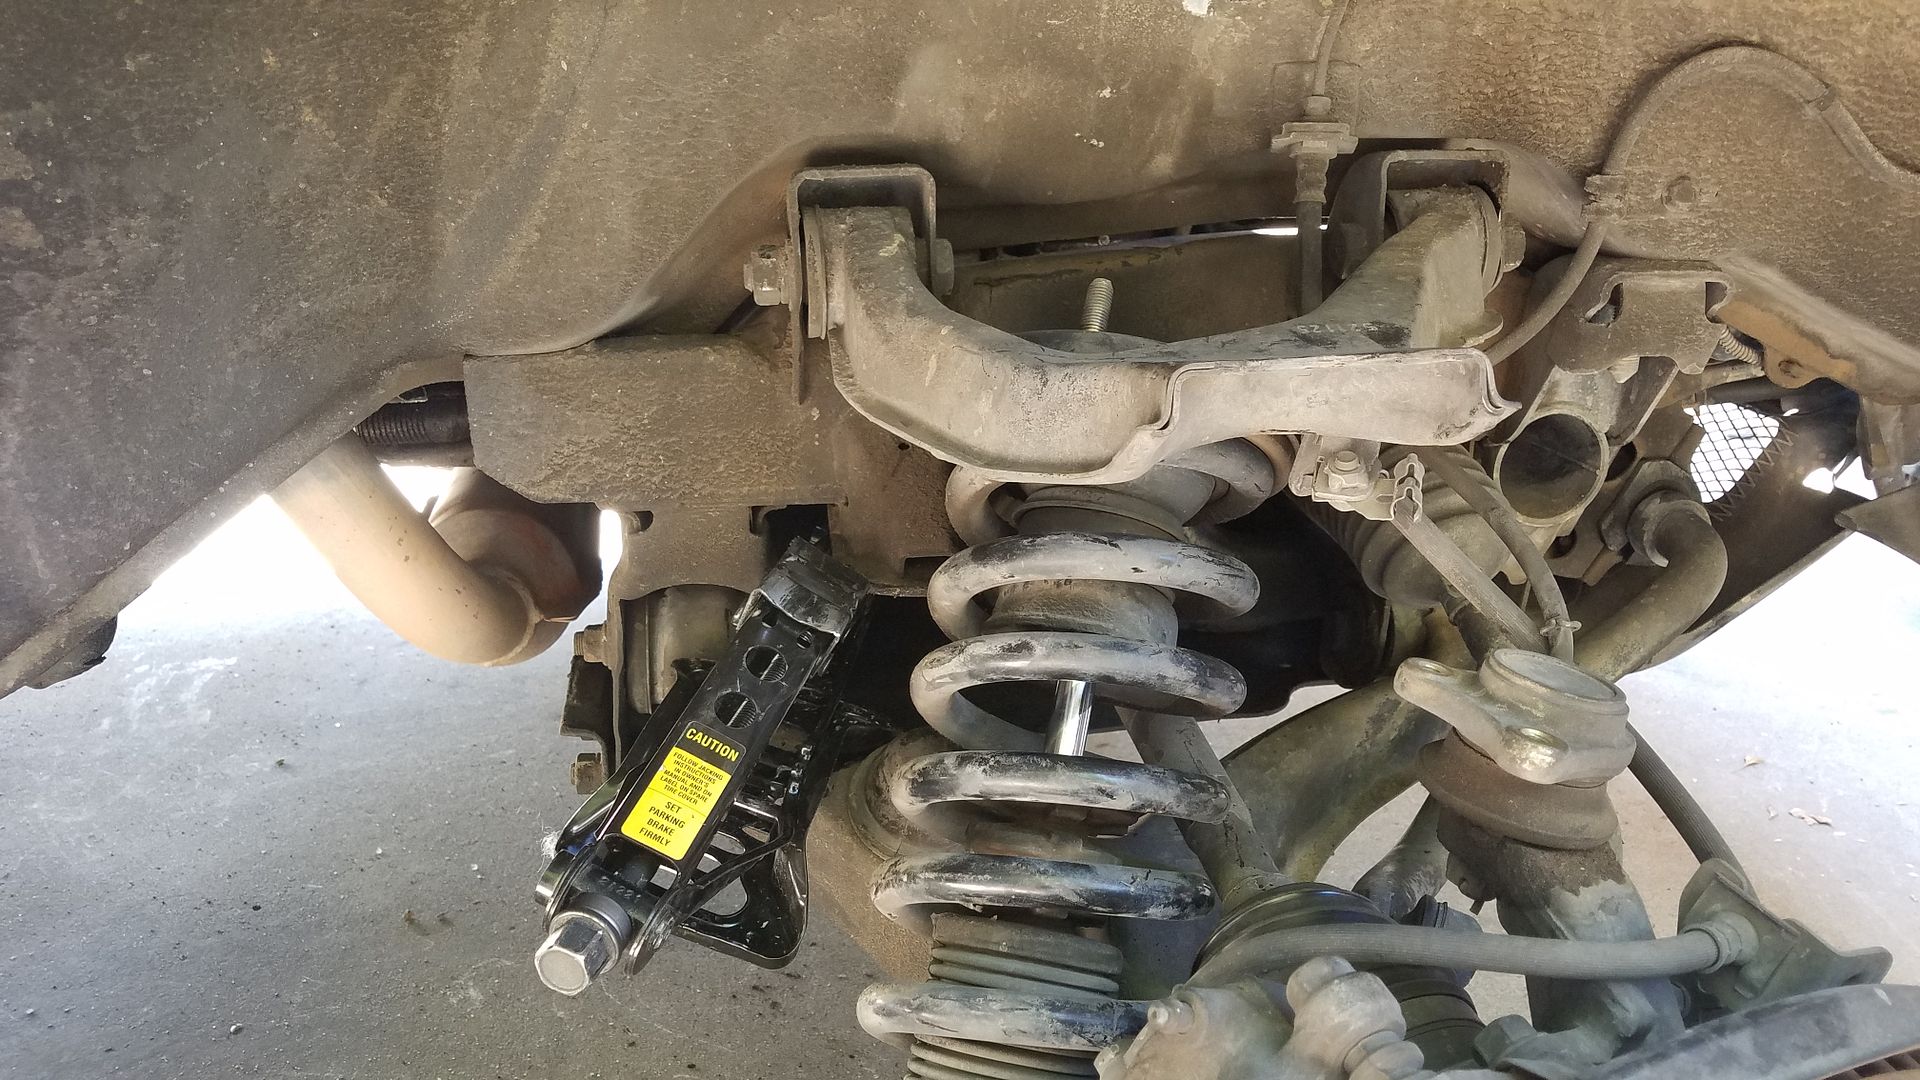
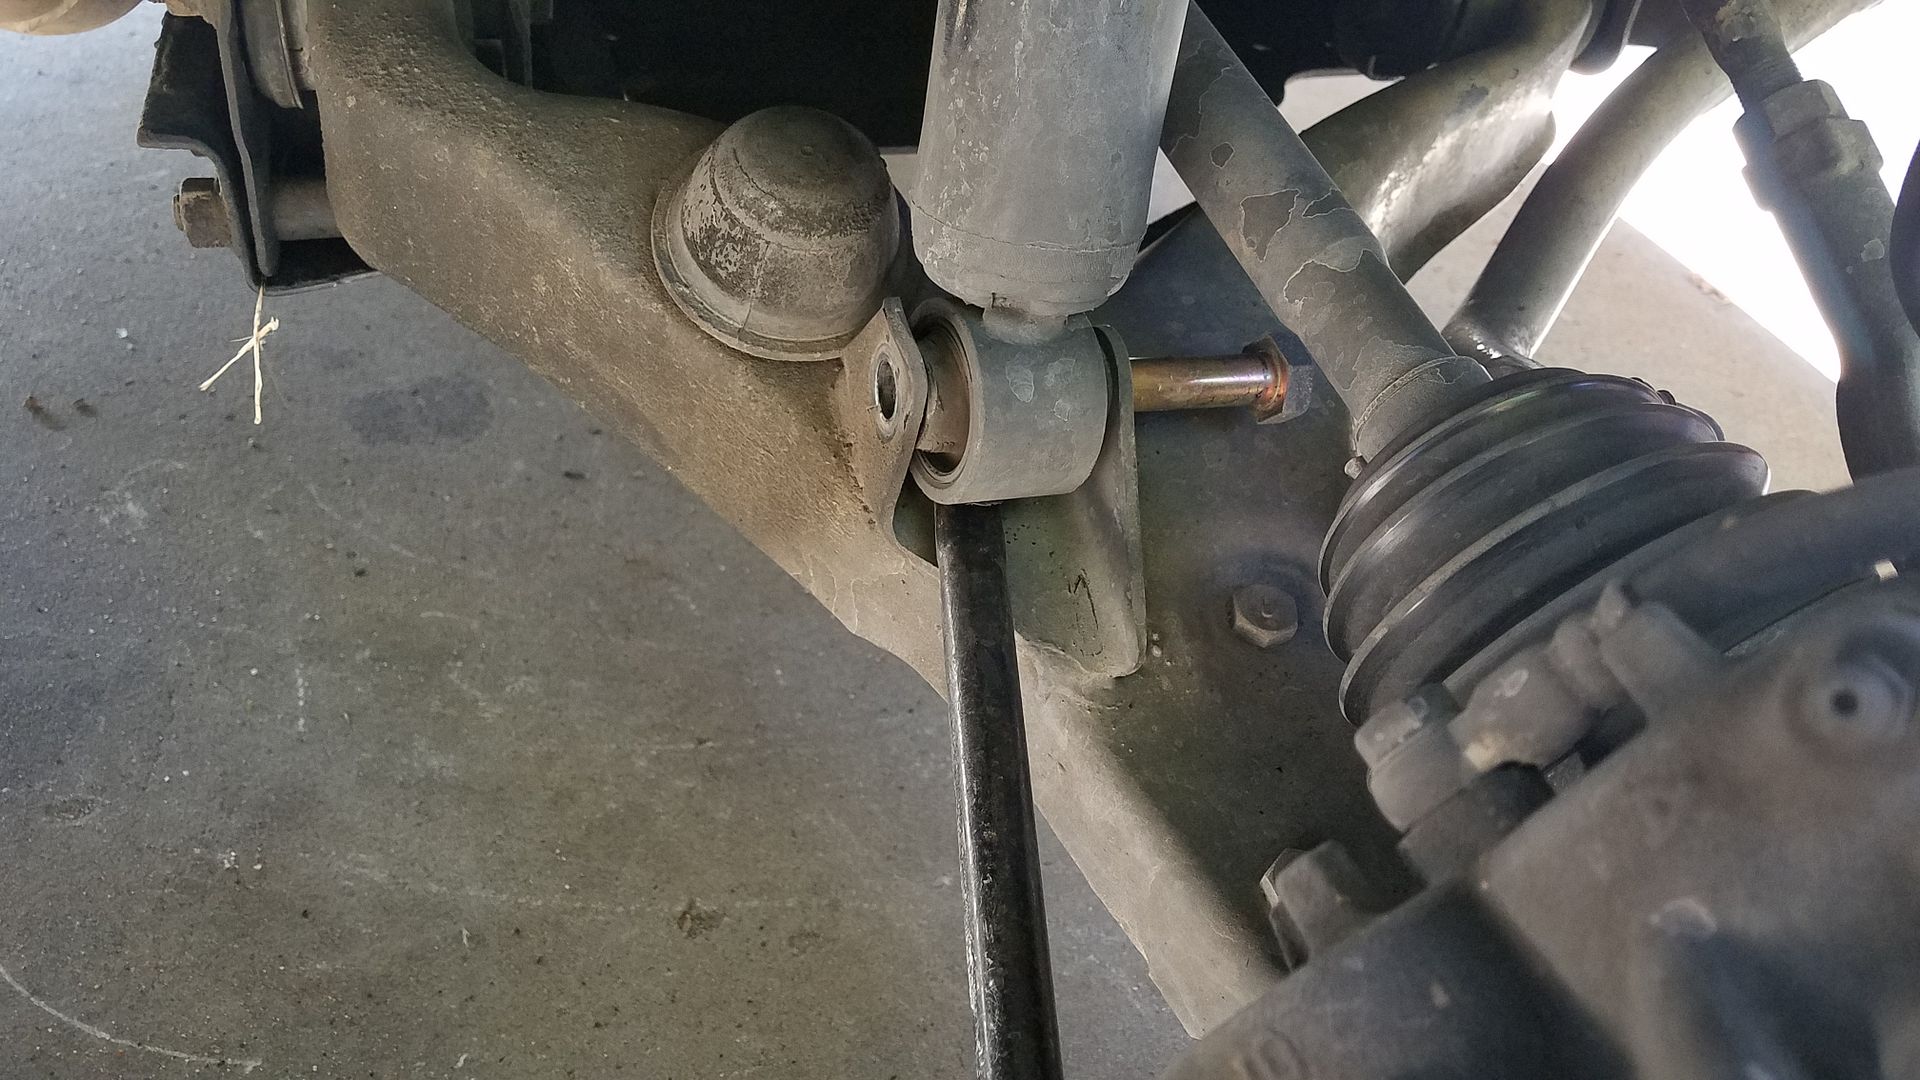
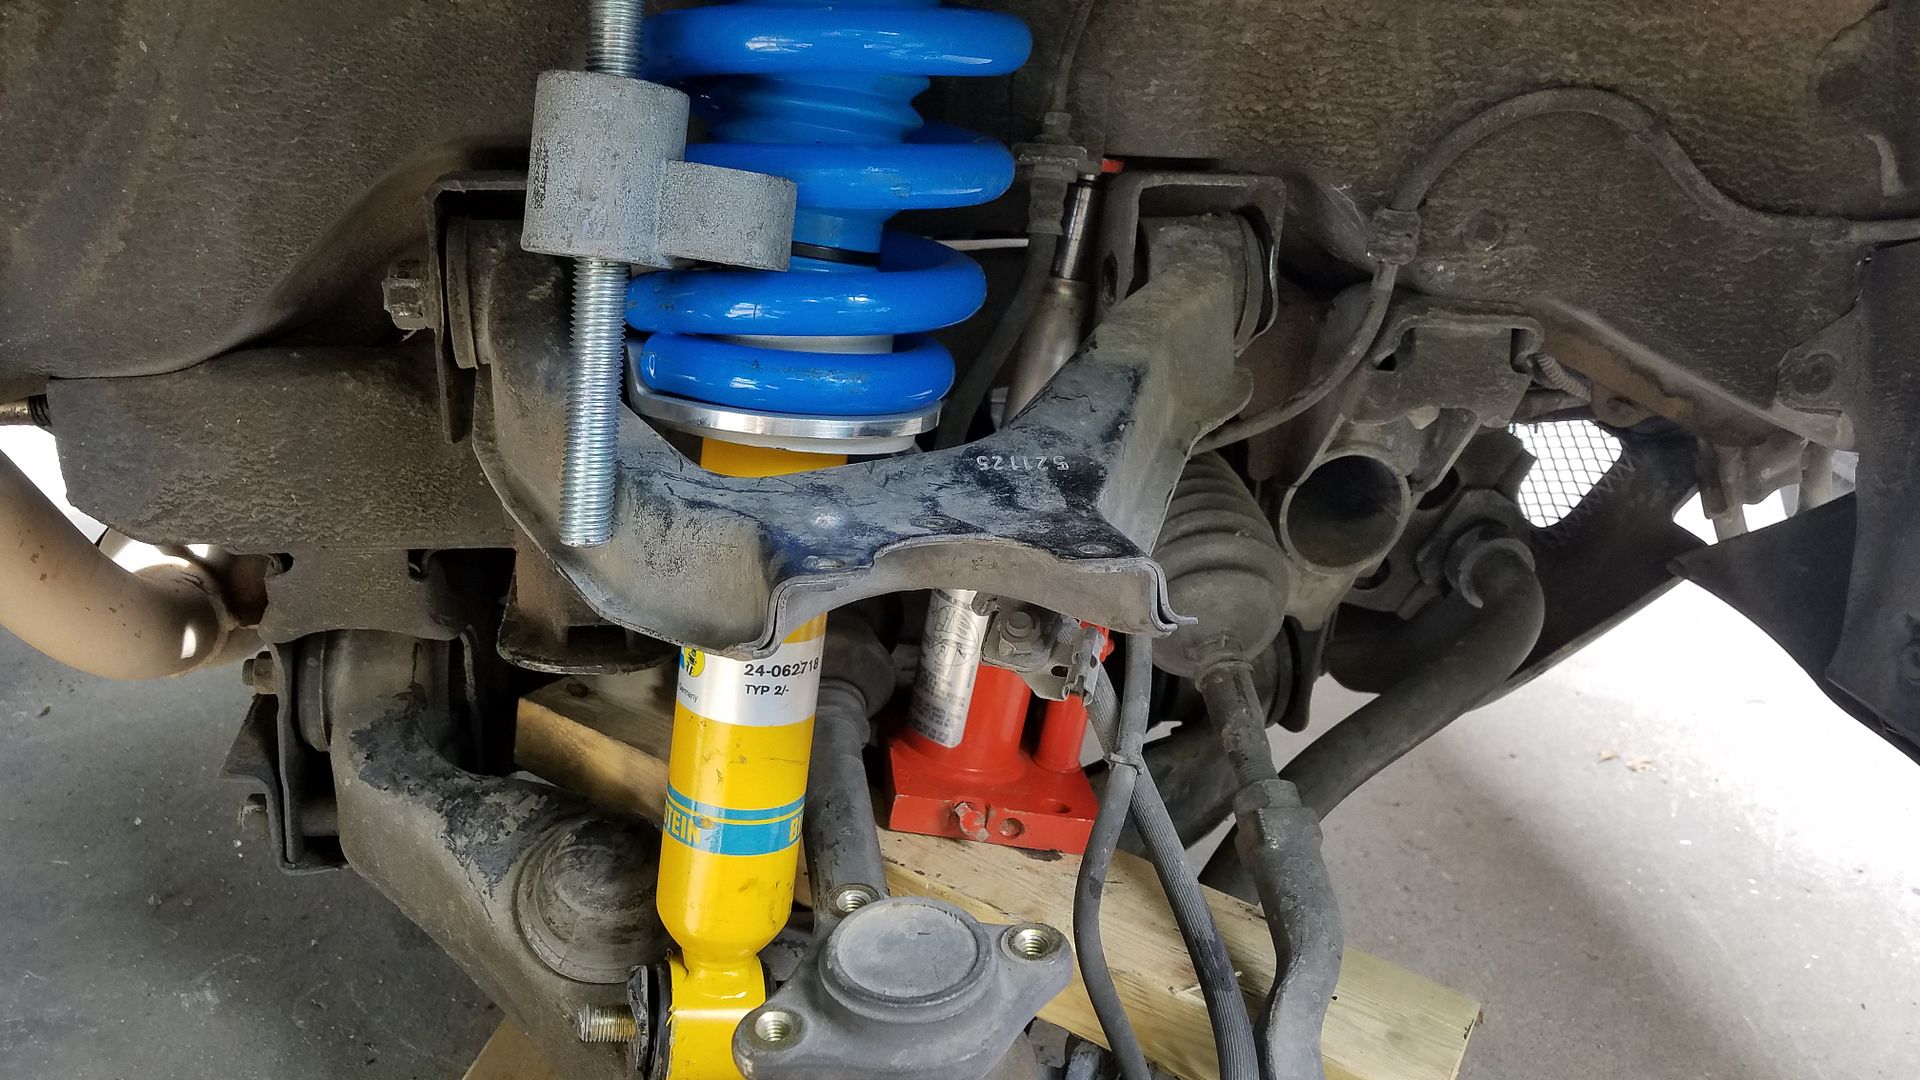
Remove the bolt holding the strut to the lower control arm. It may slip as its still under tension from the spring. It helps to jack the lca up and use a spring compressor, but I ended up jacking the control arm down with the bottle jack (I broke my faithful scissor jack trying this...) You can see my jack placement on the install pics of the next coilover.
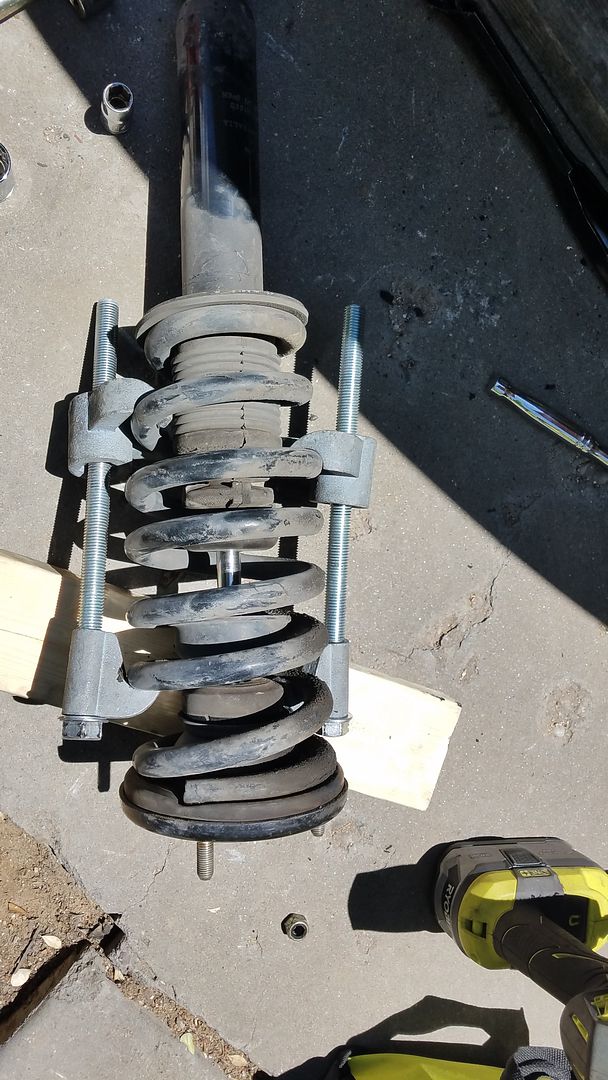
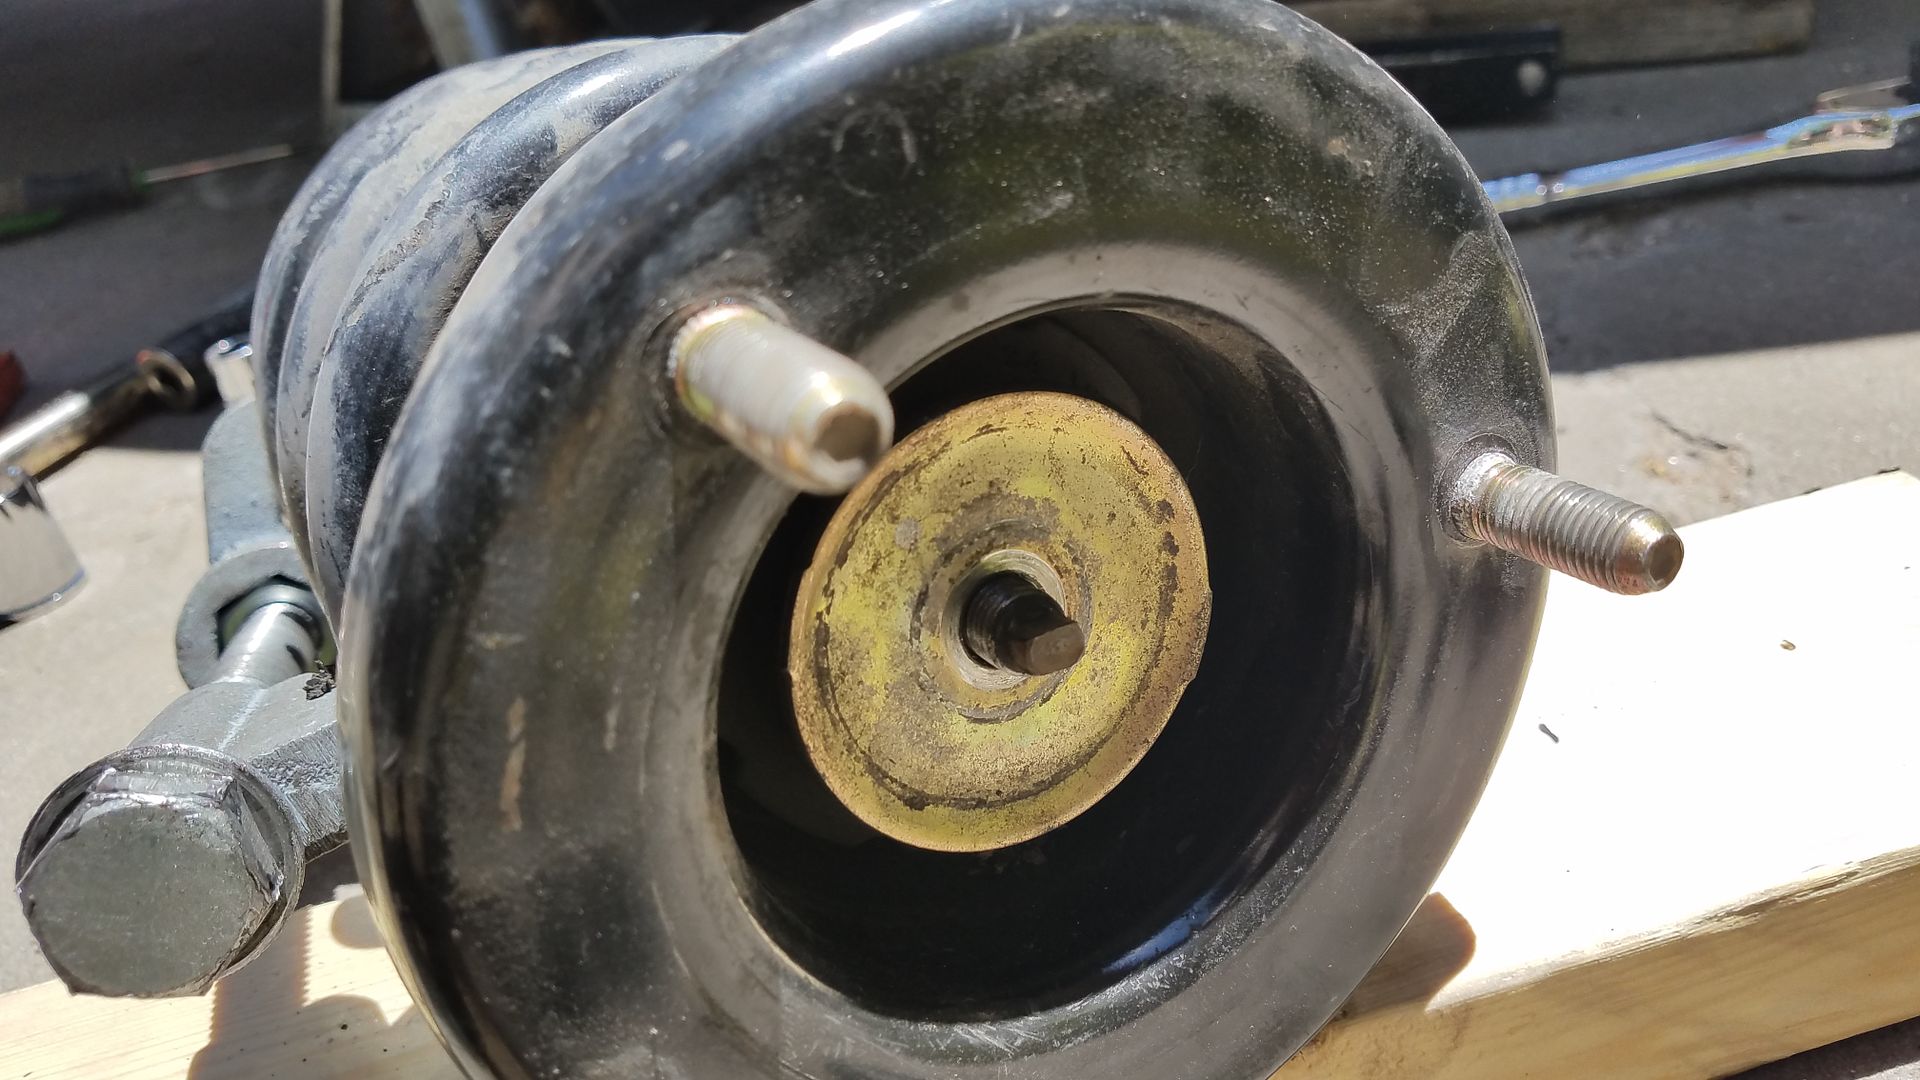
After you wrangle the strut out, I would advise bringing them to a shop to have the strut tops and rubber washers removed and then installed on the new springs and struts. Otherwise keep an eye on the way the strut bushings go together and do it yourself!
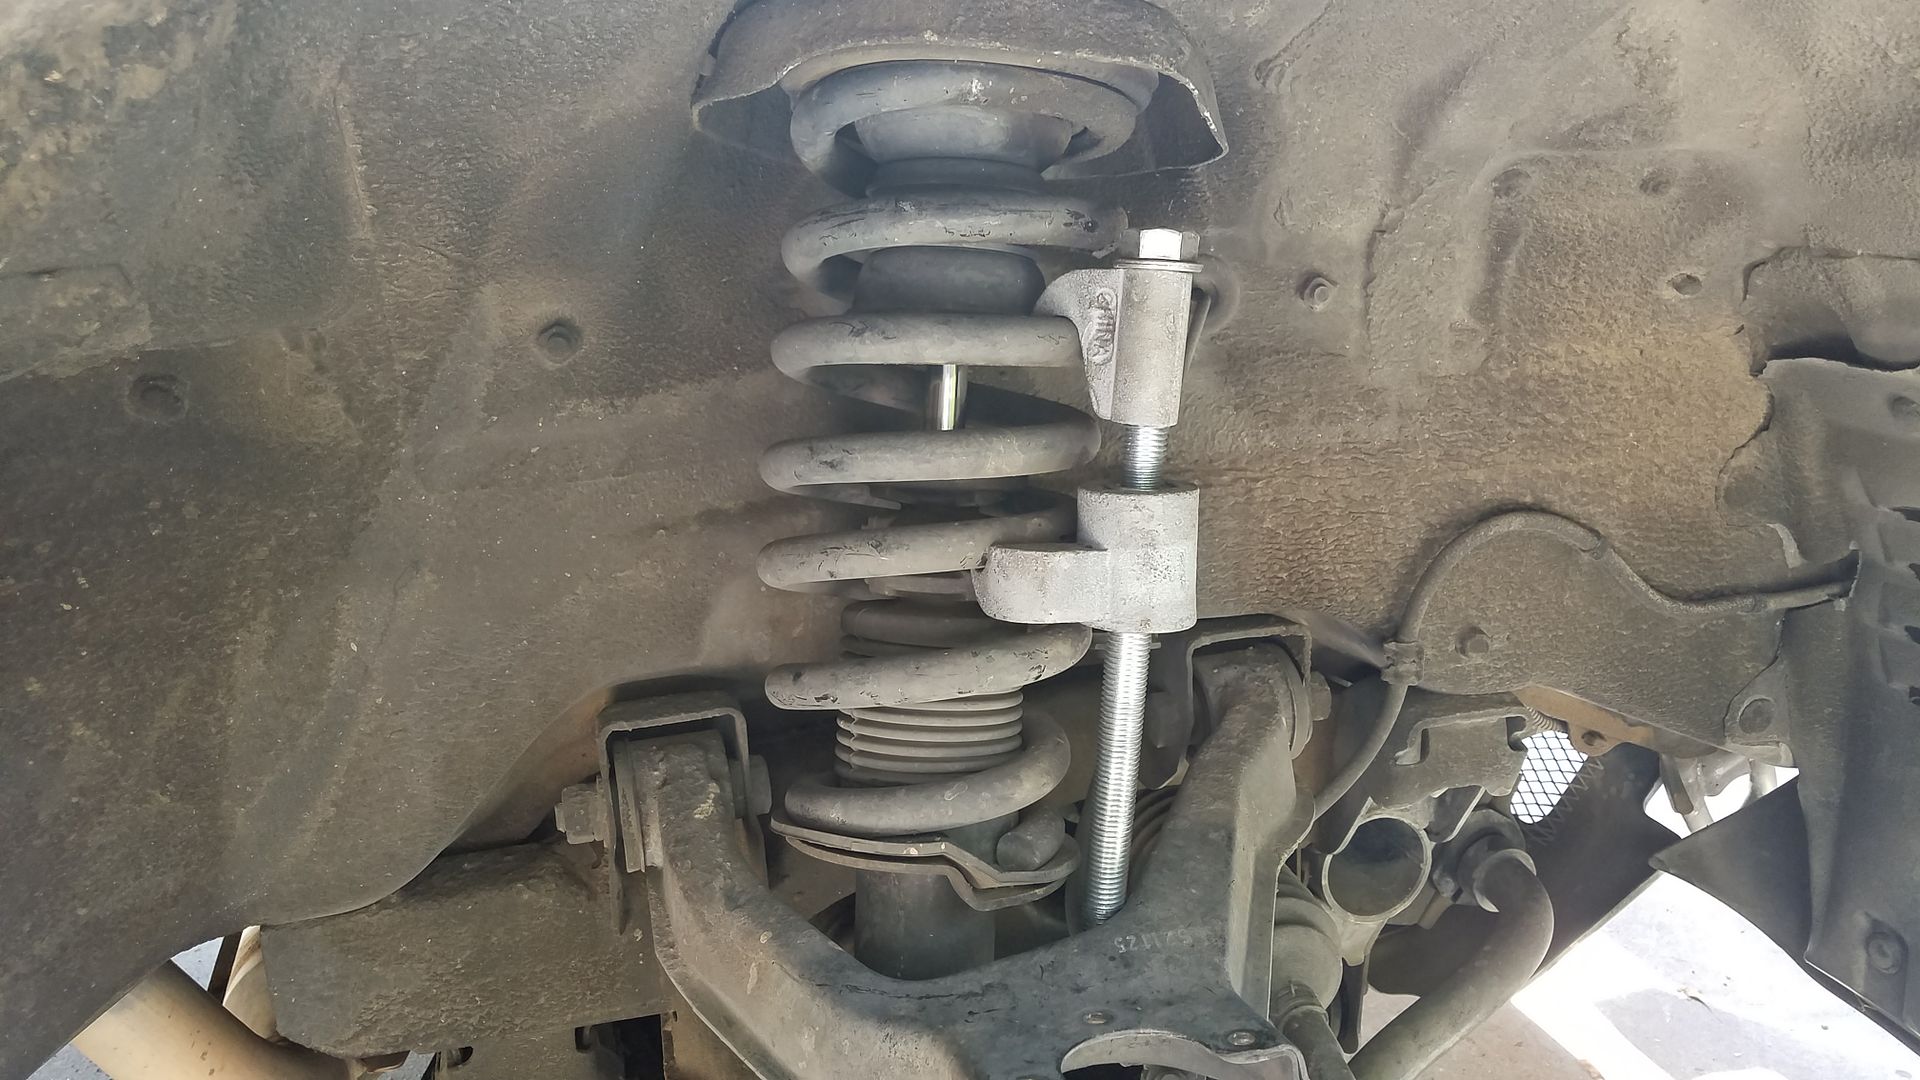
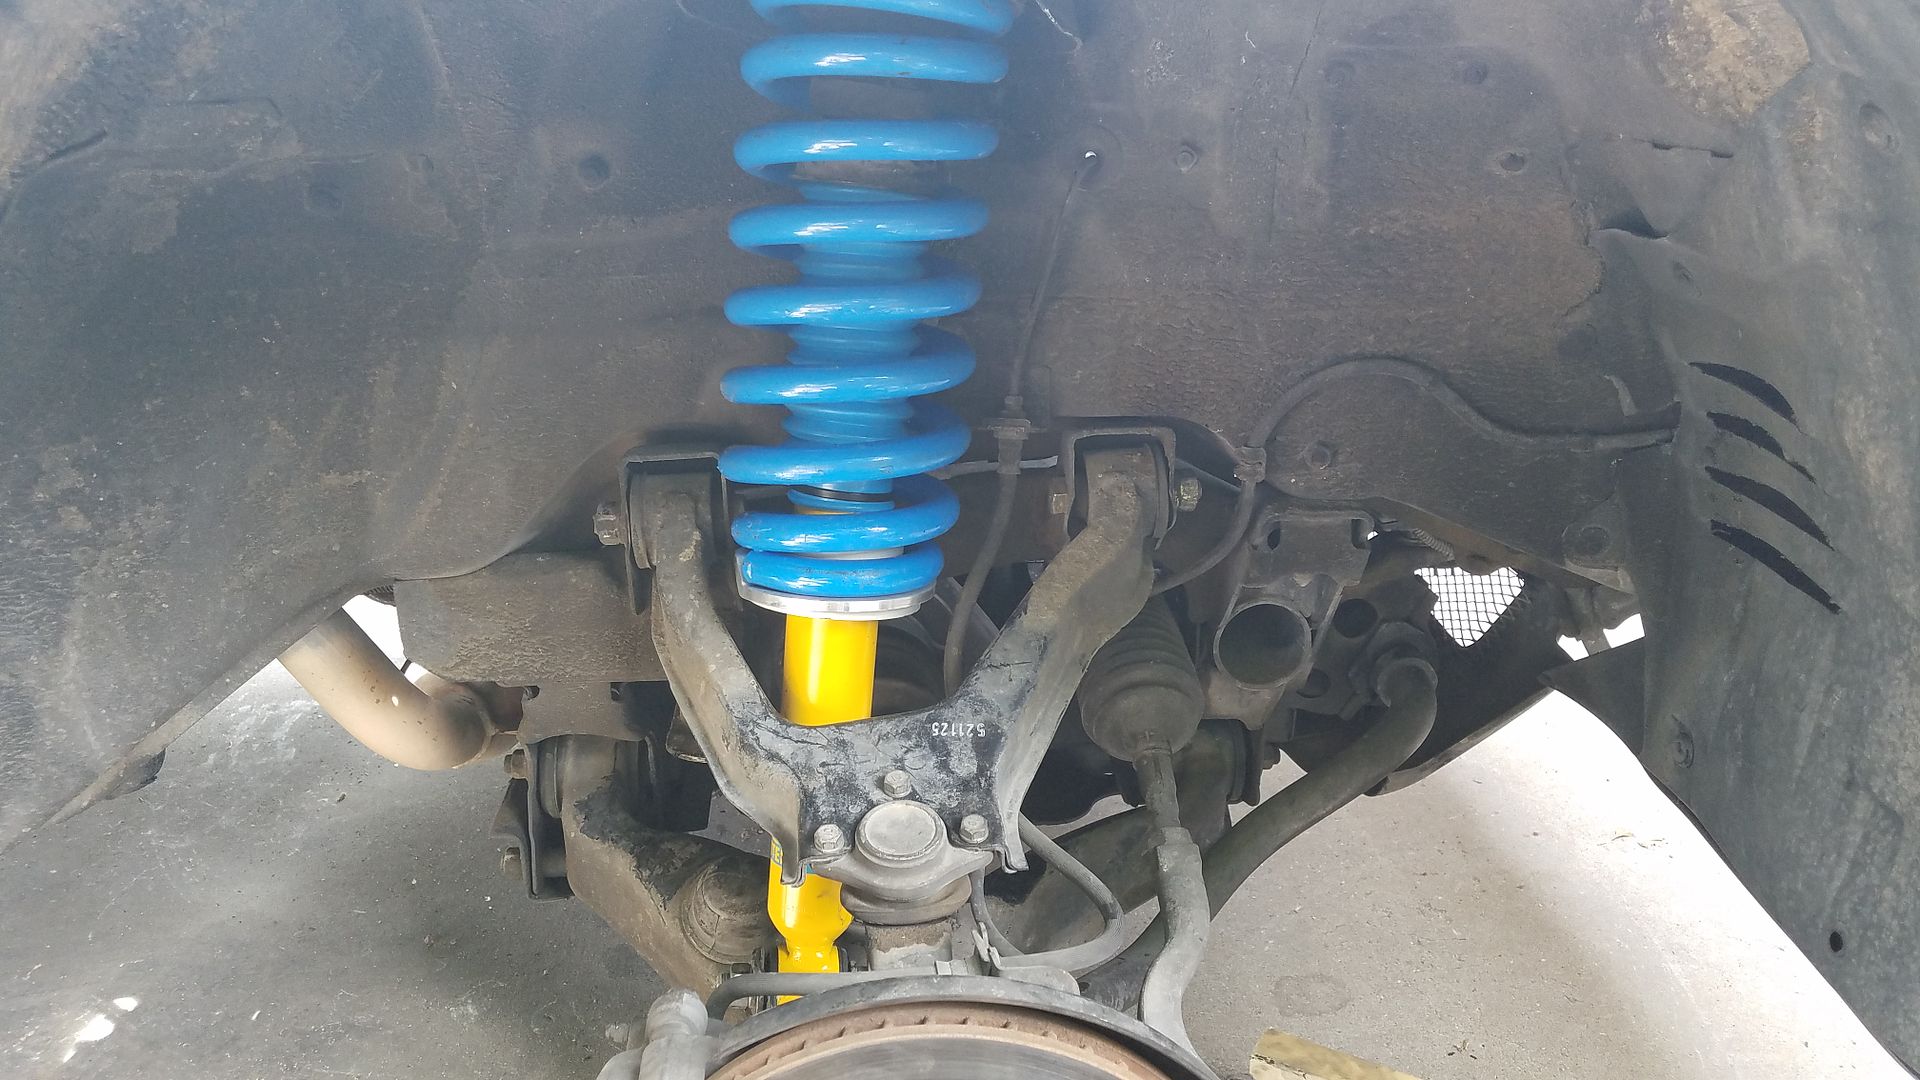
Once you have the strut put together, its time to get it back in its place. If you chose wisely above and removed one side of the upper control arm, this will be a snap if you jack the lca down as in the pic below.
Get the strut holes lined back up and let the jack out bit by bit until you can get the bolt on the lca though the bottom of the strut. Get every bolt tight again, put the battery and airbox back on, and it should then look as such!
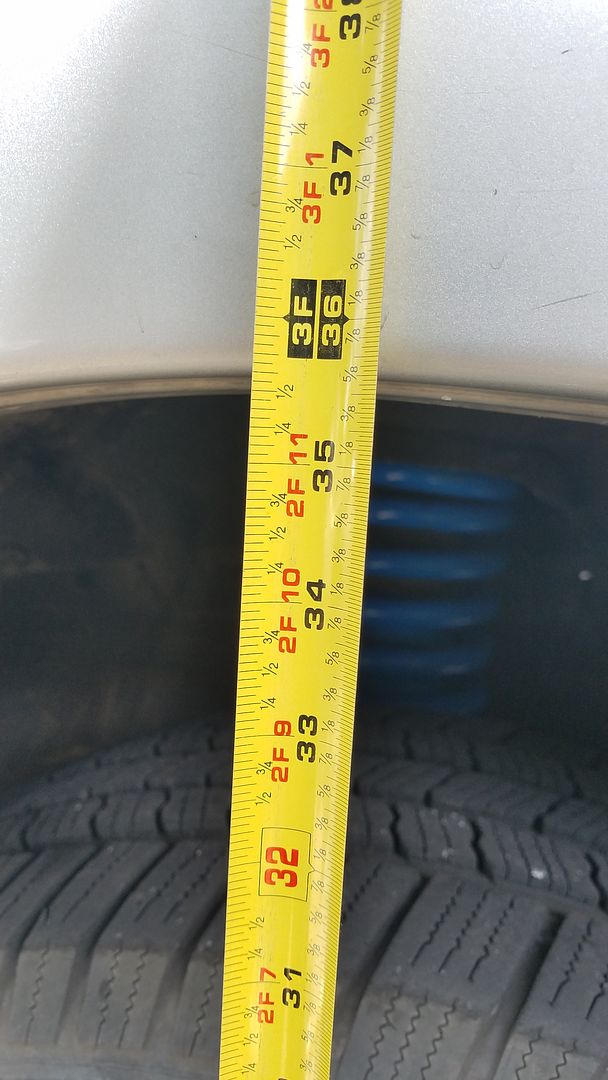
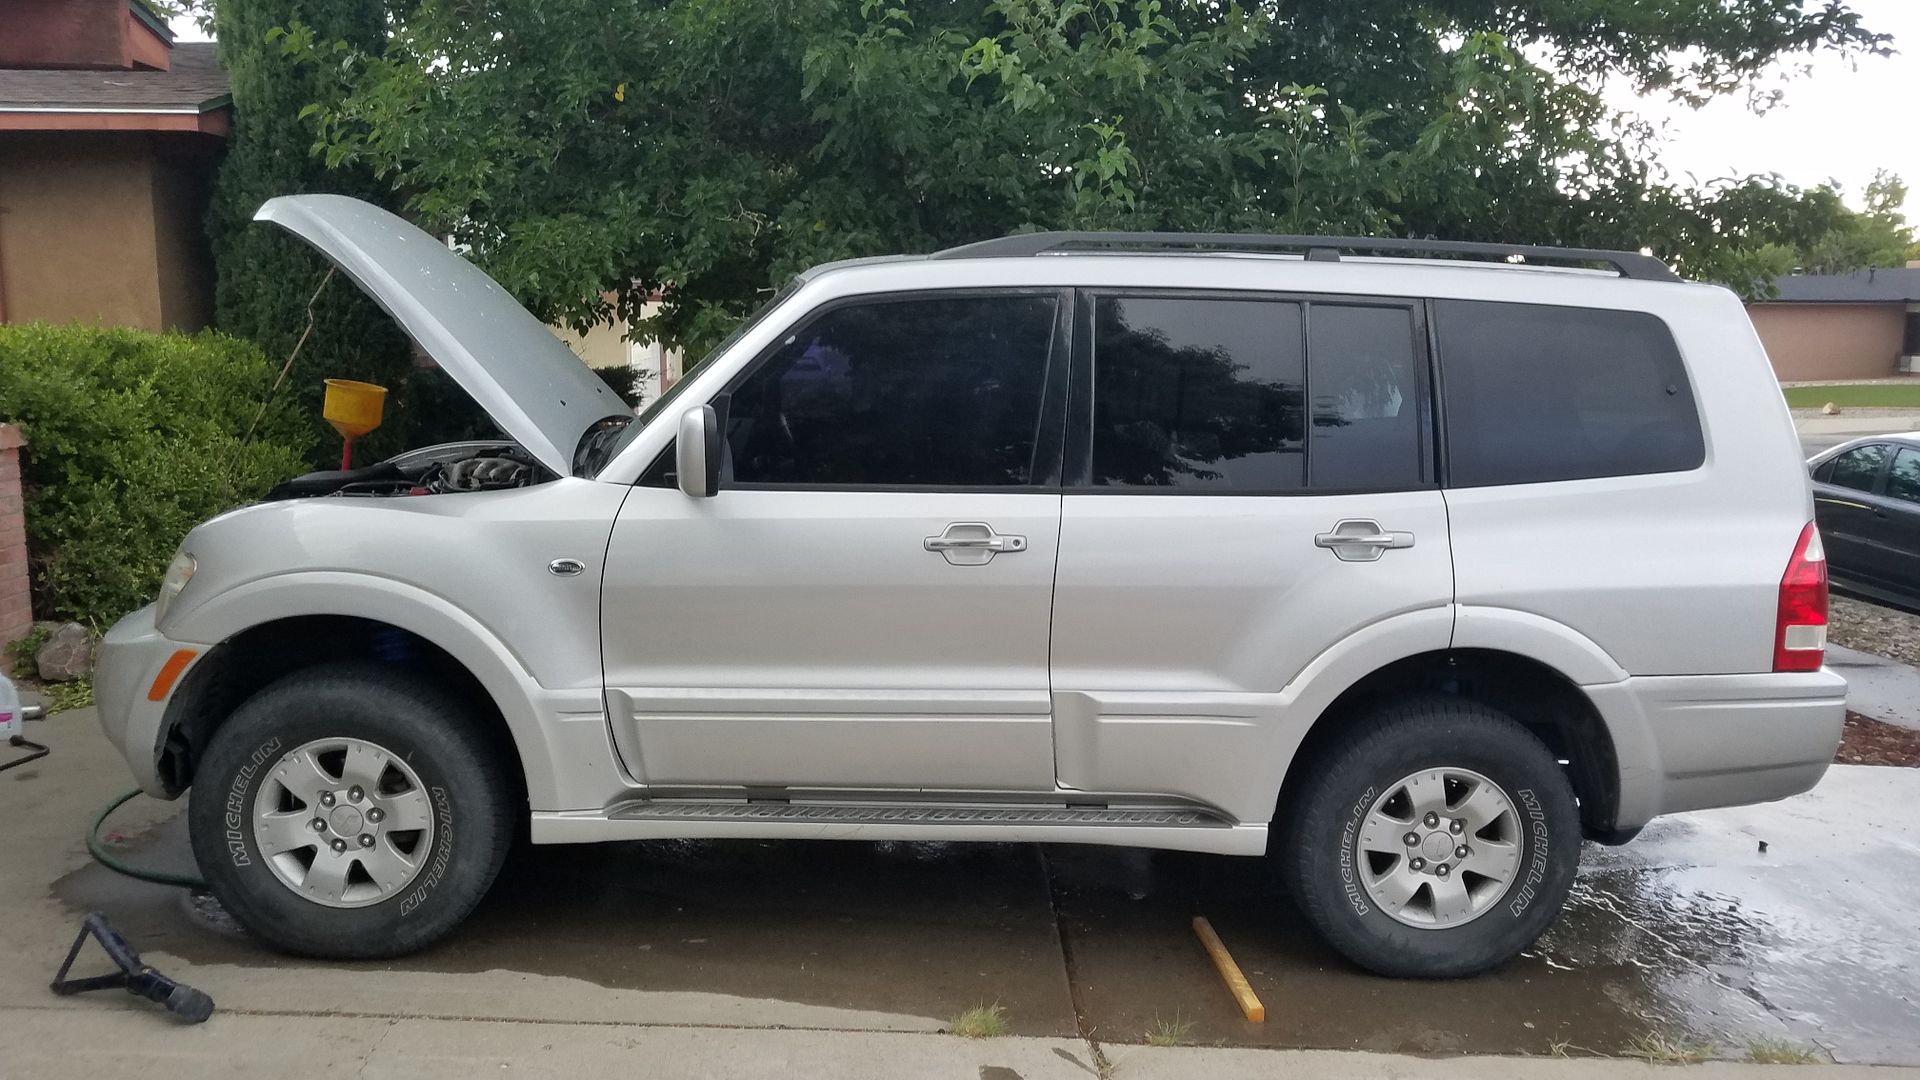
The outcome:
Never got to run that trail in the jeep, but then again i've only been snowboarding there a few times.
So I tackled the front springs and struts today. Much more of an effort than the rears, and i had to break down and bring the fronts to the shop that does my racecar stuff to use their spring compressor as the harbor freight ones I had both broke.
So, here is said install without further ado.
Before:
The tools:
Basically the same as the rears, plus a 22mm wrench, 12mm socket, 14mm socket, extension and a 2x4.
The steps:
Jack up, place on jack stand, remove wheels!
Pop the hood, and remove the airbox, and battery from the top of the motor, pretty simple process, mostly 12mm and one 10mm. Be care with the battery box, Mitsu decided it would be a good idea to connect everything in the engine bay to it.
Once the battery box and air box are removed, there will be 3 14mm nuts holding the strut stops to the chassis. Remove those suckers.
Next use a 12mm to take off the 3 bolts holding the knuckle to the upper control arm.
Now there are 2 ways to get the strut out, by removing one side of the upper control arm or by not removing the upper control arm at all. One takes a long time and one doesn't, i'll leave you to decide.
Remove the bolt holding the strut to the lower control arm. It may slip as its still under tension from the spring. It helps to jack the lca up and use a spring compressor, but I ended up jacking the control arm down with the bottle jack (I broke my faithful scissor jack trying this...) You can see my jack placement on the install pics of the next coilover.
After you wrangle the strut out, I would advise bringing them to a shop to have the strut tops and rubber washers removed and then installed on the new springs and struts. Otherwise keep an eye on the way the strut bushings go together and do it yourself!
Once you have the strut put together, its time to get it back in its place. If you chose wisely above and removed one side of the upper control arm, this will be a snap if you jack the lca down as in the pic below.
Get the strut holes lined back up and let the jack out bit by bit until you can get the bolt on the lca though the bottom of the strut. Get every bolt tight again, put the battery and airbox back on, and it should then look as such!
The outcome:


