djb_rh
Observer
Excellent work as always, Jeff.
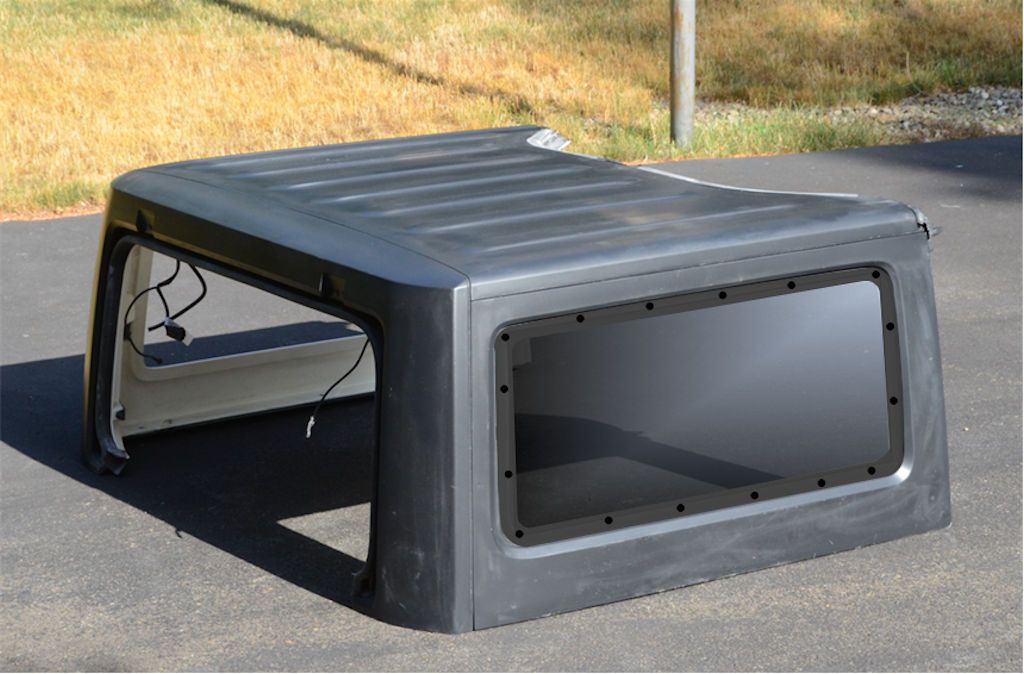
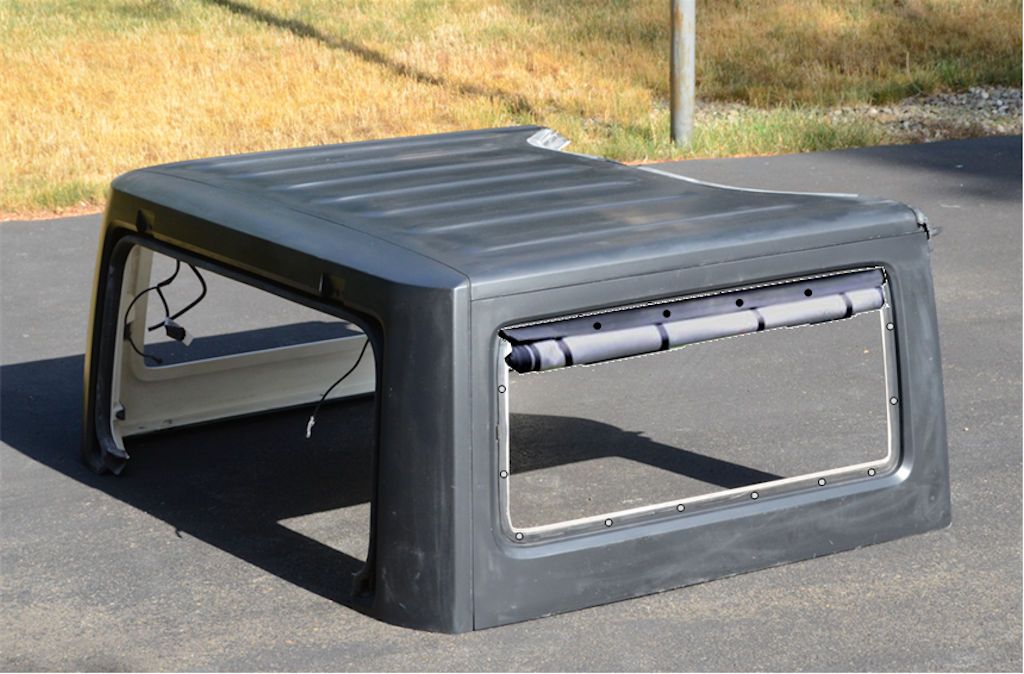
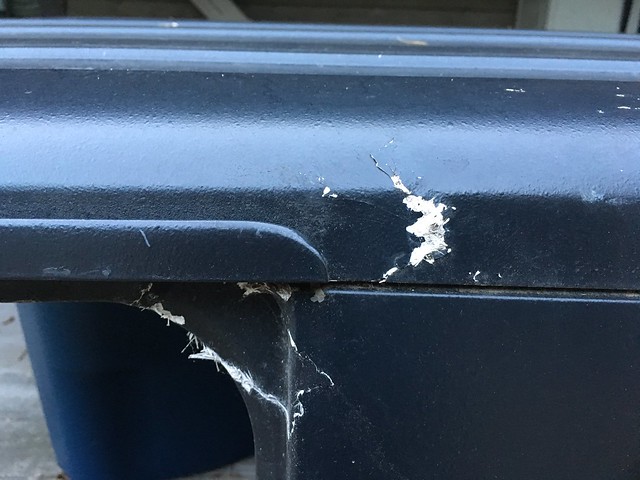
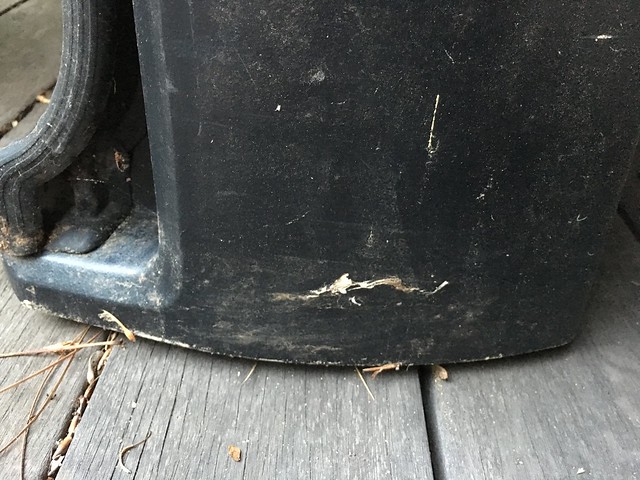
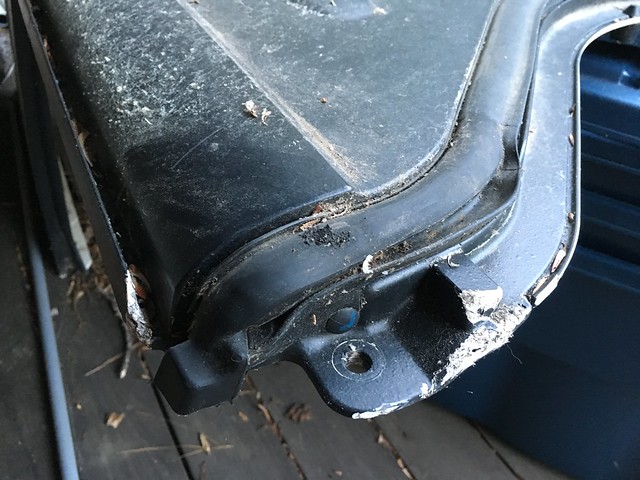
One additional question...the JKU hard top I bought off craigslist for this project was super cheap because it has minor damage. Not only was it cracked a tad in an accident, but when left sitting out it was able to "blow over" a few times onto the front part that extends over the rear seats, causing some more cracking between where the top extends forward and the area where the side windows starts. I plan to post pics, but I really believe the cracking, while visible, is pretty minor in the grand scheme. But it's got to be repaired.
Do you have any pointers on the best method to repair cracks in this type of fiberglass? The cracks in this case seem to extend less than two inches, but there are a tiny bit of exposed fibers.
I do plan to post my repairs (here, if that's okay) since I believe anyone who might be willing to tackle this project might also want to use lightly damaged tops like this since they are cheaper and should repair pretty well with many of the same materials already required to complete the conversion.
--Donnie


") .
.