1977 Pop Up Camper Rebuild

SLO_F-250

Explorer
TheTom,

Looks like you got a great little project here! I was debating on doing something very similar bofore I went pop-up Truck Camper. My plan was to get an older pop up trailer since they are all over the place. Add a set of 1/2ton junk yard leaf springs and shackles to it for a lift and some bigger meats. That way it would be more dirt worthy. The rest would be pretty much what you are up to.

Anyways, Im excited to see a pop-up restore on here. Keep up the great work! Subscribed! :ylsmoke:
Paul
 

TheThom

Adventurer
So, even though I'm a while away from needing it, I ended up getting some aluminum for the sides. I was looking around and a local place was able to do it with <24hr turnaround. I didn't want to lose the good quote and rapport I had with the guy that worked there. Good tip: if you need aluminum cut/bent, go to a heating place. There was a local company that makes their own duct work.

Please excuse the grainy cell phone pics. This is the panel for the door in the front storage compartment

IMG_0773.jpg


IMG_0772.jpg


I'm pretty impressed with the work they did. I got siding for all 4 sides and for each of the doors (1 main door and 3 storage compartment doors) cut and bent to fit the dimensions I need for $300. Expensive, but the quality should make it worth it. There's no way I could've duplicated the quality they showed.
 

TheThom

Adventurer
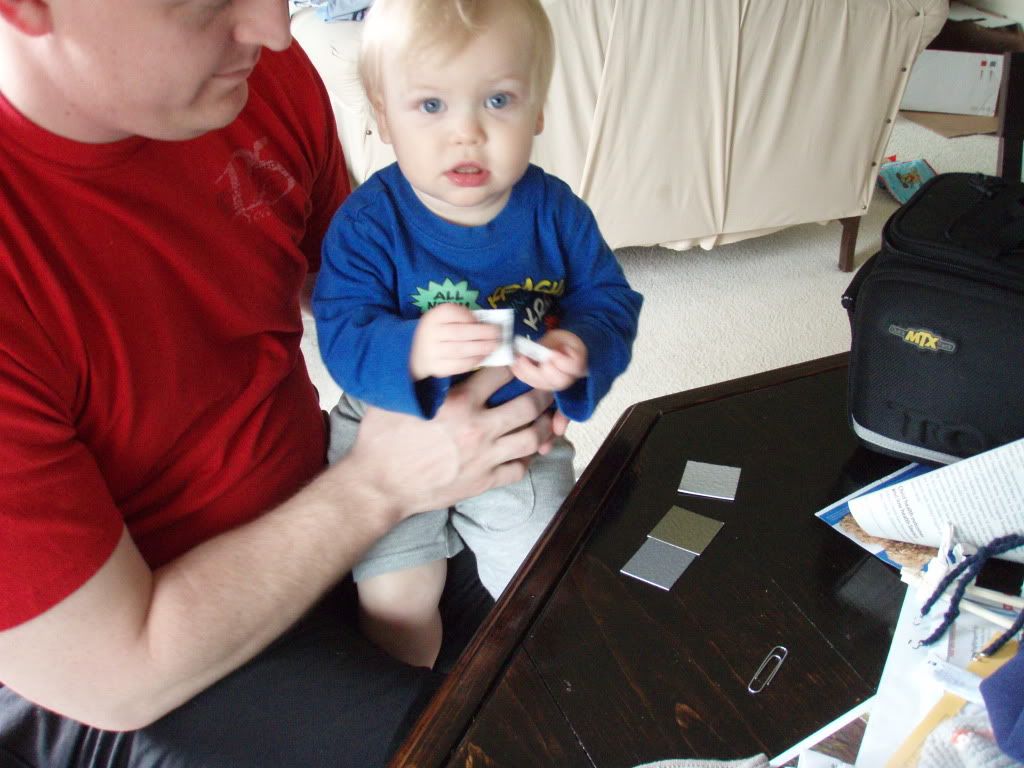
Gratuitous child pic

I enlisted an assistant to help me choose a paint color. We're looking through some samples sent by Monstaliner (sorry the pic is a bit blurry).

P1010049-2.jpg
 

TheThom

Adventurer
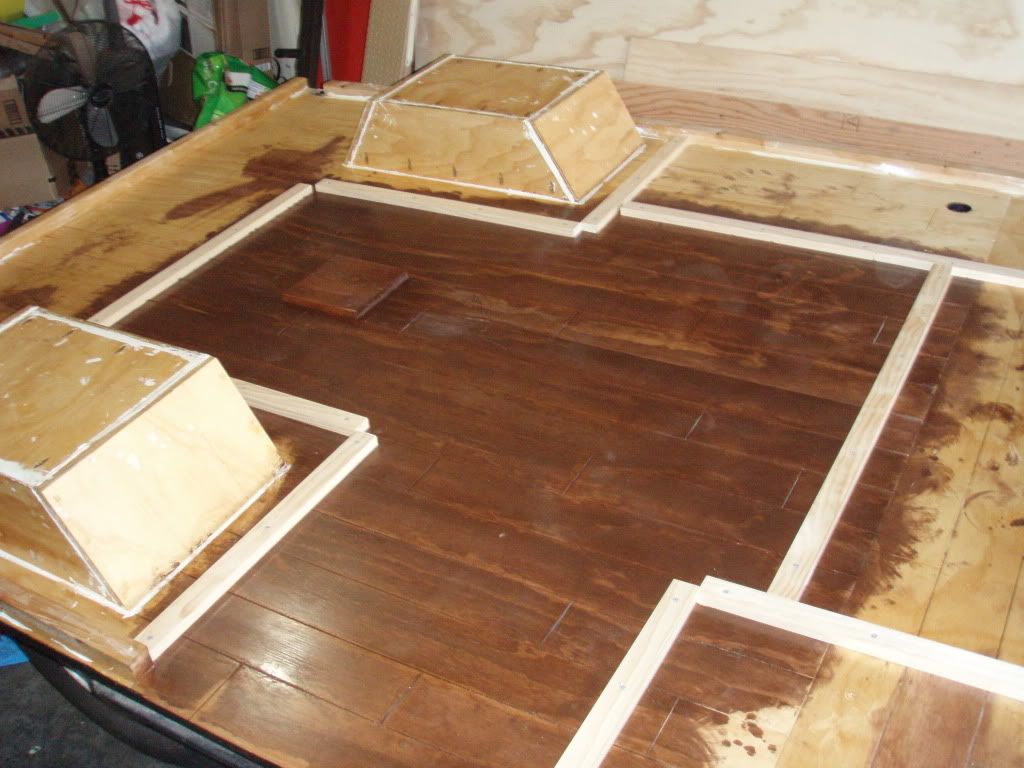
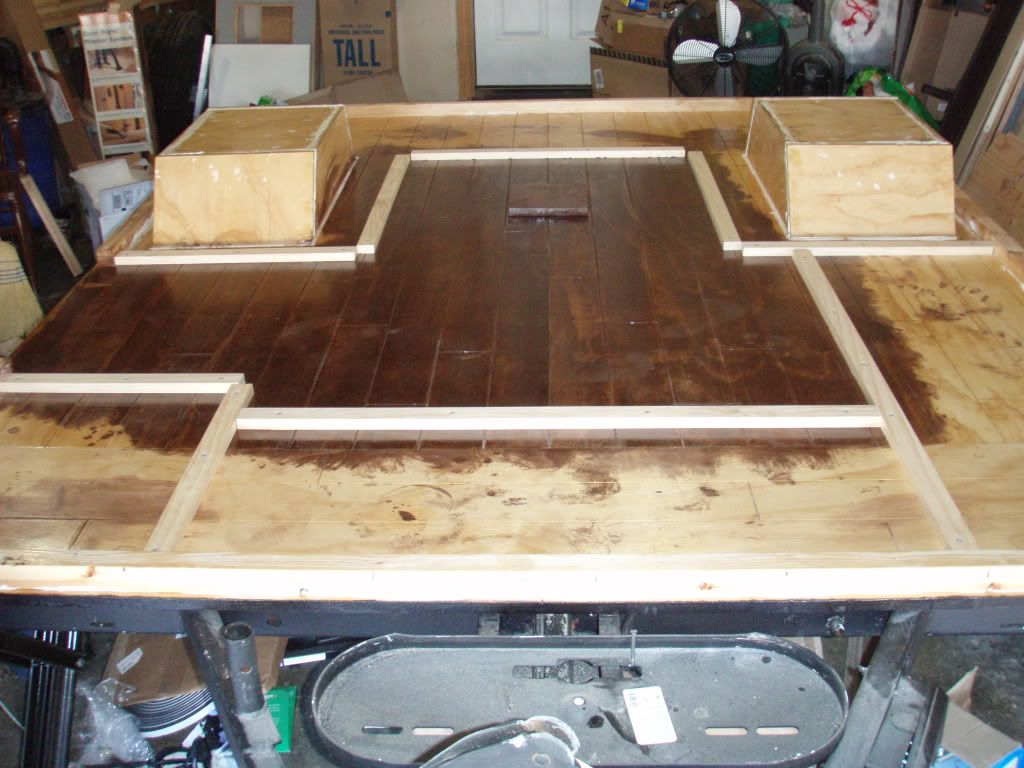
Now that the CPES has fully cured (slow process), I glued/screwed down the "footprint" for the outline of the cabinets and bench seats. Everything in the middle will get several coats of Varathane Floor finish. Everything outside of it will be coverd /w roll-on bedliner. NOTE I sanded the epoxy before installing so the glue could hold - that's why it looks so scuffed

P1010001-9.jpg


P1010002-8.jpg


NOTE #2 Please ignore my horribly messy garage :)
 

TheThom

Adventurer
So, a little progress.

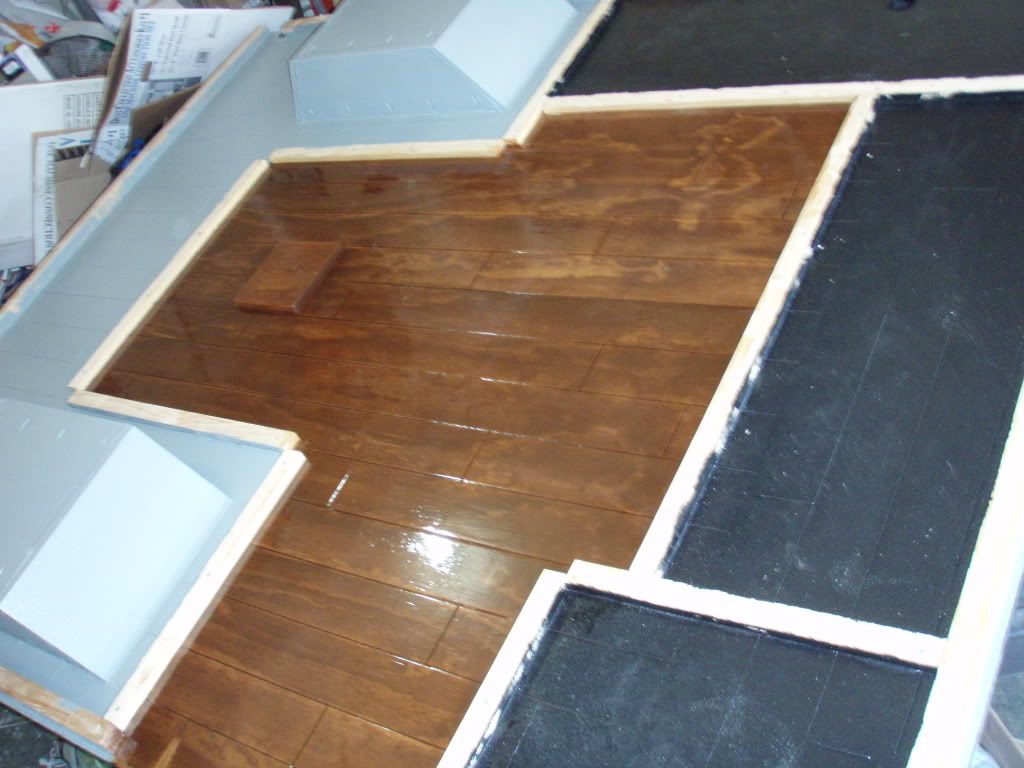
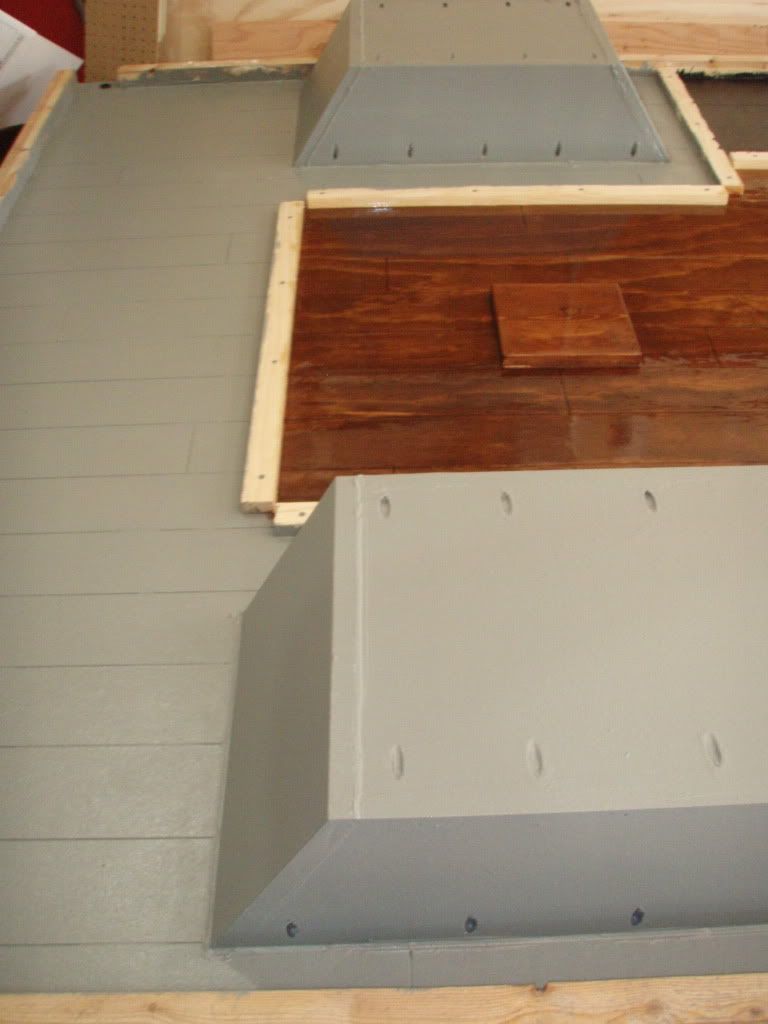
I painted the floor of all of the storage areas with roll on bed-liner. It's a mix of colors just because I had some leftover black from the underside.

Then I coated the remaining showing wood (the actual floor of the camper) with Varatheane floor polyurethane. All they had at the local store was gloss, which is OK.

P1010026-6.jpg


Here's a close up of the bed-liner - I don't love the color, but it'll be in a dark storage area, so the black probably wouldn't have worked.

P1010021.jpg


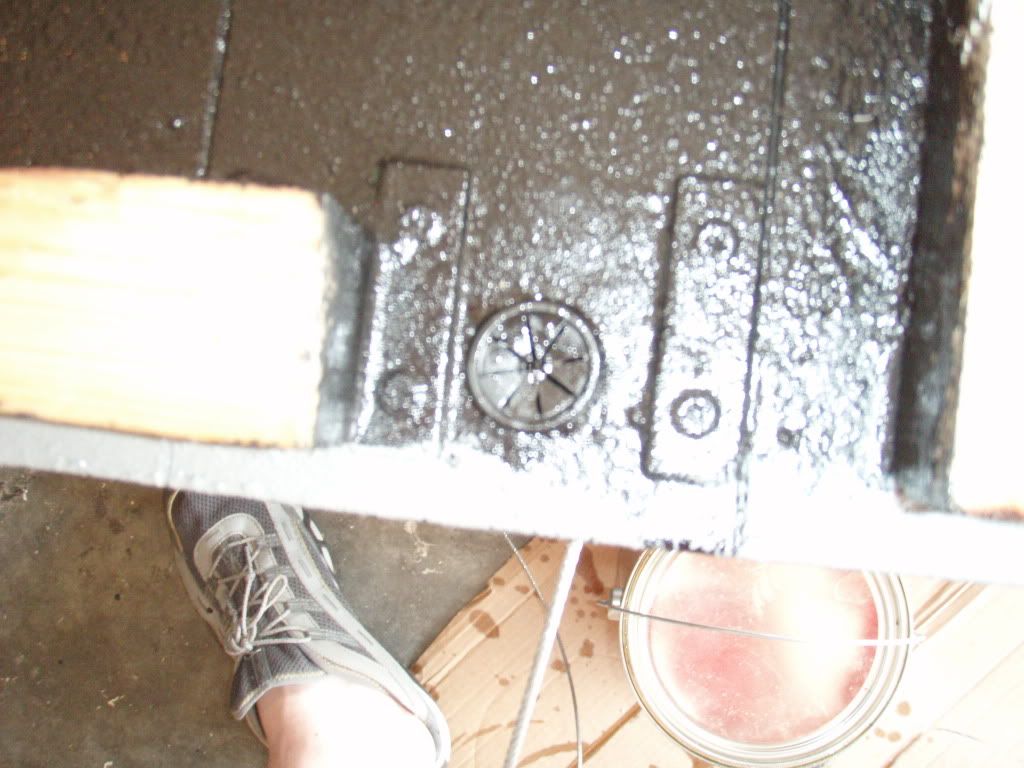
I bought some plastic grommets/bushings for the holes where the cables pass through the wood floor. The only local thing I could find was plastic, which will probably wear down over time. But I suppose it'll be better than having metal bushings wear on the cable.

Here's a pic:

P1010025-7.jpg


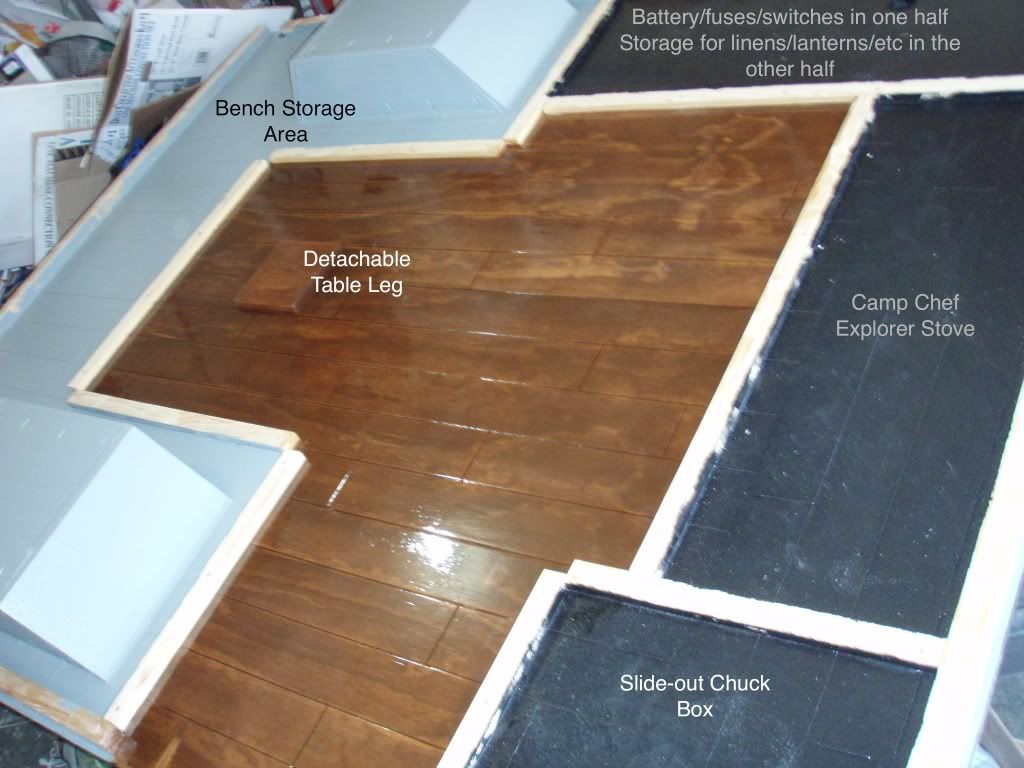
I get excited picturing where everything will go - so I labeled a pic with what will go where. Keep in mind that both sides of the bench storage will be accessible with a fairly big door. The chuck box slot will also have a large door. I'm planning on making a custom box that will hold all of my dishes/pots/pans/utensils/etc.

LabeledCamperFloor.jpg
 

TheThom

Adventurer
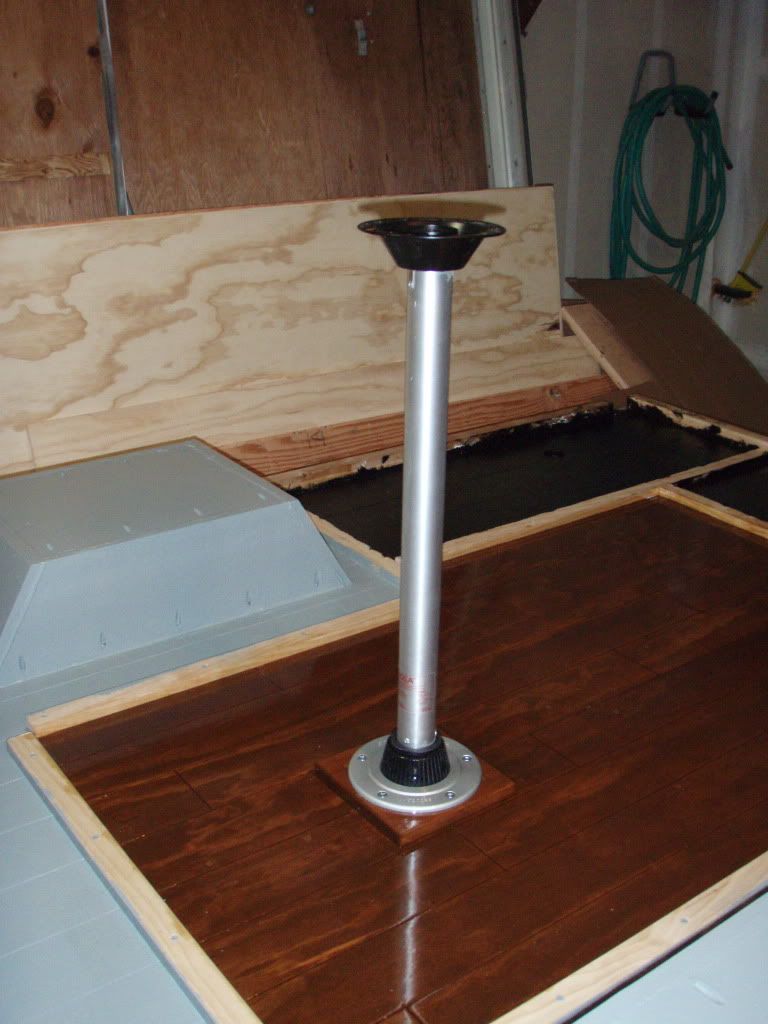
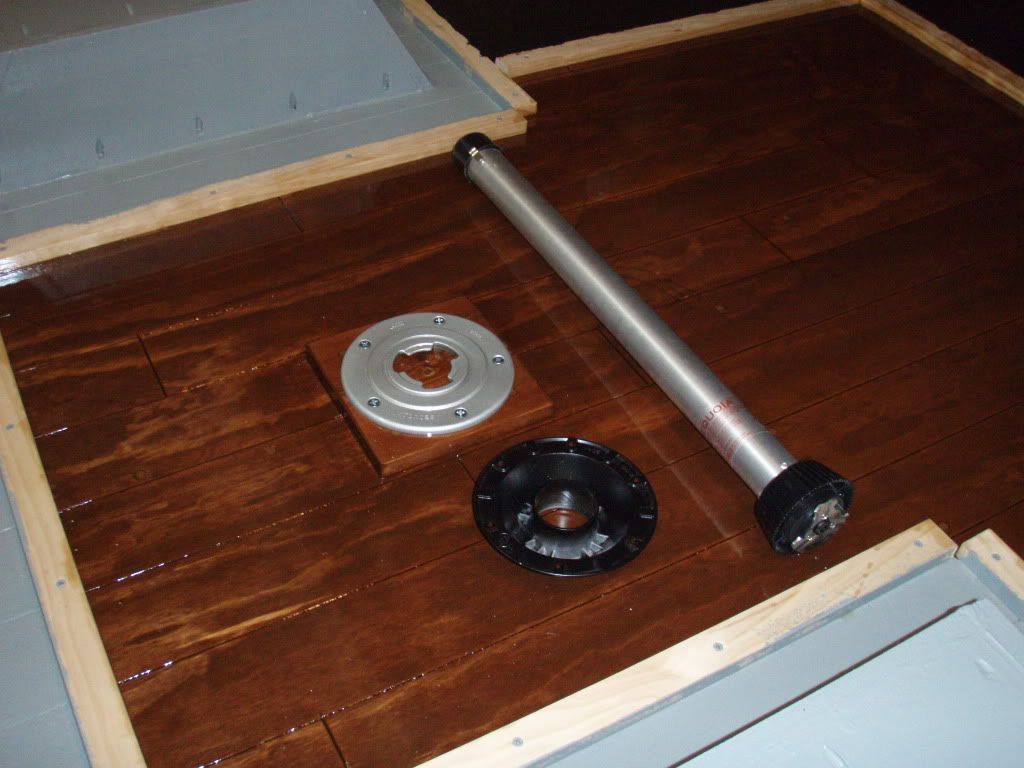
This morning I installed the base of my new table. I'm using a Sequoia Table Leg and Base System.

http://www.campingworld.com/shopping/product/sequoia-table-leg-base-system/10306

Here it is with the leg/base together

P1010001-10.jpg


Here it is taken collapsed down

P1010002-9.jpg


There's also a black cap that covers to opening in the base when it's not in use. I obviously don't have the table top installed yet, but it seems really sturdy! I screwed it to the base using #12, 1.5" wood screws which seem to hold it well.

This will likely be my last build update for a few months. Have a great summer! :)
 

TheThom

Adventurer
Almost back.....

I'm back... kind of. I'm on the island of Guam. I've been on a ship for the last three months.

I've had some camping experiences this summer....

I had the pleasure of staying in military cots w/ mosquito nets at a school in Indonesia

P1010050.jpg

I also had the pleasure of trying out some portable toilets and shower tents.

P1010039.jpgP1010040.jpgP1010041.jpg


The good news about being crammed on a ship with hours of endless time? I was able to put some quality time in sketchup!

I narrowed the color choice to two- both options have a tan roof. I'm committed to a tan canvas and tan water cans:

1) Green

Camper w: roof front.jpg

or 2) Black

Camper w: roof black.jpg

I'm pretty sure that I like the black better. It will also be about a million times easier to touch up. If the roof is tan it should keep it from getting too hot.

I also had a lot of time to work on the sketch-up the interior drawing as well.

Camper Interior with bed.jpg

I should get home in about a week and, after lots of family time, I can't wait to get back to work on the camper!
 
Last edited:

Mark Harley

Expedition Leader
Nice , Thanks for the update.
Safe travels and keep us posted when you get back to the states.
I vote black too!
 

DonBeasley

Adventurer
I vote green. Tan and green just say "outdoors".

A looong time ago when we "weren't" bombing Thailand, I lived on Guam. Nice place for short visit!!!

Stay safe and send pictures when you get back to work on it.
 

jet noise

Observer
My vote it's for green too. That dark colored floor will tie in better with the color scheme and mil spec parts like Gerry cans will complete it.

Sent from my DROID BIONIC using Tapatalk 2
 

Lucy FJ55

Observer
Howdy Thom! Great to see you've been designing/thinking/scheming about your pop-up build while working overseas! Can't wait to see your updates eventually.

Cheers, Carlos.
 

Forum statistics

Threads
188,176
Messages
2,903,366
Members
229,665
Latest member
SANelson
Top