You are using an out of date browser. It may not display this or other websites correctly.
You should upgrade or use an alternative browser.
You should upgrade or use an alternative browser.
1977 Pop Up Camper Rebuild
- Thread starter TheThom
- Start date
Nice work, I am impressed! I have a starcraft that is very similar to yours. Got it from a friend of mine who could not store it at his new house. I am interested in evaluating the condition of the wood after seeing your thread and some others on other sites. Is it possible to remove the siding without trashing it?
TheThom
Adventurer
First of all, I'm home. And it's awesome! Thanks for the good thoughts and prayers.
Secondly: I'm back to work on the camper!
I'm ready to start constructing the walls. I am using 1/2" CDX plywood. Since I had the metal siding panels already cut, I used those as a template and cut out the holes for the outside access doors. Then I clamped those in place to spend some time thinking about exactly how I want to brace/frame it. I had originally planned on almost all of it being made from 2x2s, but after looking at it, I think I'm going to use a fair amount of 1x2s to keep it lighter.
Here it is clamped in place
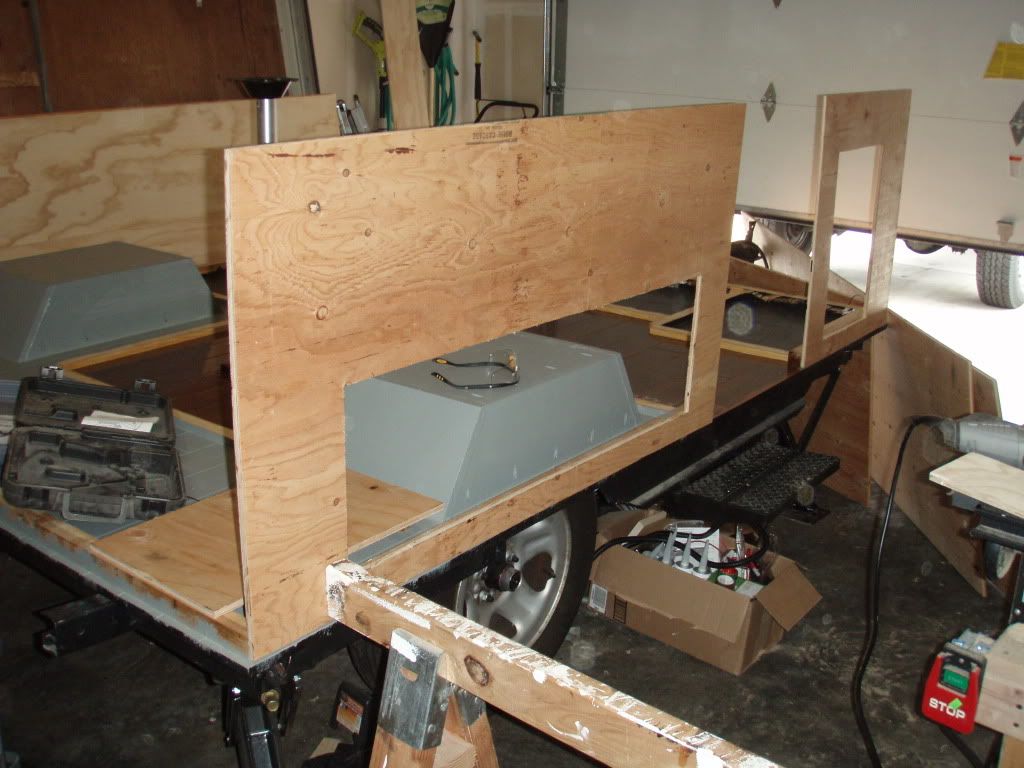
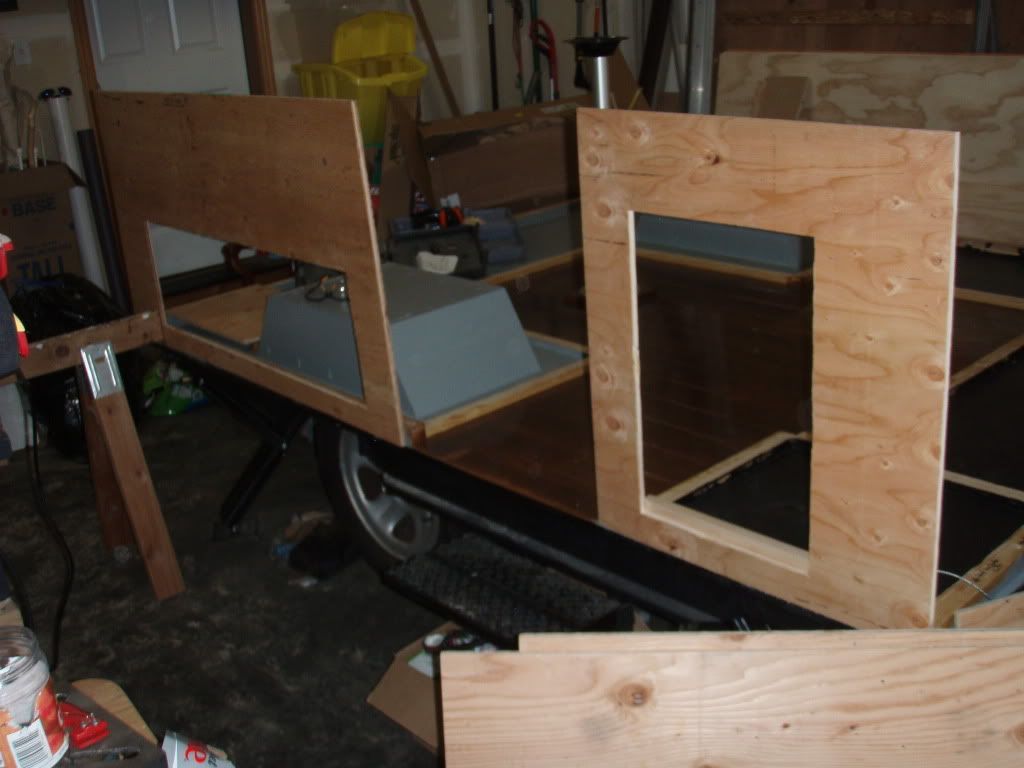
The doors for the storage areas under the benches are huge!
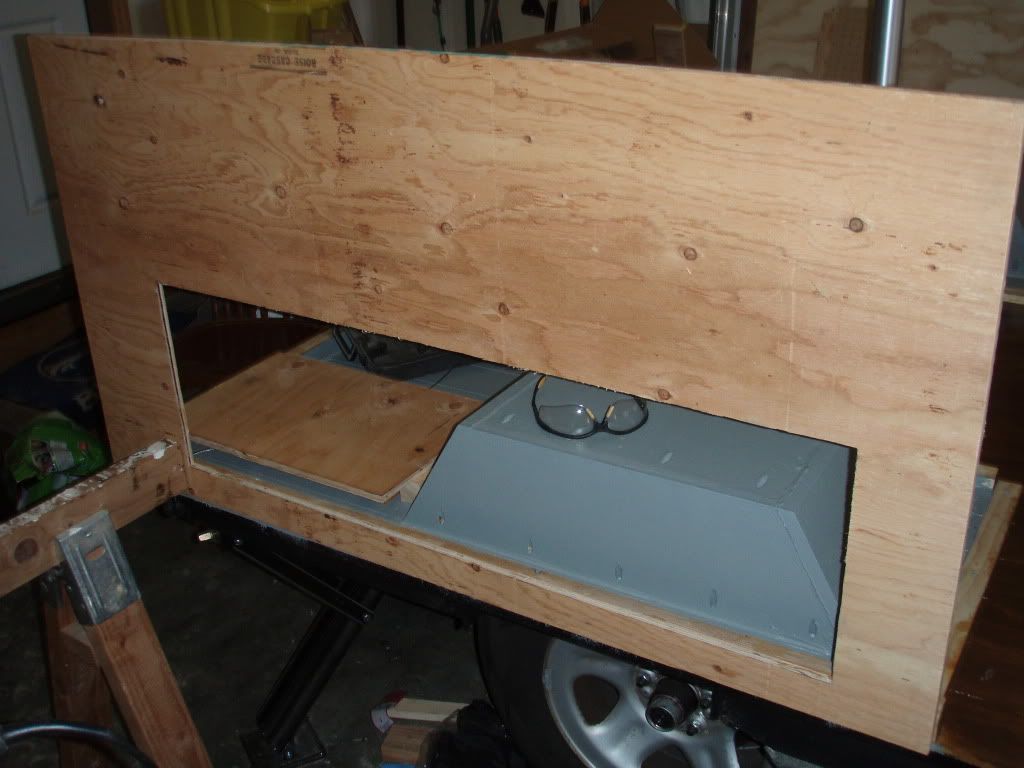
Hooray math! The lift arm posts fit perfectly.

After fiddling with it, I think I'm going to use the 1/2" play I cut out of the openings for the storage section doors. I can bolster them with some pieces for strapping if needed.
Good to be back!
Thanks for looking
Secondly: I'm back to work on the camper!
I'm ready to start constructing the walls. I am using 1/2" CDX plywood. Since I had the metal siding panels already cut, I used those as a template and cut out the holes for the outside access doors. Then I clamped those in place to spend some time thinking about exactly how I want to brace/frame it. I had originally planned on almost all of it being made from 2x2s, but after looking at it, I think I'm going to use a fair amount of 1x2s to keep it lighter.
Here it is clamped in place


The doors for the storage areas under the benches are huge!

Hooray math! The lift arm posts fit perfectly.

After fiddling with it, I think I'm going to use the 1/2" play I cut out of the openings for the storage section doors. I can bolster them with some pieces for strapping if needed.
Good to be back!
Thanks for looking
Expedition Essentials
Active member
Looking good!
TheThom
Adventurer
I've been ordering and sourcing parts this week, so not a ton of progress. I found cam latches for the storage areas on ebay and ordered some galley hinges from Lil Bear teardrop for the storage areas.
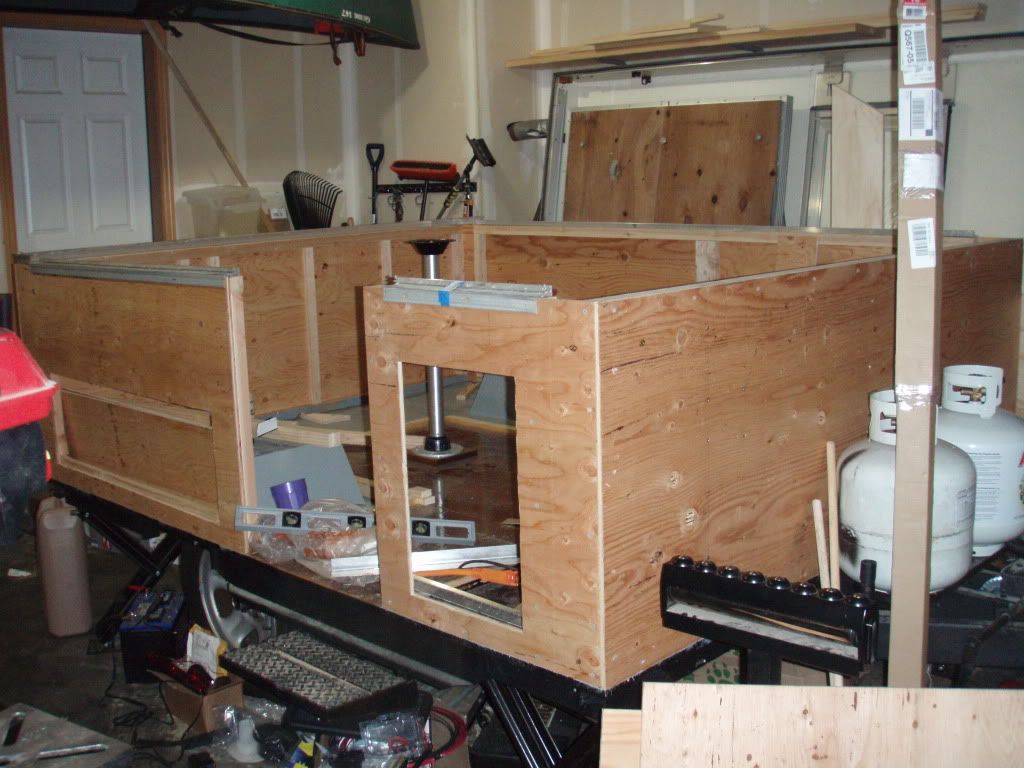
I got all 4 walls constructed and in place
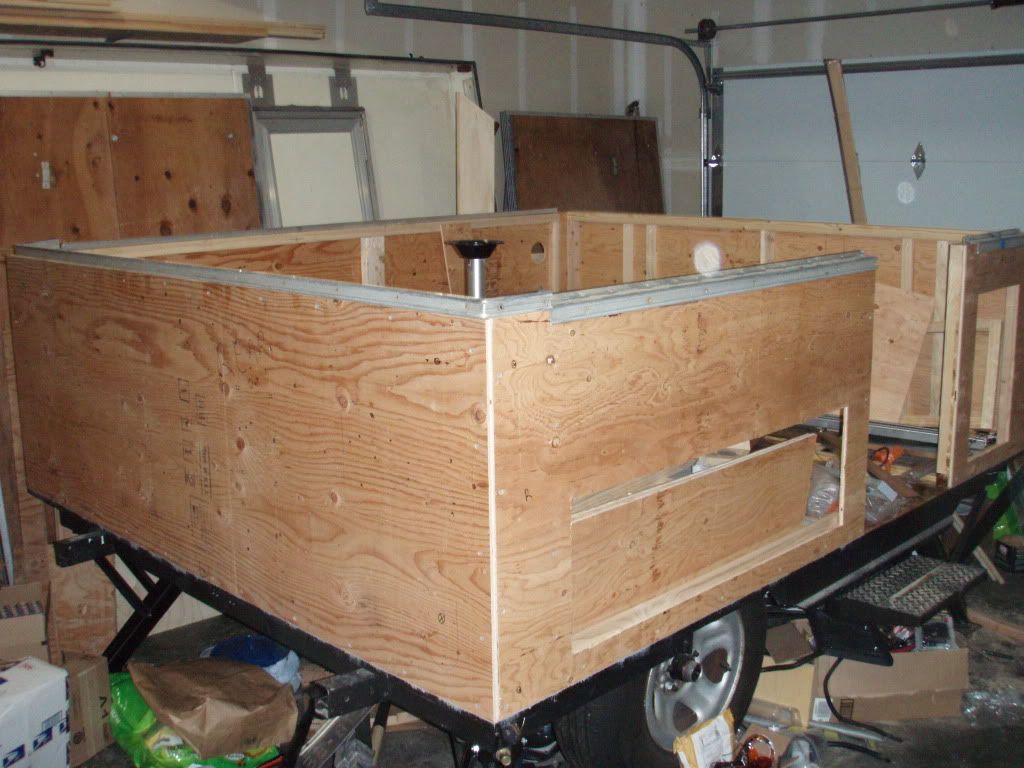
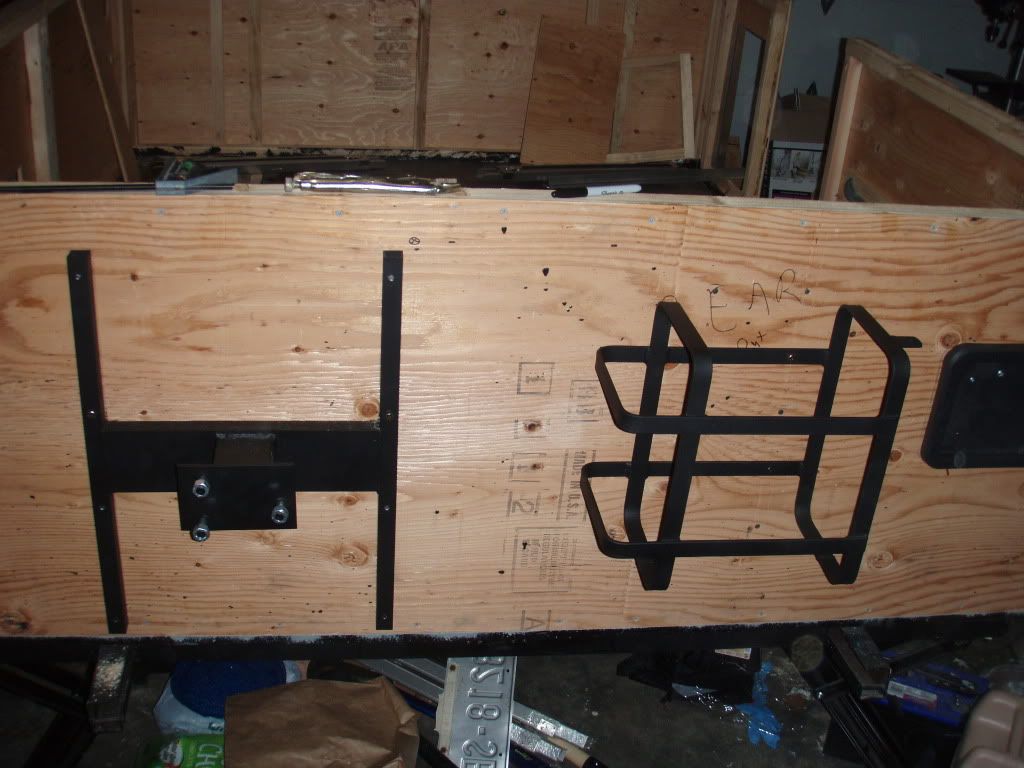
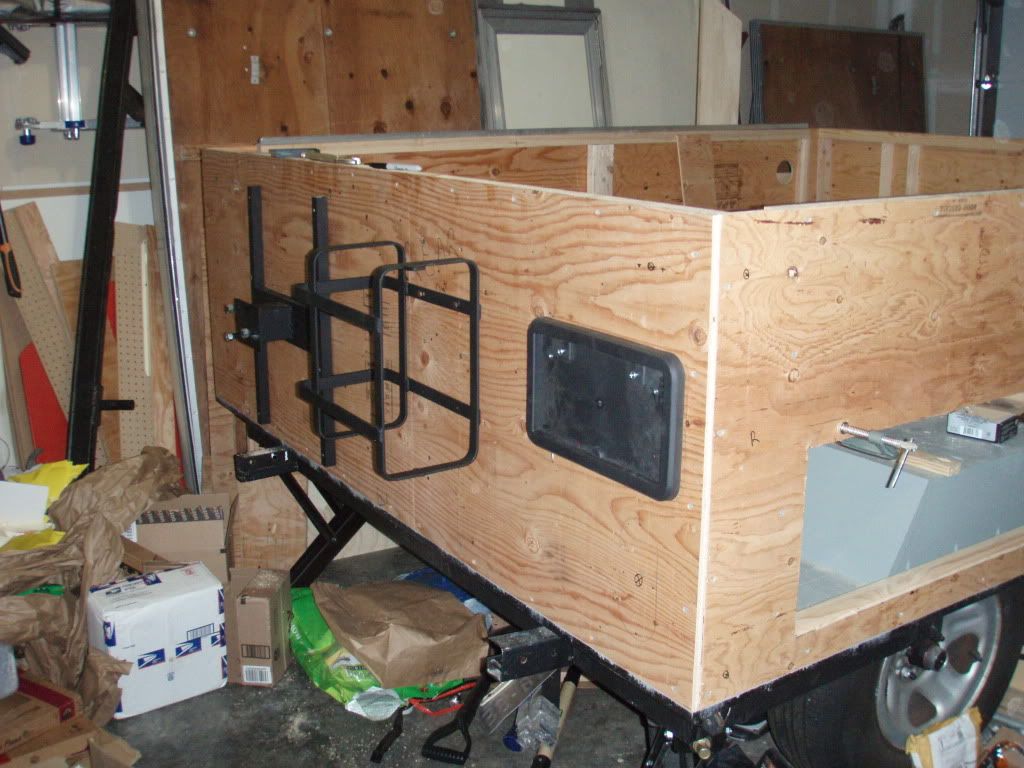
I rattle canned my Jerry can mounts and spare tire mounts. Here they are mocked up into place
Now I'm constructing the framework for the inside bench seats and cabinets. Once those are done, I'll install the siding. Then I'll wire it up and finish up the inside!
I got all 4 walls constructed and in place


I rattle canned my Jerry can mounts and spare tire mounts. Here they are mocked up into place


Now I'm constructing the framework for the inside bench seats and cabinets. Once those are done, I'll install the siding. Then I'll wire it up and finish up the inside!
Backroad Explorer
Adventurer
Thom the pop up is looking GREAT.
I like the licence plate holder.
I like the licence plate holder.
HARDTRAILZ
Certified
Very nice!
Photomike
White Turtle Adventures & Photography
I am curious - This may be a stupid question (or you may have addressed it already) but why are you mounting the water cans on the side? Will this not add more wear to the strap that is holding them in with vibration and movement, and have more chances of them falling out? Would it not be better to have them stand up with the opening at the top?
TheThom
Adventurer
I am curious - This may be a stupid question (or you may have addressed it already) but why are you mounting the water cans on the side? Will this not add more wear to the strap that is holding them in with vibration and movement, and have more chances of them falling out? Would it not be better to have them stand up with the opening at the top?
I didn't address it. But the cans are going to sit underneath the bed slideouts. That means that when the camper is set up, I wouldn't be able to access the cans if they were mounted vertically. This way I can access them without having to break down the trailer.
TheThom
Adventurer
So, I've been working on the camper. I've been making the cabinets. It's been slow going because I'm probably over building and over-complexifying (is that a word?). I tell myself that it's just a camper and when they make these in the factory they don't put nearly the strength in it. But then I picture a couple of little boys jumping around in there like it's a jungle gym and I use a bigger board, or add some more screws.
Here's the dining booth/fold down bed/storage area. You can see that I tried to tie it together. The bench frame screws three of the four walls together.
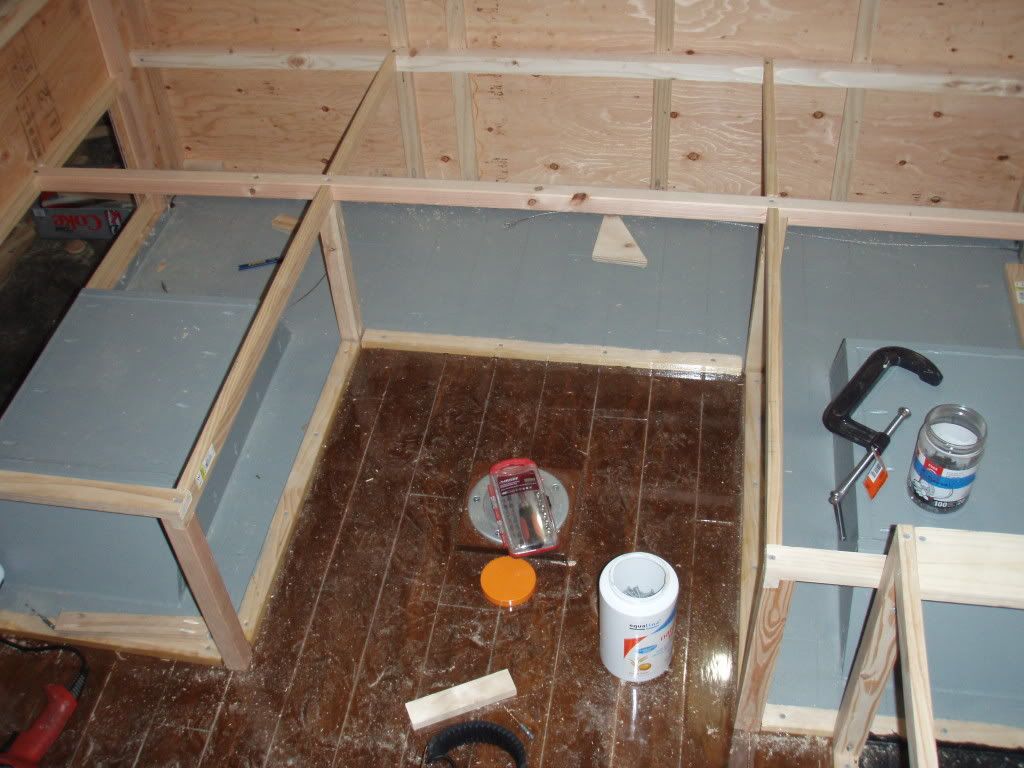
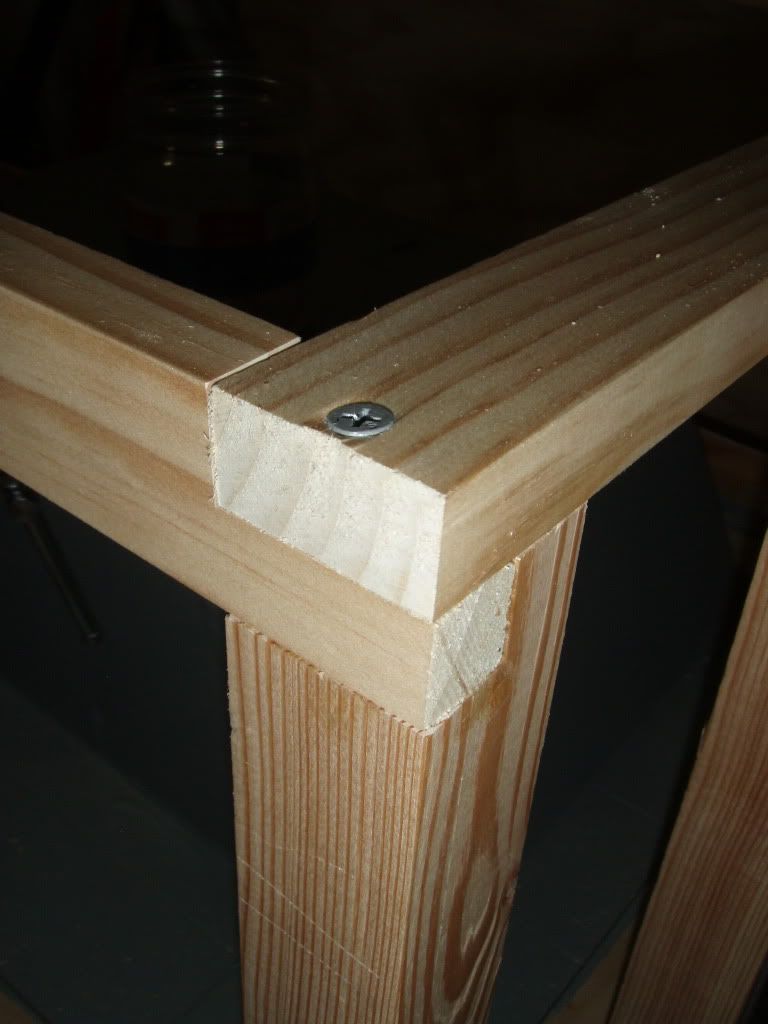
I was happy with the way the corner joints turned out
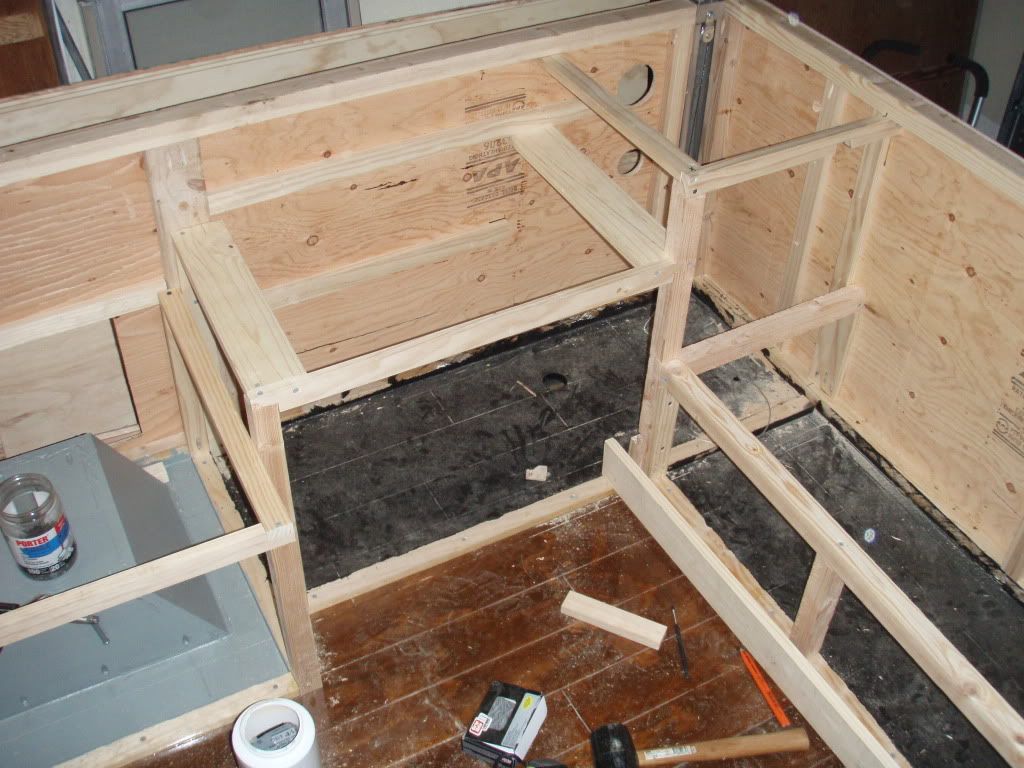
Here's a shot of the cabinets. The lower portion will actually have a swing up portion that will make it twice as tall as it is currently. that 1x4 on the floor is a piece of scrap wood that I was too lazy to move.
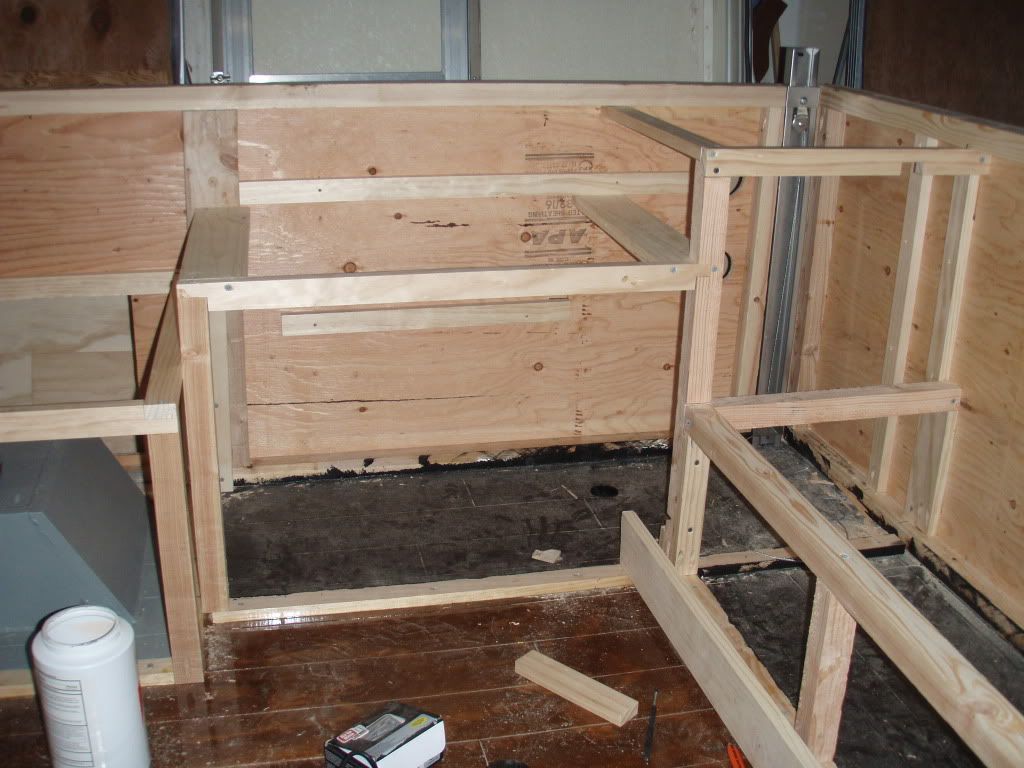
This short, super bulky cabinet is dual functioned: it was custom fitted to store my Camp Chef Explorer two burner stove. It will also serve as a step up into the bunk. that 28" ledge is a little tough for my 5'2" wife to climb into.
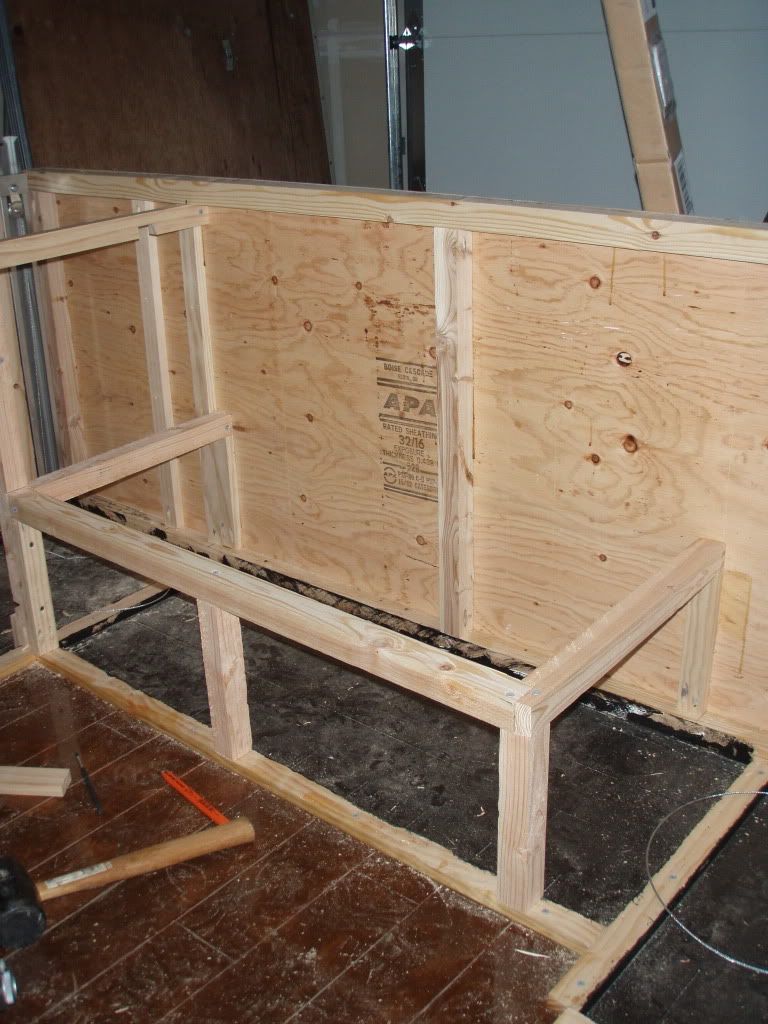
I have one last cabinet. That's the one will store my chuck box. I'm going to try and tie the cabinet frame into custom fit the drawer slide outs, so that one's going to take some thinking and sketching before I get going on it
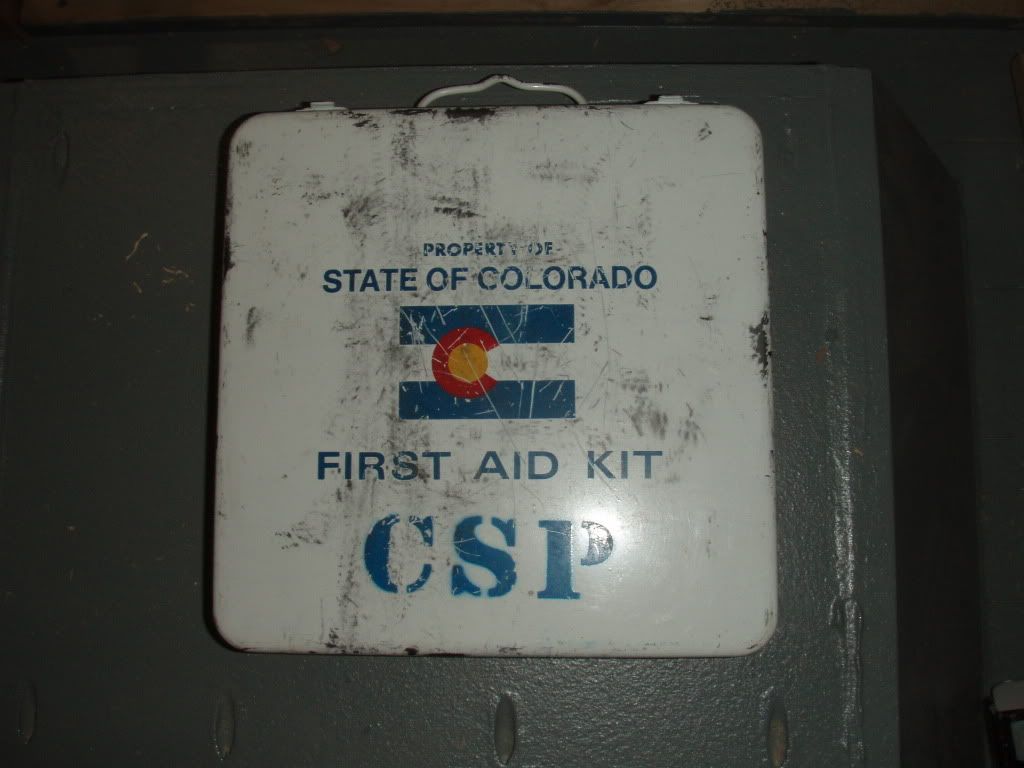
I've been sourcing more parts. I liked the first aid kit that somebody on ExPo had mounted (here's to you Mark Harley). I looked on ebay and I found this gem. My bid was $1.05 and I won it (plus $10 shipping). Either way, pretty sweet find. I'll mount it inside to protect it from the elements.
I also bought a solar panel, charge controller and most of my roof rack components. Also I bought door hinges for the door and storage areas from http://www.lilbear.teardrops.net/ and I was able to find corner trim that matched the original from http://www.vintagecampers.com/. Both sources had great customer service. My credit card bill is pretty painful, but I think I've got most of the major supplies.
Here's the dining booth/fold down bed/storage area. You can see that I tried to tie it together. The bench frame screws three of the four walls together.

I was happy with the way the corner joints turned out

Here's a shot of the cabinets. The lower portion will actually have a swing up portion that will make it twice as tall as it is currently. that 1x4 on the floor is a piece of scrap wood that I was too lazy to move.


This short, super bulky cabinet is dual functioned: it was custom fitted to store my Camp Chef Explorer two burner stove. It will also serve as a step up into the bunk. that 28" ledge is a little tough for my 5'2" wife to climb into.

I have one last cabinet. That's the one will store my chuck box. I'm going to try and tie the cabinet frame into custom fit the drawer slide outs, so that one's going to take some thinking and sketching before I get going on it
I've been sourcing more parts. I liked the first aid kit that somebody on ExPo had mounted (here's to you Mark Harley). I looked on ebay and I found this gem. My bid was $1.05 and I won it (plus $10 shipping). Either way, pretty sweet find. I'll mount it inside to protect it from the elements.

I also bought a solar panel, charge controller and most of my roof rack components. Also I bought door hinges for the door and storage areas from http://www.lilbear.teardrops.net/ and I was able to find corner trim that matched the original from http://www.vintagecampers.com/. Both sources had great customer service. My credit card bill is pretty painful, but I think I've got most of the major supplies.
Backroad Explorer
Adventurer
Thom the pup is turning out awesome. I like the corner joints they look very sturdy.
Mark Harley
Expedition Leader
Thom: I like how you think! Grea score from my favorite shop. Ebay.
The trailer is looking great, Makes me want to start one.
The trailer is looking great, Makes me want to start one.
