The stock tires on mine were 255/75-R17.
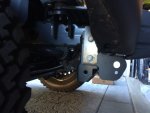
I think for the manual transmission, 4.10 is the ONLY option, vs. the automatic you can also get 3.73
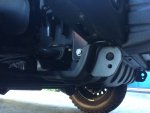
My 2014 Rubicon came with 3.73s
The stock tires on mine were 255/75-R17.
I think for the manual transmission, 4.10 is the ONLY option, vs. the automatic you can also get 3.73
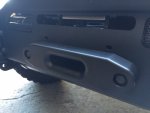
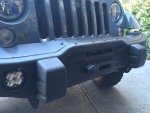
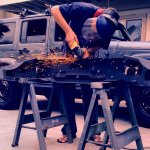
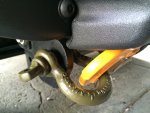
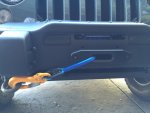
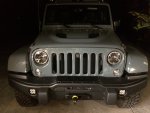
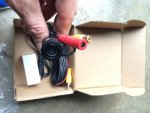
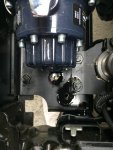
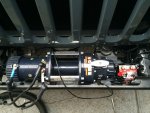
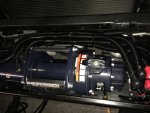
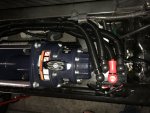
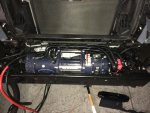
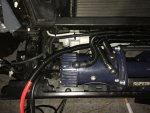
Great idea on the front flaps, and your winch is turning out freakin' awesome!
The loop idea for an extension would work great. One of the many benefits to Synthetic rope. Light weight and easy to store.
There are some good articles on the web on how to splice the rope back into itself to make that happen.
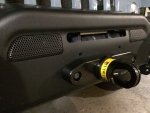
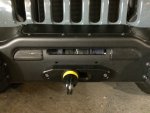
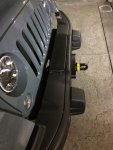
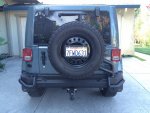
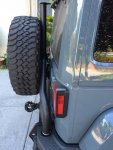
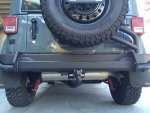
Love this build. Do you have a parts list and pictures from the license plate relocation and the plate light wiring? I have the aev carrier and third brake light but would like to relocate my plate.