AmboVan Restarted

jjohnny350

Adventurer
Ive been lurking on this one for a while Tony. Great build, I love your ambulance. I thought my 4x4 van was good, this has me lusting, very cool. What mtb is that you have that I saw the front fork of in an interior shot? Keep up the good work.
 

hobietony

Explorer
Ive been lurking on this one for a while Tony. Great build, I love your ambulance. I thought my 4x4 van was good, this has me lusting, very cool. What mtb is that you have that I saw the front fork of in an interior shot? Keep up the good work.

Thanks for the kind words. Bummer is that I haven't had any time to devote to van building since mid-December - Good news is that in a week, I will be out of a job. Gave my notice a couple weeks ago, not nearly enough life in the work-life balance. So, a couple of months of solid van work should get me a lot closer to done, got a gainfully employed spouse, so no poorhouse right away (who is becoming more supportive of this decision - I better make sure the house is clean and dinner is ready!) Going to work small jobs for a year or so, plan out the next phase of life - which will include travelling in a finished AmboVan. So, stay tuned.

BTW, didn't see the shot you were talking about, but my main squishy bike is a Titus El Guapo, it has made me pretty happy. Not exactly a racer on the climbs, more of a sit and spin in the granny gear, but it is a chomping monster on the downhills. Looking to riding that a bit more after I unemploy myself, get my fitness back up to snuff. Wife wins on that one too! (as long a dinner is ready, of course)
 

hobietony

Explorer
Working Again

On the van, that is...

Finishing that rack I last updated before Christmas -

Bracing at the upper AC holder
m_P3080030_zps17bbd62b.jpg


Ug. At least these will be high and hard to see
m_P3080029_zpsa6b9bc2d.jpg

m_P3080028_zps23bf62ef.jpg


Planning for the light rack
m_P3080033_zpsf3aa4216.jpg


Built
m_P3100041_zpsd3ecd6c5.jpg


So, these flat and straight welds don't look bad, but I just cant put those curved tubes together yet without resorting to a bunch on overlapping tack welds
m_P3100043_zpsd997c994.jpg

m_P3100047_zps6fe328c0.jpg


Tabs for the tire tie-downs
m_P3110052_zps8eb46ae9.jpg


Aluminum for the AC to sit on - The router was a failed experiment in aluminum machining, save yourself the trouble, and the ruined router bit
m_P3110054_zps3dbc09c1.jpg


Picking it up from the powdercoater
m_P3150083_zpsc92f7098.jpg

m_P3150082_zpsbc301881.jpg


Sitting on sawhorses for now, up on the roof soon.
 

hobietony

Explorer
I've got gas

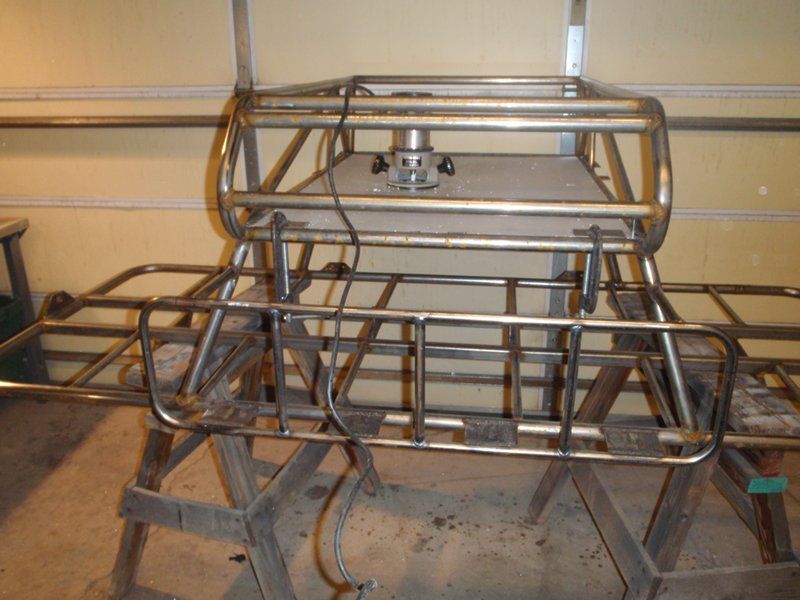
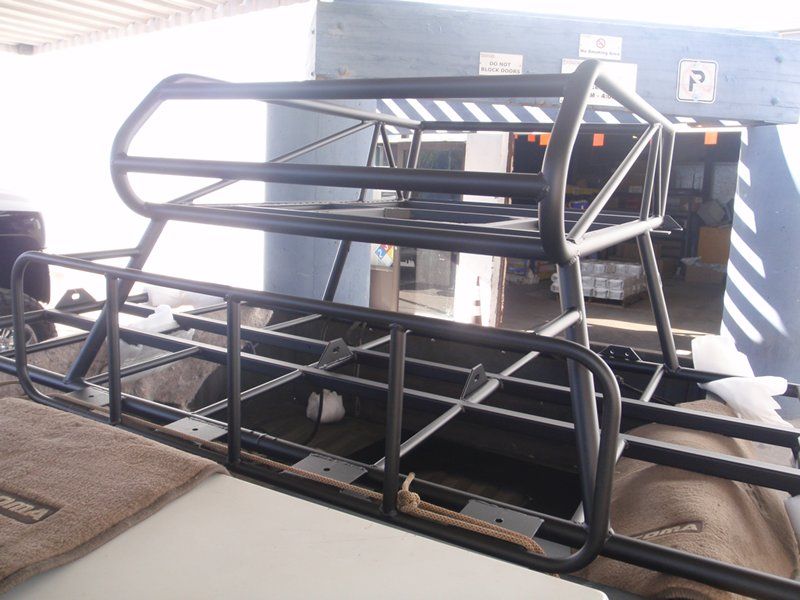
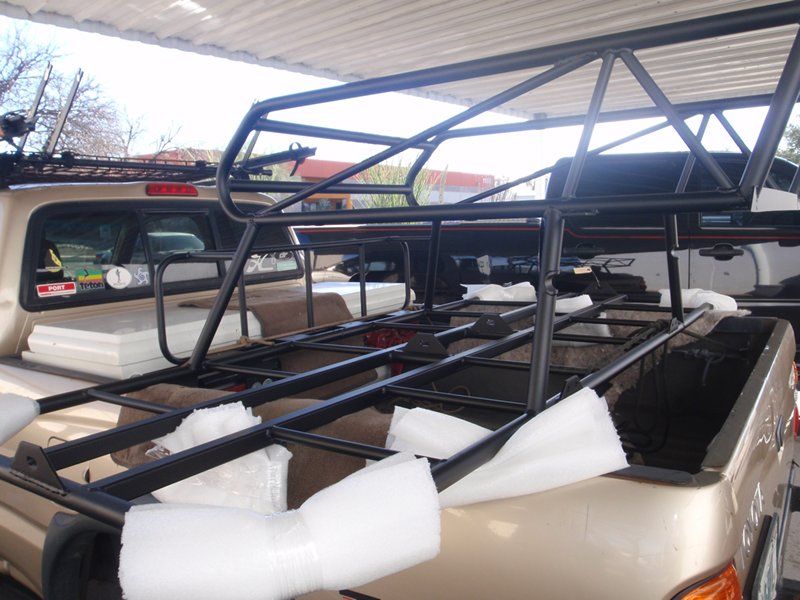
Propane, that is. While the roof rack was off at the powdercoaters, started working on getting the propane tank I salvaged from the doner RV mounted in the ambo.

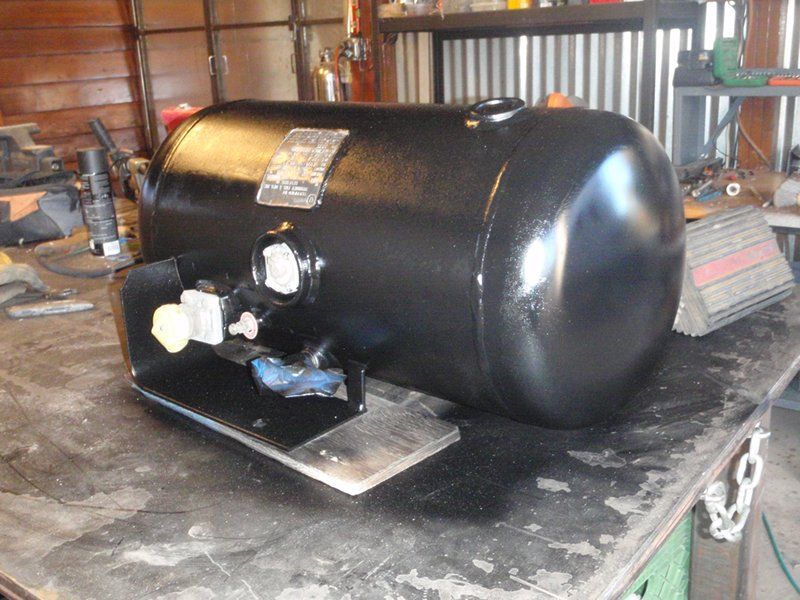
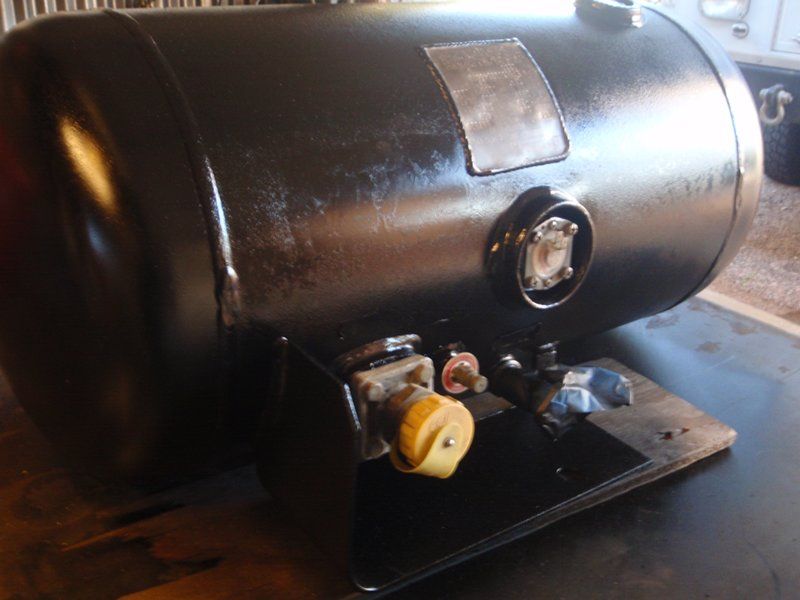
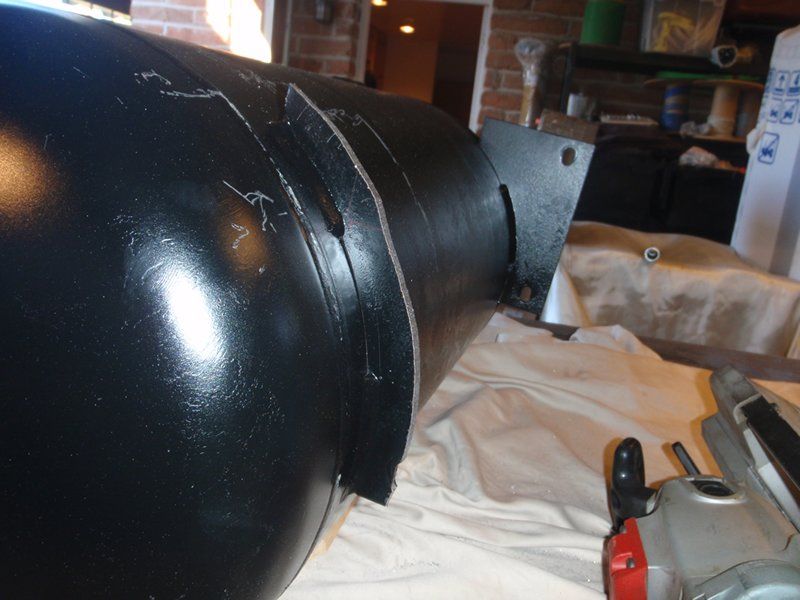
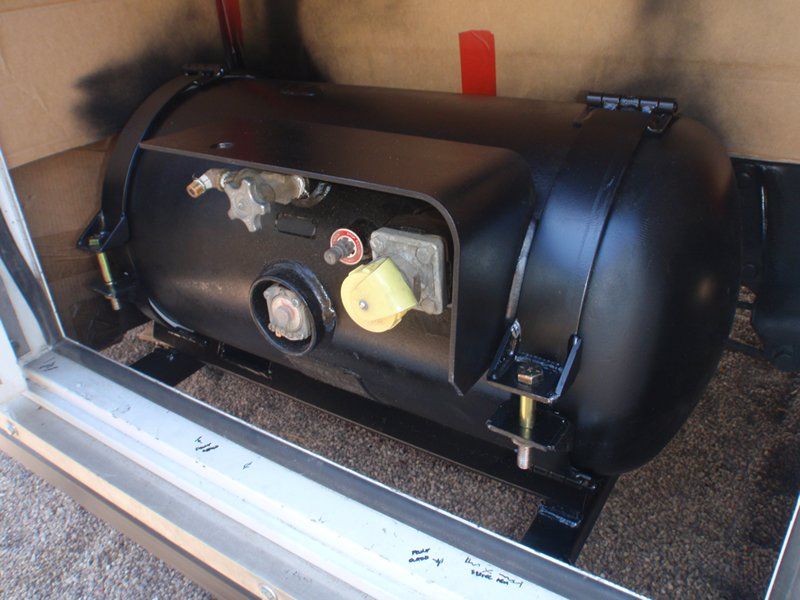
Got the old tank wire-wheeled, with a fresh coat of rattlecan rustoleum.
m_P3130063_zps394b1169.jpg

m_P3130061_zps25dca37b.jpg


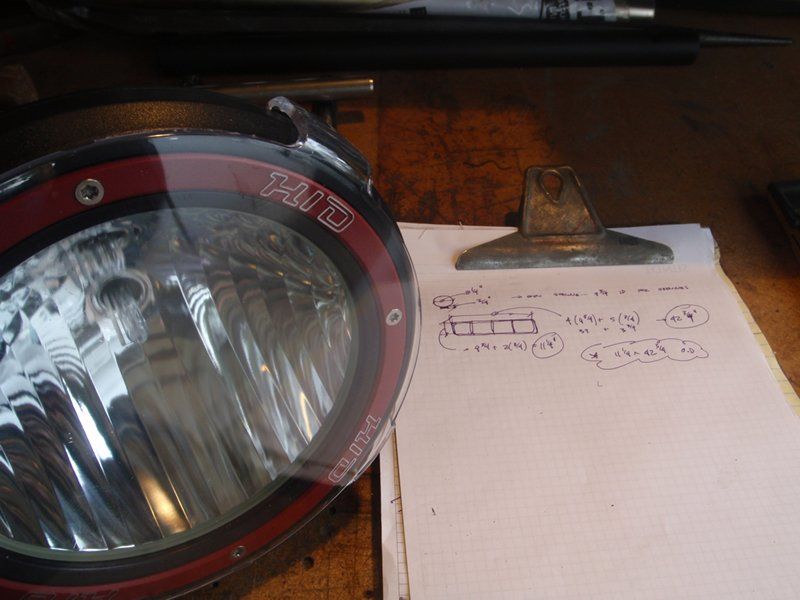
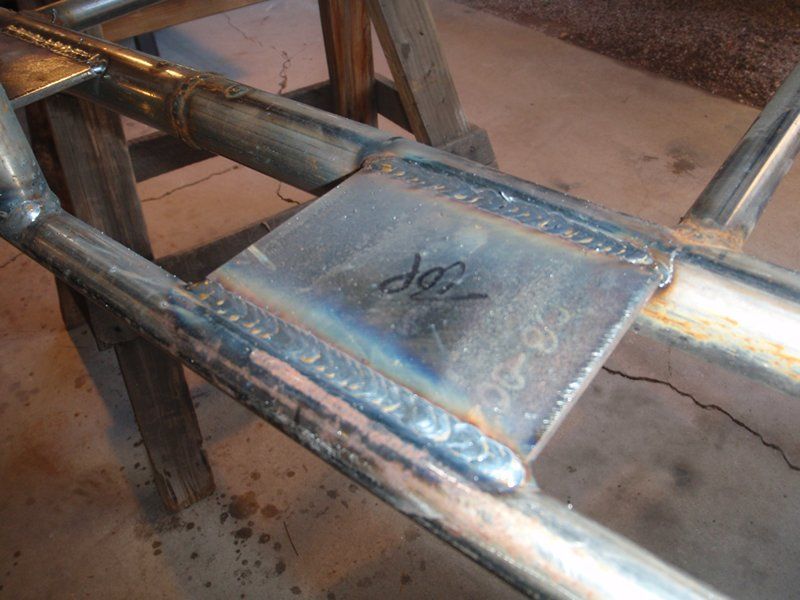
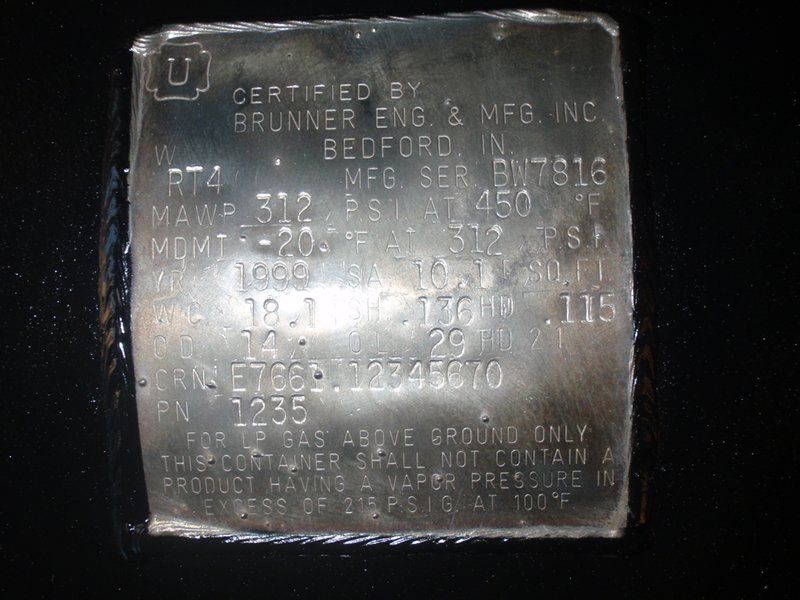
This is probably important to someone...
m_P3130064_zps6ab3bab5.jpg


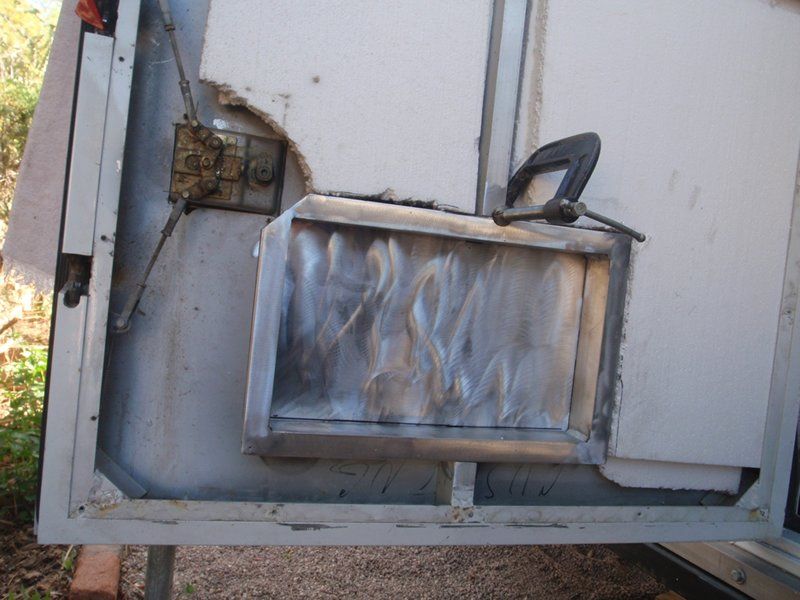
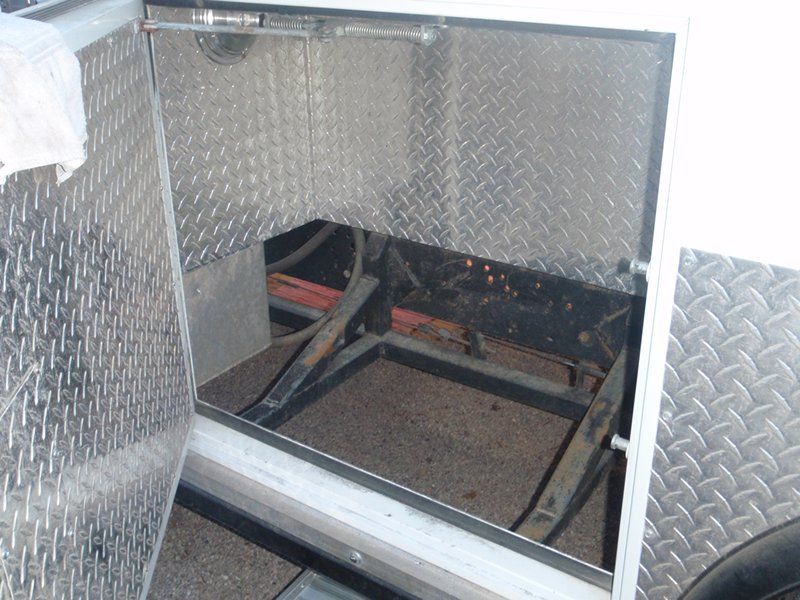
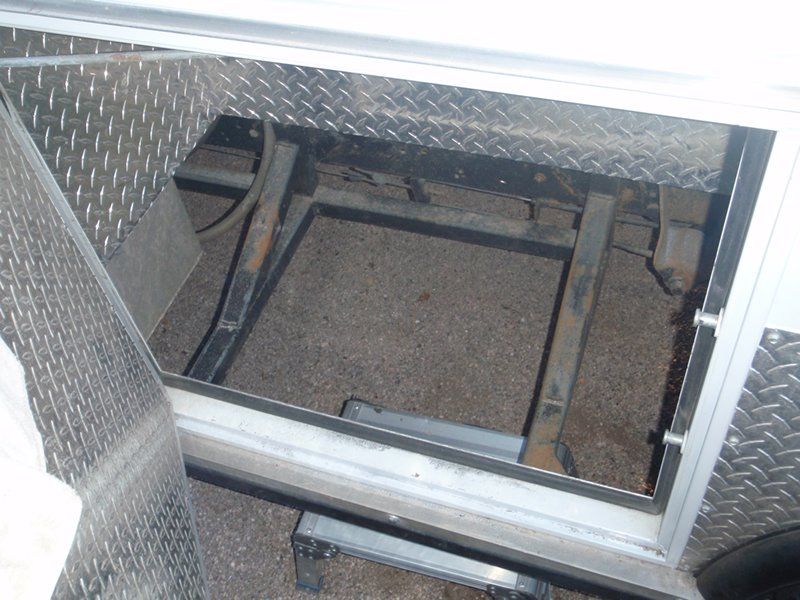
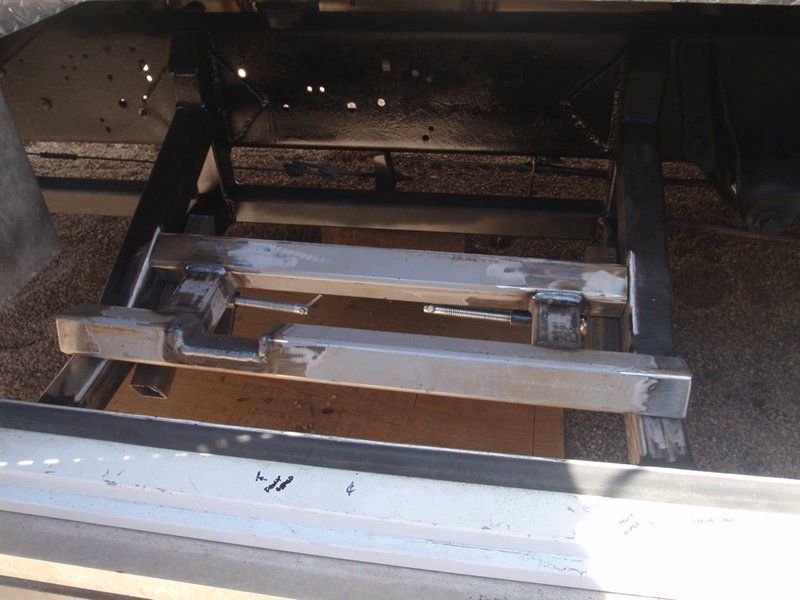
It makes sense to put the tank in one of the compartments, with door access, but that compartment needs to be open to the outside, so the propane wont build up in the event of a leak. So, I chopped the bottom out of the port-side bottom compartment. This exposed the supports for the rock sliders, and soon to be supports for the propane tank
m_P3130066_zps962270fb.jpg

m_P3130068_zps293c8d06.jpg


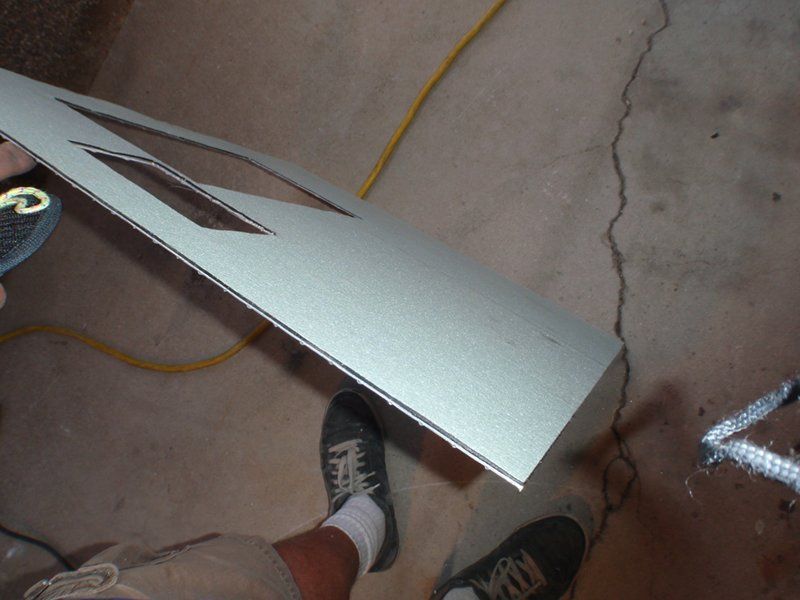
This part caused me the greatest concern - the mounting fins on the tank were not going to work, so I needed to remove them - and the tank is still about 1/3 full of propane. Blowing up the garage and myself would have been a setback. This first cut was done with a porta-band, but the final cut used a sawsall blade with VERY frequent stops to cool the cut with a wet rag. Final smoothing was with a flap wheel, again taking great pains to keep the cut cool.
m_P3150074_zps17e3738a.jpg


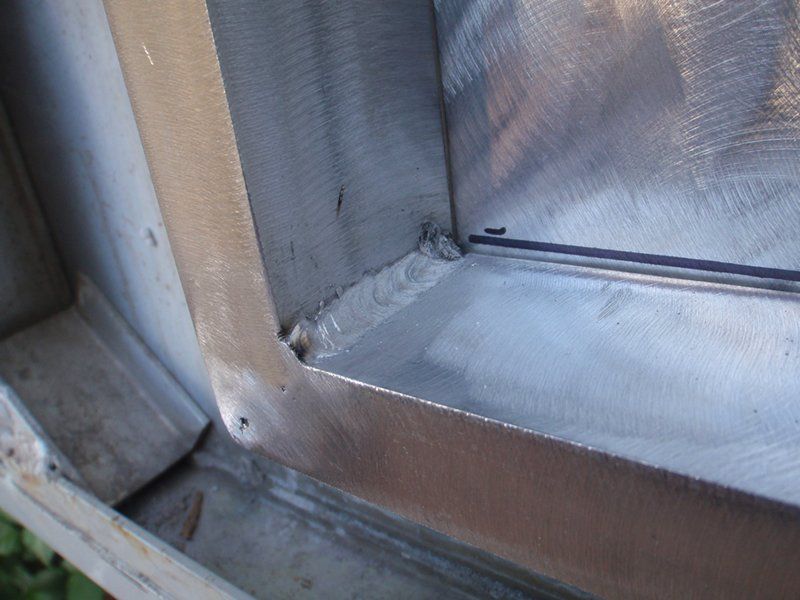
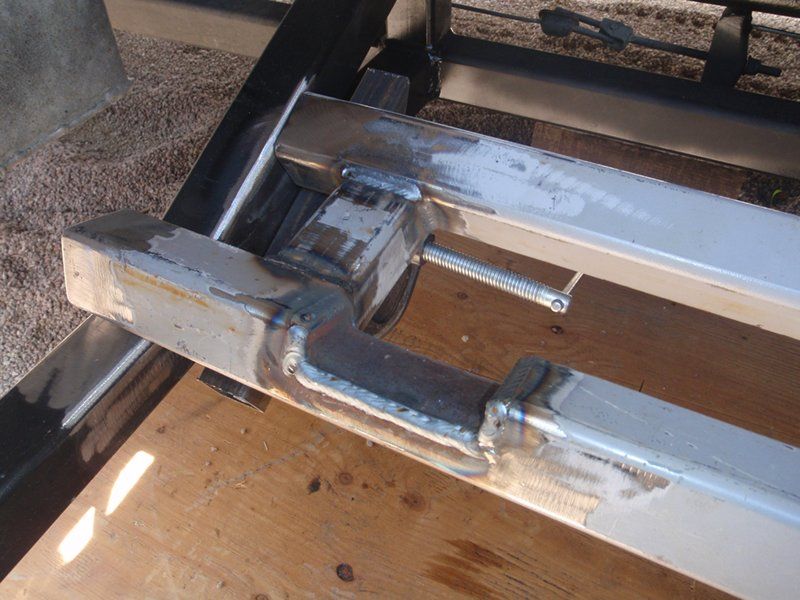
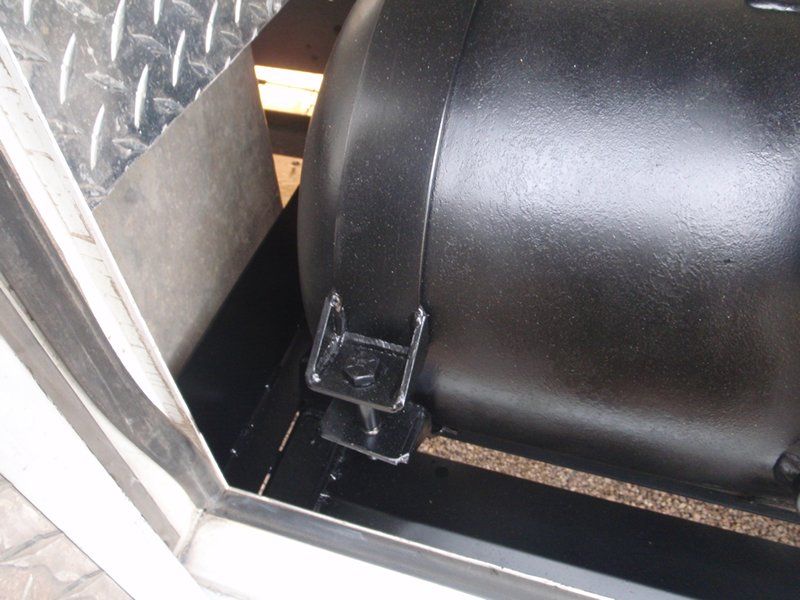
Cradle for the tank between the slider supports - Cutout is for the bottom drain (?) fitting on the tank
m_P3150077_zps746c494b.jpg

m_P3150076_zps81276cce.jpg


So far, so good
m_P3150078_zps84f34a18.jpg

m_P3150079_zpsdaafc052.jpg


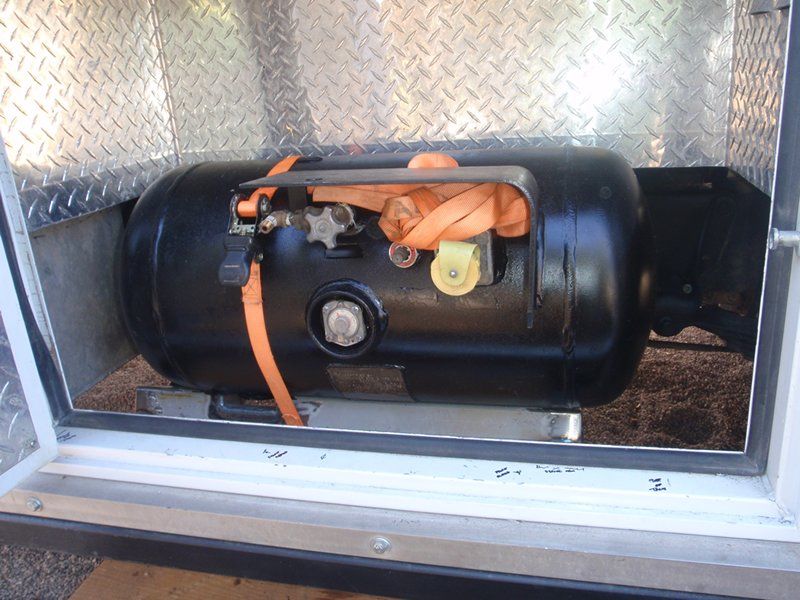
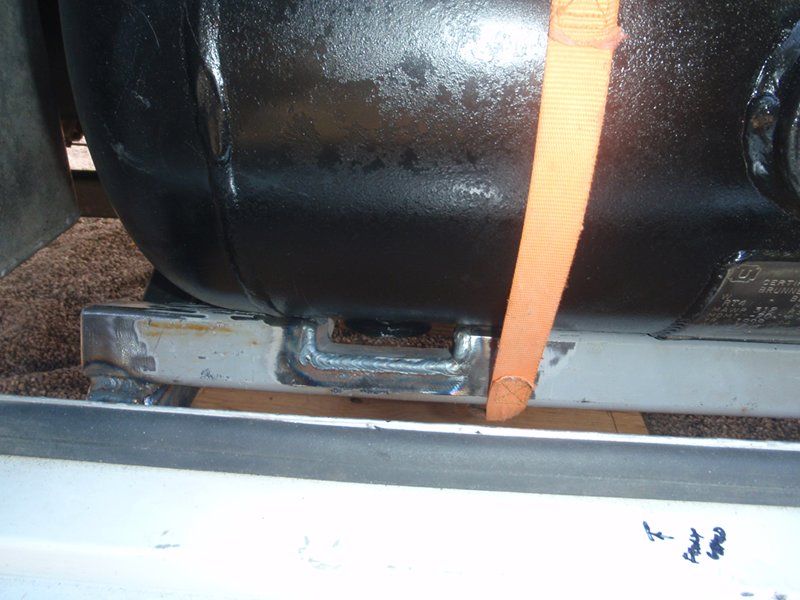
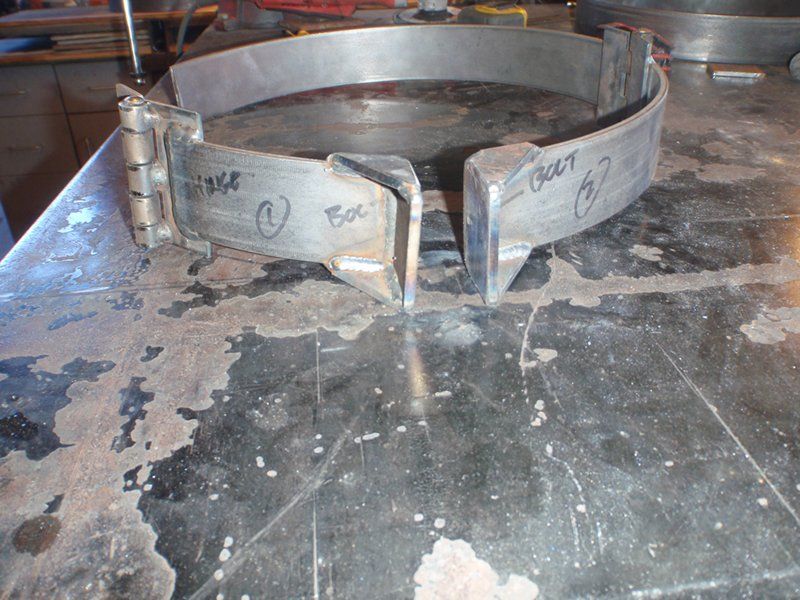
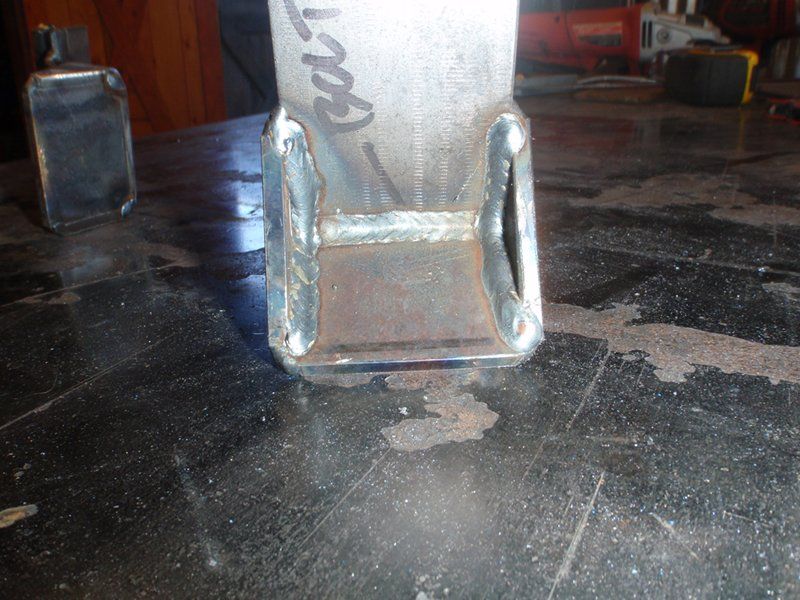
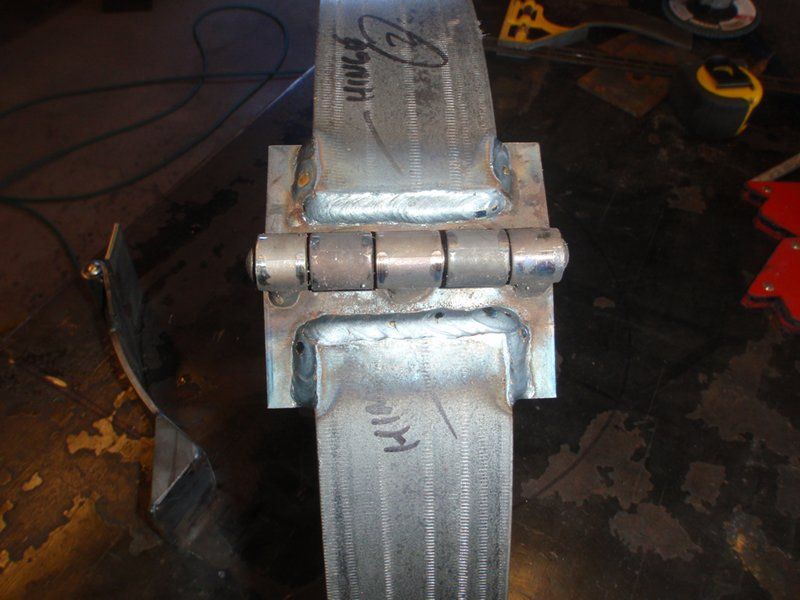
Need to hold it down...
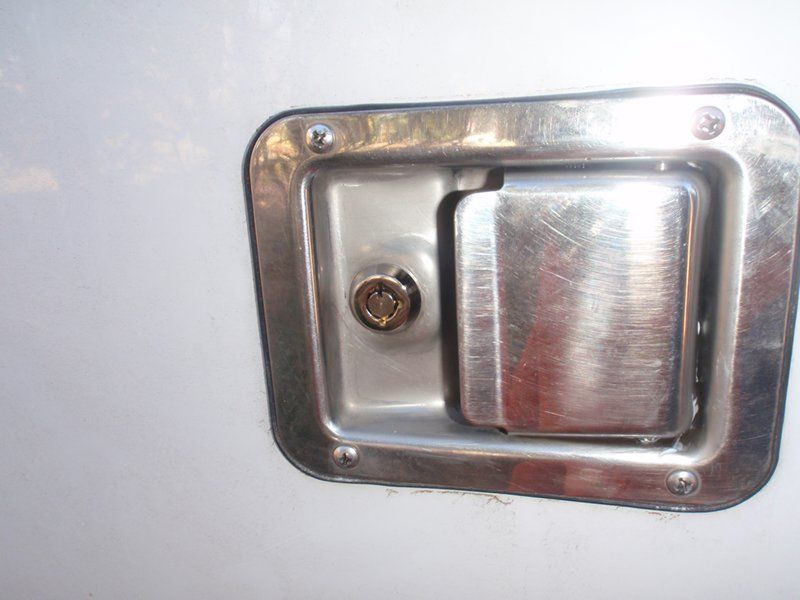
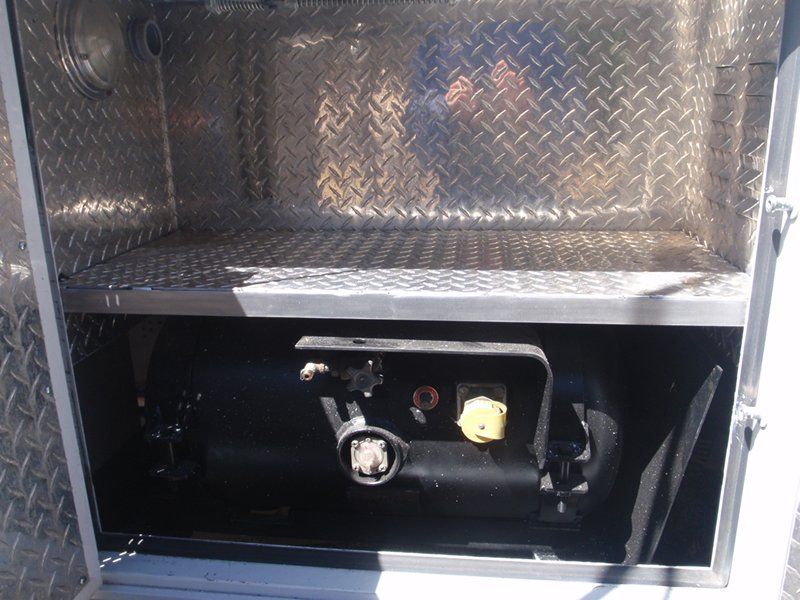
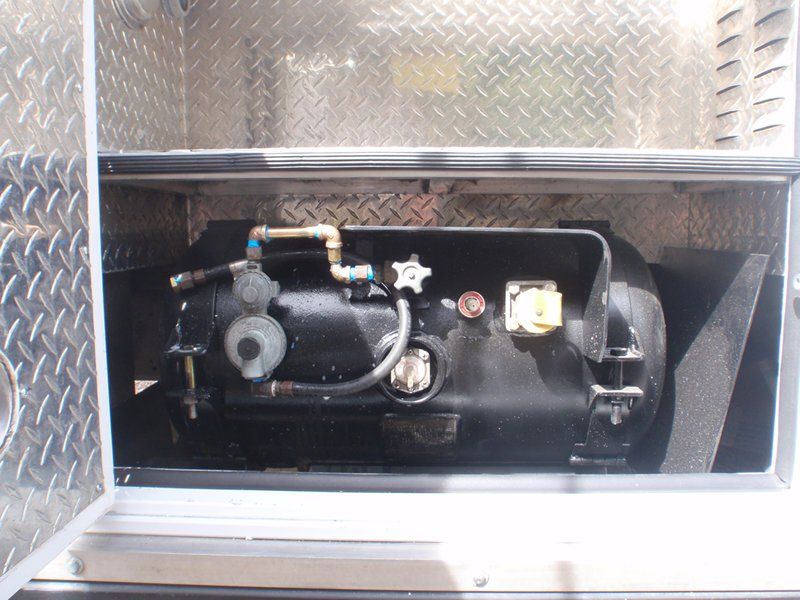
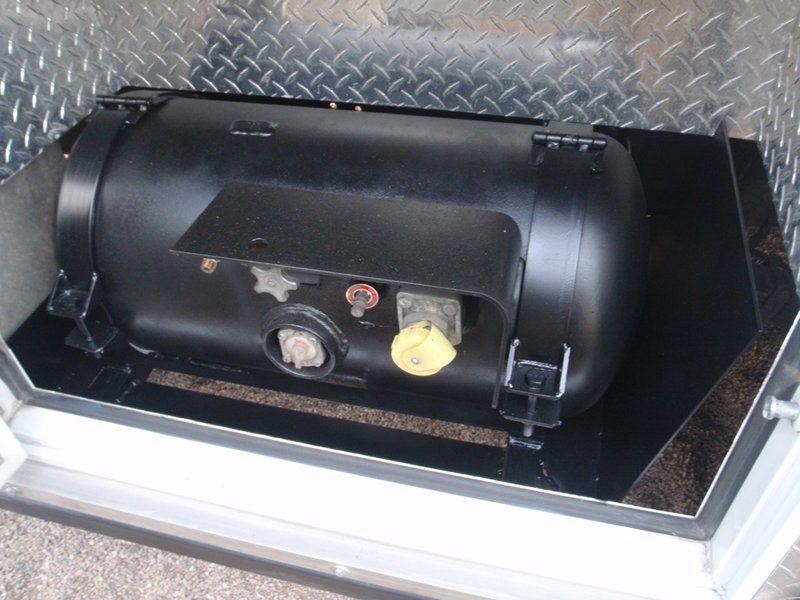
m_P3160087_zps5f66e9d2.jpg

m_P3160086_zpscc188403.jpg

m_P3160085_zps69c9f934.jpg


Installed
m_P3170093_zps25b6a06e.jpg


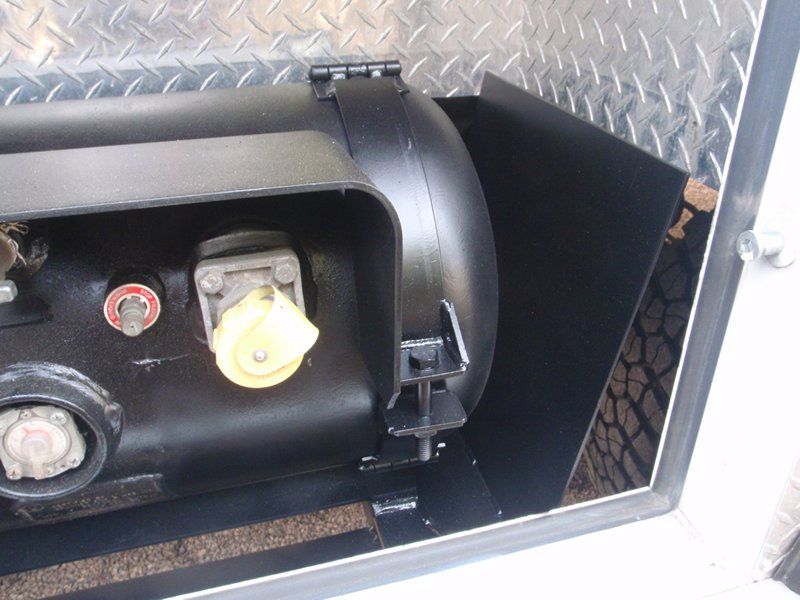
Rock deflectors installed
m_P3170098_zps0ba83033.jpg

m_P3170097_zpsc3e21a4e.jpg

m_P3170096_zpsfe320d68.jpg


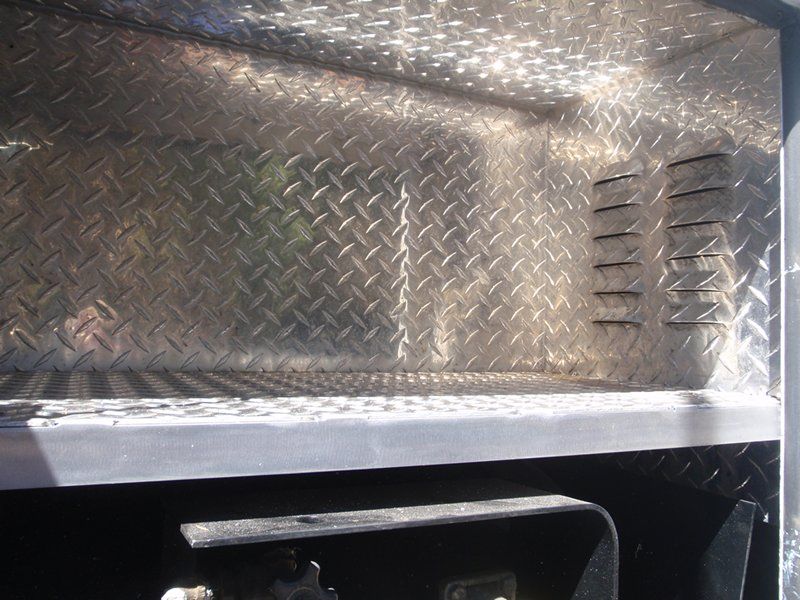
Next step will be to install a shelf above the tank, this will seal to the door, and have the remaining compartment space above the tanks still be a useful sealed storage area. Caught up again...
 

Abitibi

Explorer
That's an awesome rack ;)

Any issues with the propane tank being over 10 yrs old?


Sent from my iPorn using Tapatalk
 

witt

Adventurer
Nice work Tony! Sounds like this thing is really shaping up. Also good to hear you have travel plans in your future!
 

hobietony

Explorer
Propane finish

Well, a hut trip to the San Juans and a week+ of working on my neighbors house set me back a touch, but back to the van this week.

When I set the location of the tank, I knew the valves and protective shield would be into the door a bit
m_P3170093_zps25b6a06e.jpg


So, needed to build a recess into the door interior panel. Salvaged some of the material from the roof removal, and built a recess box.
m_P4020067_zps8ba42ba6.jpg

m_P4020068_zps7db42e5e.jpg


Replaced the key lock with another matching barrel lock (only a few more to go...), and lined the aluminum panel with butyl for soundproofing and de-clanginess
m_P4020070_zpsfc25f94d.jpg

m_P4020072_zps4a6e450f.jpg


Built a new shelf above the tank, the rest of the compartment will be sealed from the open area below
m_P4030075_zps950bf490.jpg

m_P4030079_zpsfe683a0e.jpg


Welds to the existing box, all these got covered with a bead of sikaflex (Thank goodness)
m_P4030080_zps92eec28c.jpg


Got the regulator and the pigtail all plumbed up, put new trim seal around the compartment, and a 'D' bulb seal across the front of the shelf to complete the waterproofing of the upper shelf area. I was feeling pretty good at this point, went to close the door and move on, and found out that the regulator hit the door also. A little work this morning with a 4" hole saw and some aluminum tubing, and I had a recess for that as well.
m_P4040081_zpsc1832373.jpg

m_P4040082_zps821c150f.jpg


Rack goes on the roof next.
 

Forum statistics

Threads
185,906
Messages
2,879,585
Members
225,581
Latest member
vertical.dan
Top