Box Rocket 1995 FZJ80 Build

Box Rocket

Well-known member
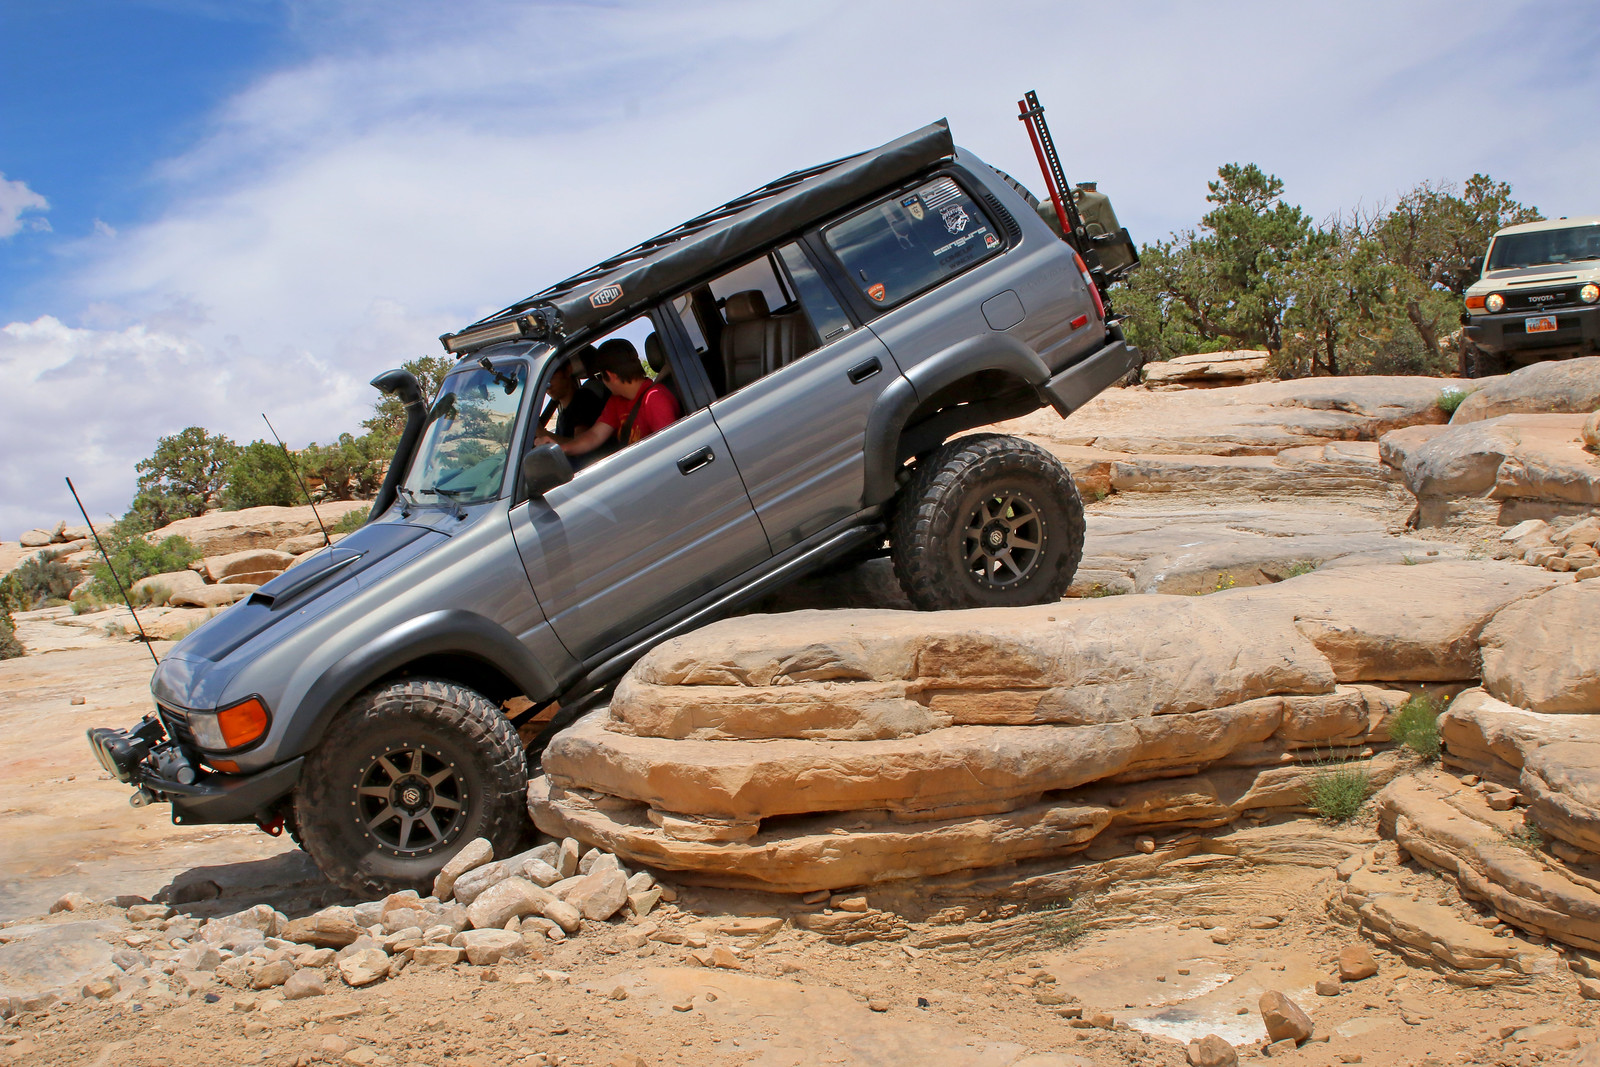
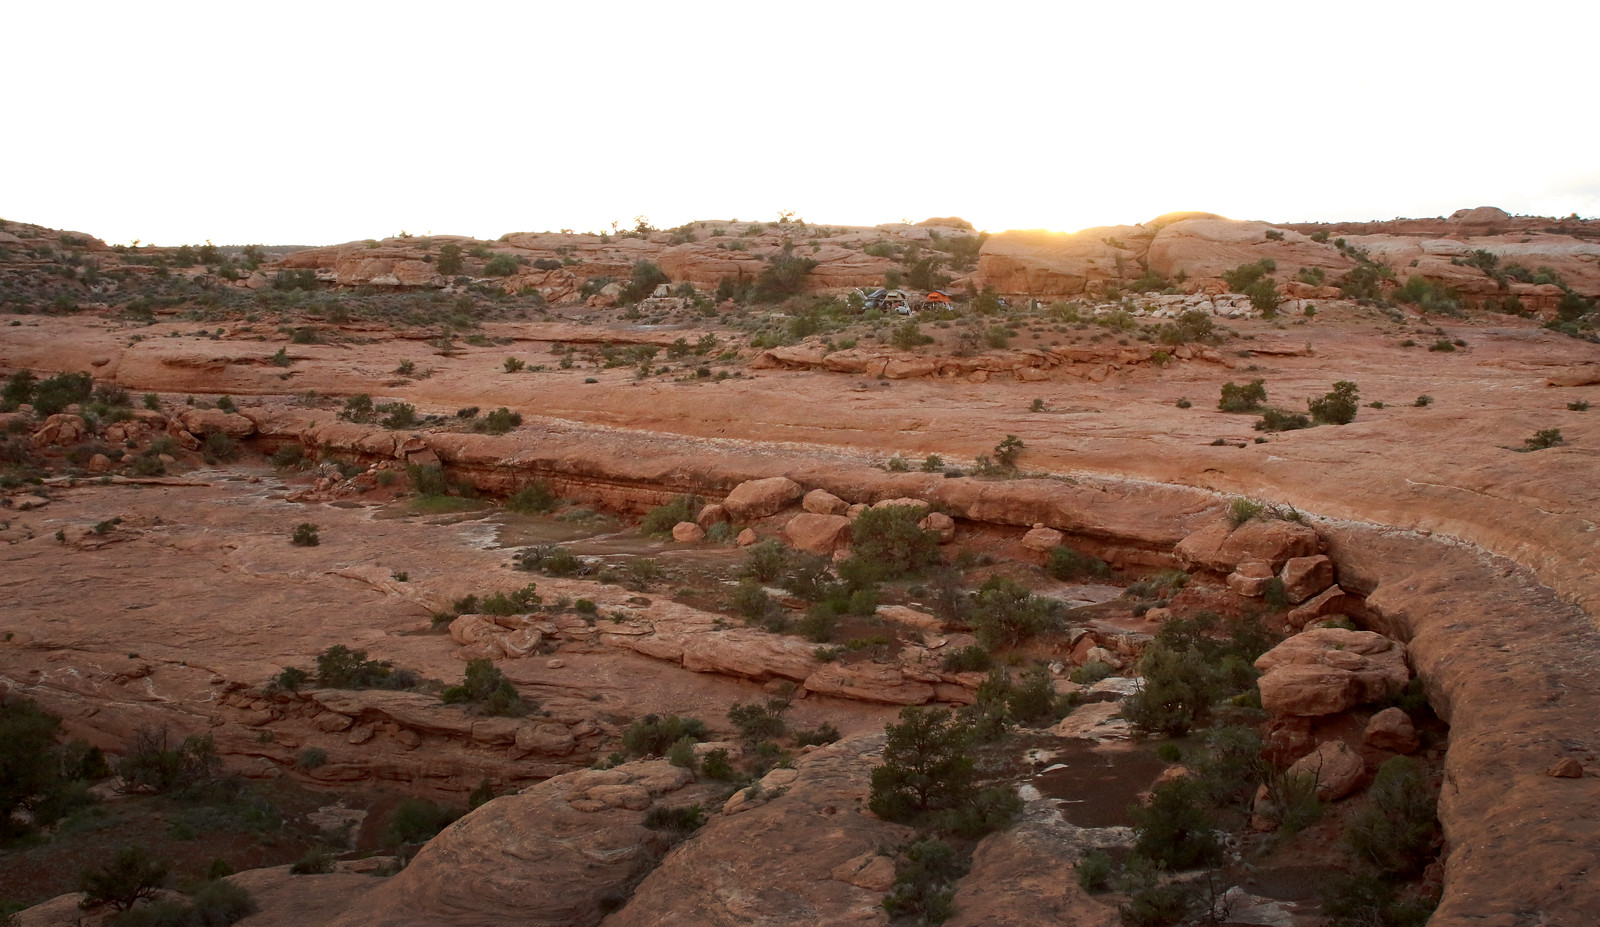
Thought I'd share a few pics from the SW Adventure 2019 trip from a few weeks ago. Spent 5 days guiding a group of Slinky suspension dealers/customers around southern Utah and finished our route in Moab just in time for the start of Cruise Moab. It was the third year for this trip and it was another fun one. We had Darren from 4xOverlandAustralia (man behind the Slinky suspensions), Christo from Slee Offroad, Kevin Brown from Endless Horizon Outfitters (US distributor for the Slinky suspensions, and a few customers.
IMG_2544 by Adam Tolman, on Flickr

IMG_2537 by Adam Tolman, on Flickr
IMG_2609 by Adam Tolman, on Flickr

IMG_2699 by Adam Tolman, on Flickr

IMG_2756 by Adam Tolman, on Flickr

IMG_2782 by Adam Tolman, on Flickr

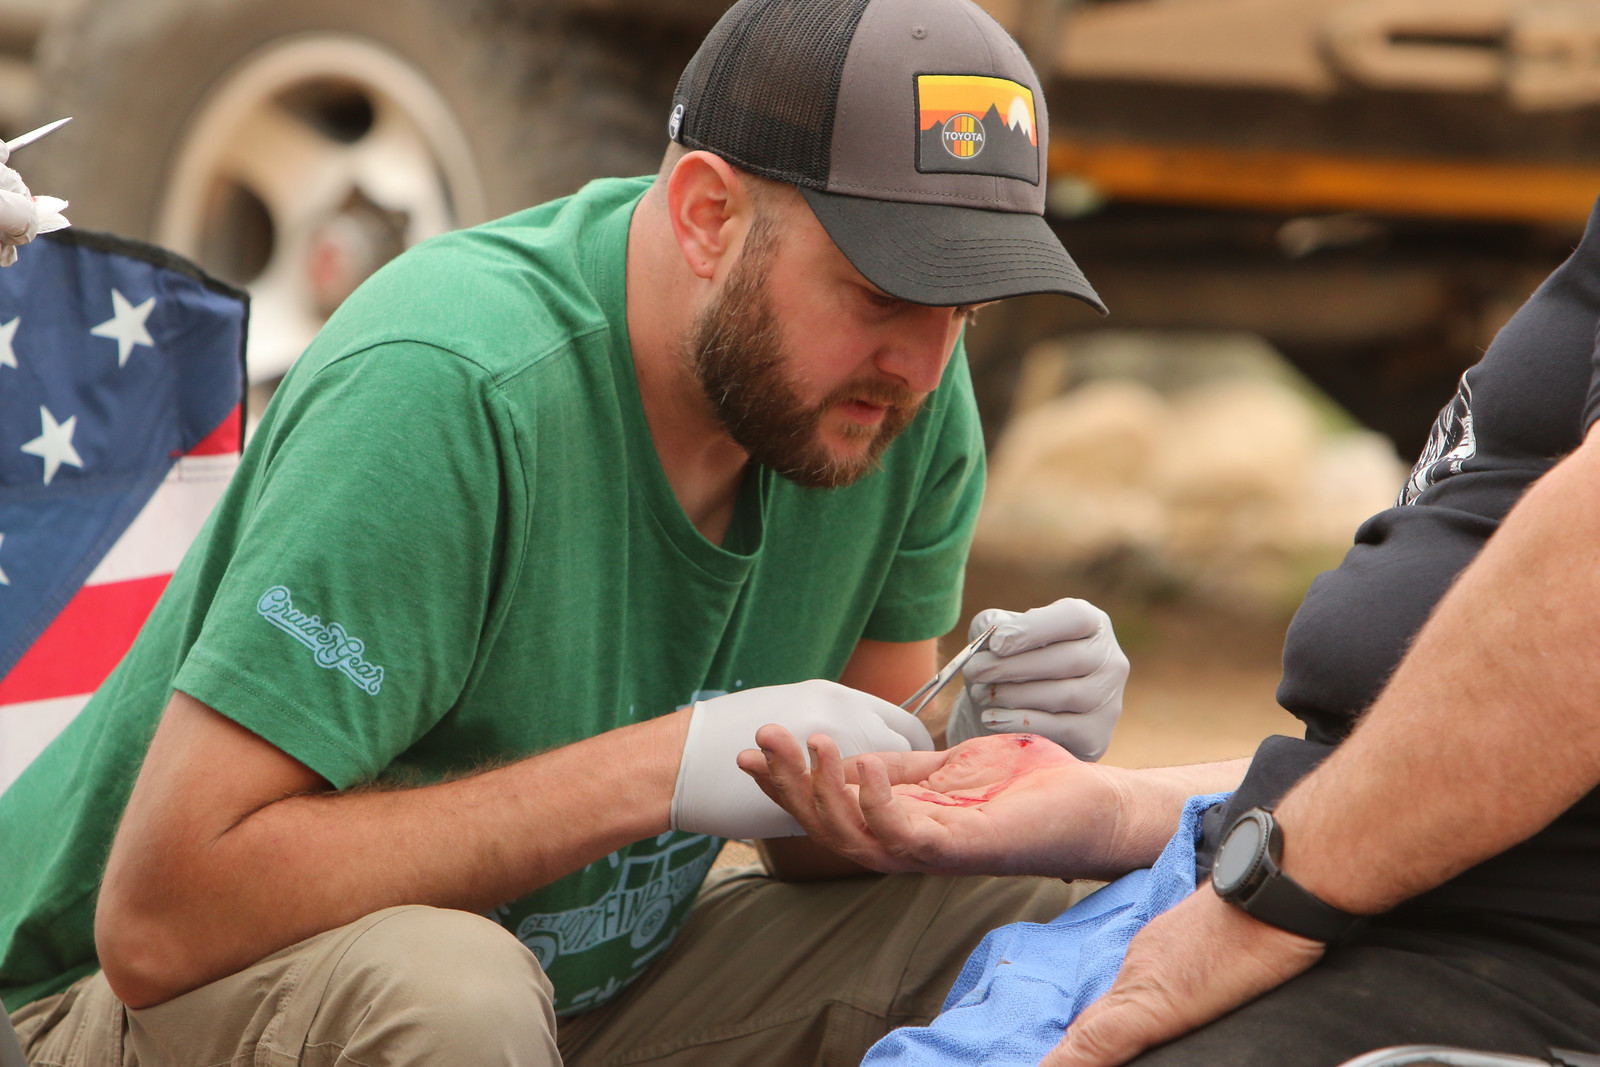
Kevin seemed to find humor in Darren getting 7 stitches after tearing his hand open on a busted ratchet strap buckle. It was nice to have trained medical people in the group, with a full suture kit.
IMG_2818 by Adam Tolman, on Flickr

IMG_2819 by Adam Tolman, on Flickr

IMG_2830 by Adam Tolman, on Flickr

IMG_2843 by Adam Tolman, on Flickr

IMG_2859 by Adam Tolman, on Flickr
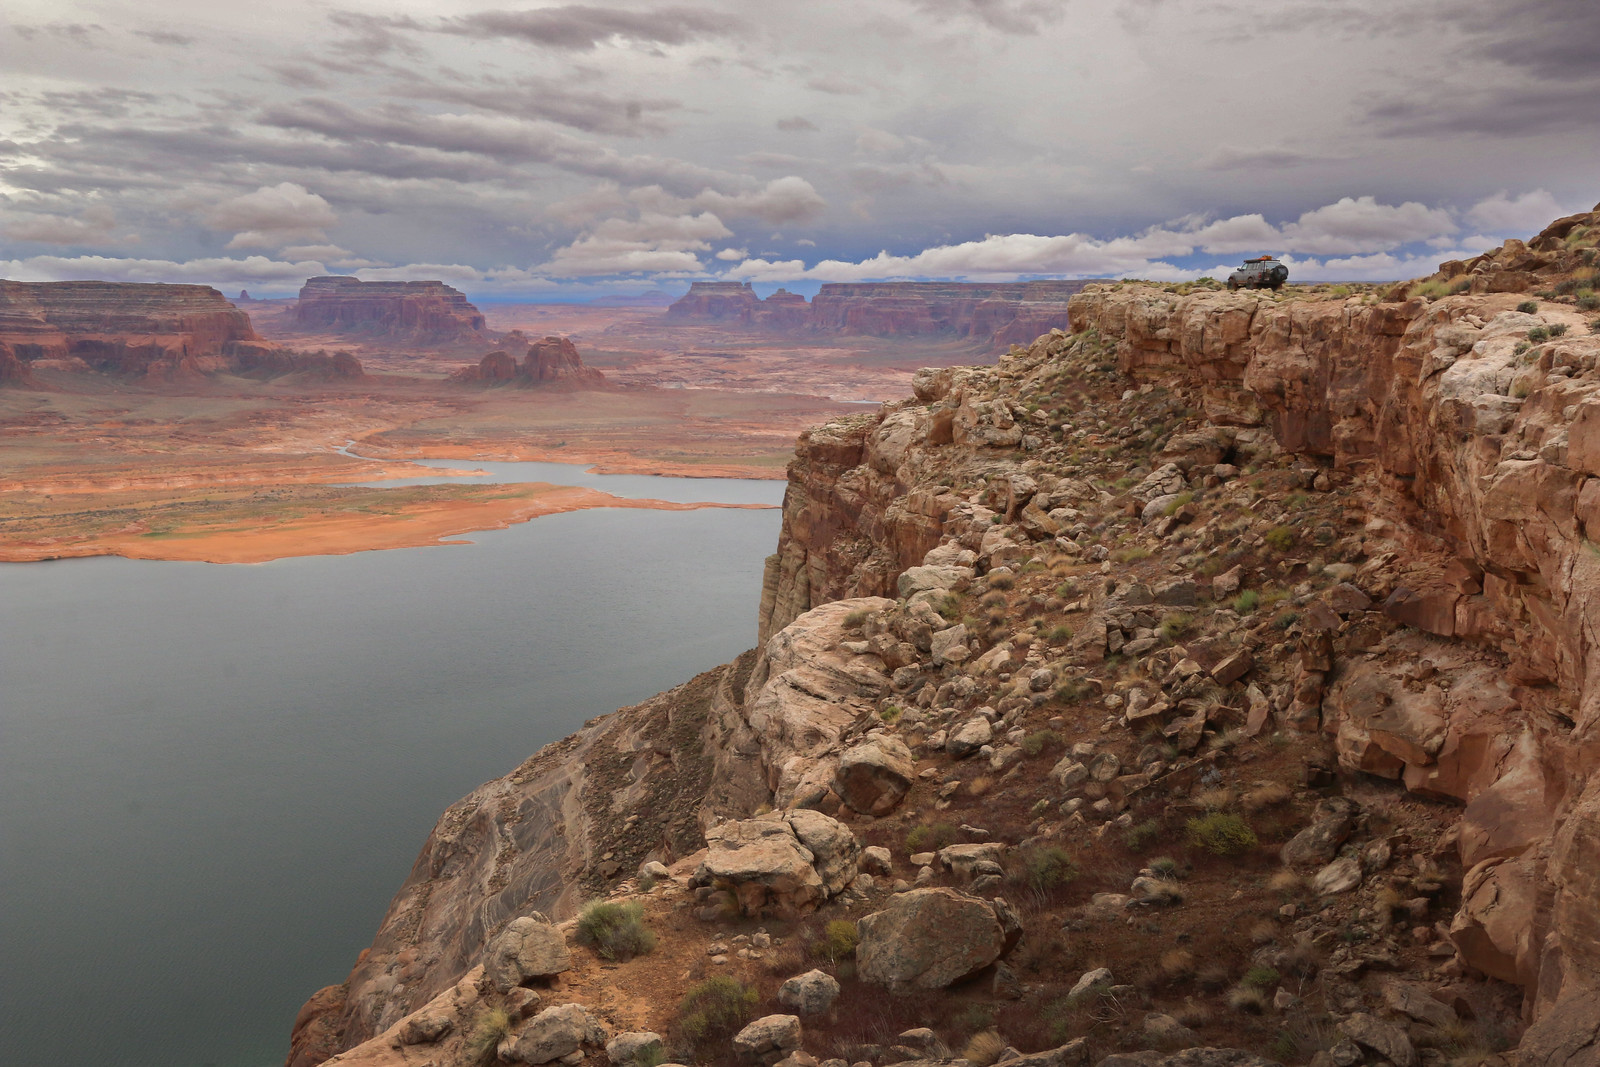
IMG_2897 by Adam Tolman, on Flickr

Untitled by Adam Tolman, on Flickr

Untitled by Adam Tolman, on Flickr

Family Reunion Shirts :)
Untitled by Adam Tolman, on Flickr

Untitled by Adam Tolman, on Flickr

Untitled by Adam Tolman, on Flickr
 

Box Rocket

Well-known member
I was given a 1" body lift a while back that I was maybe going to use when I went to 37's. I took the necessary steps to trim and adjust bumpstops to fit the 37's without the body lift. But I decided to install the body lift over the weekend so that I can shorten the bumpstops and regain a bit of travel that was lost with the taller bumpstops. I expected maybe 3-4 hours start to finish to get it installed. Well, as things normally go, it turned into 6 hours on Saturday and another 5 hours yesterday to finally get it done. Technically it's still not done because I have the whole front of the truck off and the seats out of the interior and that all needs to get put back together but the body lift pucks are installed with all new hardware. No pics just yet.

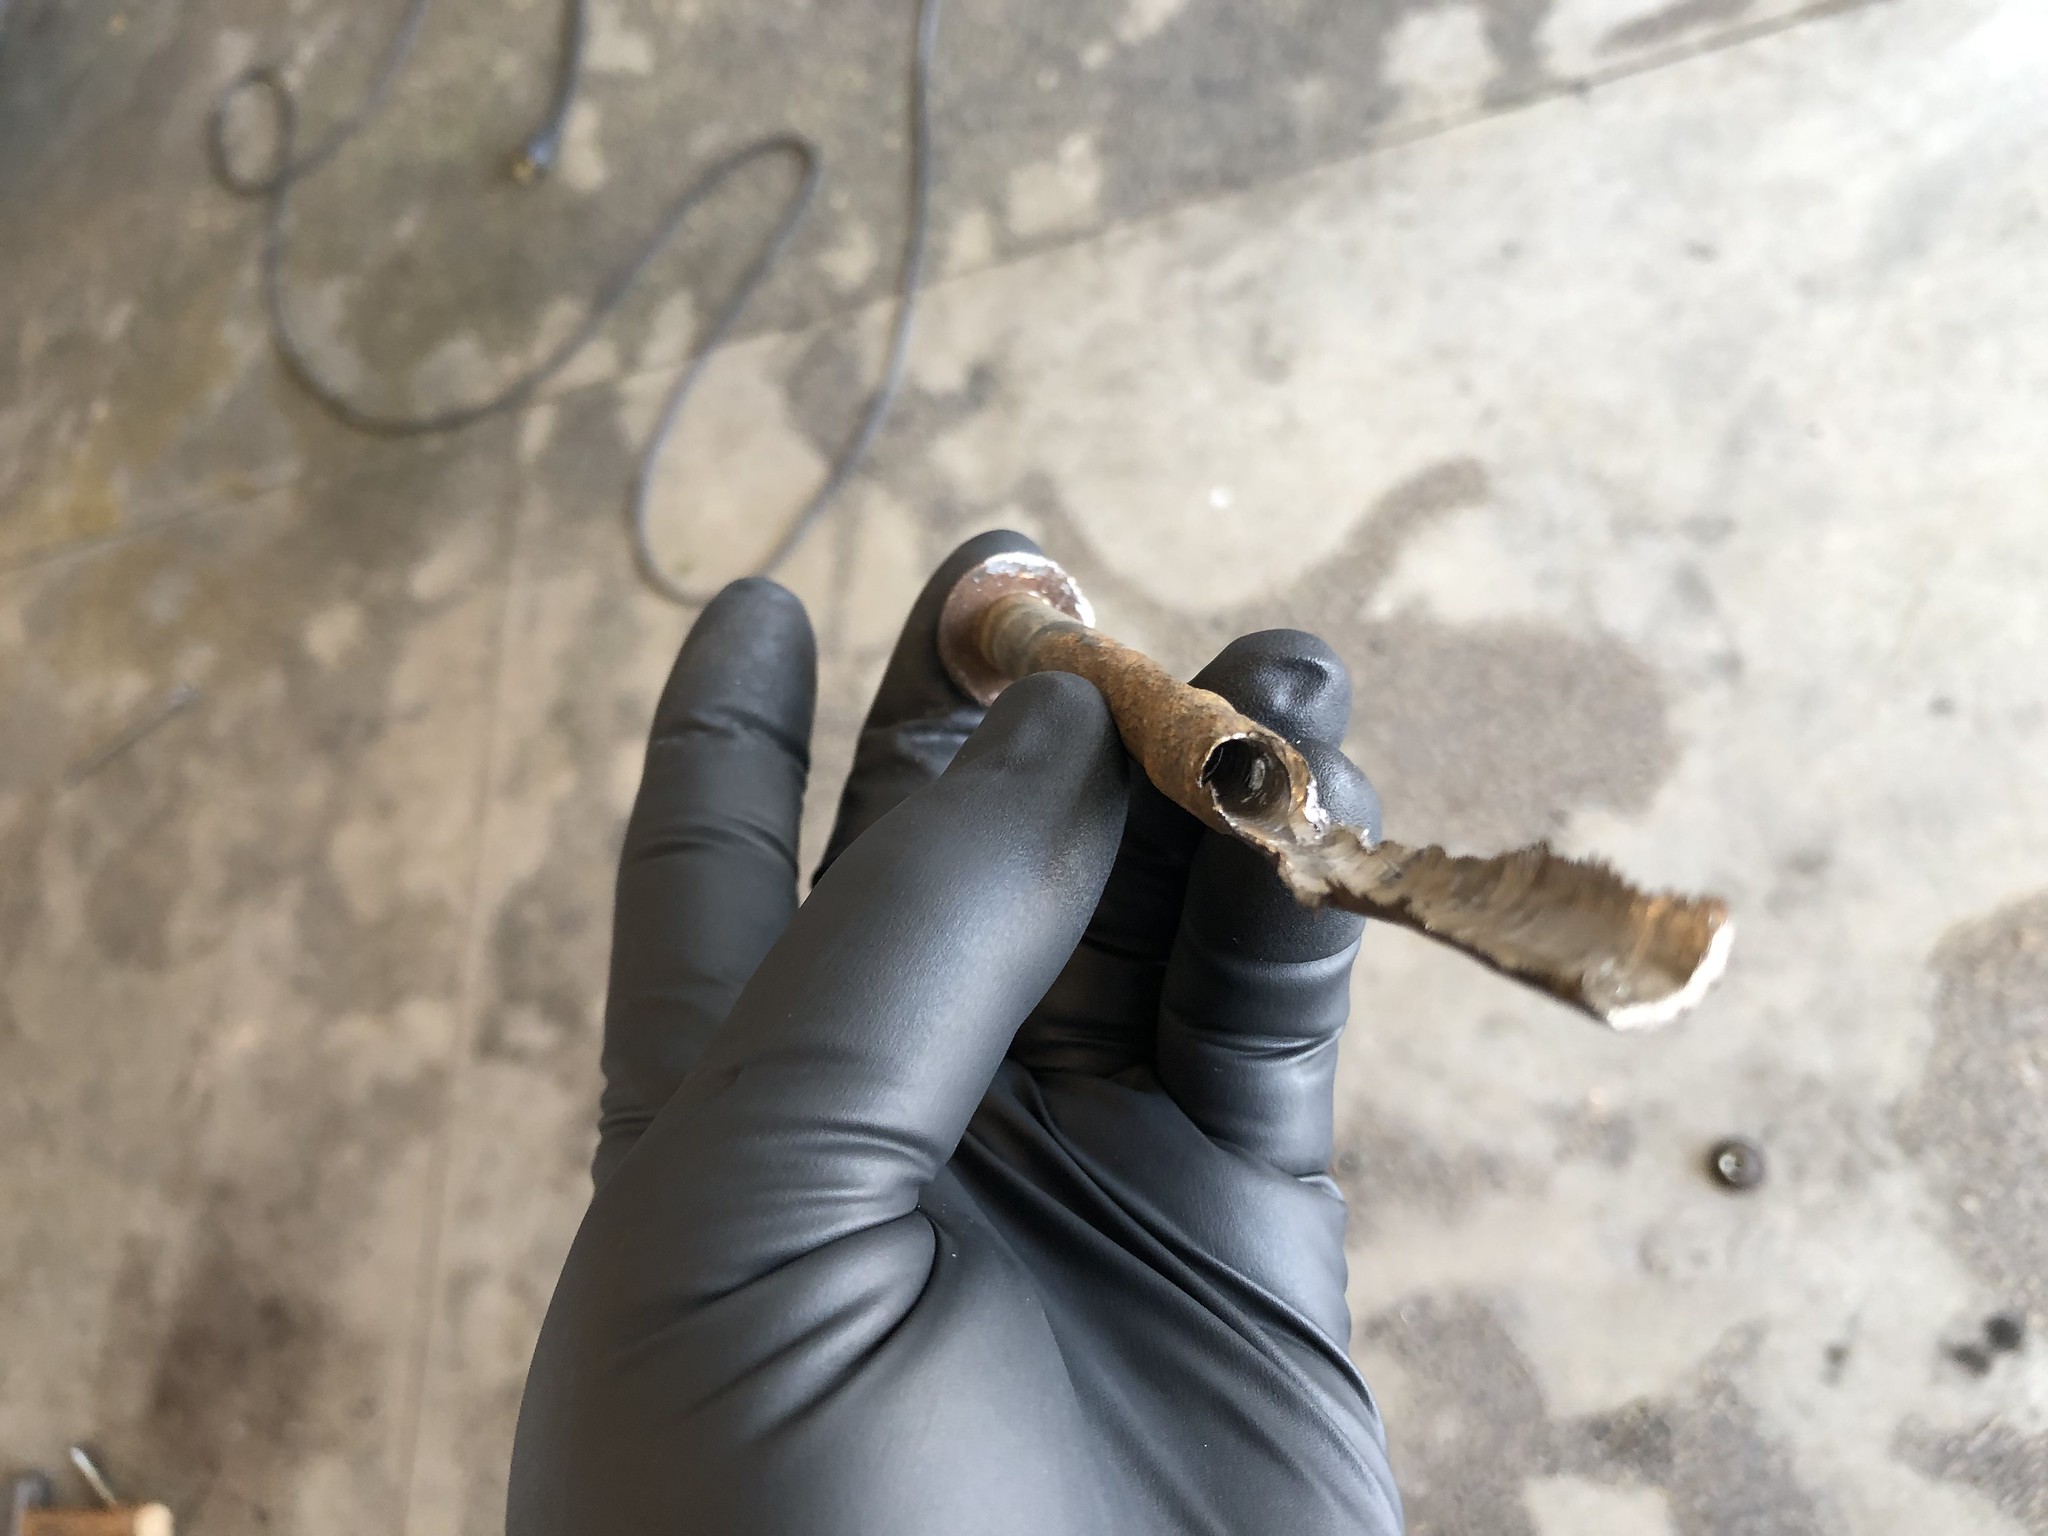
Everything was extremely smooth except for 3 of the bolts. Both of the front ones near the radiator were rusted inside the sleeves and wouldn't come out. Another on on the driverside near the dead pedal was also seized in the same way.

I ended up cutting the driverside footwell bolt out with a sawzall after working on it for about an hour. But there was no way to fit a cutting wheel or sawzall anywhere for the front two bolts. One of the bolts snapped off at the bottom of the sleeve. The remaining 5" of that bolt was drilled out. The last one finally came out after some serious hammer work to break it loose from the sleeve. What a pain that was! Seriously, I think I could have been done in 2-3 hours if those 3 bolts had not been so stubborn. Very straight forward job without corroded bolts. I'll be putting the front of the truck all back together tonight.

While I was working on the BL I noticed I have a bad rear axle seal so I'll be tackling that as well.

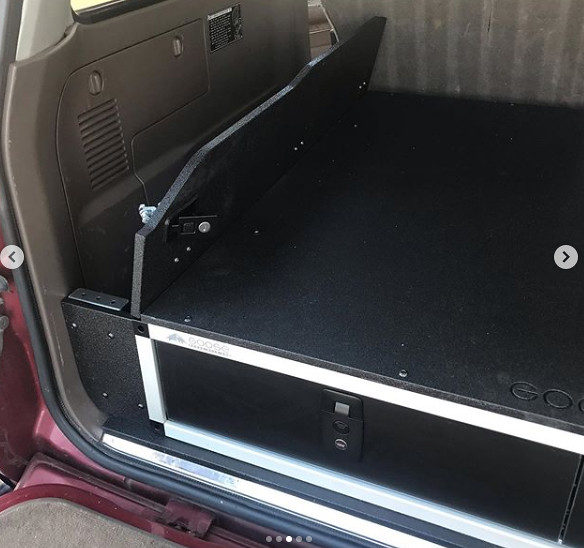
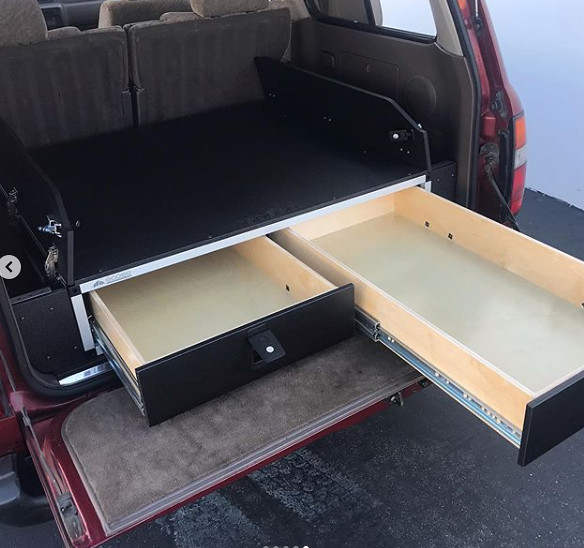
But....on a much more positive note, I was contacted by Goose Gear and they notified me that my rear drawer setup that I've been waiting for since April is finally done and is shipping today! I've always been a fan of the GooseGear products and really admire the fit and finish of their drawers and cabinet work for vehicles. I chose a relatively simple arrangement with just two equal sized drawers. No fridge/kitchen cabinet or other features. The plan is to use a MSA drop slide for my fridge. But I'm really looking forward to finally having some rear drawers to better organize the stuff I like to keep in the truck.

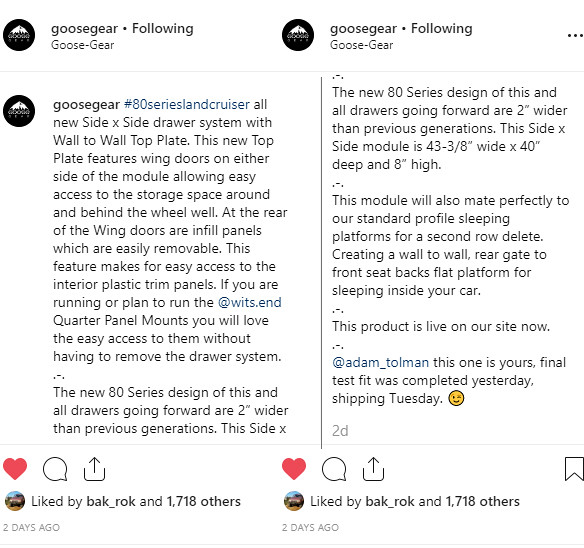
Here's the pics of my drawers that they shared on IG after the final test fit in their shop 80.
GG_drawers1 by Adam Tolman, on Flickr

GG_drawers2 by Adam Tolman, on Flickr

GG_drawers3 by Adam Tolman, on Flickr

GG_drawers4 by Adam Tolman, on Flickr

GG_drawers5 by Adam Tolman, on Flickr

I know some of you will have some questions about these since they are a brand new 80 series product. I don't have a ton of info on them but between this captured image of their IG post and the website it should answer any questions you have.
GG_drawers6 by Adam Tolman, on Flickr


Box Rocket

Well-known member
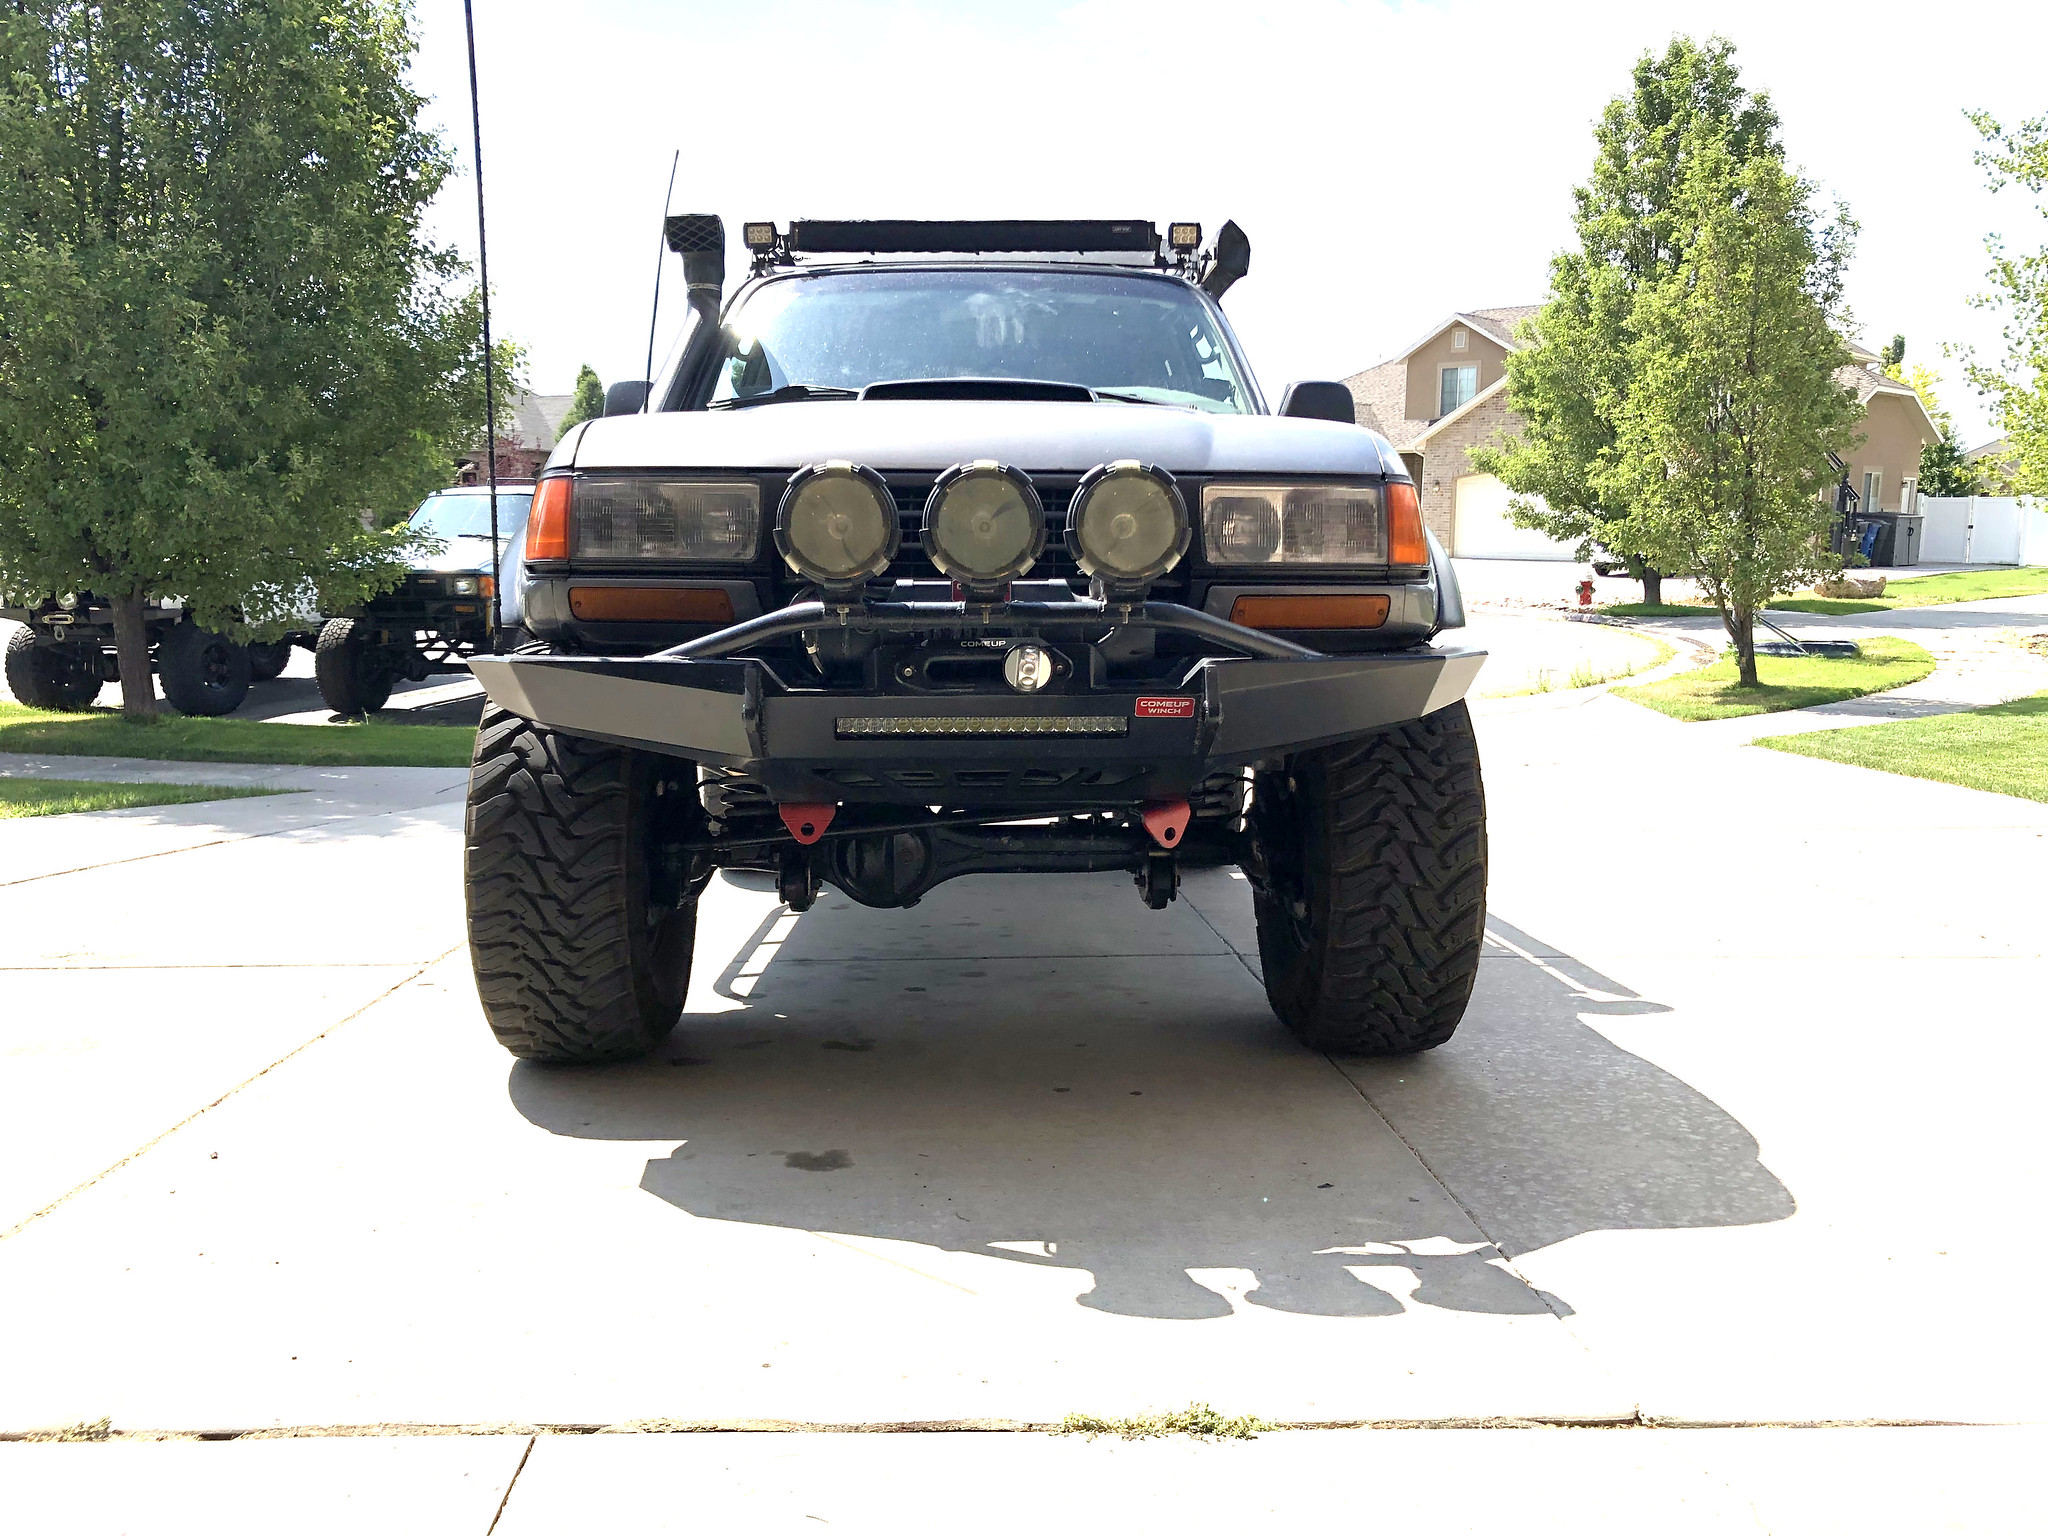
A few photos of the completed 1" body lift. As you'd expect there is some visible separation between the body and the bumpers but its minimal enough that the aesthetics do not bother me. A couple pics of the problematic bolts that turned this into a longer project than it needed to be.
Untitled by Adam Tolman, on Flickr

Untitled by Adam Tolman, on Flickr

Untitled by Adam Tolman, on Flickr

Before:
IconWheels and Toyos by Adam Tolman, on Flickr

After:
Untitled by Adam Tolman, on Flickr

Before:
IconWheels and Toyos by Adam Tolman, on Flickr

After:
Untitled by Adam Tolman, on Flickr
 

Box Rocket

Well-known member
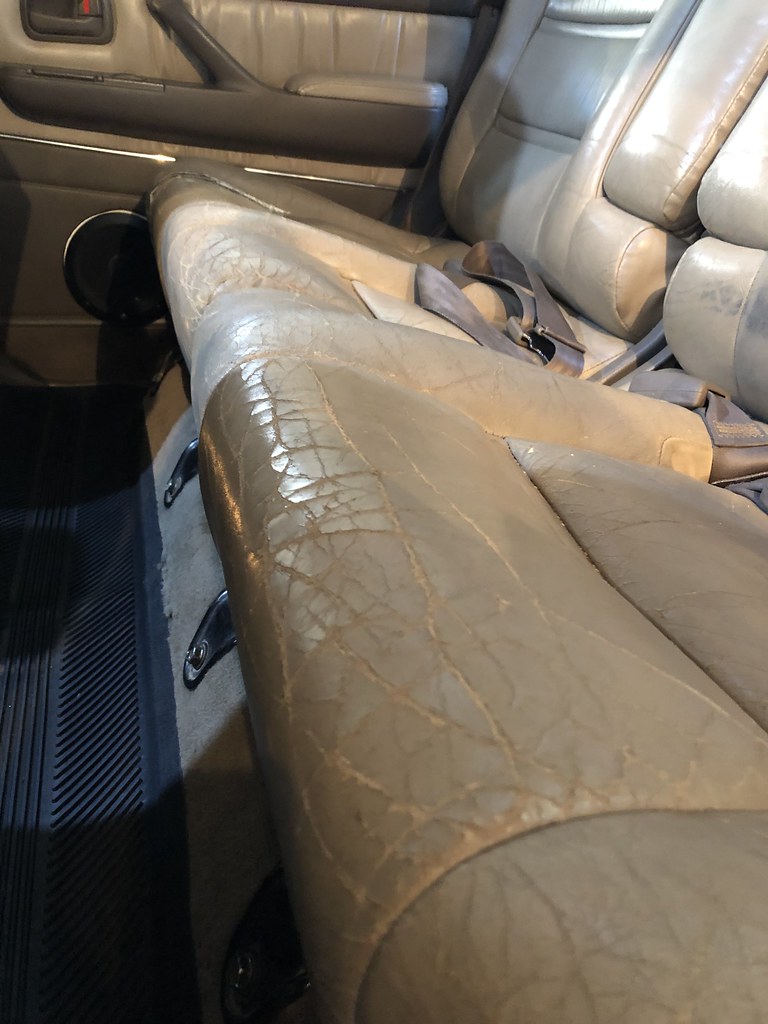
Finished up the leather replacement on the second row over the weekend. The original leather was in bad shape. Got the leather from Lseat and chose to do black leather. Overall the new leather seems pretty good. Fitment was good (few places a bit on the loose side, but better than too tight) and stitching looked good. It's not the softest leather ever but seems very durable and the price is good. I'm sure there is better leather out there but overall I'm happy with the result.

Rear seats by Adam Tolman, on Flickr

Rear seats by Adam Tolman, on Flickr

Rear seats by Adam Tolman, on Flickr

Rear seats by Adam Tolman, on Flickr

Nice to have the back seats match the front seats again.
IMG_3420 by Adam Tolman, on Flickr

IMG_3421 by Adam Tolman, on Flickr

IMG_3422 by Adam Tolman, on Flickr

IMG_3424 by Adam Tolman, on Flickr

IMG_3426 by Adam Tolman, on Flickr
 

Box Rocket

Well-known member
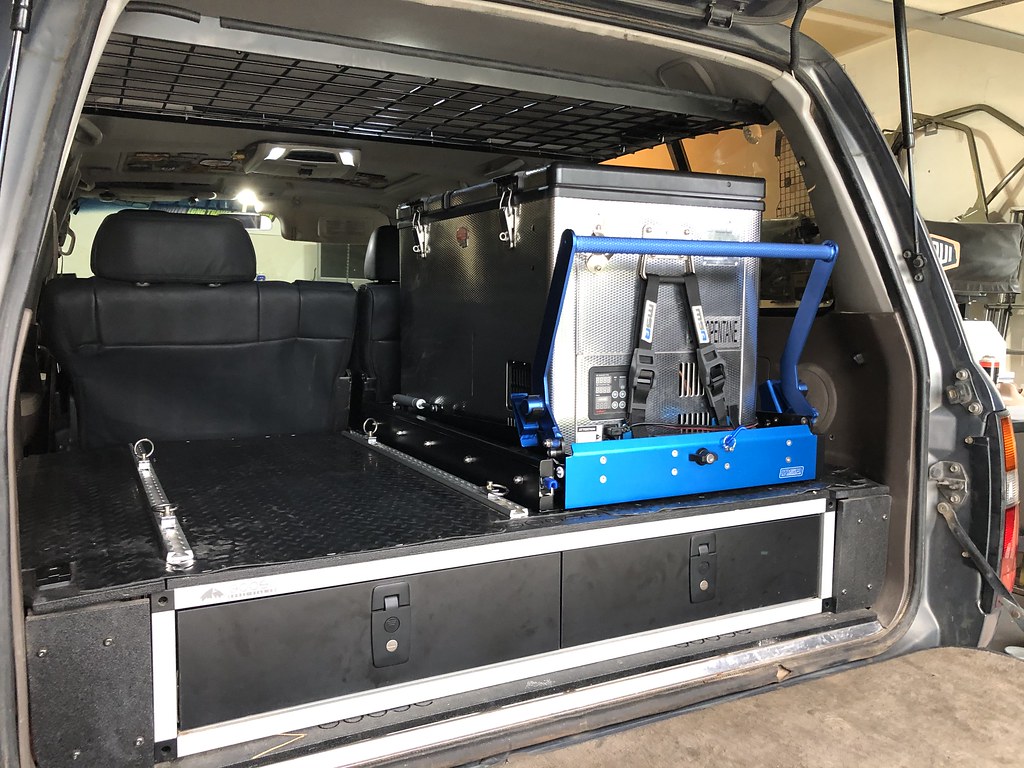
Another weekend project was installing the new rear drawers from Goose-Gear. I chose a basic two drawer 50/50 split setup. Goose-gear's design uses a wall to wall perfect fit base plate that bolts down using the factory holes for the third row seat and corner tie downs. The drawers came with all new hardware so there's no need to reuse any of the factory bolts.
The base plate has t-nuts in all the right location to bolt the drawer module to the base. The base plate has more holes than what I needed so it's universal for any of the rear module configurations that Goose-Gear offers.
Latches are clean and strong.
There are side panel compartments with quality 5-way adjustable hinges for the perfect fit and it completes the top for a wall to wall platform that also runs from the tailgate to the back of the second row seats.

Truth be told Goose-gear is one of the more expensive options for drawers but the quality workmanship shows. It's obvious that these have been built after thousands of miles of testing offroad. They are solid and the construction is sturdy using an internal aluminum 80/20 extrusion frame, and quality sealed bearing drawer slides.

I'm looking forward to figuring out what items I will move to the drawers and then get out and use these things. Last thing to get sorted is a fridge drop slide. Hoping to have a solution for that soon.

Drawers arrived well packaged in a nice shipping crate and on a pallet.
Drawers by Adam Tolman, on Flickr

Everything was well protected inside.
Drawers by Adam Tolman, on Flickr

Installation is pretty straight forward and the drawers went in easily and all the holes lined up perfectly.
IMG_3419 by Adam Tolman, on Flickr

Don't mind my fingerprints. All latches are locking so you know whatever you put inside can be locked away safely.
IMG_3414 by Adam Tolman, on Flickr

IMG_3415 by Adam Tolman, on Flickr

IMG_3413 by Adam Tolman, on Flickr

IMG_3411 by Adam Tolman, on Flickr

IMG_3412 by Adam Tolman, on Flickr

IMG_3417 by Adam Tolman, on Flickr

IMG_3418 by Adam Tolman, on Flickr

Drawers by Adam Tolman, on Flickr

These are 8" high drawers. If the second row seats backs are folded down the seat backs are level with the top of the drawer module and could be used as a sleeping platform. But Goose-Gear does have a second row seat delete sleeping platform that can be added to this rear module and will go all the up the back of the front seats.
 

Box Rocket

Well-known member
Few updates since my last post.

Replaced my factory rear swaybar links (that I've broken several times) with these beefy ones. Much better.
Swaybar links by Adam Tolman, on Flickr

Rebuilt the power steering pump again, but now it's not leaking. Finally.
Fixing Leaks by Adam Tolman, on Flickr

Replaced a bunch of dried out hoses.
Fixing Leaks by Adam Tolman, on Flickr

Replaced the oil pump cover seal and front crank seal.
Fixing Leaks by Adam Tolman, on Flickr

Installed some Nitro Big24 chromoly front axle shafts/birfs.
Untitled by Adam Tolman, on Flickr

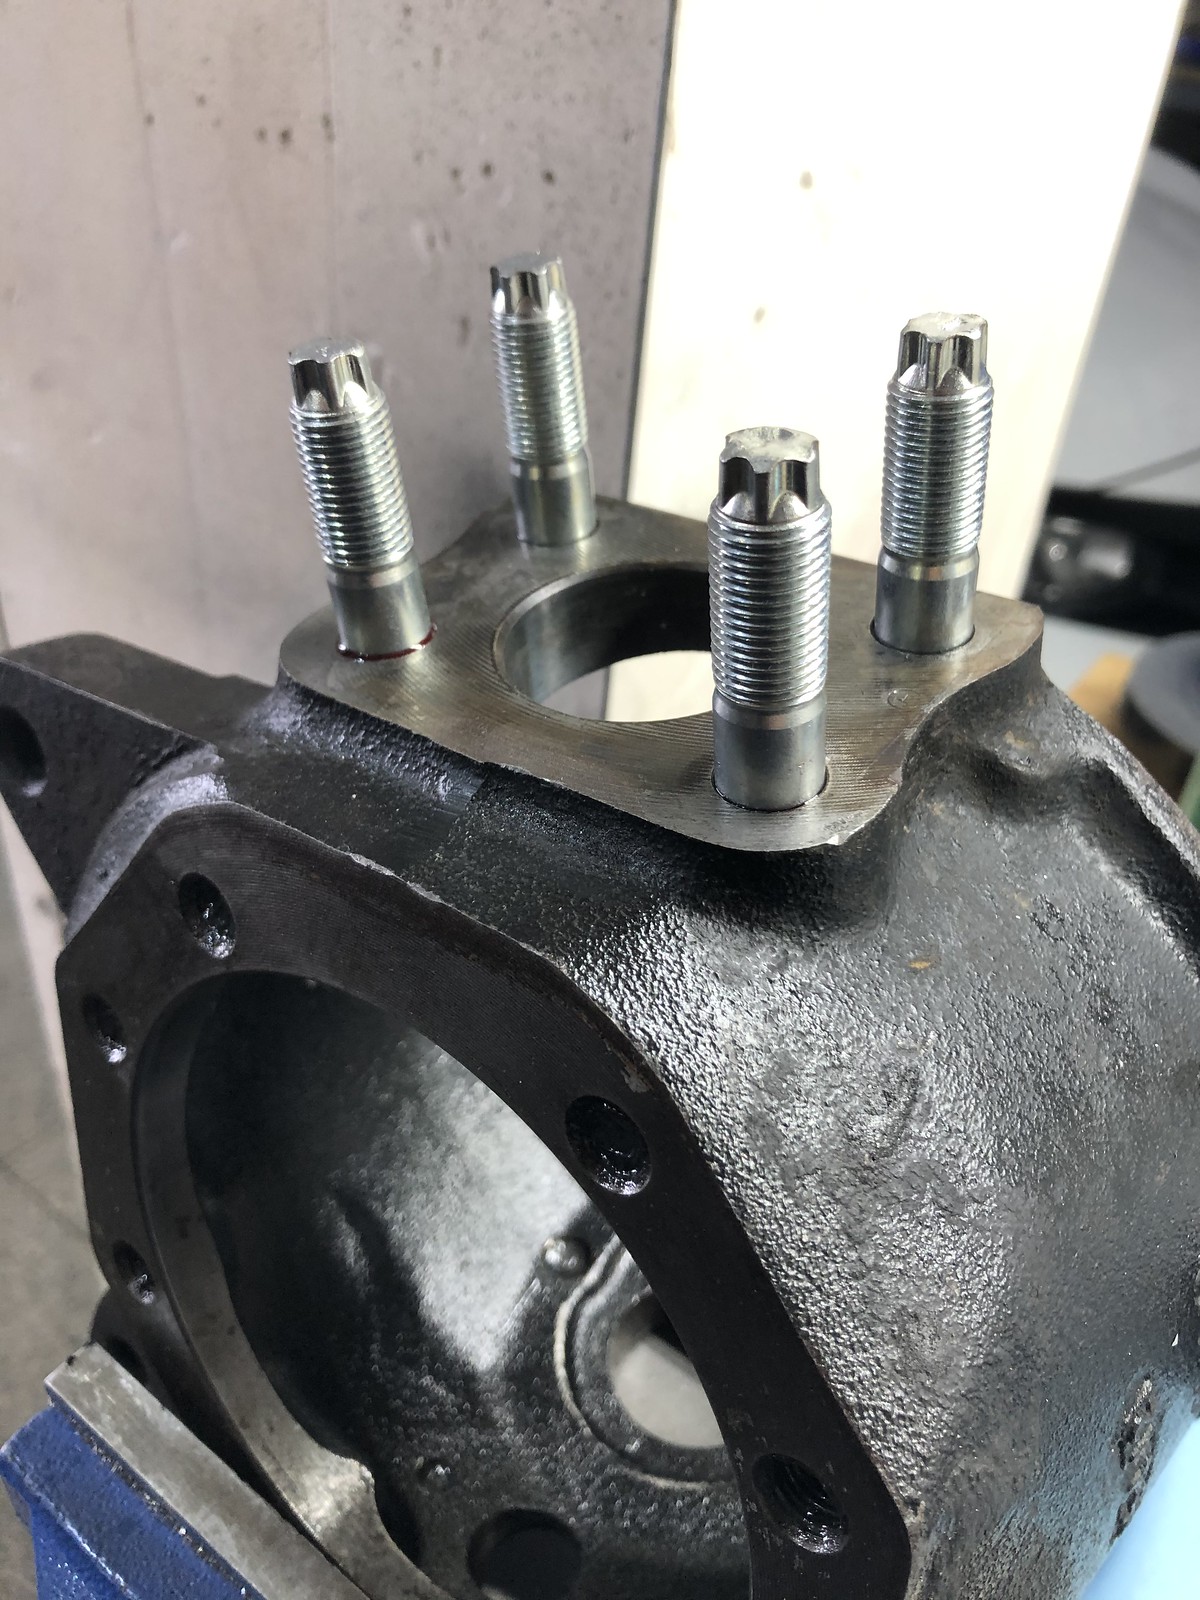
Rebuilt the knuckles with new steering arm studs.
Front axle service by Adam Tolman, on Flickr

Used the Wits End "Nut Huggers" on the steering arm studs when it all went back together. Cool little bit that should help keep things tight.
Front axle service by Adam Tolman, on Flickr

Change out this part of the ebrake handle that increases the force on the brakes.
Untitled by Adam Tolman, on Flickr

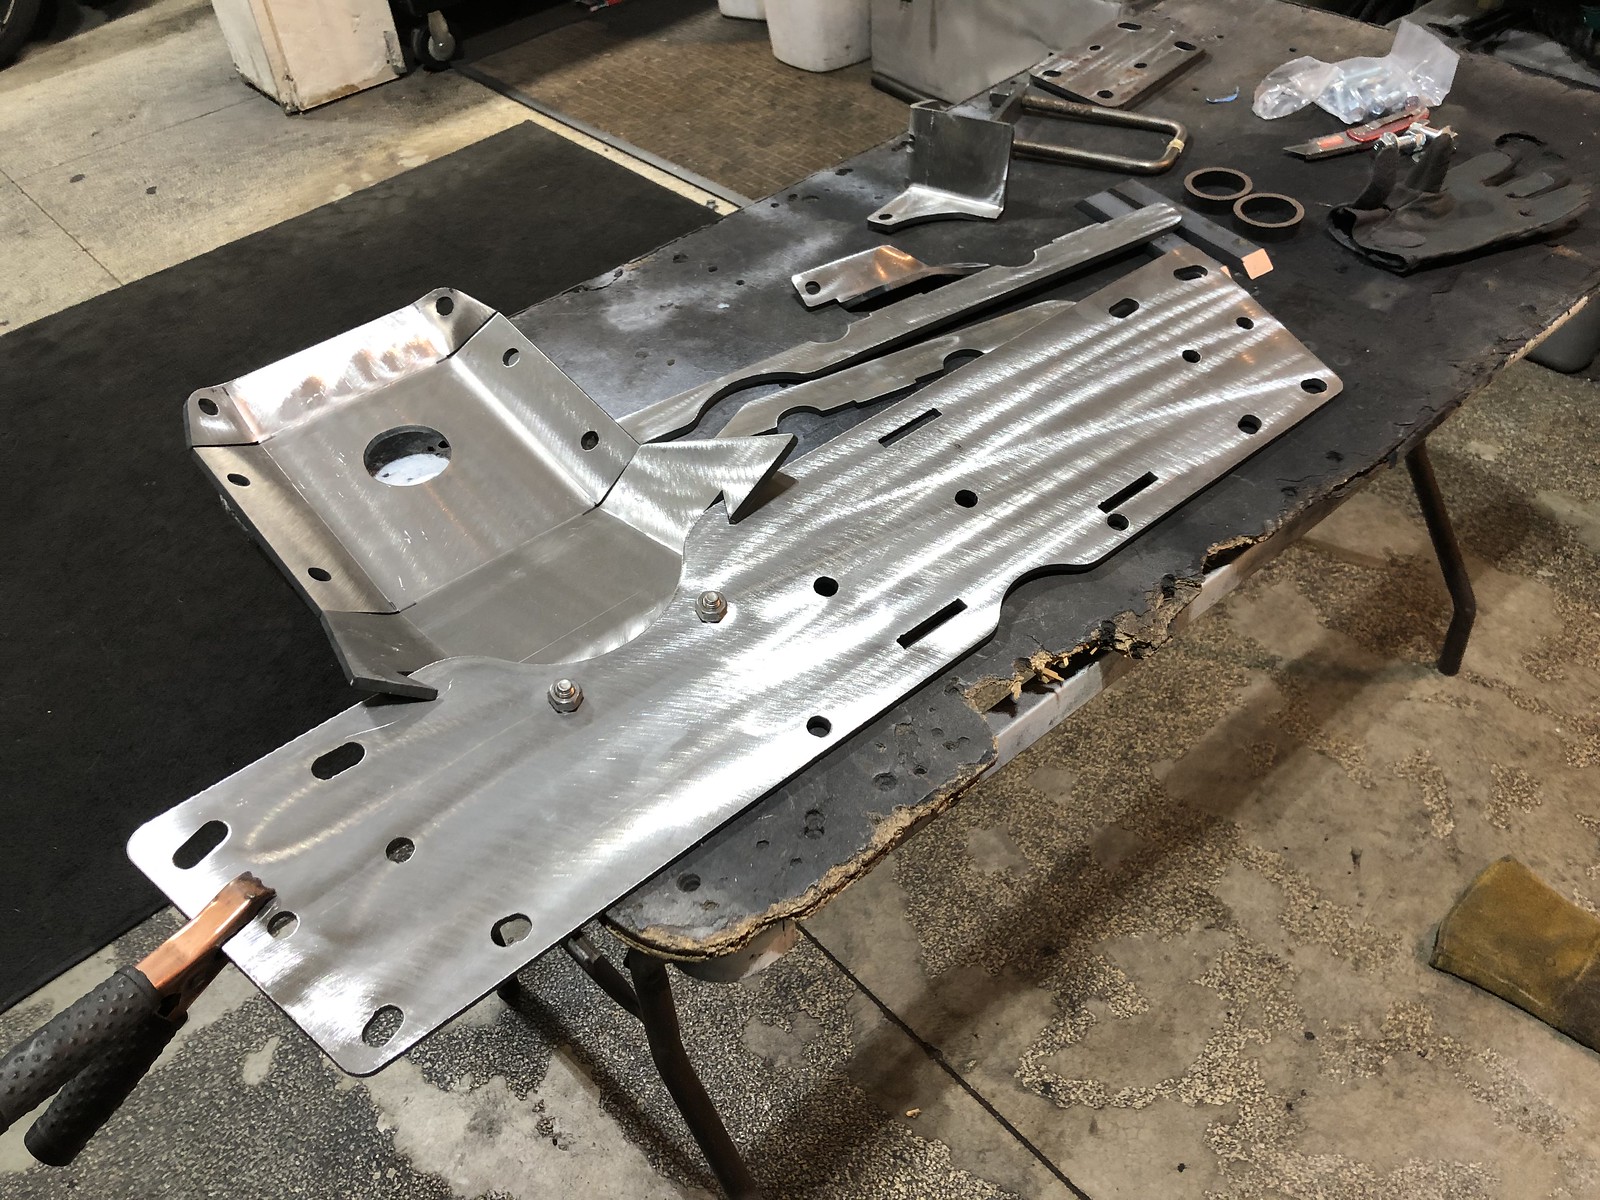
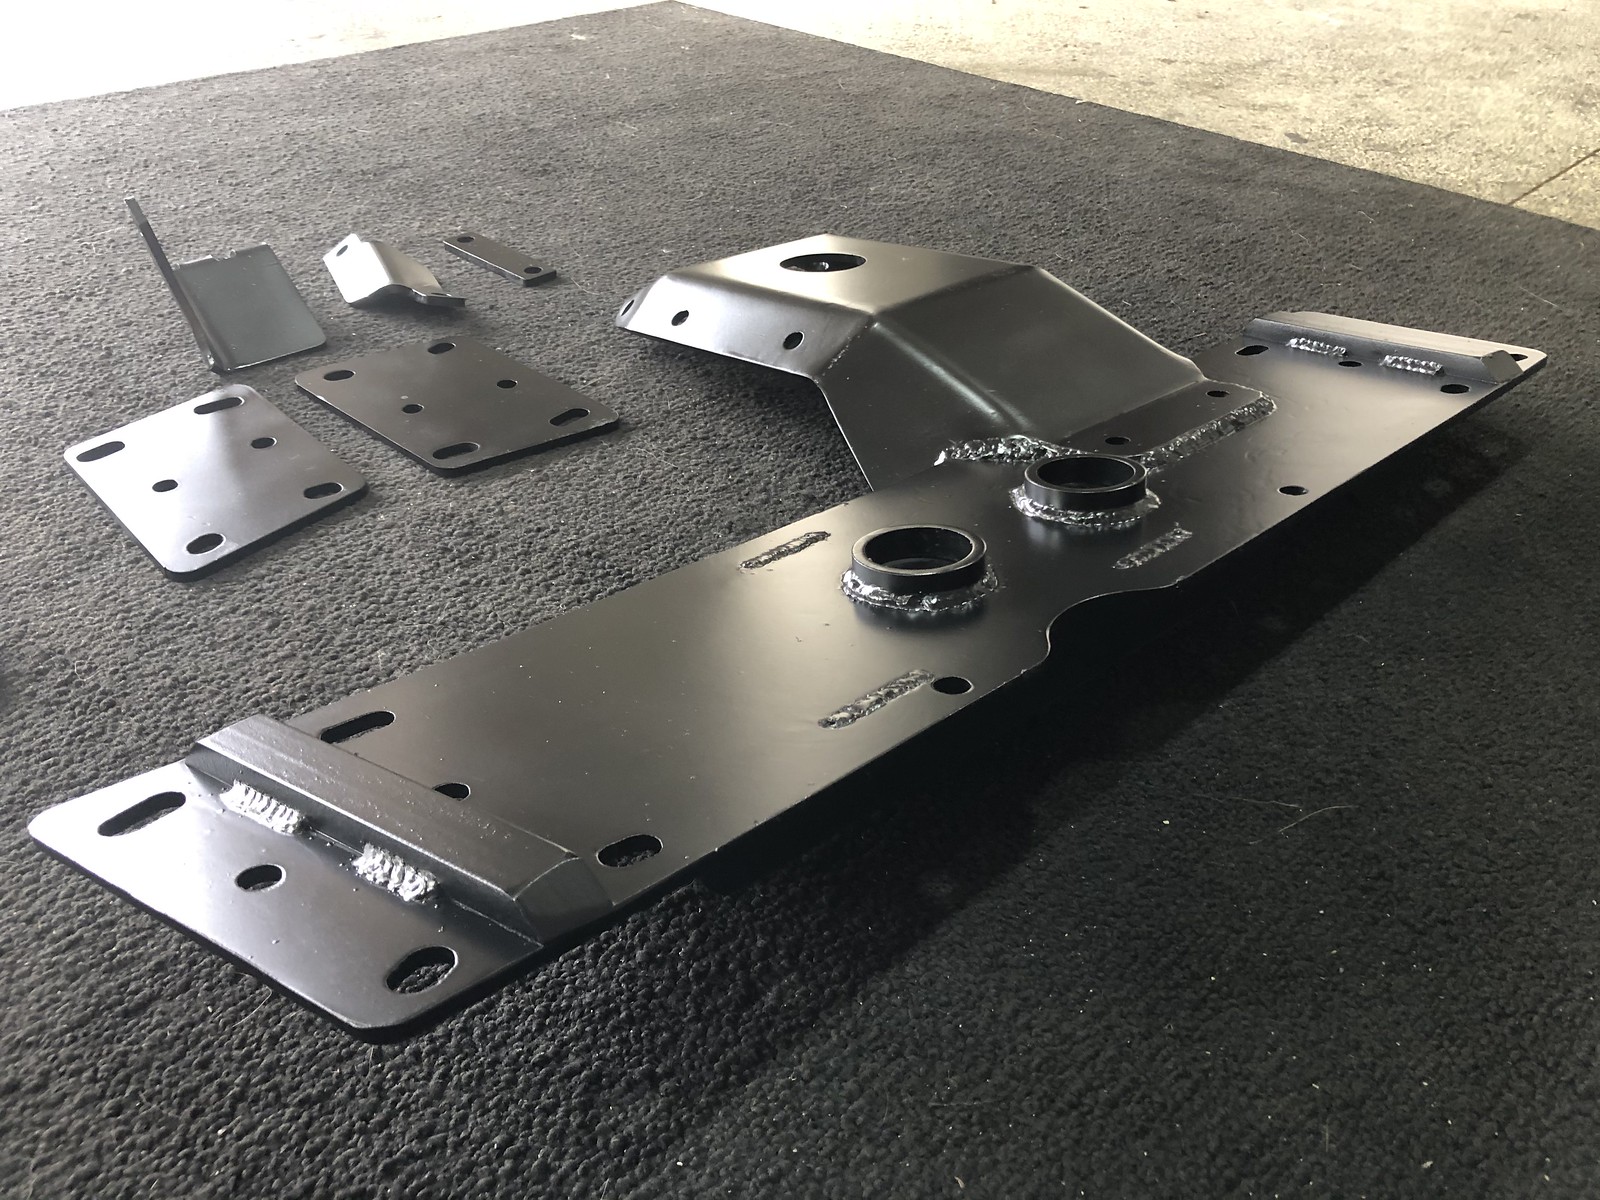
Welded up a new tcase Skidplate/Crossmember from HuddExpo
Skidplate by Adam Tolman, on Flickr

Skidplate by Adam Tolman, on Flickr

Skidplate by Adam Tolman, on Flickr

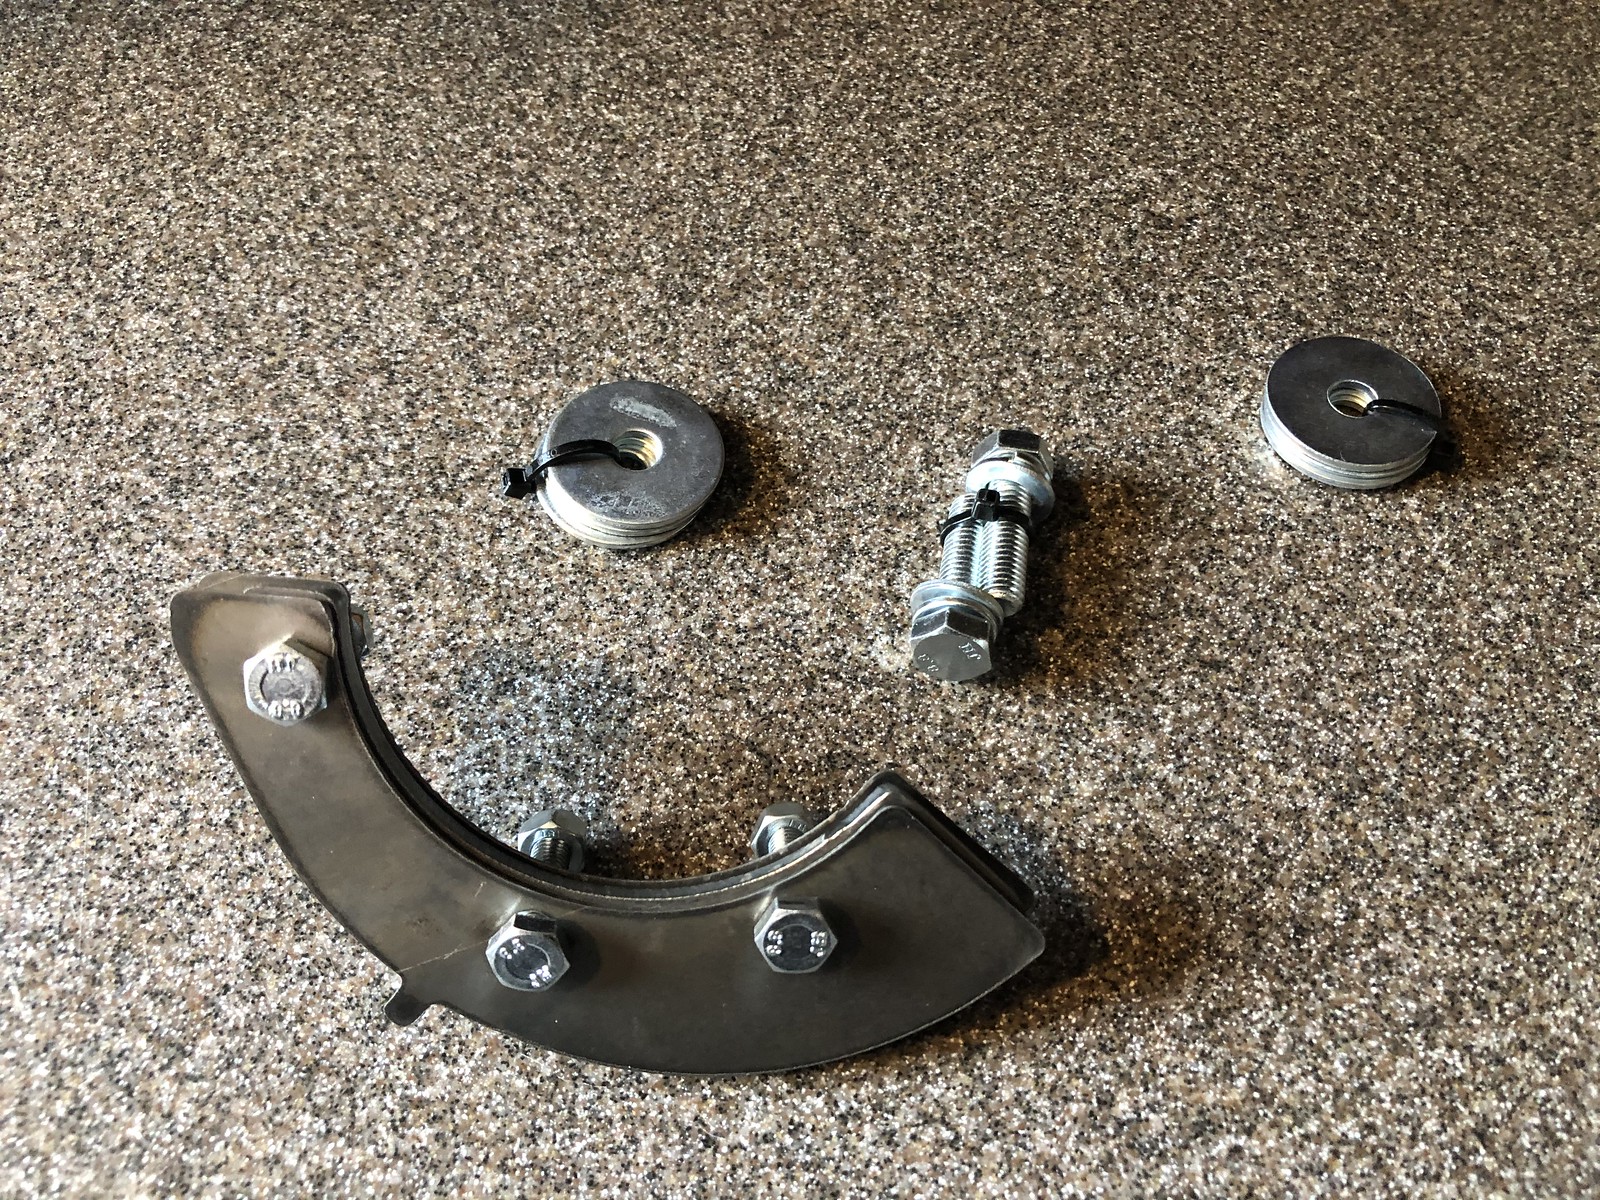
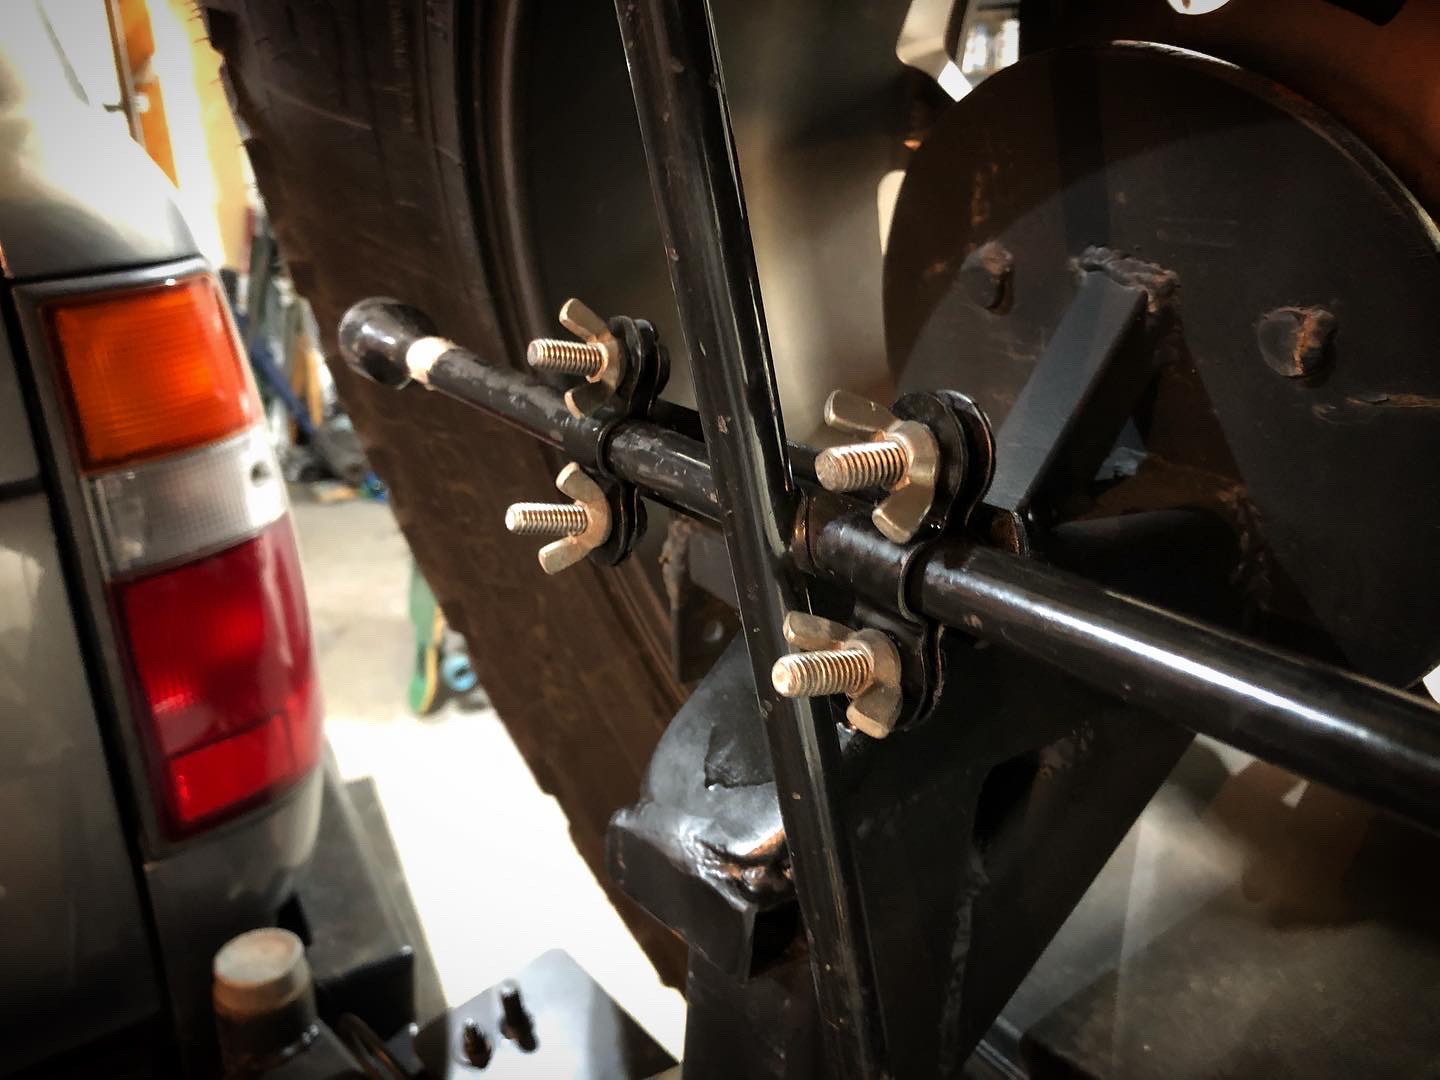
Made a stupid bracket to hold my lug wrench
Untitled by Adam Tolman, on Flickr

Untitled by Adam Tolman, on Flickr

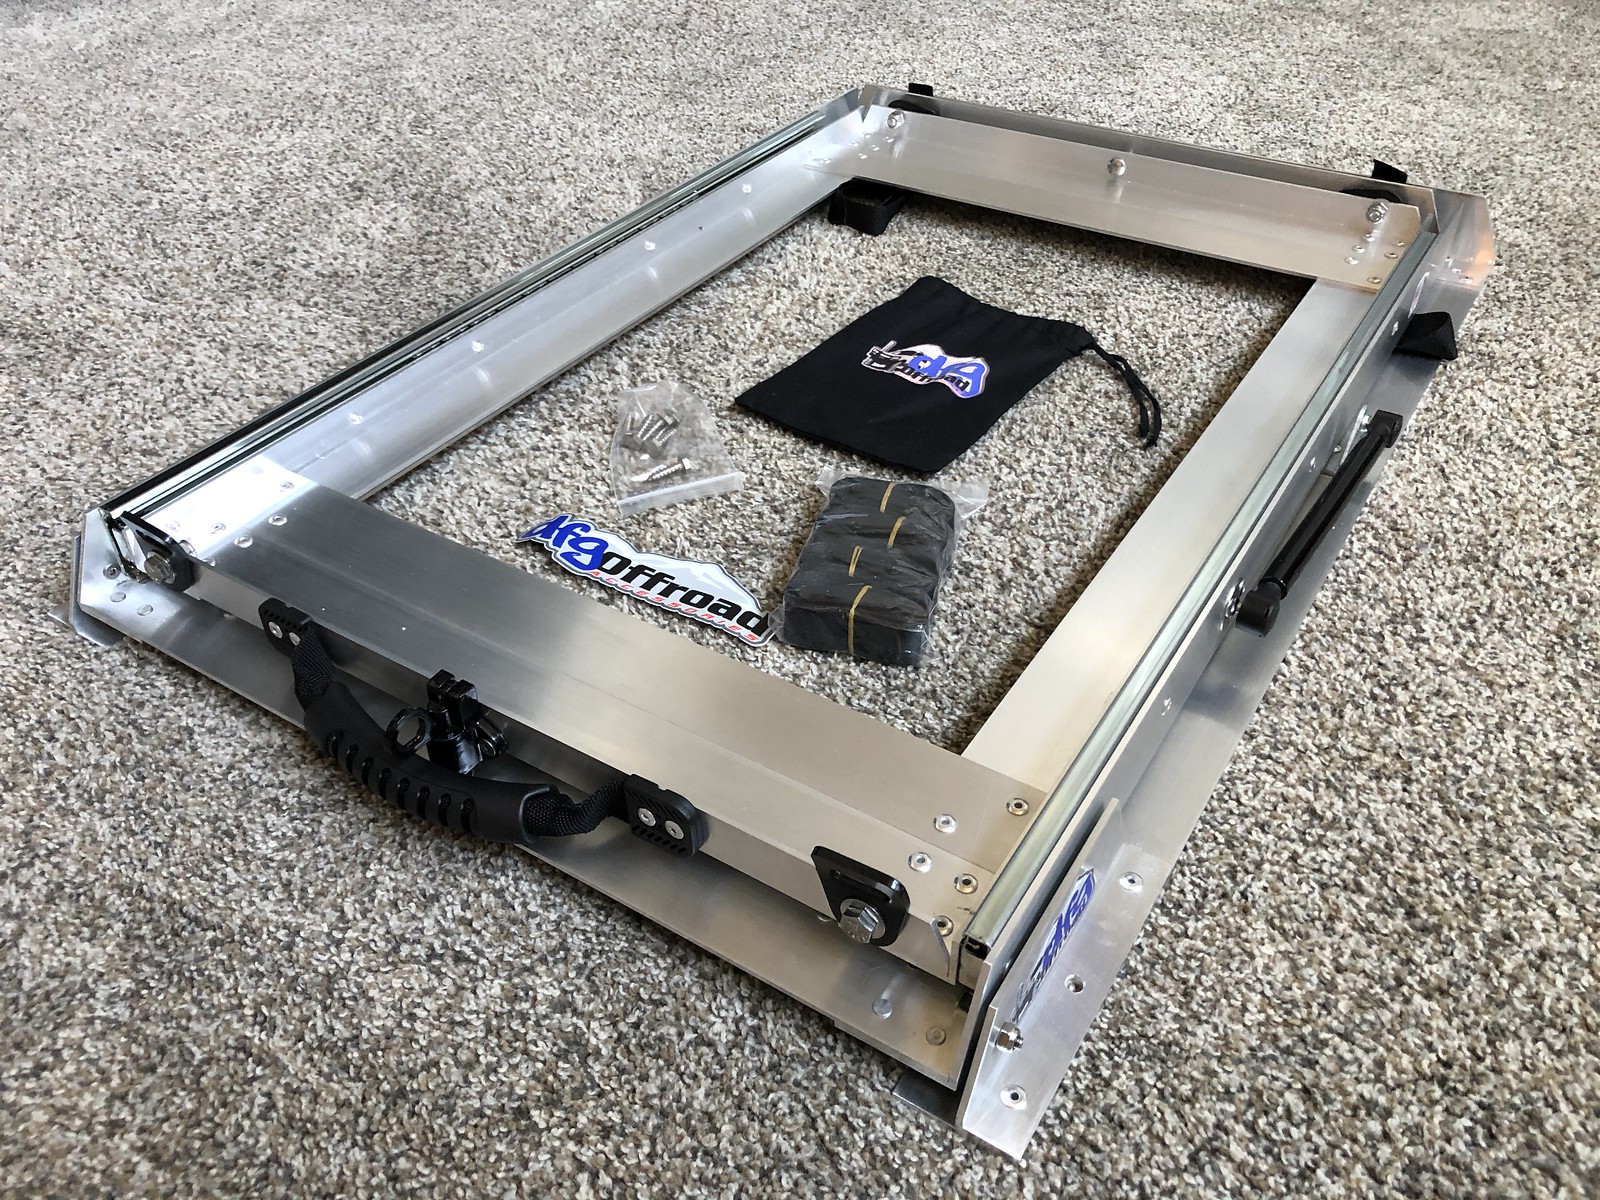
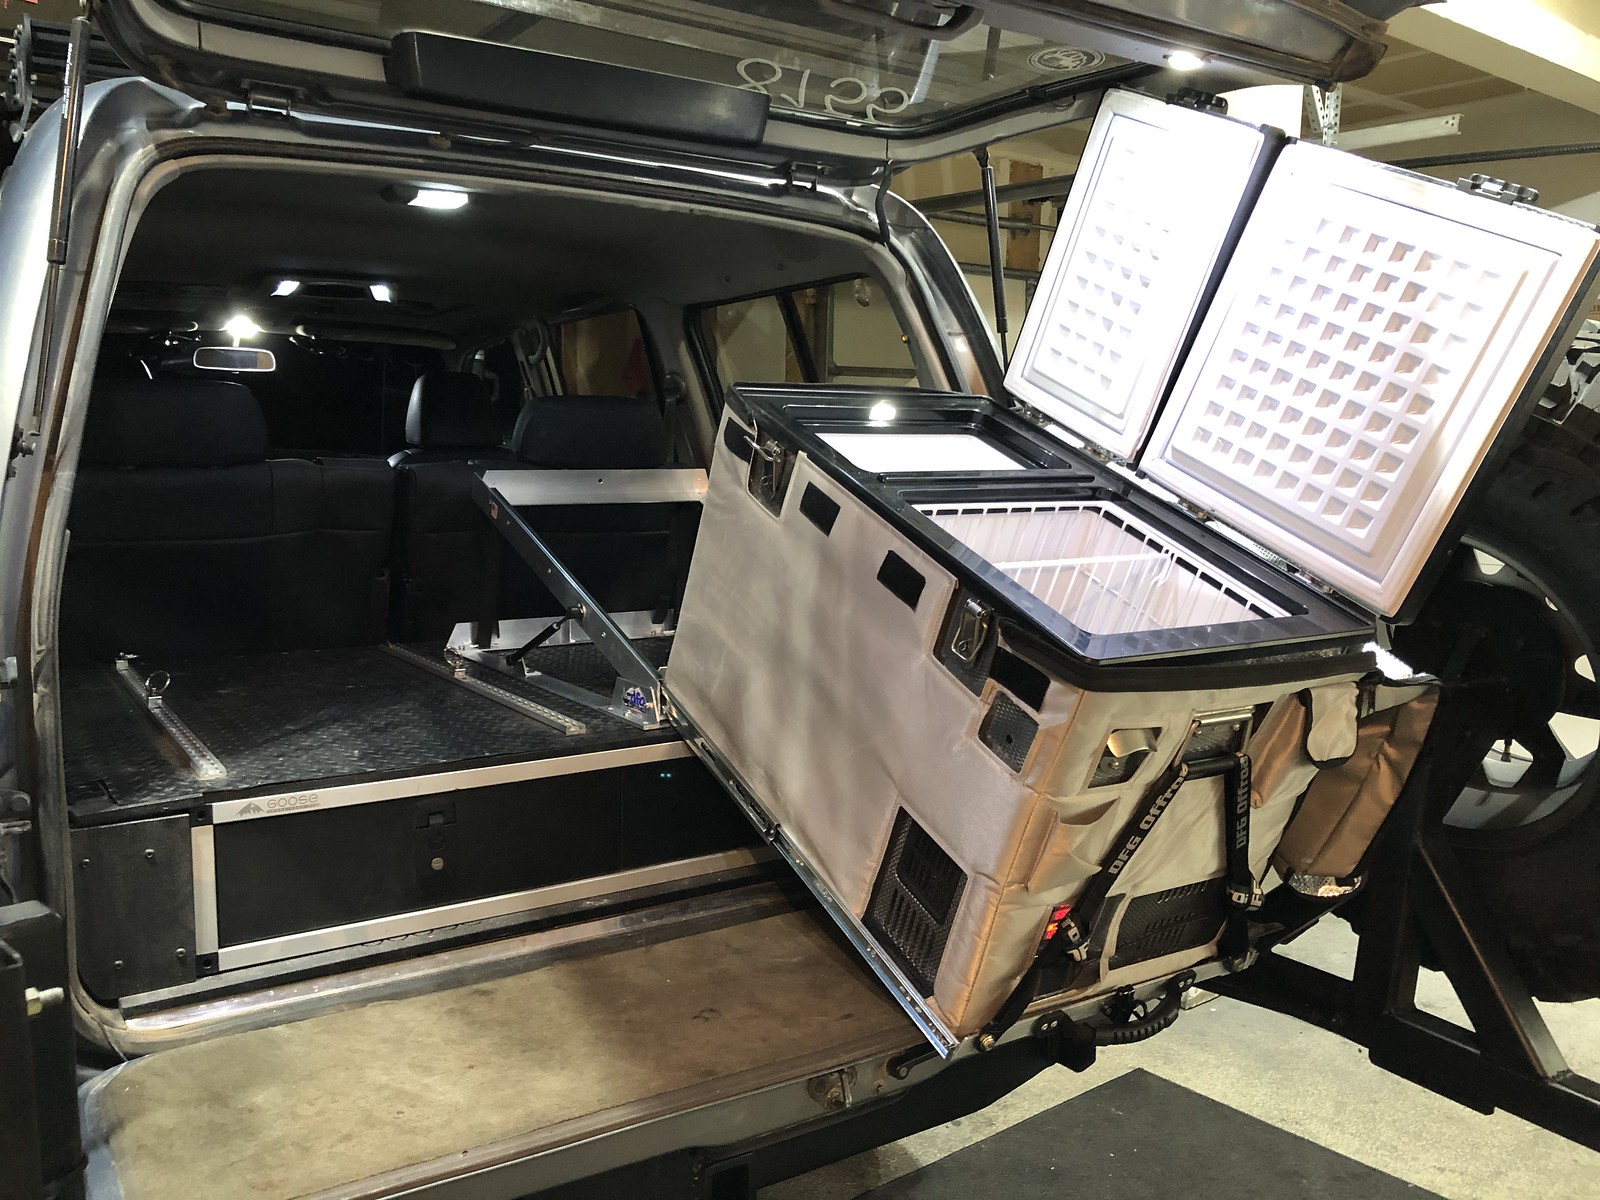
Added a tilting fridge slide
Fridge Slide by Adam Tolman, on Flickr

Fridge Slide by Adam Tolman, on Flickr

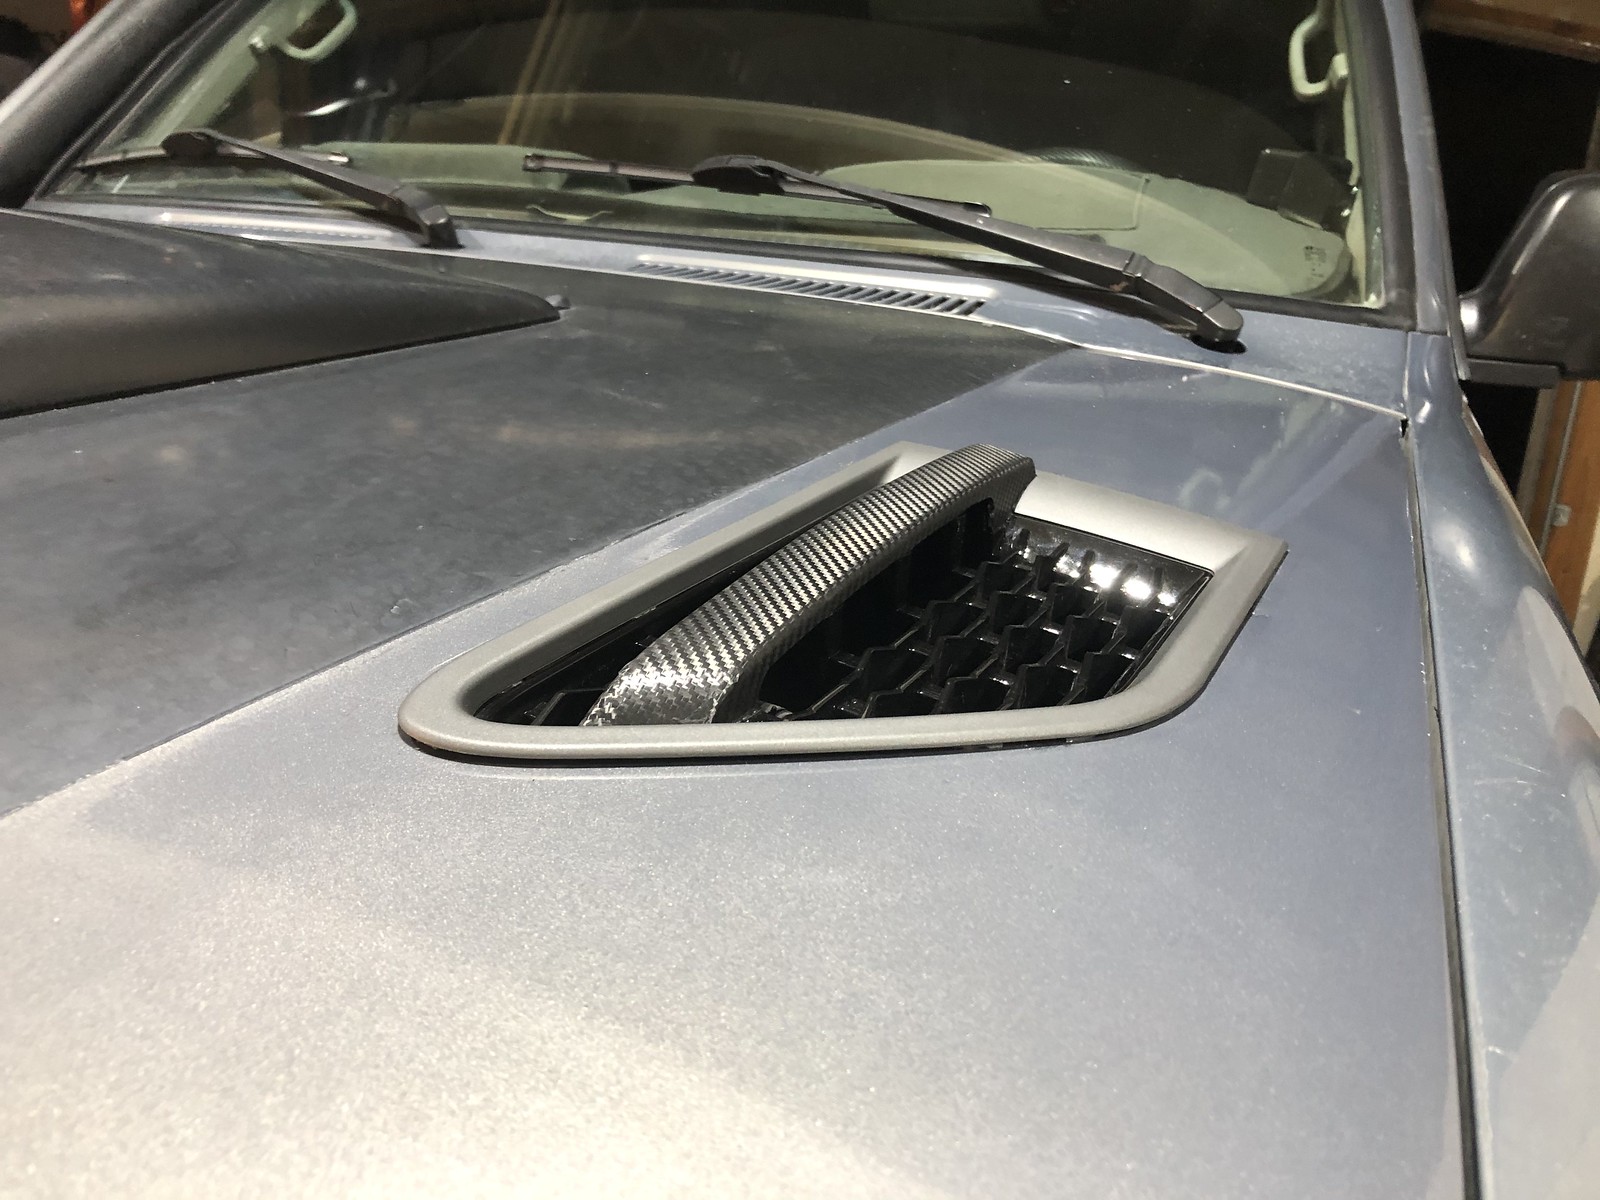
And most recently, added some hood vents to work with my scoop.
Hoodvents by Adam Tolman, on Flickr

Hoodvents by Adam Tolman, on Flickr

Hoodvents by Adam Tolman, on Flickr
 

Box Rocket

Well-known member
Just a few recent changes that I wanted to add to the thread.
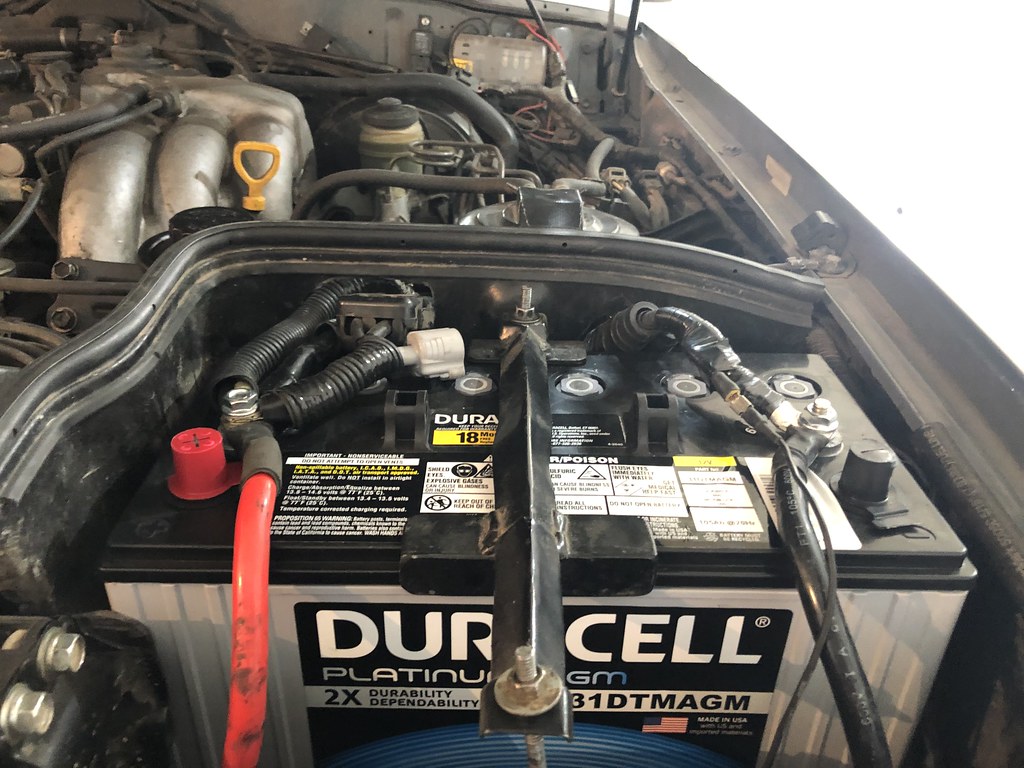
Replaced my DEKA group31 battery with a new Duracell deep cycle Group 31 AGM
Untitled by Adam Tolman, on Flickr

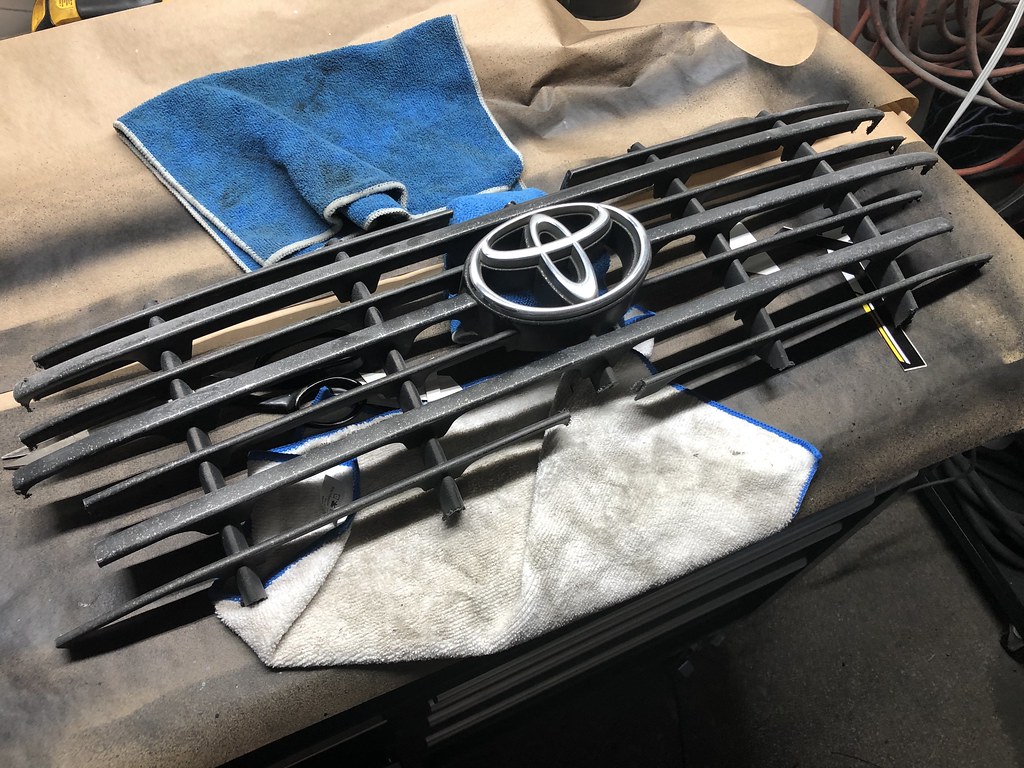
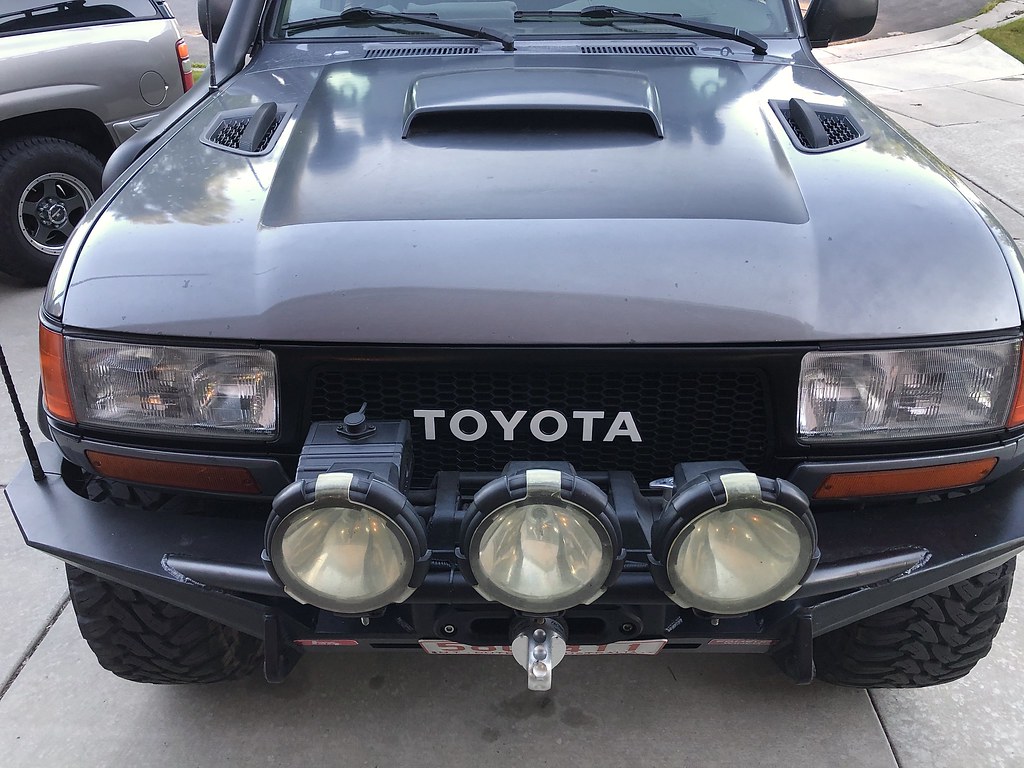
messed around with an extra grill I had for a small cosmetic change. This is the grill that has been on the truck
Untitled by Adam Tolman, on Flickr

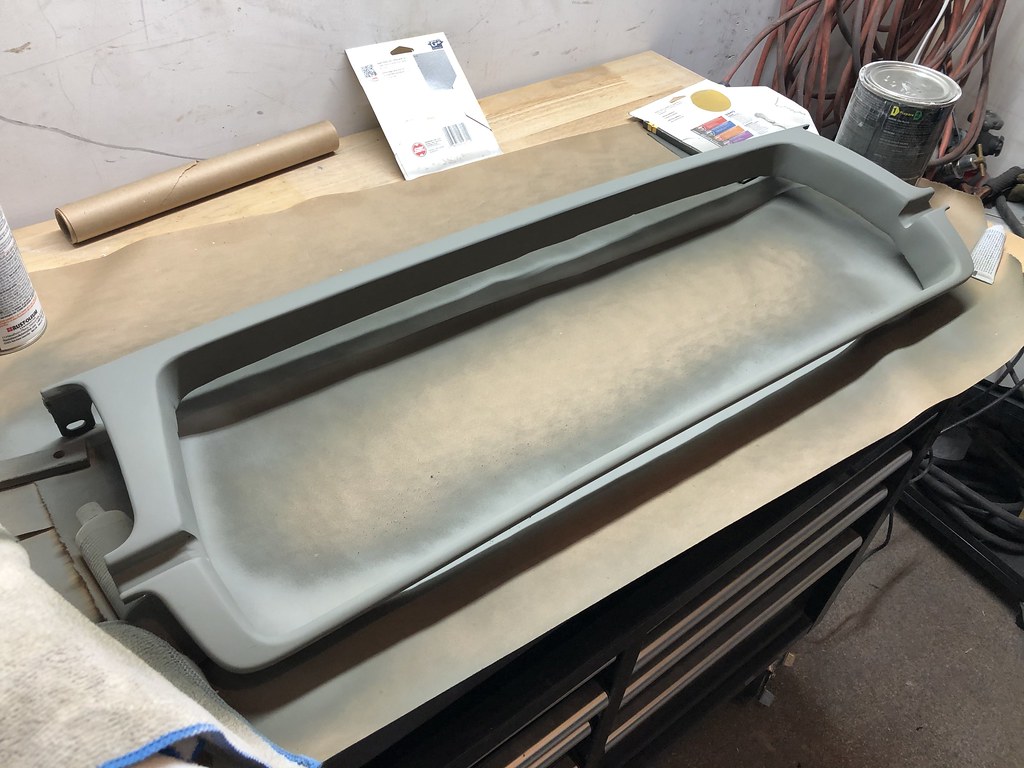
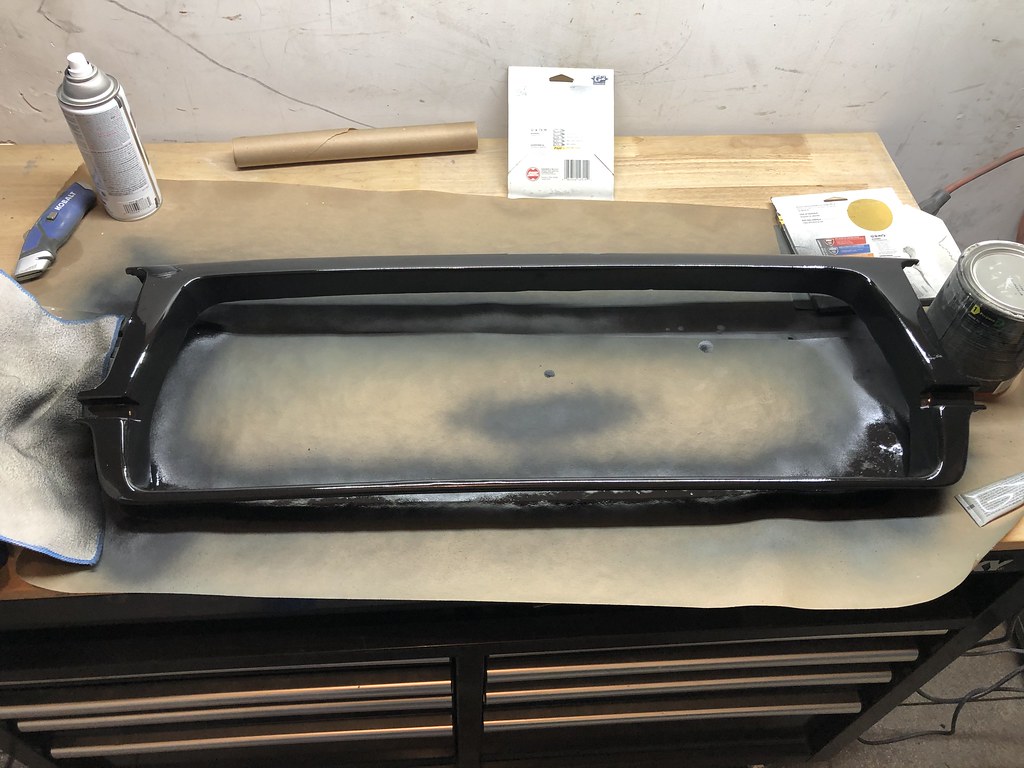
but I took a donor grill and cut out the center and created a new center. Pretty much a "Satoshi" grill if you're familiar with those.
Untitled by Adam Tolman, on Flickr

Untitled by Adam Tolman, on Flickr

Untitled by Adam Tolman, on Flickr

Untitled by Adam Tolman, on Flickr

Untitled by Adam Tolman, on Flickr

My birthday was a few weeks ago and there were a few minor things I had commented about that I didn't love about the DFG fridge tilt slide. Mainly, it had a bit of a rattle I struggled to get rid of. Anyway, my wife surprised me for my birthday with a new MSA drop slide. Any of you that have one of these will know they are a BEAST of a slide. Very heavy duty. But it's a great slide. It's been quieter than the tilt slide and with the limited use so far it is a great addition. The tilt slide is still a good unit and I'm deciding what to do with it. It might end up in one of my son's trucks.
Untitled by Adam Tolman, on Flickr

Untitled by Adam Tolman, on Flickr

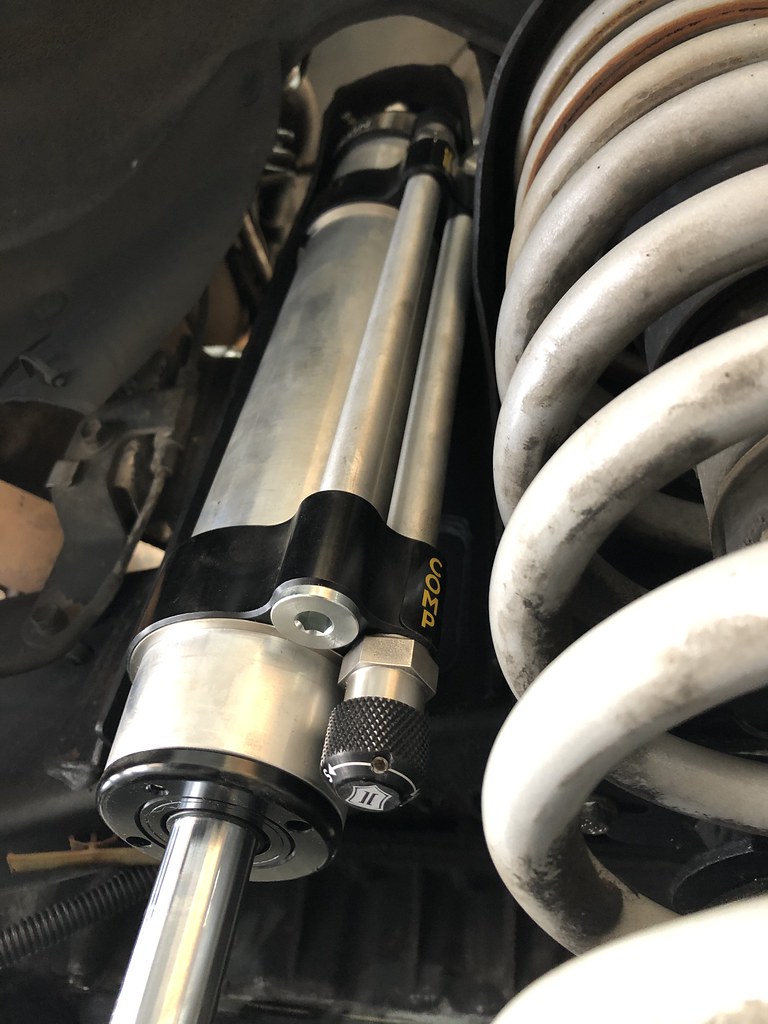
The thing I'm most excited about is another upgrade to the suspension. I've been running the Stage4 Slinky suspension for the past few years and have been extremely happy with it! It totally transformed how the truck drives. But I've always had a desire to take it a step further and this past week I got the front two Stage 5 Slinky shocks. These are 2.5 remote res shocks just like the stage 4 but with dual bypasses and separate adjustment for rebound and compression. I've just don't a basic "tune" on them at this point but I think they are going to be really nice! Still waiting for the rear shocks to arrive and then I'll go do some real testing and tuning. Ten years ago I'd have never thought that there would be such awesome suspension options available today for the 80 series. Ten years ago the tried and true Old Man Emu suspension that was probably on 90% of the 80 series out there seemed to be the pinnacle and as the 80 was just going to get older it seemed likely that aftermarket support would begin to slow. But happily it's done just the opposite and aftermarket support has surged in the last decade, particularly in the last 5 years. That same OME suspension that so many loved (myself included) seems absolutely archaic now compared to the new technology available in suspensions for these Cruisers. In 20 years of owning 80s I haven't experienced a suspension I like as much or is as good as an all around performance suspension as the Slinky kits. Easily been the best mod I've made to any of my trucks.
Stage5 Slinky by Adam Tolman, on Flickr

Stage5 Slinky by Adam Tolman, on Flickr
 

Rubicon85

Observer
Finally finished reading through the whole thread, such a rad cruiser. Very tastefully done and inspires me to get to work on my new to me 80 series, first up in mine is a V8 swap as the original motor is long gone :)...thanks for documenting and hope to see you on the trails one day.
 

Forum statistics

Threads
188,209
Messages
2,903,812
Members
229,665
Latest member
SANelson
Top