You are using an out of date browser. It may not display this or other websites correctly.
You should upgrade or use an alternative browser.
You should upgrade or use an alternative browser.
Box Rocket 1995 FZJ80 Build
- Thread starter Box Rocket
- Start date
Box Rocket
Well-known member
Thanks Nic!Still my favorite USA spec 80 of all time!
Box Rocket
Well-known member
I have been wanting a center console from Delta VS for a while and finally got one last week and was able to get it installed one evening this week. So much room inside. I might be looking into some smaller compartments to fit inside to organize things a little better. The quality is outstanding and everything fits perfectly. I'm always impressed with the Delta products. I made my own armrest pad but the height of the console is in a really nice location and should make driving more comfortable for anyone. Its much more comfortable to me and eliminates having to lean over to rest my arm on the factory console.
Delta console installed.
 Delta Console by Adam Tolman, on Flickr
 Delta Console by Adam Tolman, on Flickr
 Delta Console by Adam Tolman, on Flickr
Delta console installed.
 Delta Console by Adam Tolman, on Flickr
 Delta Console by Adam Tolman, on Flickr
 Delta Console by Adam Tolman, on Flickr
Box Rocket
Well-known member
Probably was me. I was headed home from SLC. Thanks for the compliment.I think I may have seen this rig pass me on I-15 N near Woods Cross this afternoon. Impressive build, nice work!
Sent from my iPhone using Tapatalk Pro
Box Rocket
Well-known member
I've been very happy with the lights!OP, how are you liking those crazy lights? been debating to get the 7" versions.
Box Rocket
Well-known member
I have forgotten to update this thread for a while so I've got a bunch to catch up on.
Need to do a few updates for the sake of documenting the build.
First off, after having the EBC/Hawk brakes for a couple months now I can say that I like the setup. I do think it's an nice upgrade from stock, but it isn't a massive change. I don't have any hard data that show braking distance has improved but the seat of the pants feel is that the brakes bite a bit harder than stock, but don't expect these to feel like sports car brakes.
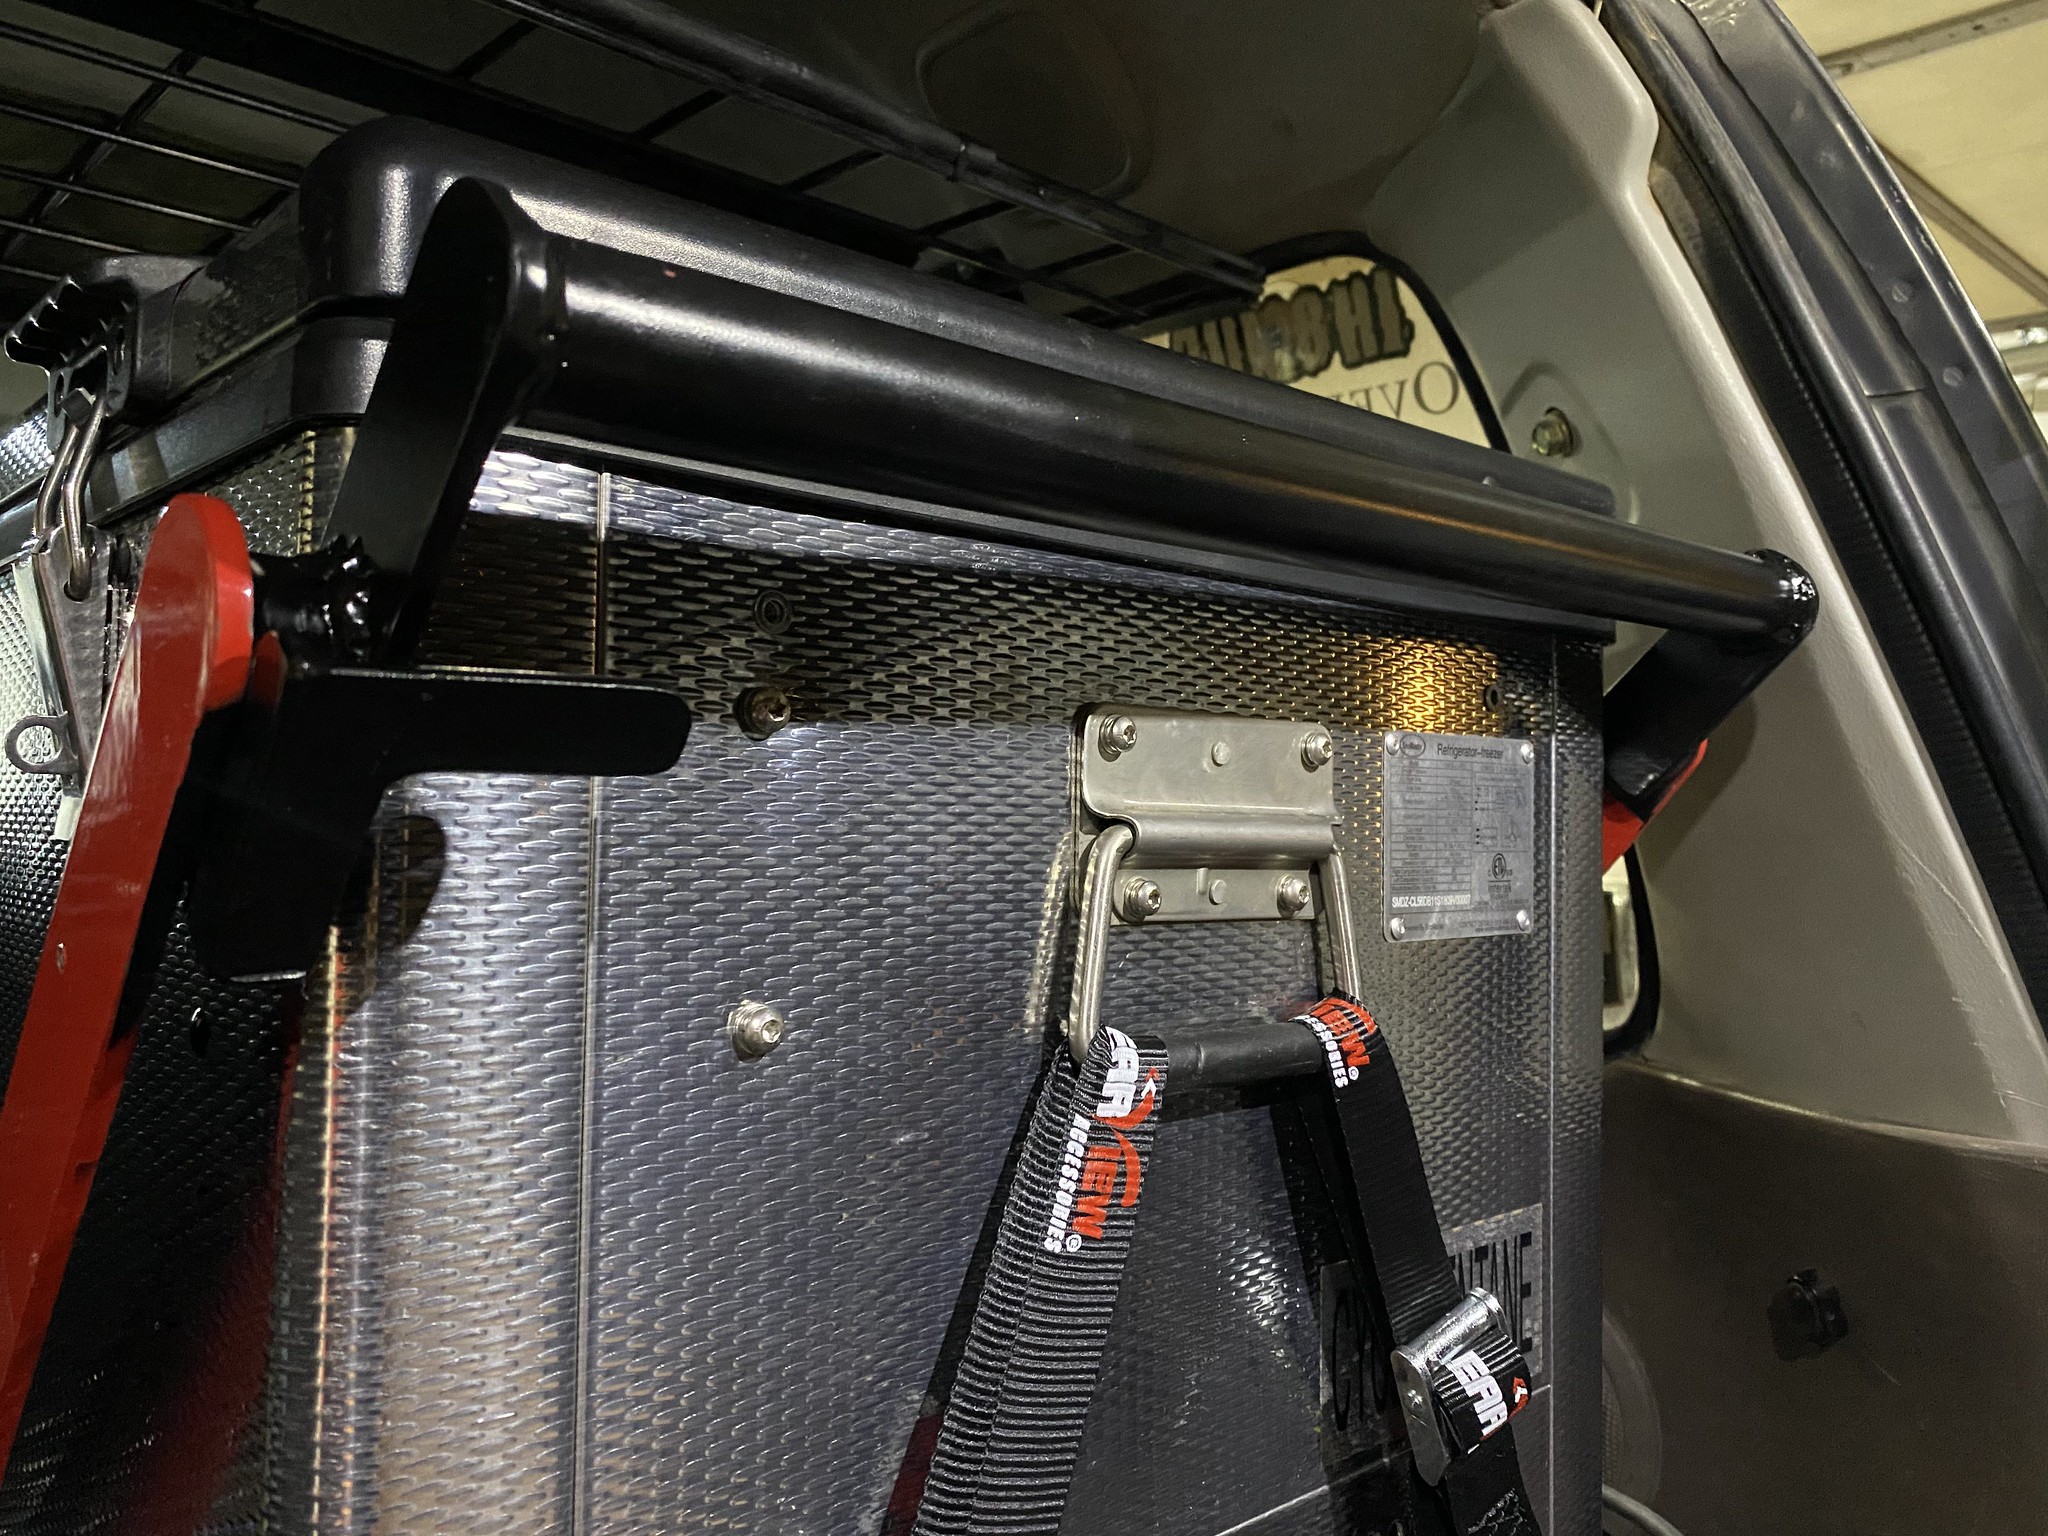
I posted this upgrade in the "what did you do to your 80 this weekend" thread but didn't add it here. If you look back a couple pages you'll see the MSA fridge drop slide I added this past summer. It's a really nice slide and very heavy duty. The one thing I didn't like was that the handle arm rotates up and over the top of the fridge. The fridge needs to be able to drop at least 10" for the arm to fully rotate past the top of the fridge. Since my drawers are only 8" tall the handle couldn't fully rotate out of the way so the handle was partially in the way of opening the fridge. It wasn't a huge issue, but an annoyance all the same.
So I sold the MSA slide and instead purchased a Clearview Easy Slide. This slide is also extremely heavy duty but the handle rotates down instead of up so it would not be in the way of opening the fridge. The vendor I ordered from told me which model was the correct one to fit my fridge. They were correct that it was the right model based on the footprint of the fridge but did not take into account the height of the fridge. So....the handle could not close all the way because it would contact the side of the fridge. This meant modifying the handle along with the handle release lever. They both needed to be extended about 2.5". Fortunately I have a welder and was able to make the modifications without too much trouble. For someone that didn't have the tools needed this would render the slide useless until they could get it to someone who could modify it or exchange it for a larger model slide. The Slide model is the ES150-PLUS. My fridge is a Snomaster CL52D. If you have this fridge you'll want to order the slide model larger than the 150-PLUS to avoid needing to modify anything.
 Untitled by Adam Tolman, on Flickr
This is after making the modifications to the handle. The end of the red arm is where the original handle was. You can see the part I added painted black.
 Untitled by Adam Tolman, on Flickr
 Untitled by Adam Tolman, on Flickr
 Untitled by Adam Tolman, on Flickr
 Untitled by Adam Tolman, on Flickr
 Untitled by Adam Tolman, on Flickr
 Untitled by Adam Tolman, on Flickr
I really like this slide despite needing to modify it. It works great and is very solid. One thing it has that the MSA did not is a secondard lock (yellow handle under the center of the slide that can be seen when it's closed). This lock when engaged holds it all very solid and still so there is no movement or rattling. The slide and drop mechanism is smooth and easy to use.
Need to do a few updates for the sake of documenting the build.
First off, after having the EBC/Hawk brakes for a couple months now I can say that I like the setup. I do think it's an nice upgrade from stock, but it isn't a massive change. I don't have any hard data that show braking distance has improved but the seat of the pants feel is that the brakes bite a bit harder than stock, but don't expect these to feel like sports car brakes.
I posted this upgrade in the "what did you do to your 80 this weekend" thread but didn't add it here. If you look back a couple pages you'll see the MSA fridge drop slide I added this past summer. It's a really nice slide and very heavy duty. The one thing I didn't like was that the handle arm rotates up and over the top of the fridge. The fridge needs to be able to drop at least 10" for the arm to fully rotate past the top of the fridge. Since my drawers are only 8" tall the handle couldn't fully rotate out of the way so the handle was partially in the way of opening the fridge. It wasn't a huge issue, but an annoyance all the same.
So I sold the MSA slide and instead purchased a Clearview Easy Slide. This slide is also extremely heavy duty but the handle rotates down instead of up so it would not be in the way of opening the fridge. The vendor I ordered from told me which model was the correct one to fit my fridge. They were correct that it was the right model based on the footprint of the fridge but did not take into account the height of the fridge. So....the handle could not close all the way because it would contact the side of the fridge. This meant modifying the handle along with the handle release lever. They both needed to be extended about 2.5". Fortunately I have a welder and was able to make the modifications without too much trouble. For someone that didn't have the tools needed this would render the slide useless until they could get it to someone who could modify it or exchange it for a larger model slide. The Slide model is the ES150-PLUS. My fridge is a Snomaster CL52D. If you have this fridge you'll want to order the slide model larger than the 150-PLUS to avoid needing to modify anything.
 Untitled by Adam Tolman, on Flickr
This is after making the modifications to the handle. The end of the red arm is where the original handle was. You can see the part I added painted black.
 Untitled by Adam Tolman, on Flickr
 Untitled by Adam Tolman, on Flickr
 Untitled by Adam Tolman, on Flickr
 Untitled by Adam Tolman, on Flickr
 Untitled by Adam Tolman, on Flickr
 Untitled by Adam Tolman, on Flickr
I really like this slide despite needing to modify it. It works great and is very solid. One thing it has that the MSA did not is a secondard lock (yellow handle under the center of the slide that can be seen when it's closed). This lock when engaged holds it all very solid and still so there is no movement or rattling. The slide and drop mechanism is smooth and easy to use.
Box Rocket
Well-known member
The most recent update is a minor mod I did last night to add some stainless guide plates for the lock pins on my rear swingouts. I couldn't find any stainless plate locally so I had to get creative and I purchased a stainless trowel and cut out what I needed from the trowel. Doing this by hand (freehand) with simple tools isn't necessarily the cleanest result but it works.
 Untitled by Adam Tolman, on Flickr
 Untitled by Adam Tolman, on Flickr
 Untitled by Adam Tolman, on Flickr
 Untitled by Adam Tolman, on Flickr
 Untitled by Adam Tolman, on Flickr
 Untitled by Adam Tolman, on Flickr
Box Rocket
Well-known member
I got tired of the cheapo slip-on steering wheel covers but the original leather was trashed. So I got one of the leather covers from Loncky and recovered the wheel last night. One more piece to the transition to black interior. Black perforated leather with red stitching. Painted the airbag and column covers too.
 Steering wheel cover by Adam Tolman, on Flickr
 Steering wheel cover by Adam Tolman, on Flickr
 Steering wheel cover by Adam Tolman, on Flickr
 Steering wheel cover by Adam Tolman, on Flickr
 Steering wheel cover by Adam Tolman, on Flickr
 Steering wheel cover by Adam Tolman, on Flickr
 Steering wheel cover by Adam Tolman, on Flickr
 Steering wheel cover by Adam Tolman, on Flickr
 Steering wheel cover by Adam Tolman, on Flickr
 Steering wheel cover by Adam Tolman, on Flickr
 Steering wheel cover by Adam Tolman, on Flickr
 Steering wheel cover by Adam Tolman, on Flickr
 Steering wheel cover by Adam Tolman, on Flickr
 Steering wheel cover by Adam Tolman, on Flickr
 Steering wheel cover by Adam Tolman, on Flickr
 Steering wheel cover by Adam Tolman, on Flickr
 Steering wheel cover by Adam Tolman, on Flickr
 Steering wheel cover by Adam Tolman, on Flickr
Box Rocket
Well-known member
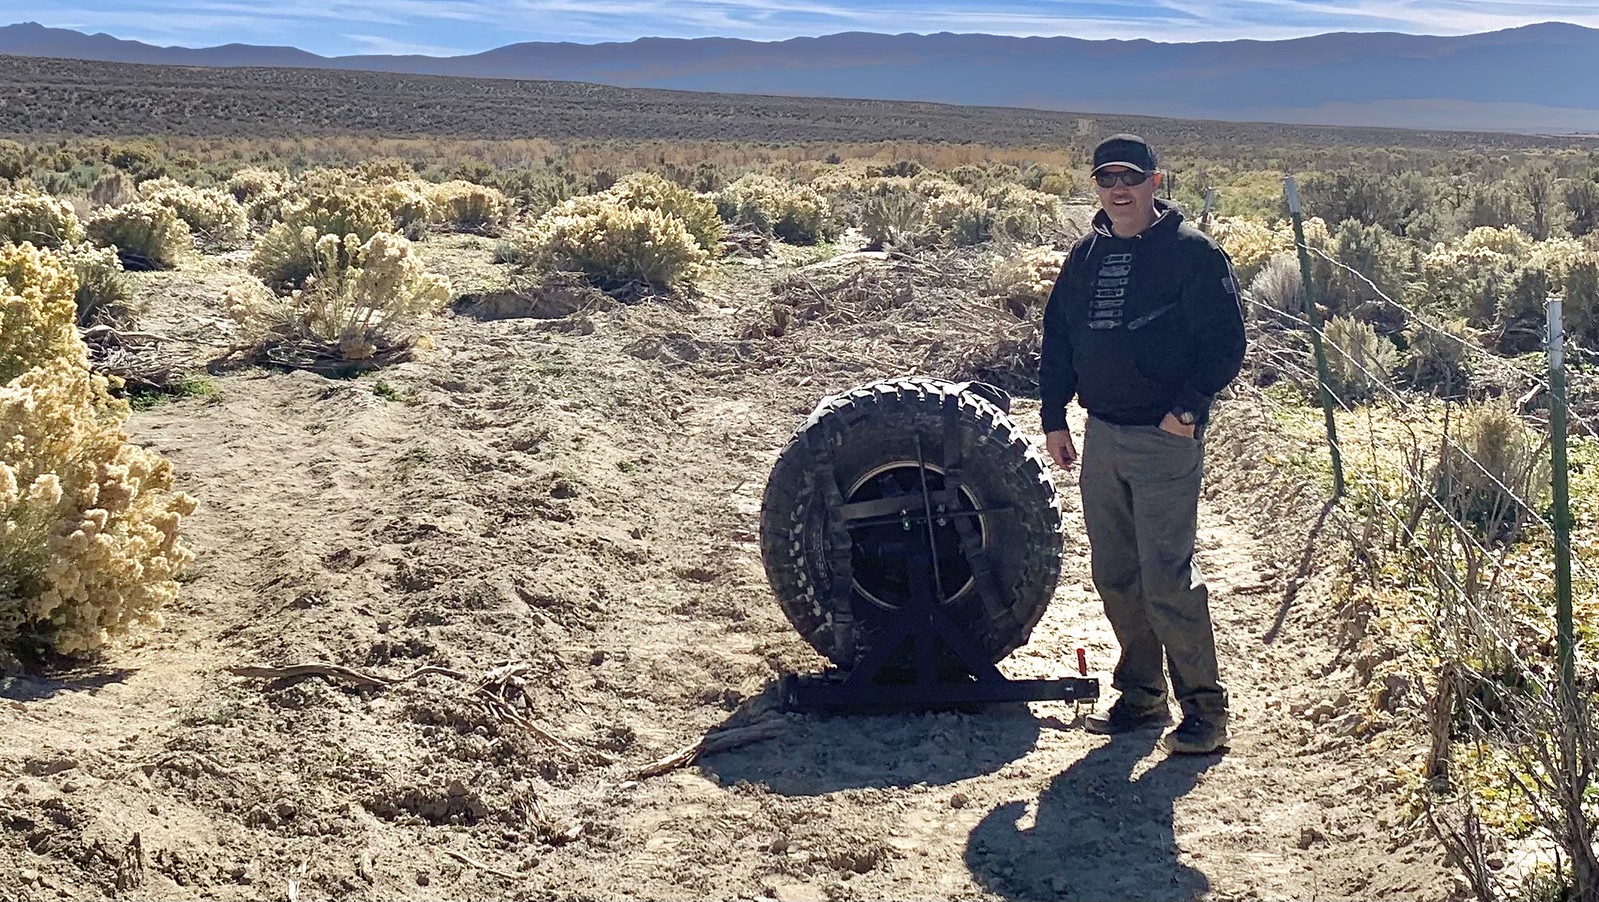
Hit a 2' ditch at 65mph on a recent trip. Suspension handled it just fine. The hinge spindle on my bumper didn't handle as well. I can't complain though, I built the bumper 16 years ago and it's had more than 100k miles of use and abuse with either a 35 or 37" spare tire on it. Fortunately, our group was a little spread out so when it came off it didn't create a dangerous situation. It ended up 30yrds or so off the road after it fell off and bounced into the weeds.
 Untitled by Adam Tolman, on Flickr
 Untitled by Adam Tolman, on Flickr
The bumper was still completely fine, there was no failure of any welds. The spindle just snapped at a stress riser where the spindle was machined to step down to a narrower diameter. We found the broken spindle and you could see that it had developed some cracks already sometime in the past and there was only about half of the spindle that was still intact.
 Untitled by Adam Tolman, on Flickr
 Untitled by Adam Tolman, on Flickr
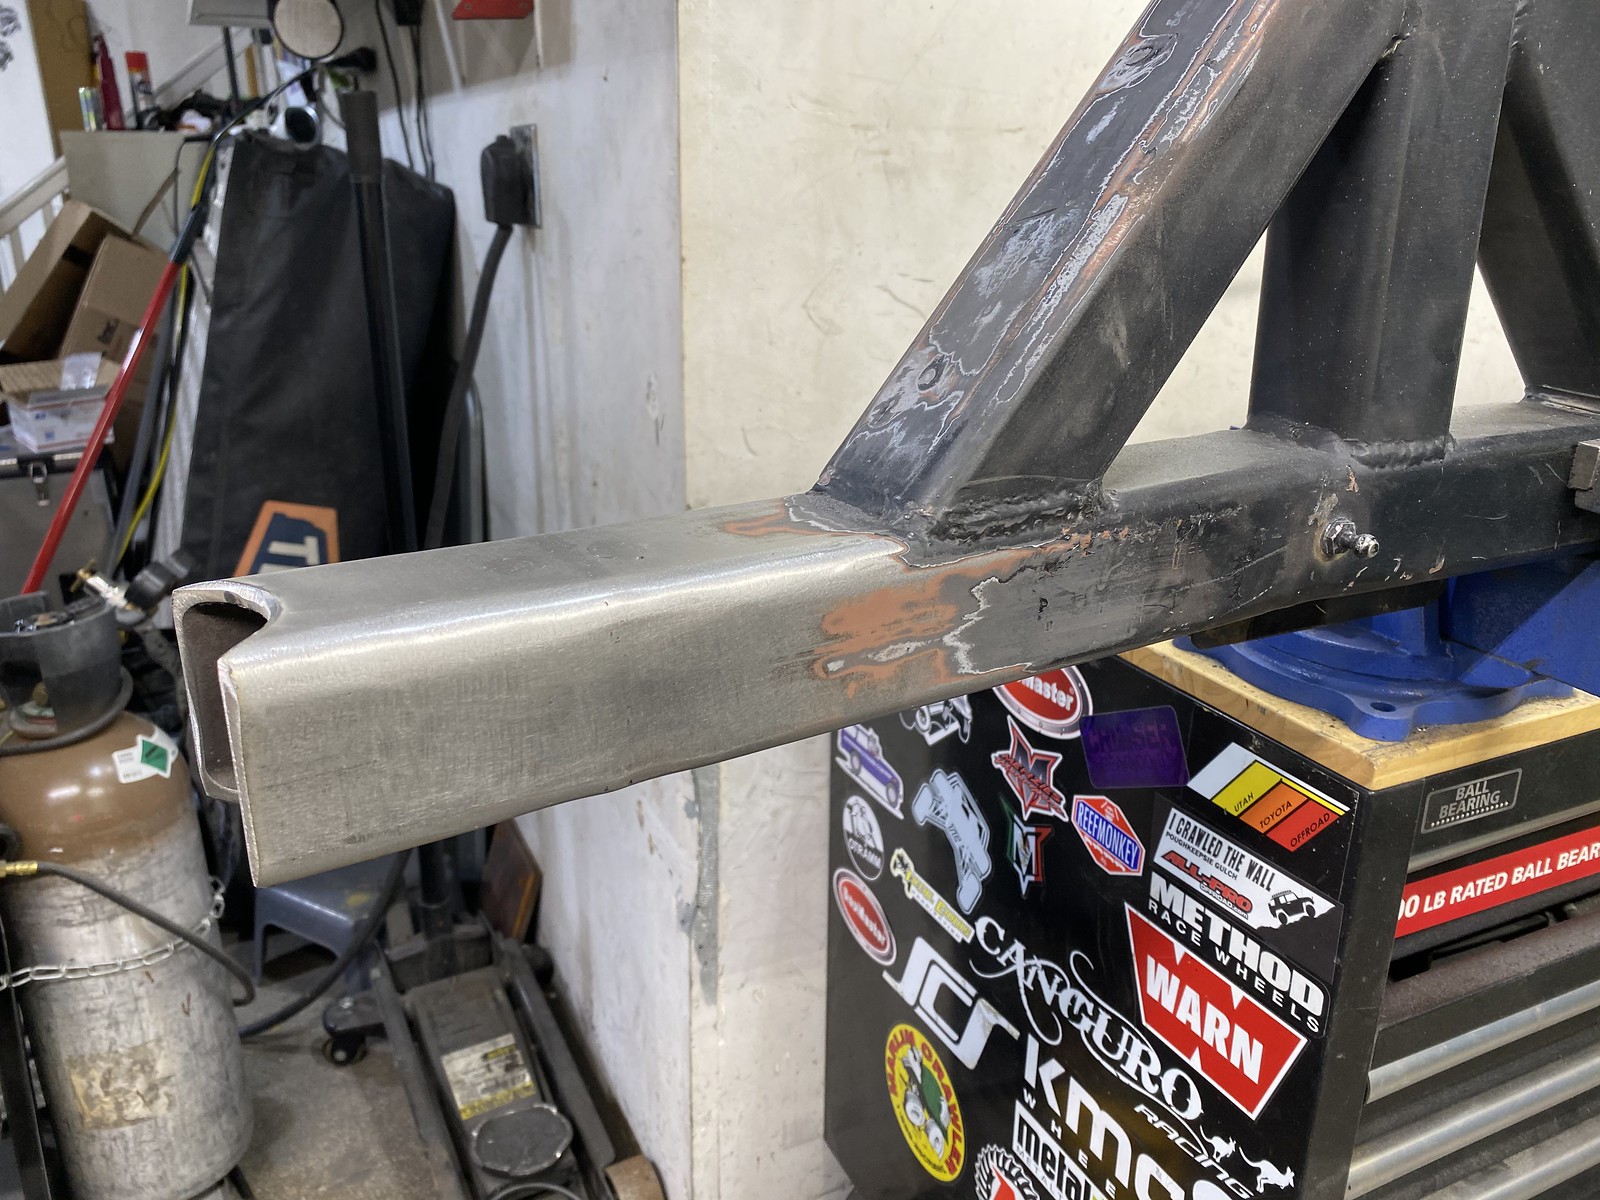
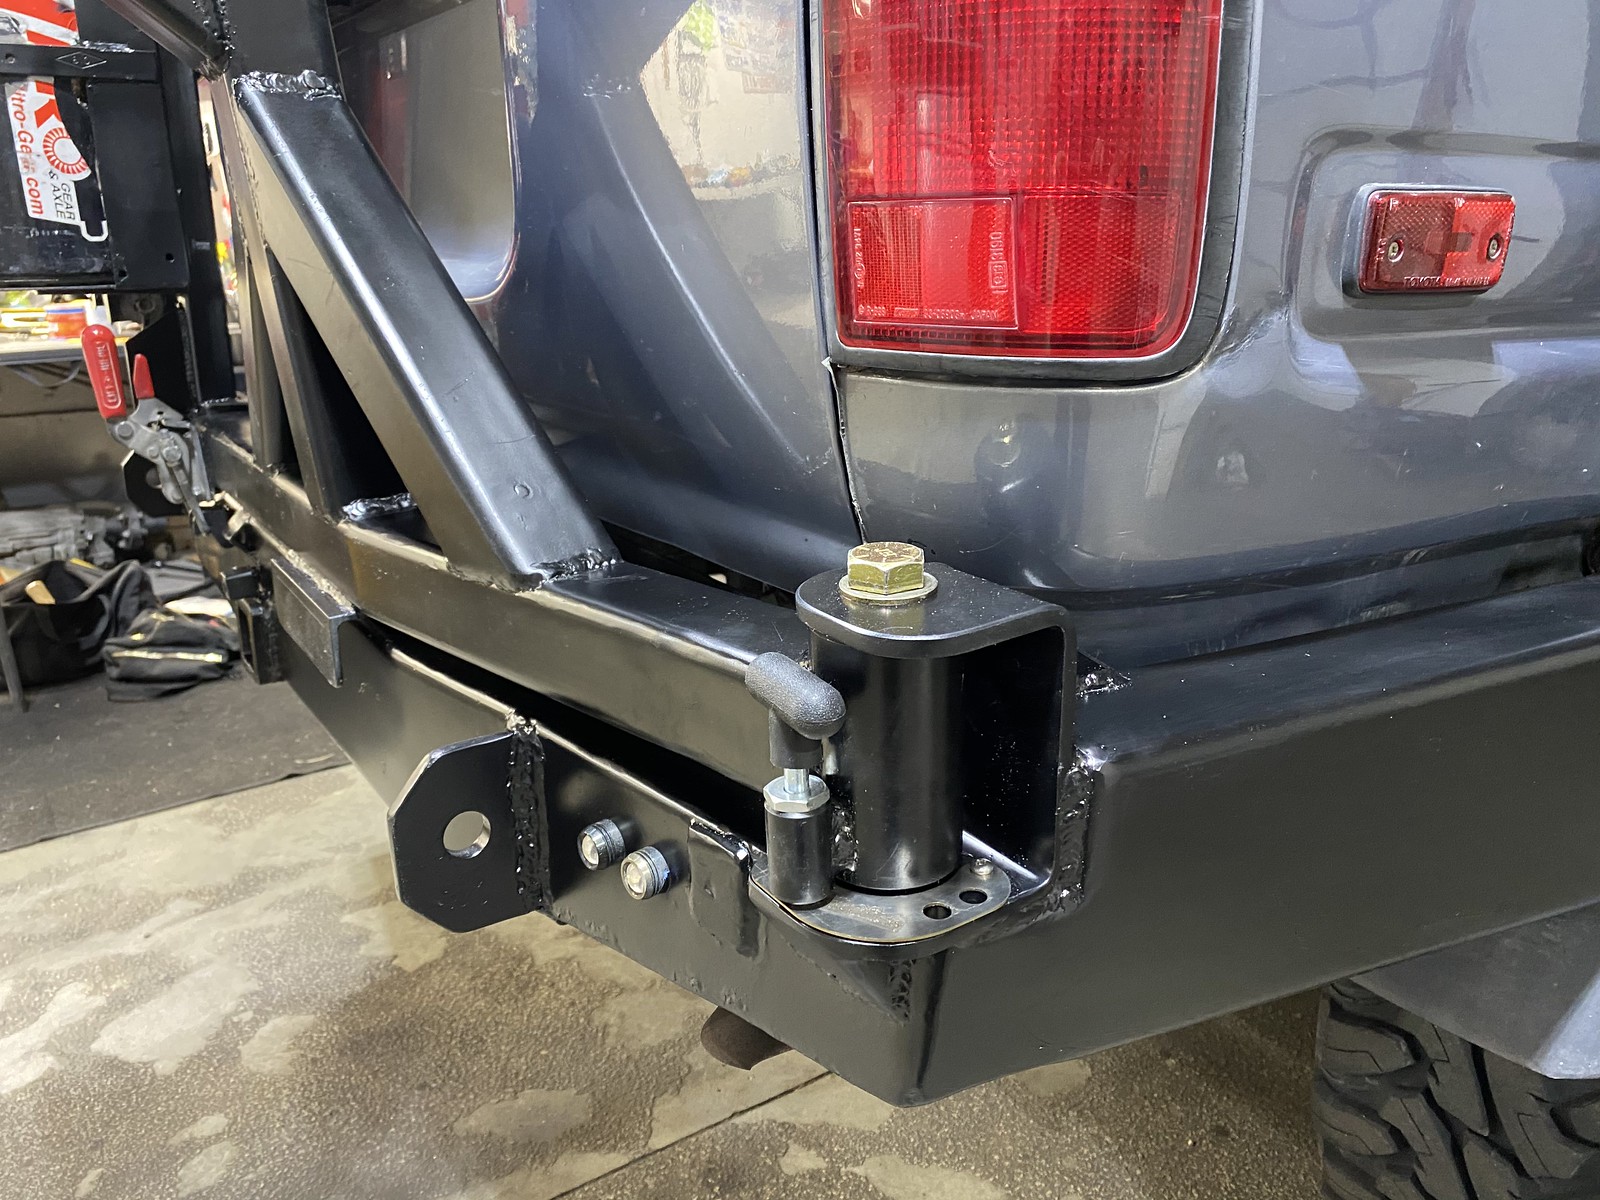
I got it fixed up this weekend using a 4xInnovation double shear hinge. This hinge looks like a really strong piece and I'm hopeful that it lasts another 16 years. The hinge outer tube was slightly different so I needed to cut the end off the swing arm and modify the arm a little. The arm is all built from 1/4" tube so it's strong (but heavy). I needed to add about 4" to the arm length so I sleeved the arm and added another section of 1/4" tube and welded them together using rosette welds as well as the joint itself. I think its a strong repair. The hinge worked out well. It's got two roller bearings with sleeved stainless inner sleeves with a 3/4" grade 8 bolt as the hinge pin.
 Untitled by Adam Tolman, on Flickr
 Untitled by Adam Tolman, on Flickr
 Untitled by Adam Tolman, on Flickr
 Untitled by Adam Tolman, on Flickr
 Untitled by Adam Tolman, on Flickr
 Untitled by Adam Tolman, on Flickr
 Untitled by Adam Tolman, on Flickr
 Untitled by Adam Tolman, on Flickr
 Untitled by Adam Tolman, on Flickr
The bumper was still completely fine, there was no failure of any welds. The spindle just snapped at a stress riser where the spindle was machined to step down to a narrower diameter. We found the broken spindle and you could see that it had developed some cracks already sometime in the past and there was only about half of the spindle that was still intact.
 Untitled by Adam Tolman, on Flickr
 Untitled by Adam Tolman, on Flickr
I got it fixed up this weekend using a 4xInnovation double shear hinge. This hinge looks like a really strong piece and I'm hopeful that it lasts another 16 years. The hinge outer tube was slightly different so I needed to cut the end off the swing arm and modify the arm a little. The arm is all built from 1/4" tube so it's strong (but heavy). I needed to add about 4" to the arm length so I sleeved the arm and added another section of 1/4" tube and welded them together using rosette welds as well as the joint itself. I think its a strong repair. The hinge worked out well. It's got two roller bearings with sleeved stainless inner sleeves with a 3/4" grade 8 bolt as the hinge pin.
 Untitled by Adam Tolman, on Flickr
 Untitled by Adam Tolman, on Flickr
 Untitled by Adam Tolman, on Flickr
 Untitled by Adam Tolman, on Flickr
 Untitled by Adam Tolman, on Flickr
 Untitled by Adam Tolman, on Flickr
 Untitled by Adam Tolman, on Flickr
Box Rocket
Well-known member
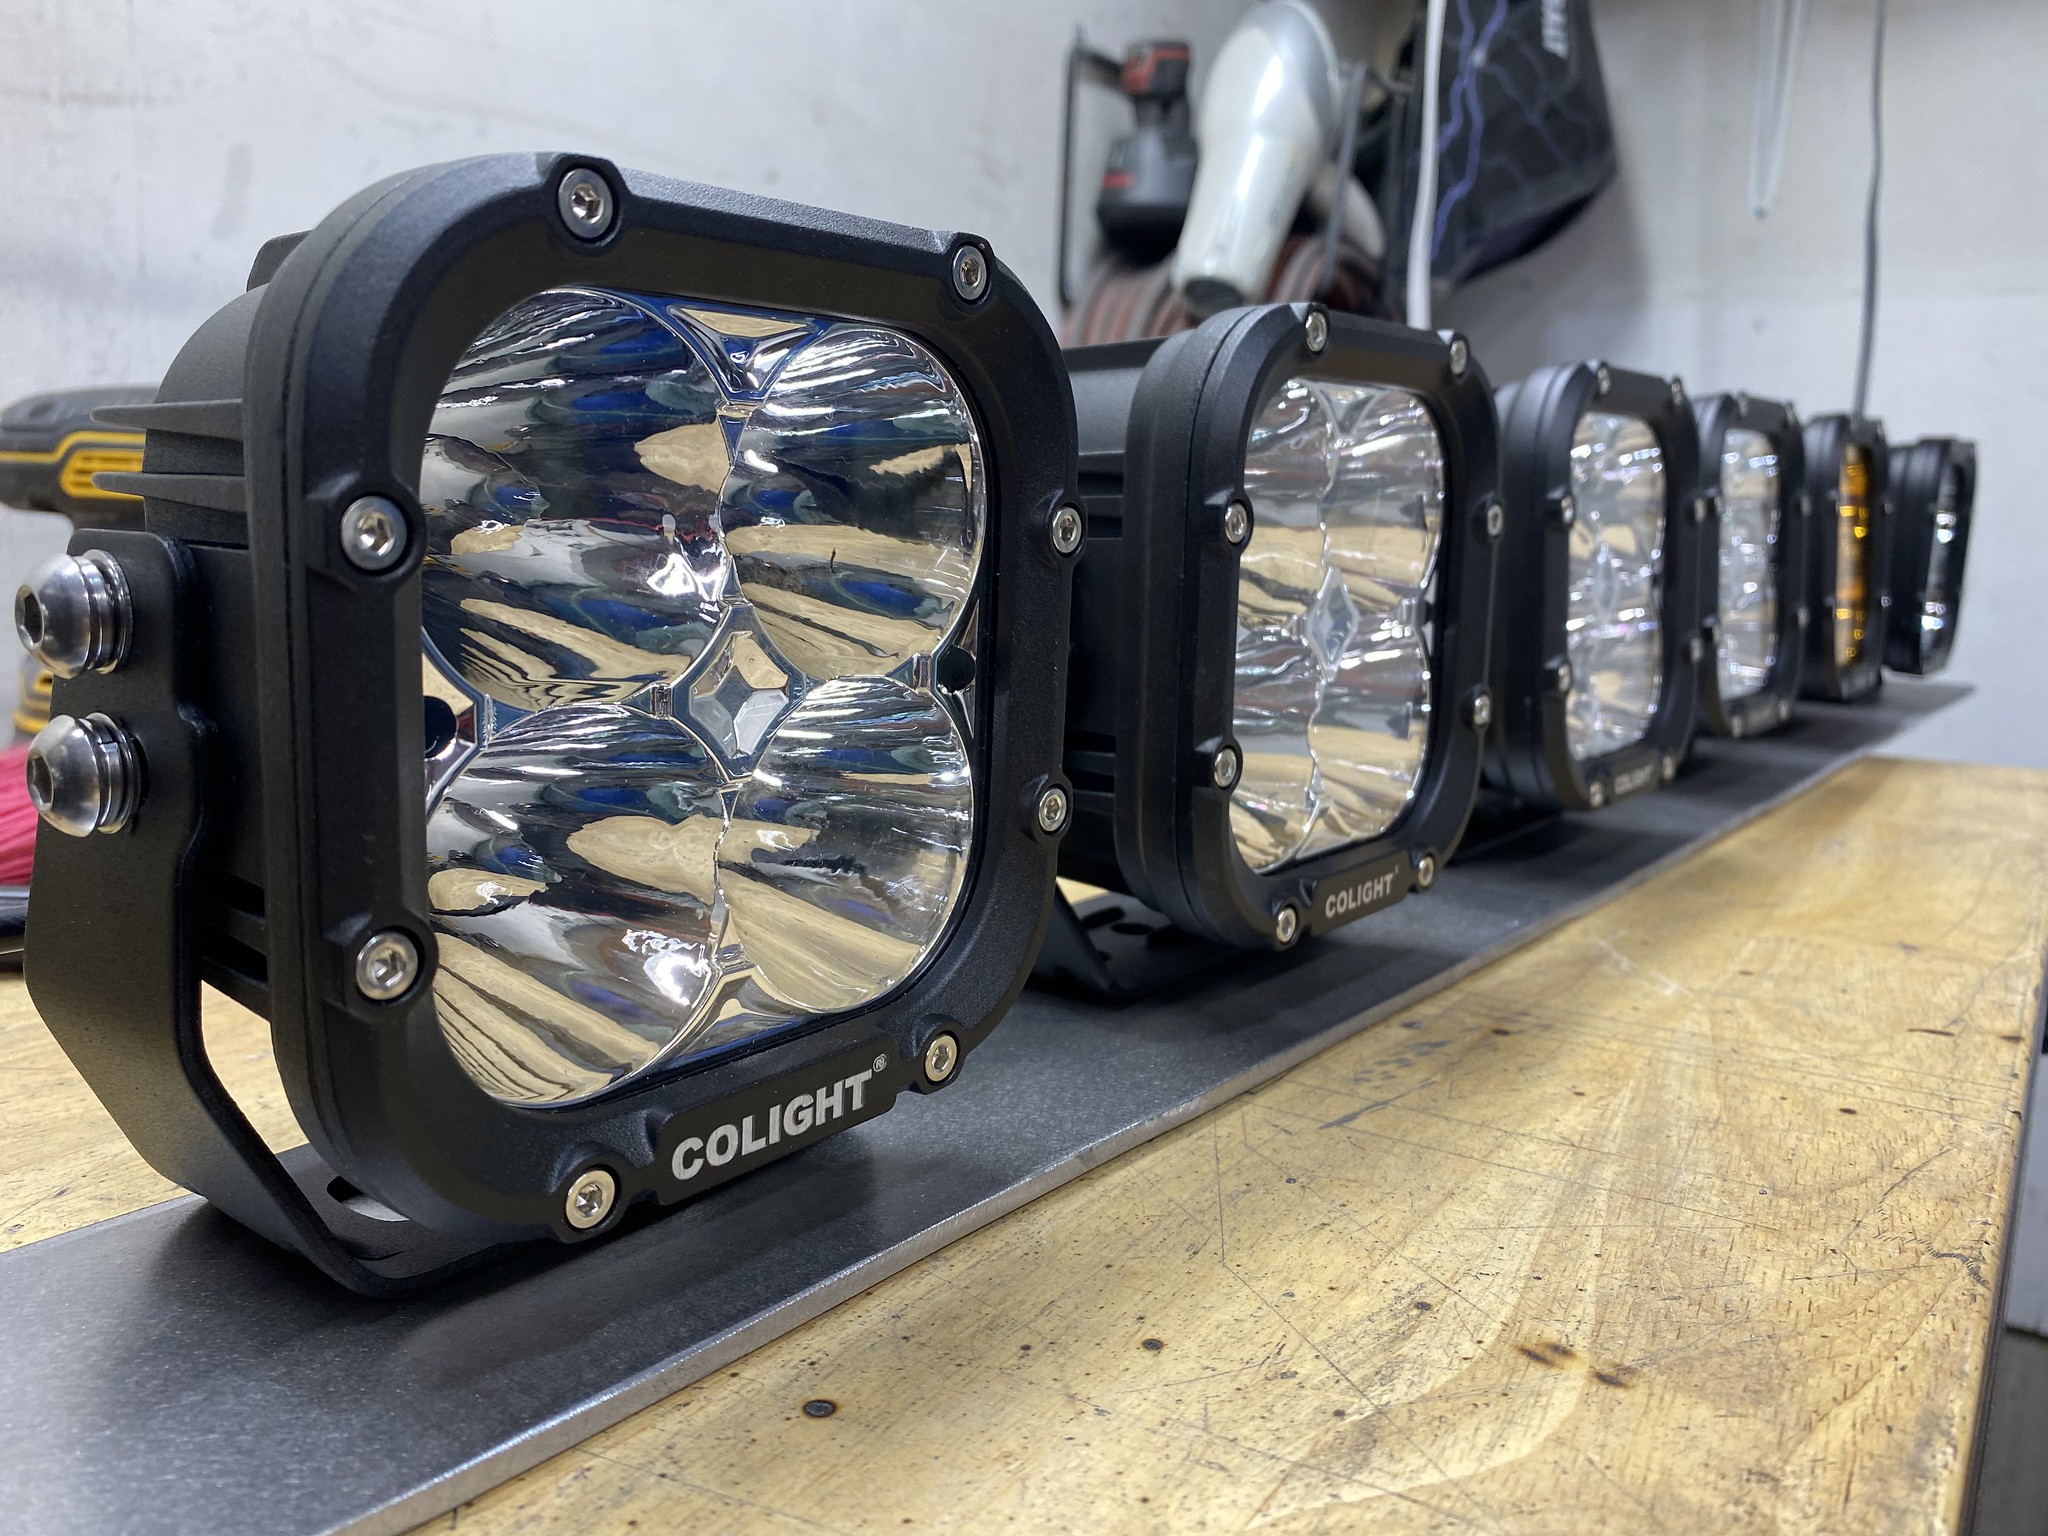
I took a gamble on some overseas offroad lights this past winter. They are 9" LEDs with a laser module in the center from a company called LED CoLight. They have been seriously impressive, so I got a hold of them about some other lights. The 4.5" Cube lights they sell fit what I was trying to do so I picked up a few sets of them.
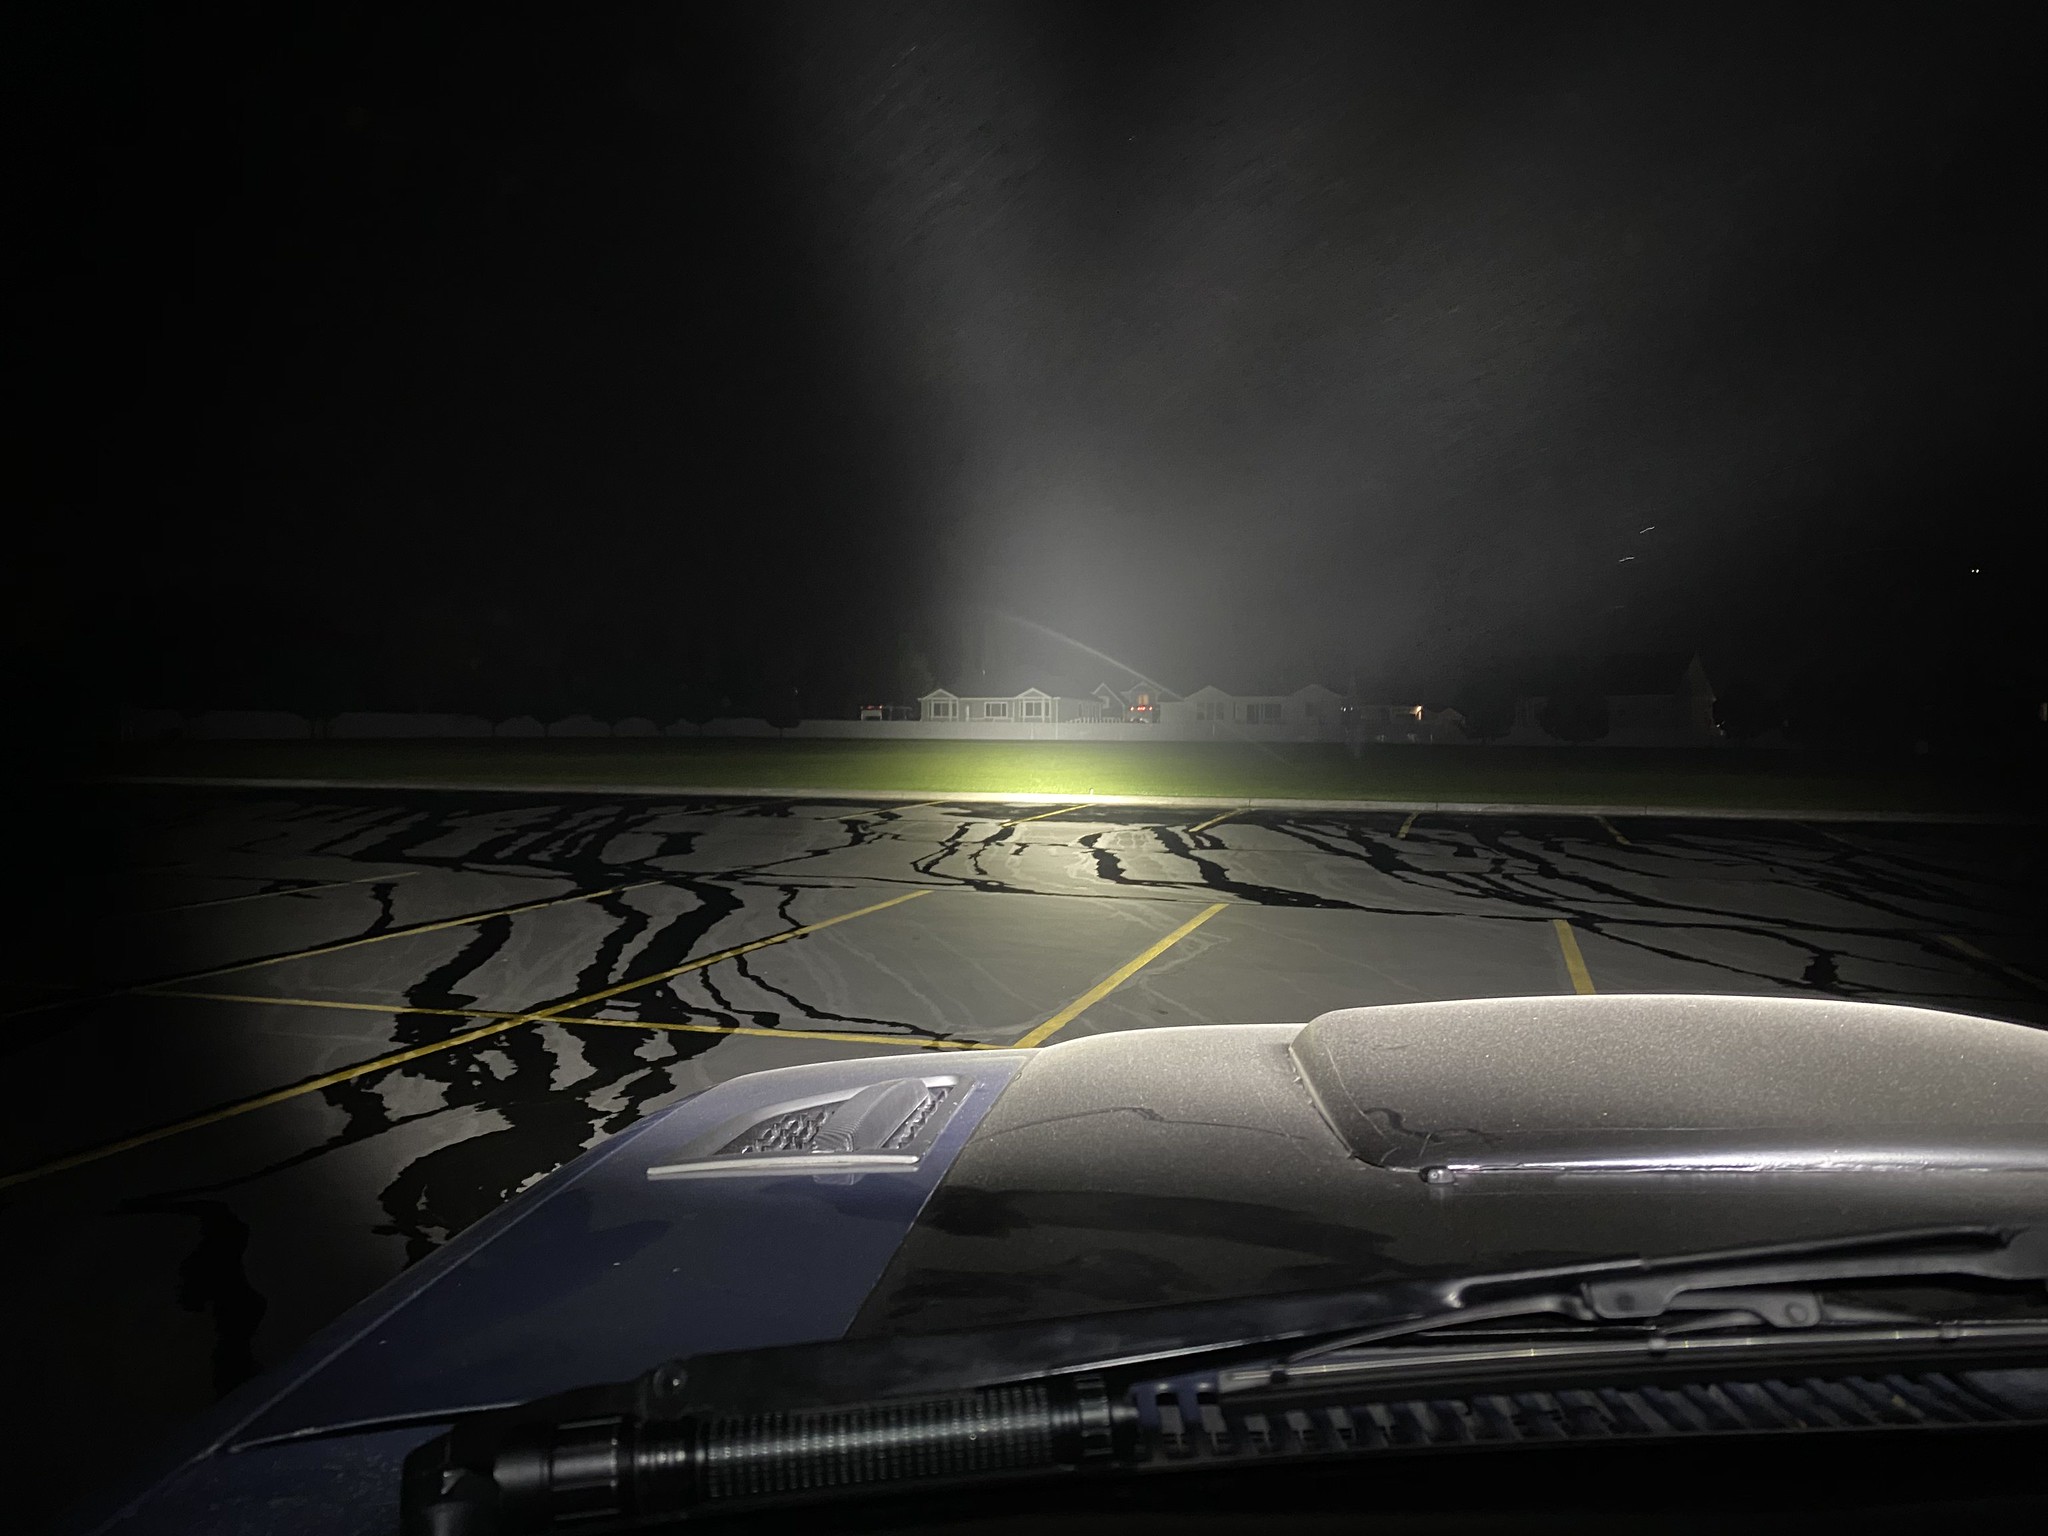
I made a simple mount for them from some scrap 3/16" steel I had in the garage and bolted it to one of the crossbars on the prinsu rack. These nighttime pics are before I got them aimed better. So far I am as impressed with these as I was with the ones I got in the winter. They aren't a cheap light but not as expensive as some of the big name US brands but have performed just as well in my experience.
 Roof lights by Adam Tolman, on Flickr
 Roof lights by Adam Tolman, on Flickr
 Roof lights by Adam Tolman, on Flickr
 Roof lights by Adam Tolman, on Flickr
 Roof lights by Adam Tolman, on Flickr
 Roof lights by Adam Tolman, on Flickr
 Roof lights by Adam Tolman, on Flickr
 Roof lights by Adam Tolman, on Flickr
The ambers are wired to a separate switch and obviously needed to be aimed after taking this photo.
 Roof lights by Adam Tolman, on Flickr
I made a simple mount for them from some scrap 3/16" steel I had in the garage and bolted it to one of the crossbars on the prinsu rack. These nighttime pics are before I got them aimed better. So far I am as impressed with these as I was with the ones I got in the winter. They aren't a cheap light but not as expensive as some of the big name US brands but have performed just as well in my experience.
 Roof lights by Adam Tolman, on Flickr
 Roof lights by Adam Tolman, on Flickr
 Roof lights by Adam Tolman, on Flickr
 Roof lights by Adam Tolman, on Flickr
 Roof lights by Adam Tolman, on Flickr
 Roof lights by Adam Tolman, on Flickr
 Roof lights by Adam Tolman, on Flickr
 Roof lights by Adam Tolman, on Flickr
The ambers are wired to a separate switch and obviously needed to be aimed after taking this photo.
 Roof lights by Adam Tolman, on Flickr
Box Rocket
Well-known member
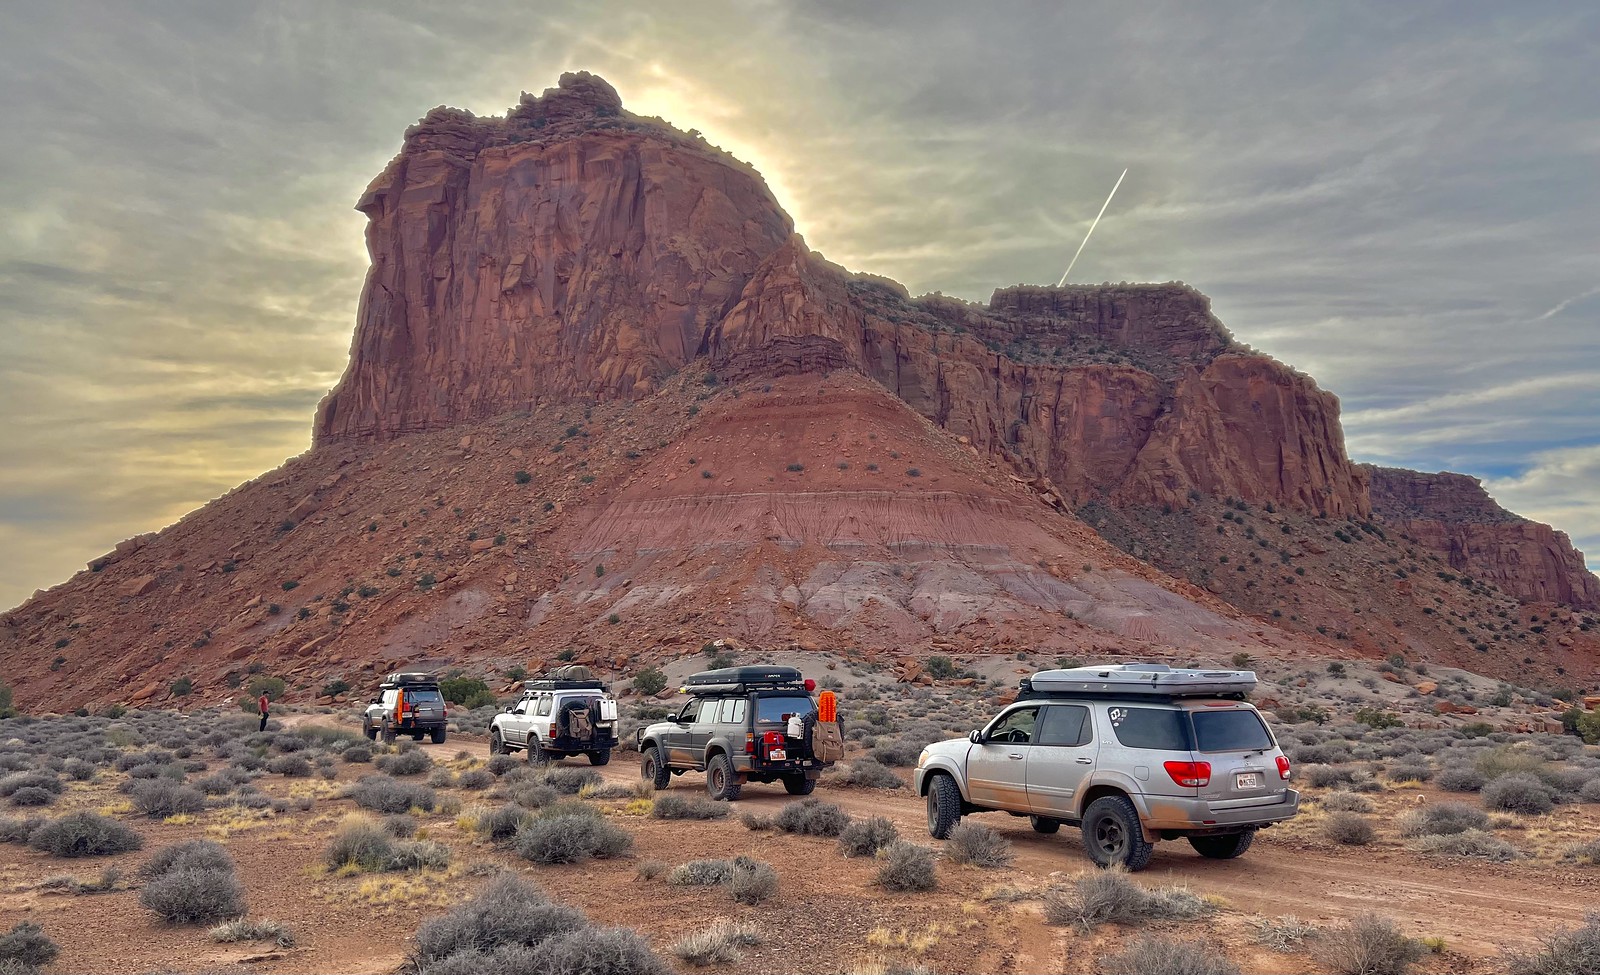
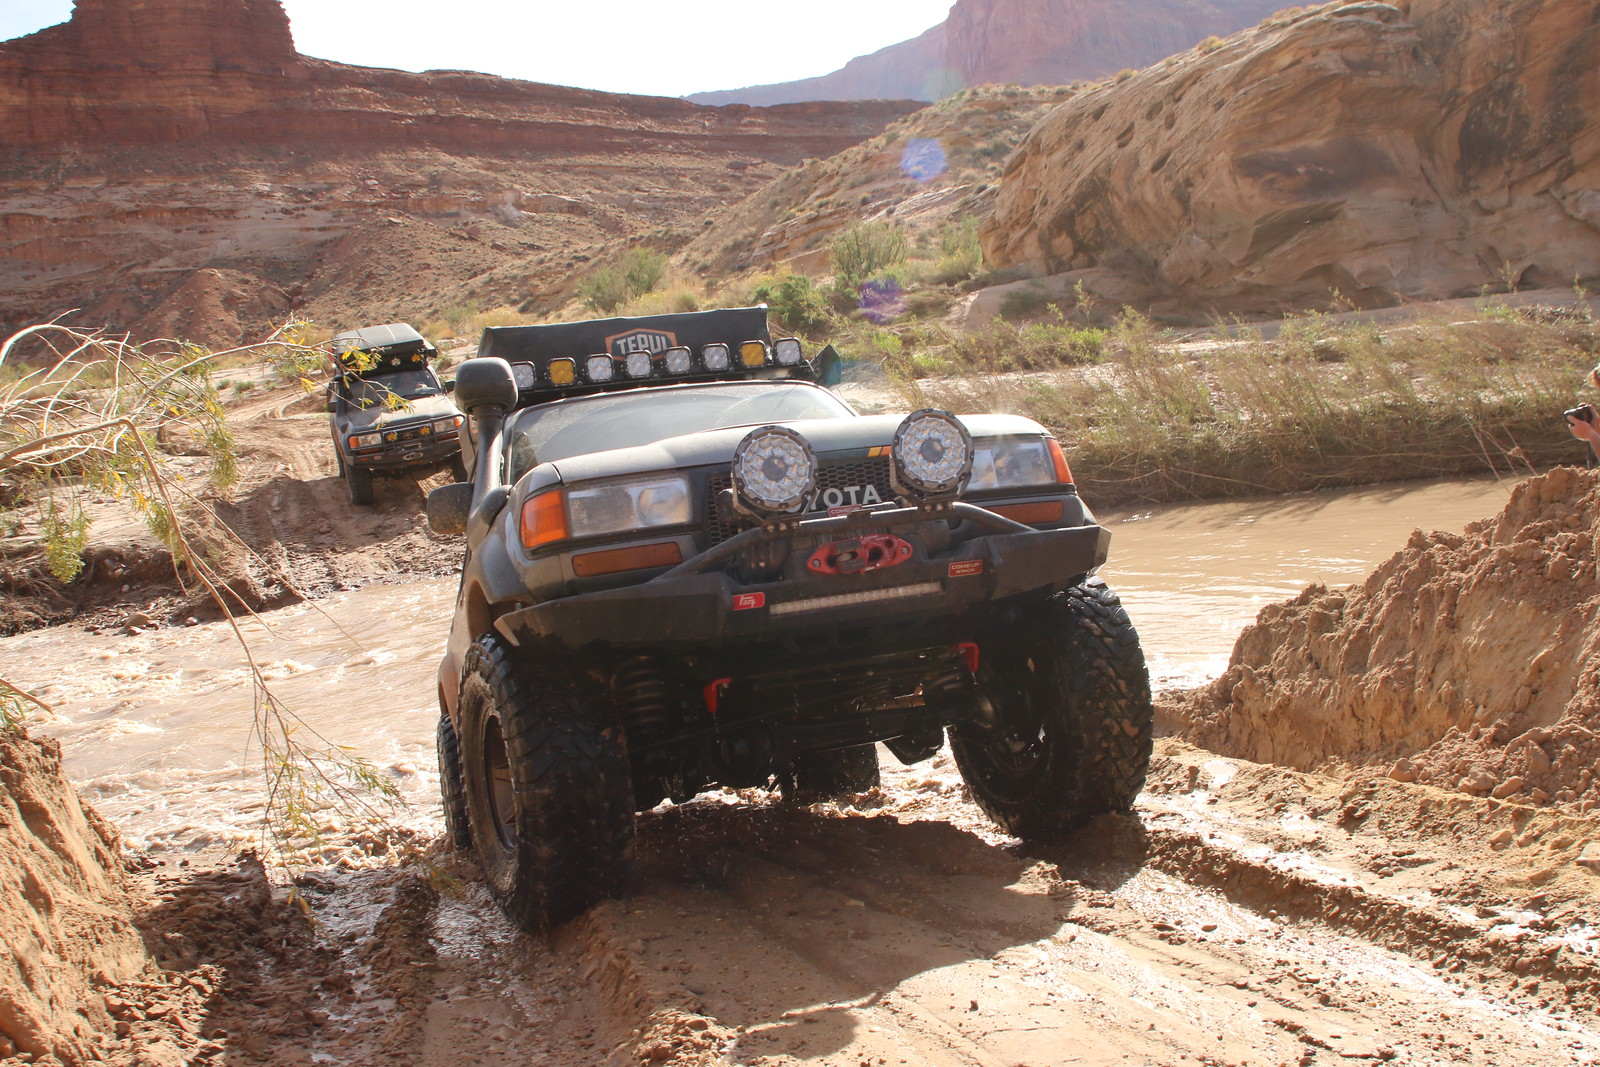
few more pics from the recent trip.
 Untitled by Adam Tolman, on Flickr
 Untitled by Adam Tolman, on Flickr
 Untitled by Adam Tolman, on Flickr
 Untitled by Adam Tolman, on Flickr
 Untitled by Adam Tolman, on Flickr
 Untitled by Adam Tolman, on Flickr
 Untitled by Adam Tolman, on Flickr
 Untitled by Adam Tolman, on Flickr
 Untitled by Adam Tolman, on Flickr
 Untitled by Adam Tolman, on Flickr
 Untitled by Adam Tolman, on Flickr
 Untitled by Adam Tolman, on Flickr
 Untitled by Adam Tolman, on Flickr
 Untitled by Adam Tolman, on Flickr
 Untitled by Adam Tolman, on Flickr
 Untitled by Adam Tolman, on Flickr
 Untitled by Adam Tolman, on Flickr
 Untitled by Adam Tolman, on Flickr
 Untitled by Adam Tolman, on Flickr
 Untitled by Adam Tolman, on Flickr
Box Rocket
Well-known member
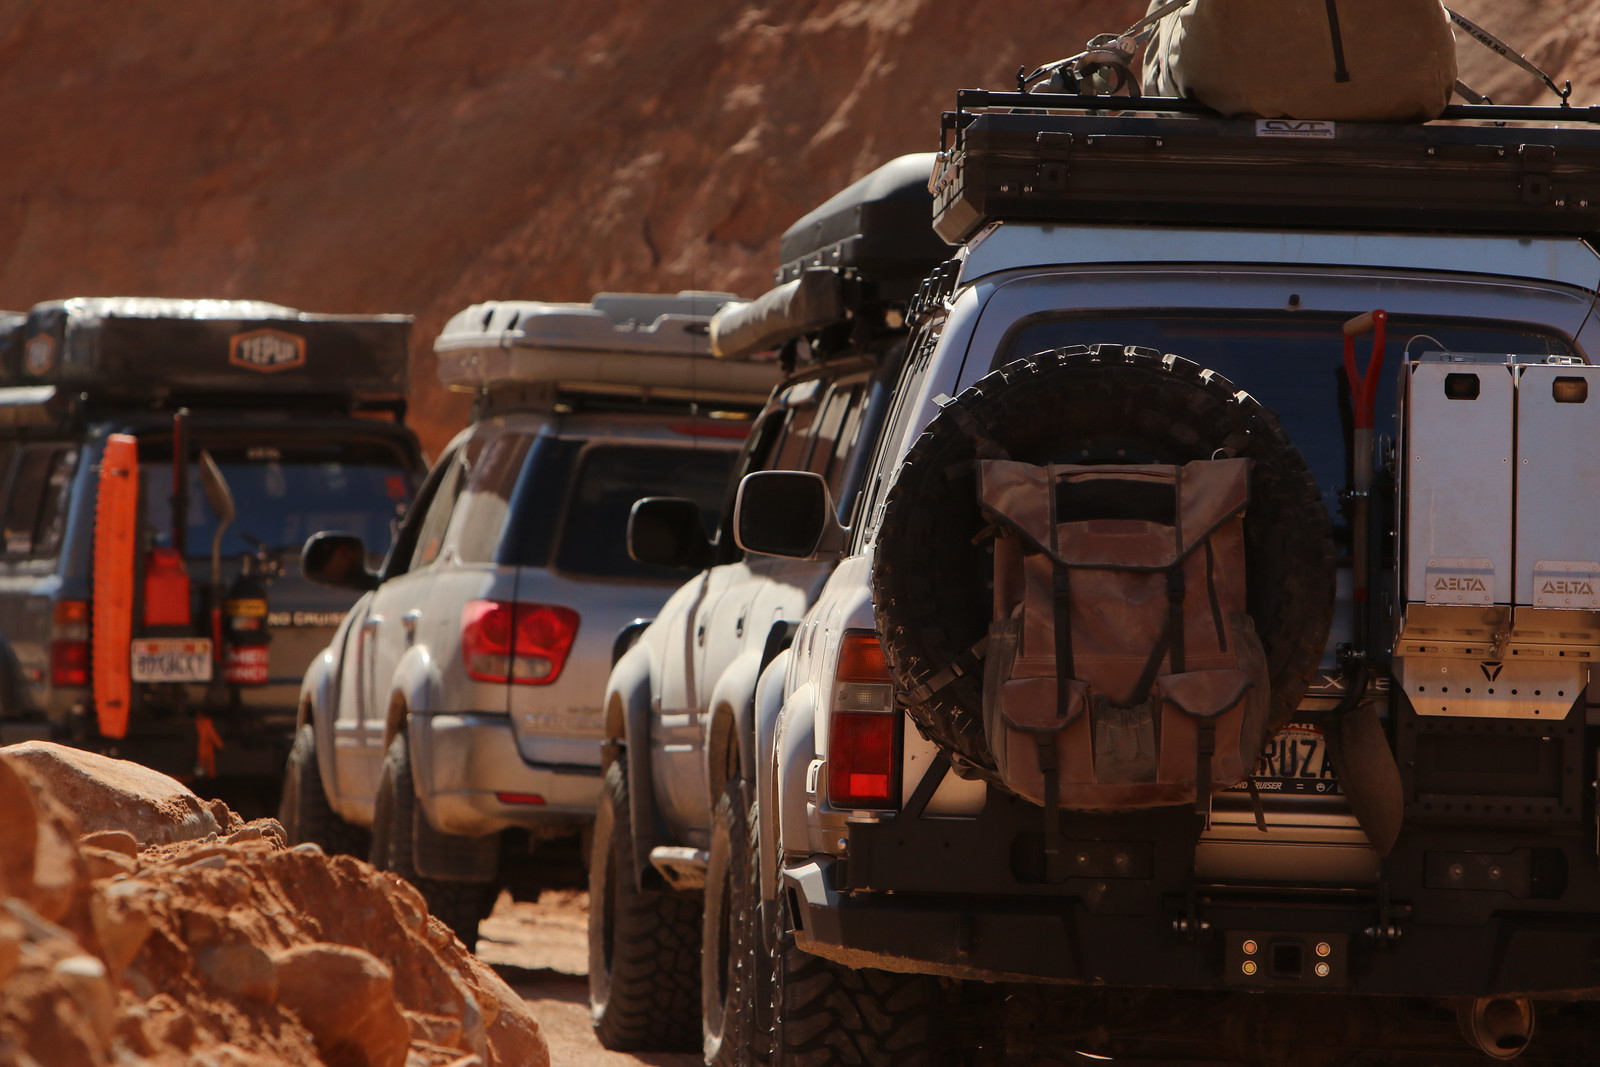
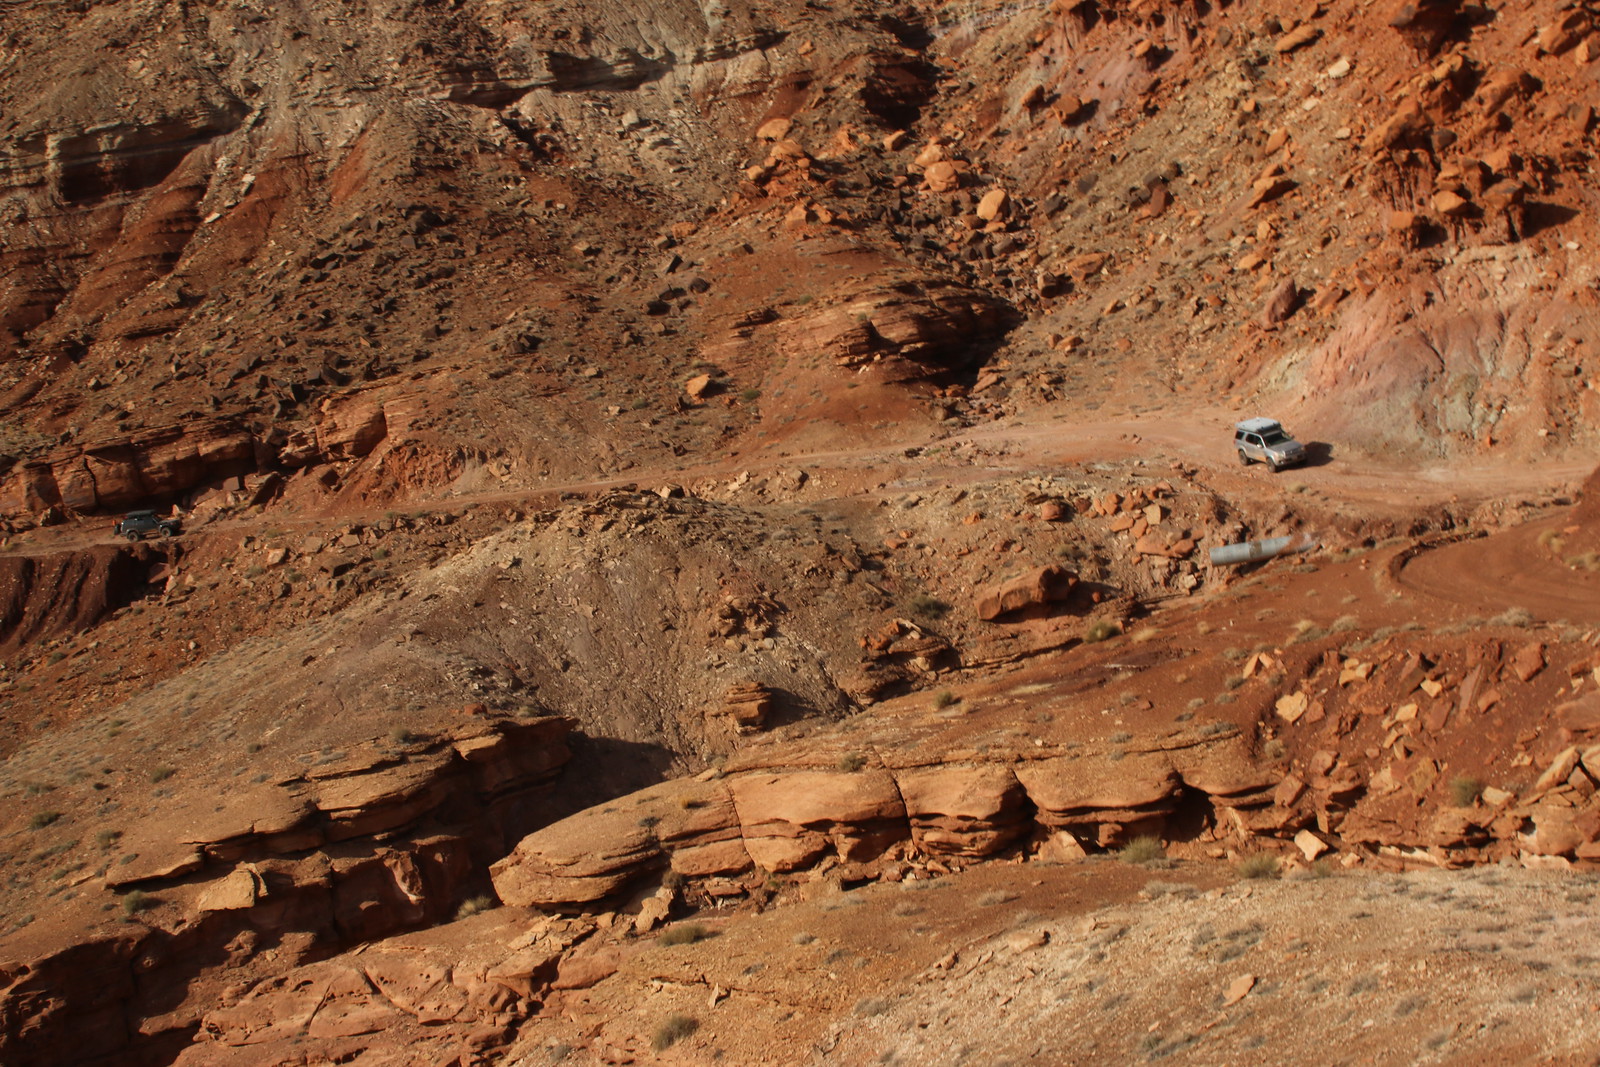
more pics
 Untitled by Adam Tolman, on Flickr
 Untitled by Adam Tolman, on Flickr
 Untitled by Adam Tolman, on Flickr
 Untitled by Adam Tolman, on Flickr
 Untitled by Adam Tolman, on Flickr
 Untitled by Adam Tolman, on Flickr
 Untitled by Adam Tolman, on Flickr
 Untitled by Adam Tolman, on Flickr
 Untitled by Adam Tolman, on Flickr
 Untitled by Adam Tolman, on Flickr
 Untitled by Adam Tolman, on Flickr
 Untitled by Adam Tolman, on Flickr
 Untitled by Adam Tolman, on Flickr
 Untitled by Adam Tolman, on Flickr
 Untitled by Adam Tolman, on Flickr
 Untitled by Adam Tolman, on Flickr
 Untitled by Adam Tolman, on Flickr
 Untitled by Adam Tolman, on Flickr
Box Rocket
Well-known member
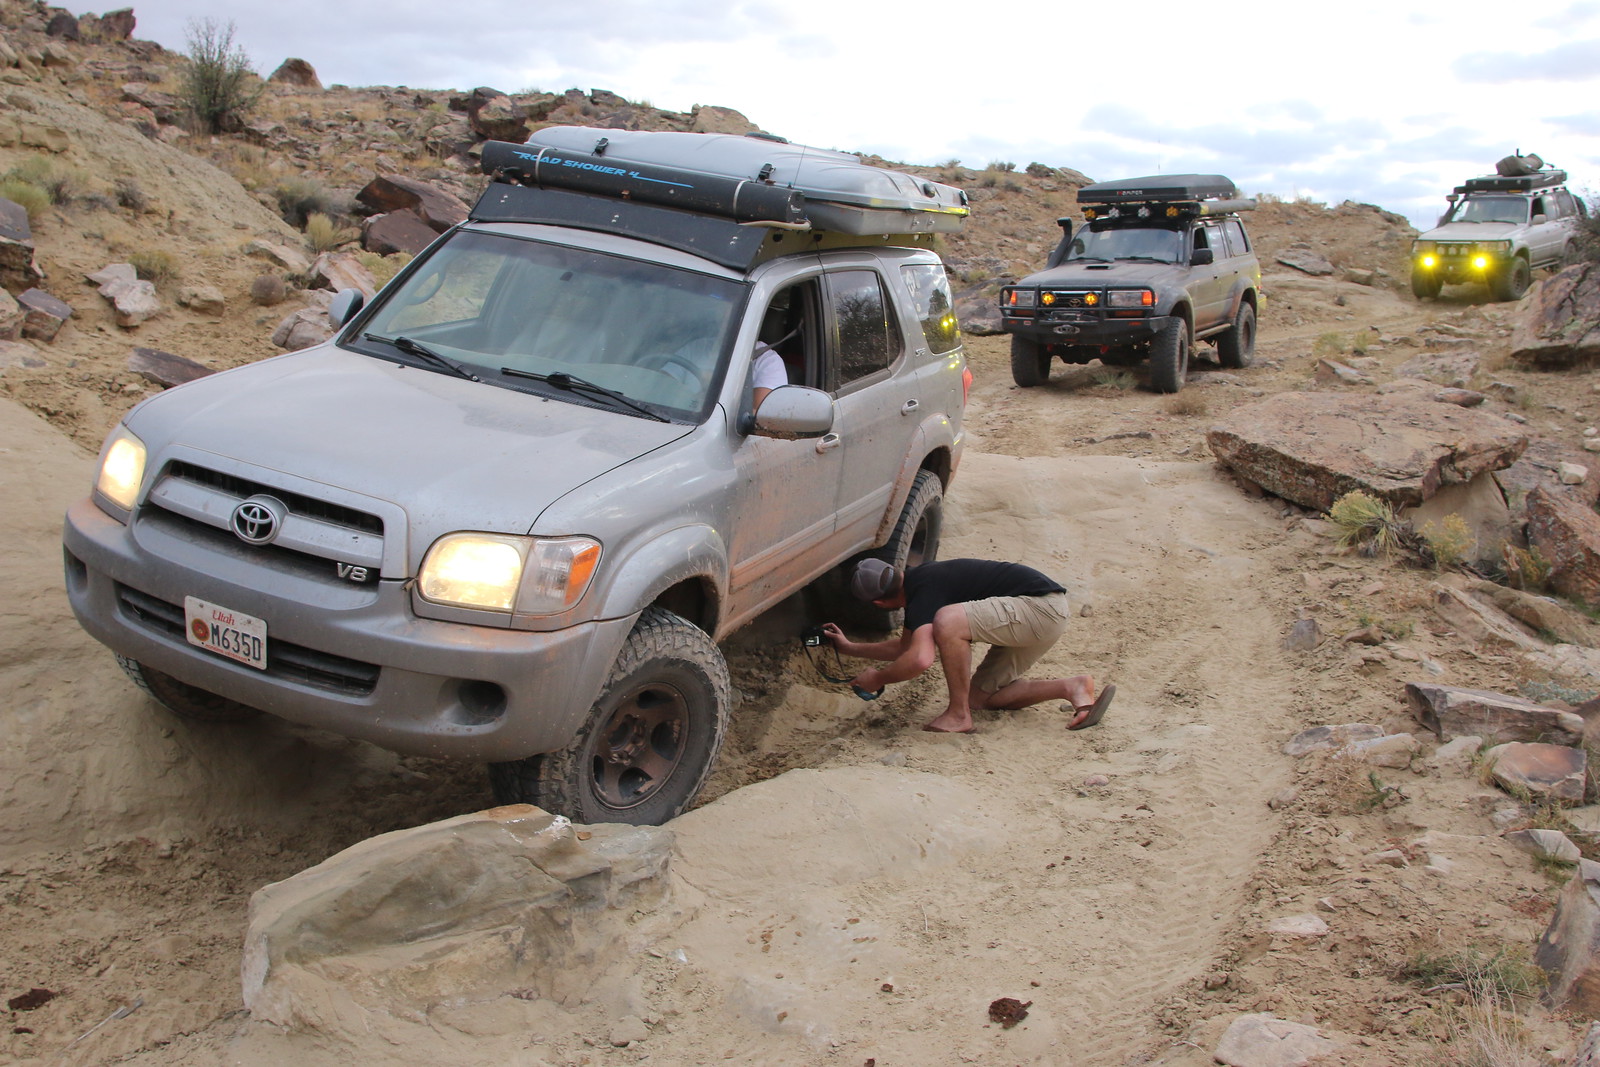
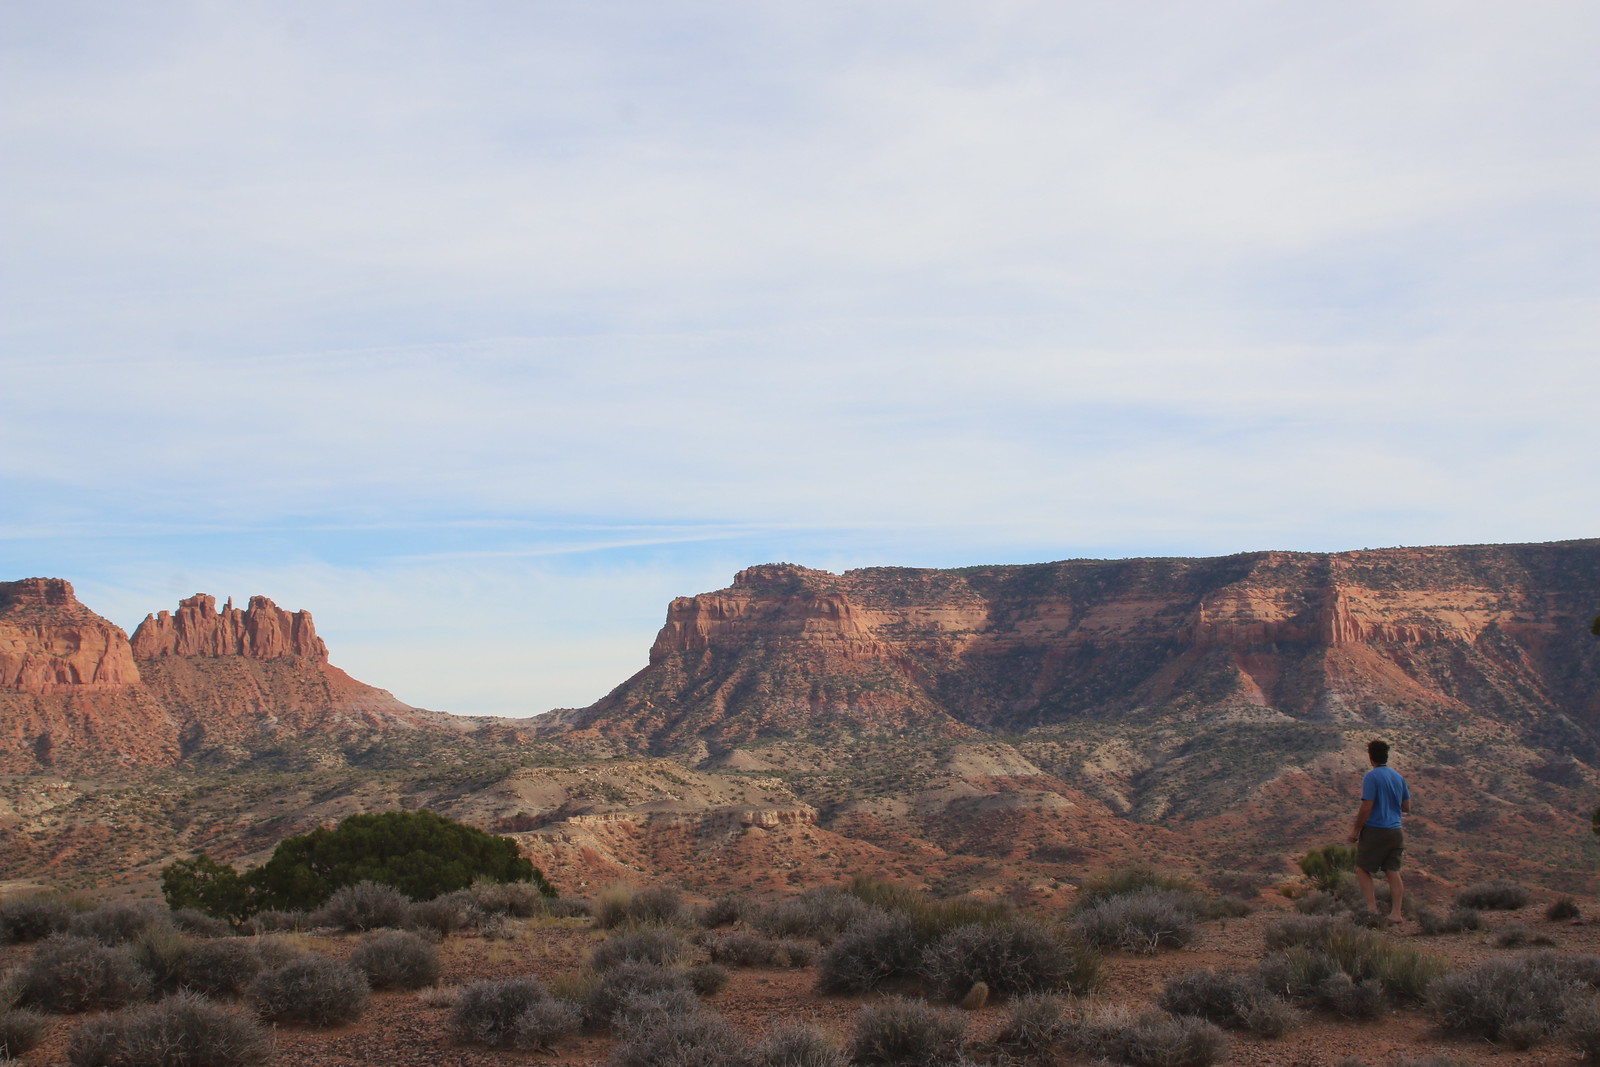
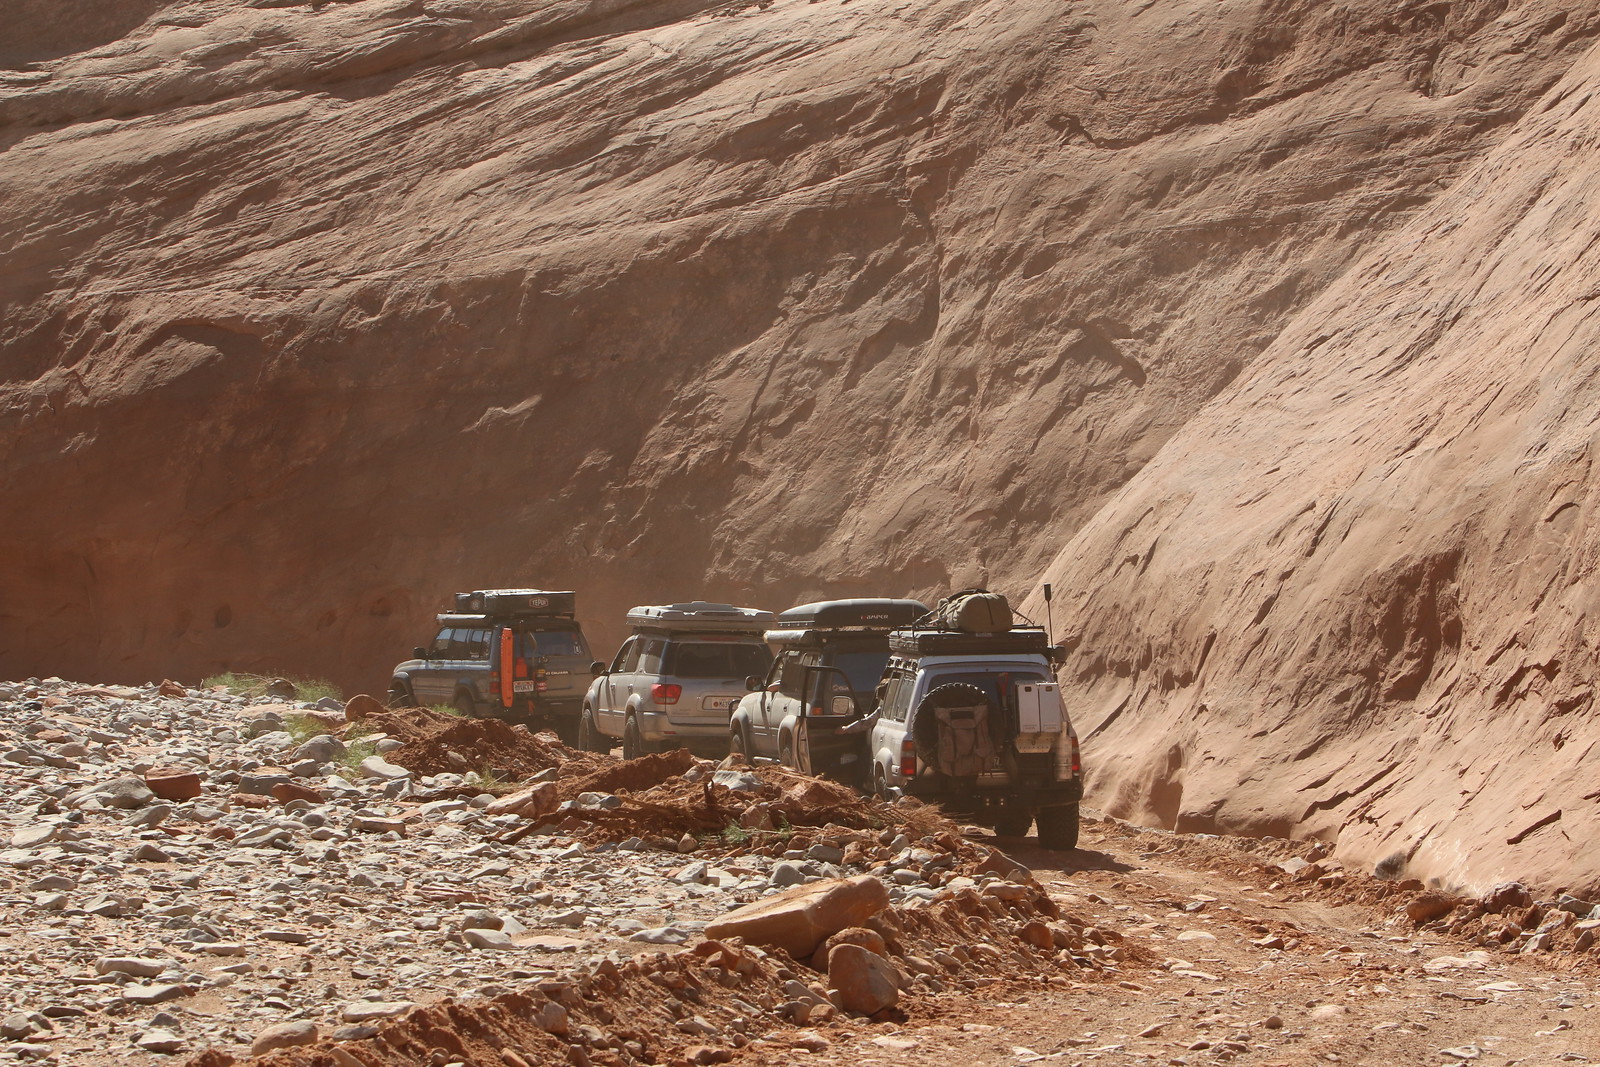
cont'
 Untitled by Adam Tolman, on Flickr
 Untitled by Adam Tolman, on Flickr
 Untitled by Adam Tolman, on Flickr
 Untitled by Adam Tolman, on Flickr
 Untitled by Adam Tolman, on Flickr
 Untitled by Adam Tolman, on Flickr
 Untitled by Adam Tolman, on Flickr
 Untitled by Adam Tolman, on Flickr
 Untitled by Adam Tolman, on Flickr
 Untitled by Adam Tolman, on Flickr
 Untitled by Adam Tolman, on Flickr
 Untitled by Adam Tolman, on Flickr
 Untitled by Adam Tolman, on Flickr
 Untitled by Adam Tolman, on Flickr
 Untitled by Adam Tolman, on Flickr
 Untitled by Adam Tolman, on Flickr
 Untitled by Adam Tolman, on Flickr
 Untitled by Adam Tolman, on Flickr
 Untitled by Adam Tolman, on Flickr
 Untitled by Adam Tolman, on Flickr