Building the AlumEscape

2012Taco

AlumEscape
That's a pretty neat setup BSR, the RTT's and annexes are really cool and could be something I'd look at in the future to put on the topper of my tow rig.

In the meantime I was able to find a pretty good deal on the Kelty Carport but i haven't been able to set it up next to the camper yet to see if it will indeed work. I was hoping to get to it this weekend now that it's finally getting warm but we're getting lots of rain today and are due for lots of wind tomorrow. Bummer.

Food for thought though, this is a stock picture of the Kelty on a FJC:

spaciousness-of-kelty-carport_zpskb6xgahf.jpg
 

2012Taco

AlumEscape
Thanks KLT88YJ - I'm pretty terrible at keeping these things up to date with all the projects going on but the weather this weekend has me stuck in so updates are being made!
 

2012Taco

AlumEscape
More Updates! Solar Power!

The next big piece of the build was solar power! Back when I was cruising the internet acquiring materials to get the build started I was certain that I wanted to incorporate solar power on some level. My original thoughts were some small panel or panels that could be deployed in camp and wouldn't be permanently installed. After some more consideration I decided I wanted permanent panels though to take advantage of the free energy while I'm on the move and have less items to have to stow and deploy when I make camp.

I found my solution while cruising eBay and found some perfectly sized panels for what I had in mind and picked up the set of three for around $150 or so to my door. The panels are no longer in production but are Uni-Solar FLX-32 and are 32 watts each. I'm running a total of two and using the Morningstar SunLight 20 controller mounted in the front cabinet near the fuse panel.

I started out by figuring how I wanted to mount the panels on the camper. The panels threw me a curve as the terminals are on the underside of the panels meaning I couldn't do a flush install as I had originally wanted without compromising the roof with two large holes for the connections.

To work around this, I decided to go with a raised frame type of install with aluminum runners to keep the look going. Here's some pics!

Here's one of the panels, they are about 16” x 54” and are quite thin and semi-rigid.
IMG_2466_zpsxsttfave.jpg


I started by building a frame to contain each panel using some 1-1/4” x 1/8” angle.
IMG_2465_zpsvddhigjt.jpg

IMG_2469_zpsdb9y4r9t.jpg


Next I started on the runners that will space the panels off the roof. I used 3” aluminum channel for these and beveled the ends and drilled the holes for appearance sake. There is a total of four of these, two for each panel.
IMG_2473_zpsnaqlt9cl.jpg


With it up on the roof you can see how the space was limited.
IMG_2474_zps5mlu6tvo.jpg


Each runner is secured to the roof using more stainless screws with anchor into the 2”x2” and 2”x4” framing in the roof. I counter bored the channel to set the screws nicely into the profile of the aluminum channel.
IMG_2477_zpsxvjn0s6l.jpg

IMG_2492_zpsqfuscjqa.jpg

IMG_2493_zpsitbbrfvd.jpg


I used composite decking trim board as the surface to support the panel they are only semi-rigid. To give room for the panel wiring I had to route out a section to hide the wires and make for a very clean install.
IMG_2496_zpsoc5aymug.jpg

IMG_2488_zpsz7rmm2ot.jpg


The wire for each panel is fed through the side of the roof vent to avoid a direct wire penetration through the roof. Here you can also see how the wire is hidden under the panel but above the composite decking.
IMG_2489_zpsdkhxokhi.jpg


One side done! I added some 1/8” flat stock in 6 locations on the retainer frame through which bolts run through the web of the aluminum channels. This in effect pinches the panel between the steel angle frame and composite decking; a simple and clean solution!
IMG_2558_zpsmoff7zpw.jpg


I also got tired of the white compartment doors that just looked unfinished compared to the rest of the project. A couple bucks later I had them all covered up with some silver metallic vinyl that matches the bare aluminum nicely!
IMG_2666_zpsiiccwgnp.jpg


Getting ready to take it on it's first trip!!
IMG_2668_zpsjf2qjmem.jpg
 

Titanpat57

Expedition Leader
Thanks Pat, I remember cruising your R.O.A.M. thread when I was putting together plans for mine - nice work! Am I correct in recalling that you might be headed to the Mid Atlantic Overland Festival in August?

Thank you...and yes on the MAOF this year. We had a ton of construction going on at my job last year, and it was just to tight to make it work. This year's load seems to be much more manageable over the summer. Thankfully we ran out of buildable acreage ( for now....lol) Looking forward to seeing this in person if you're going to make it!
 

2012Taco

AlumEscape
Thank you...and yes on the MAOF this year. We had a ton of construction going on at my job last year, and it was just to tight to make it work. This year's load seems to be much more manageable over the summer. Thankfully we ran out of buildable acreage ( for now....lol) Looking forward to seeing this in person if you're going to make it!

Nice, I plan on being there! You bringing your build too? I've seen the pictures but look forward to seeing it in the flesh!
 

Titanpat57

Expedition Leader
I'm sure we can admire each others handy work over a beverage. .....or 8. :ylsmoke:

Looking forward to meeting you.
 

2012Taco

AlumEscape
Well this lost ought to round out the old work from last year and a few trips from summer/fall 2014!

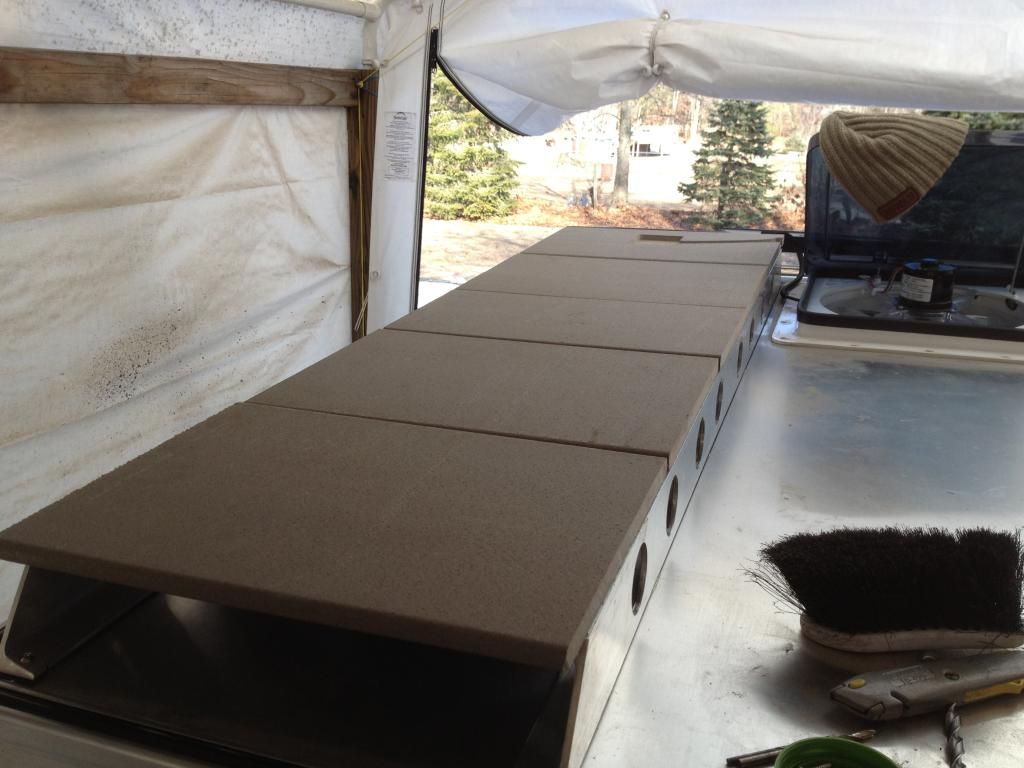
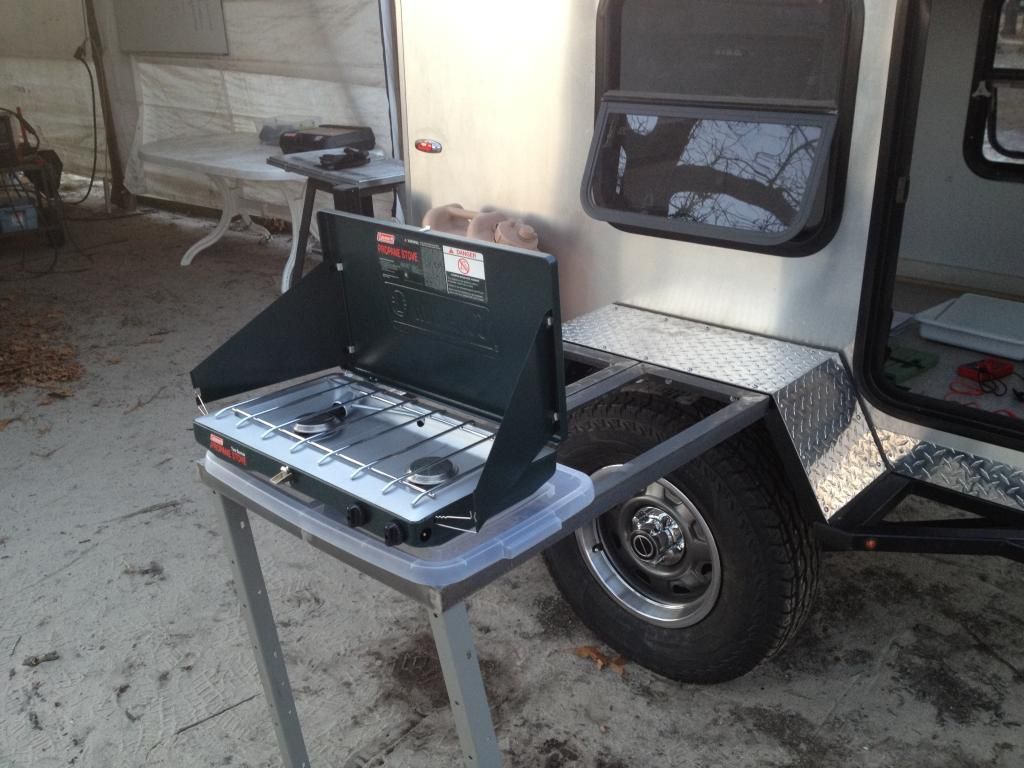
Back from the first trip and I decided I wanted to build a table of sorts to keep the stove on and stuff when in camp. I started with some drop-in two part shelf track stuff and went from there!

IMG_2521_zpsy5tvr1fo.jpg


I decided that the table was going to have to fold in half long ways to be able to carry it in the available space on the tongue so I whipped up a frame using some leftover angle stock and some hinges.

IMG_2515_zpsrweel4rq.jpg


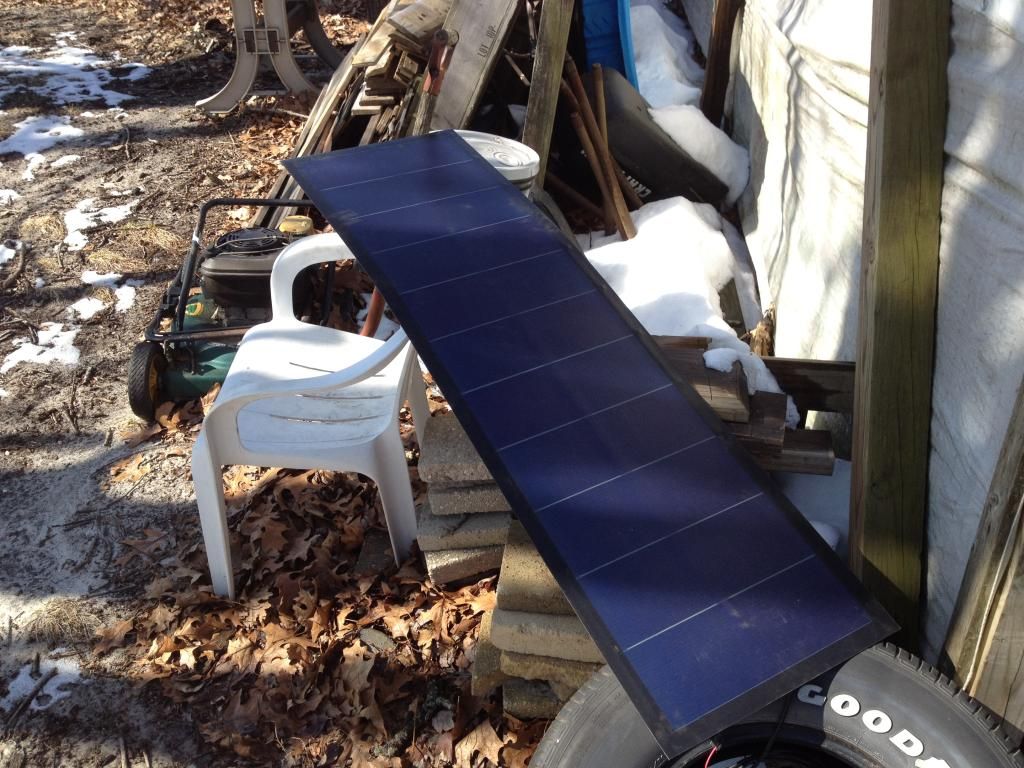
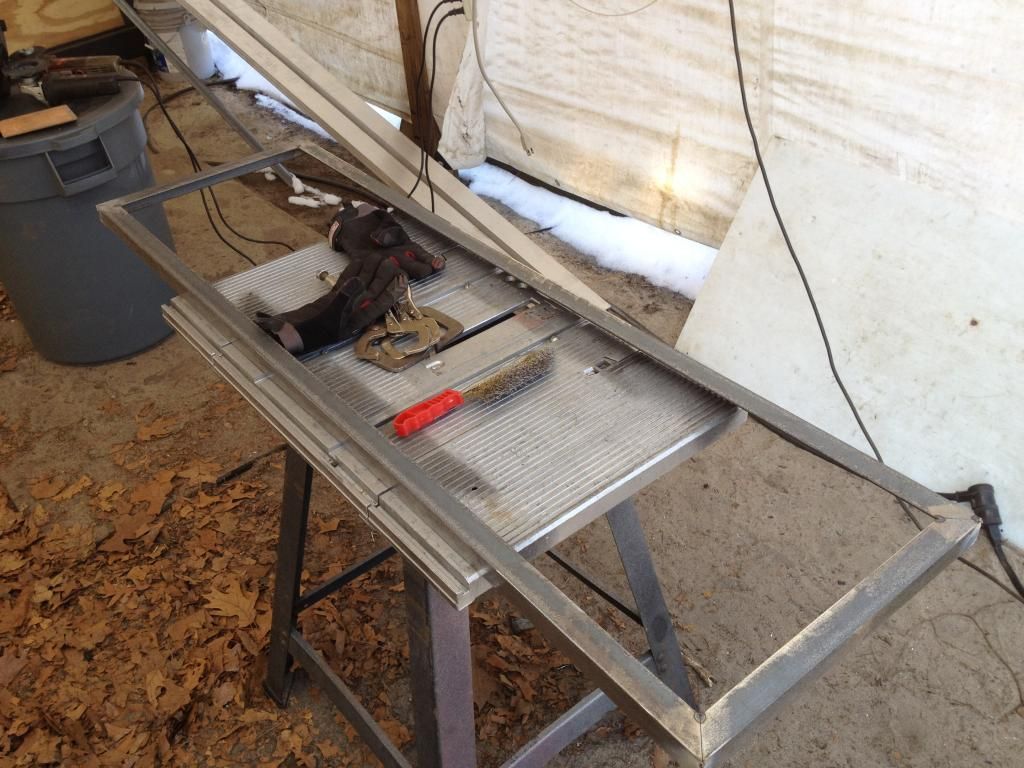
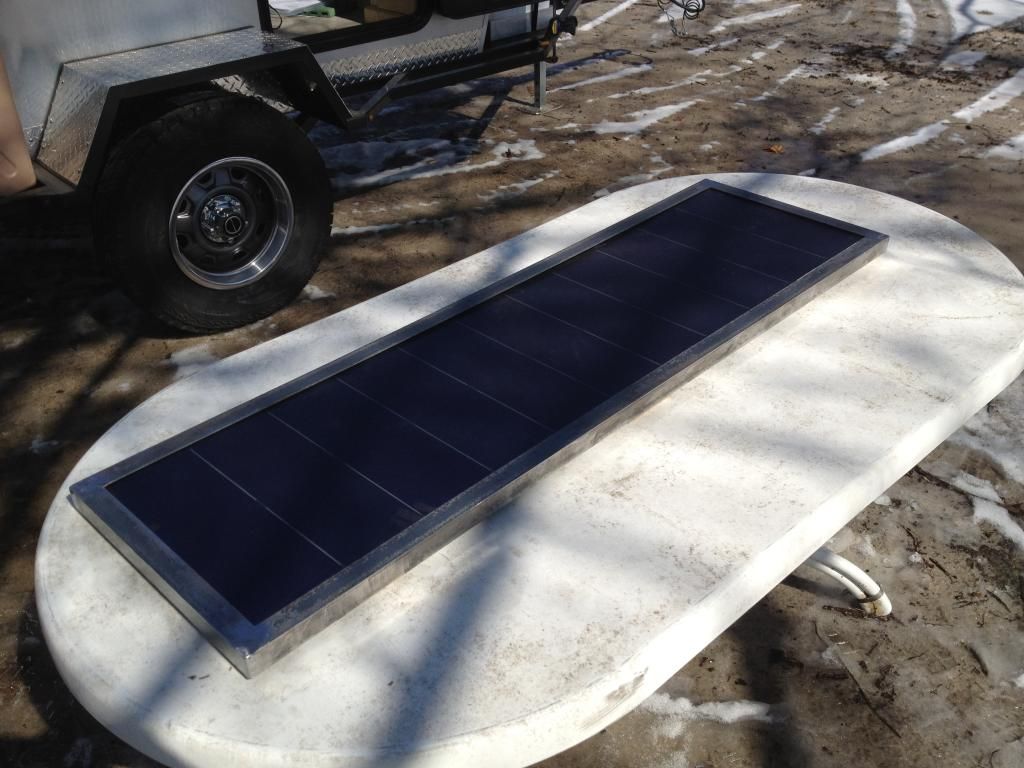
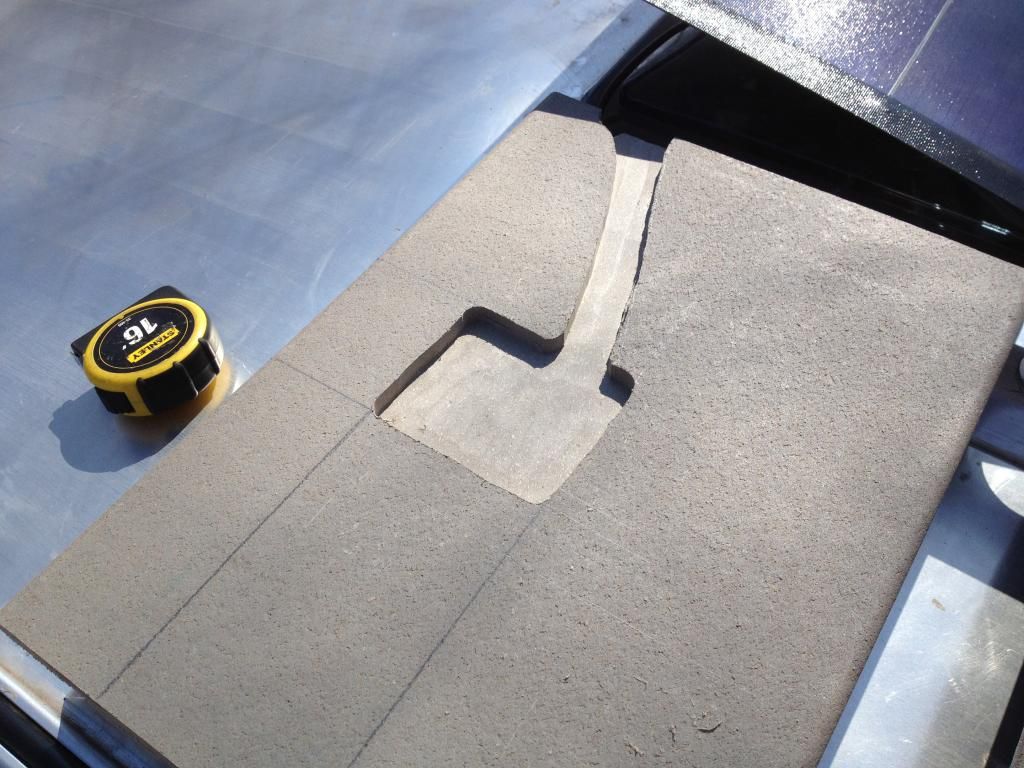
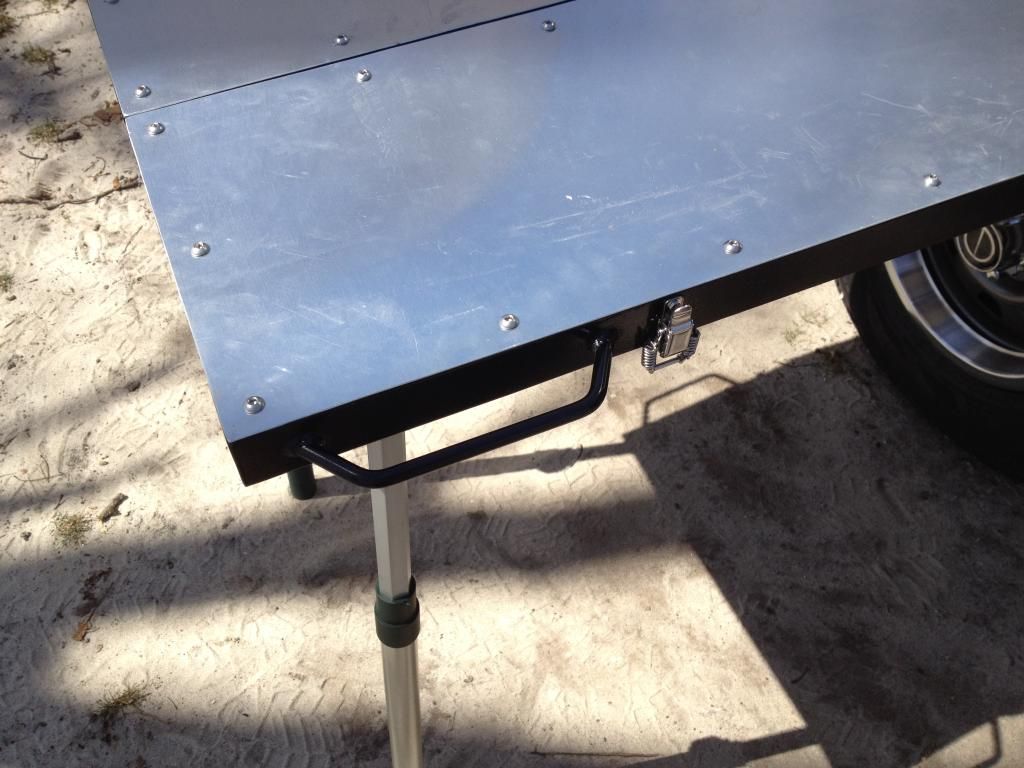
I skinned the table top using some of the leftover aluminum from the body and used some extendable paint roller handles for table legs to account for varied terrain.

IMG_2546_zpscb54hgsc.jpg


Made some handles using 3/8” solid bar and used some stainless spring paddle latches to keep the briefcase table closed.

IMG_2640_zpsg6cjthrh.jpg


The overbuilt table carrier!

IMG_2706_zpsl8j3sei1.jpg


IMG_2709_zpsbk3dq4hj.jpg


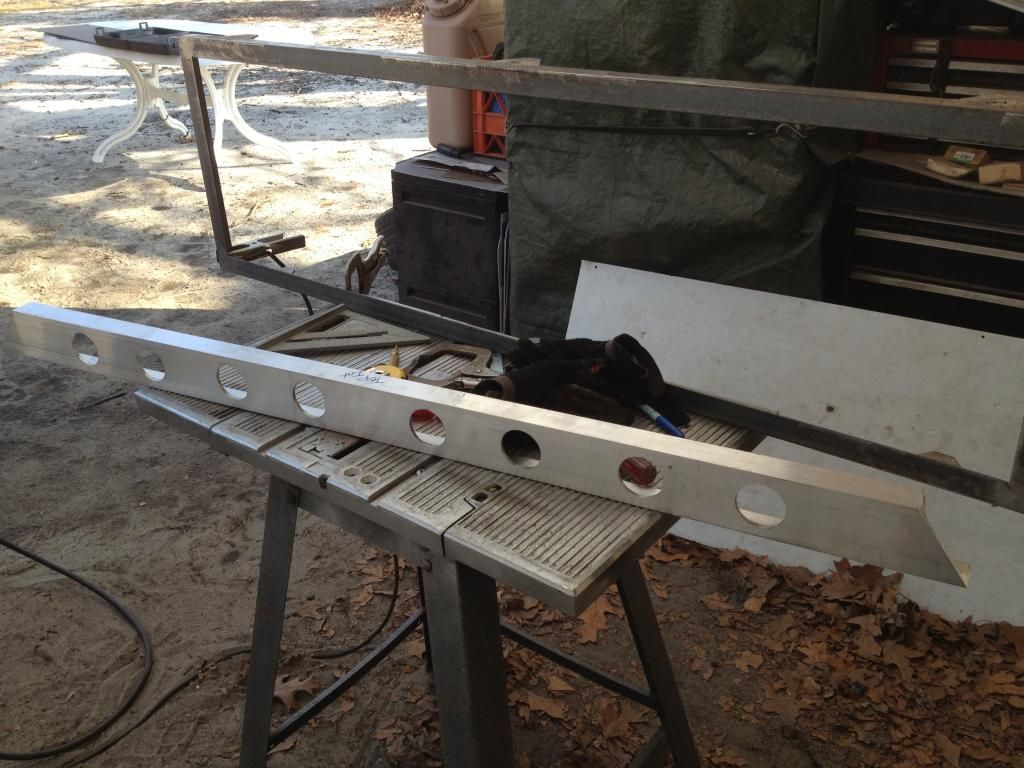
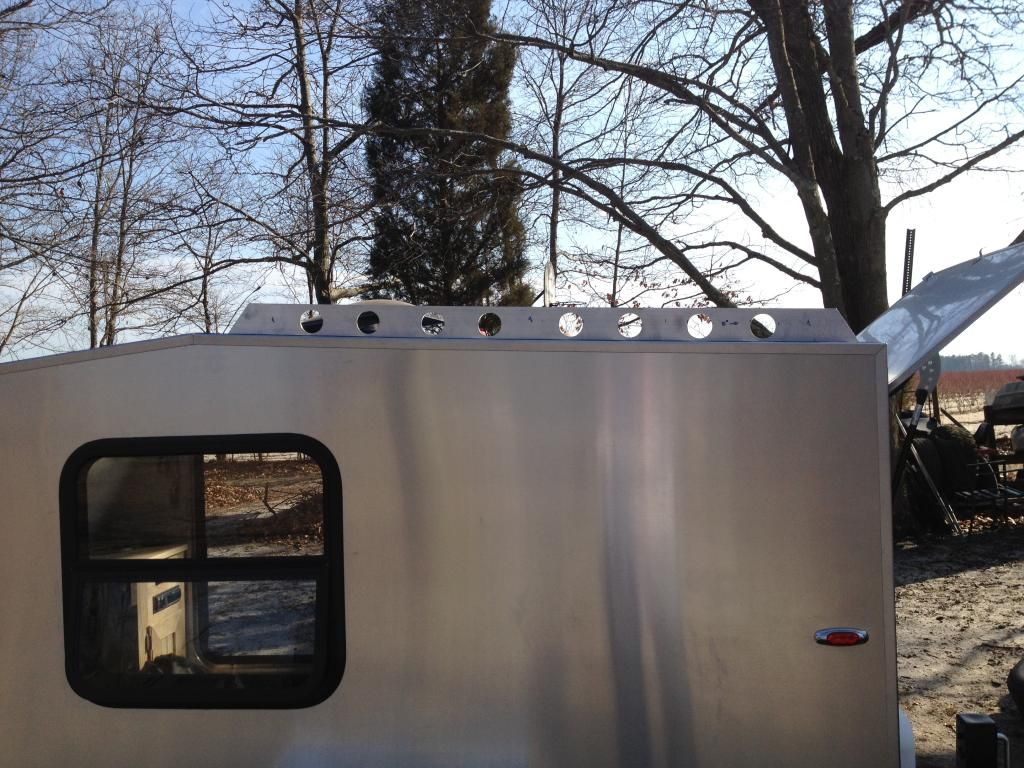
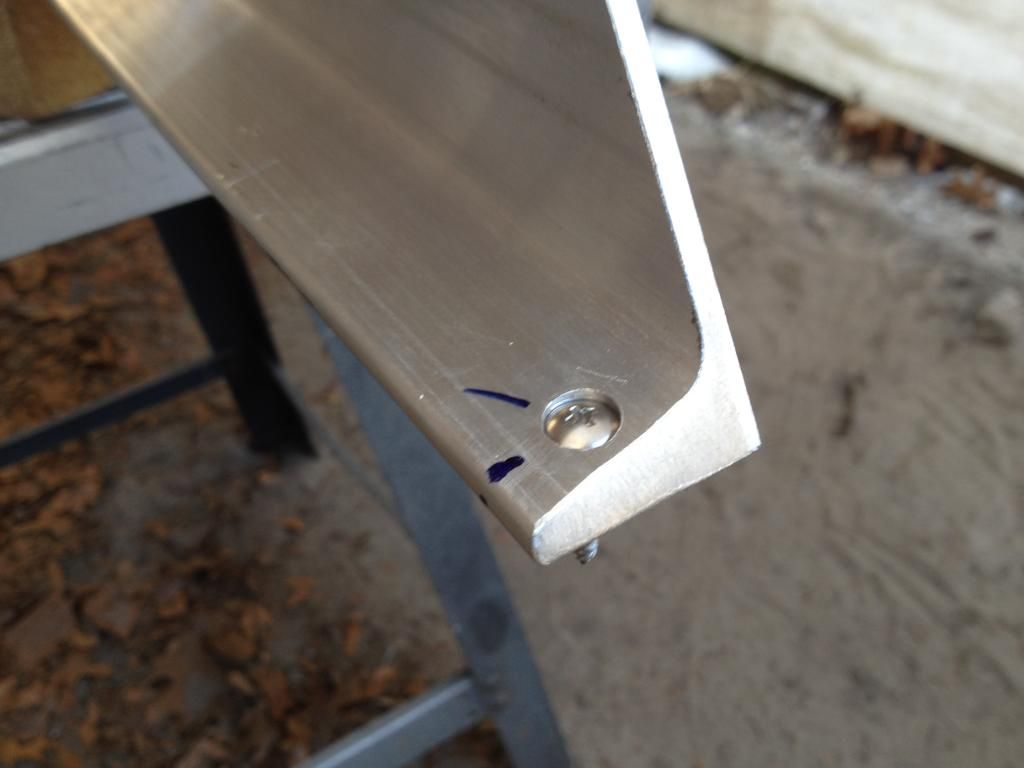
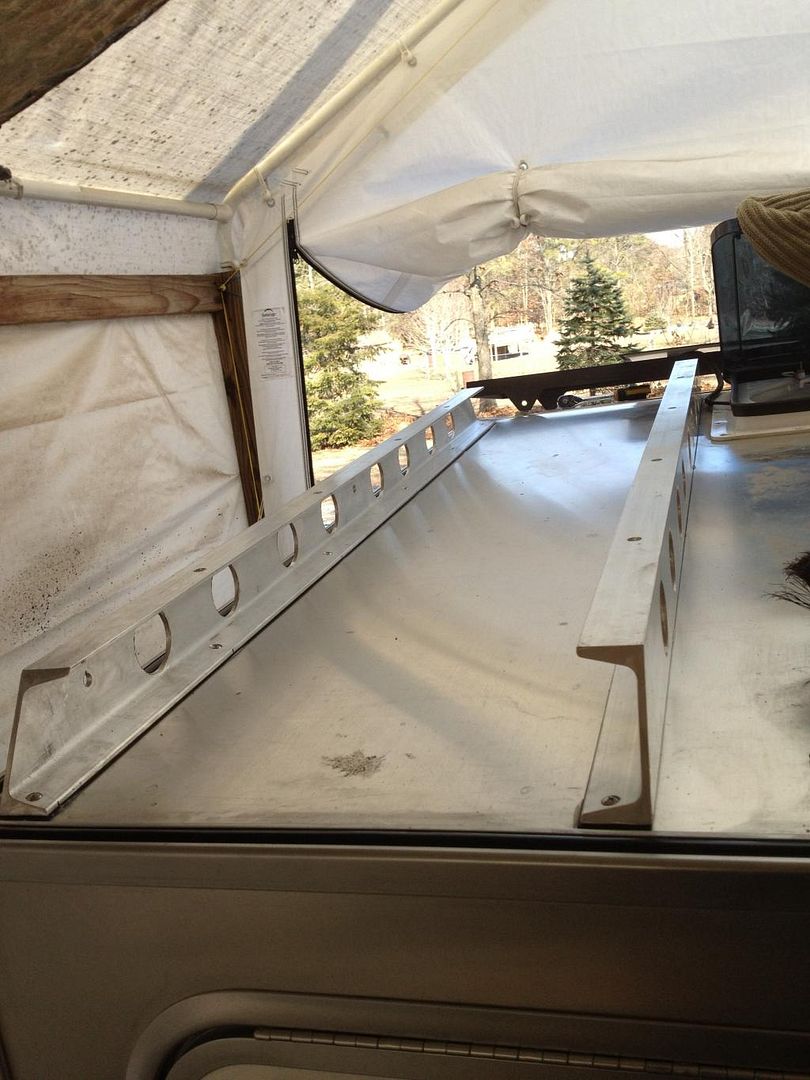
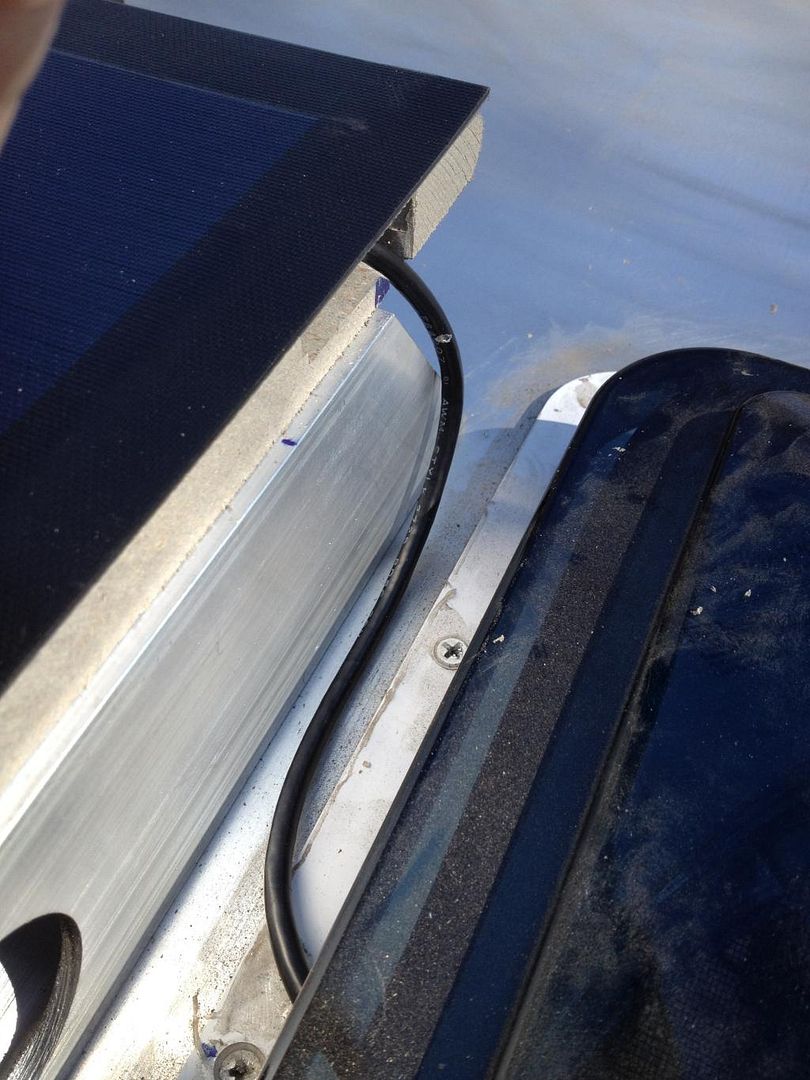
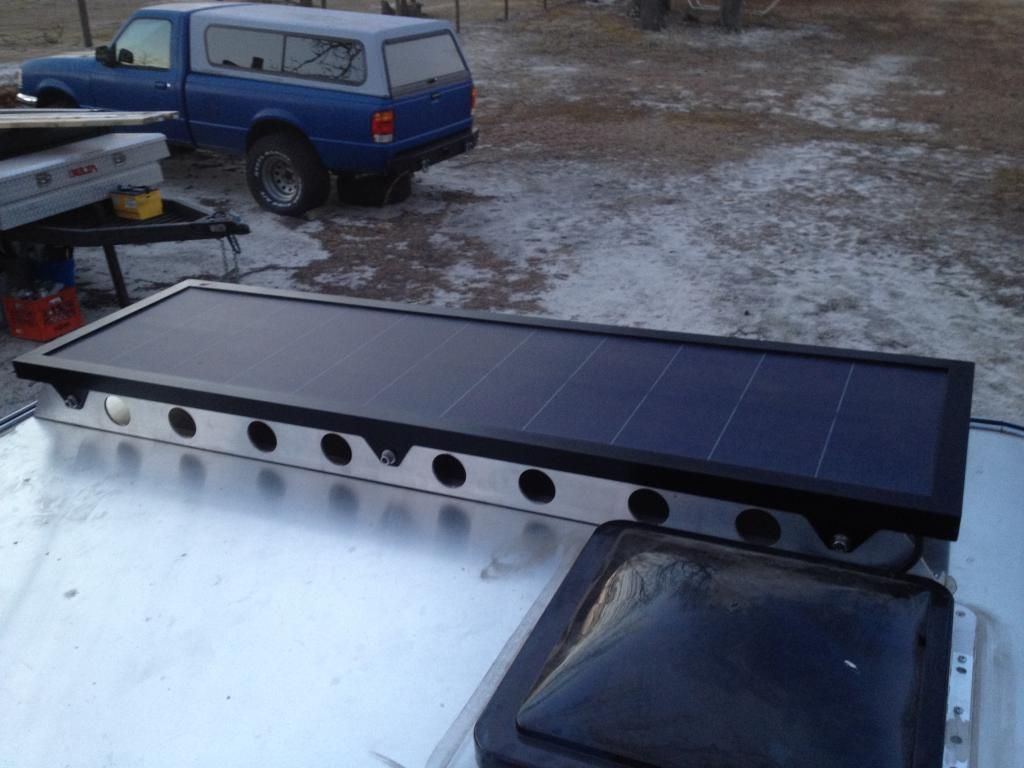
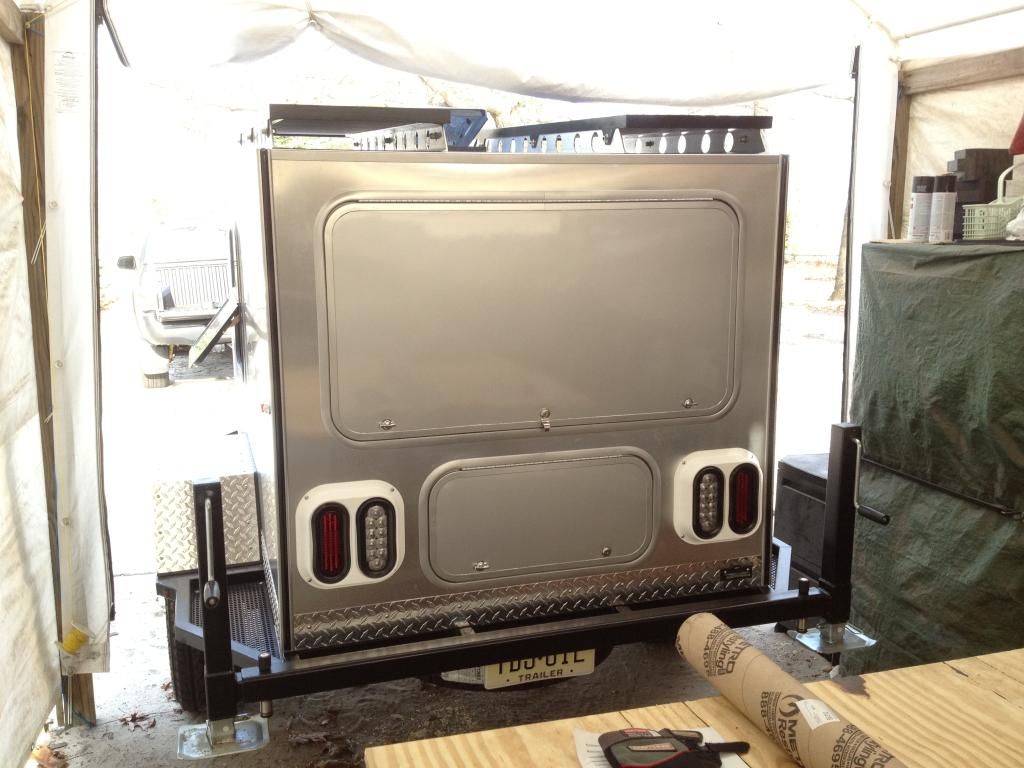
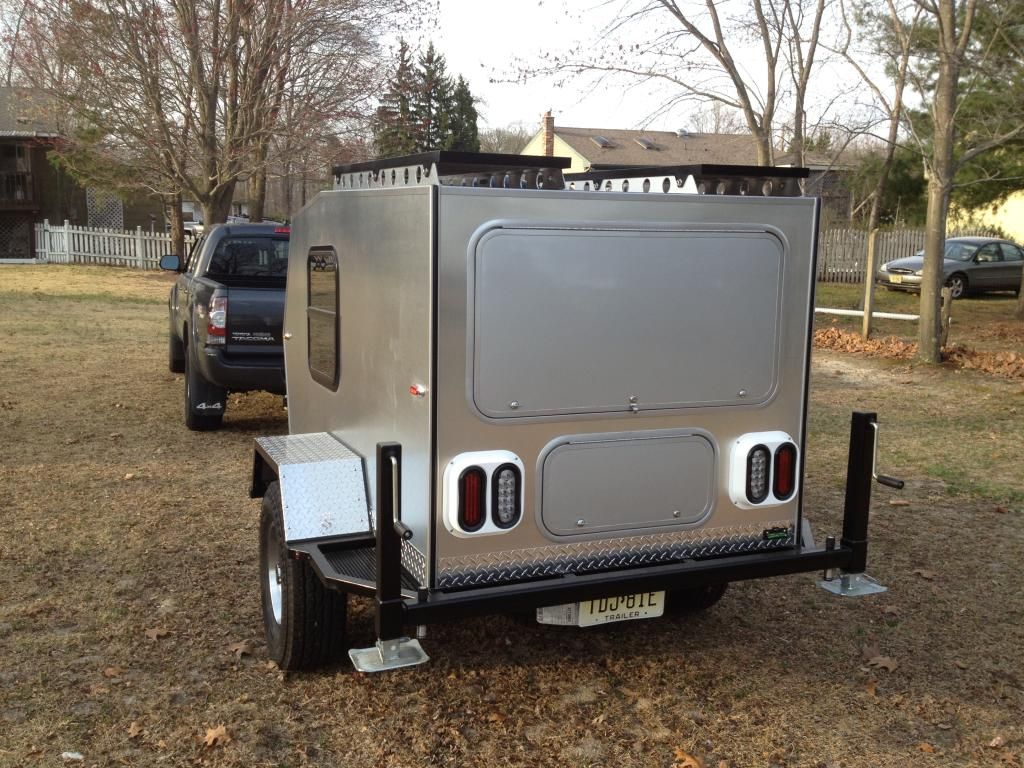
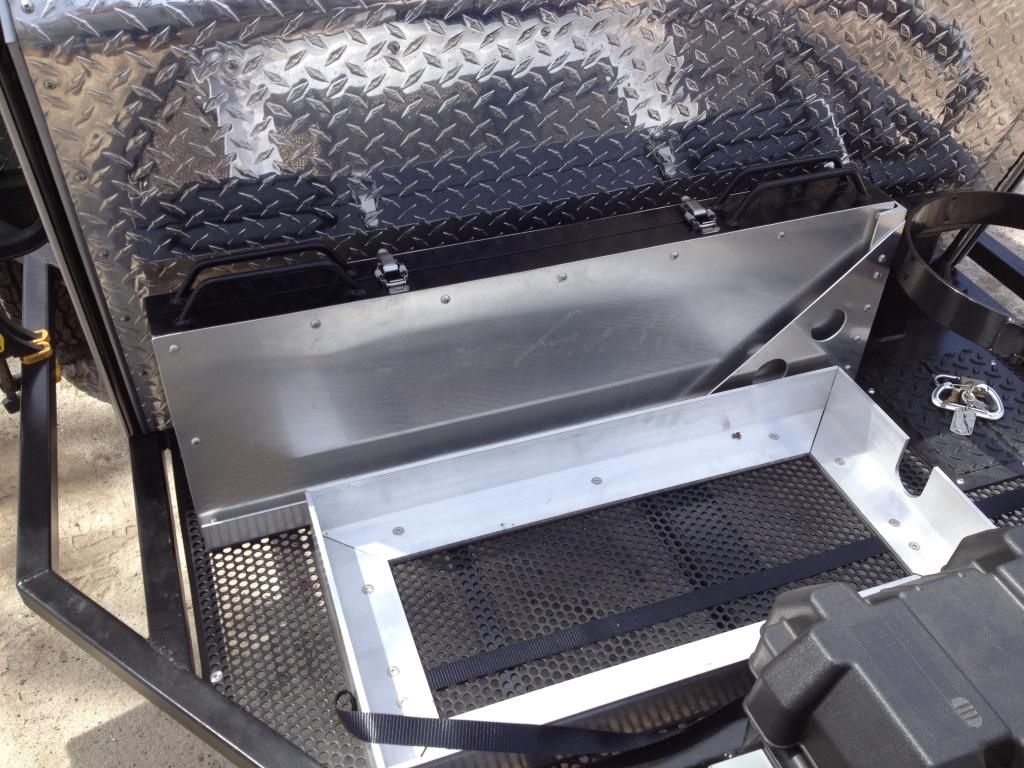
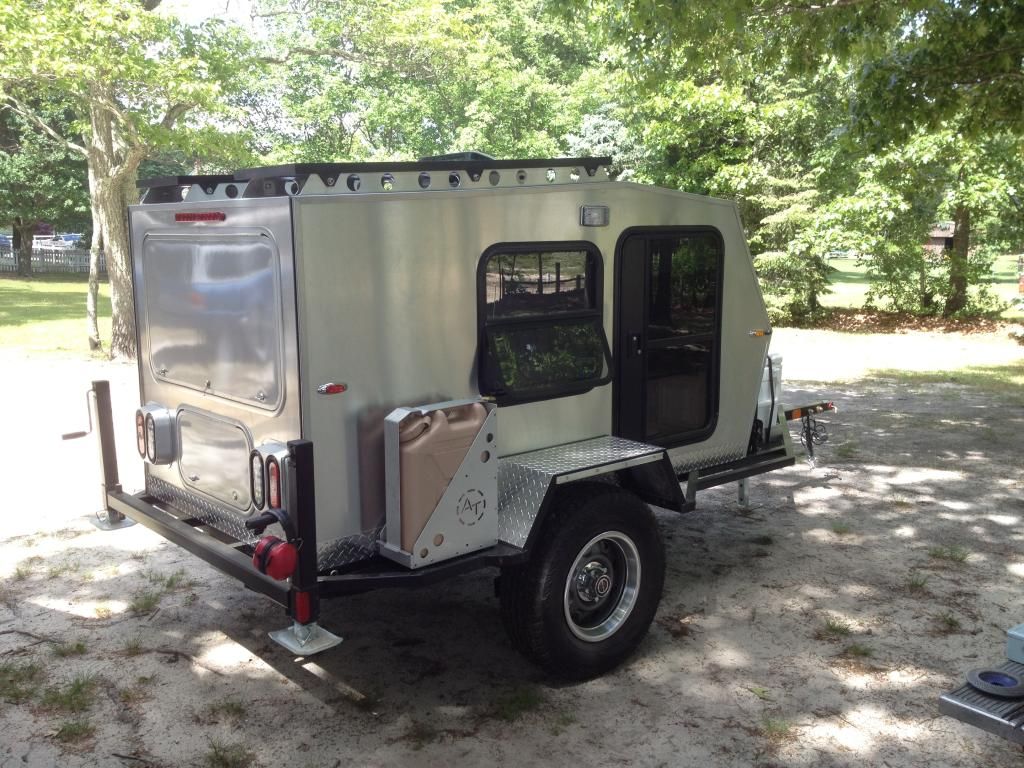
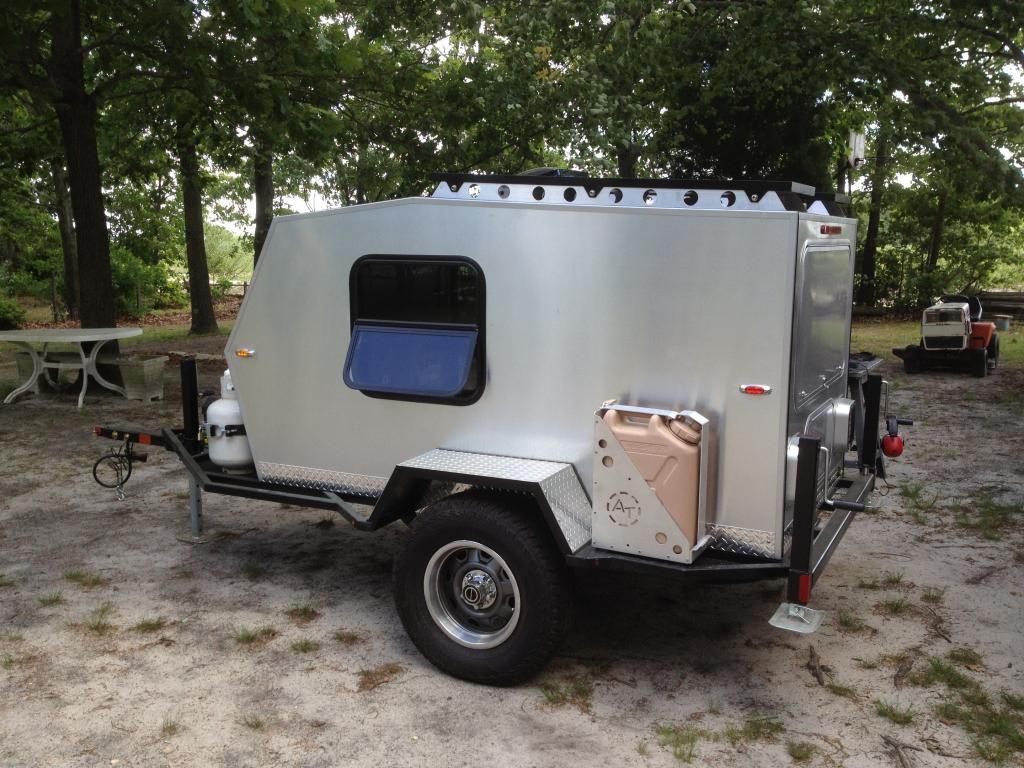
I also mounted up my jerry can carriers, painted the taillight holders silver to match the aluminum and added a high-mount stop/signal light!

IMG_2883_zpsk5efd7yi.jpg


IMG_2890_zpsml0uzcvp.jpg


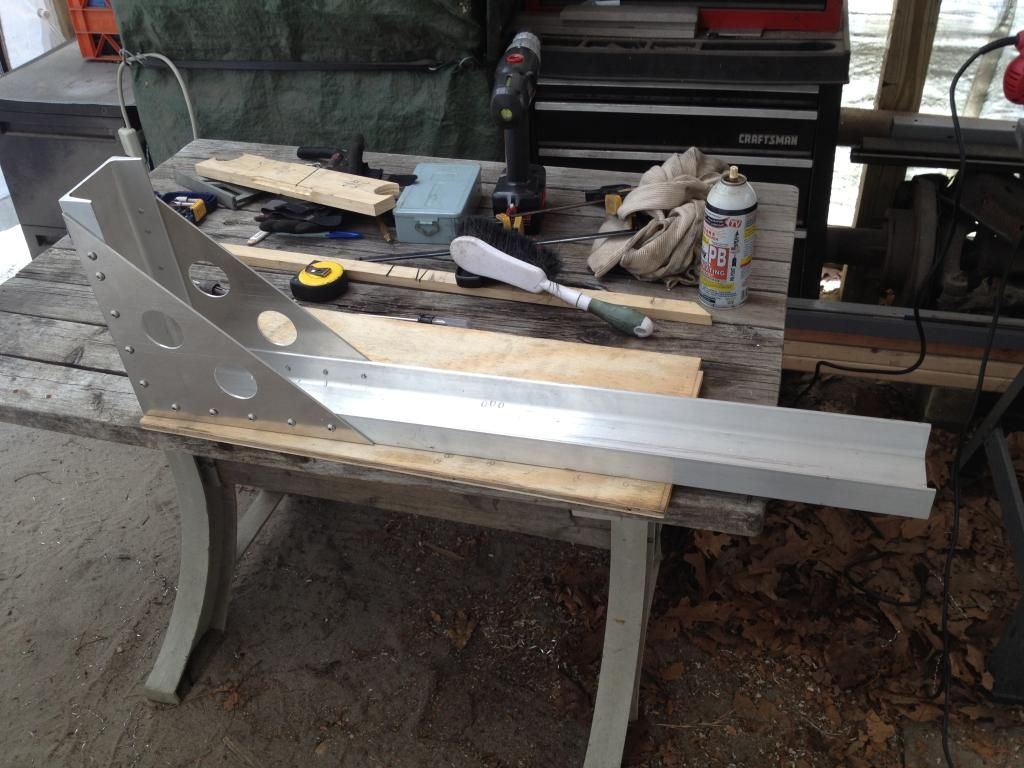
I also made a little diddy for hangers while I was playing with the 3/8” solid bar and torch!

IMG_2650_zpsaxbtmr5z.jpg


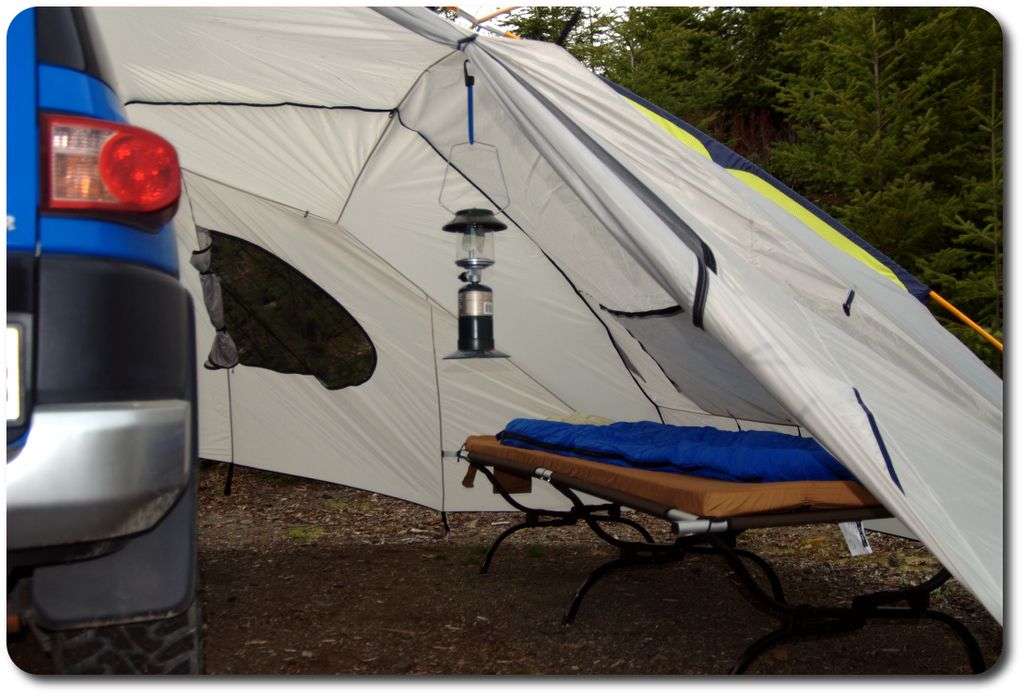
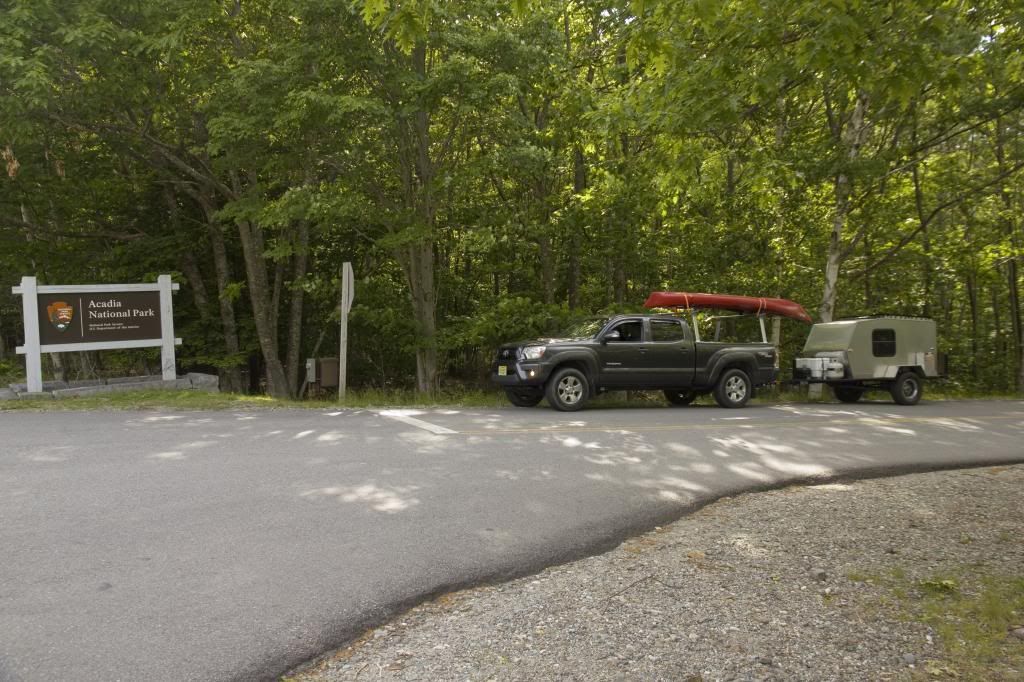
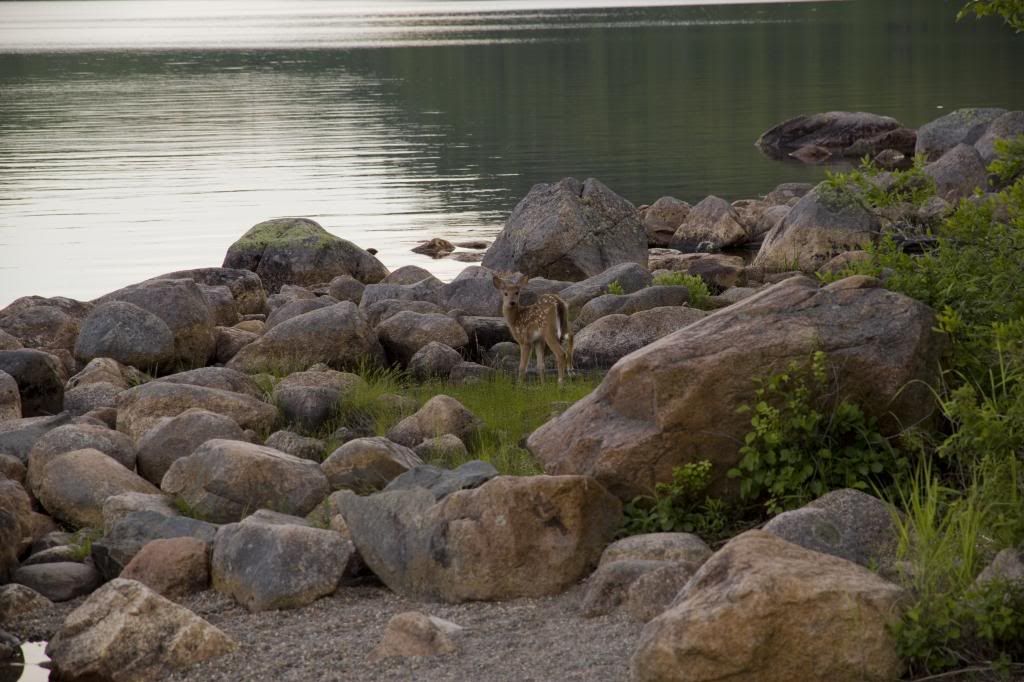
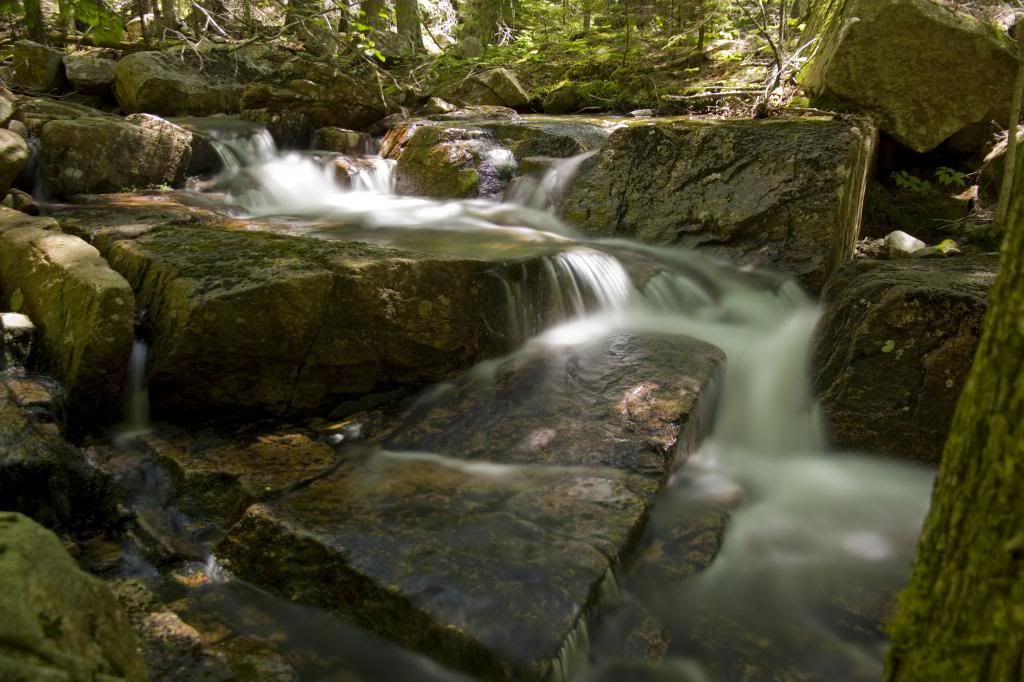
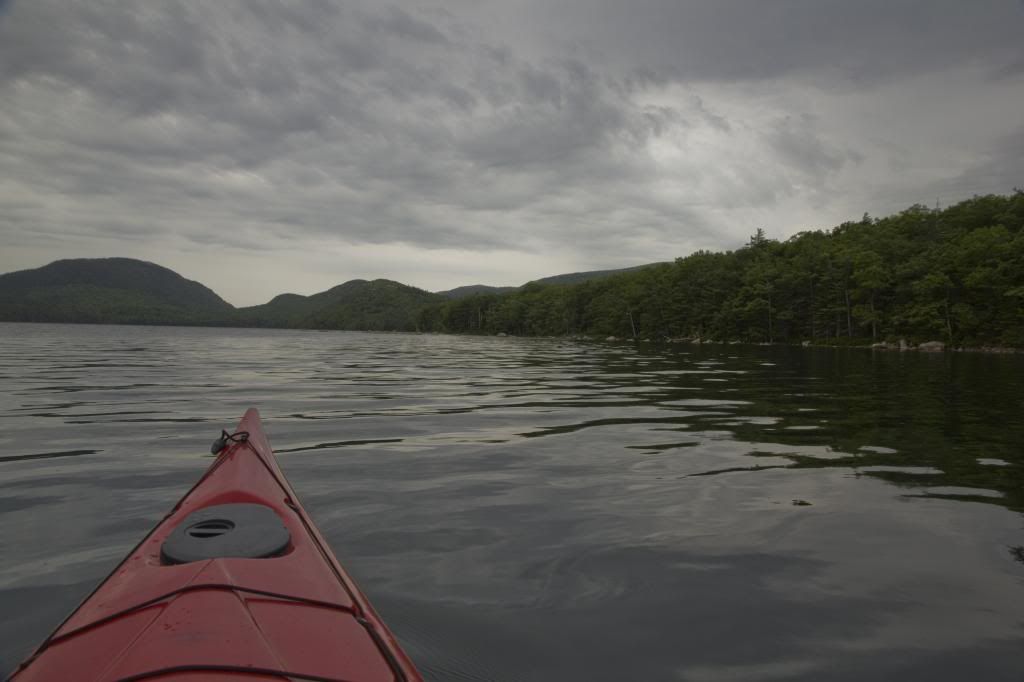
After that I headed to Maine, Acadia specifically, for 10 days and the first major trip! The scenery and weather was amazing and it was really nice to come back to my little trailer each night instead of a crowded hotel or a plain old tent! I swapped on the Max-Coupler too before heading to Maine which really towed nice and took some of the clank out of running a regular ball.

IMG_34251_zps77dee1f8.jpg


IMG_40221_zpsb1a26ef8.jpg


IMG_44931_zps9bf8a41c.jpg


IMG_42901_zpsbdfd7d68.jpg


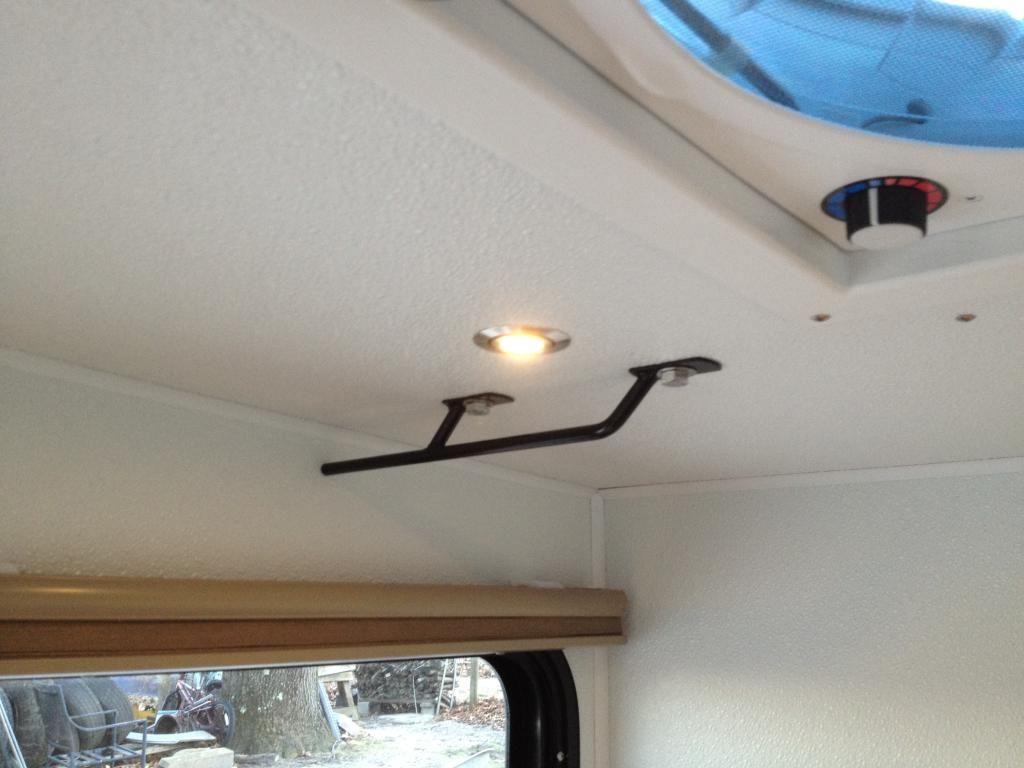
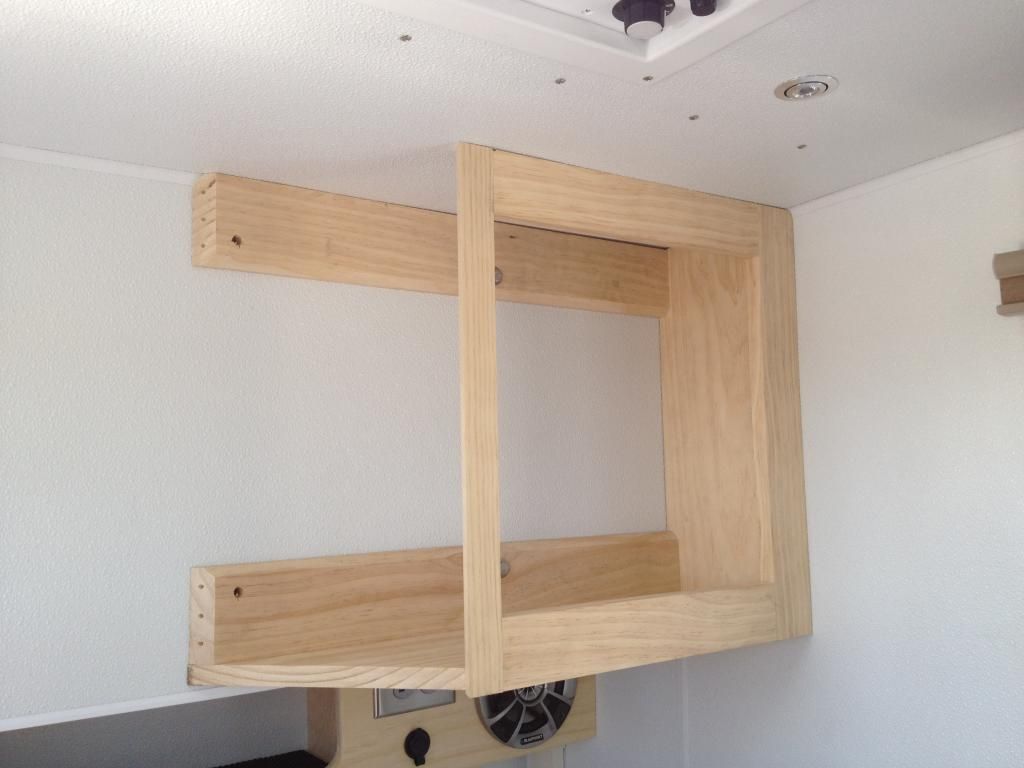
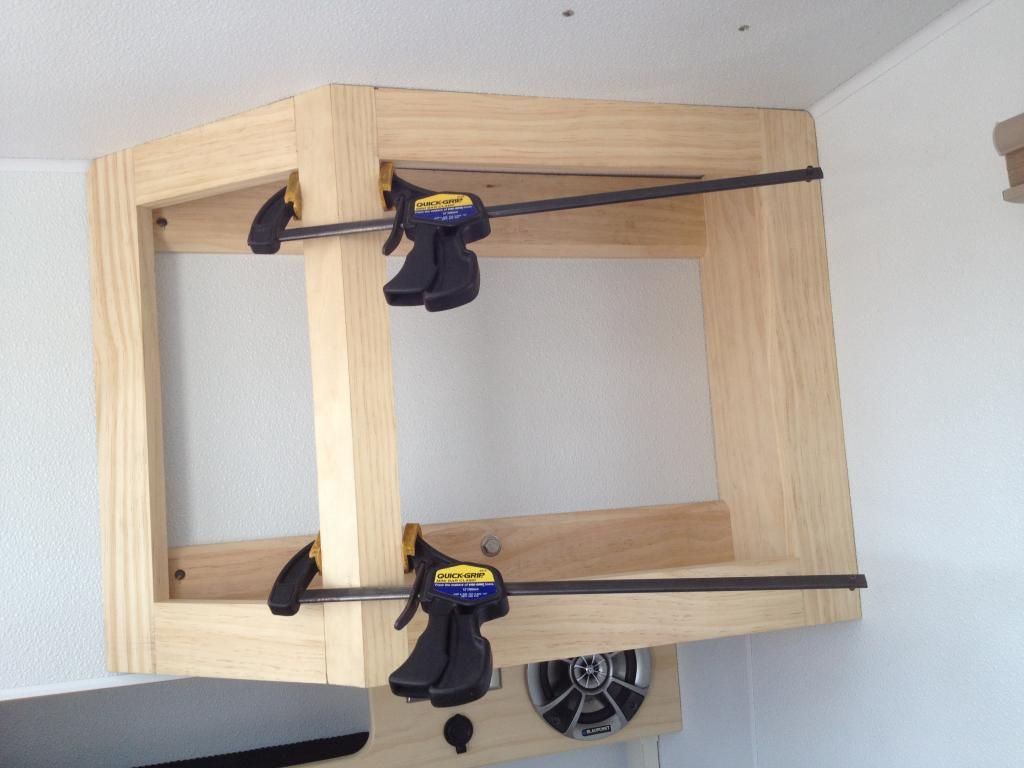
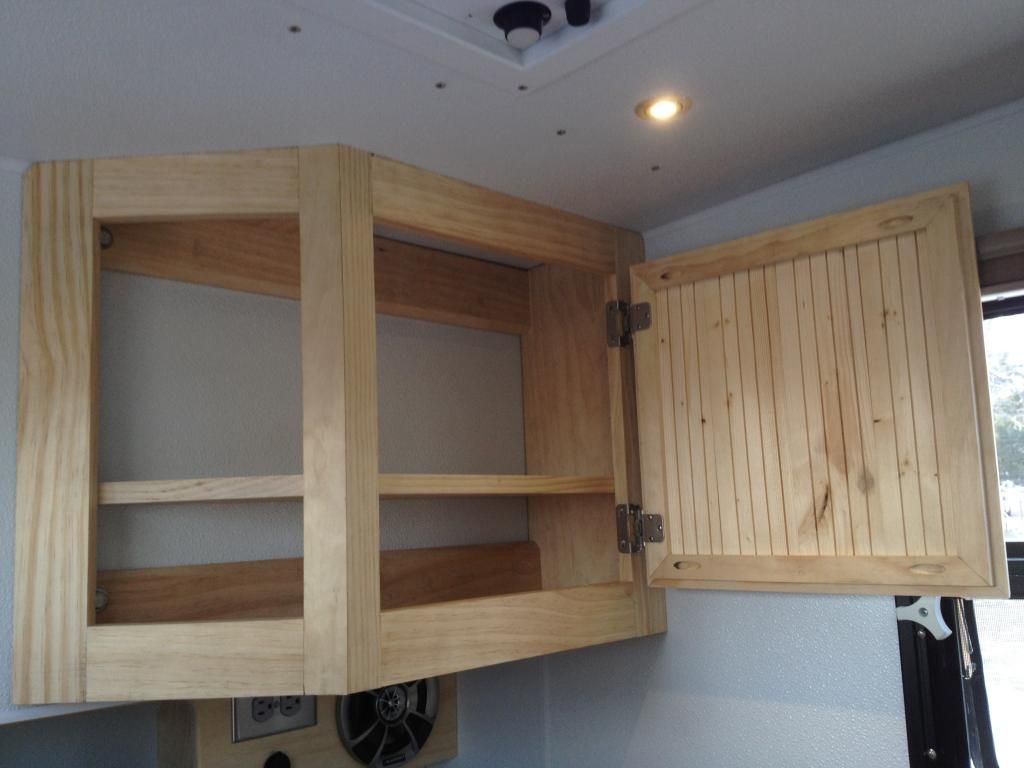
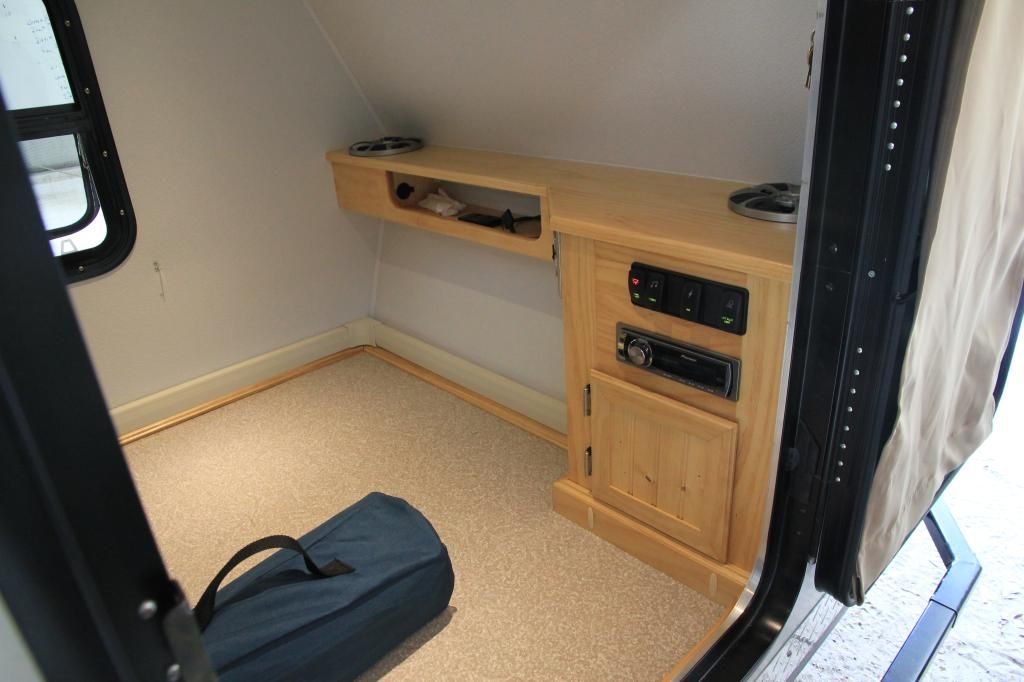
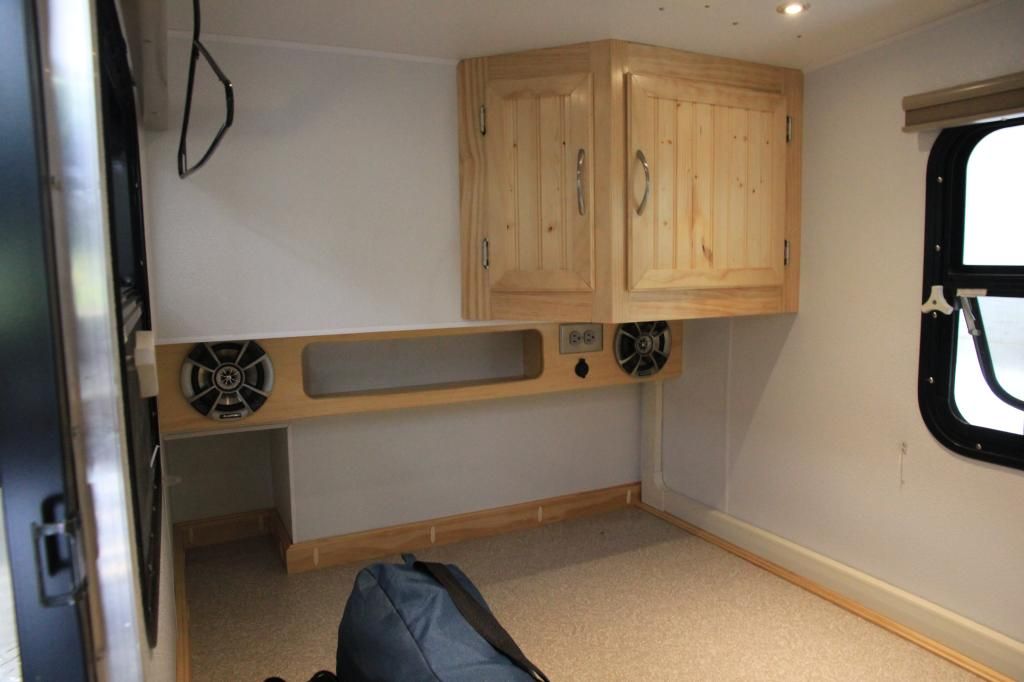
After a few trips I knew I wanted more interior storage so I build a nice little corner cabinet to go above the mattress area. The top of the cabinet box was particularly challenging due to the compound angles of the cabinet face and the roof.

IMG_2578_zpsokx5hd3b.jpg


IMG_2583_zpsfust3dea.jpg


IMG_2595_zpsz9fsmout.jpg


IMG_2597_zpswbydbbbd.jpg


IMG_2620_zpsprbv4pt8.jpg


At the first Mid-Atlantic Overland Festival with Elmo_4_vt and his fam!

IMG_4601_zps20caf0b7.jpg


IMG_4615_zps5kvbbkz5.jpg


A great event I'll be back at again this year!

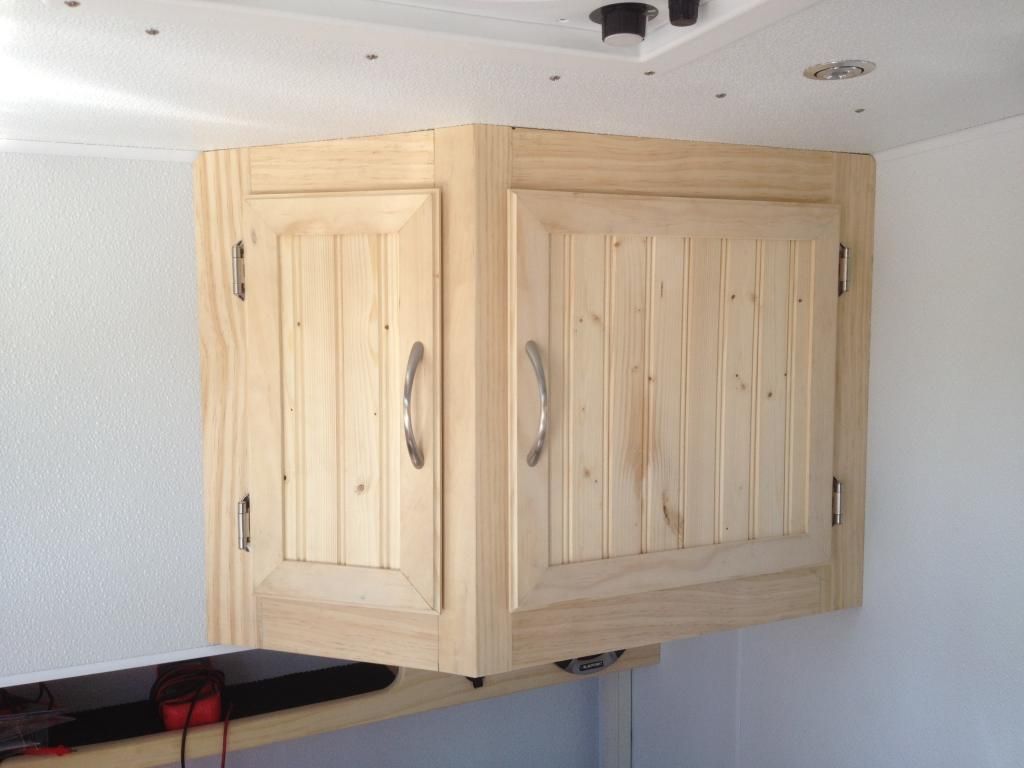
I also redid the front cabinet doors with thinner framing to match the rear cabinet. By late summer I pulled the cabinets and did a final sand of all the woodwork and laid on a few coats of satin poly clear to protect and seal it. By now the list of work left was really shrinking!

IMG_4671_zpsm1nugwzk.jpg


IMG_4673_zpsmyqmiw5k.jpg


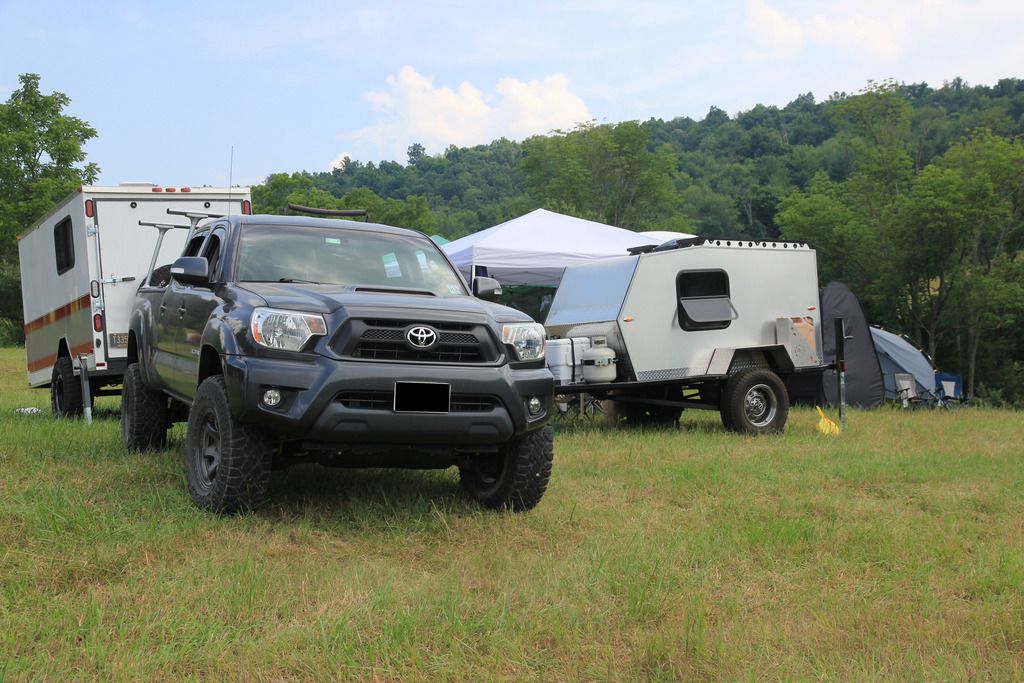
I spent a good bit of the summer traveling and building my tow rig (
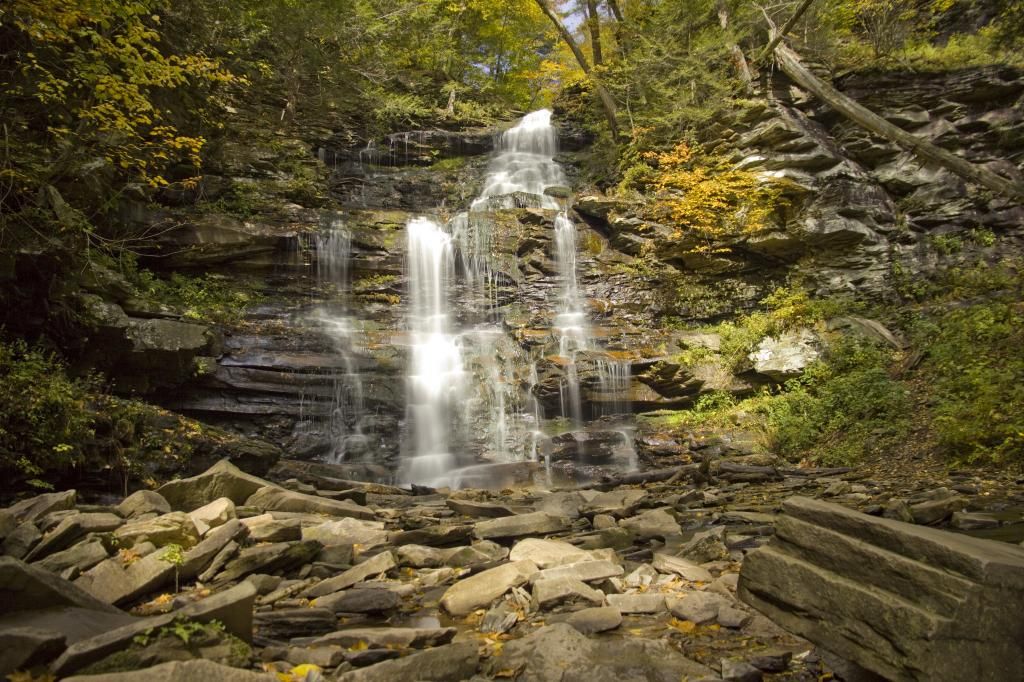
build thread here) and in late late year Elmo_4_vt, his fam and myself went out to PA for the last hurrah of the year - the scenery was impressive! As you can see the Tacoma looks very different than from a few months earlier in Maine!

Edit-IMG_47521_zpsb253f71d.jpg


Edit-IMG_47171_zpsc8679040.jpg


The first outing of this year is coming up in a few weeks and I hope to get a few little details wrapped up before then! Updates coming soon!
 

Forum statistics

Threads
186,341
Messages
2,884,711
Members
226,200
Latest member
eclipse179
Top