Calimobber's Expedition 4Runner

CaliMobber

Adventurer
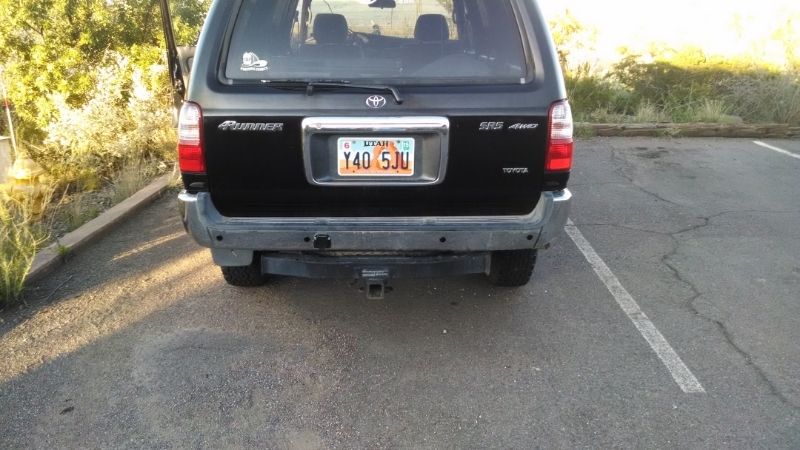
Thanks, The fridge has been flawless. When I lived in the city it ran 24/7 but now I dont drive everyday so I unplug it. Im going to do a little more testing with the new 85w panel and see if it can go forever. I drive all over the country so its perfect for keeping everything cold with out ice. Its paid for it self for sure in ice cost.

Its been off road on camping trips bouncing all over the back and just keeps ticking. Im pretty impressed with it. I got it for $380 shipped. I do like the ARB style the best being all plastic, so if you were going to pay the full $600 for the edgestar look into the ARB.
 

Jeremysstyles

New member
how did you mount that solar charge control and fuse block. did you screw that into the metal? Is the metal in that cubby not the exterior sheet metal? thanks
 

CaliMobber

Adventurer
OK so been basicly riding around on my airbags to keep the 4runner lvl for a few years now. I finally decided to upgrade the shocks. There is so much opinion about lifts that its seriously a giant head ache.

I decided to go with Bilstein 5100 all around and OME 890 in the rear. after reading a few post on using the stock coils up front I decided to give it a try. If I dont like it i can upgrade the coils later.

I put the front coils on the 4th clip and it seems to sit pretty lvl with maybe a small rack in the rear. time will tell. Also I used this compressor, It worked great and would recommend it as it would have cost more to pay a shop.

http://www.amazon.com/dp/B00DCZP22G/ref=sr_ph?ie=UTF8&qid=1426392383&sr=1&keywords=coil+compressor

Word to the wise.....Make sure the strut coil tray is in the right way and not upside down or you may have trouble compressing the coil enough :********:

It just may save you some time on the installation :********::********:


CaliMobber

Adventurer
So I got an idea after seeing someone use LED's for a under the hood light. I have an old mercury switch I had from an old project.

I also had a 12v LED strip from another project I havent used yet. So I thought they would both work great for an automatic hood light. Everything went together smooth and only took maybe 30minutes. Ill have to wait until its dark to test it out.

8b0ac309-3536-4287-a257-b85532a5d0ac_zpsbyjtake4.jpg


The Mercury Switch

e587872e-7c12-4ce0-bb28-33671437cb96_zpstyxfbzpf.jpg


the switch being connected

14b5cdc9-17a7-454c-b5e2-c18d19441061_zpsjyno22zo.jpg


switch taped in the right direction, so when the hoods up its activated.

34a4f5d6-54ed-4812-ab7f-134ce015bcc4_zpsk1qkoccg.jpg


LED strip, The angle on the metal is perfect. I always added a few strips of gorilla tape cause I don't really trust the sticky side of the strip.

Hood LED's look amazing! super happy with the mod. especially since its so simple.

caf13419-1501-47da-a895-7ef0f5eb8895_zpssx7axmrv.jpg
 

CaliMobber

Adventurer
So I finally decided to do a mod I've wanted to do for a long time. Ever since those backup reverse sensors came out I thought it was a great idea.

The last few years china has been pumping out a cheap sensor kid for almost nothing. The reviews s looked good enough so I figured I'd give it a try.

I choose this kit because it was dirt cheap and I only wanted the sound, and didn't like the look of the cheap plastic screens.

Amazon.com : Car Parking Reverse Backup Radar Sound Alert + 4 Sensors Black : Car Electronics

I tried using the included drill bit bit it could barely scratch the metal bumper before it was flattened. So back to amazon for this awesome little kit from Amazon. It's a great addition to my tool box.

Amazon.com: Neiko 10197A 5-Piece Step Drill Bit Set with Metal Case, SAE: Home Improvement

Everything went smoothly once I had the right tools.

cb8fb15f-21cf-4761-8a7e-ce2c206045eb_zpsps6y50ho.jpg


2d87f49d-c9ba-4e12-95e2-5854e088c32a_zpswhswyvax.jpg


That's grease to help bit not squeal so much.

7261171a-815d-403a-ad2b-2b223595c385_zpscoxwdmuv.jpg


It works pretty amazing so far, has a little trouble with plants since they are not continuous but walls work great. This picture is the distance when the beep is solid. So it's the Stop backing up beep!

7a12c4ca-3db5-4c9f-a6c8-b4e9ddf30928_zpsfqydke4e.jpg
 

CaliMobber

Adventurer
Roof and window visors

So It been a few months since ive updated my build but I have done a good amount of mods. So lets get to it,

As all of you with a sunroof know when its open that little bar that pops up to deflect the wind gets very annoying and ive been meaning to deal with it. Also the light bar up top causes a little buffeting at high speeds so I was hoping to fix both with a sunroof visor.

Also I had been looking at getting in channel window visors as well since they work so well to let the heat went out when the car is parked to help my 12v fridge and also are excellent when camping in the rain.

Everything was an easy install and i'm very happen with both. Sunroof open is very quiet and it fixed the light bar noise!!

all 4 windows cracked and sun shades in windows keep the car cool and batteries happy :bravo:


Links to the ones I purchased.

http://www.amazon.com/gp/product/B000182EU0?psc=1&redirect=true&ref_=oh_aui_detailpage_o02_s01

Amazon.com: Wade 72-88491 In-Channel Wind Deflectors, Smoke Tint, (4-piece set): Automotive
 

CaliMobber

Adventurer
Privacy for sleeping in the car

I often sleep in my car at trailheads or in truckstops when traveling. One thing i hate is cars driving my and lighting me up inside the car. It would be nice for a little privacy so after looking at other people options I decided a few things would work.

1- I bought a few cheap window sun reflectors and cut them out to the shape of my back windows and velcrowed them on.

2- I had seen bug nets for off road vehicles but they are always going to be $60+ shipped so I never went for it. I also saw that amazing idea with the plastic gutter grate. But when I stumbled upon these on amazon for $20 shipped I went for it and could not be happier.

If I want extra cover for middle windows I just slide the precut reflector under the window sock.

3- Im still working on a good cover for the very back window.


Amazon link:

Amazon.com: TFY Universal Car Rear Side-Door Square-Window Sunshades - For vehicles with side windows 31.5'' - 47'' W x 23'' H (Large Window): Automotive
 

CaliMobber

Adventurer
Upgrading the Cellphone Booster

Ive had a awesome wilson 3g booster for the last few years and its worked awesome. Its a dock style and the phone needs to be placed in the dock to work.

I have some awesome friends out there and my buddy Kris surprised me with a new wilson 4g wireless booster for my birthday!!

http://www.amazon.com/Wilson-Electr...TF8&qid=1440981732&sr=8-3&keywords=4g+booster

So before the big death valley trip i did a quick install and eventually Ill clean it up a little but for now it works since I don't use the back seats.

I put everything in the same places as the 3g booster but since this one is wireless I ran the wire under the center console and tucked the antenna into the credit card holder. It works amazing, like it was made for it. I just need to unbolt the center console and run all the wires under the carpet eventually.


Forum statistics

Threads
189,619
Messages
2,918,951
Members
232,571
Latest member
Psyph
Top