finally got around to writing about our whole remodel in the back of our truck on our
blog. Here is a copy of the blog post.
In May of ‘22, we picked up our Go Fast Camper. At that time we already had a
platform that we had built in the truck that was originally used when we had a fiberglass topper. We knew we eventually wanted to build a platform but with only a month between when we got the GFC and when we set off for our trip to Alaska and Canada we knew there wasn’t enough time to figure out what changes we wanted to make, so we made do for a while.
Our Previous build
Over the last year, we had spent a lot of time tweaking our previous setup, imagining what changes would benefit us, looking at other people’s builds, asking lots of questions about what was and wasn’t working for us, planning, making 3D models and reworking them, Eventually, we settled on some ideas that we really liked.
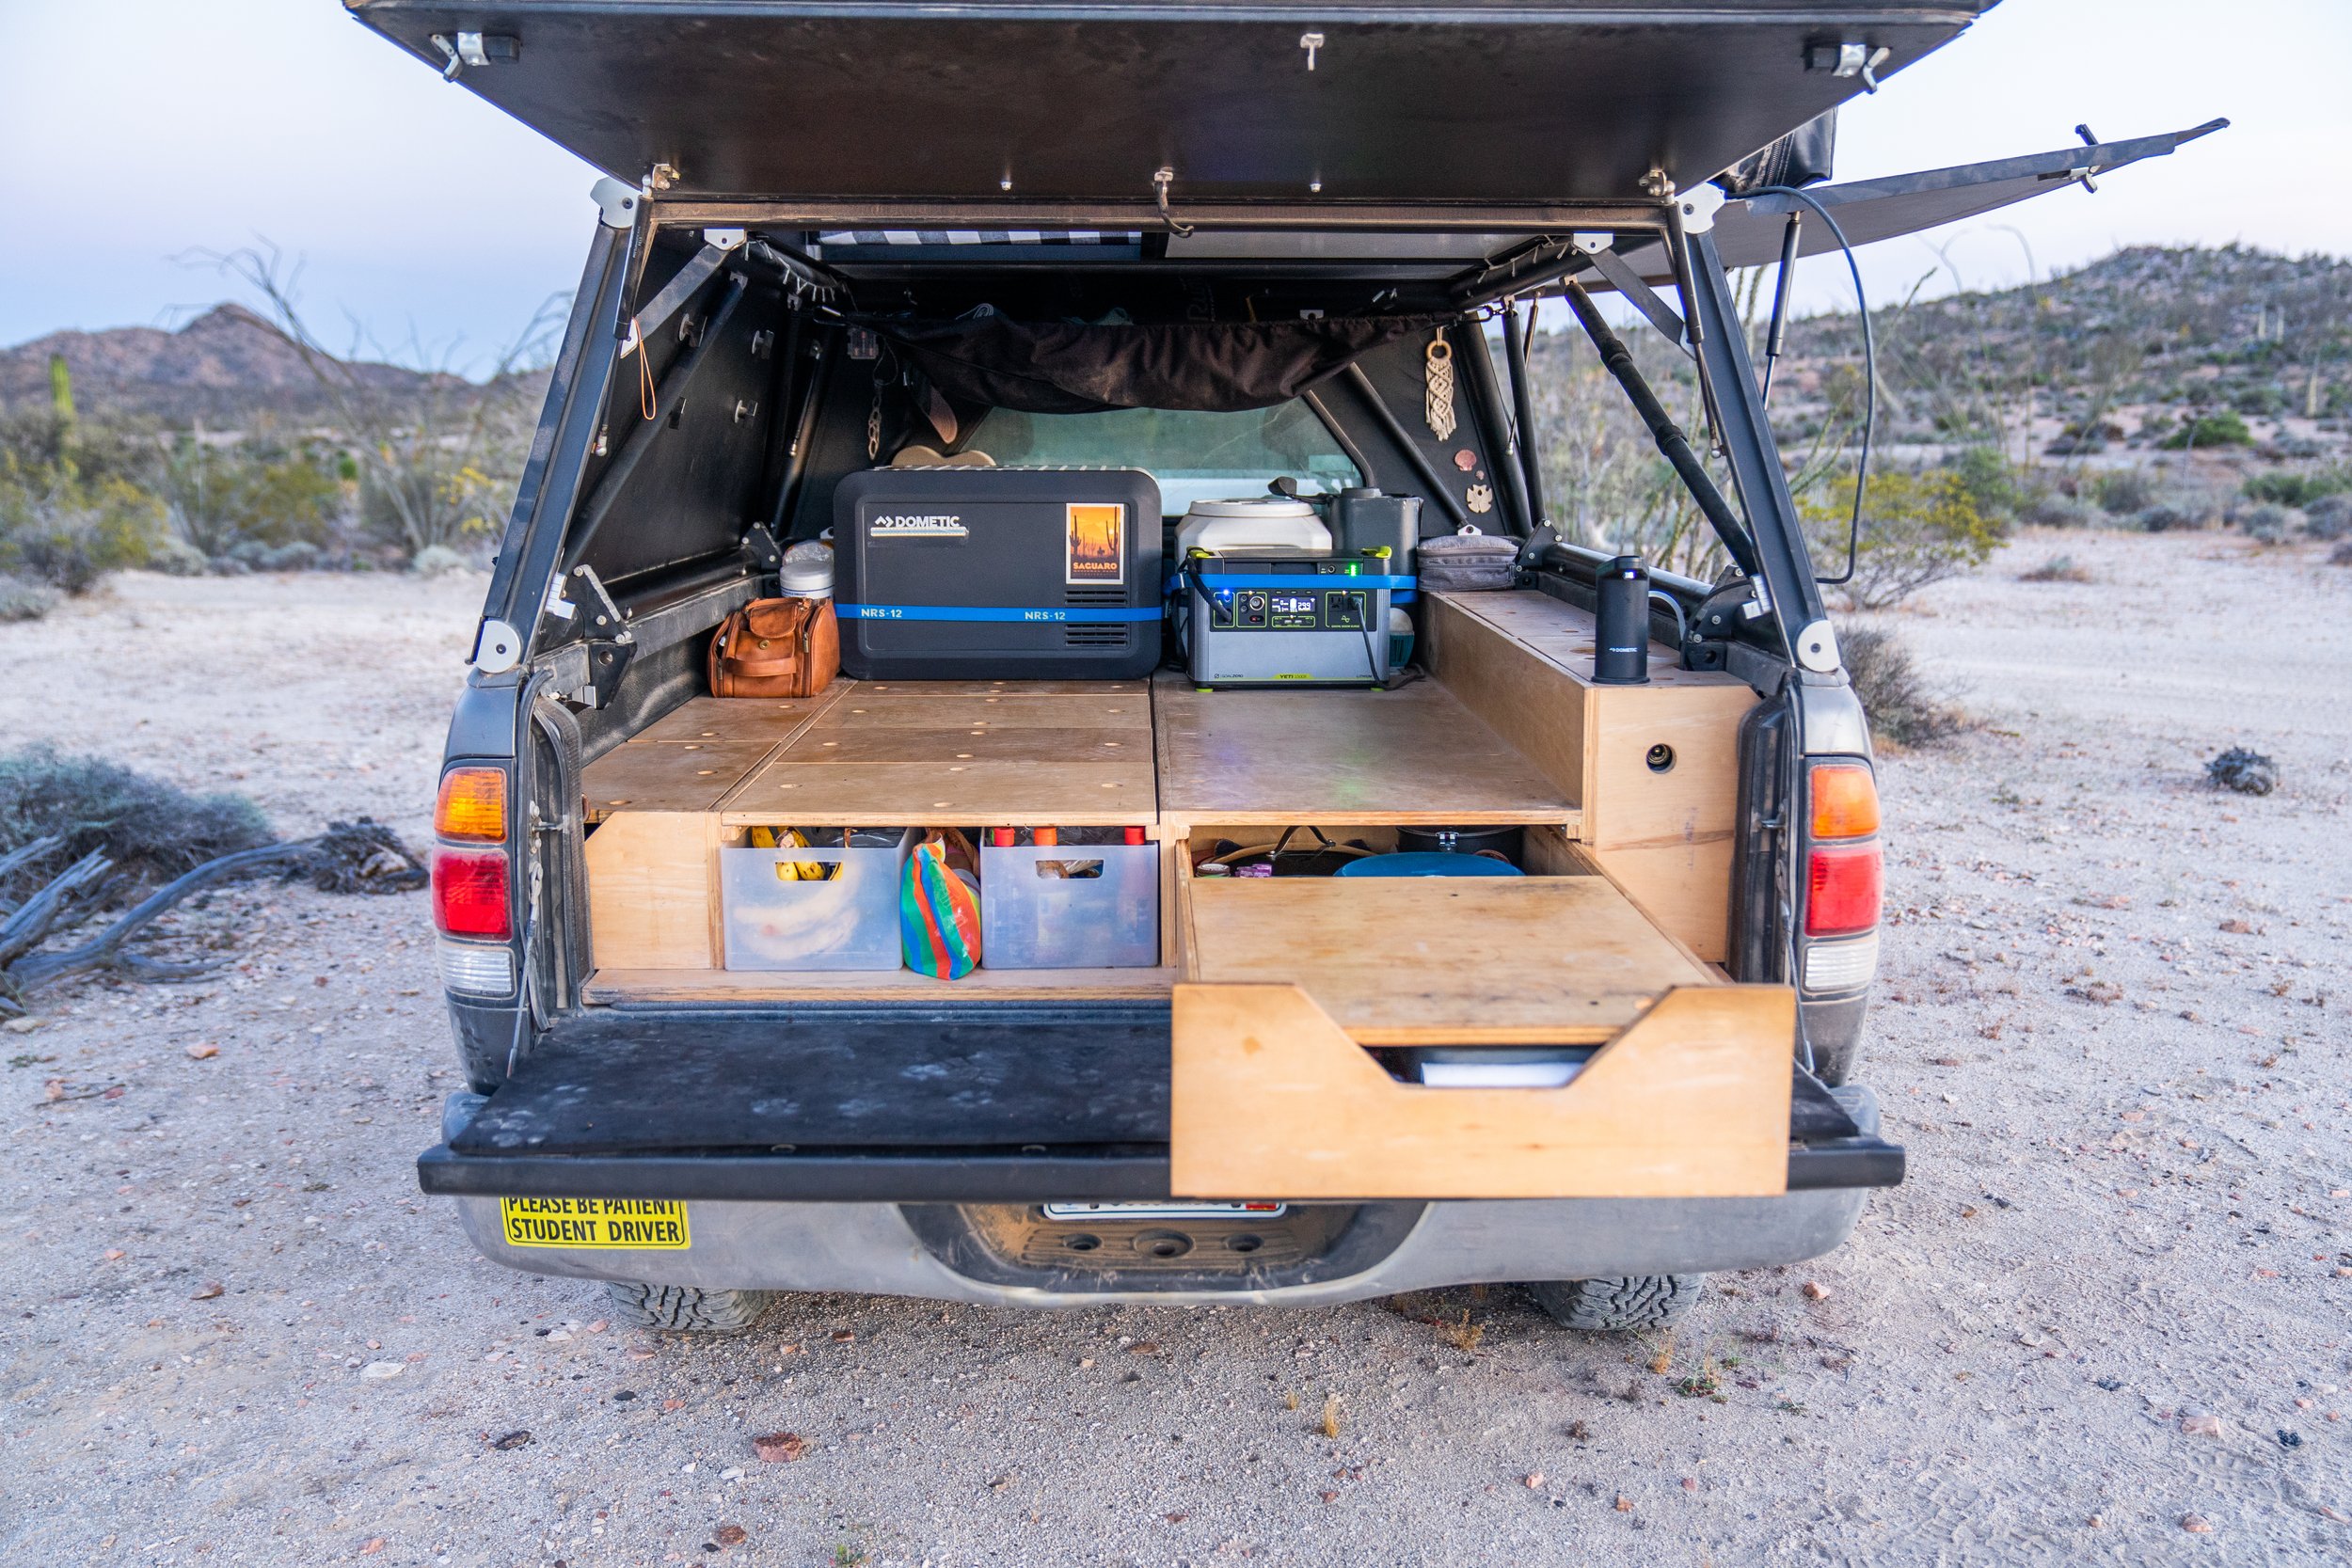
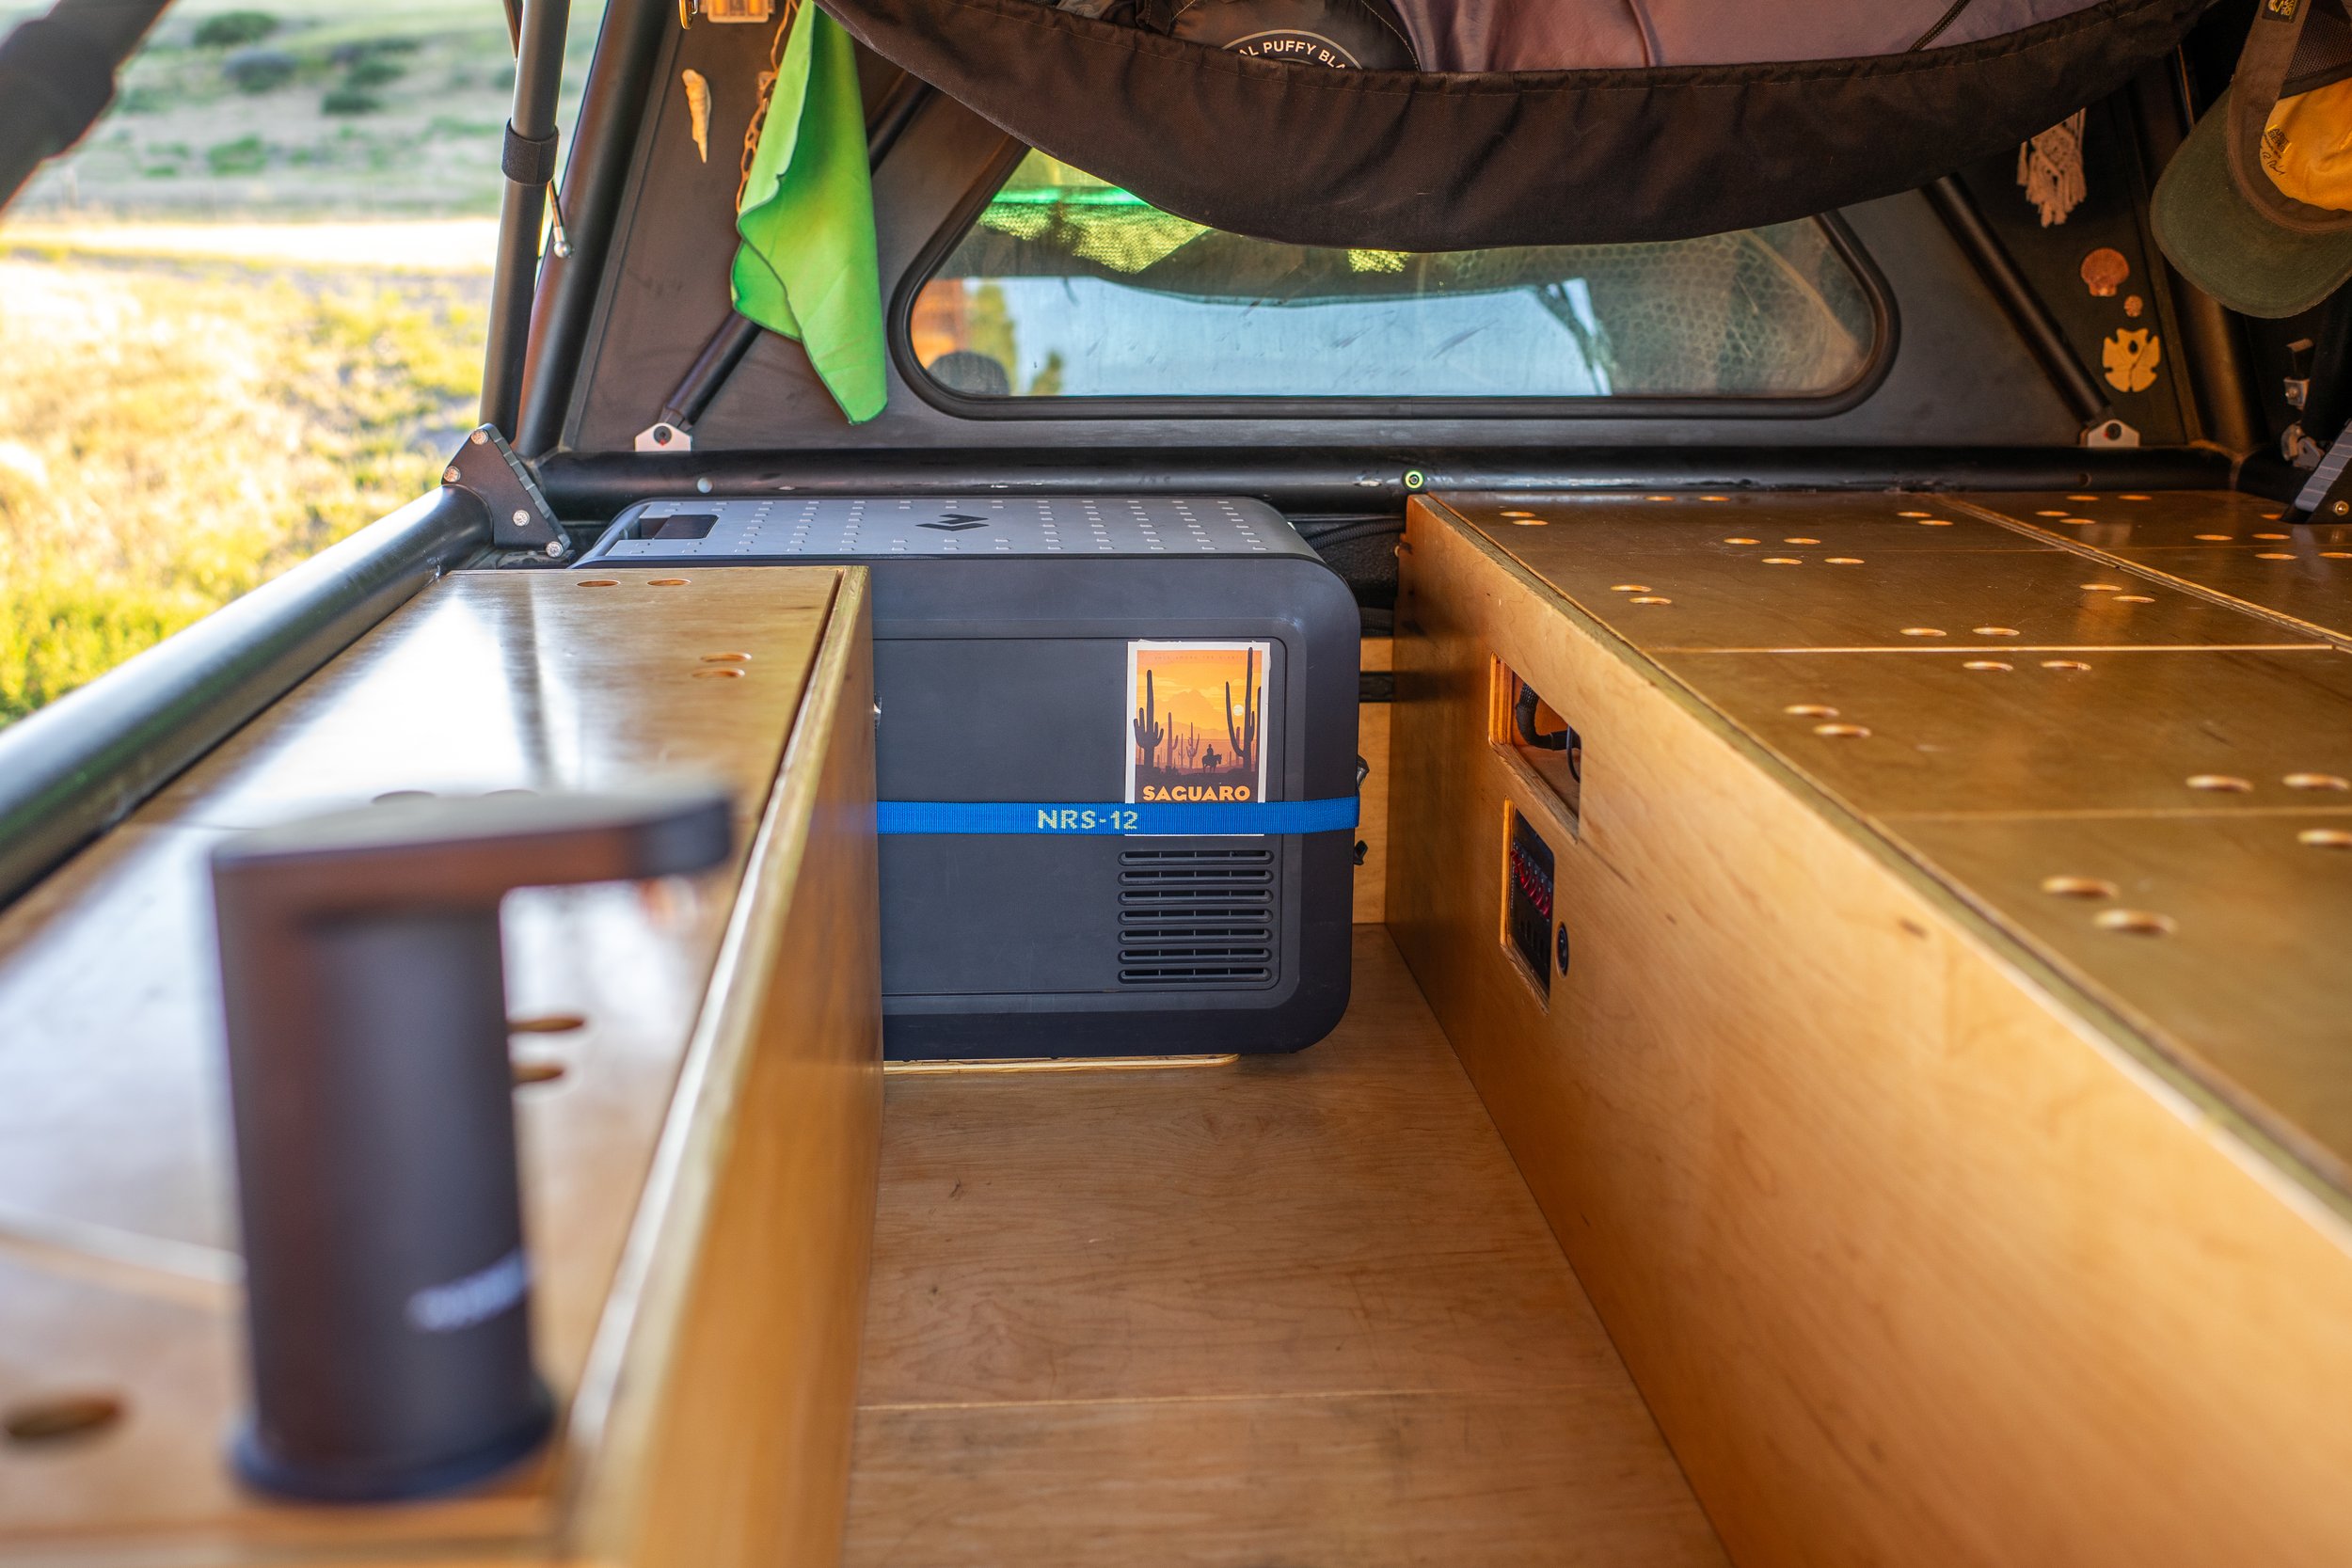
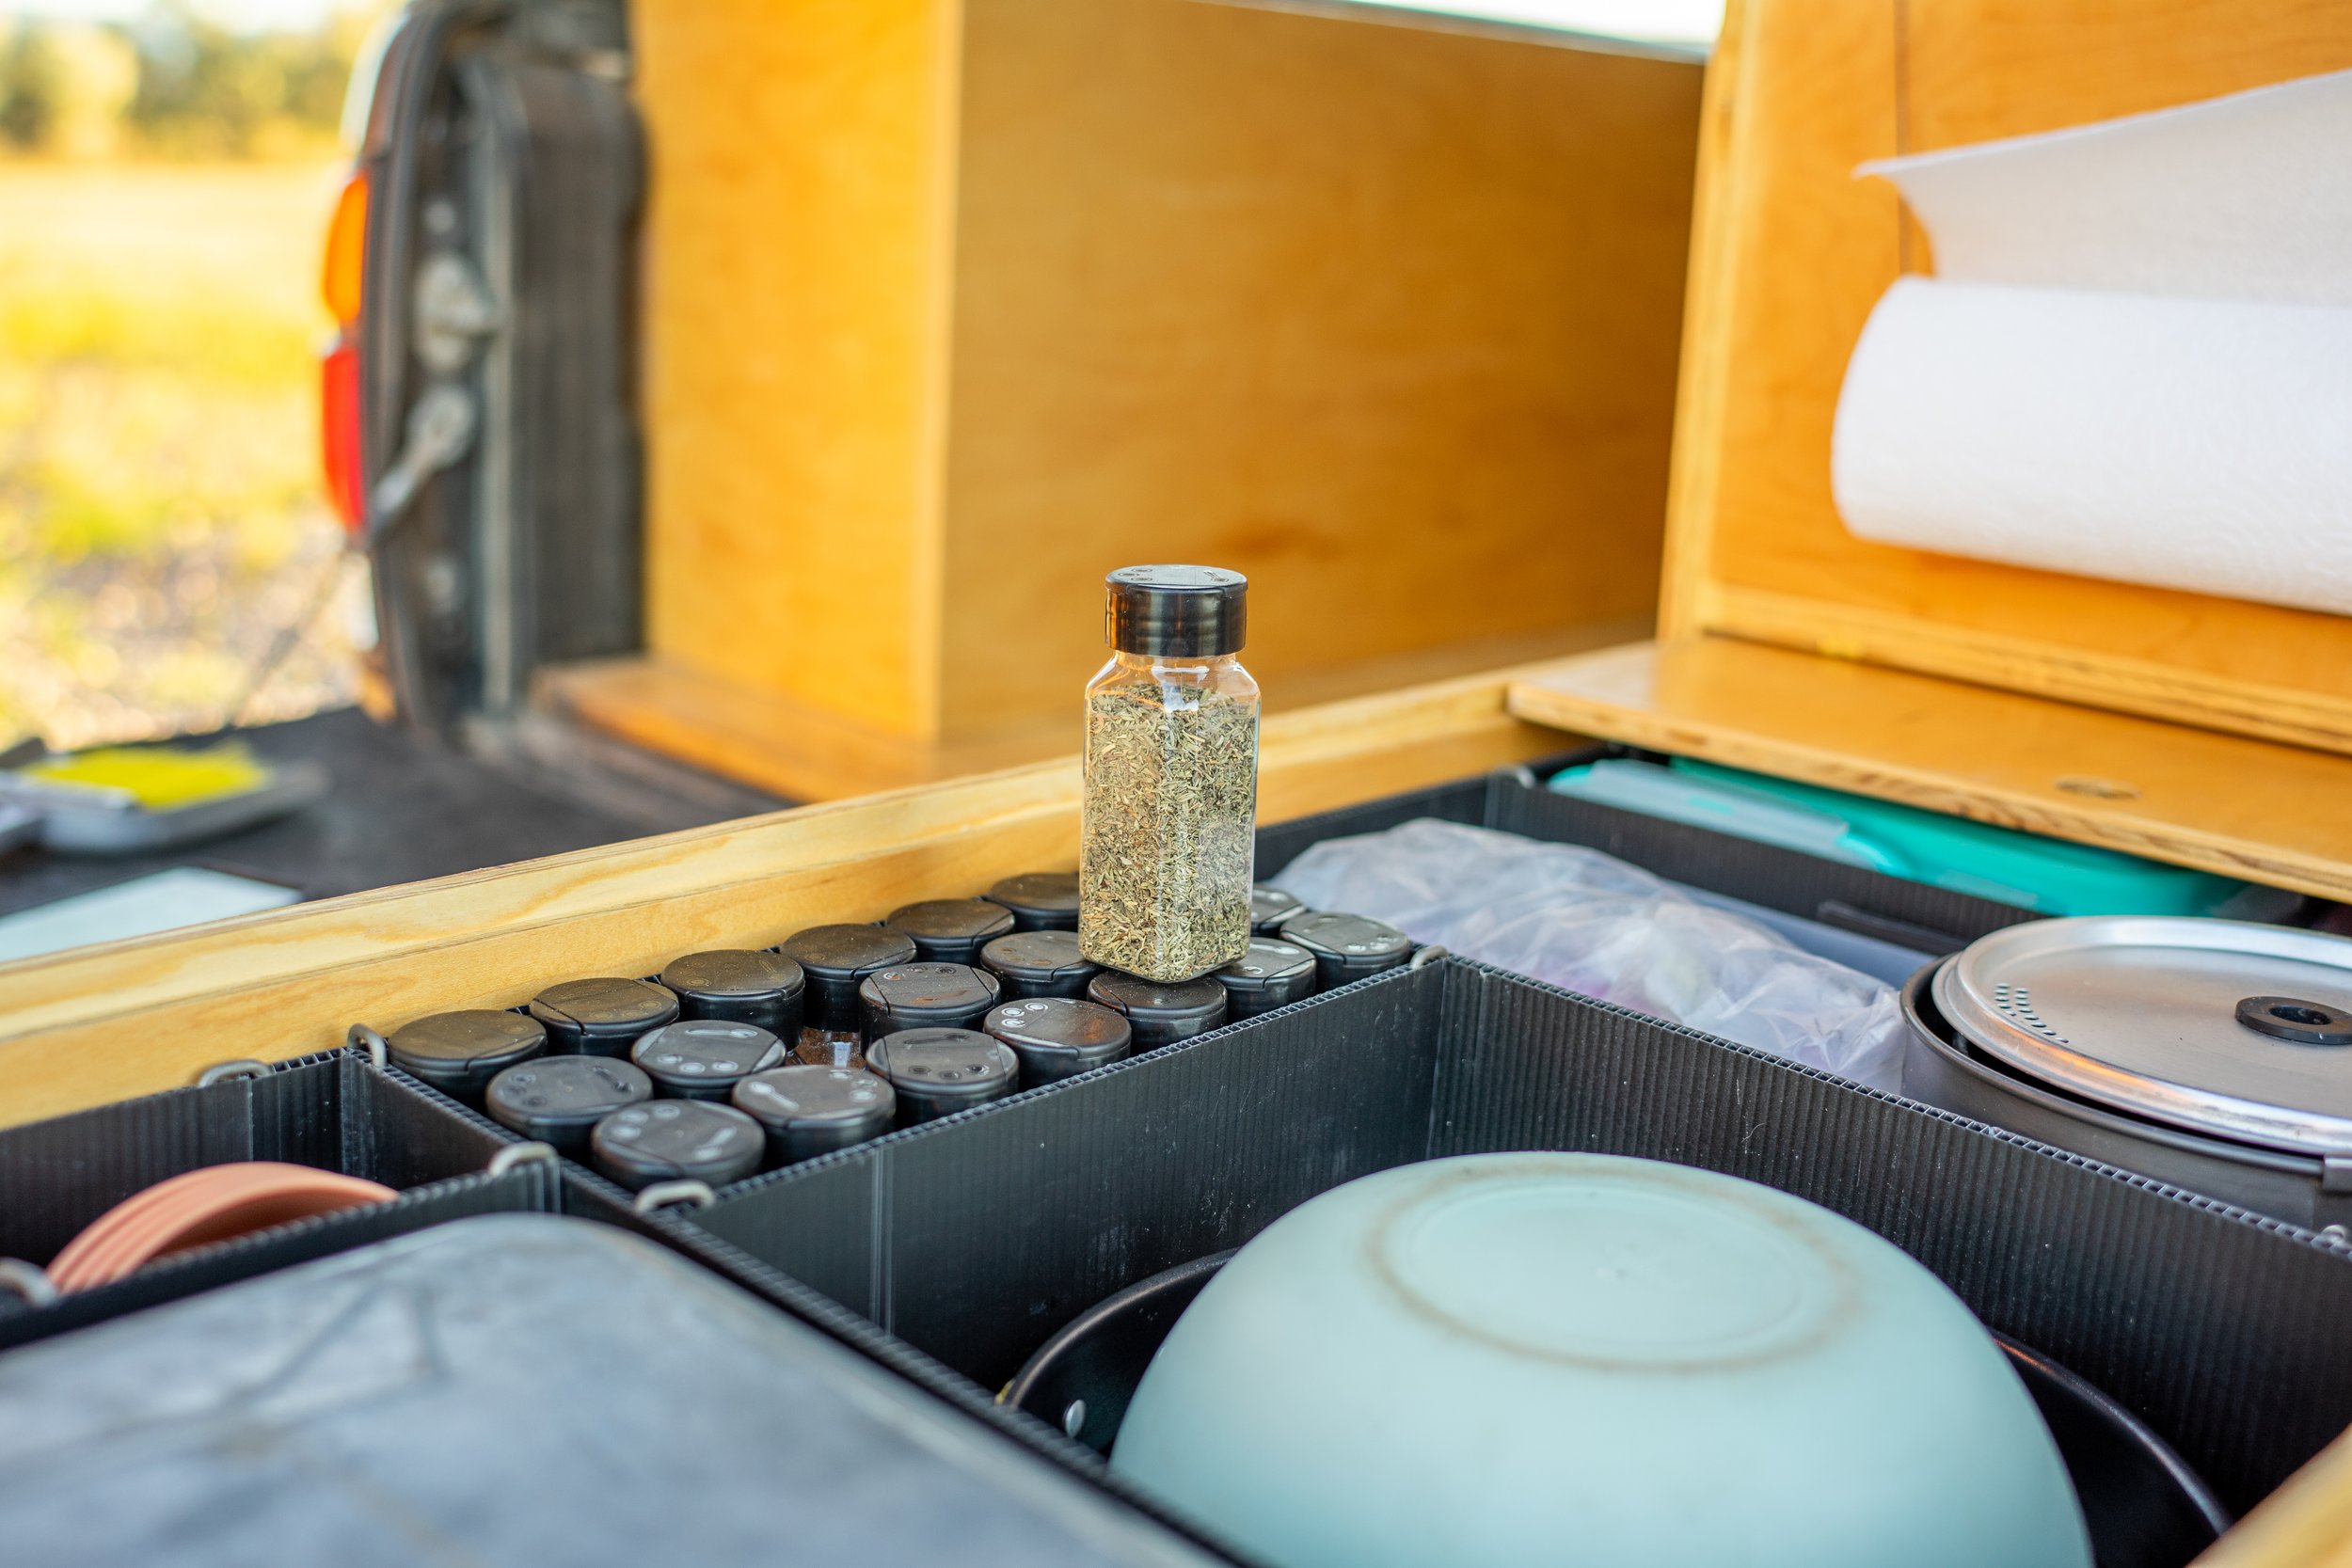
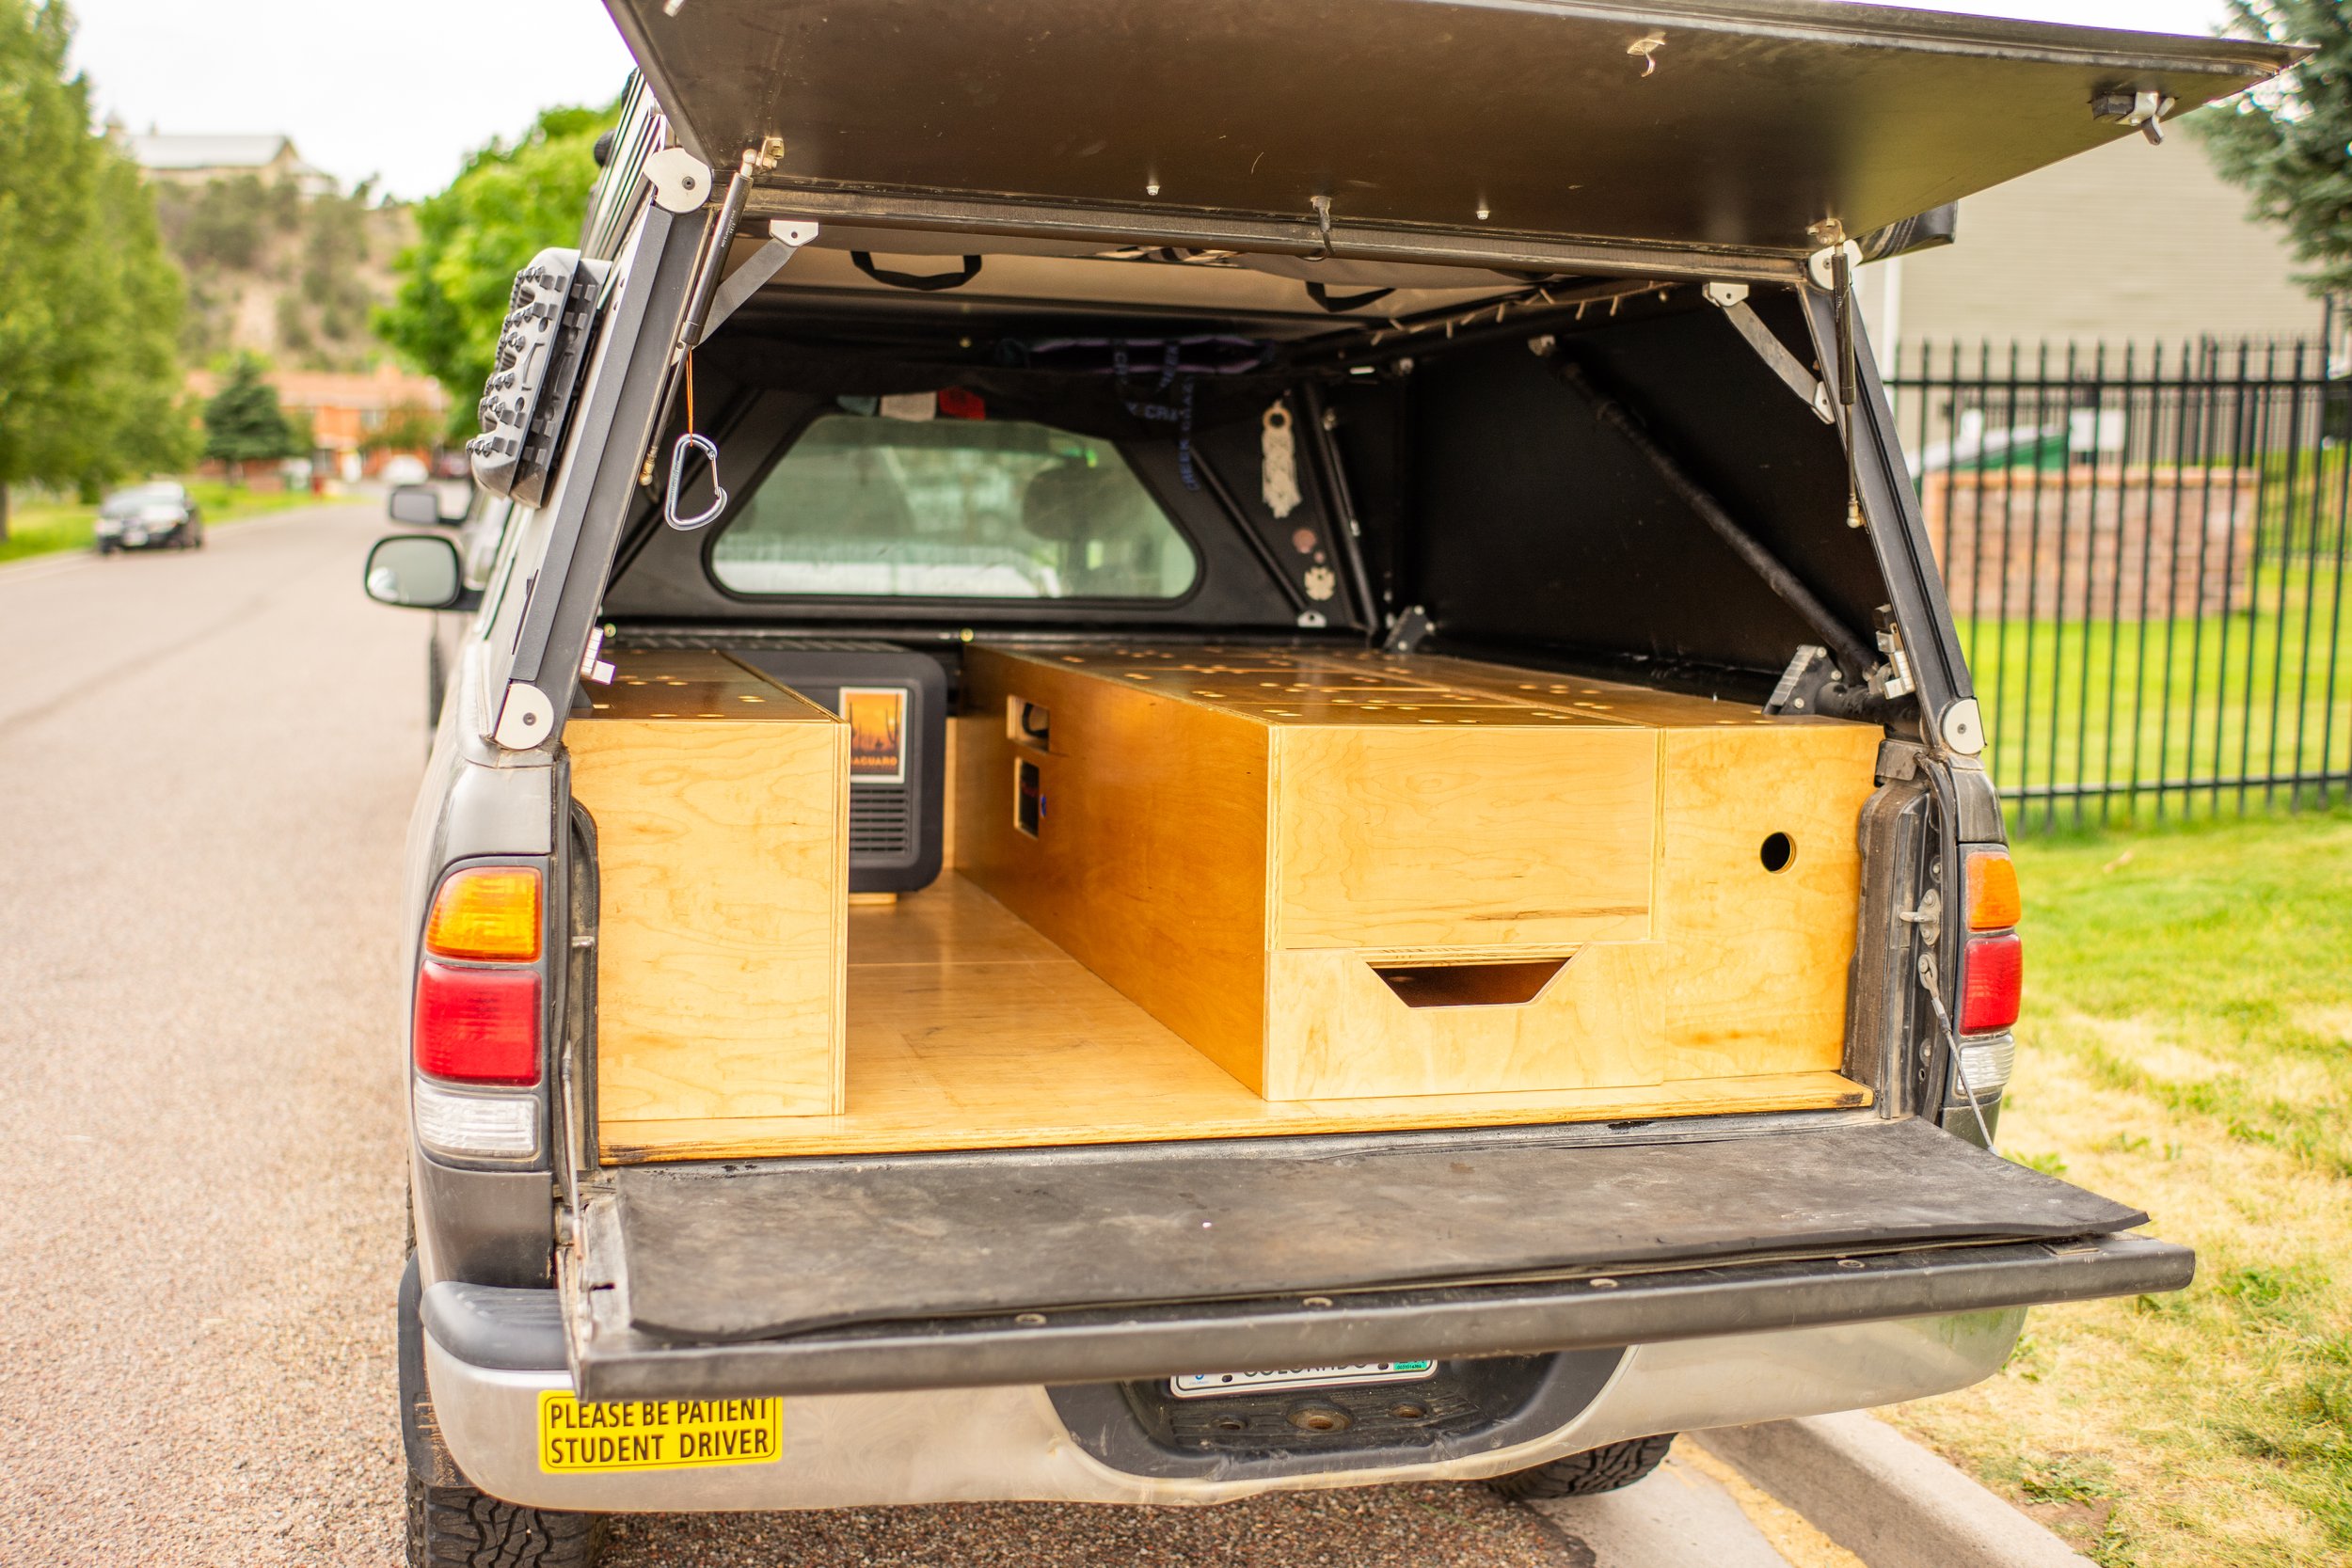
Going into this remodel, like our original build, we had sorted out a list of criteria. First, the fridge needed to be lower and easier to see into, we wanted our house battery, water, and dog food all stored out of sight but still easy to access, we wanted the ability to sit more comfortably inside, and finally, we wanted to be able to sleep “downstairs” in the event of extremely windy weather.
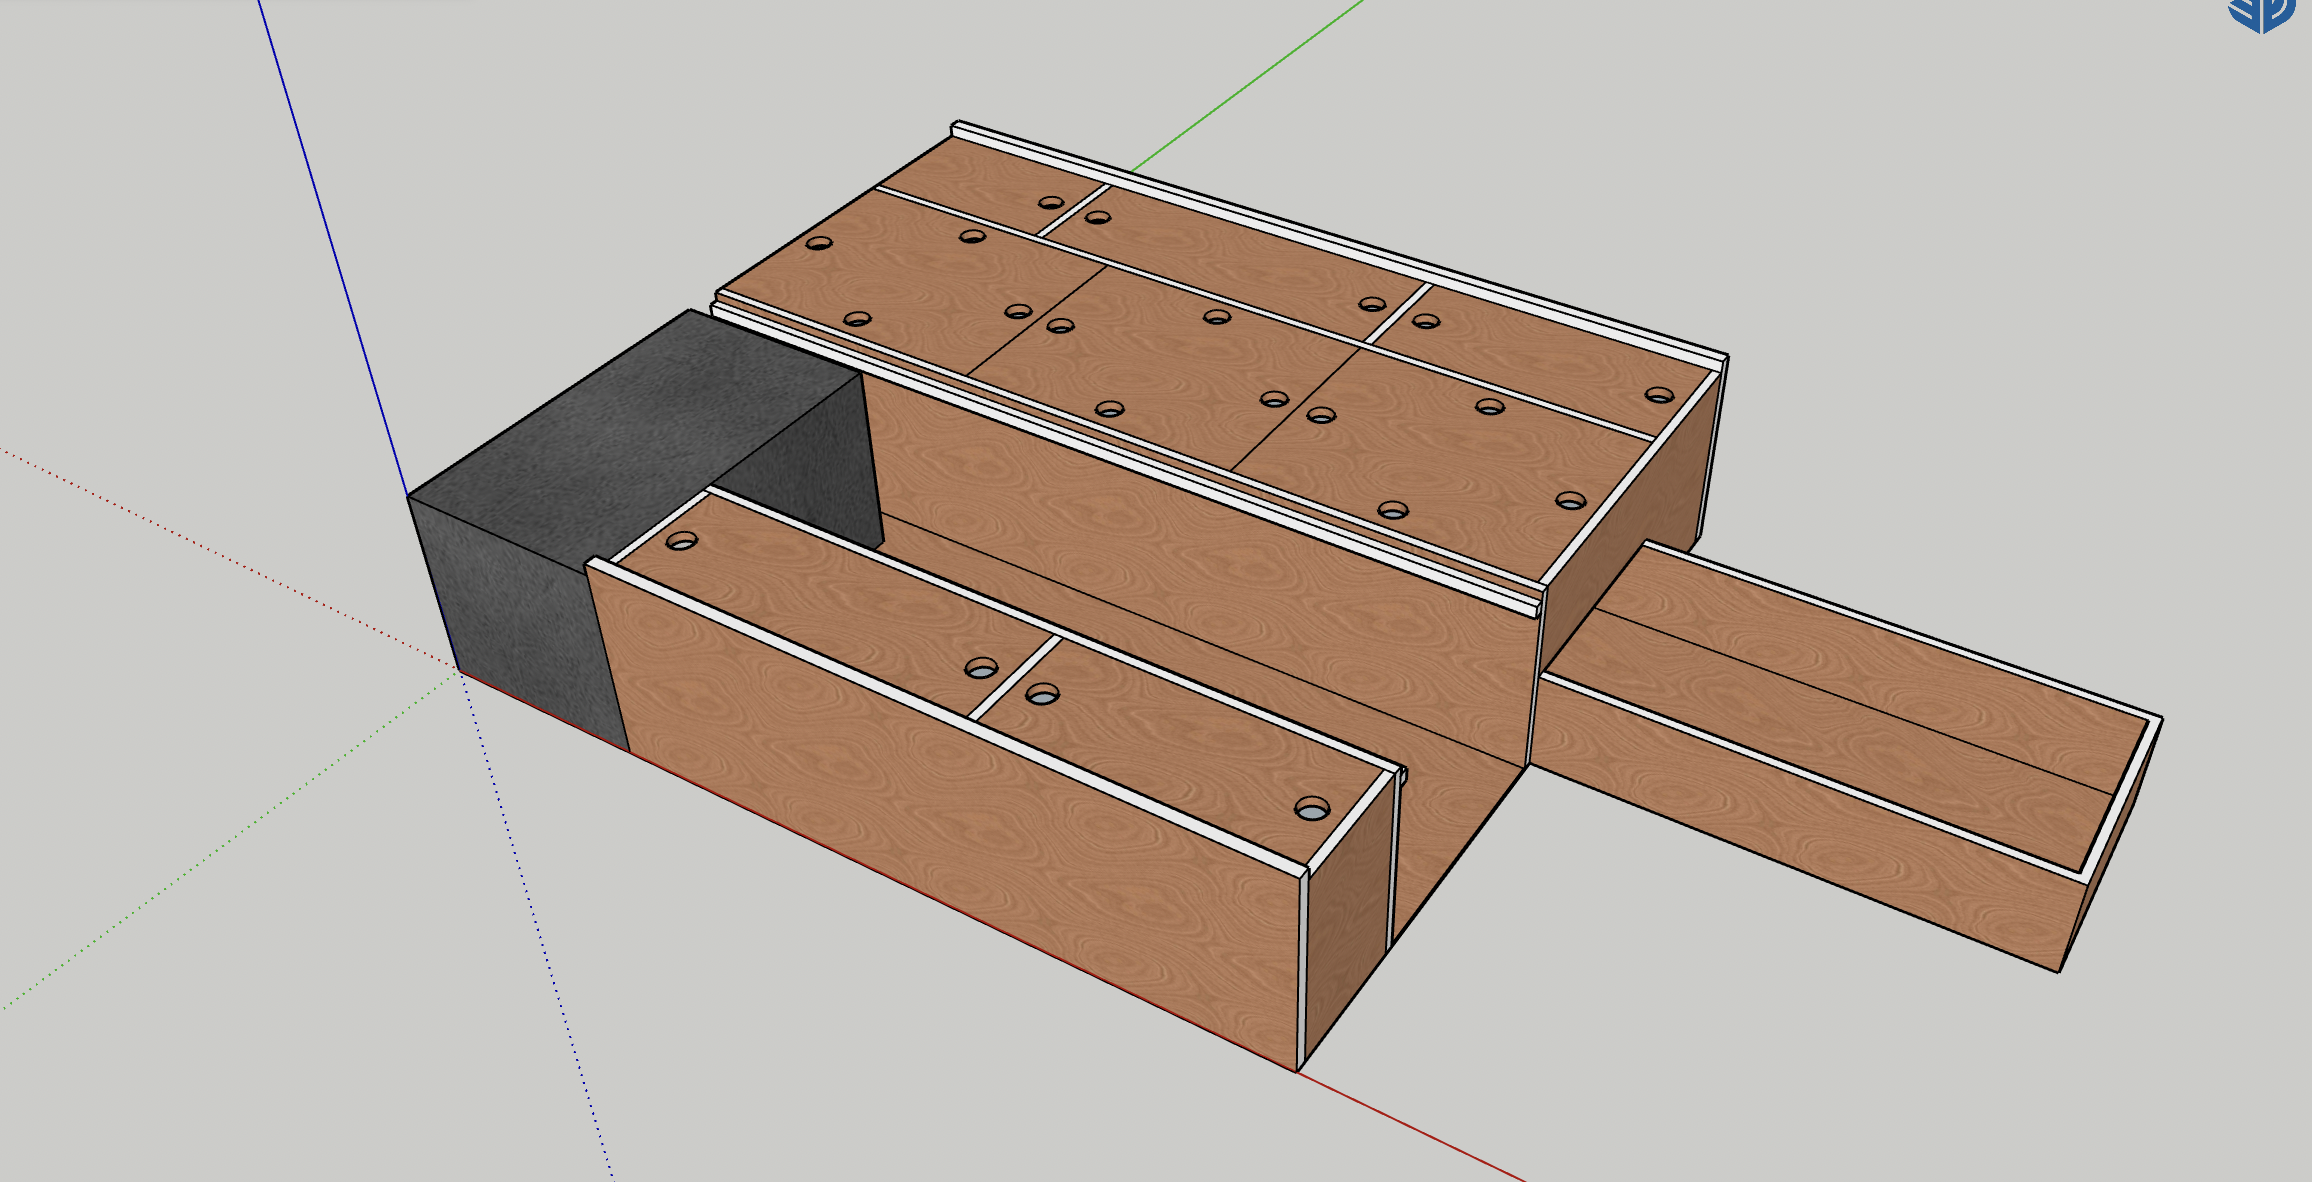
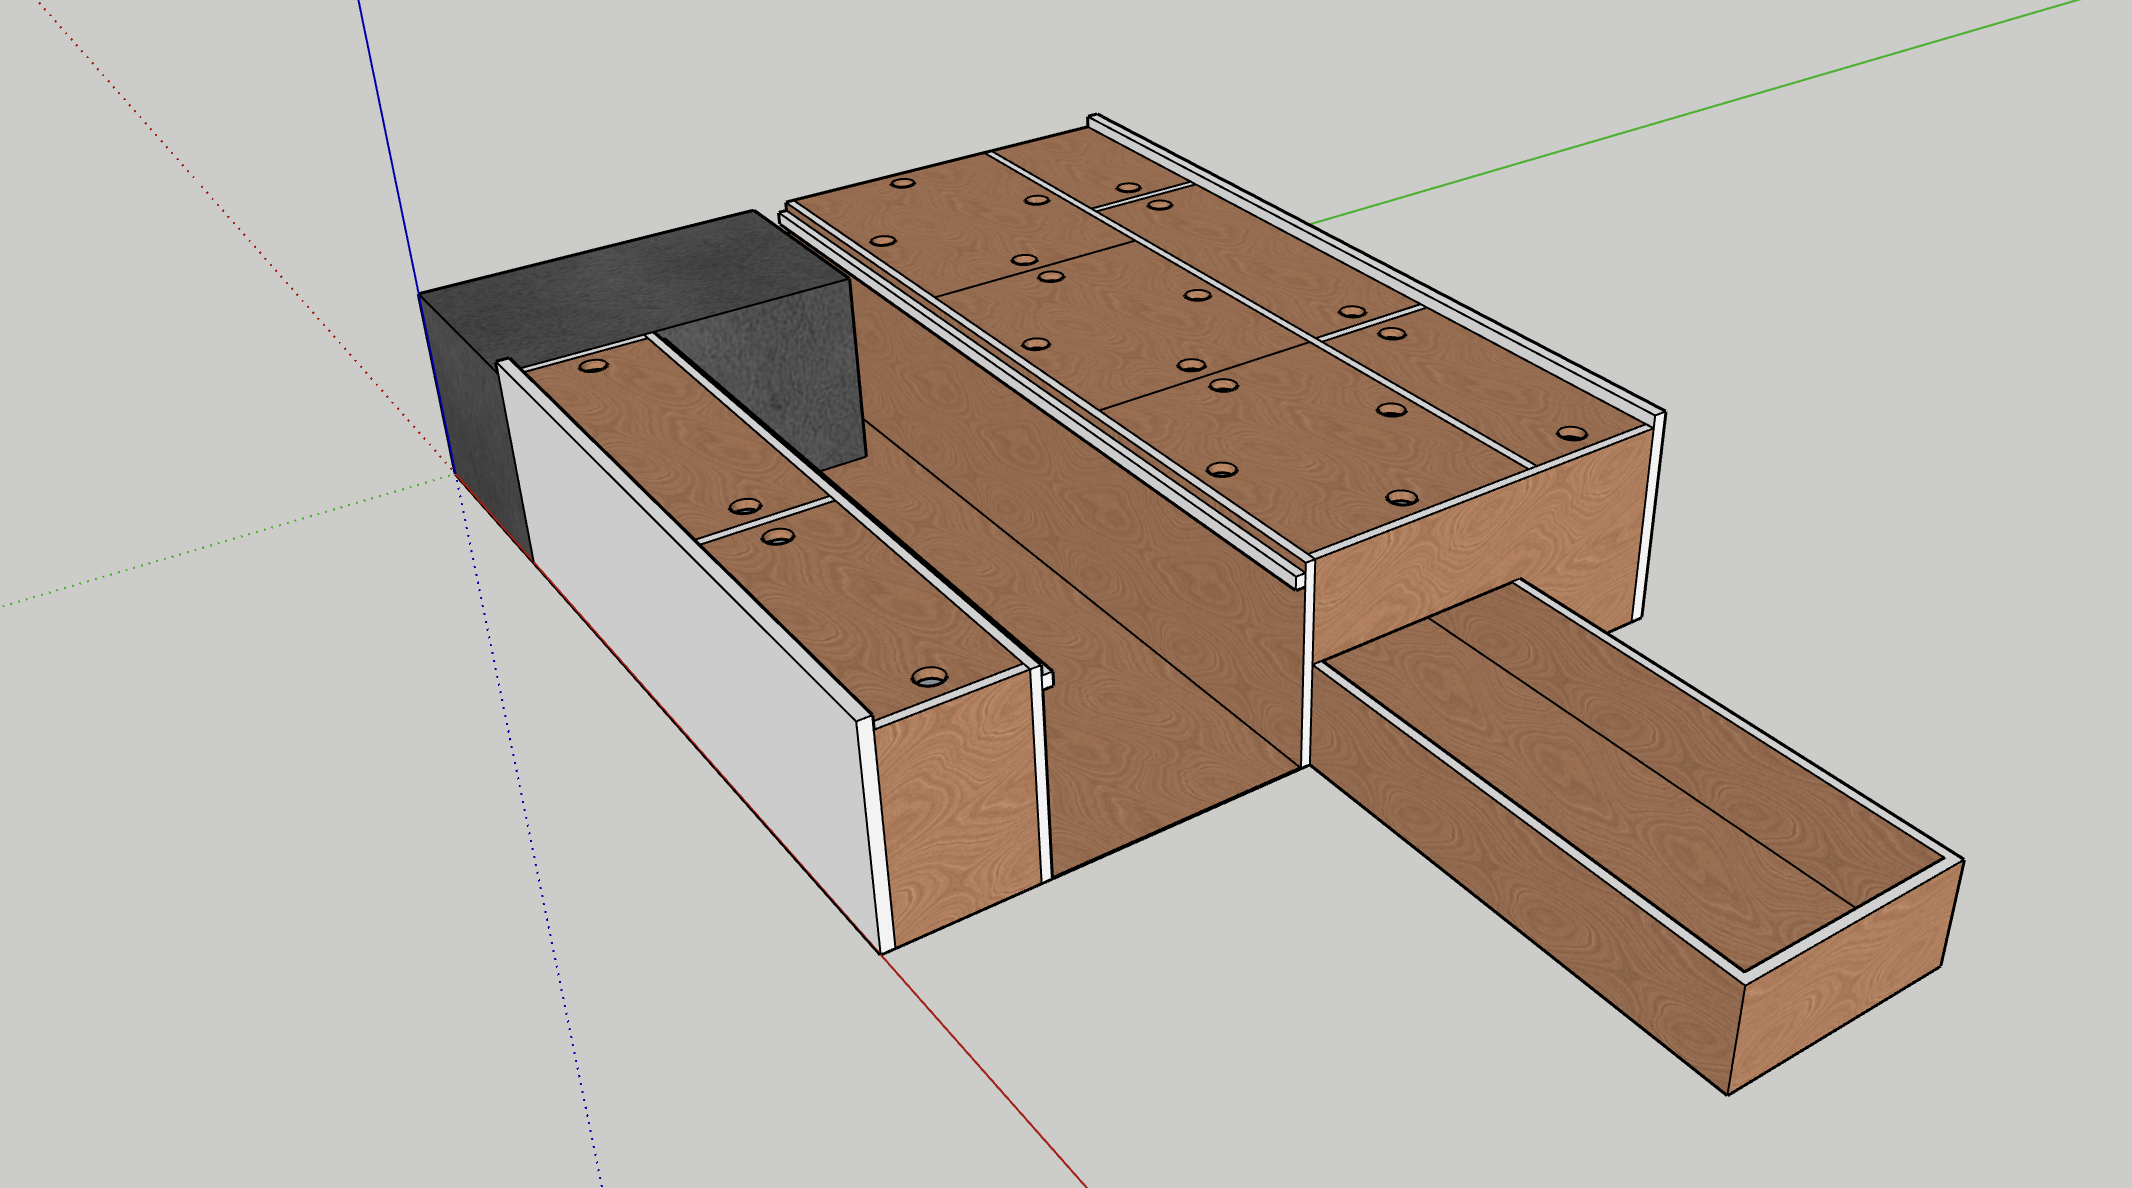
All of our planning started from a few anchor point measurements. We wanted to make our cabinets the exact height of our fridge, this way when we slept downstairs we had a flat surface. We also needed those cabinets wide enough to fit out
domestic go hydration water jugs comfortably inside them, and with enough space around them that they would be easy to remove to refill. Then between the cabinets, in our walkway, we needed enough space to stand but more importantly, we also wanted enough space to sit on the floor of the truck, so we measured the width of our hips when seated so that we would fit. Of course, all this needed to work within the bed dimensions of our truck as well so we marked out the length, width, and height of the bedsides. With all of these, we put together an accurate 3D model using
SketchUp.
From this model, we were able to calculate our material needs and start putting together a cut sheet that would expedite our building process.
Follow
this link if you’d like to view the interactive 3D model.
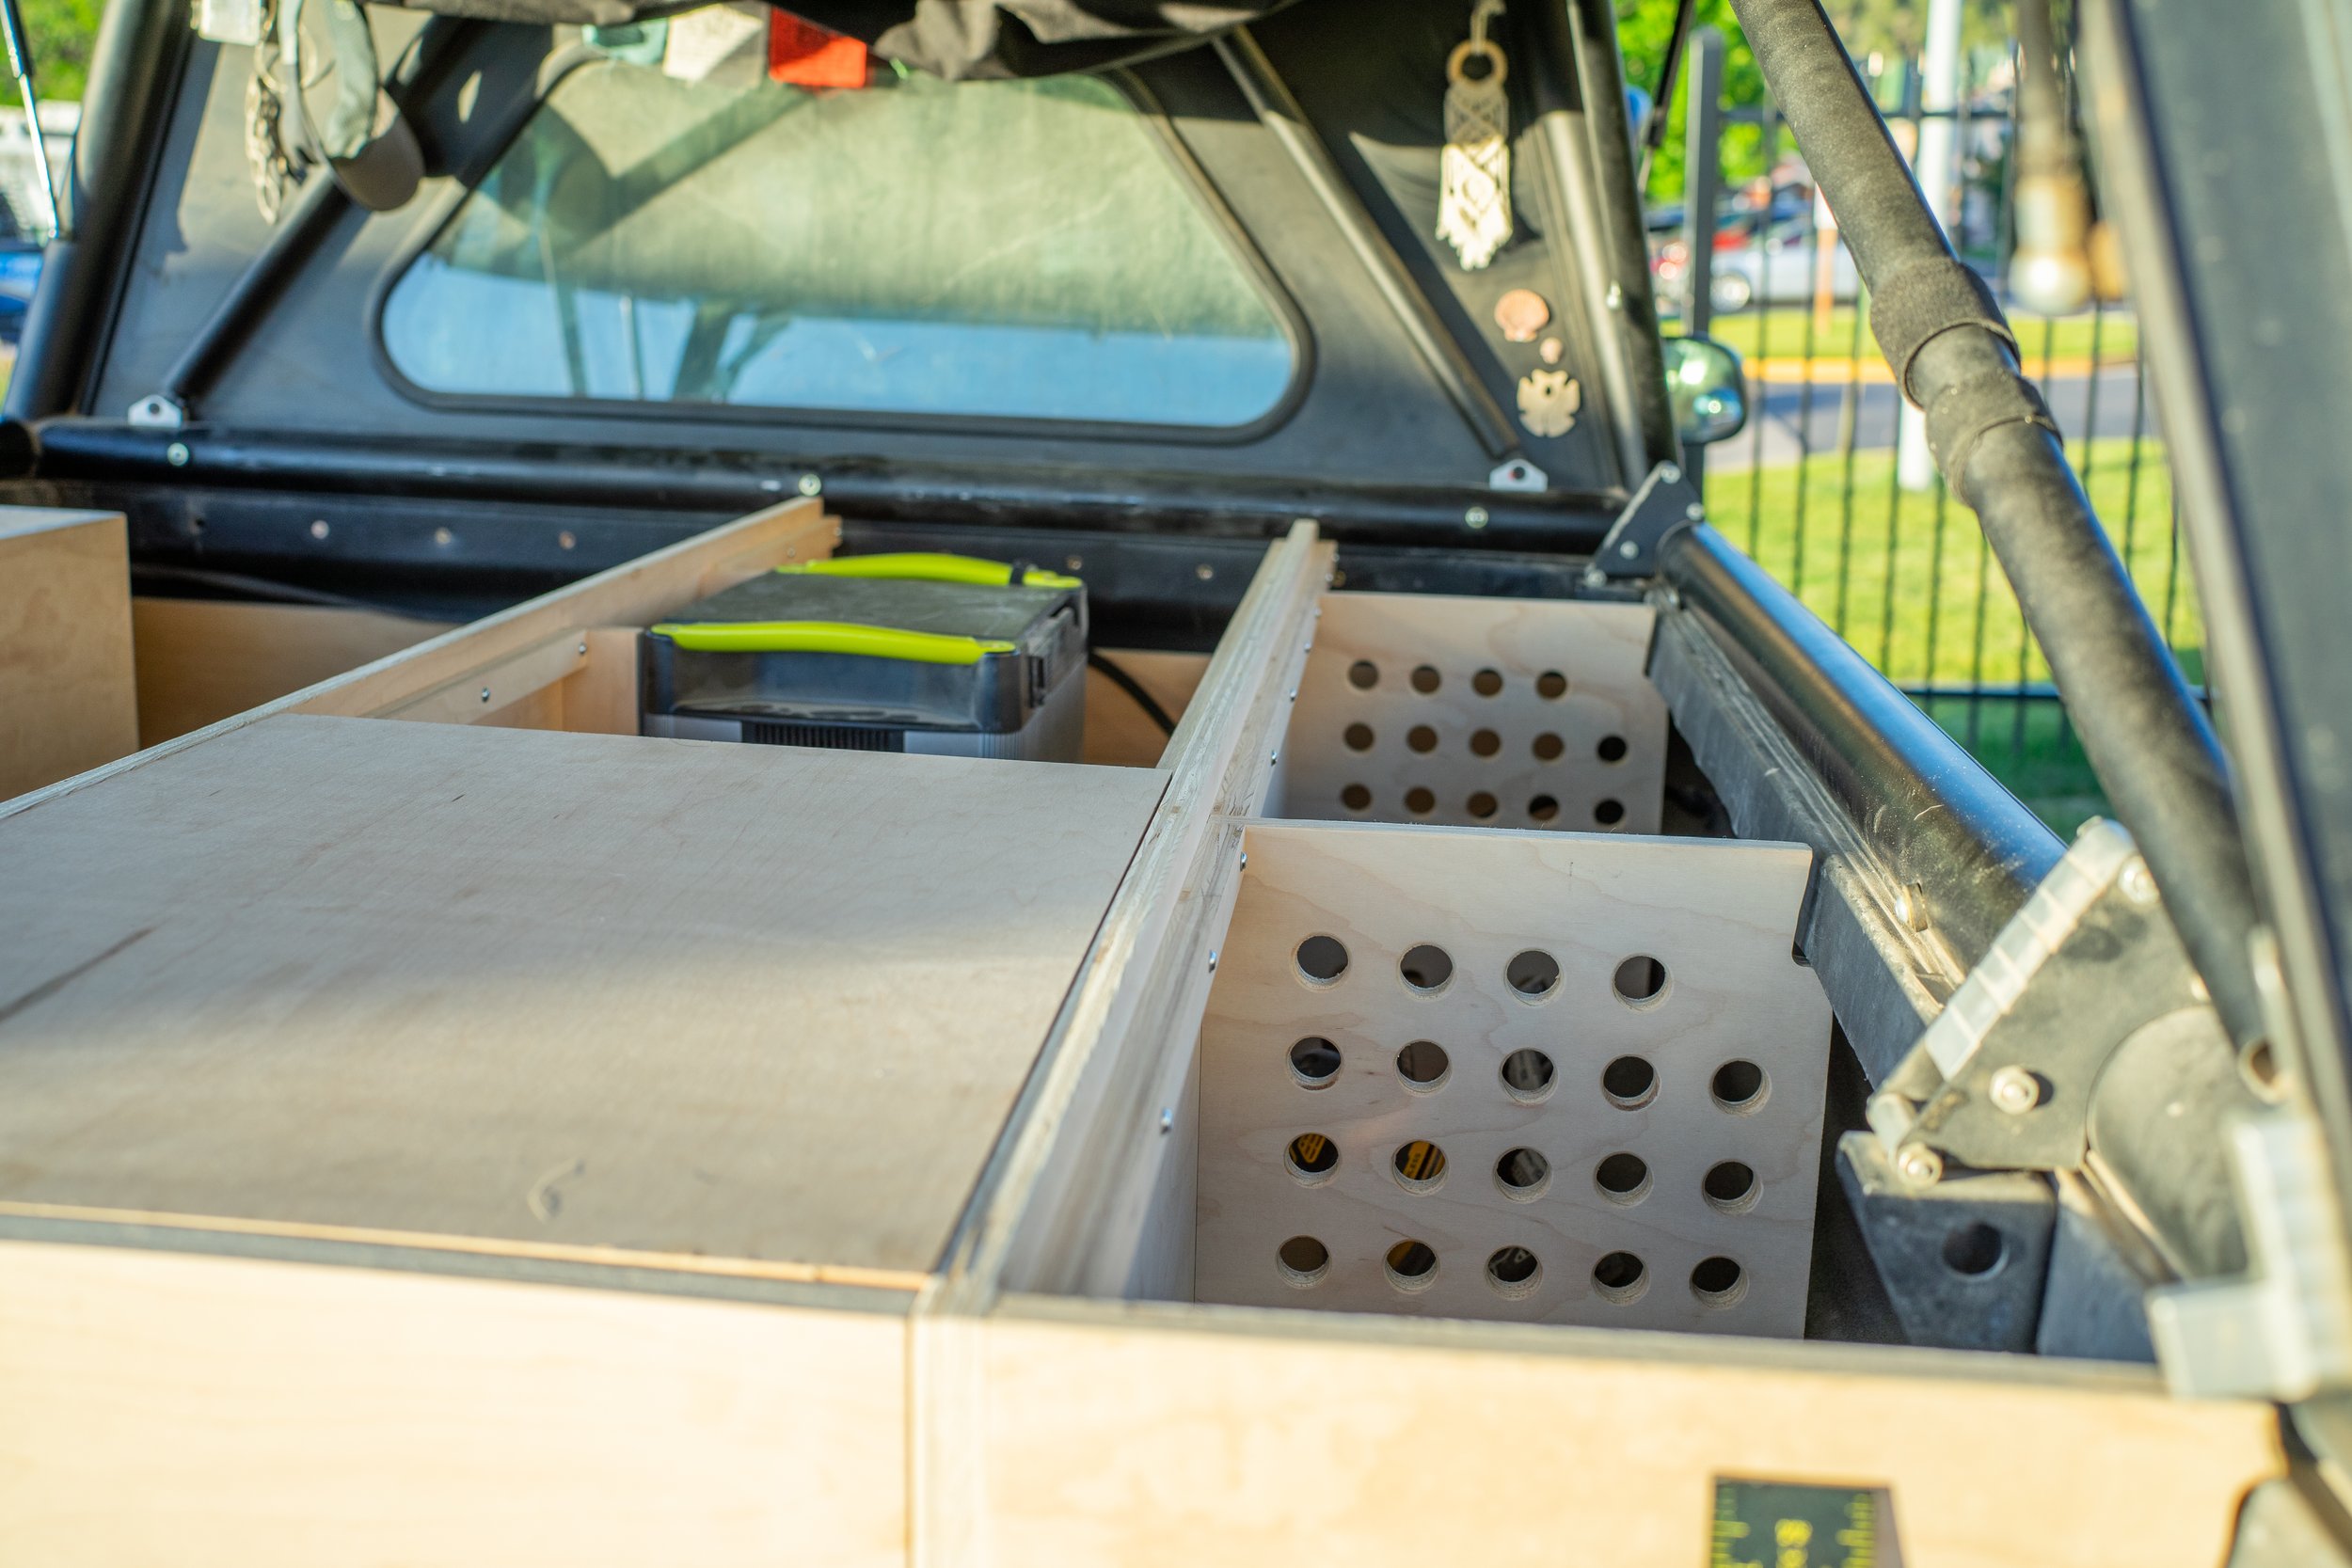
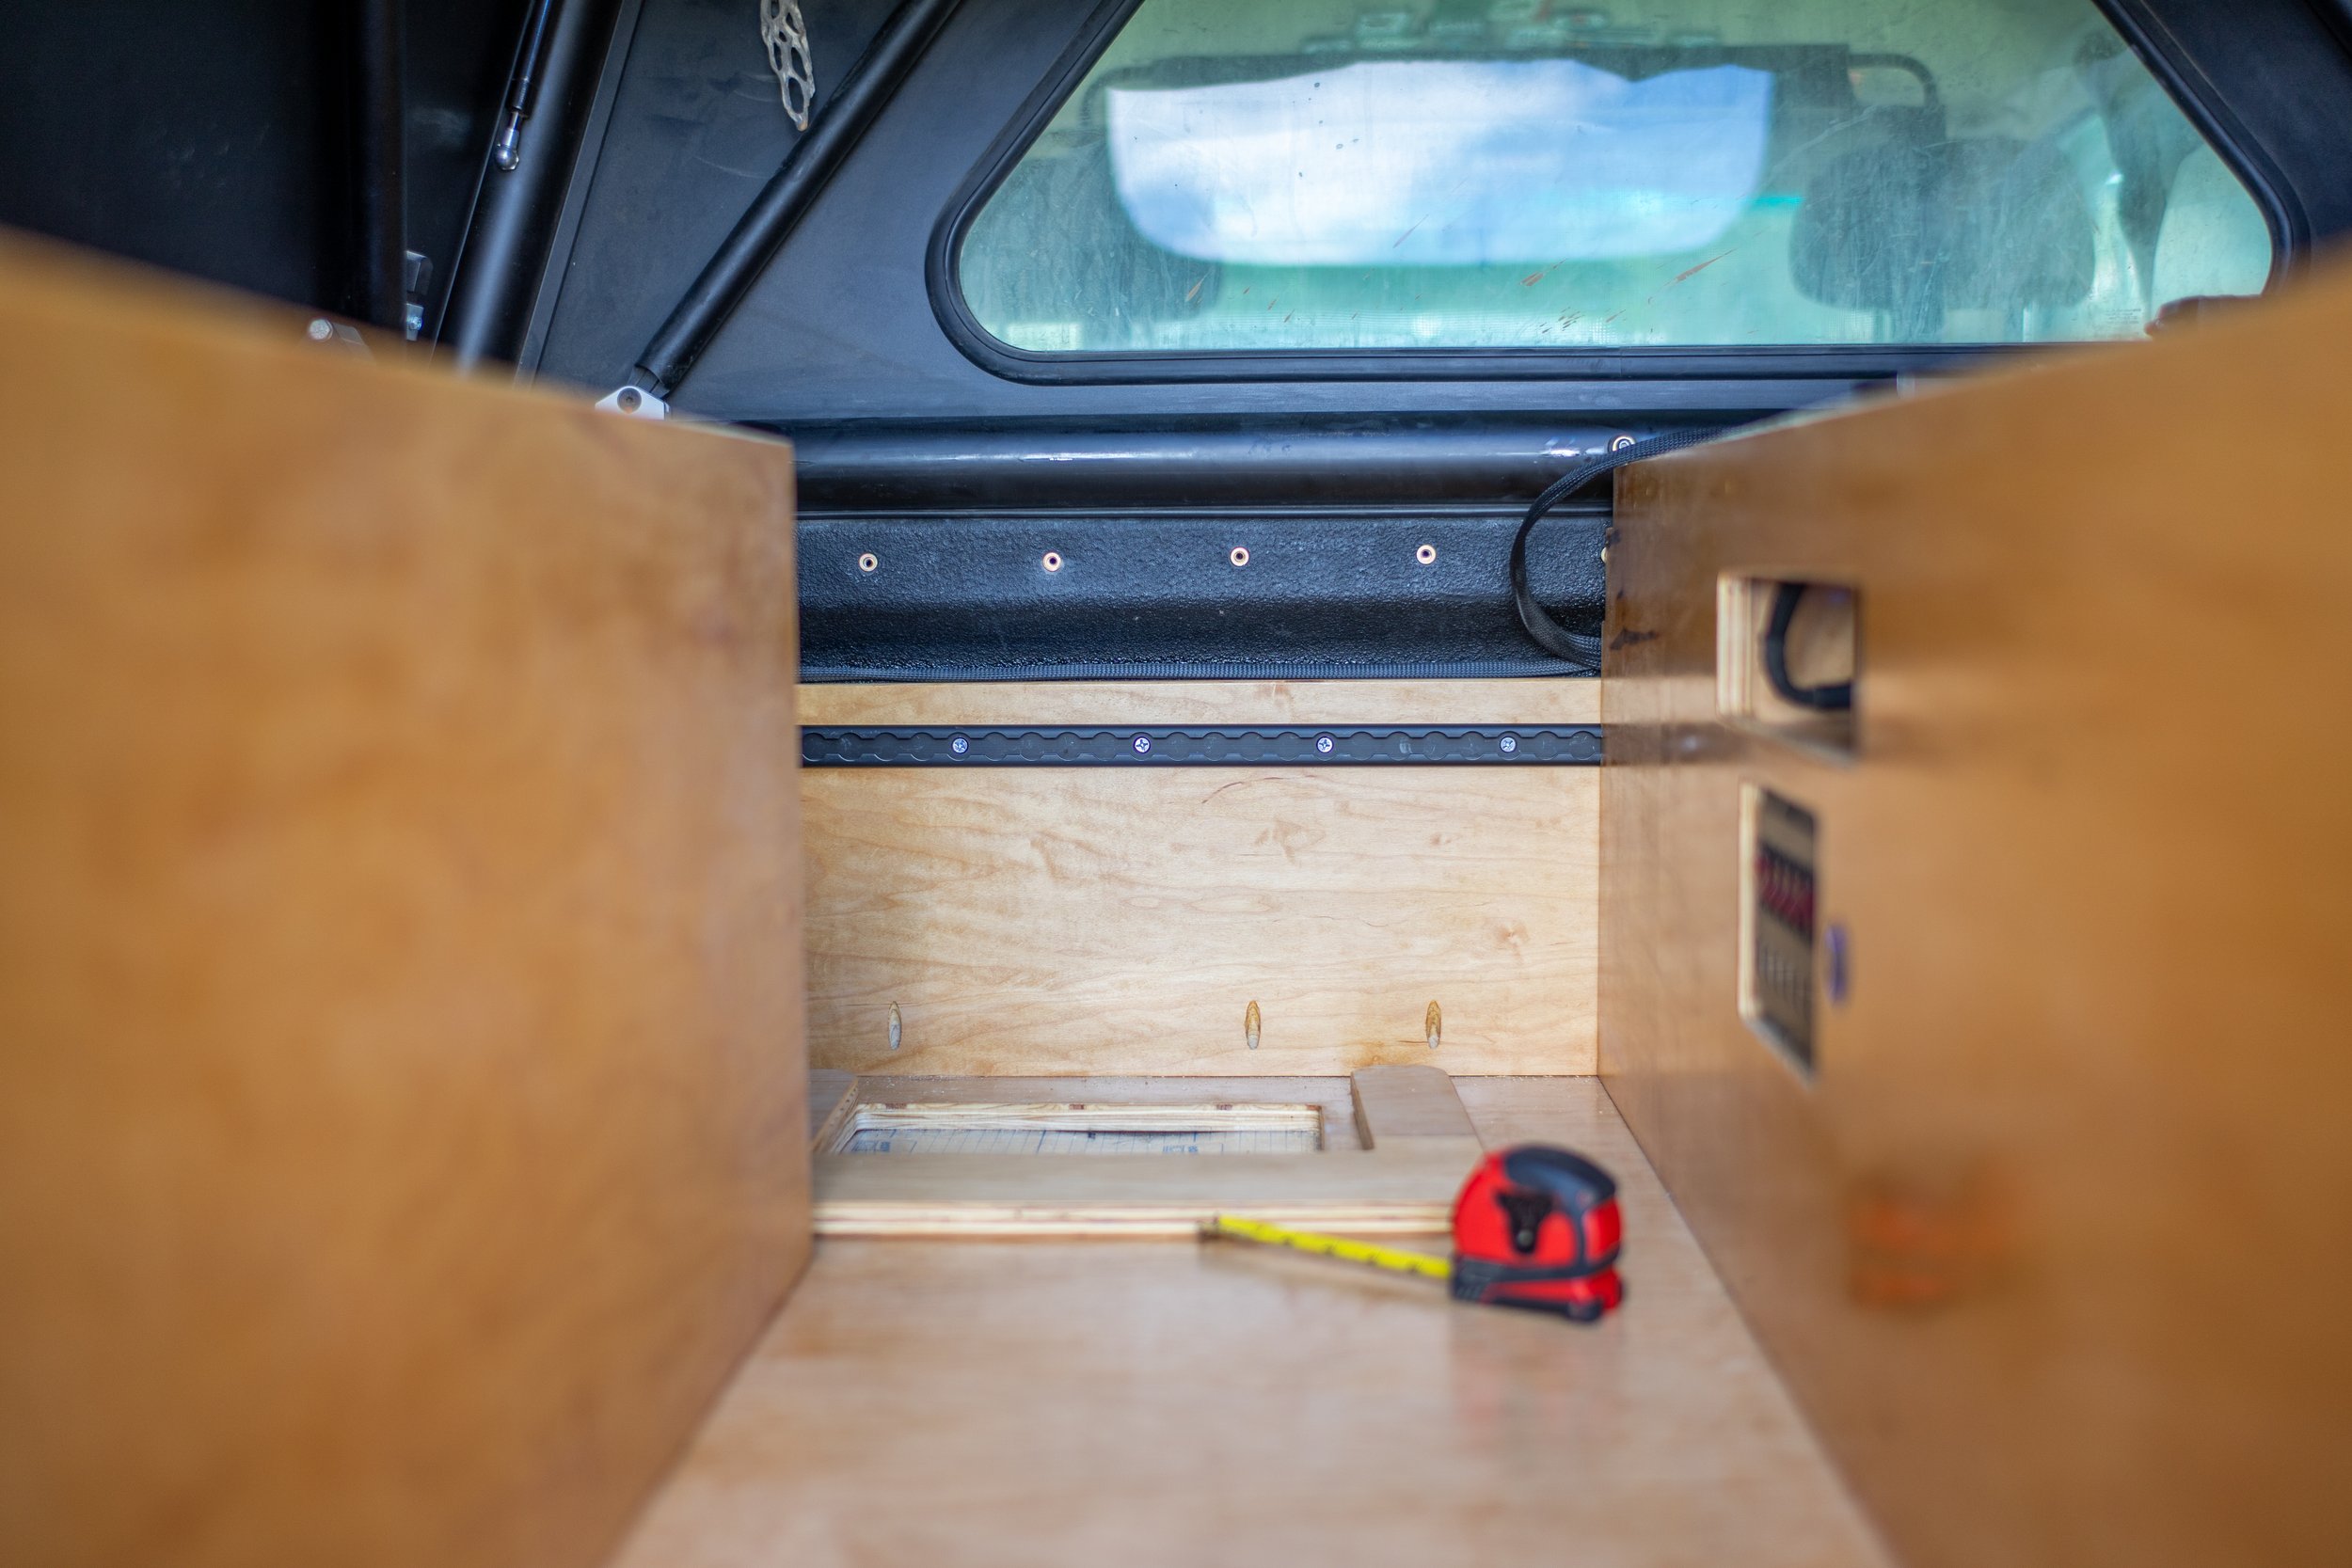
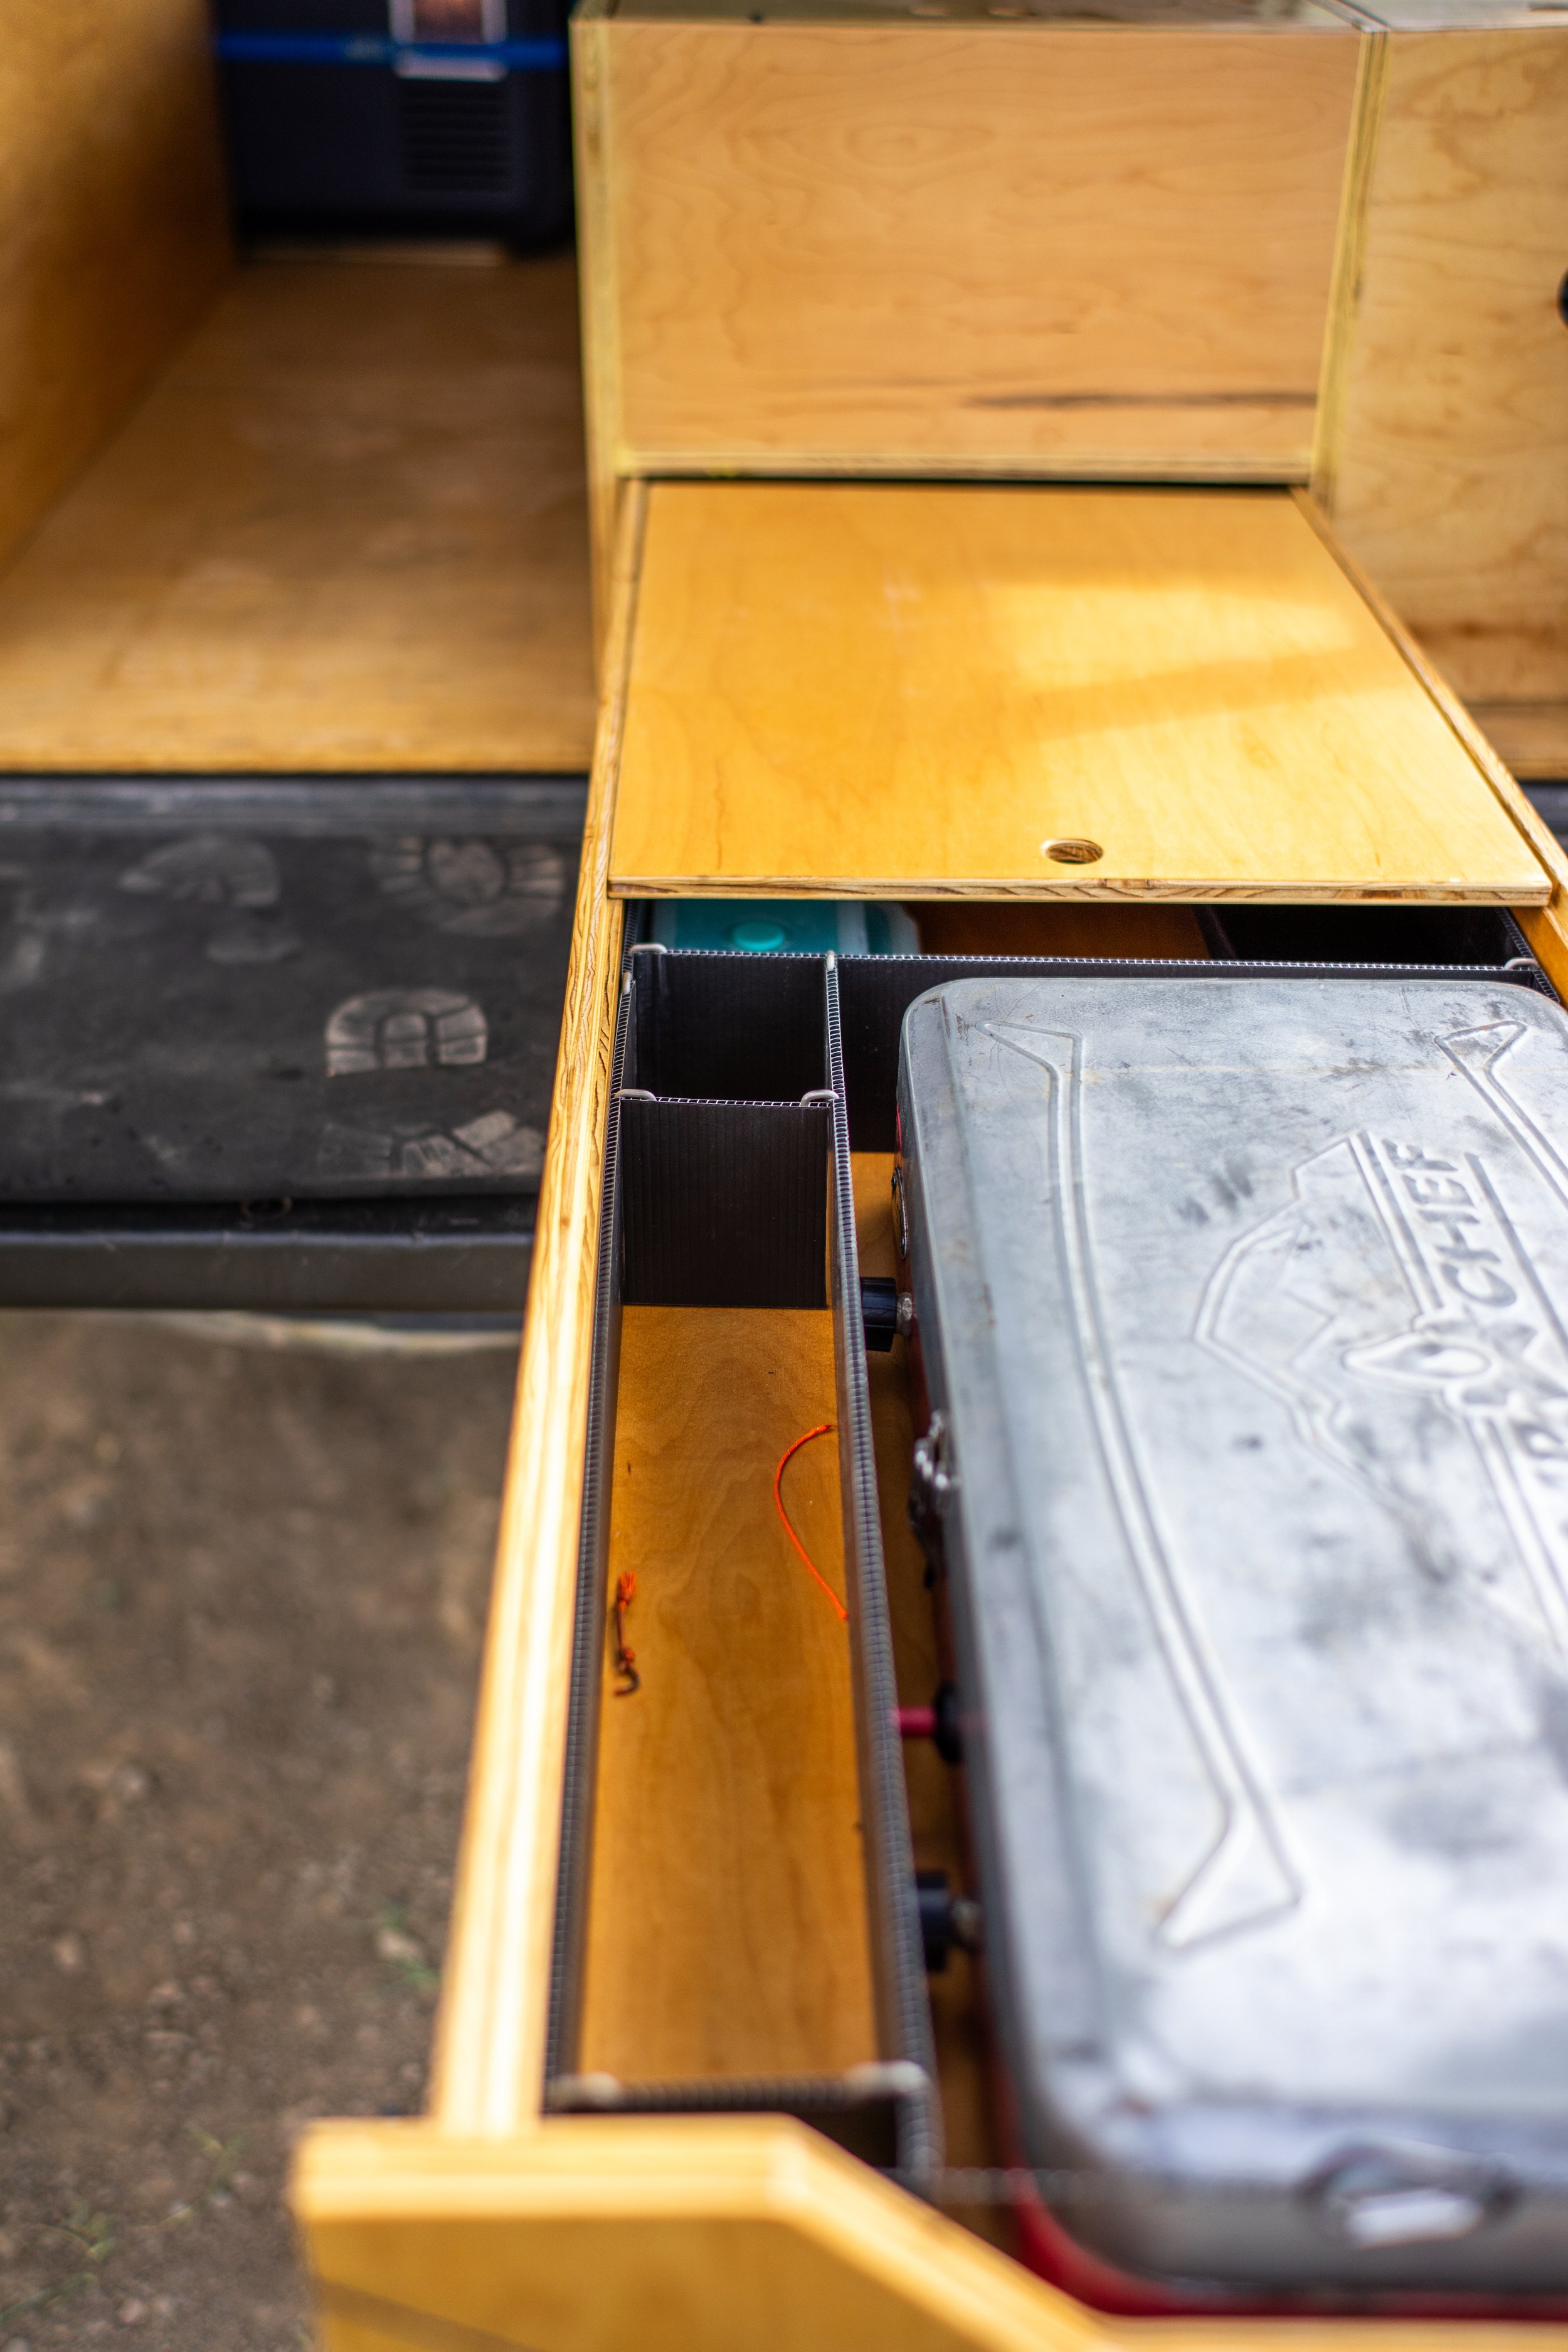
Aside from our main goals above we also hoped to reduce as much weight as possible in places that we could, so we cut out sections of our baseplate where they were less critical. We cut out several sections below where our kitchen drawer would end up, as well below the fridge.
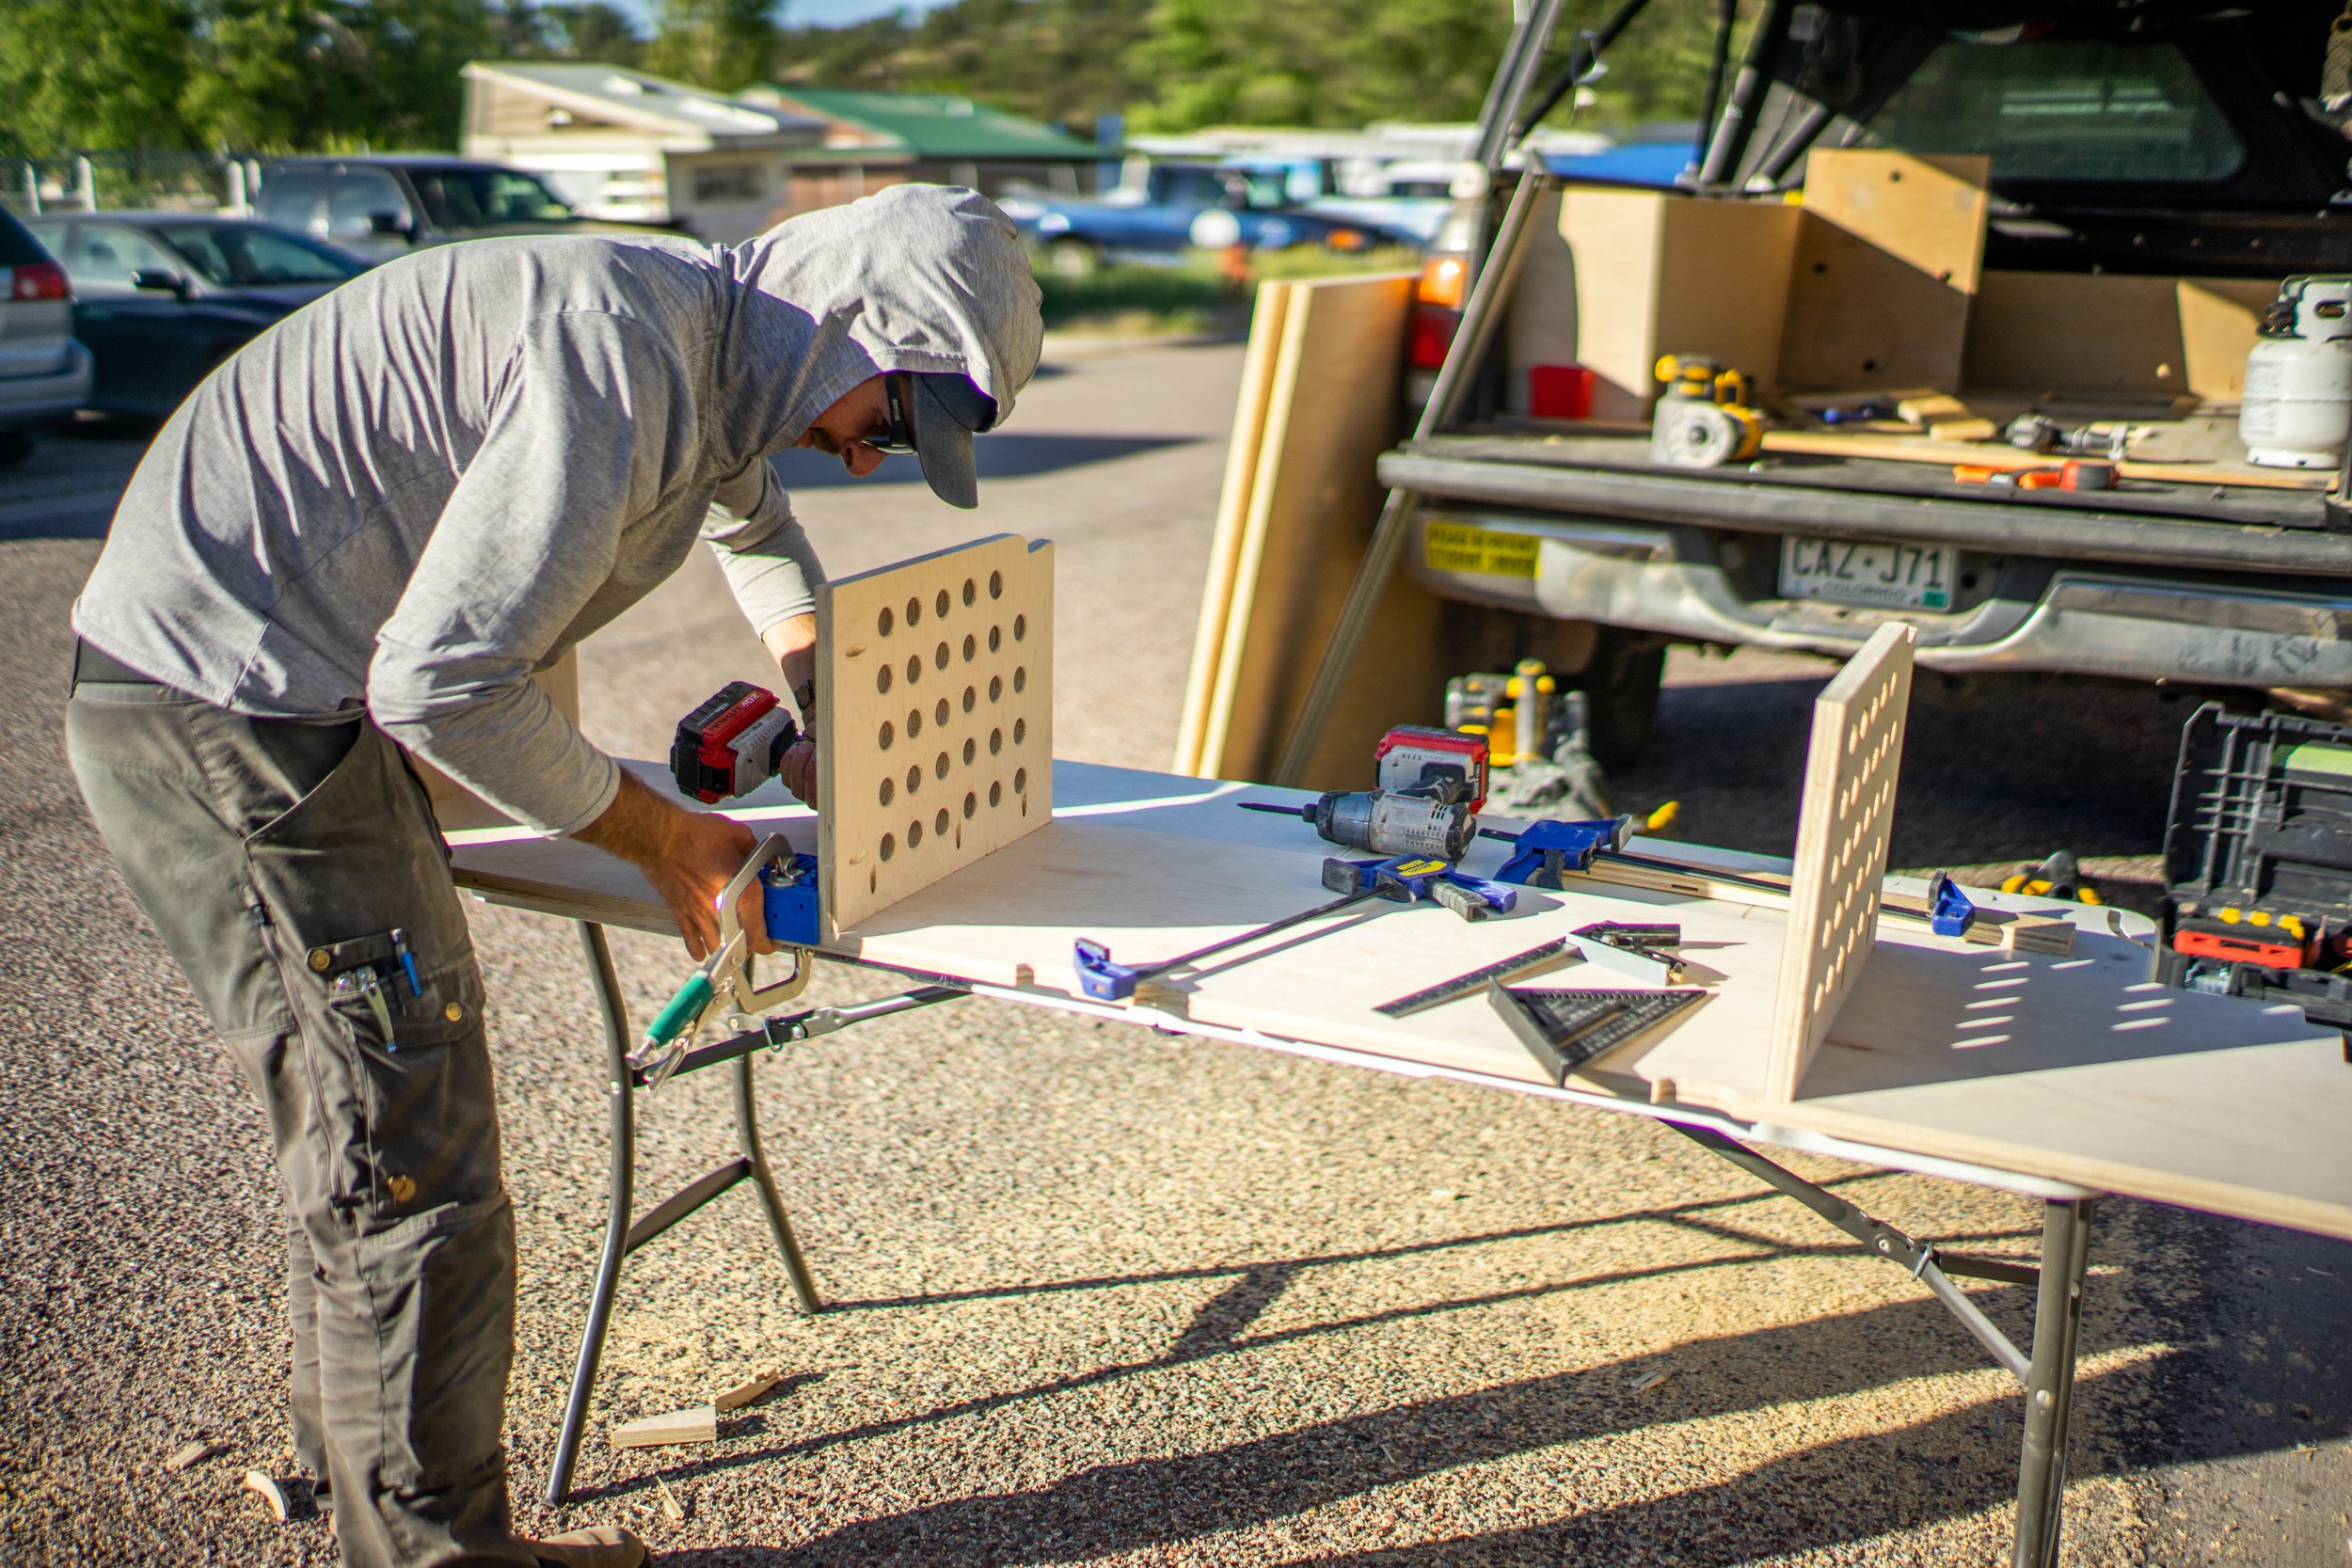
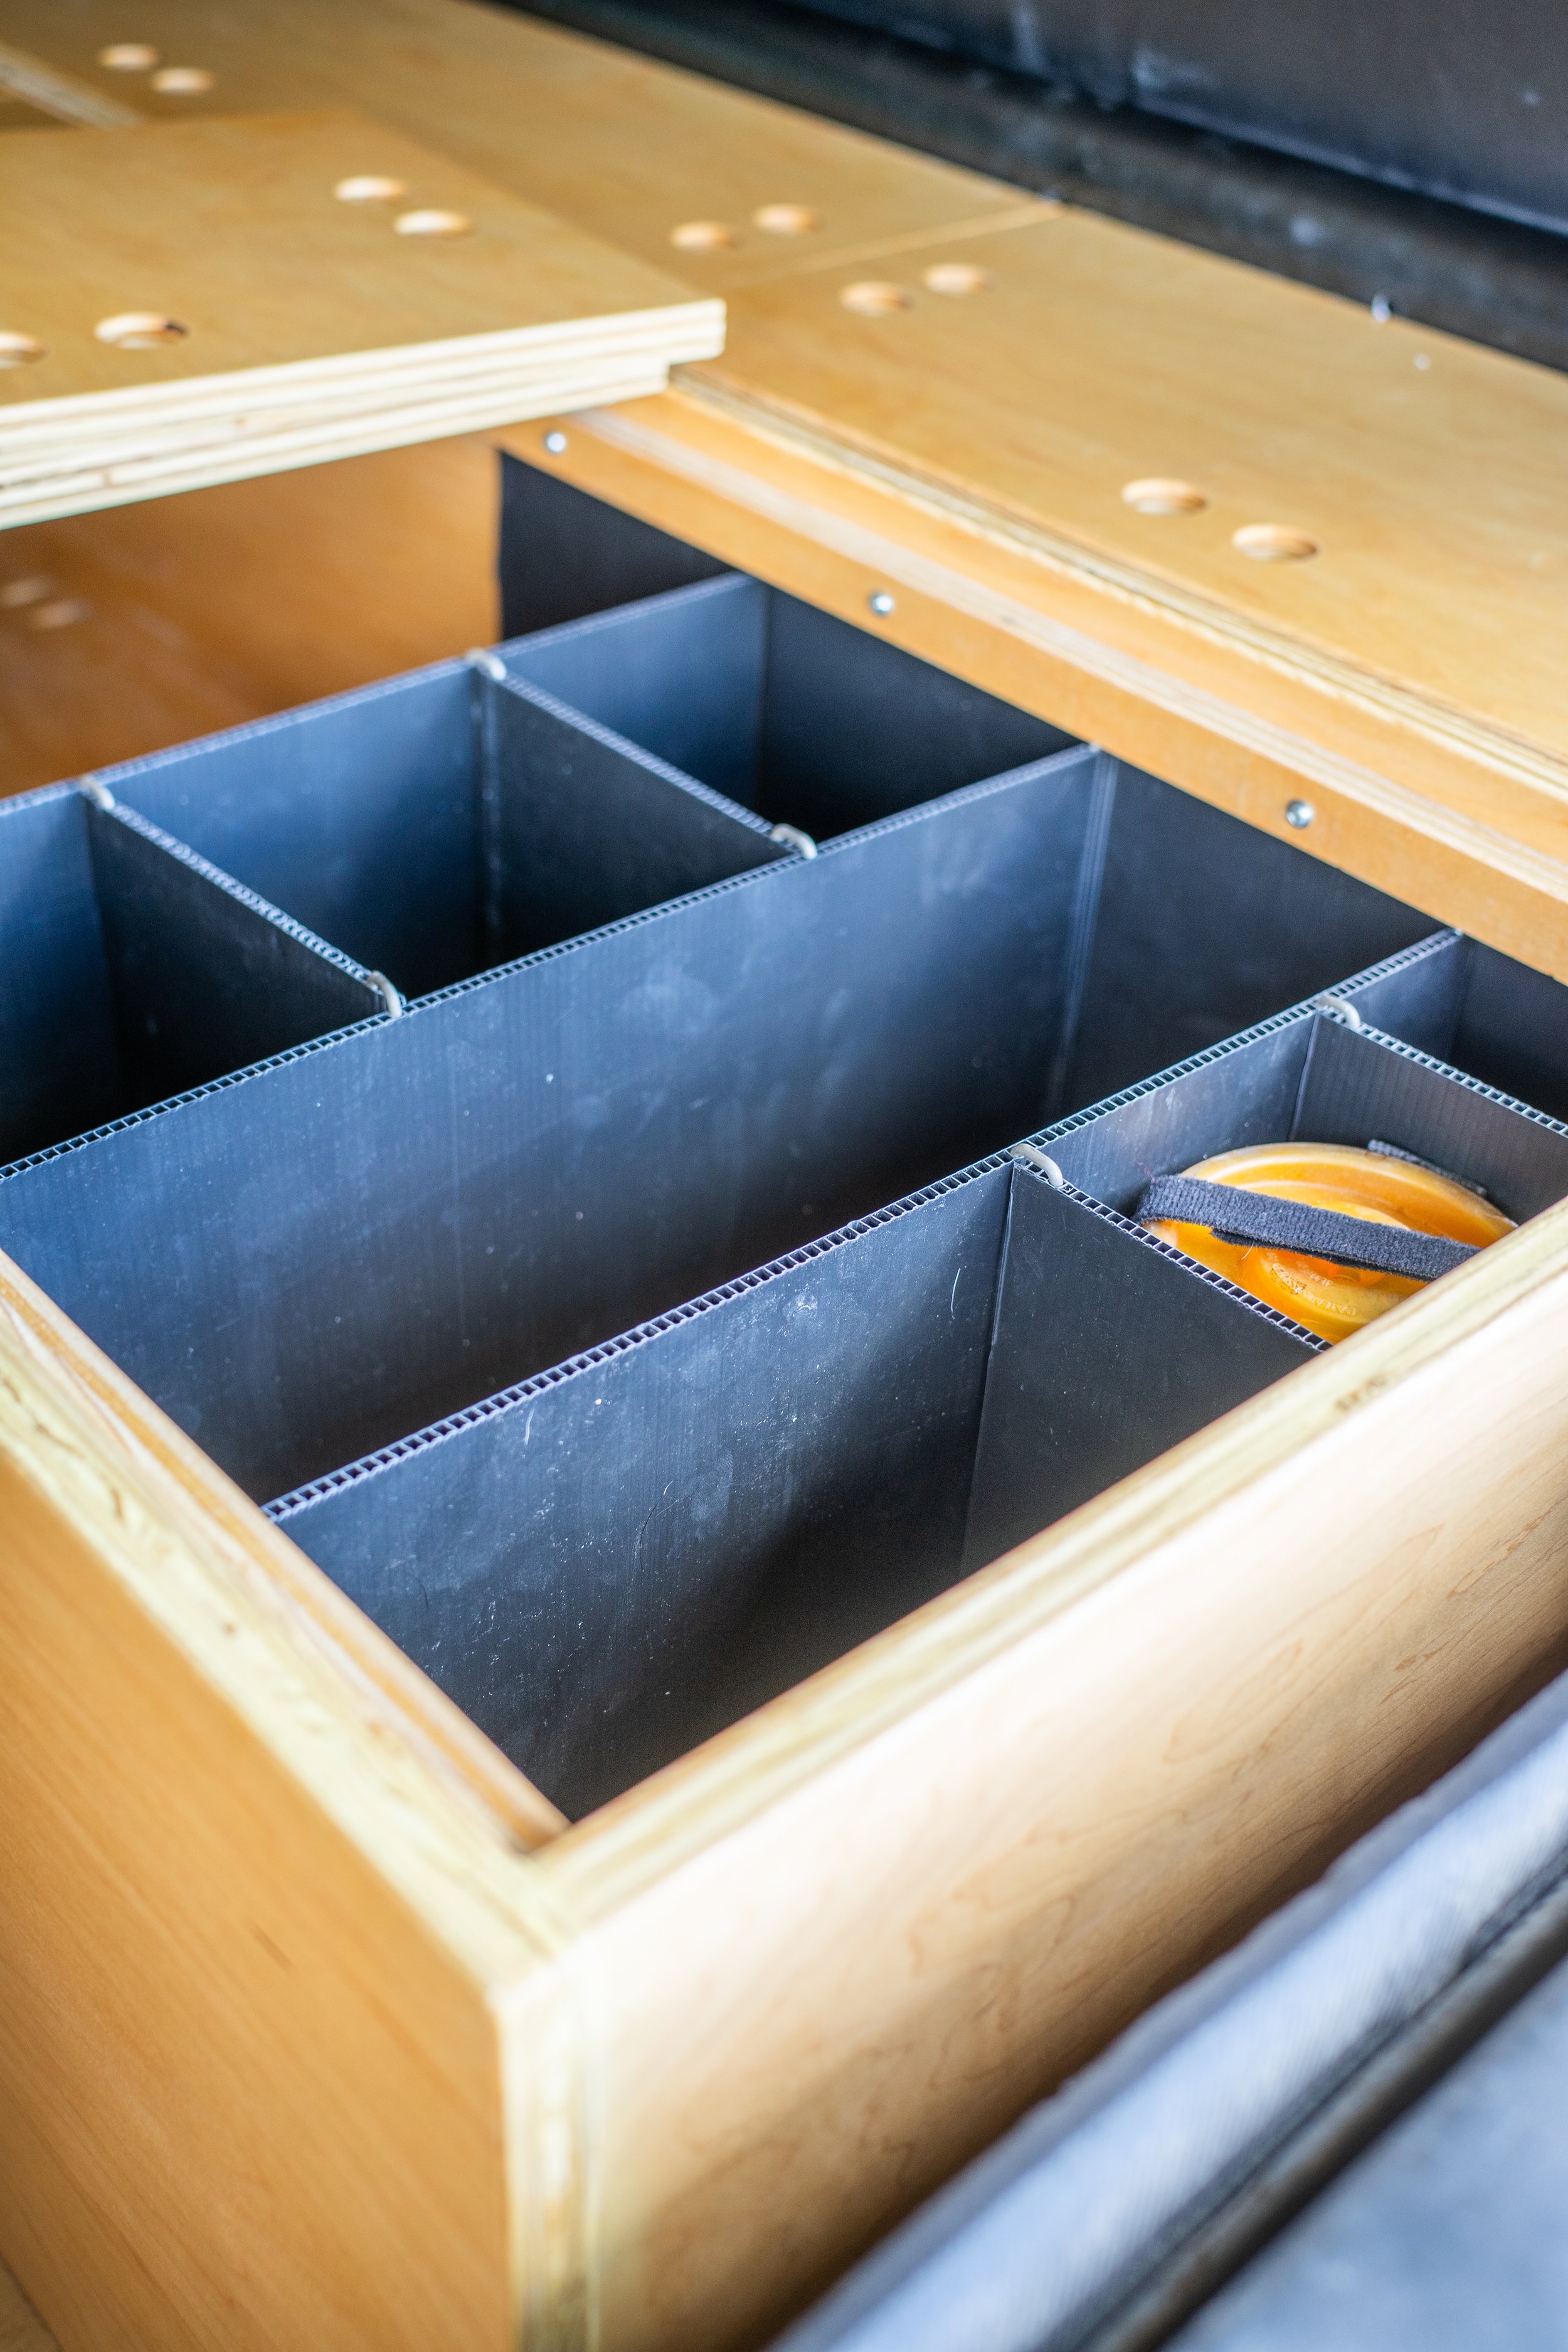
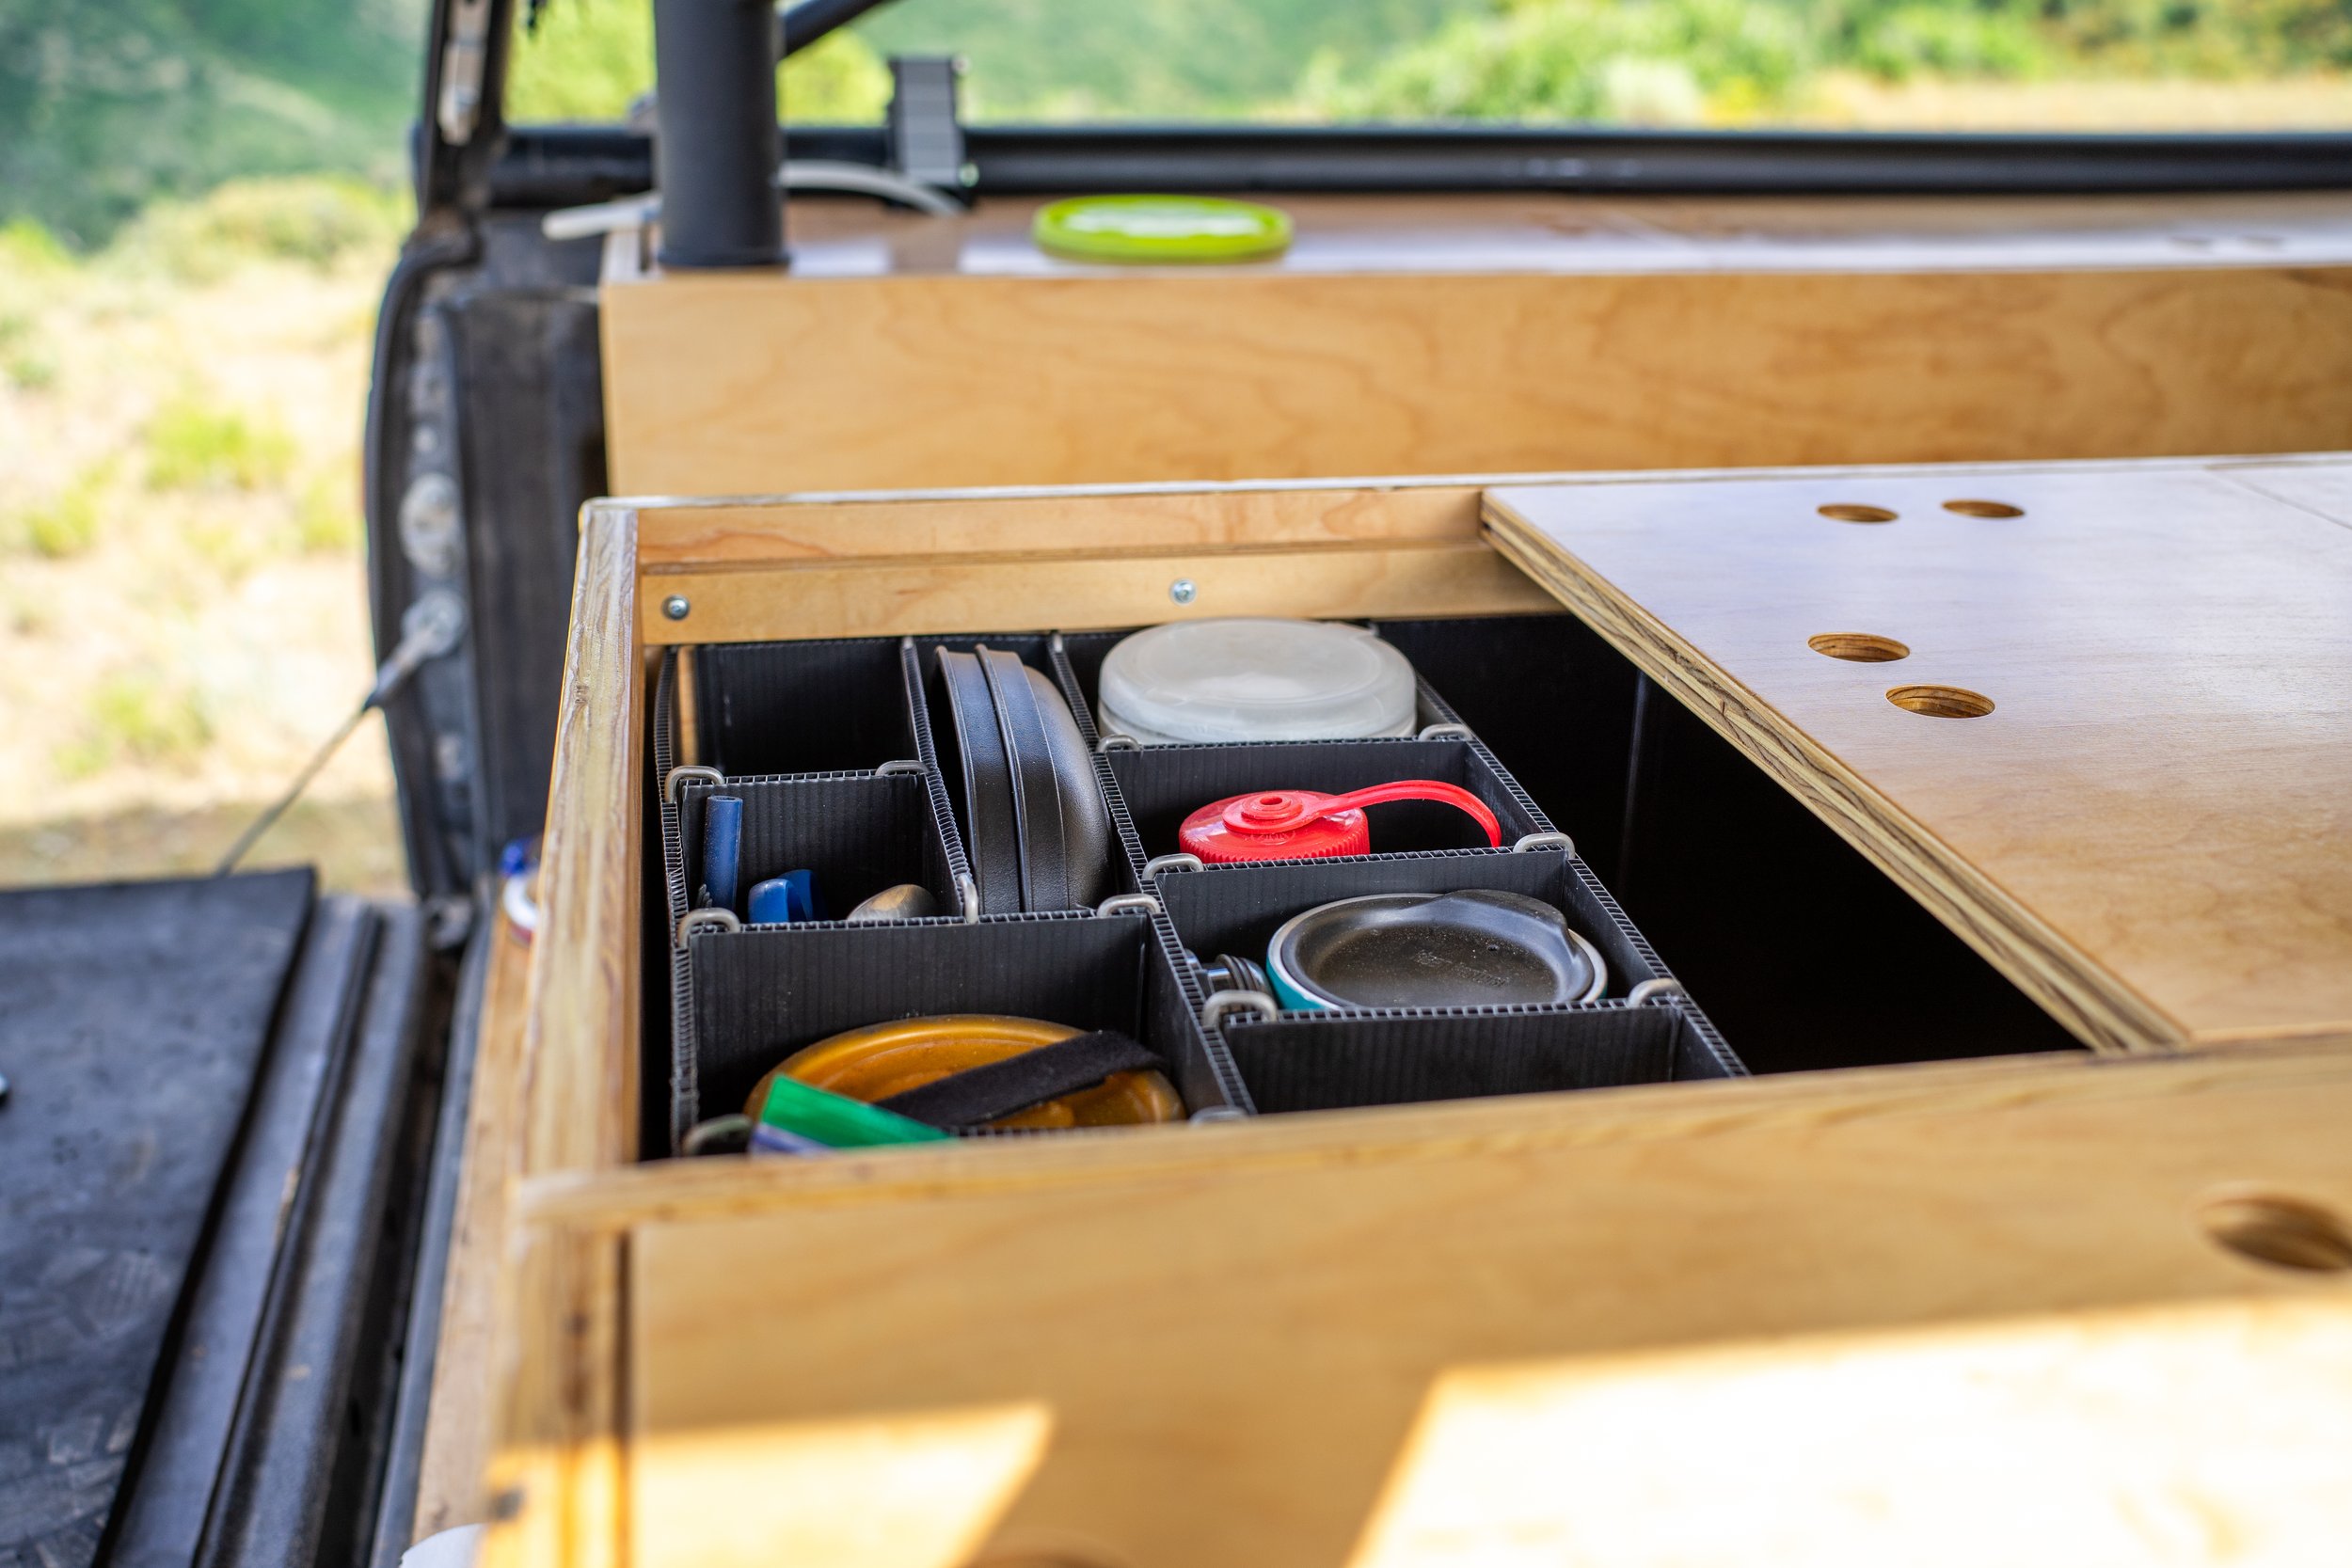
We also knocked out some weight in the vertical dividers of our cabinets, we drilled 1” holes with 2” spacing reducing the weight of these pieces considerably.
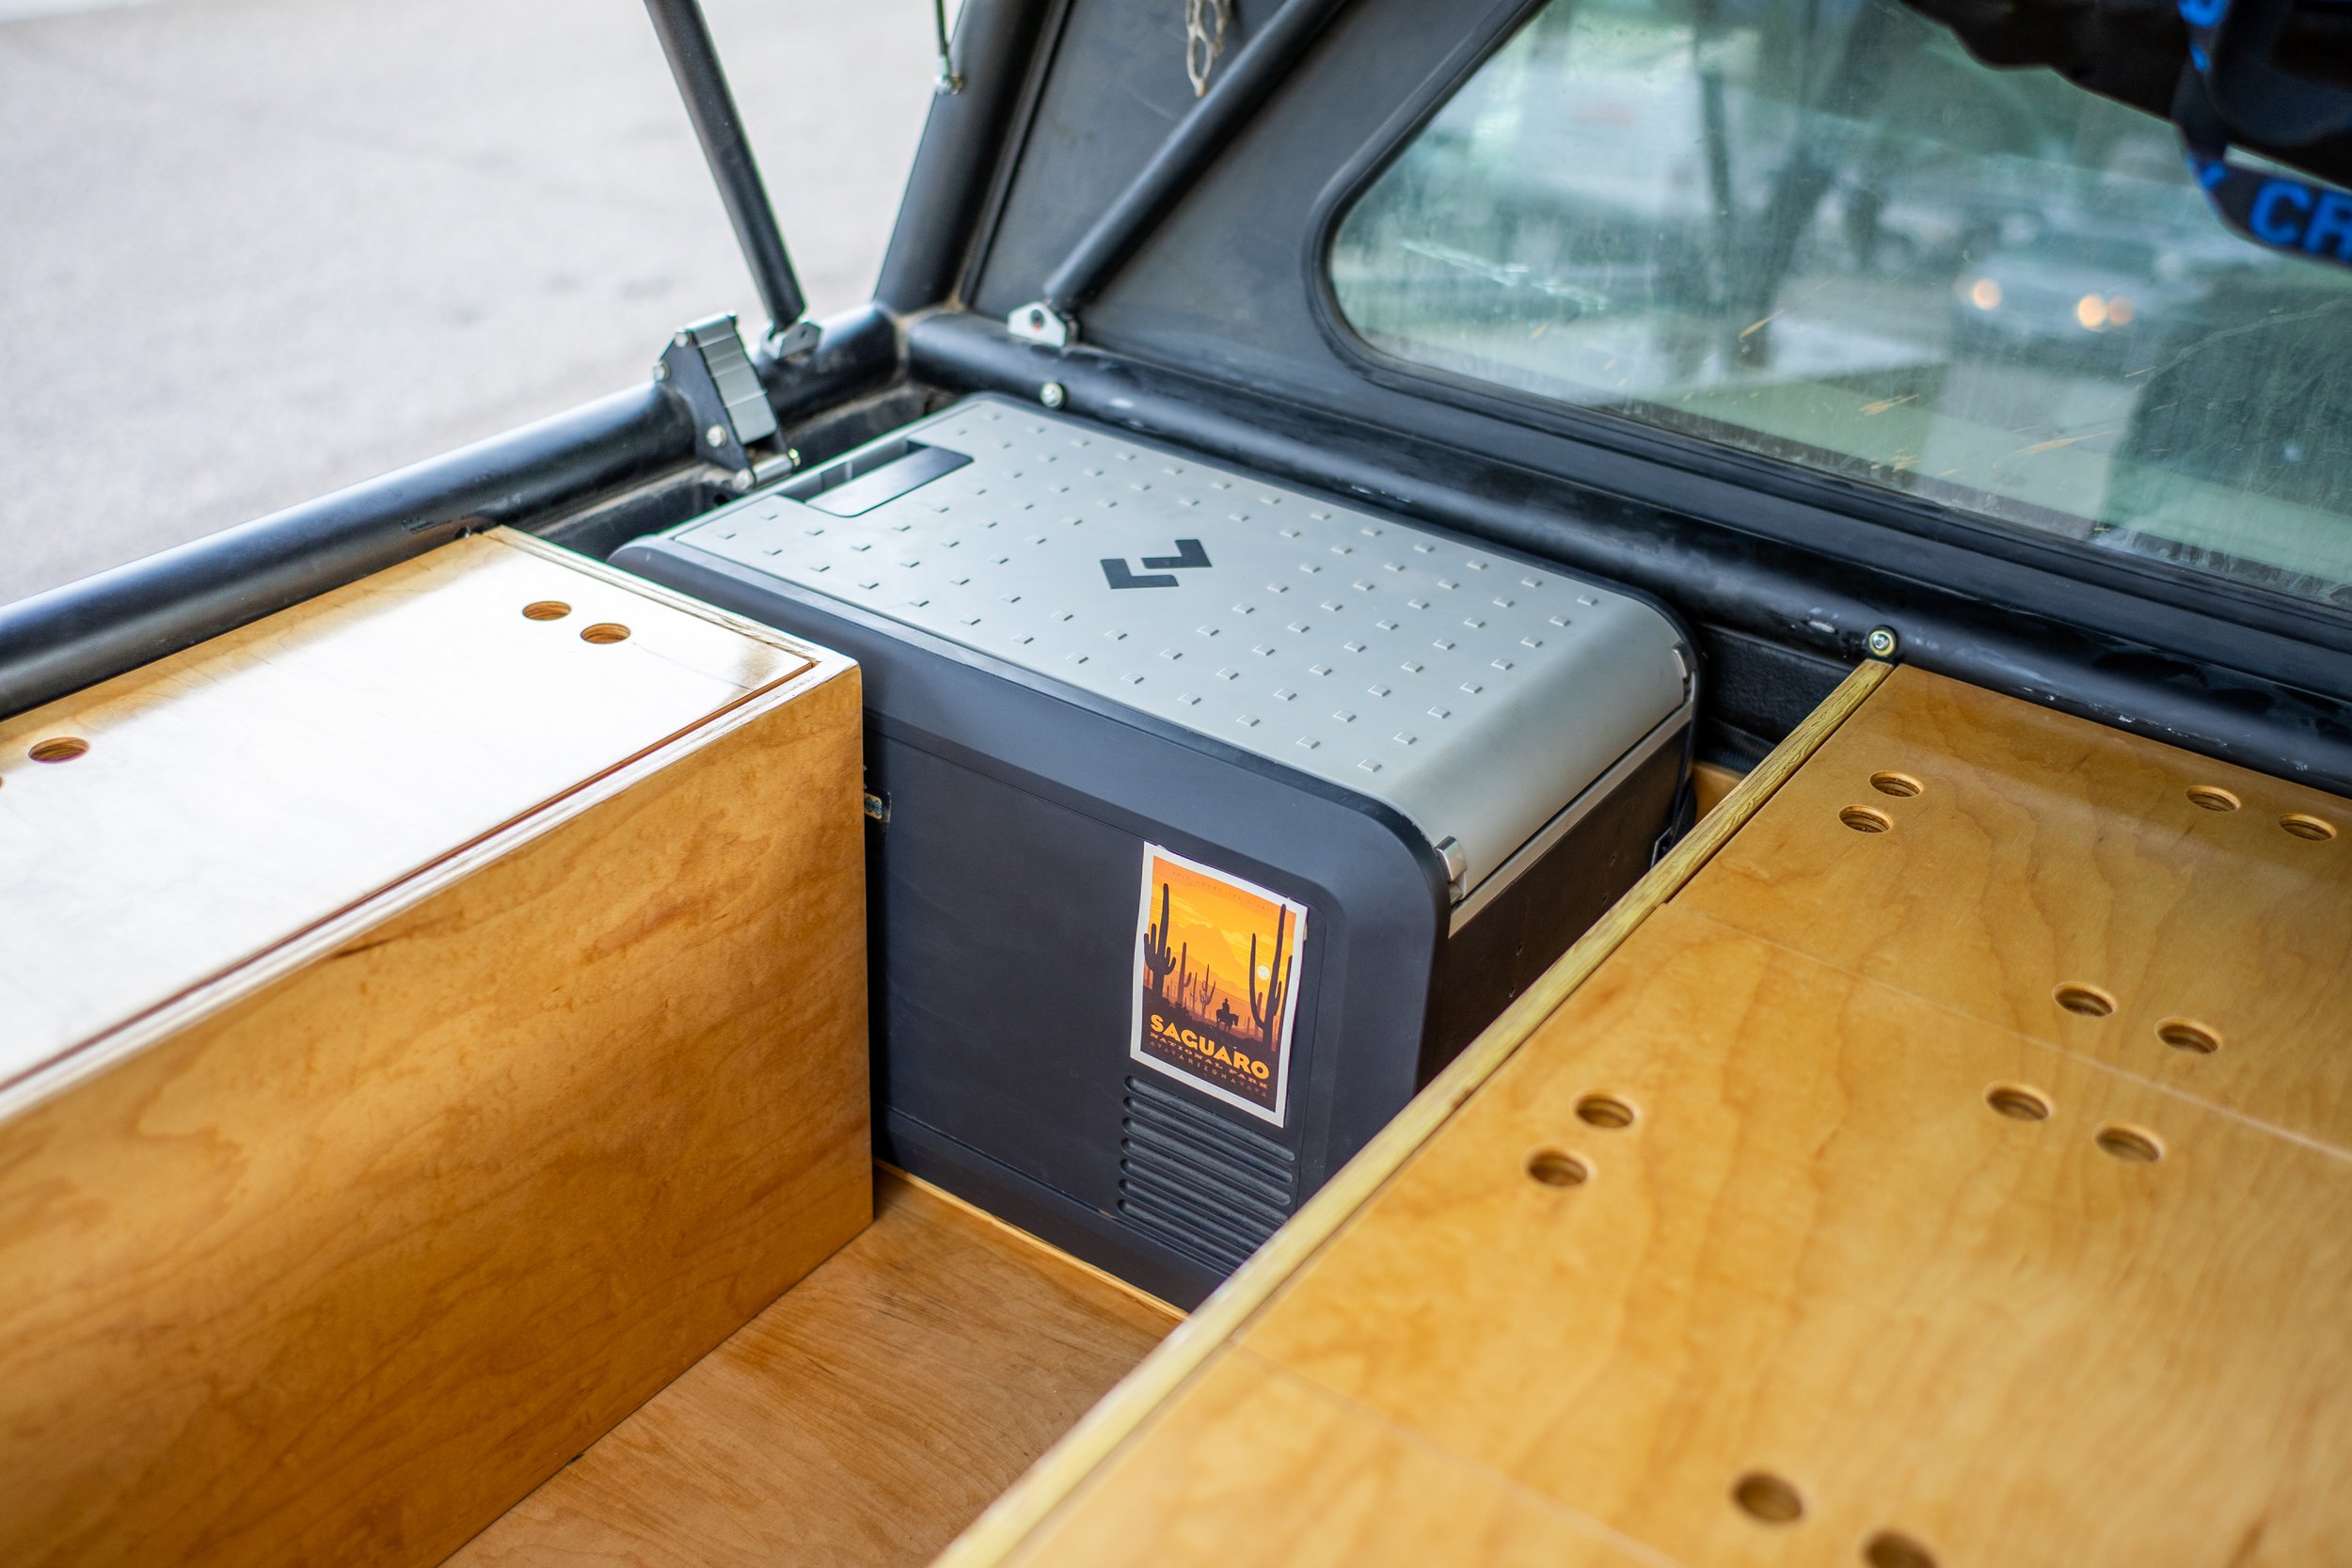
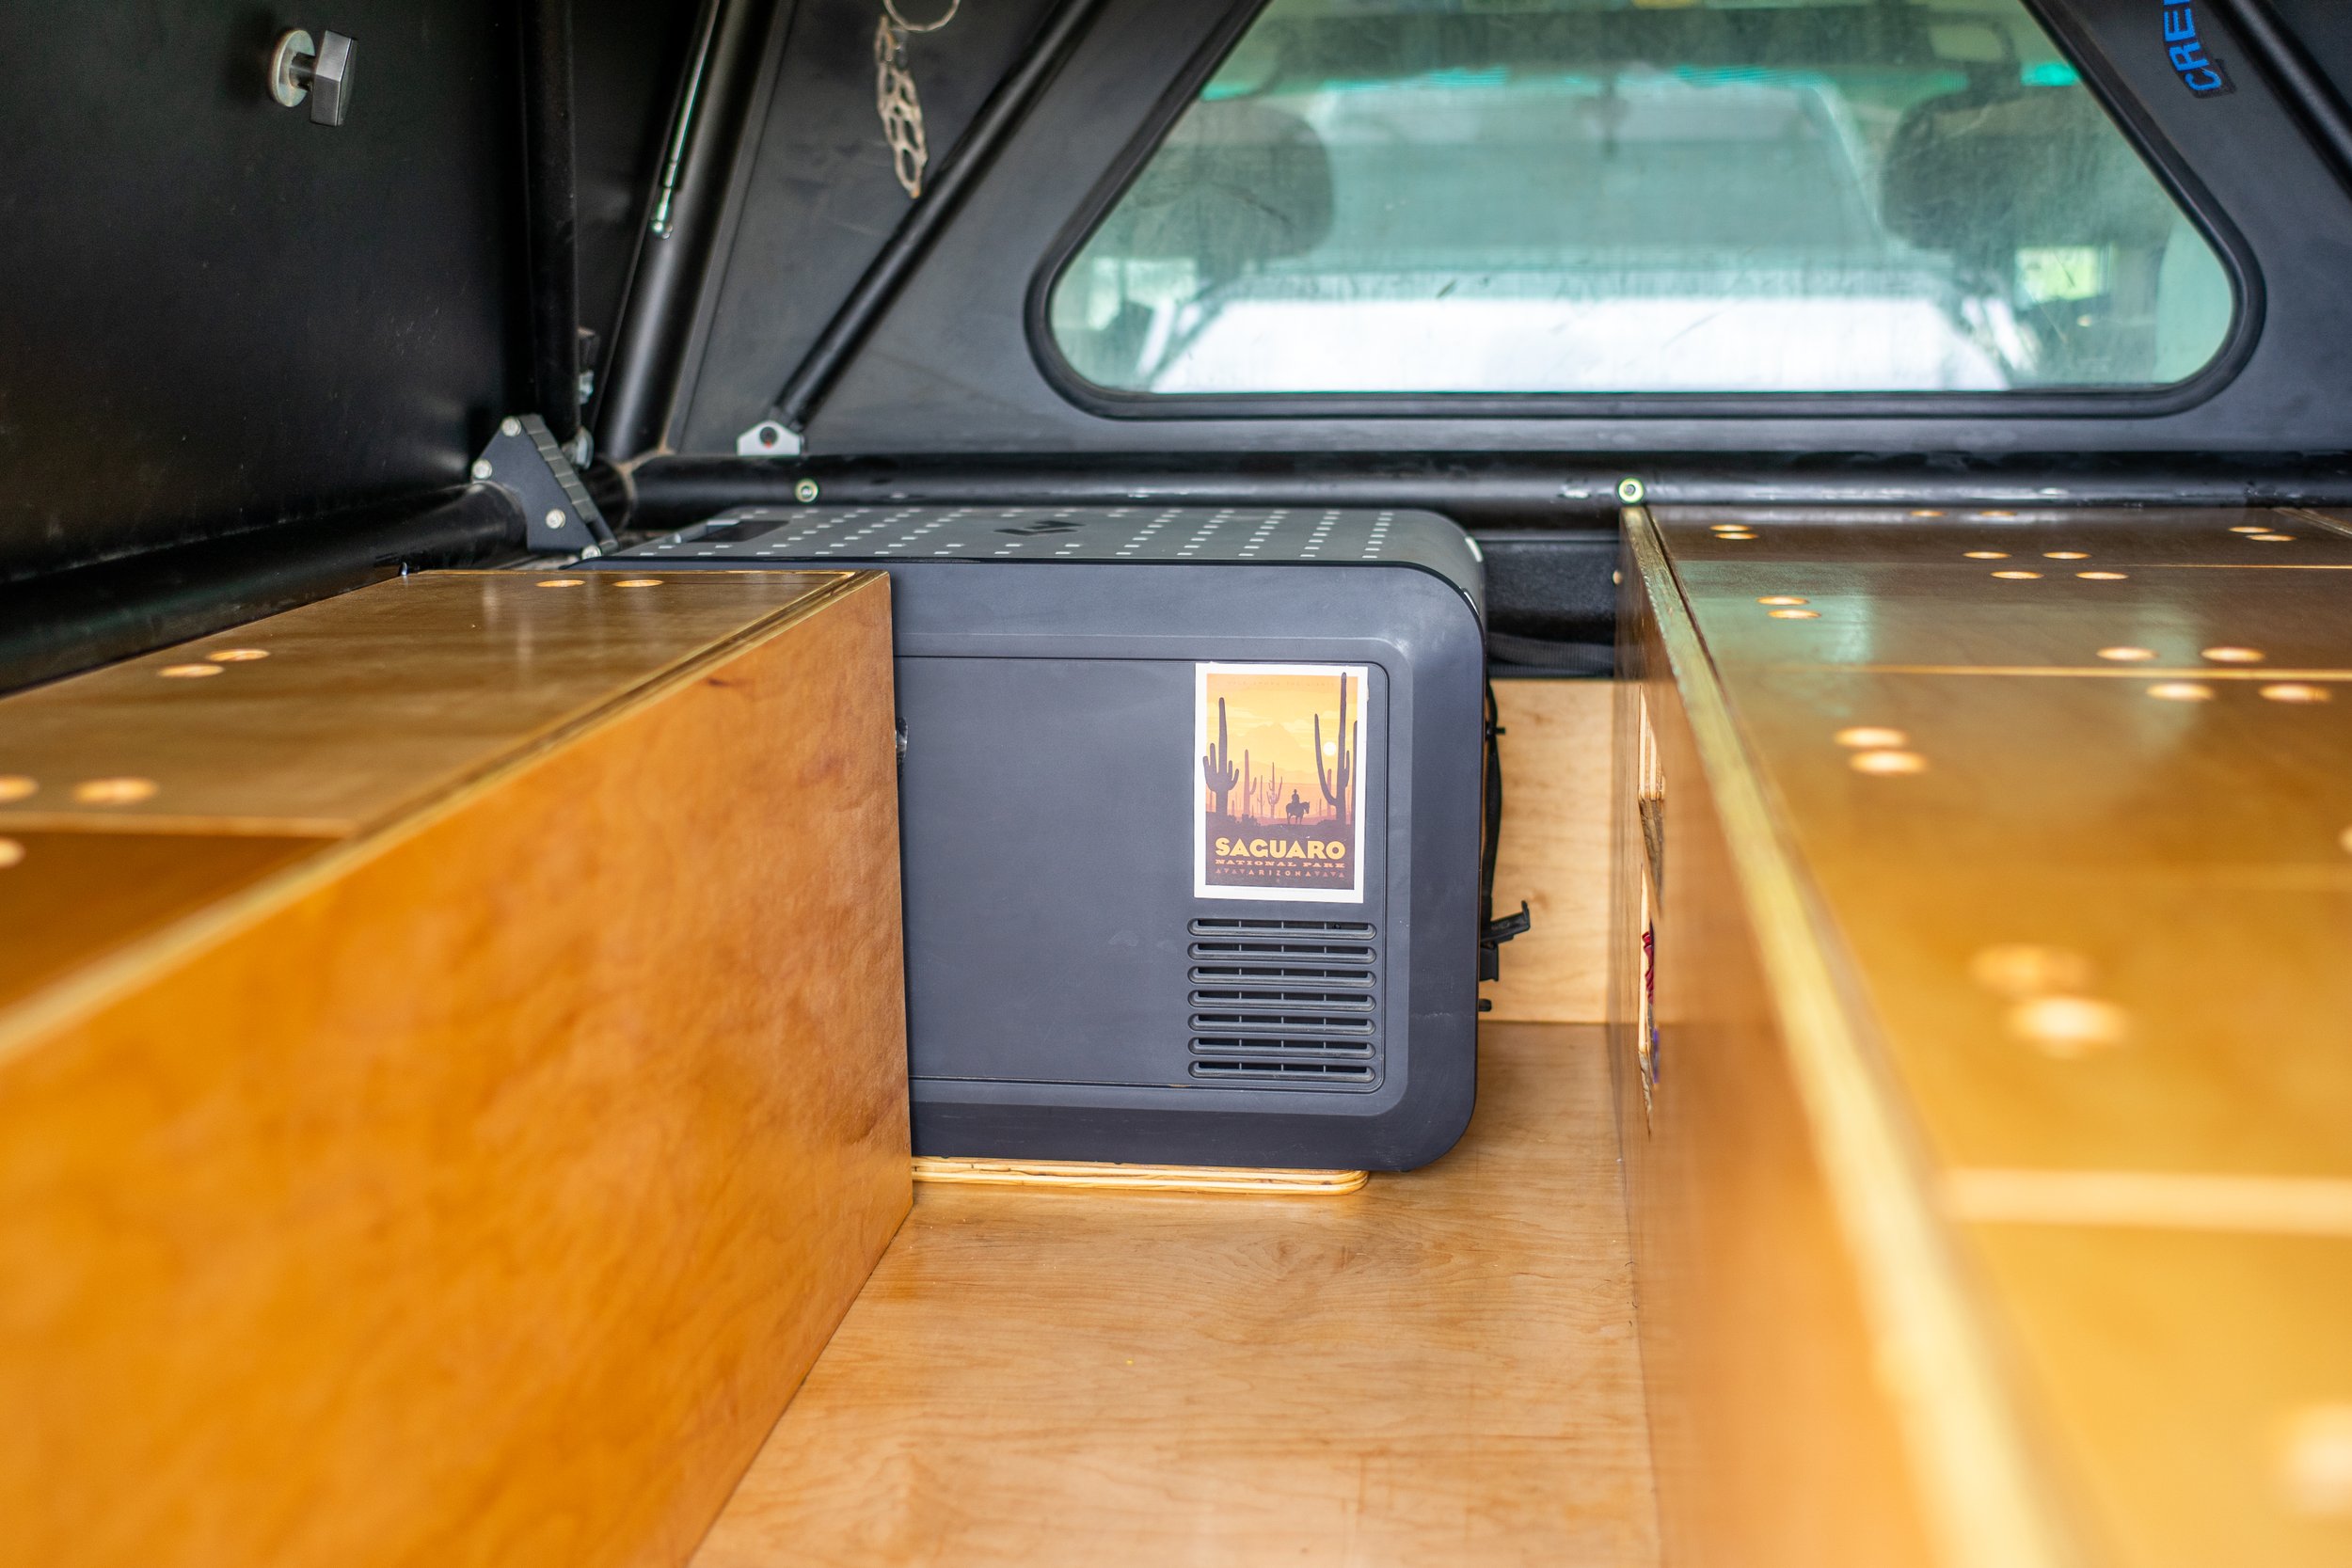
One of the challenges that we ran into while doing this build was how tightly everything would eventually fit together. in order to hit the height requirements that I wanted it meant we had to space the fridge up from the floor by 3/4”, we also had to remove material under the battery to drop it roughly 1/4” as well as doing the same with the stove, and also removed material on the piece of wood that would become the lid for the battery compartment.
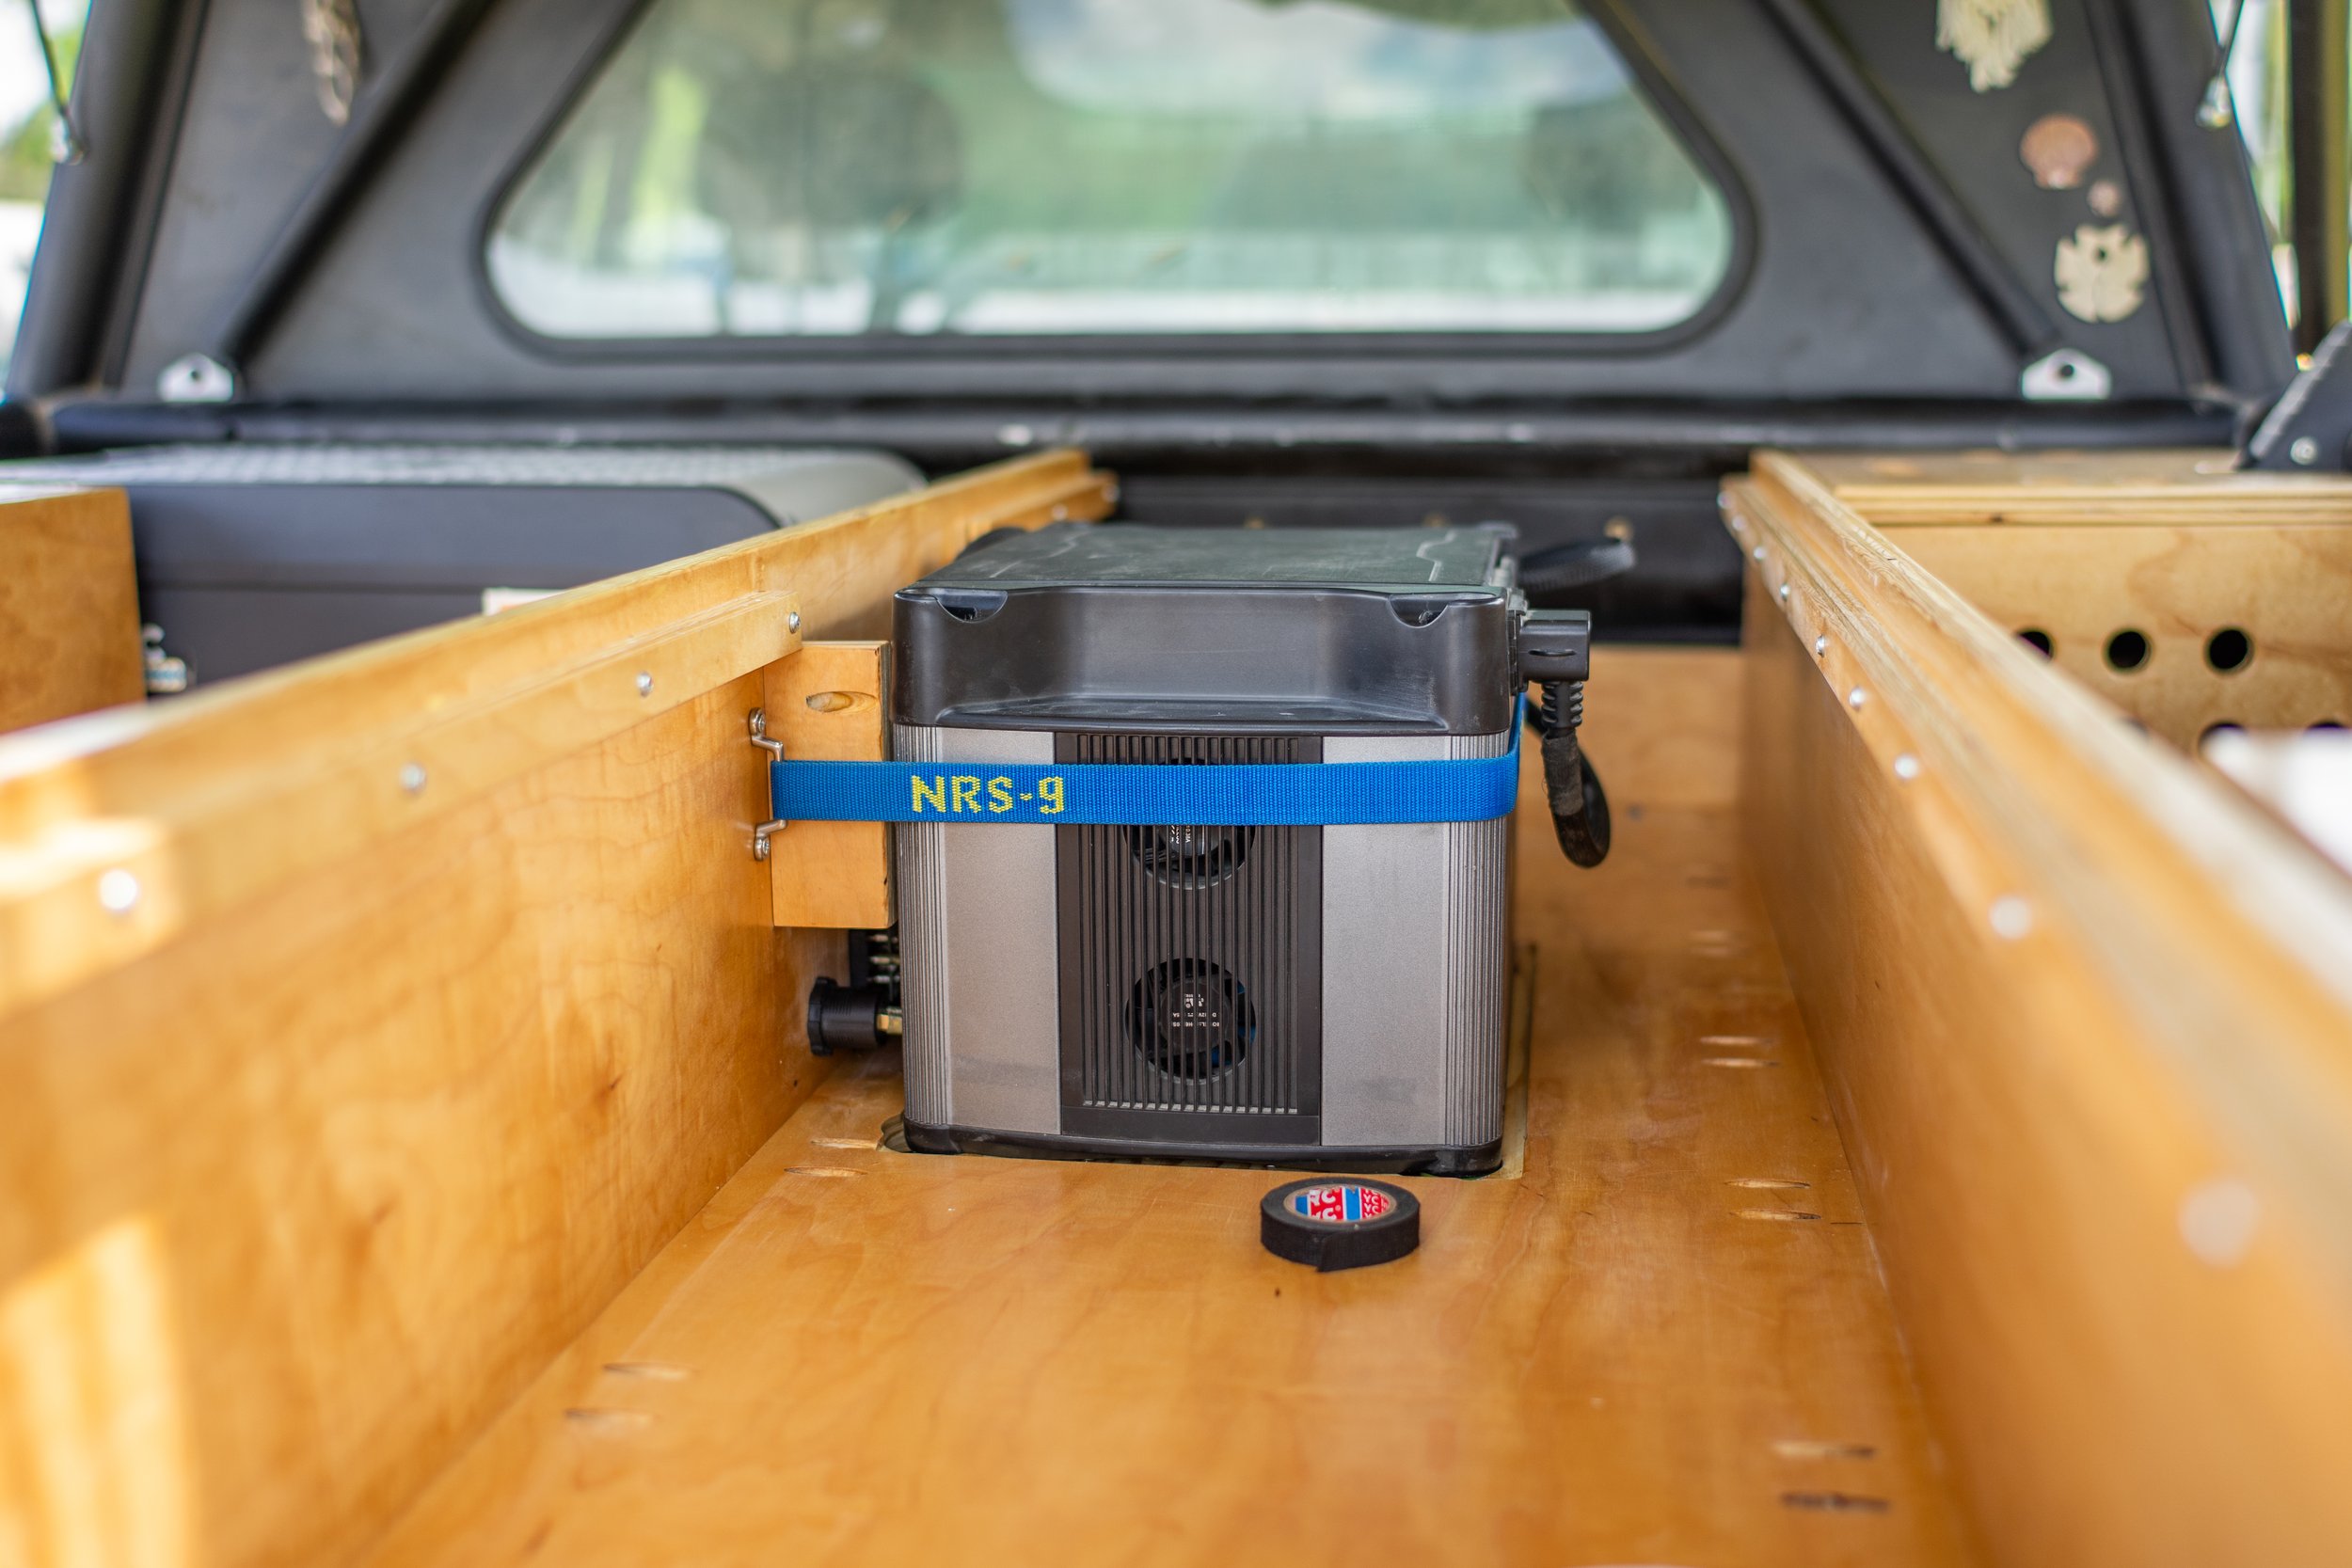
Like before we held the battery in place with a simple
NRS strap however instead of strapping the battery to a strip of L-track like before, we used much lighter and simpler
strap anchors.
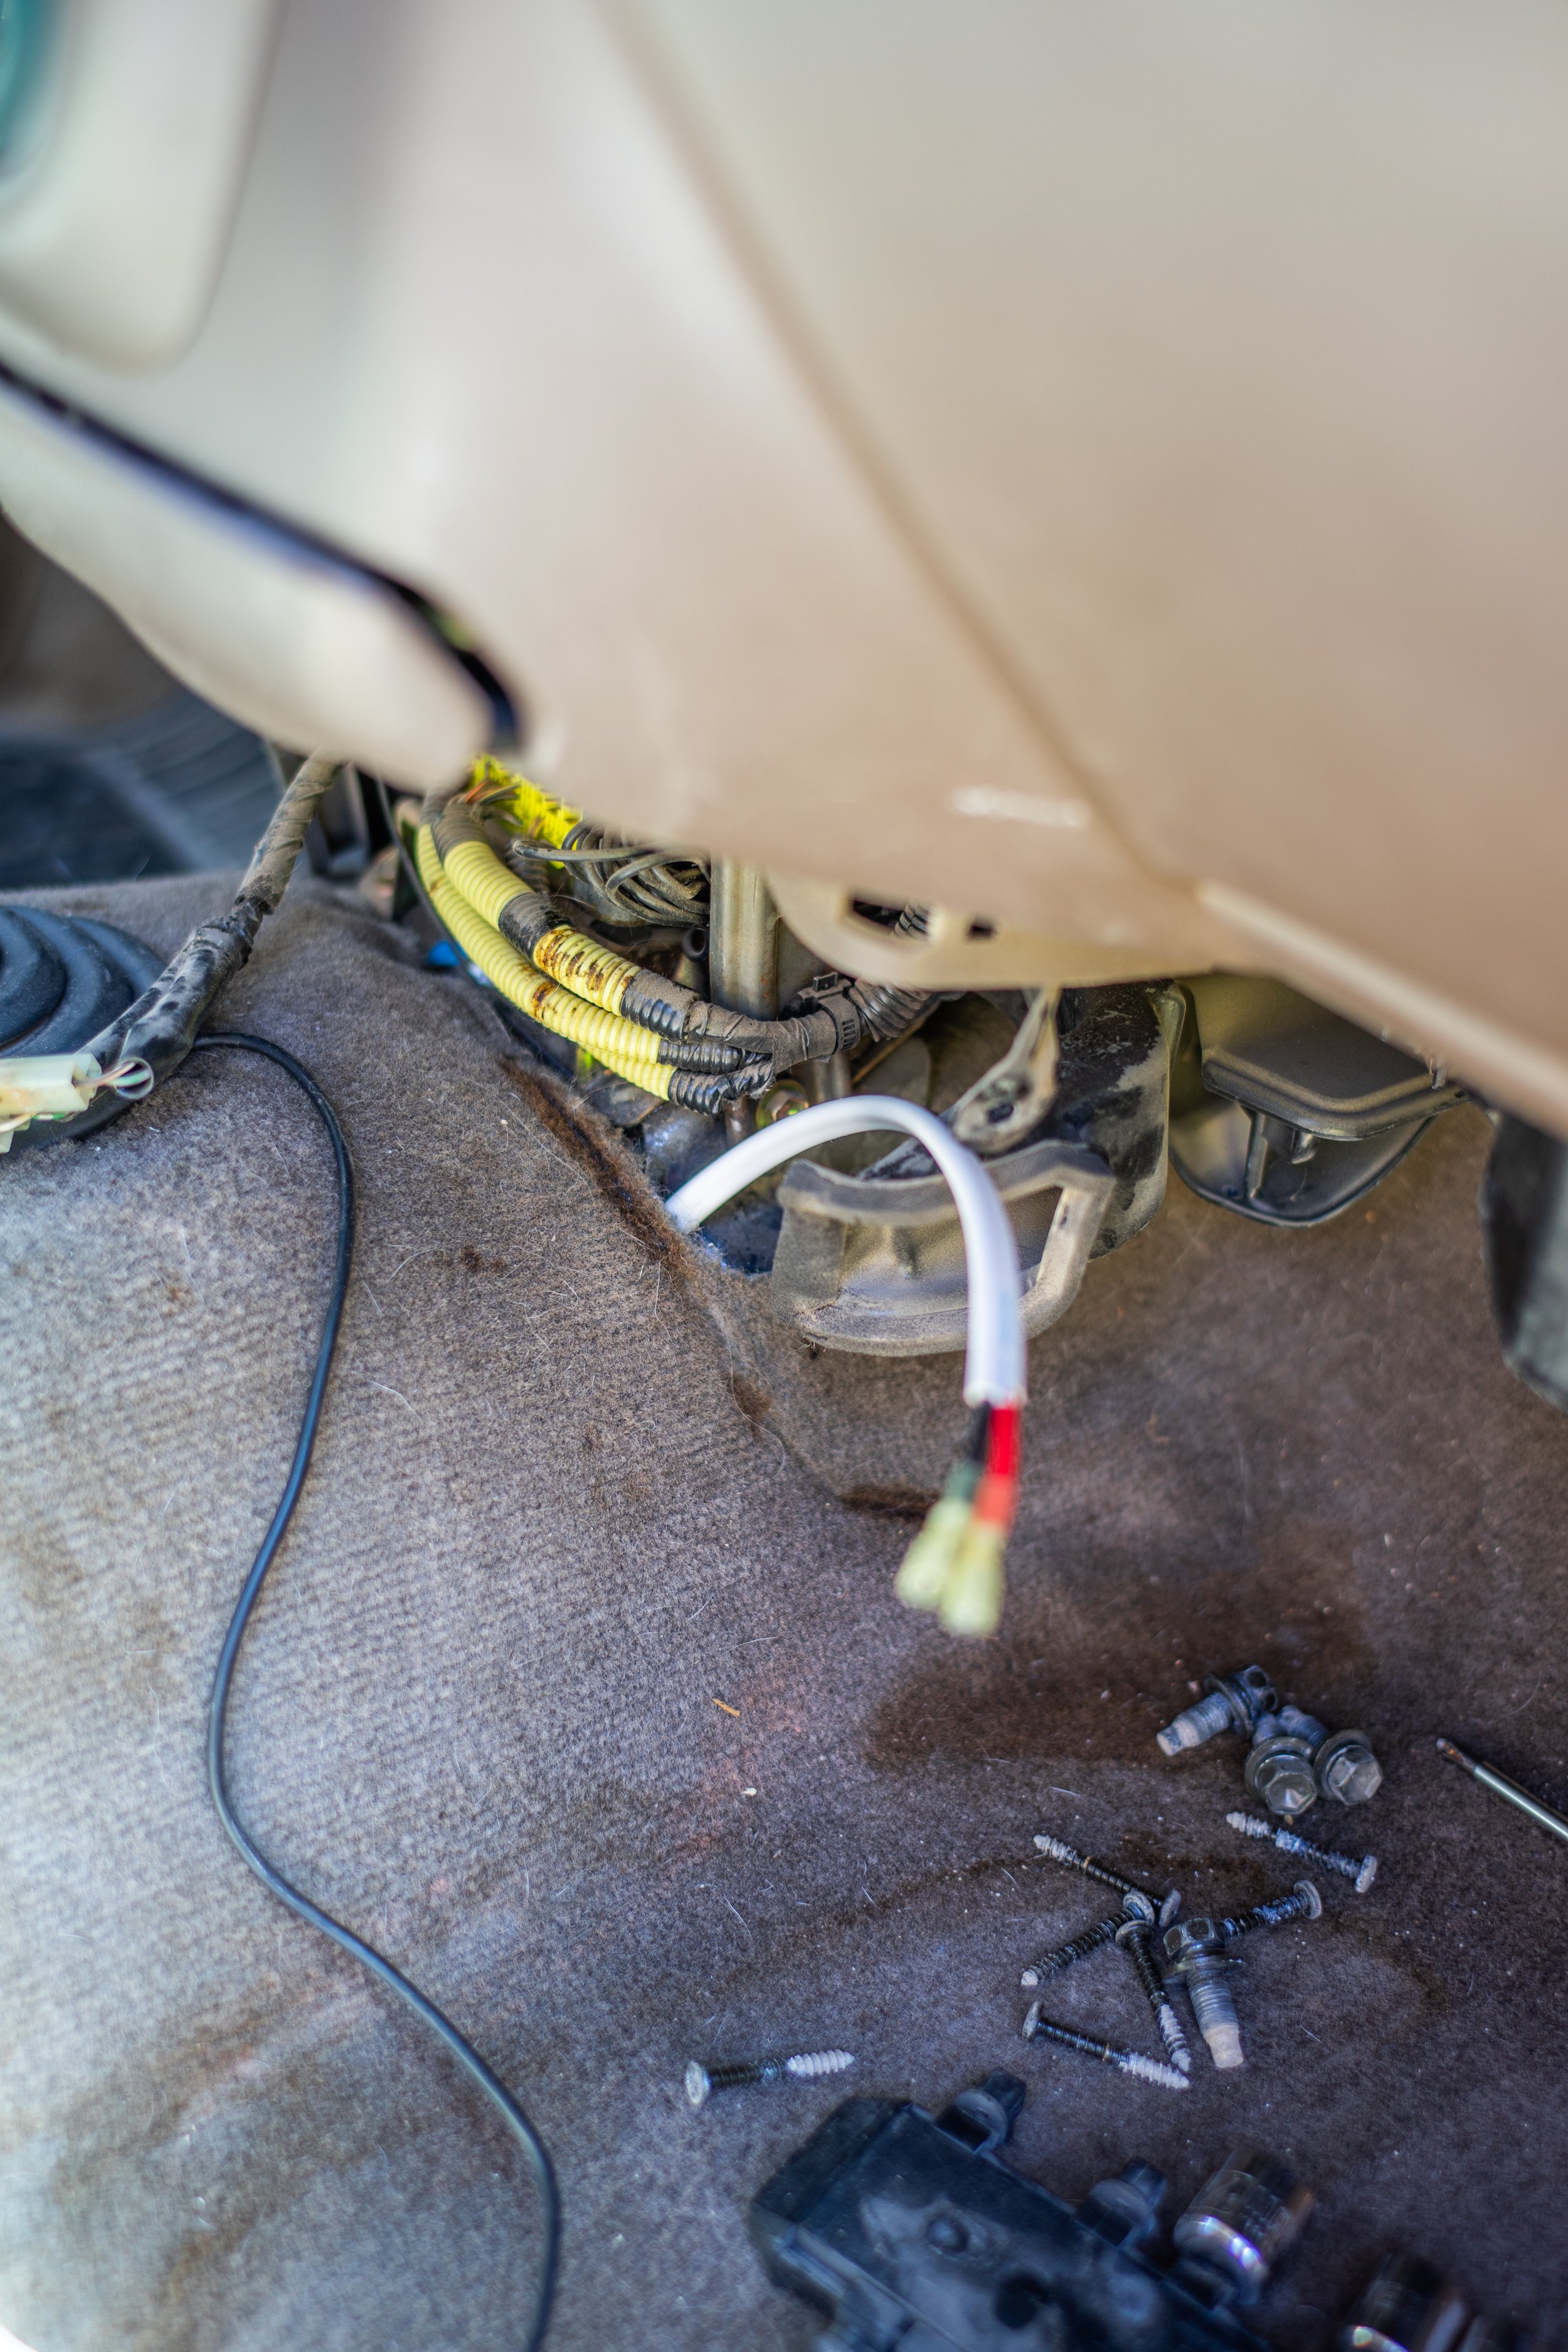
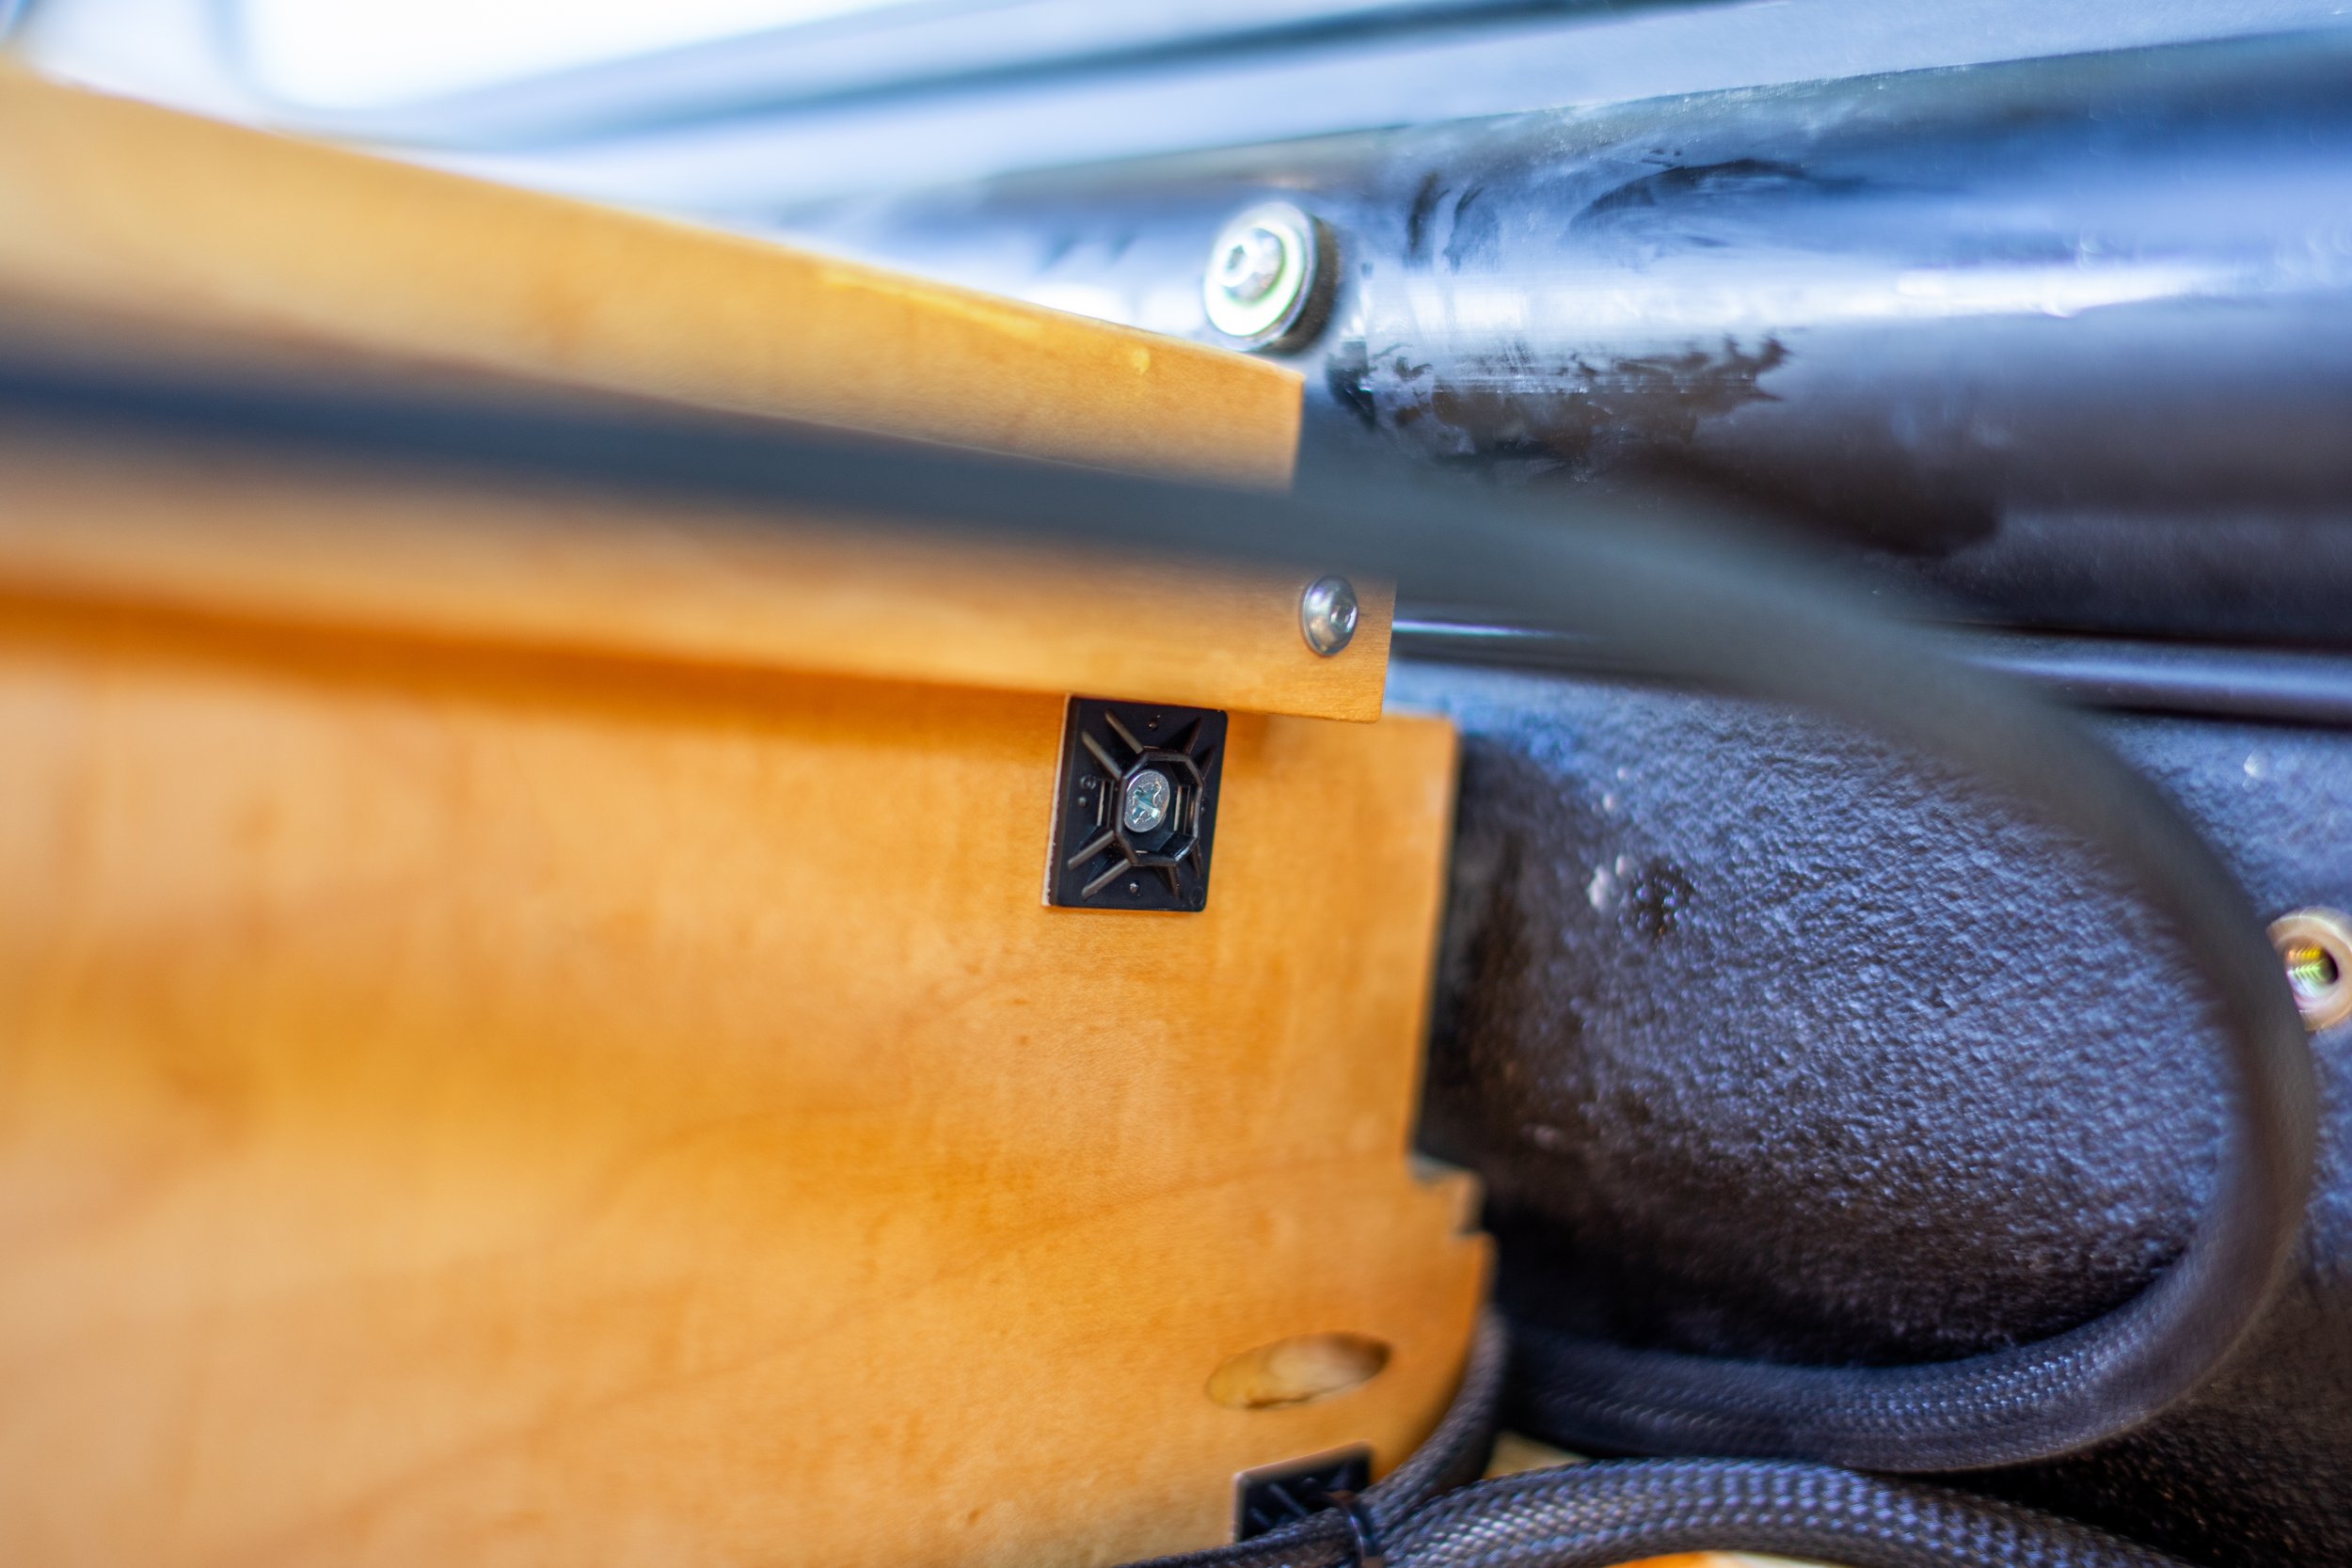
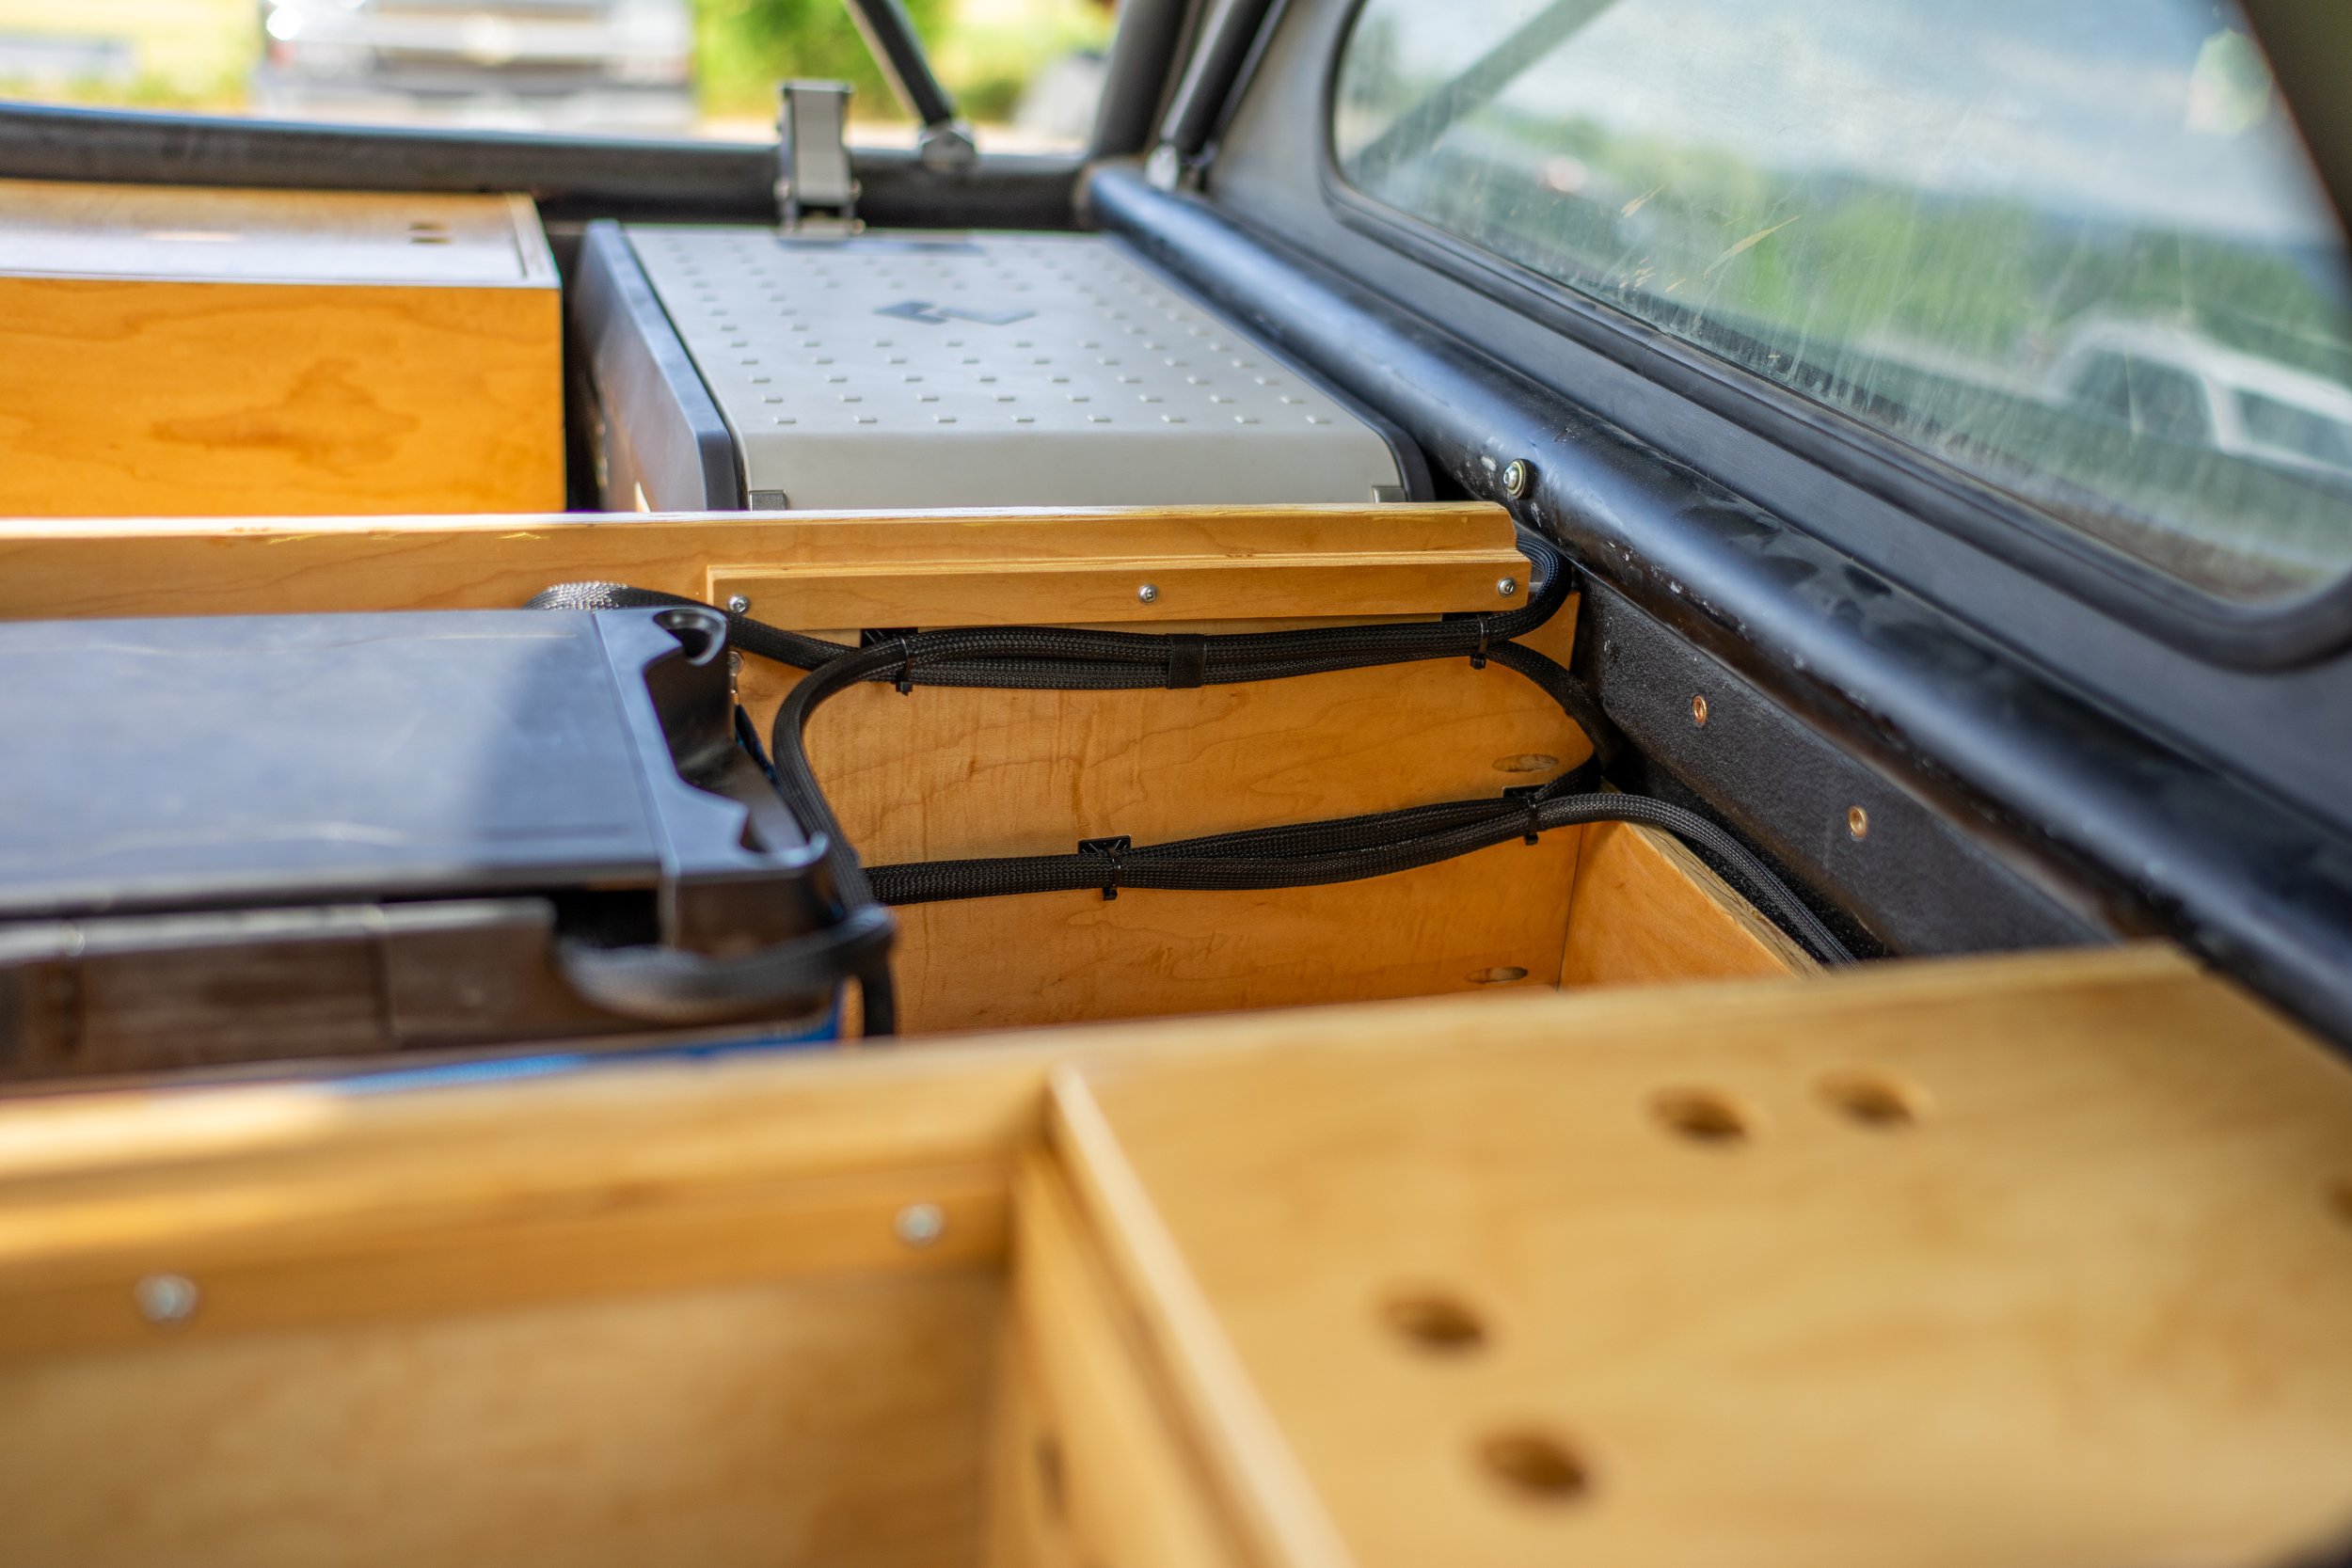
All of the wires running to and from the battery are wrapped in
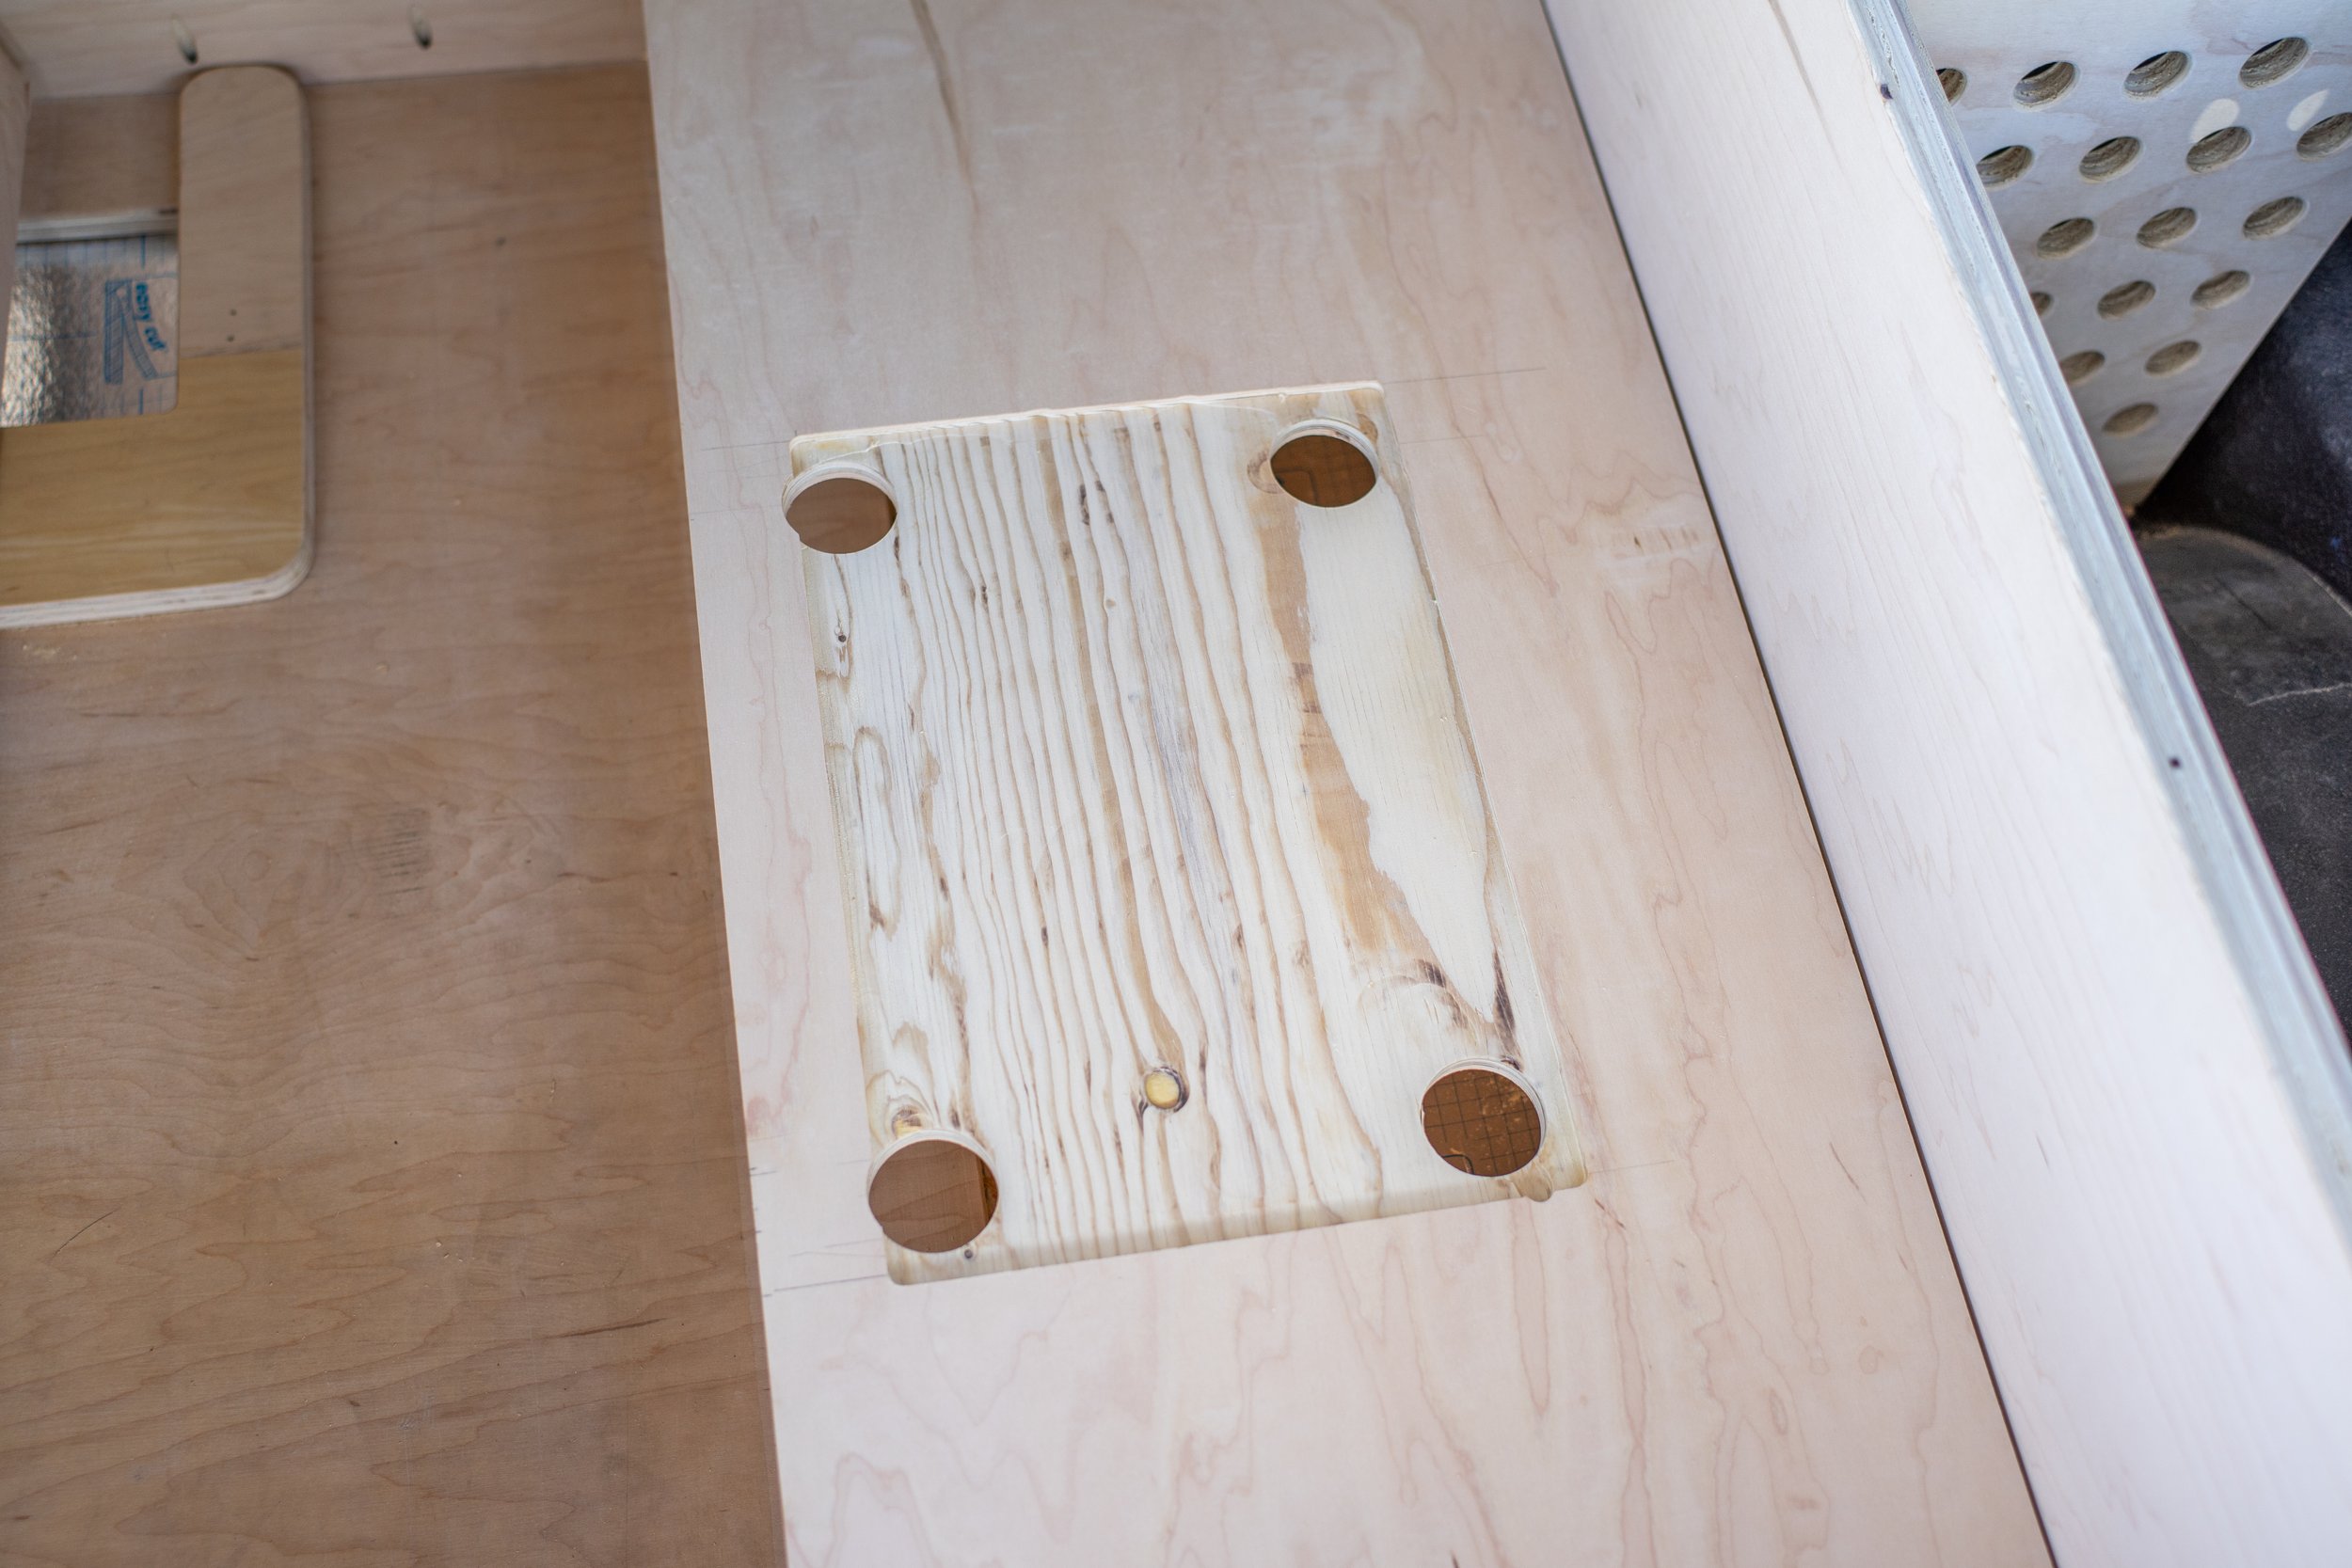
Alex Tech expanding cable sleeves to help protect them from wear, they were then secured in place with
zip tie anchors screwed to the cabinet walls.
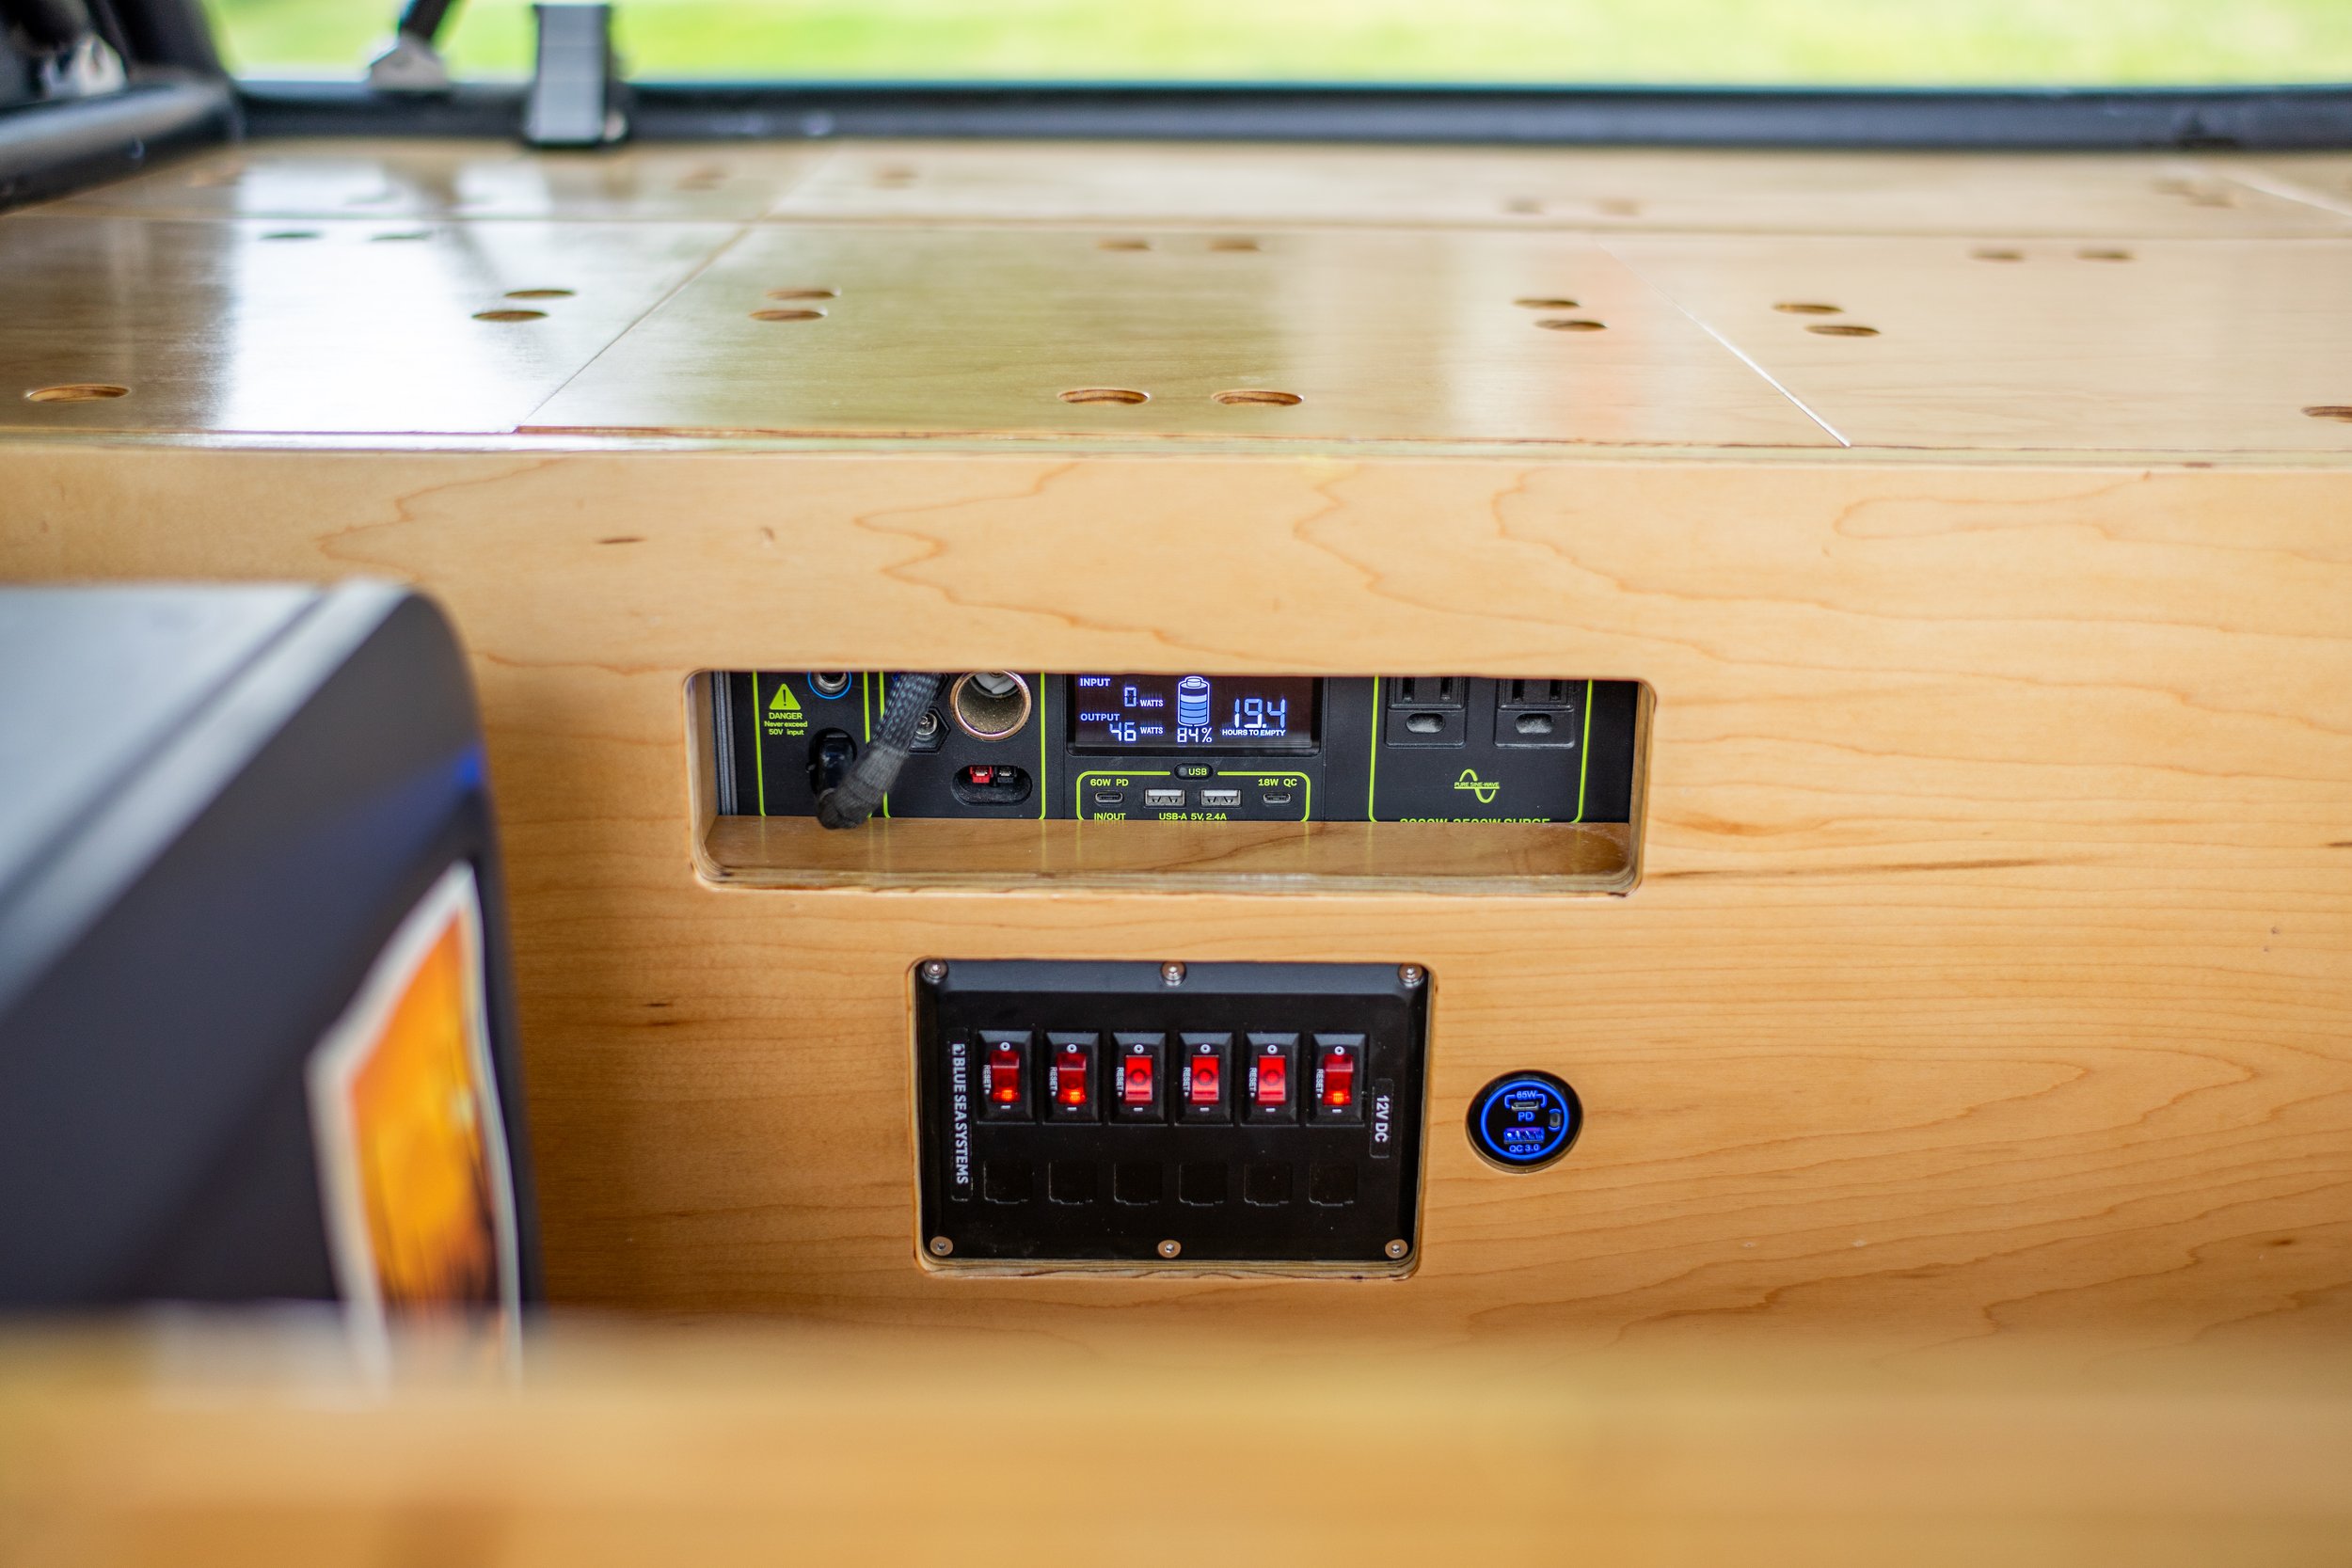
The battery and
solar setup stayed the same except for the addition of a
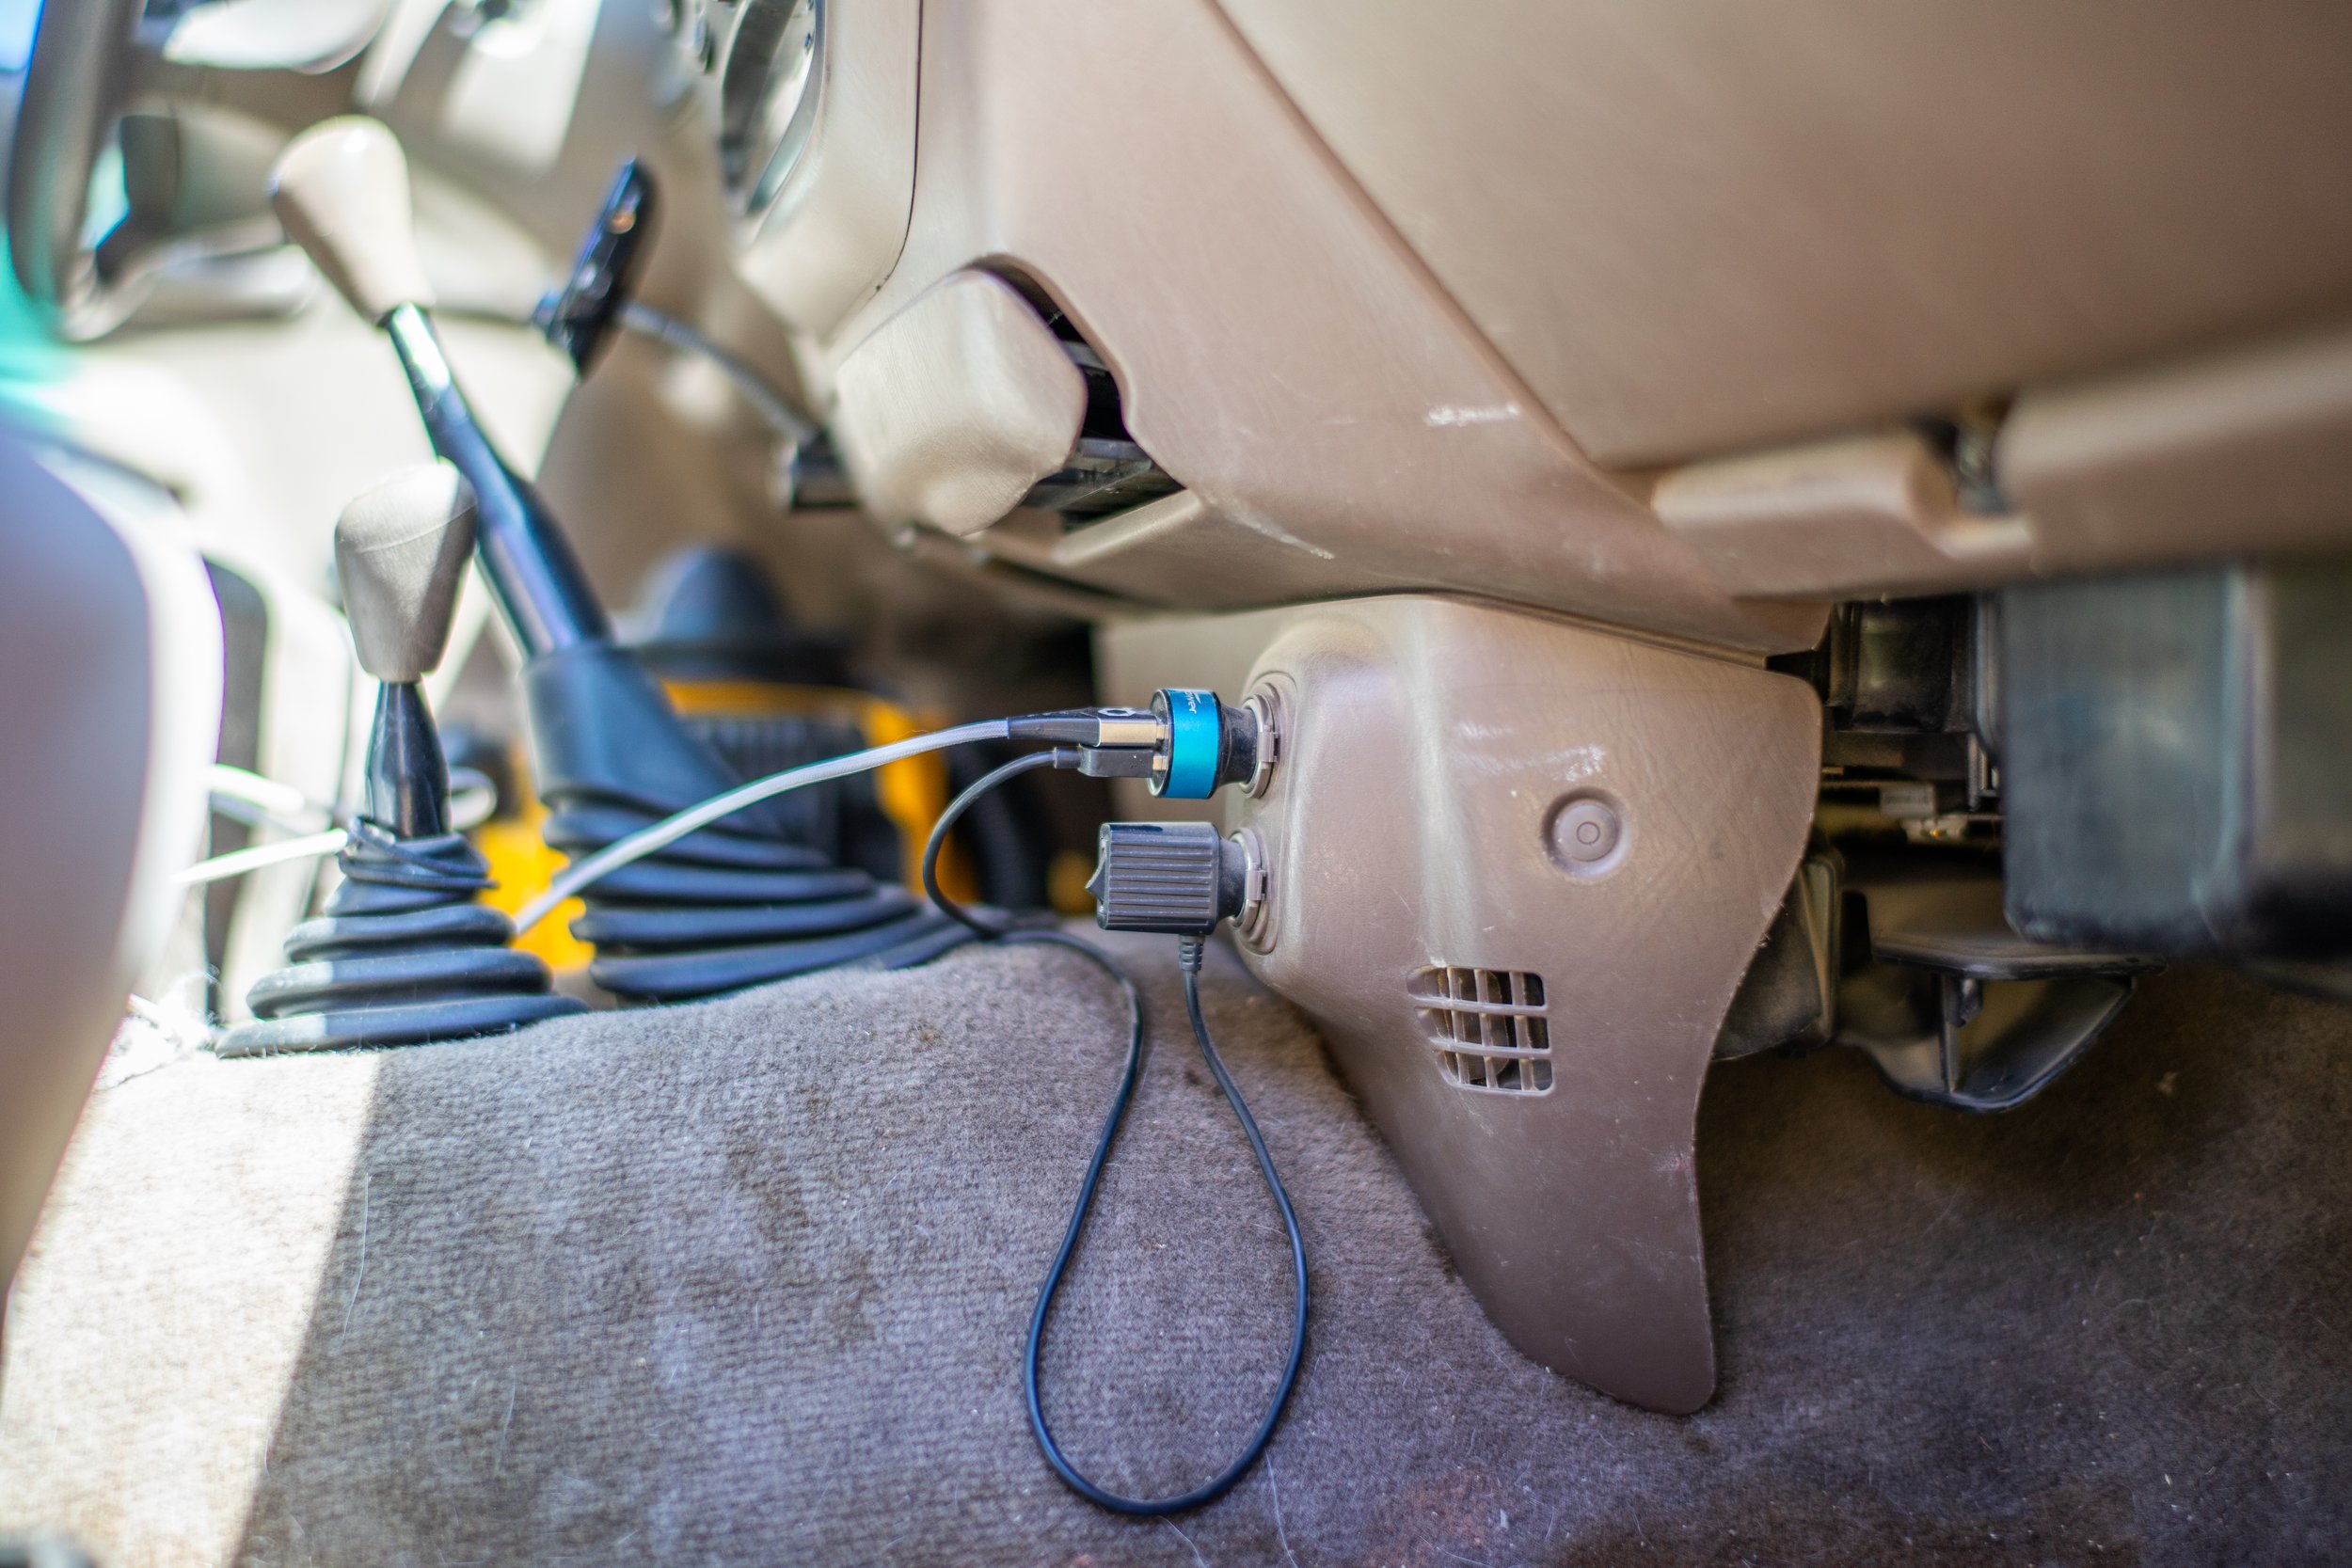
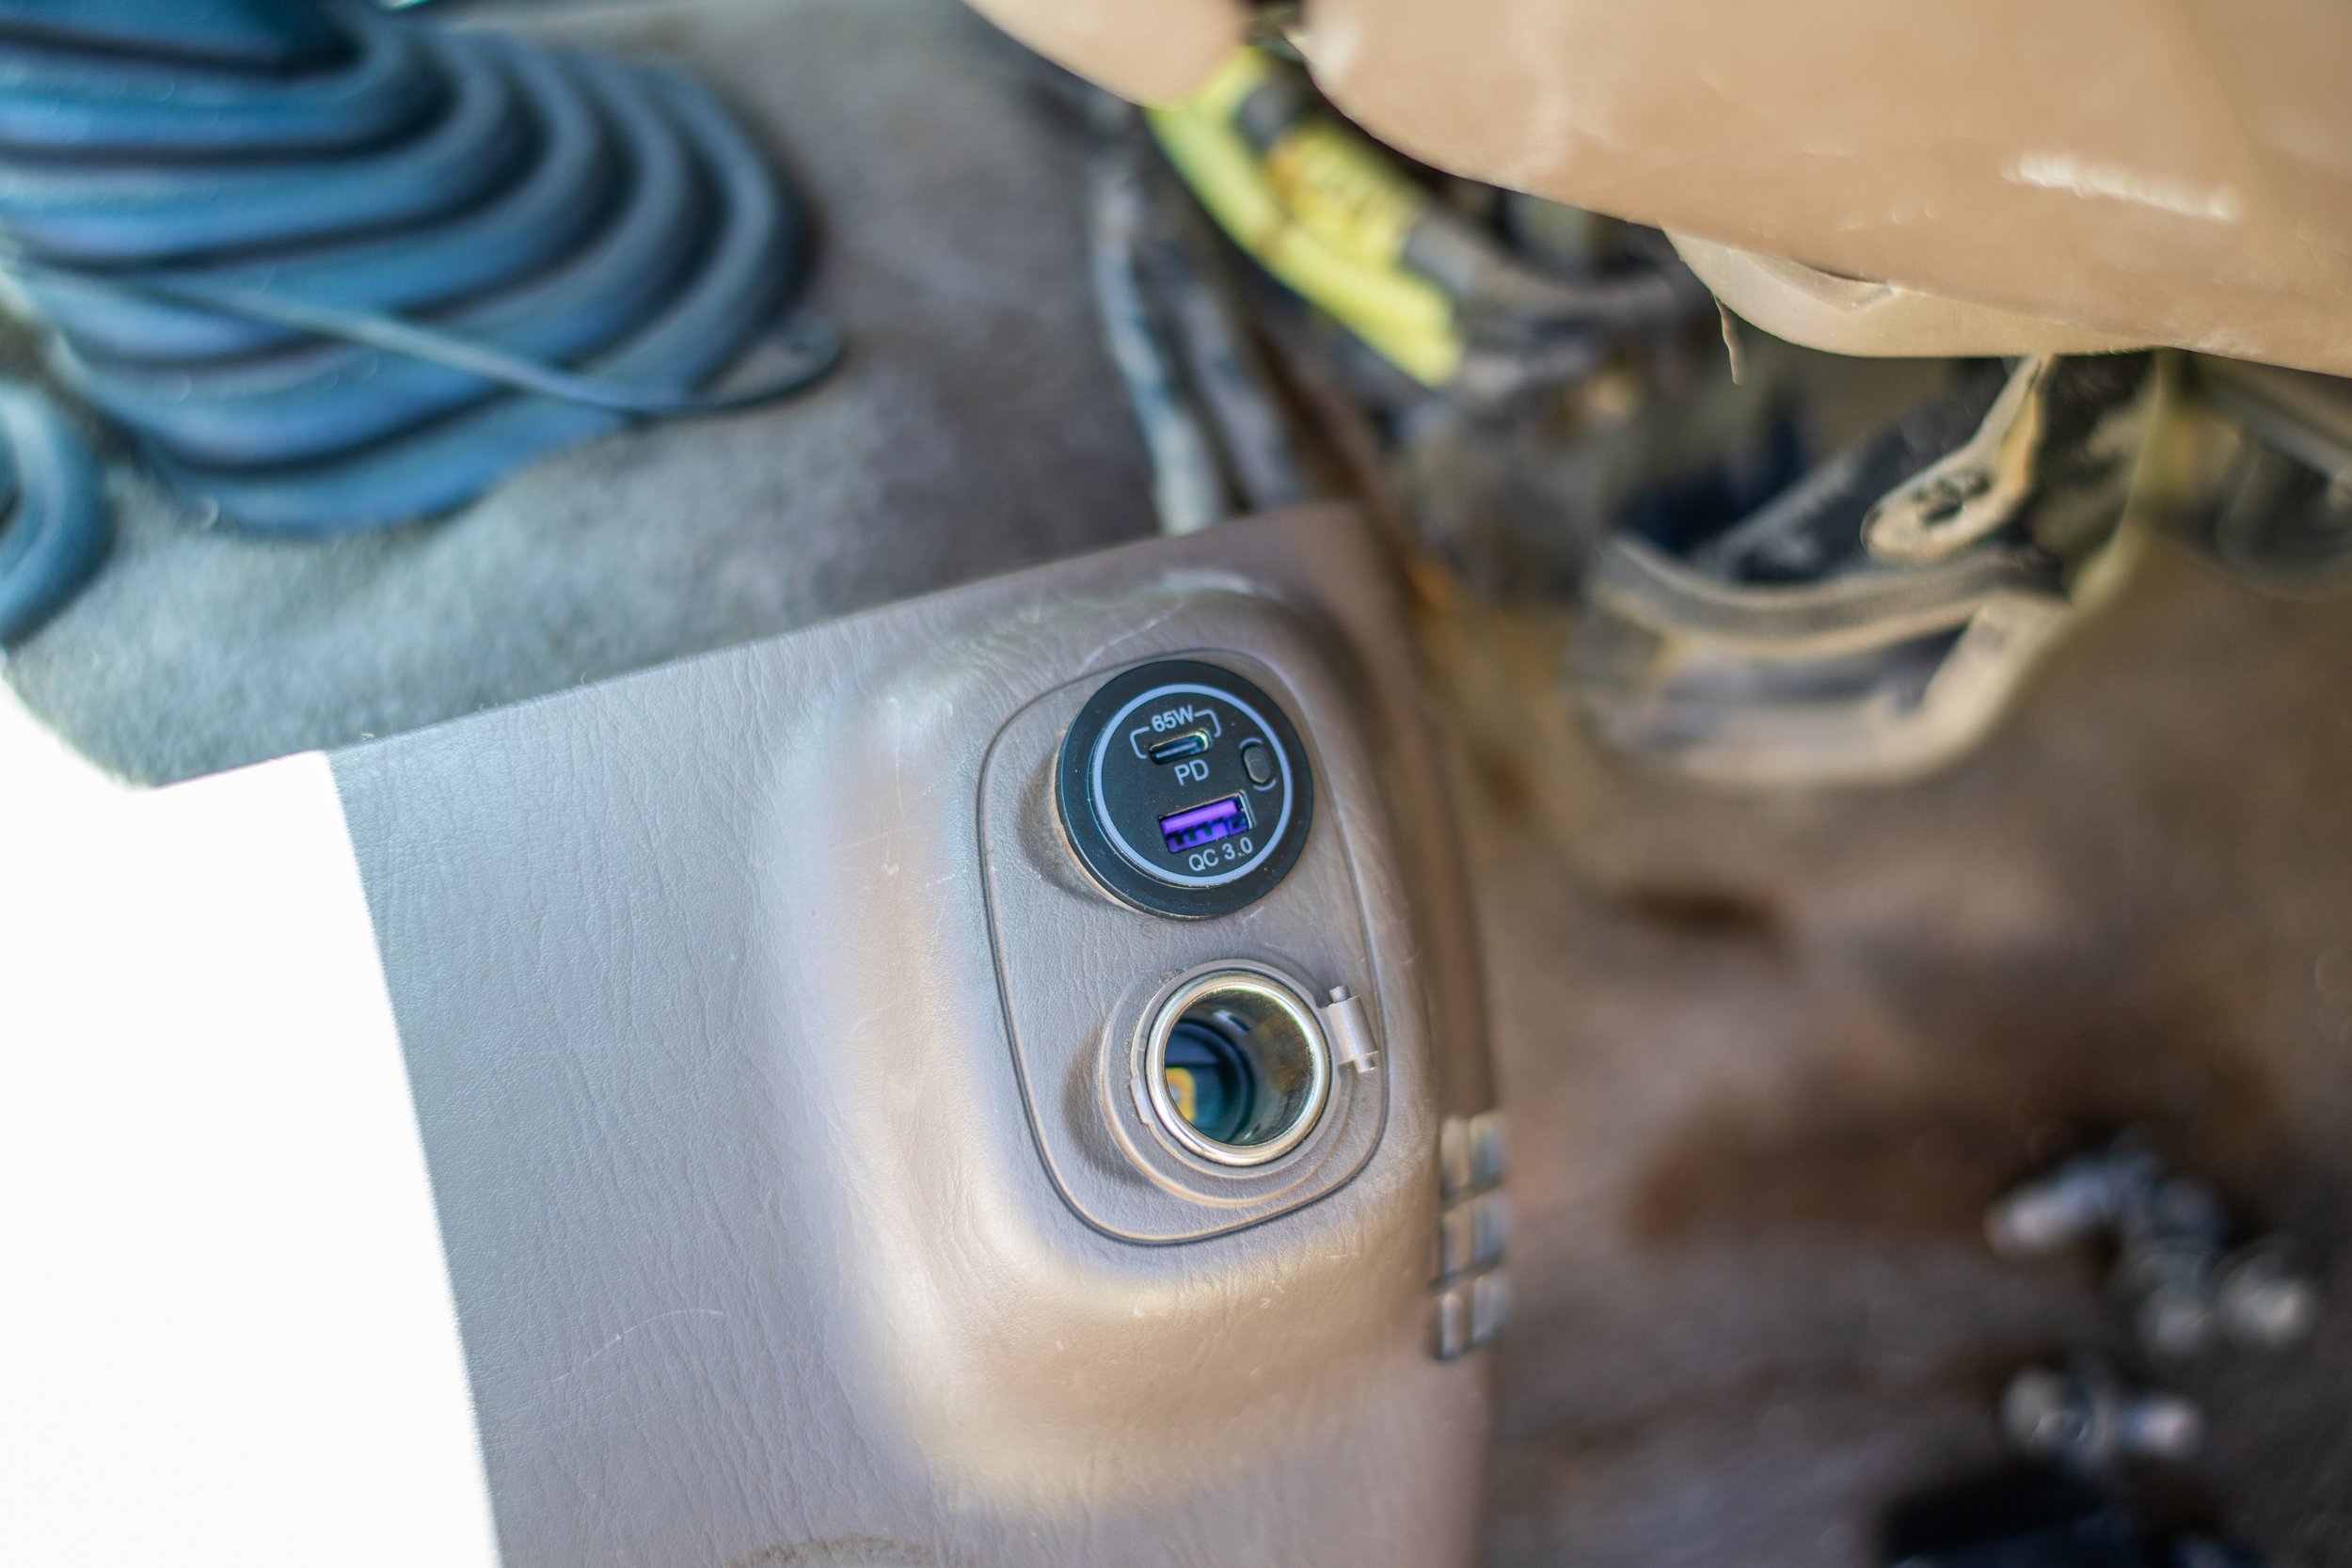
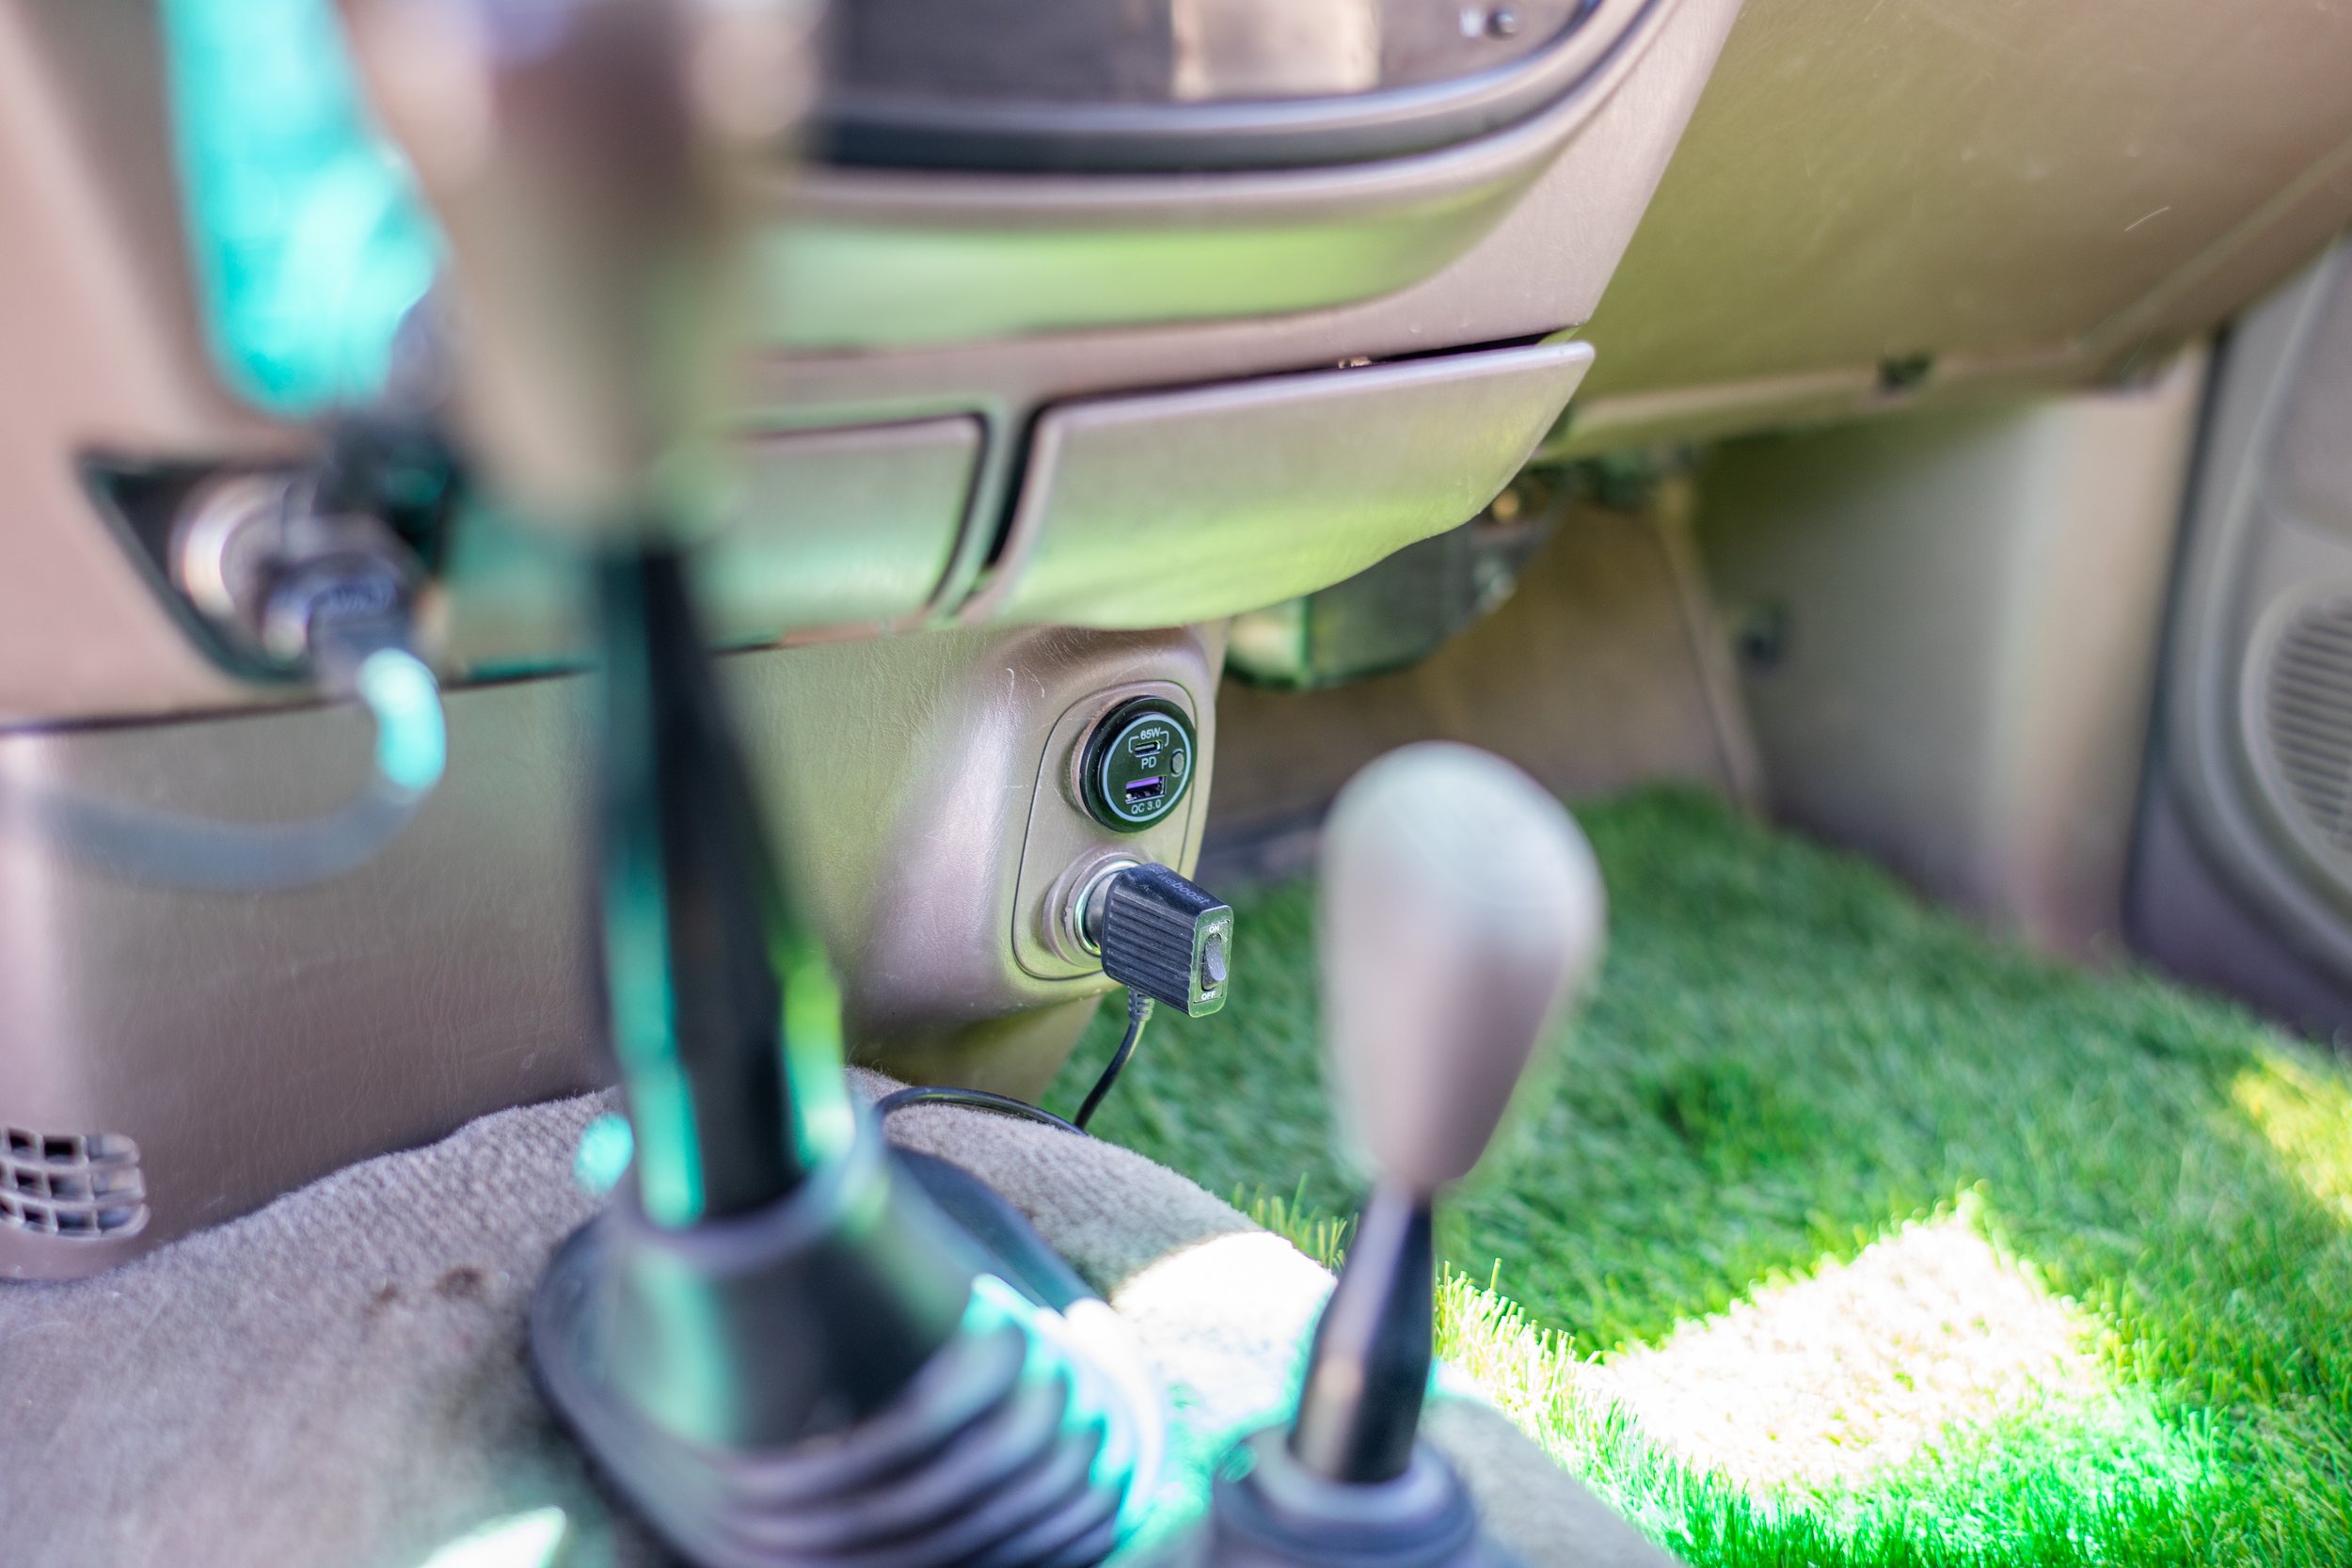
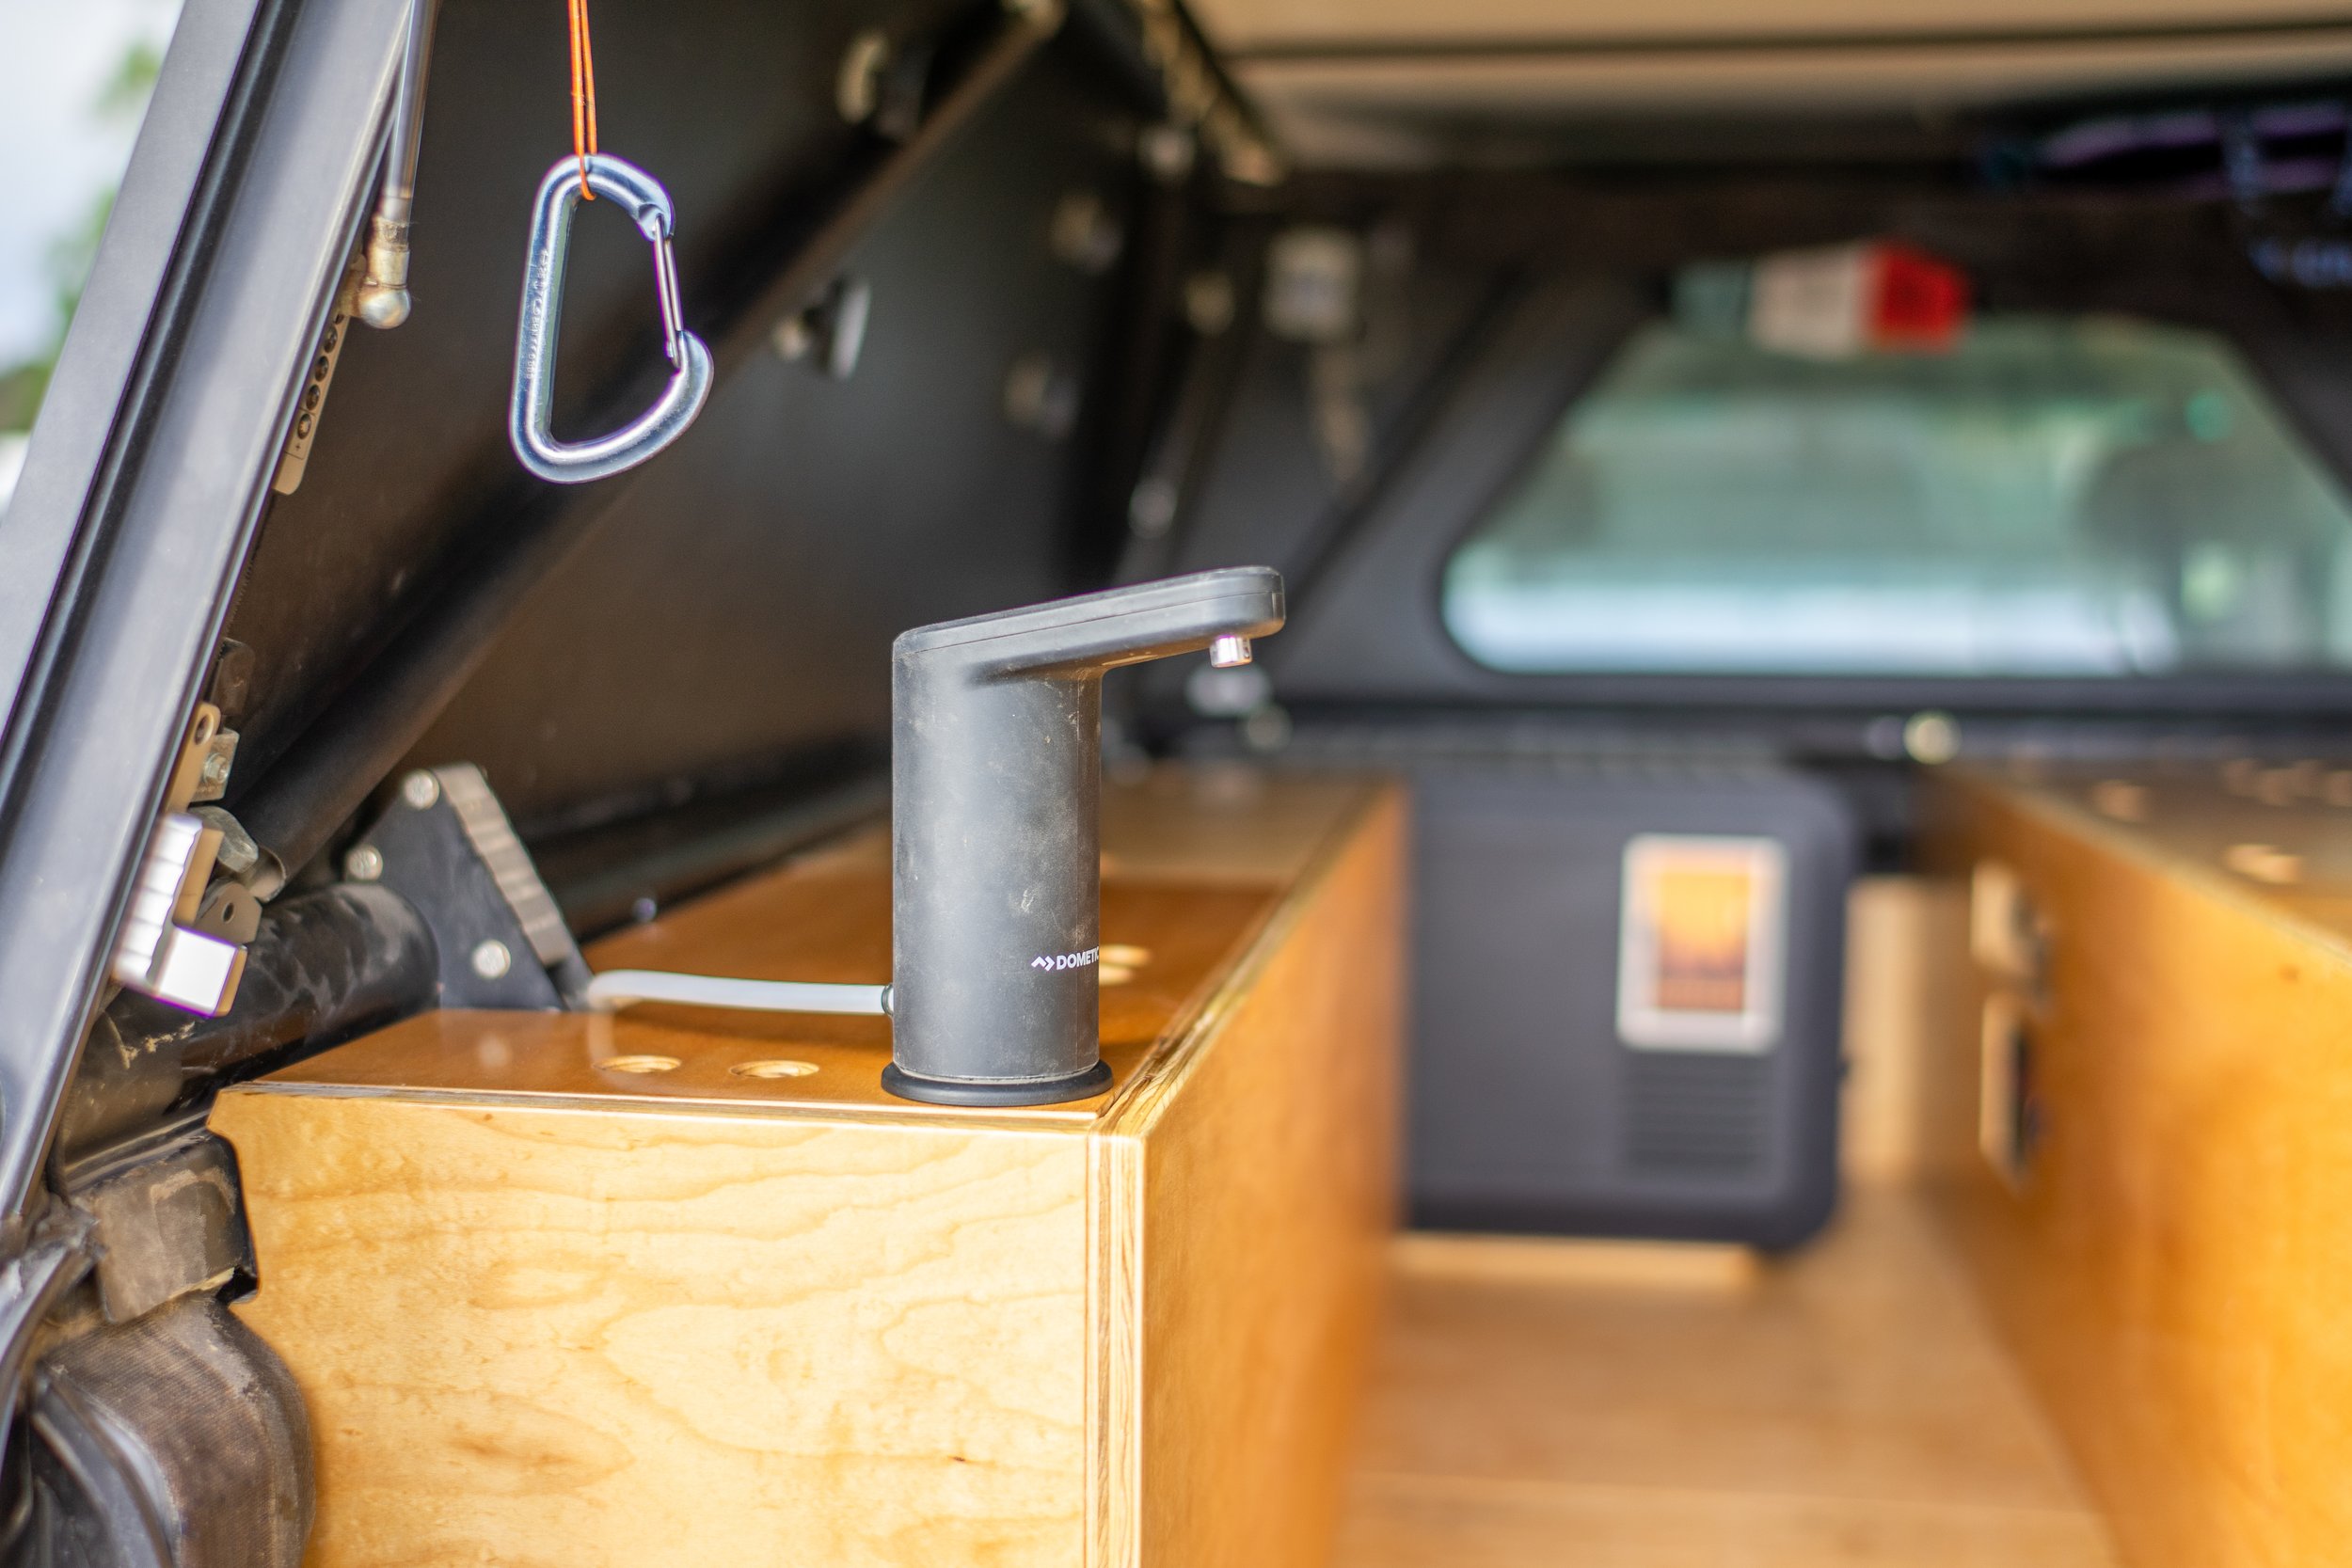
blue sea 12v break/distribution panel. This panel receives power from the house battery and then splits it to three different places at the moment, our fridge and two
65-watt USB-C ports, one that is in the cab and one in the back seen in the photo below. The addition of these ports means that we are able to power our laptops from either the cab or the back, without needing to turn the truck on or running the inverter on the Goal Zero. The panel has several unused switches at the moment that will allow us to expand this electrical system to include things like a diesel heater, or exterior lights in the future.
We secured the fridge like we had before using the same
L-Track hardware and NRS straps that we had used in the previous version of our build.
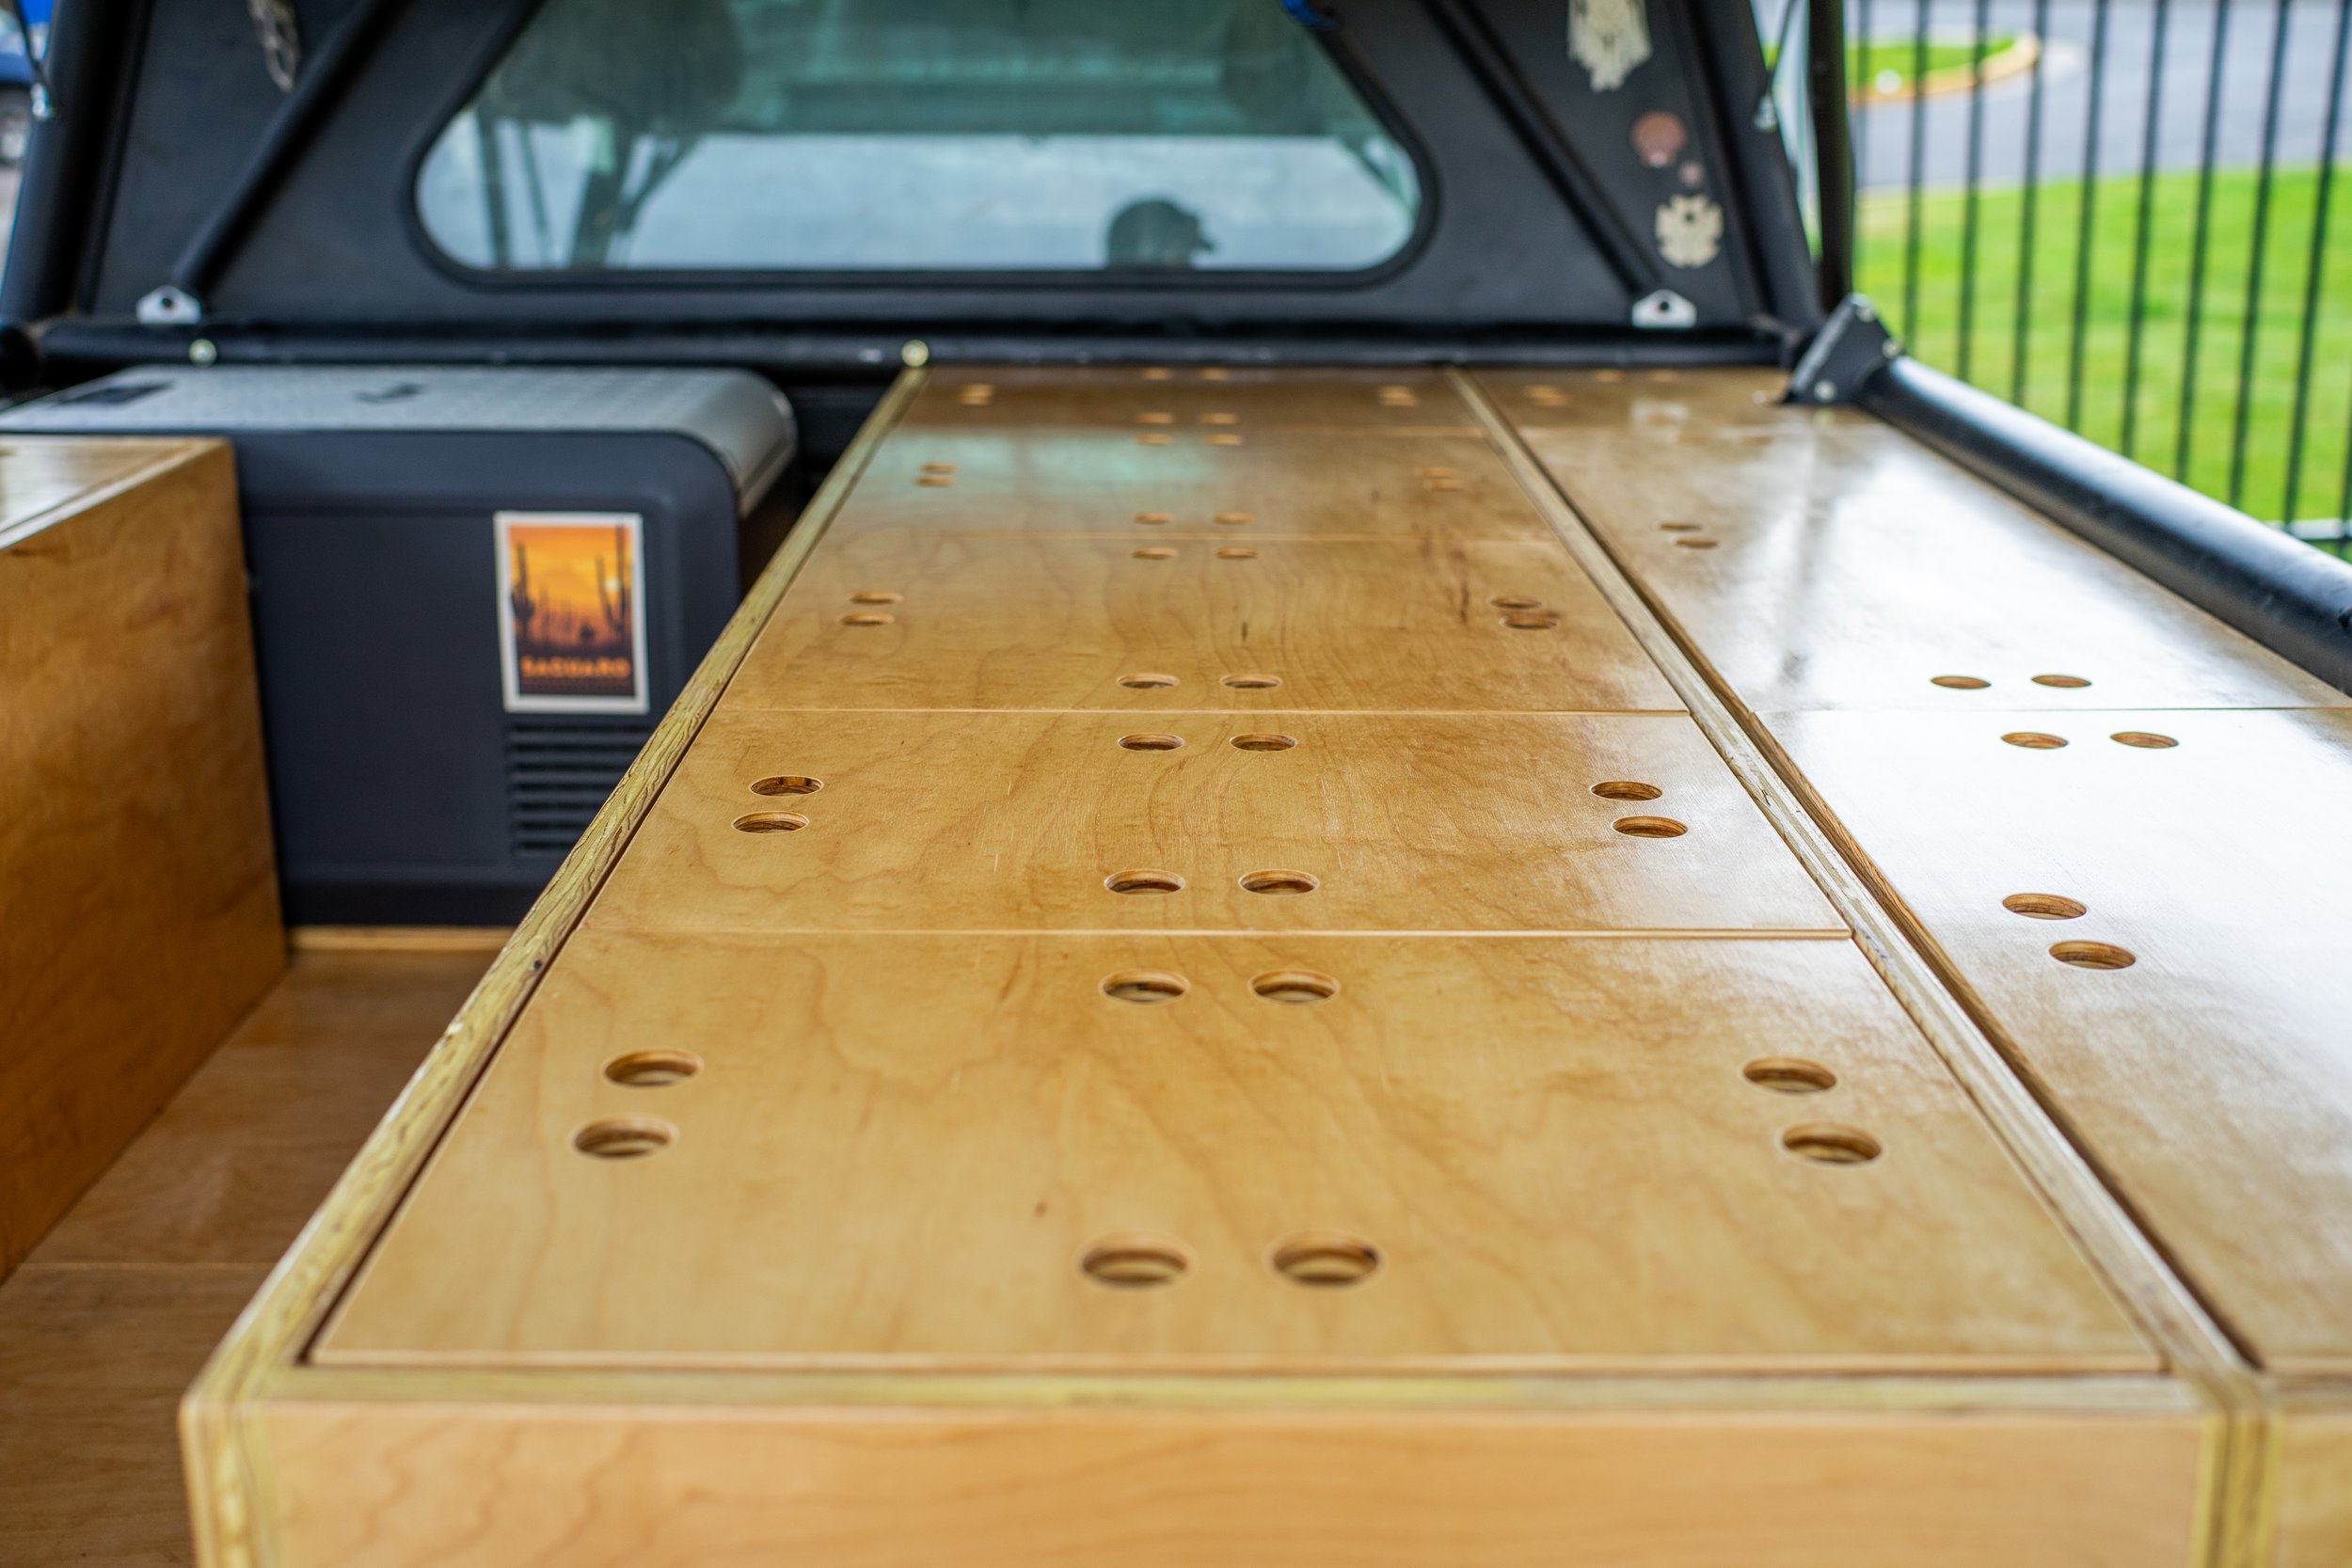
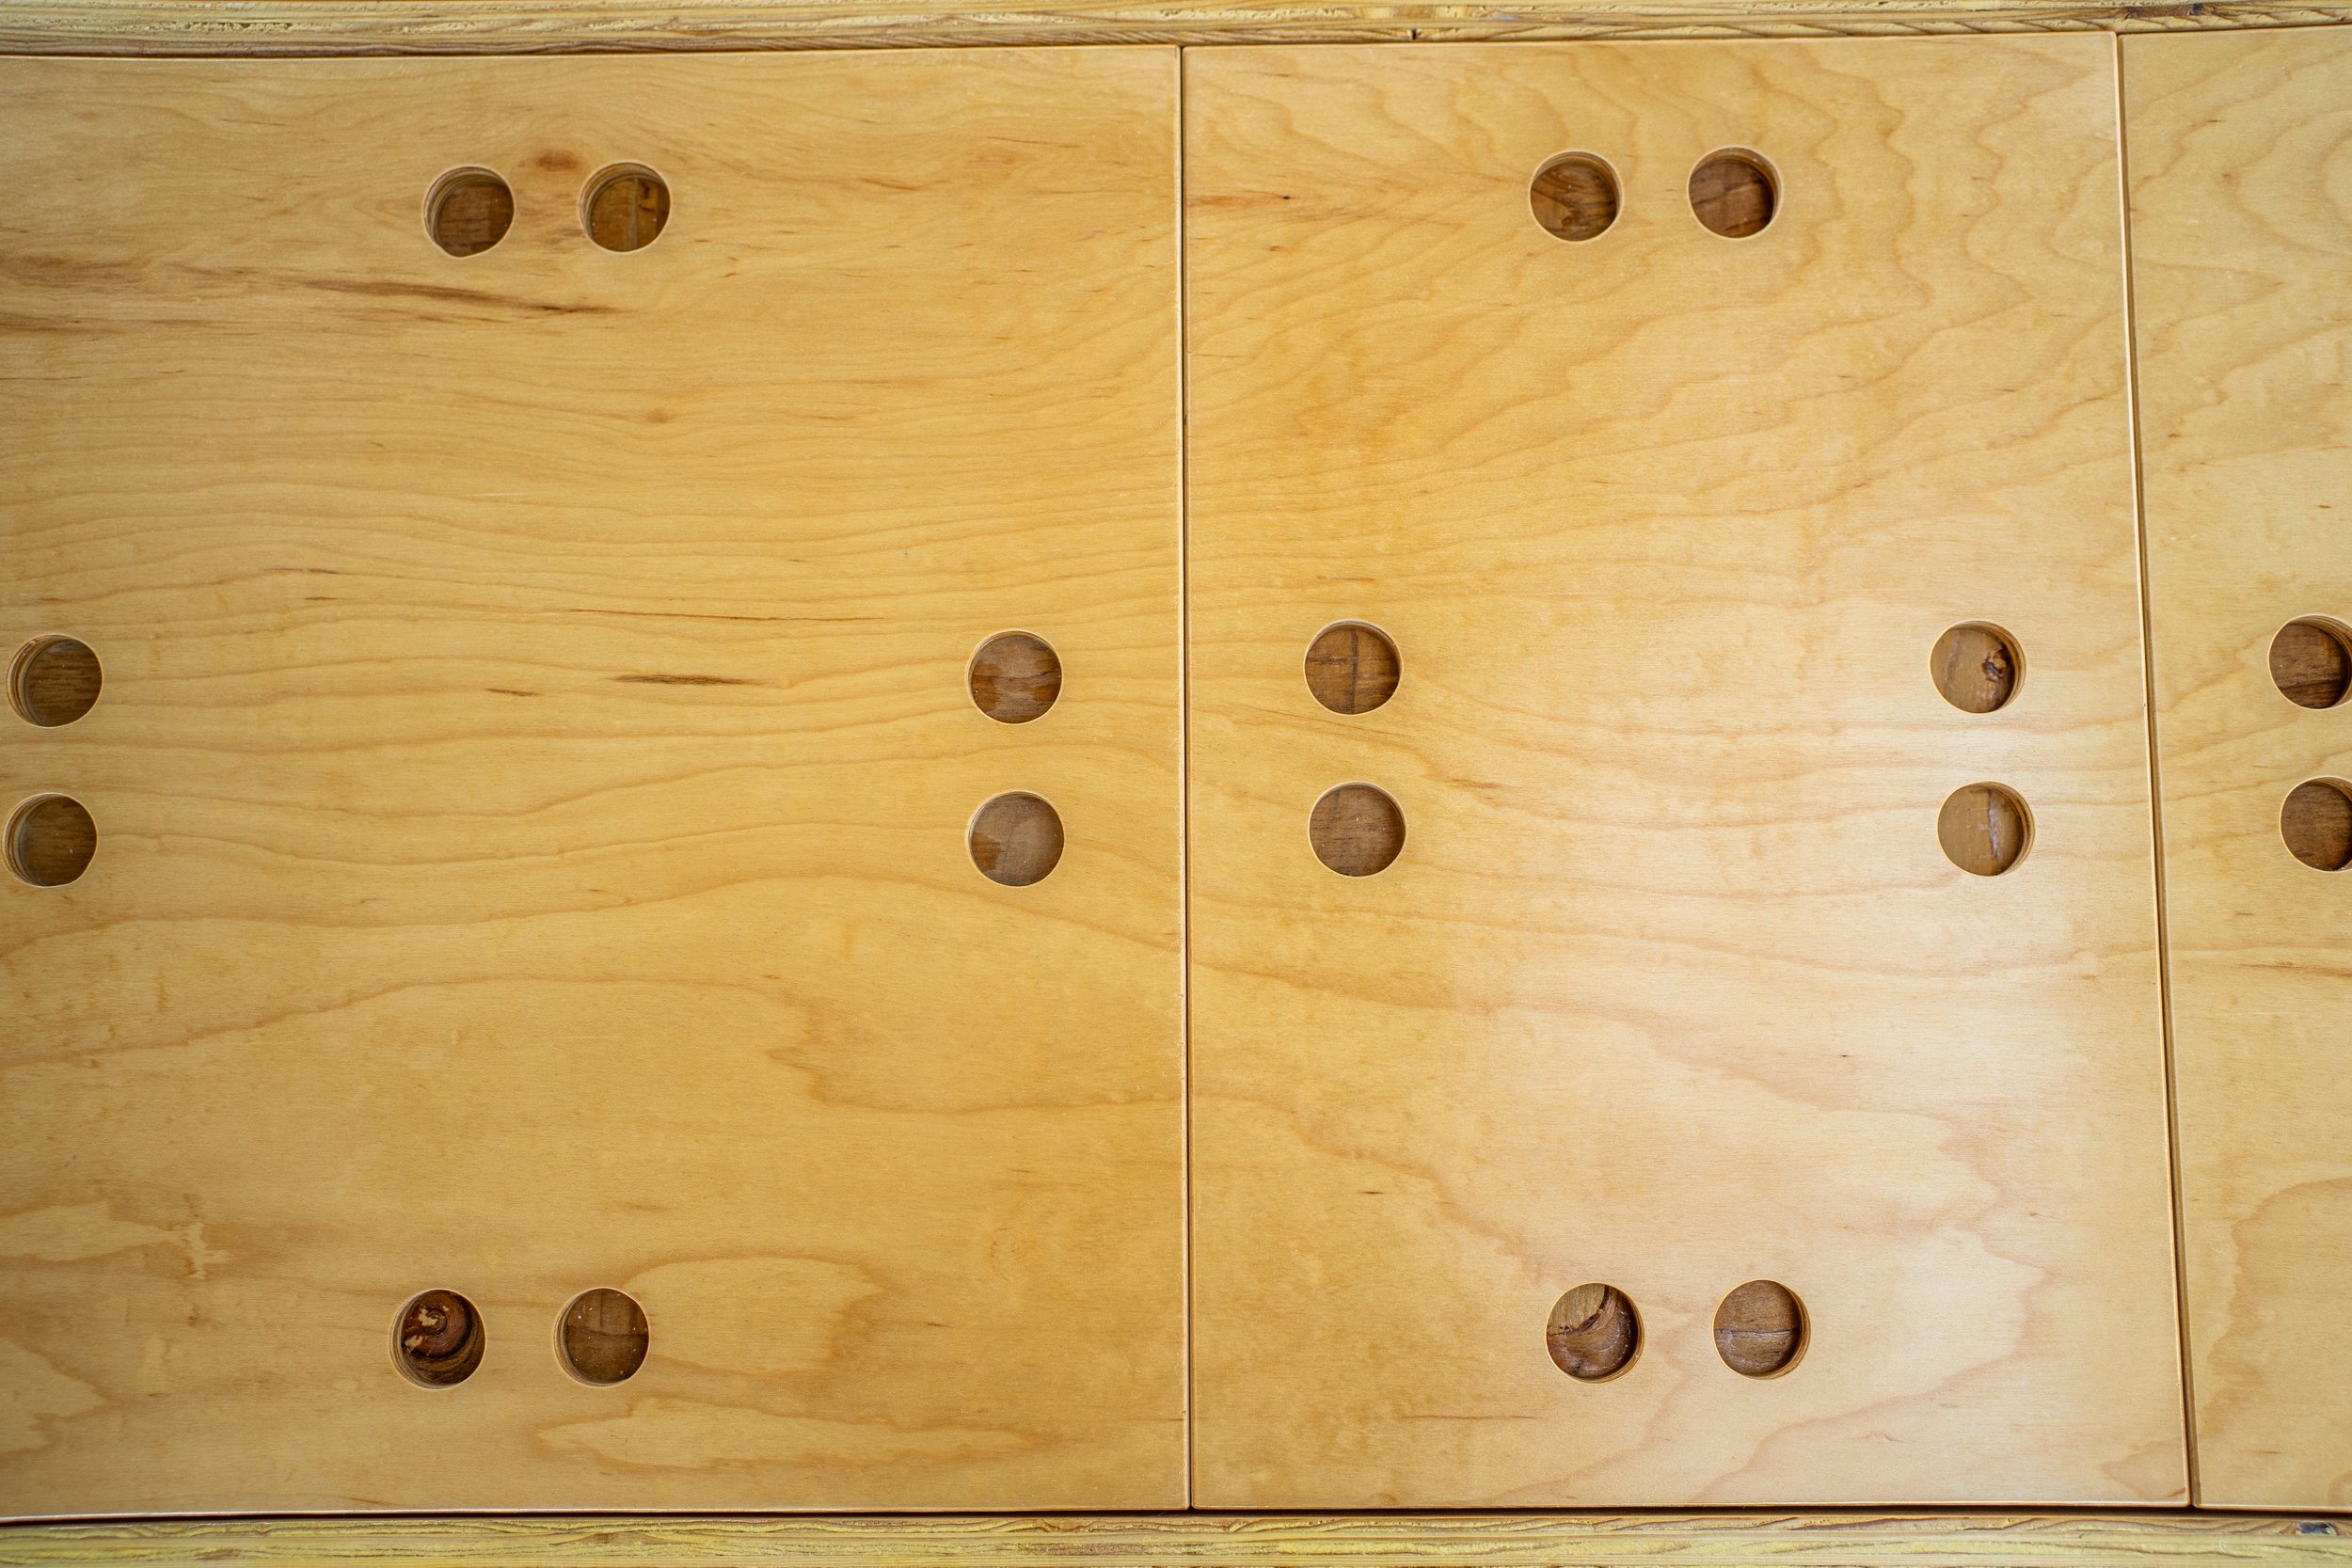
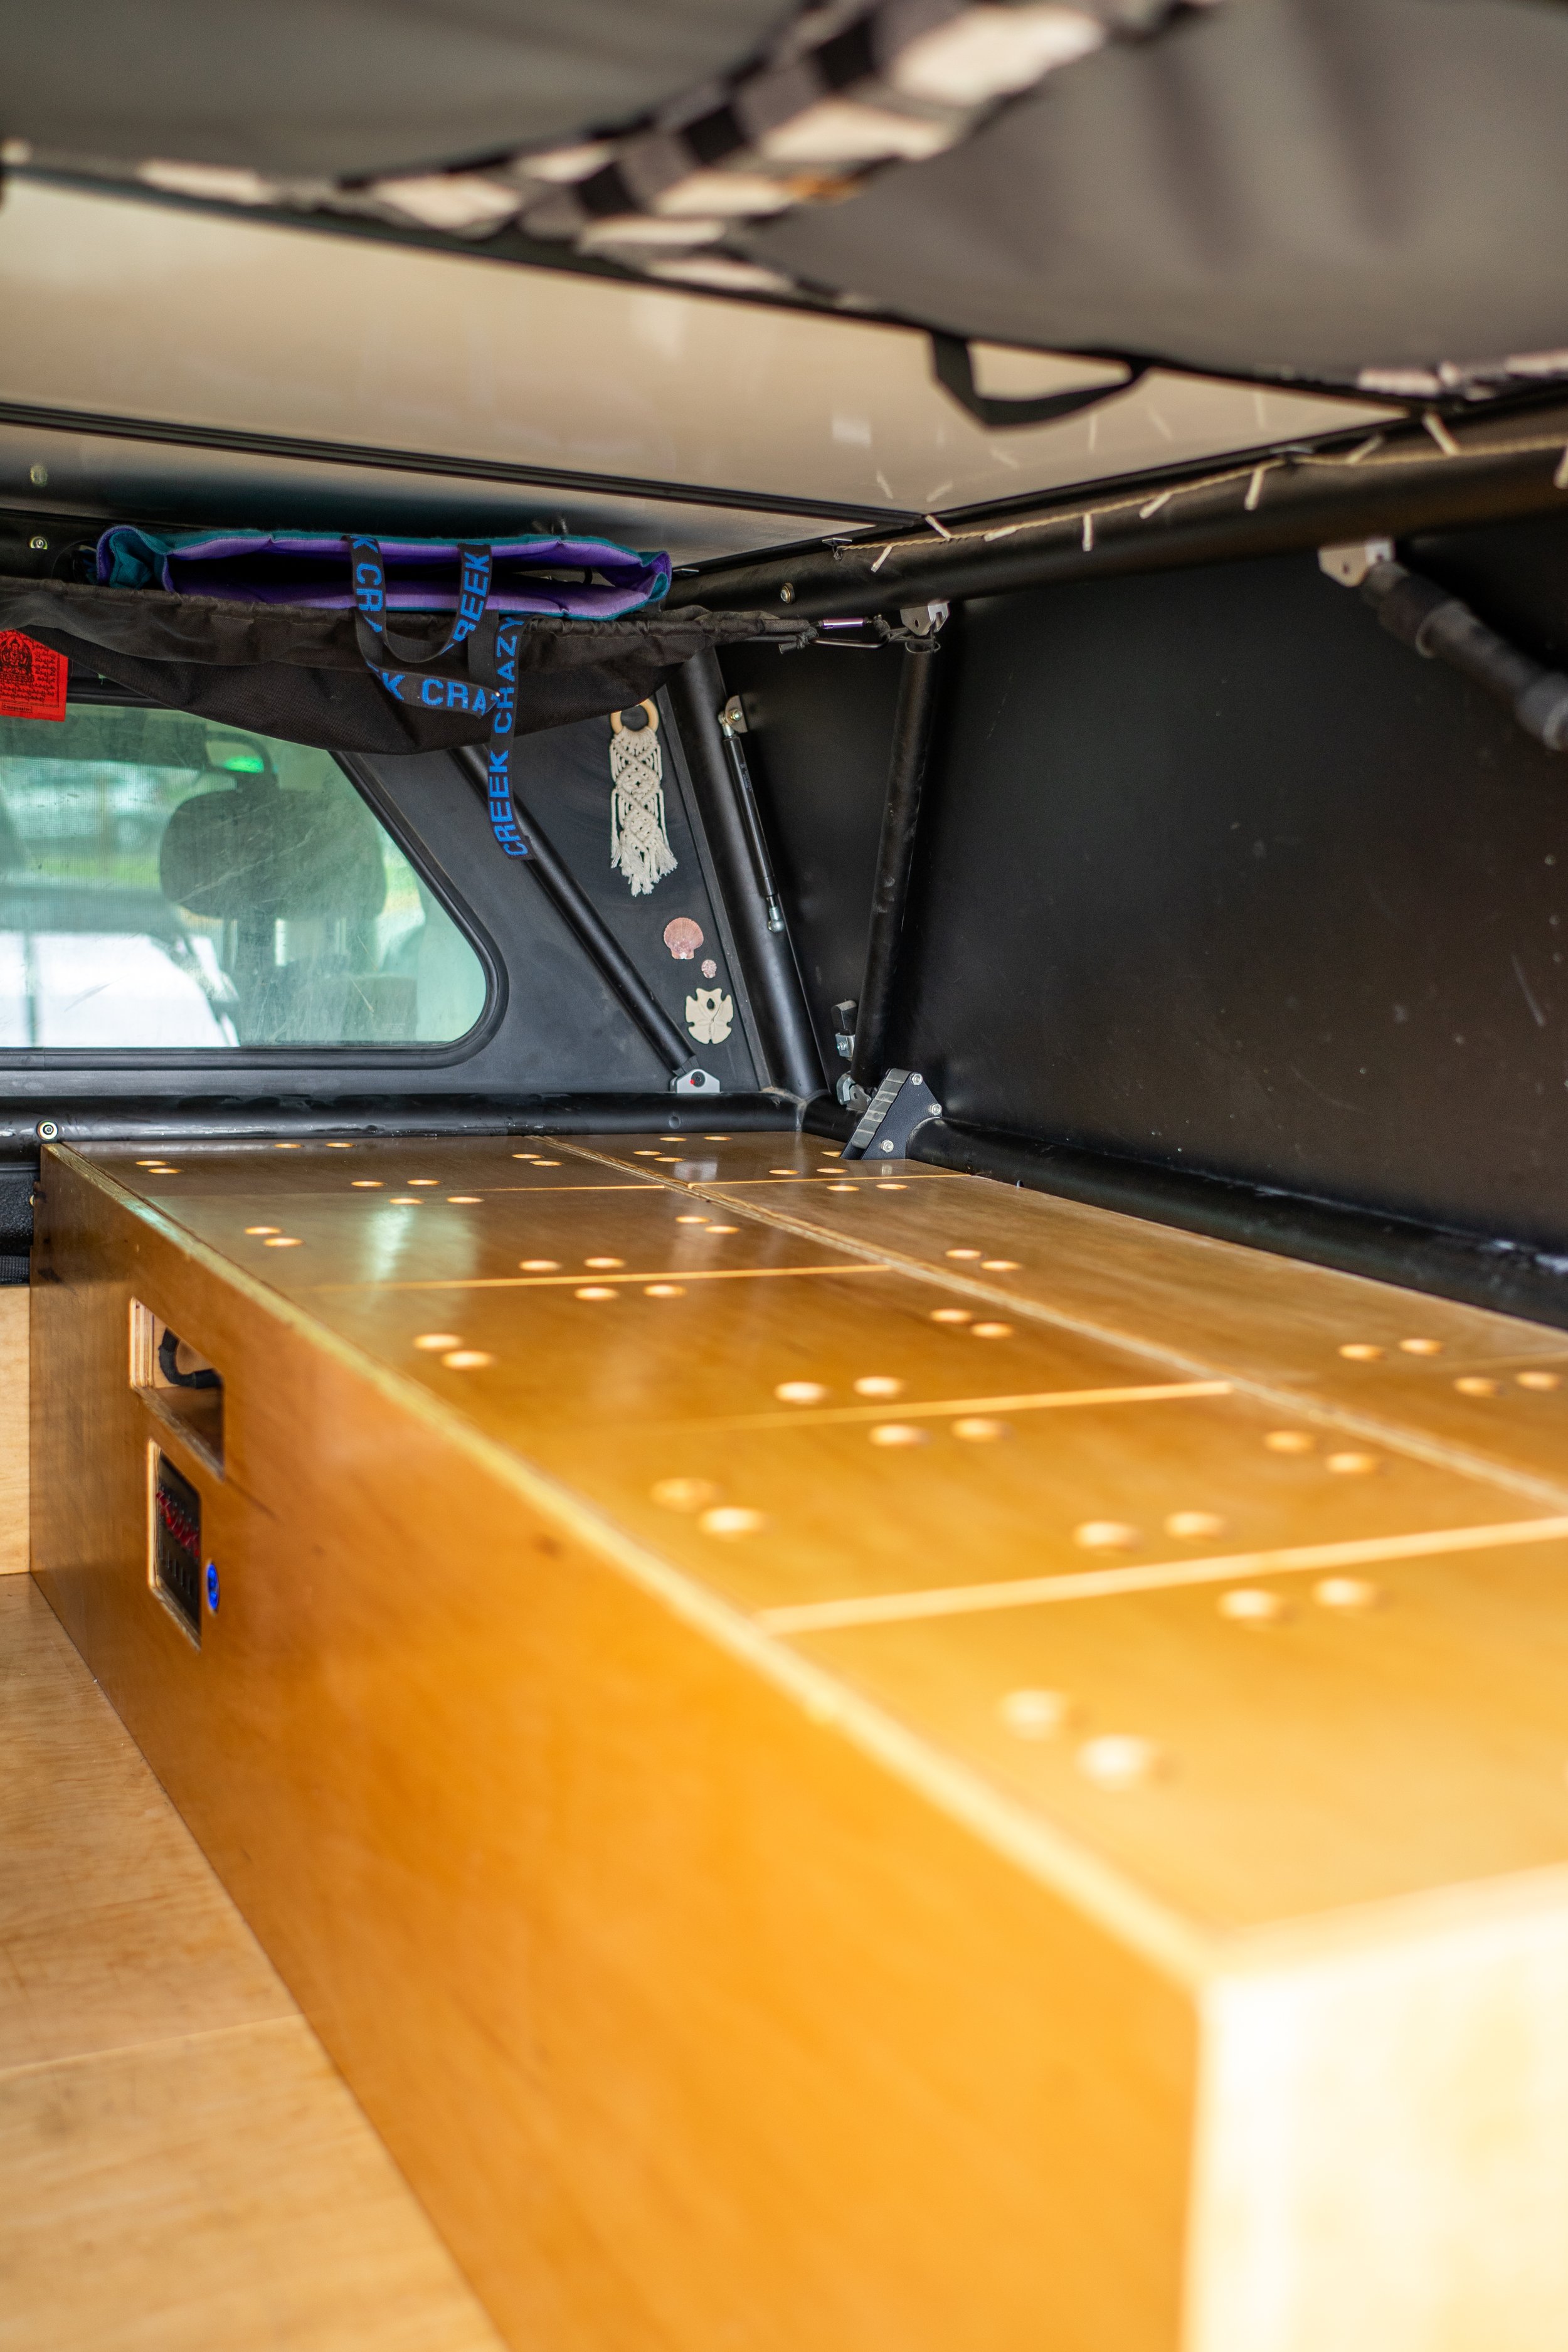
In our previous build, we covered all our clothes and food in a similar way with a simple wood lid, that worked great but had one small problem. The finger holes that we drilled into them that made them easy to open also allowed a lot of dirt, sand, and dog hair to fall into all the contents below. This time instead of drilling all the way through the lids I routered in two holes side by side that went 90% of the way through the boards, but not all the way so hopefully we have less dirt falling into our things. For the sake of form, all the lid tops are cut and arranged from the same piece of 3/4” maple, so that they have continuous grain.