I was just showing your project to Katherine she thinks it's pretty cool, and she had a few questions.
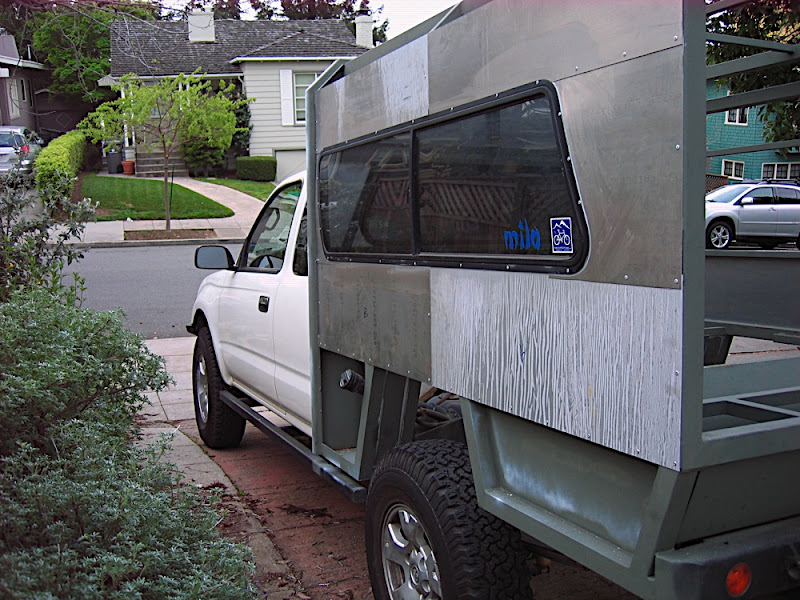
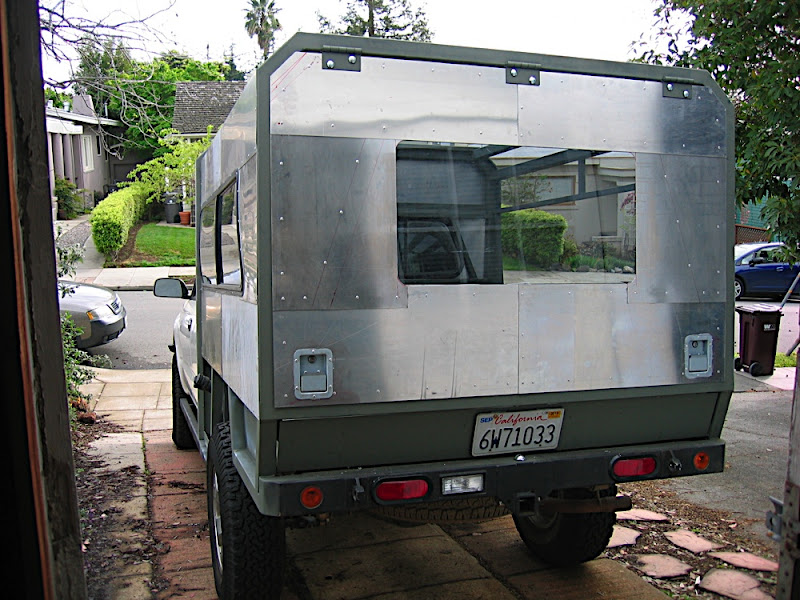
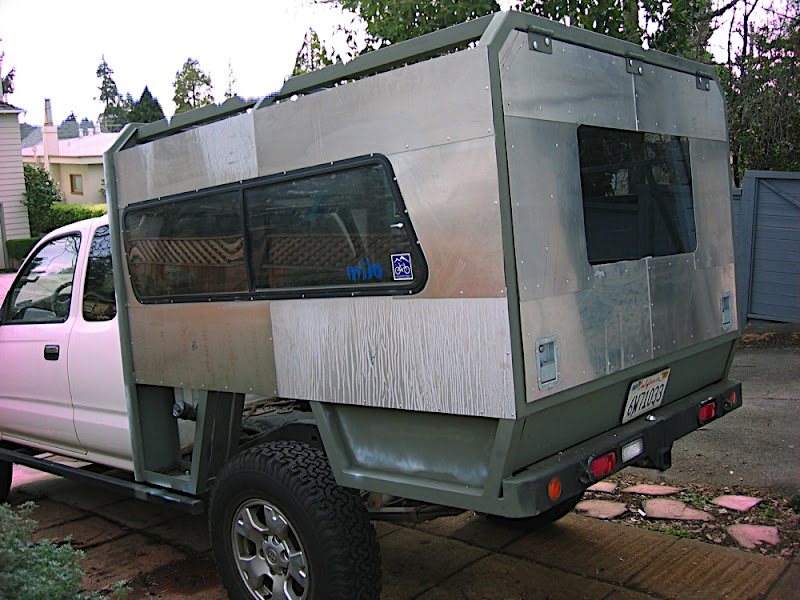
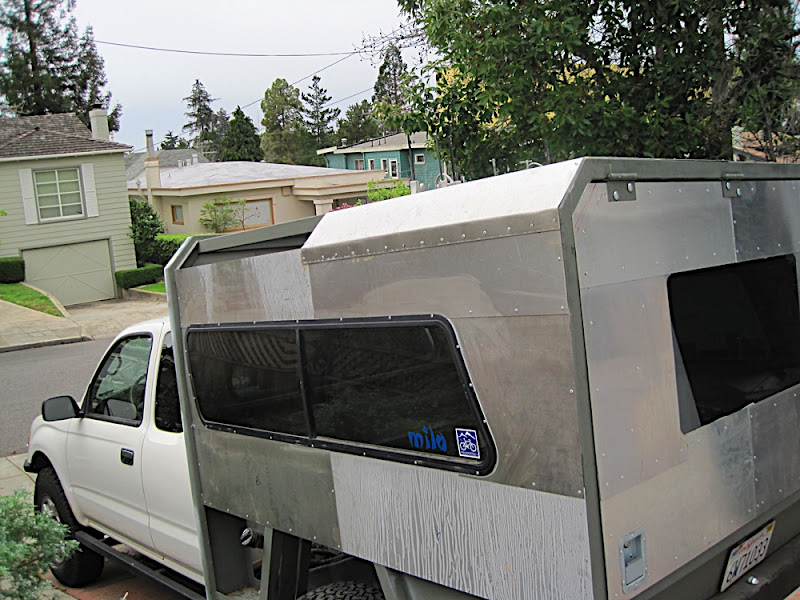
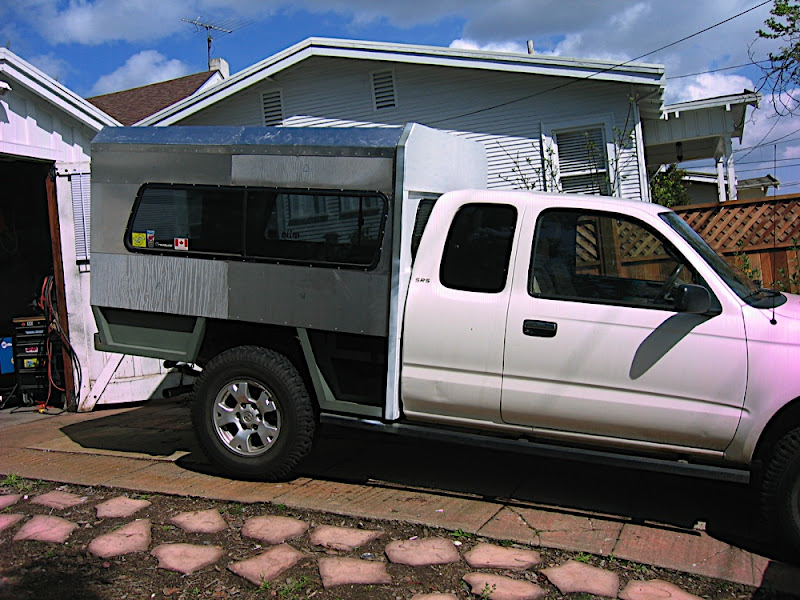
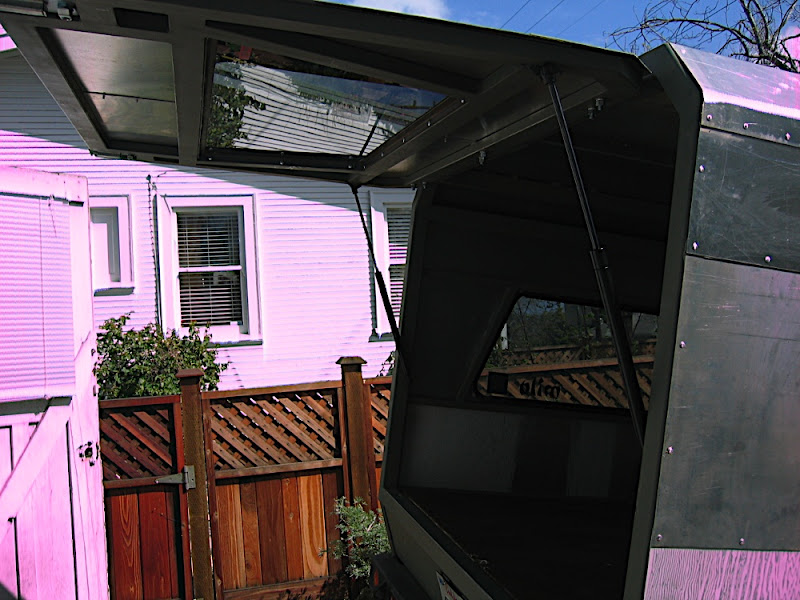
She remembers that you were too tall to fit in the old truck bed. I hope after all this work you fit in this one. :Wow1:
Also, how easy is it going to be to get out in the middle of the night to go to the bathroom? Would it be wise to have a smaller door built into the larger rear door that you can get in and out of in a pinch?

What about a doggy door for Scout?