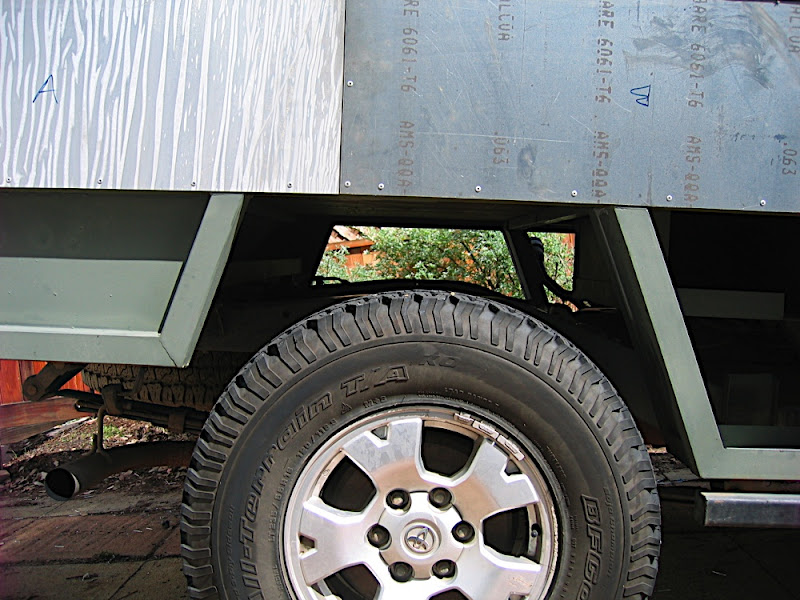
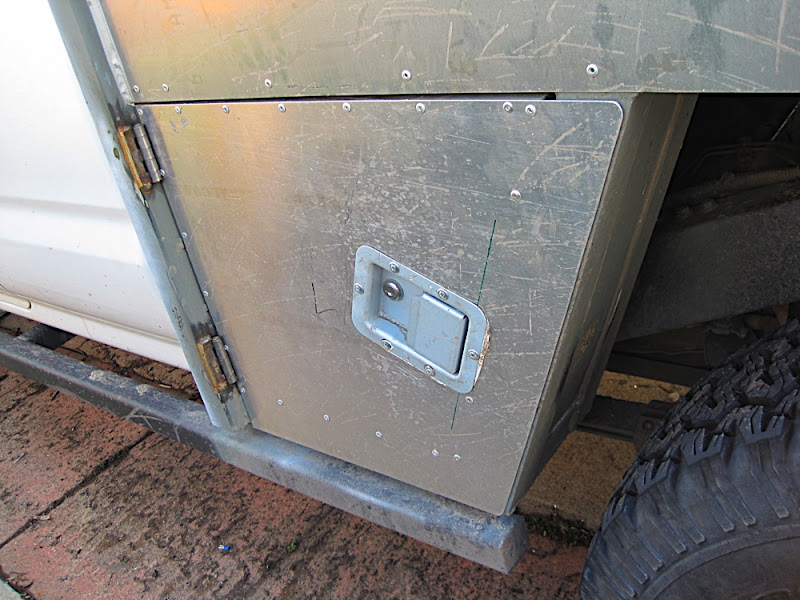
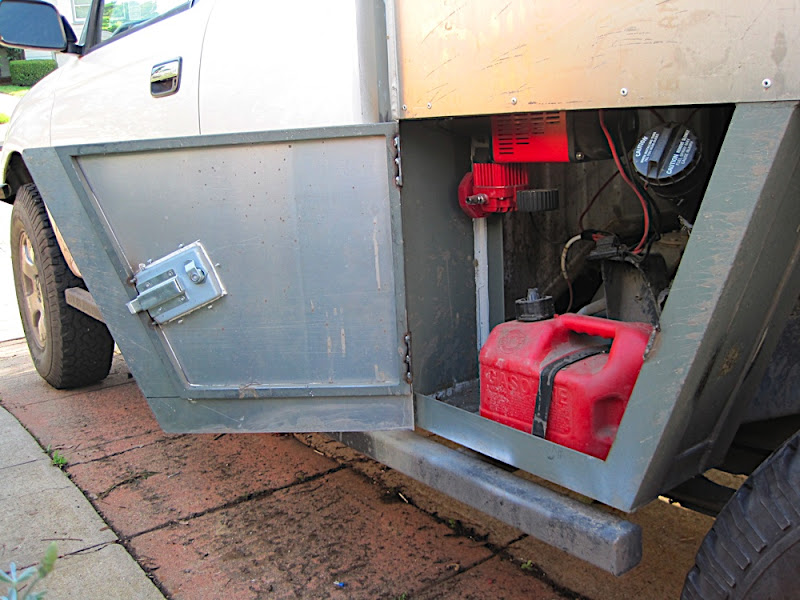
Here's an important question: What should I do with all of this space over the rear axle? Some Rotopax cans could slide in there, supported with some angle iron.
Water tank? Hatch from above to a bin for storage?
Here's an important question: What should I do with all of this space over the rear axle? Some Rotopax cans could slide in there, supported with some angle iron.
Here's an important question: What should I do with all of this space over the rear axle? Some Rotopax cans could slide in there, supported with some angle iron.
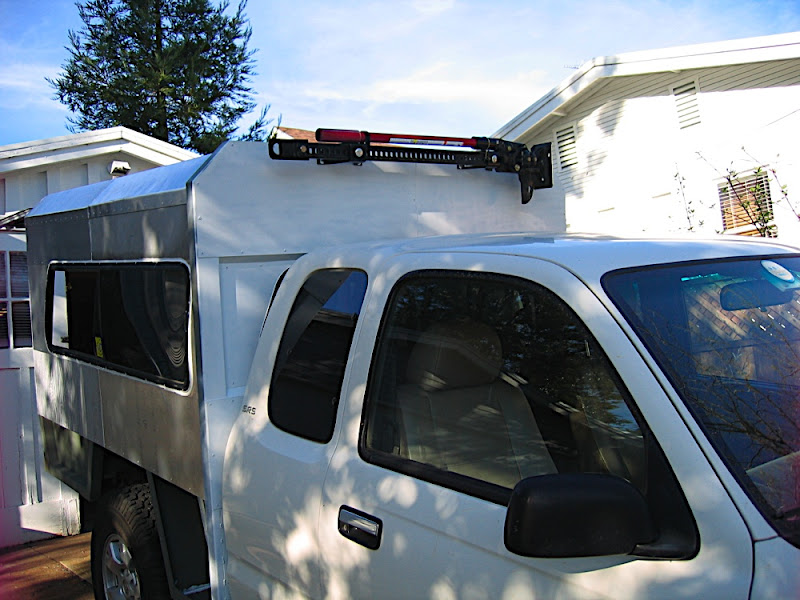
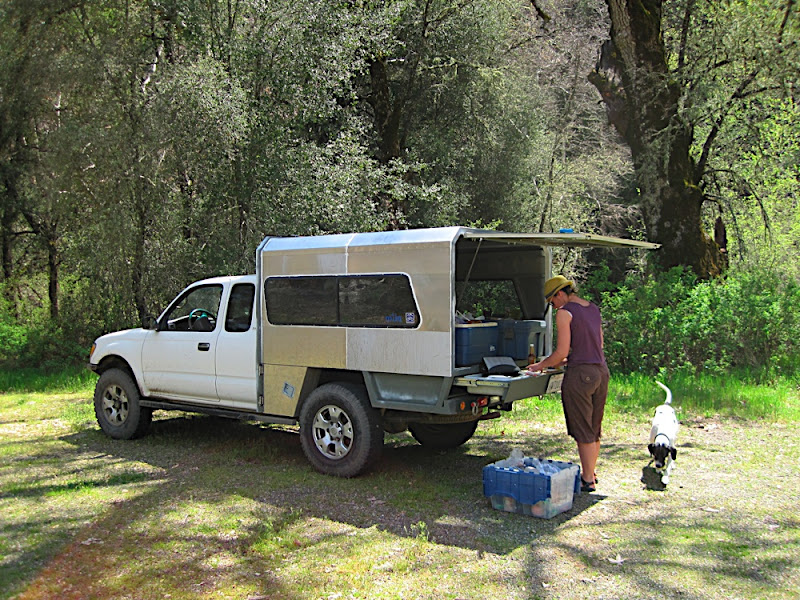
Oh yeah, I took it out on the freeway today, is it just me or does the big box make a lot of wind drag?
Edit: without the roof on, I basically had a big parachute in the back. Roof is now complete, and it doesn't drag nearly as much. It is heavy, you can feel that the COG is higher, but overall it doesn't feel much different than before.
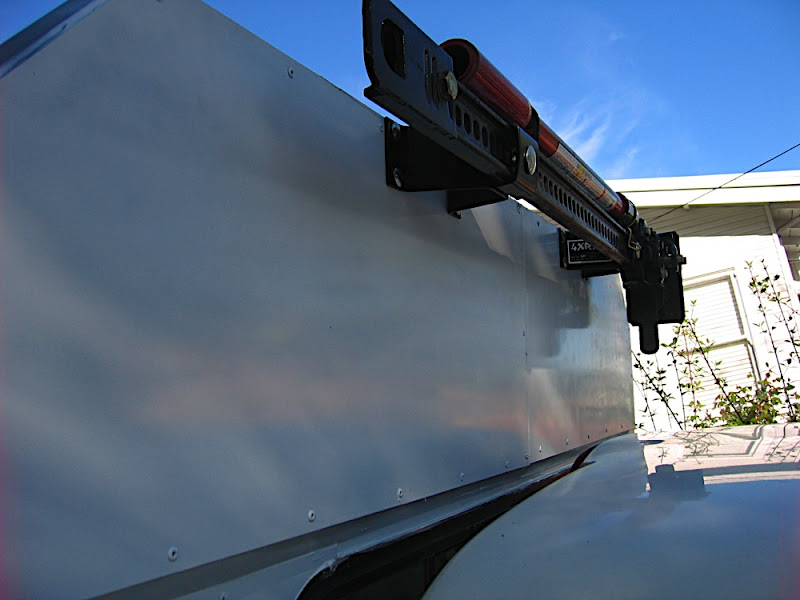
That's where your folding ladder goes
Or how about two large diameter pvc pipes with threaded cap ends, as seen atop contractor vans.
You may want to add a simple C-channel gutter above the door and on the corner angles or else the water running off the roof and down the open gap is gonna drive you nuts.
There is no such thing. :sombrero:....or extra beers?
Here's an important question: What should I do with all of this space over the rear axle? Some Rotopax cans could slide in there, supported with some angle iron.
I will post a review after we use it this weekend on an overnight up to some BLM land.
Enjoy your trip,
Eric
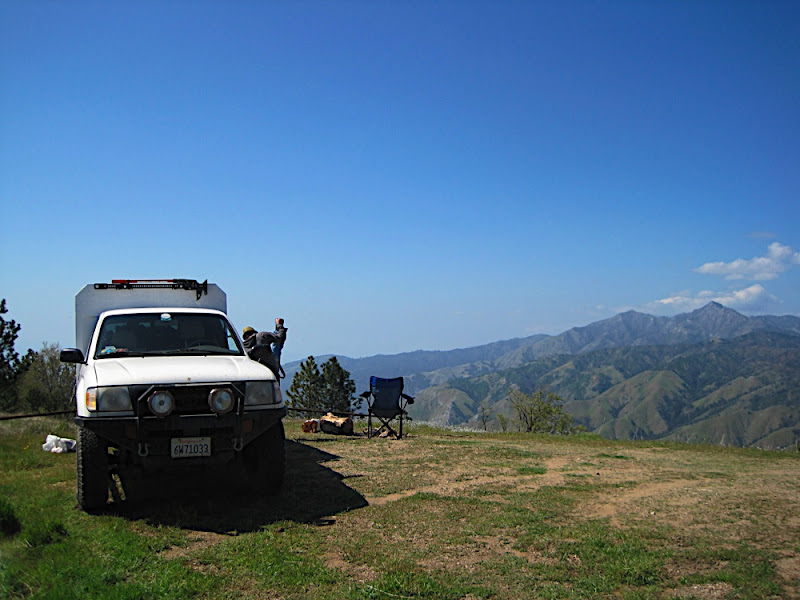
Thats better than a candle in a coffee can that I have used for years... thank you for the tip.It looks like you had a good trip, nice pics. I like the side doors !
It comes with a coffee pot and mounting bracket.
You just need to get a 5" clay flower pot, Made in Mexico (they hold up)
Place the pot on the burner upside down, and turn on the lowest flame.
Cabin air comes in the bottom large opening, and comes out the top little hole accelerated which circulates the air in the cabin unit.
Eric
")