Expedition TrailBlazer Project

JamesDowning

Explorer
A little progress. Work sorta got in the way for a while there.

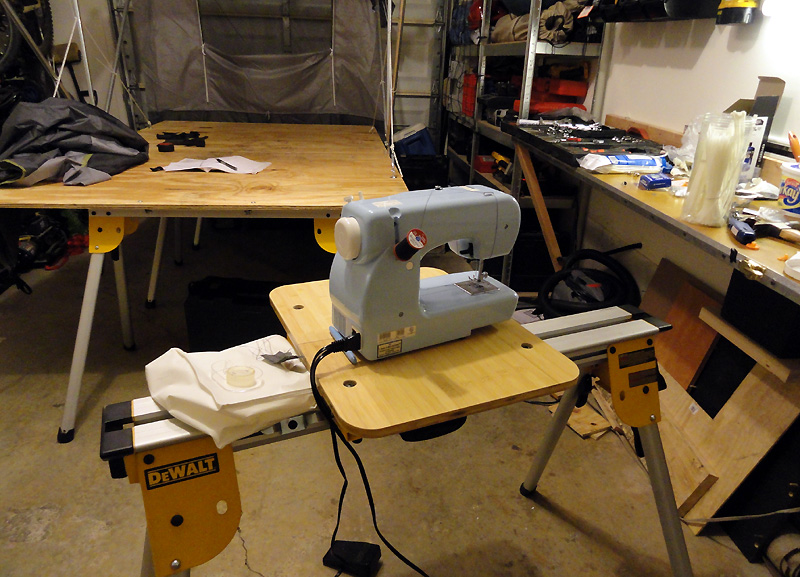
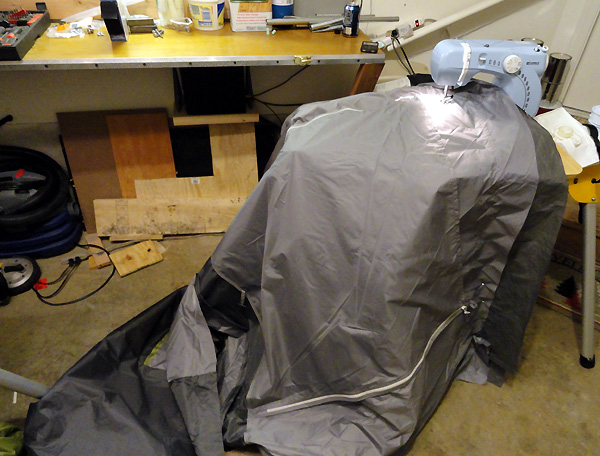
First I had to introduce a new tool to the garage... a sewing machine...

22.jpg


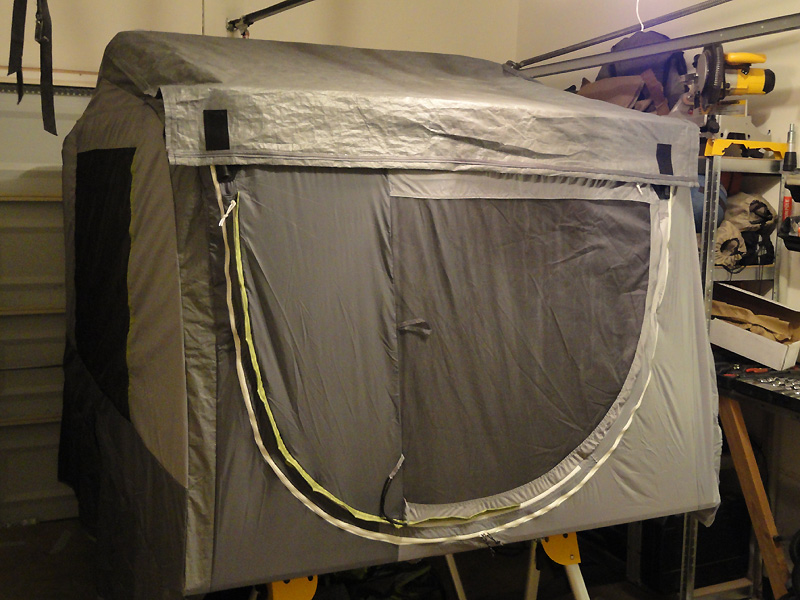
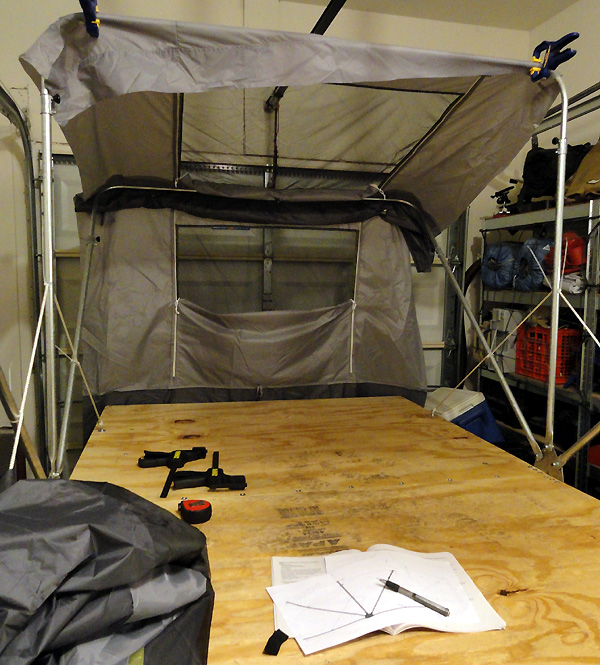
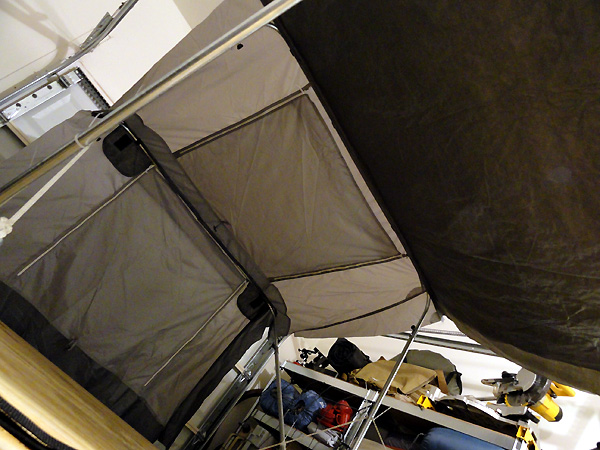
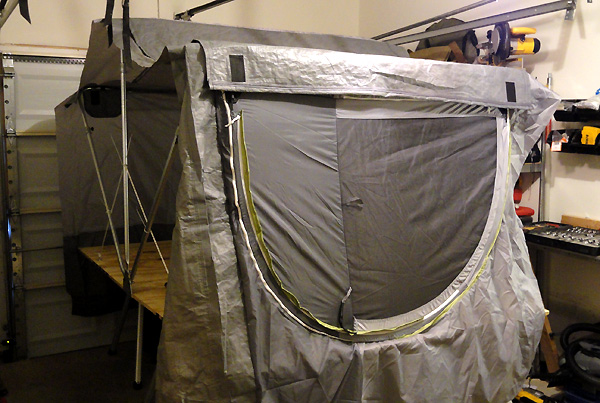
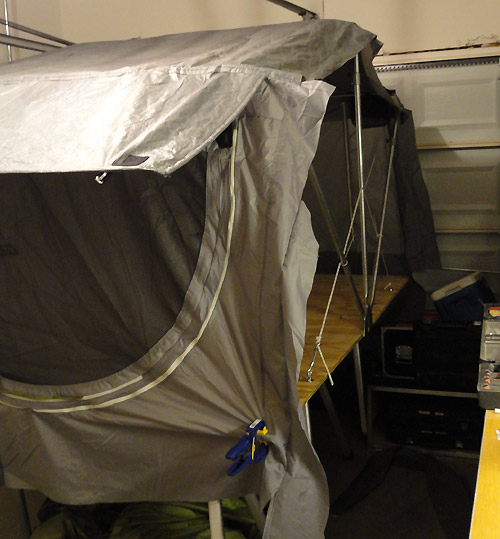
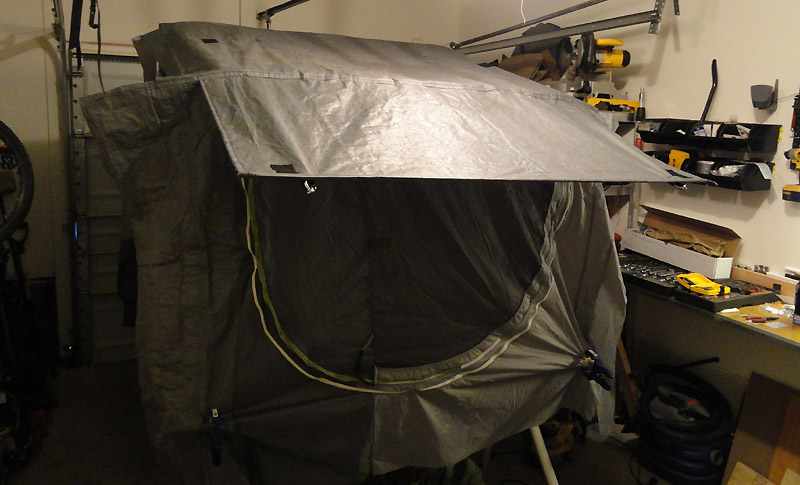
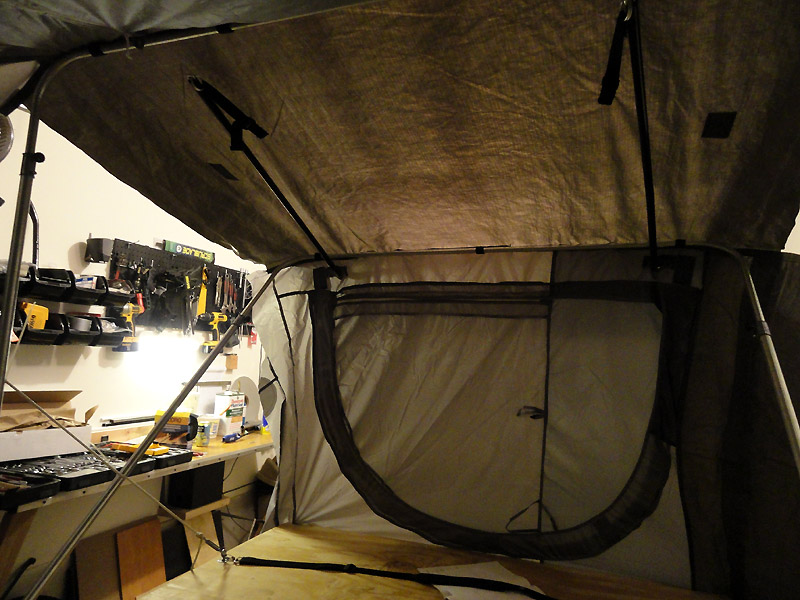
After playing with thread type and stitch tension etc etc, I got two panels roughed into place. It's slow going, but at least my seams were somewhat straight!
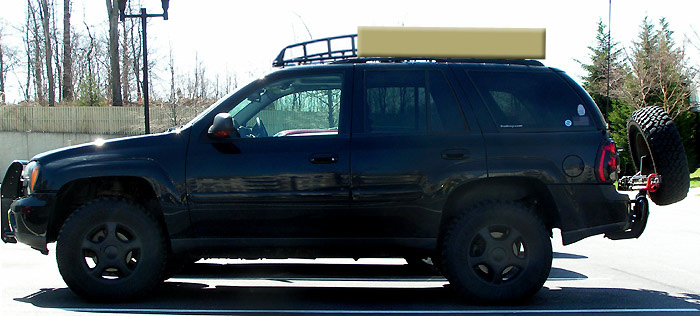
23.jpg
 

BorntoVenture

Adventurer
Looking great James! I love the TrailBlazer and am following your tent build very closely because I want to do pretty much the same this fall. Forgive me if I missed it in the thread but I was wondering where you found the tent material. I've looked around online and haven't found any wide enough for a RTT yet.

Thanks and keep up the great work!
 

JamesDowning

Explorer
Can't wait to see the final product of this!! If you listed previously I apologize but how many will it sleep? Very nice!

Designed to sleep just my wife and I. I guess it should have enough room to sleep a small child or something at our feet if we ever have a kid.

Looking great James! I love the TrailBlazer and am following your tent build very closely because I want to do pretty much the same this fall. Forgive me if I missed it in the thread but I was wondering where you found the tent material. I've looked around online and haven't found any wide enough for a RTT yet.

Thanks and keep up the great work!

Thanks. I have to give the credit to my wife for finding the donor tent. So many are oddly shaped or rounded or too small. She found a Coleman 8 person tent that we used to cannibalize. I think it's called the "Cabin 8" or something. All the panels were just barely the right size.
 

antiheroxp

New member
First of all, great looking trailblazer, I definitely look at them differently now!
I was wondering about the upper loops on your rear bumper, right above the d-ring mount, what are they used for? Just and extra place to tie down a kayak or something?
 

JamesDowning

Explorer
Good eye. They weren't in my original plan, but my fabricator came up with the idea for having an extra tie down location. Could be used for just about anything, but in particular it's shape allows it to lock into a length of chain. Not sure if I'll ever use it, but it was a free thing to add.

Since all the images were on a different page, here's a decent view of what Antiheroxp was referring to:

3.jpg
 

JamesDowning

Explorer
Got a good amount of work done over the weekend. A lot of small details that take a lot of time, but progress none-the-less.

There were a few times where I began to worry that I had bitten off more than I could chew... for instance this particular seam... that's a LOT of fabric to be keeping straight while pushing through that machine. It worked out well though.
25.jpg


Current picture of the inside:
Two of the 3 main seams are completed. Note the pockets hanging from the far support bar and the velcro loops that attach to the bars (might be hard to see them).
24.jpg


Front door mocked up into position:
You can see the heavier rain-fly over the front roof. This is actually it's 'stowed' position, as it will flip over to cover the skylight side of the tent in. The fiberglass rod will be a stiffener that will feed through the front edge seam of the fly.
26.jpg


Door window rolled open:
The door has it's own stiffening element and velcro attachments.
27.jpg


Still working on the awning panel, but once that's done, it will be about time for the 3rd main seam (attaching the door panel). Not particularly looking forward to that one. Then it's on to the side panels.
 

my1stcummins

Adventurer
WOW! I think you are just pulling a fast one on us. You've taken a factory RTT and deconstructed it in a series of staged photos and made it look like you built this:sombrero:

Seriously though you've got to be pretty proud of this, I'm sure impressed with the level of detail. You may have found a new calling, or a side business for sure.
 

JamesDowning

Explorer
More progress...

Rain awning essentially complete...
28.jpg


Door panel seamed and in place. You can see where one of the fiberglass stiffening rods are used:
29.jpg


Inside the door:
30.jpg


The mounting method to the stock roof rack:
Filled the tube with foam to prevent rusting from the inside. This will get painted, then the ends will get plastic-dipped.
31.jpg


What are people's opinions about the below layout? I think I'm pretty set on it right now... cut my baja rack in half, then re-mount it to the front of the roof. It will be extra storage for stuff like firewood if needed, plus I think it might help the airflow over the tent (this is an old picture I used to photoshop).
rack-setup.jpg
 

HenryJ

Expedition Leader
You sir are impressive in your skills and application. Good to see another seamster at work :) Love the rig.
The half basket up front looks good to me.
 

JamesDowning

Explorer
Thanks Henry. It's coming along, just slowly. I'm kinda making it up as I go. Tomorrow I'm hoping to complete the left side, then on to the right... then the mattress... then it will be time to formulate a weatherproof cover.
 

JamesDowning

Explorer
The left side is almost complete. That seam was a PITA. Still need to secure the bottom on the left side and do the entire right side.
32.jpg


Front door and left side:
33.jpg


Rear window and sunroof:
34.jpg


Getting there...
 

Pedro

Capitan rally fluffer
wow. I completely missed this thread.

I do have a question about the tent construction though: Are you using a non wicking thread for your stitches? If you are not, that can lead to quite the moisture leak in the rain. It won't be apparent with a hose down test, but a long soaking mist or rain will start to wick through your seams.

If you didn't get a non wicking there are a few ways to minimize the effects after the fact.
 

JamesDowning

Explorer
I'm using a heavy weight bonded 3-ply nylon thread that is weather; abrasion; mildew and UV resistant (per the label). I was hoping that wouldn't wick, but I don't know for sure.

I was also planning to spray down the seams with a waterproofer from the outside. On some of the critical rain fly seams, I ran a bead of waterproof flexible sealant behind the seam.

What are your suggestions if I do see leaks appear?
 

Pedro

Capitan rally fluffer
you can use nikwax for synthetics or if you want to be fancy, you can use Melco seam tape. you should be able to find a place to get either online.
 

Forum statistics

Threads
186,363
Messages
2,884,951
Members
226,303
Latest member
guapstyle
Top