24HOURSOFNEVADA
Expedition Leader
Great build Martyn, glad to see the engine get sorted out. I'm enjoying The full size build and look forward to your rear storage solutions.
Agreed on the space availability.
As far as Dodge parts outside the US, I don't know. I figured I would just go head long, blindly into an expedition south of the border. That's how I usually do things anyway.:sombrero:
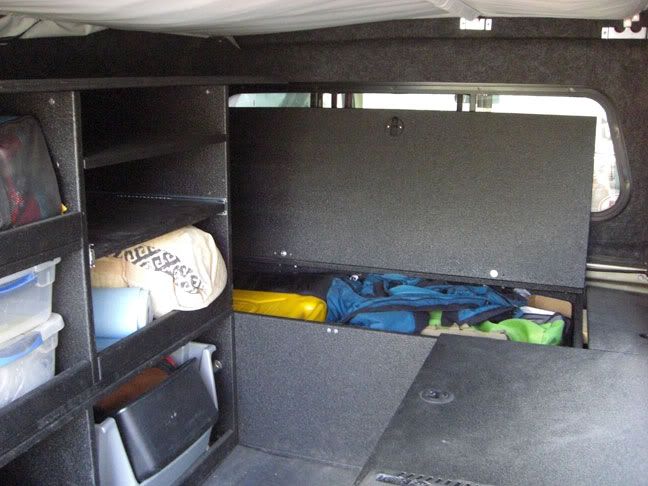
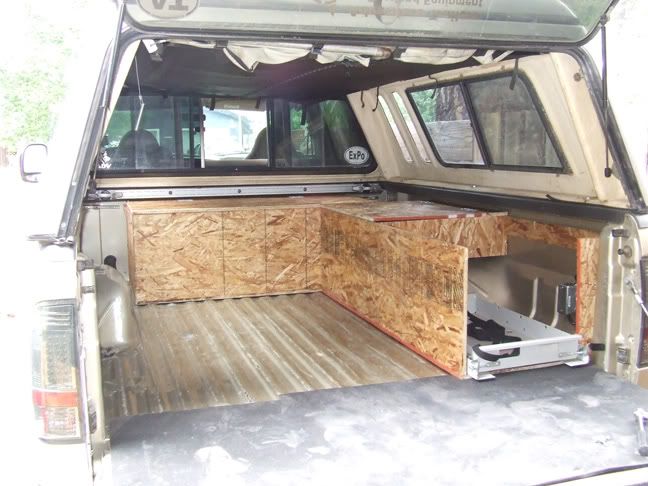
Hope this info helps you out.:coffeedrink:The first unit to be placed was the front chest. At 4ft wide (1,219mm) it slid back between the wheel wells unit it was up against the front of the bed.
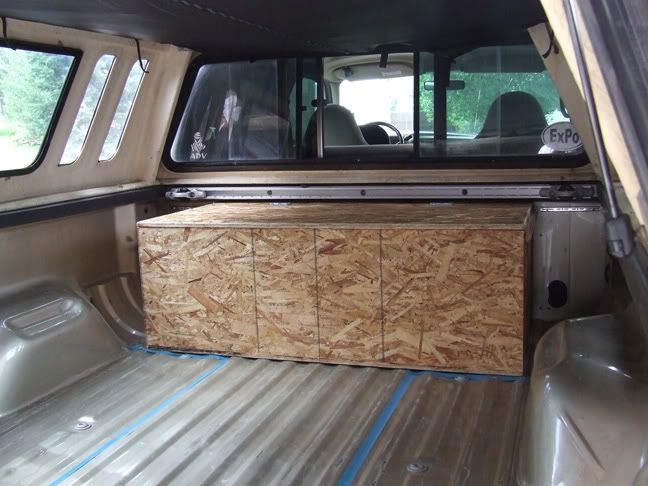
The chest was held in place using threaded insert placed in the bed and bolts with washers inside the chest.
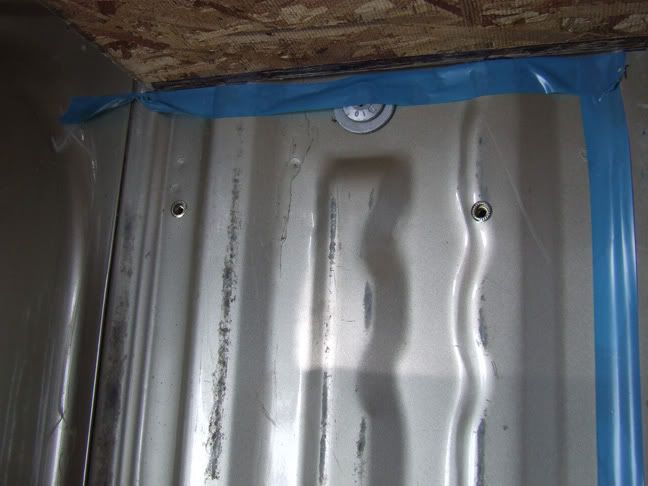
The wheel wells and the rounded contours of the bed provided a challenge when it came to using the space most efficiently. The cabinets were designed with open backs to utilize as much of this space as possible. The design depends on the shape of the vehicle being worked on, for the Ford had they been designed as boxes with an enclosed back I felt that I would have lost a lot of usable space.
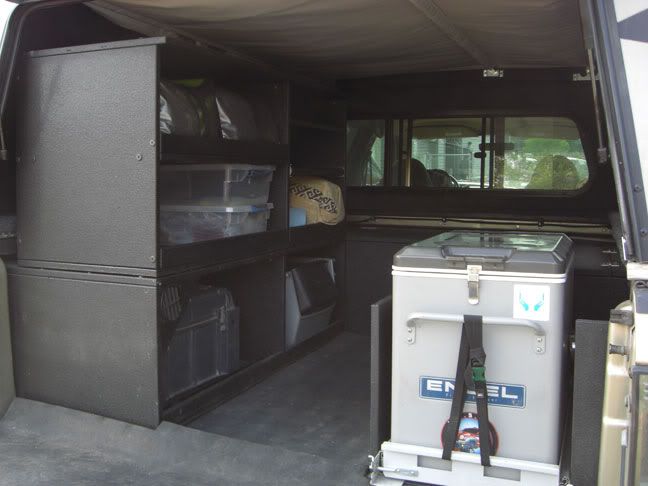
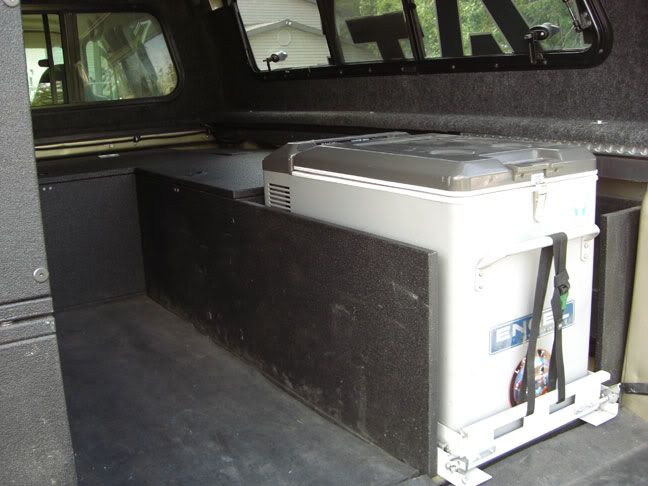
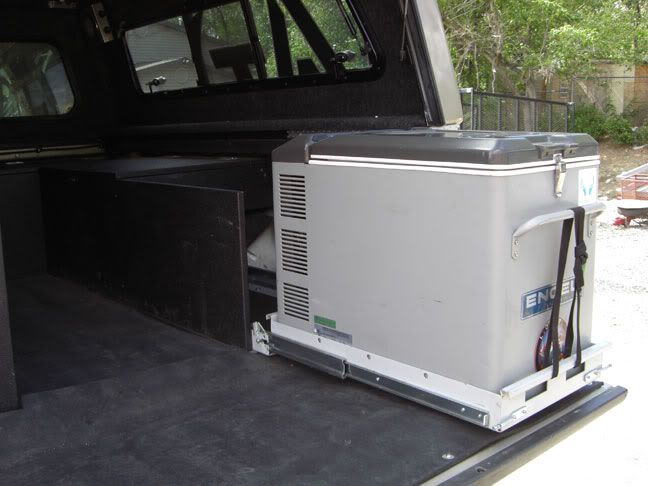
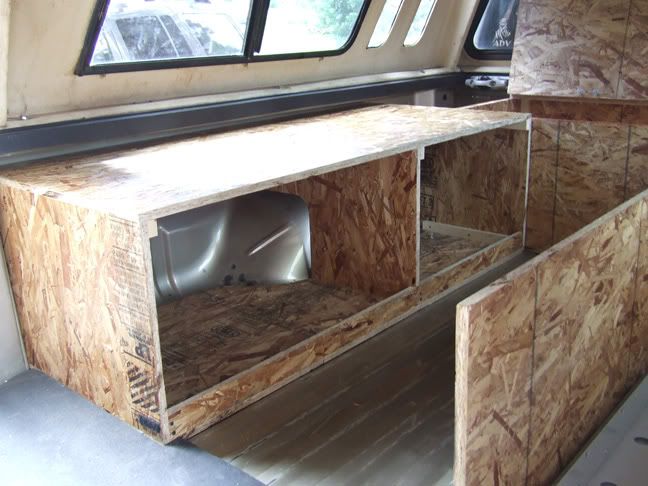
The front chest was followed by the passenger side unit ,with the fridge slide attached (54.5” L x 24” W x 16.75” T – 1384mm x 610mm x 425mm).

The cross member behind the fridge was notched to accommodate the wheel well
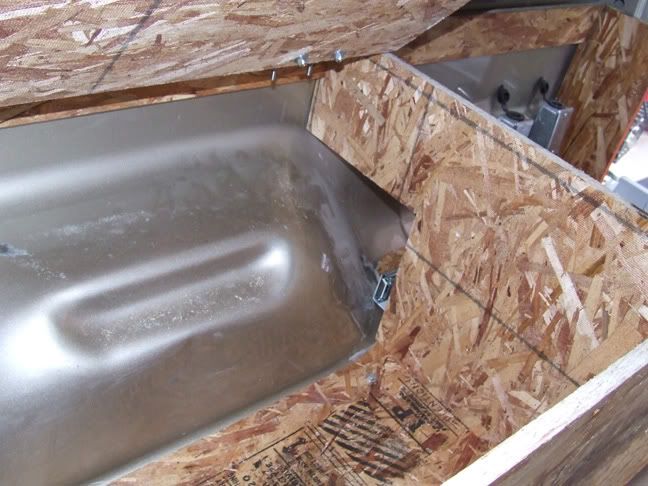
The back wall fell just behind the main body of the wheel well and I made the fit fairly tight to contain the contents of the side unit.
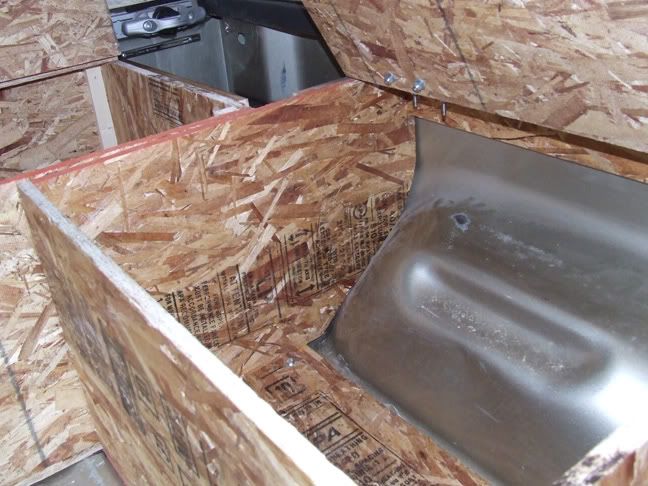
Here is a view of the front chest and the passenger side unit fitted into the bed.
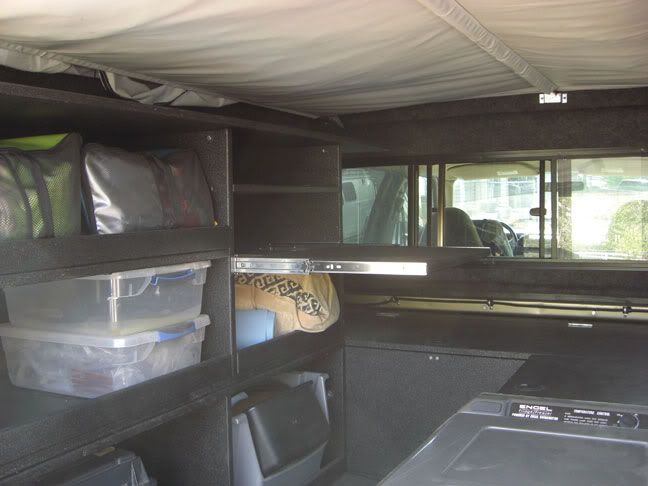
The drivers side unit (54.5” L x 24” W x 16.75” T – 1384mm x 610mm x 425mm) is also open backed and has a similar set up to the passenger side in its form fitting to the contours of the bed.
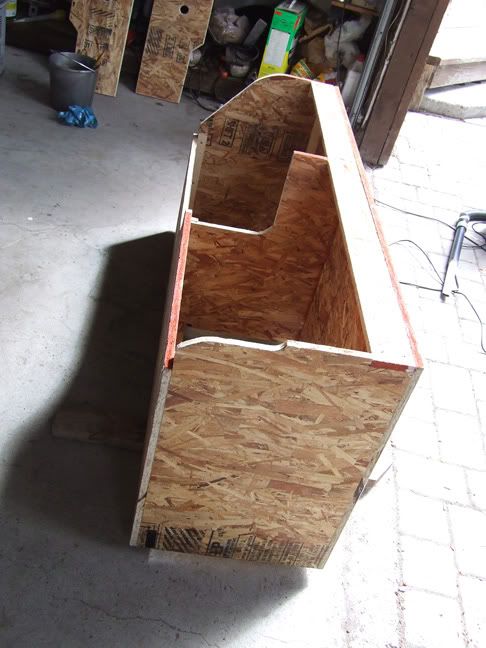
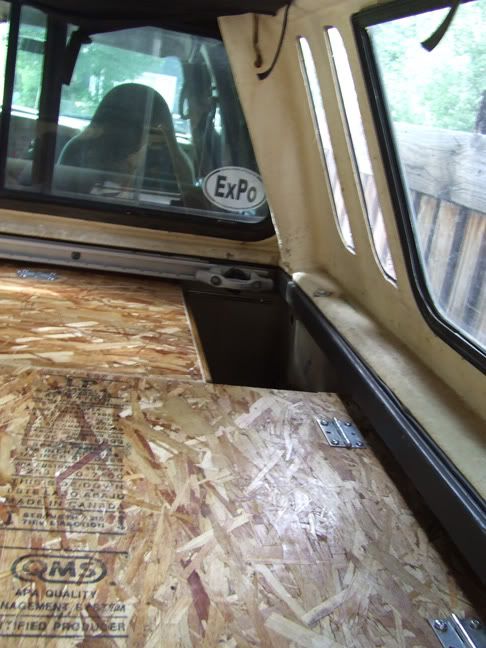
The overall impression when all the units are in place is that of a solid cabinetry, even though two of the units are backless.
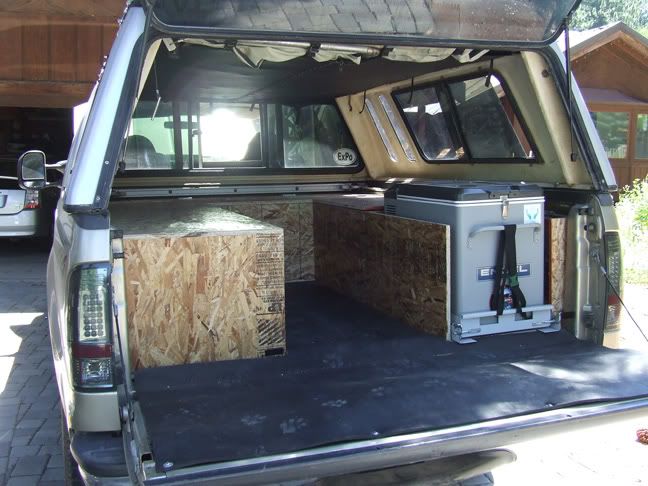
The only area to complete was the spaces on either side of the front chest. I shaped some panels to the contour of the bed and cut holes in them to make it easy to install and remove them. I created three small lips for the panels to sit on.
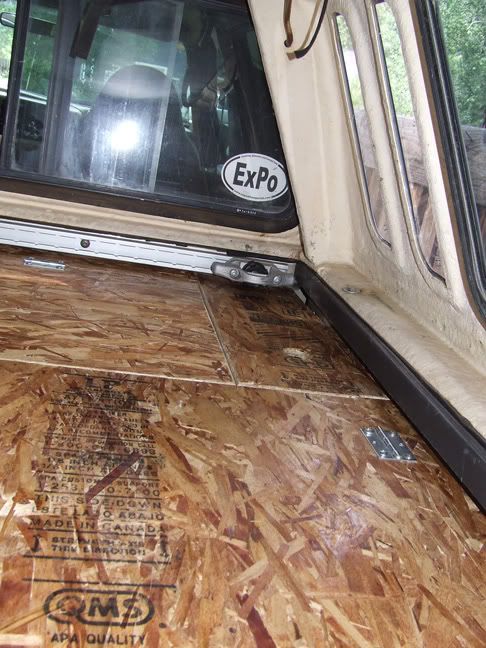
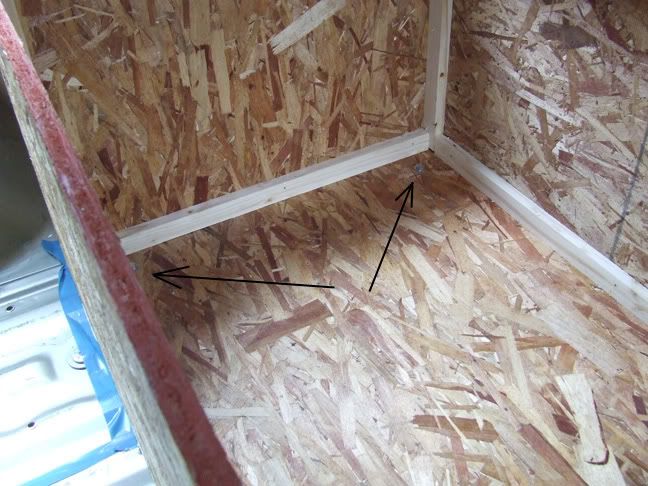
I just noticed that the osb wood that you used has the `This side down´marking pointed up. Just wanted to let you know about that. Otherwise looks like the set-up is great for your application.
I'm bumping this because I'm pretty sure this vehicle has progressed since the last post. Of course with the JK project it might not have!