Project: Doitall Dodge

Metcalf

Expedition Leader
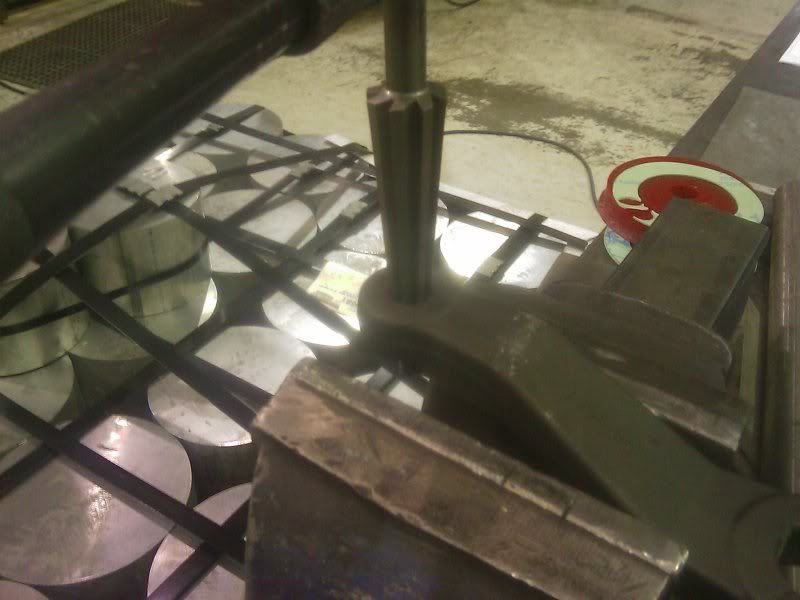
I'm still waiting for my tie-rod reamer. It is suppose to ship today....

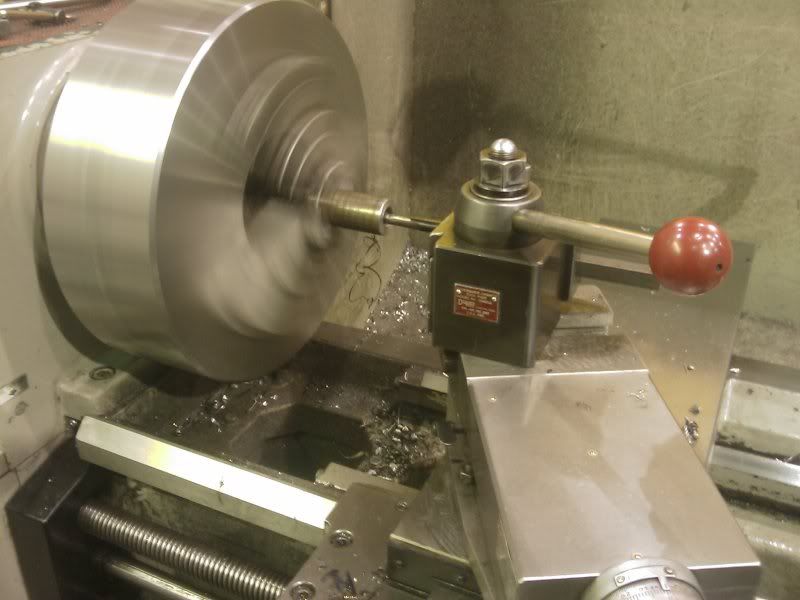
Yesterday I had an hour or two in the work shop.....

IMAG0145.jpg

IMAG0147.jpg

IMAG0146.jpg


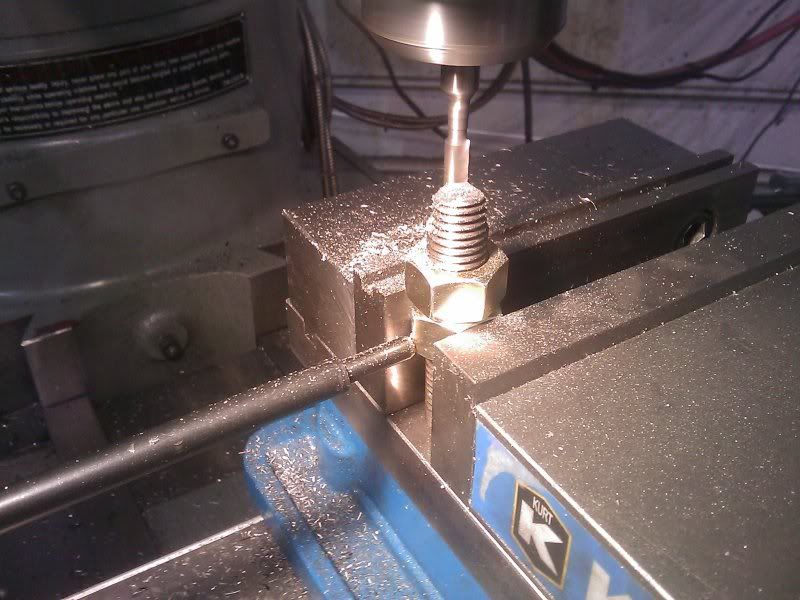
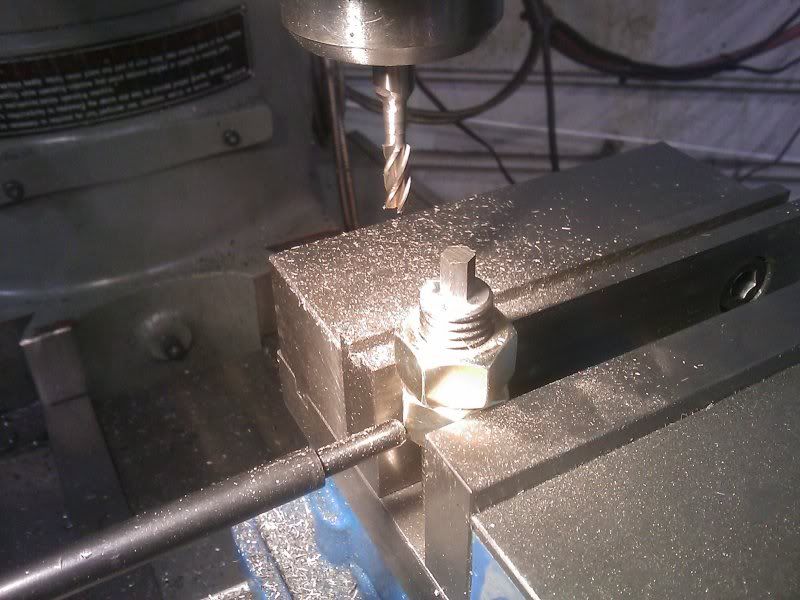
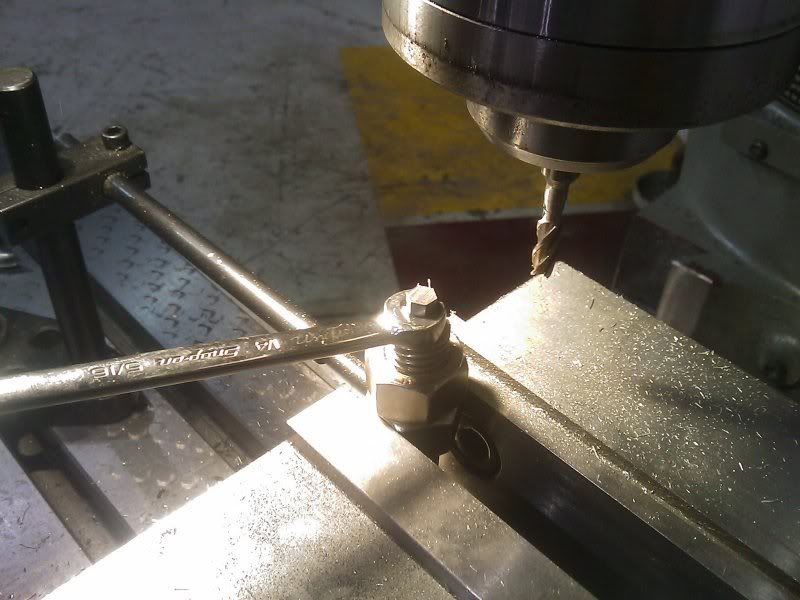
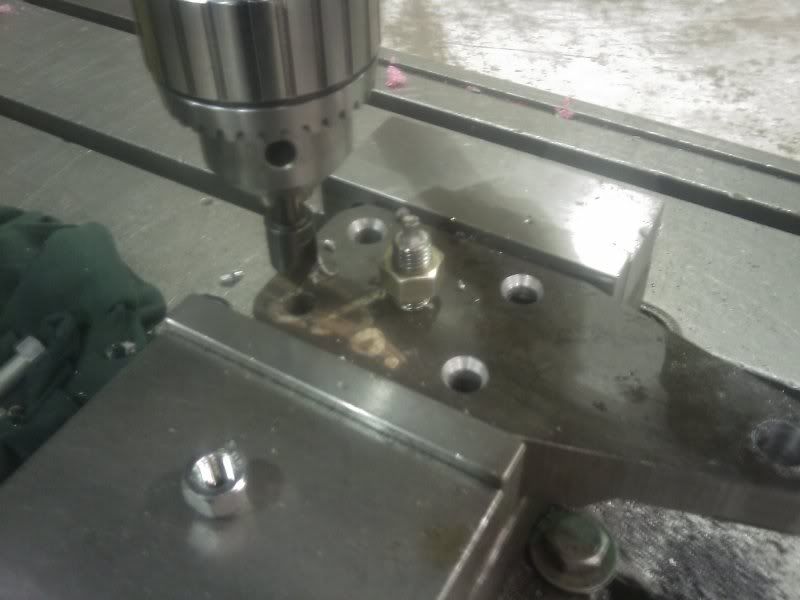
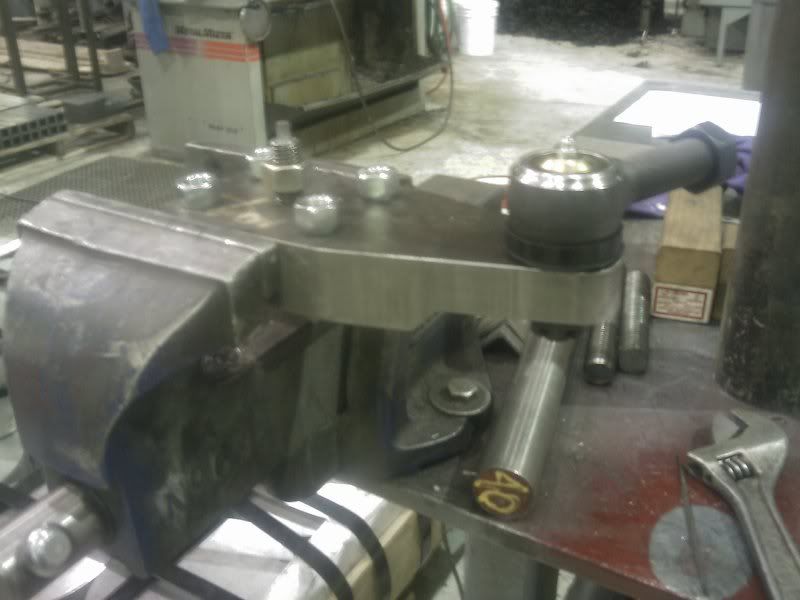
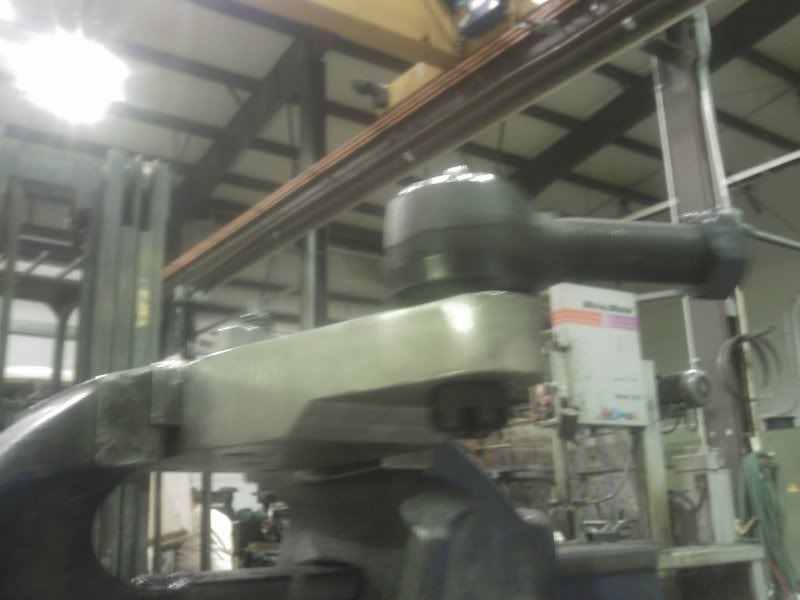
I made an adjustment stud for my steering arm. A standard 1/4" wrench fits the top hex. This will let me tune the pre-load for the kingpin cup. Its pretty neat what you can make even on a manual lathe with a little ingenuity.

I didn't get a pic, but I also machined the 'clocking' keyway splines on the WJ pitman arm. This will let me run the arm in any spline position on the dodge steering box.

Once my reamer and TRE's comes in I should be able to wrap the steering up. I still need to make the drag link and adjuster but that should be pretty easy on the lathe....
 
Last edited:

Metcalf

Expedition Leader
I'm taking my '42 willys. Its getting some new upgrades soon. 'new' SM420, open knuckle D30 front, home-made full float conversion, and 4-wheel discs.

I finished the steering arm and pitman arm last night. I have some pics I will upload and post later. I also ordered a new steering shaft yesterday. All I have left to do is make the drag-link.....
 

Metcalf

Expedition Leader
Yesterday after work I finished off the Dana 60 steering arm for the passenger side and the WJ pitman arm modifications.

IMAG0155.jpg


I added the cone taper to the mounting bolt holes. This allows the tapered nuts holding the arm to the knuckle to remain under constant compressive force while centering the downward force coming from the four mounting studs.

IMAG0153.jpg


Then I used the tapered reamer to modify the WJ pitman arm and my crossover steering arm to accept a 1-ton TRE.

IMAG0156.jpg


IMAG0157.jpg


Here is the completed steering arm with a TRE in it. I think it turned out pretty darn good for a few hours after work....

I am going to add a recessed grease zerk next to the adjusting nut I think. I need to locate some 1/2-20 stud ( or something to make them out of ) to attach the arm to the knuckle. I need a 2" OD thick 'fender' washer for the 'springless' preload also. After that she is ready to go on!

My steering shaft should be here in a few days.

I hope I can make most of the drag-link tomorrow night after work.

I did some rough mockup, and I think I might be able to get away with having only a single small bend in the drag link. I won't know till I try connecting point A to point B ( while getting everything moving around in the steering and suspension. I added a little steering angle to the system, so I should be able to get the tires to hit the springs if I want. I think that would be about 35-38 degrees of steering. Boy will it be nice to have a centered steering wheel and be able to turn sharp BOTH ways!
 

Bogie

Observer
Metclaf your arm looks good, if you don't come across studs for mounting I bought mine from Blue Torch Fab along with my arm seeing that you have access to machine services you can probably source them cheaper from a local supplier but there a option
 

Metcalf

Expedition Leader
I started on the threading for the drag link adjuster....

IMAG0158.jpg


Left hand internal single point threading......

IMAG0159.jpg


It worked! This is the start of my compact adjuster. The inside is left hand thread and the outside will be right hand. This will allow me to center the wheel with the bent drag link....

Getting close now....
 

Scott39

Adventurer
I started on the threading for the drag link adjuster....

IMAG0158.jpg


Left hand internal single point threading......

IMAG0159.jpg


It worked! This is the start of my compact adjuster. The inside is left hand thread and the outside will be right hand. This will allow me to center the wheel with the bent drag link....

Getting close now....
Nothing is better than having a machine shop to build your own custom parts.
Keep up the great work, COOL rig!
 

bftank

Explorer
is the steering arm going to be beveled where the tierod connects to it for proper geometry? it looks as if the hole for the steering arm is drilled on the same plane as the 4 knuckle attachment points. or am i seeing things?
 

Metcalf

Expedition Leader
The arm is not beveled. With my dodge, since it sits very close to stock, my drag link will actually be sloping down from the arm, not up. The drag link has to be bent to go under the engine cross member. My truck is only maybe 1-2" over stock height. Even with the stock GM TRE joints, I have MORE than enough angular travel on the joint for this old truck.

Since my springs are pretty thick I had to make the arm taller/thicker than normal to clear the springs. The drag link then has to go back down a touch to clear the cross member.

Today I finally finished my adjuster contraption.....

IMAG0160.jpg


IMAG0161.jpg


Basically it allows me to center the steering wheel with a bent drag link without having to remove one of the joints from an arm. I cut two slots in the 1st piece past the TRE. Then I cut a one slot on the 2nd piece. Finally I made a 1/4-20 grade 8 pinch bolt system and welded it on. There are flats milled on the 1st piece that let you adjust the length with a 1" wrench or a crescent wrench. Once the pinch bolt is clamped down, all the threads compress to an interference fit, and you can't move a thing. Since the TRE is LH threaded and the sleeve is RH threaded.....the entire thing gets longer or shorter when you turn the 1st piece.
 

Metcalf

Expedition Leader
I received my Borgeson steering shaft the other day. I went with the rag joint version with the parts to rebuild the rag joint. The steering arm still needs a grease zerk hole, but is done other than that. The adjuster is done and ready to be welded to the drag-link once the final mock up length is determined. Pitman arm is ready to bolt on the steering box. I got the studs in for the steering arm last week.

I think the only thing I need to do is pick up a new 2wd version of the steering pressure line.....

Hopefully all this stuff will go on in the next week! It should be DANG nice to have the steering buttoned up.....

More to come.

With diesel fuel at about $4 a gallon I need to start looking into a year round biodiesel, SVO, or WVO fuel system. I'm trying to come up with a very simple way to run biodiesel year round.....
 

Metcalf

Expedition Leader
Well, all the parts I made worked as planned for the Dodge steering. The steering arm is great. It cleared the spring, goes full swing, and the adjuster worked well. Everything clears really well for the low lift height. It steers lock to lock with just a little left over at the box. I think I can get a few more degrees before the tires touch the springs ( by adjusting the stops in ). The new steering shaft went in well. The pitman arm worked with the spline mods.

The hardest part was getting the old pitman arm off the steering box.

I got it all put together in about 4-5 hours after work. When I pulled it out of the shop I found that the steering was leaking badly. Come to find out that I had cracked the top cap somehow when I was getting the pitman arm off. OPPS!!!!

So, parked it in the work parking lot, got a ride home.....

I ordered a reman box from rock auto. I may just steal the top cap off it for now. Ordered a gasket set for the box to be able to do that just in case. I should have probably just ordered another box to begin with. That would have made everything go about twice as fast. Live and learn.

What little I did feel of the dodge steering was GREAT. No slop, turns MUCH tighter ( with more available ). Shortened up the steering ratio by about 1/2 a turn at the wheel. The drag link is pretty tight with my taller springs and almost no lift. I had to put a little bend in it to get 3-4" of compression travel out of it. It fit dead straight ( and turned both directions ) but there was zero compression travel. I couldn't drop the pitman arm anymore or else the spring would hit the TRE on that side ( the longer jeep WJ pitman arm worked great with the 'universal' spline mod ) I didn't have to trim the engine crossmember at all!

Overall, I'm PISSED that the steering box top cap broke.....100% my fault for sure.....parts are already on the way to fix it.

I will get some pics soon, I was in too much of a rush with the broken cap and such.
 

Bogie

Observer
If your going to have a spare box and gaskets I say rebuild it and drill the box for hydro assist even if you don't do it for some time having the box drilled is the key.
 

Metcalf

Expedition Leader
That is a good idea....

I think i am going to measure the top cap up and make one out of billet steel or something too....stupid top cap totally ruined my day!
 

dd76522

New member
my .02, i drilled and tapped my top cap and used a billet end cap from diy4x and haven't had a single problem and i've beaten on the box pretty hard in two trucks, pretty easy to do with the box in the truck too
 

Forum statistics

Threads
186,163
Messages
2,882,715
Members
225,984
Latest member
taunger
Top