Time to build the trailer axle!
I took a ton of pix because i couldn't find any info on how to build a trailer axle and it made research hard for me. So i took a bunch of pix to help others out in case they are in the same boat i was in.
First i had to mark the inner weld on the inside of that 1/4" 2x2" tube that ill be using for the axle. The spindles won't fit inside until i cut out this piece on on the spindle side.
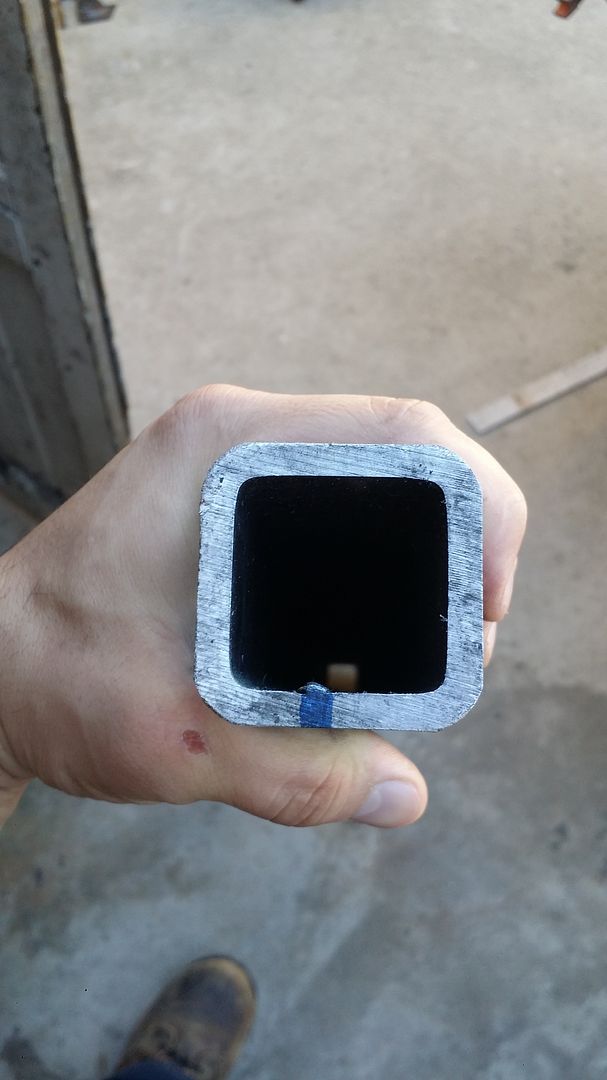
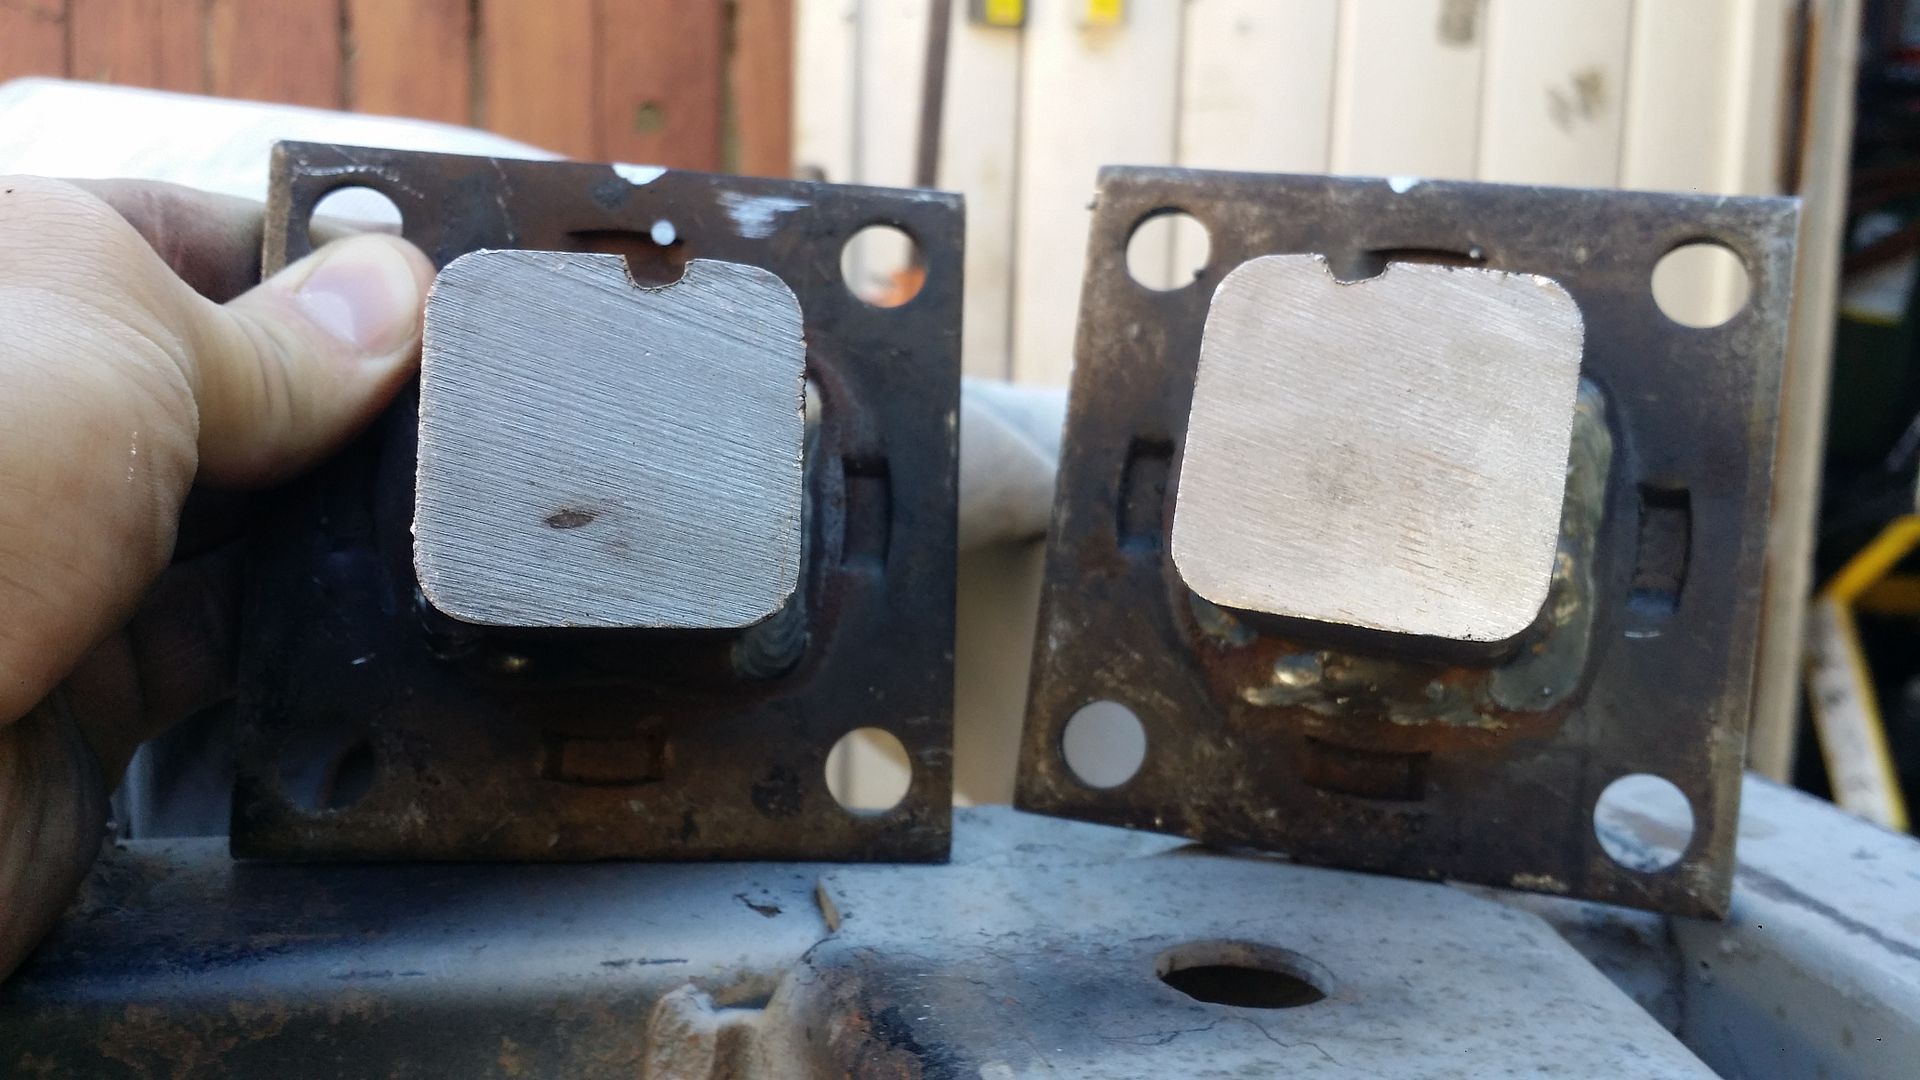
Now i can fit the spindles into place and properly measure how wide my axle will be.
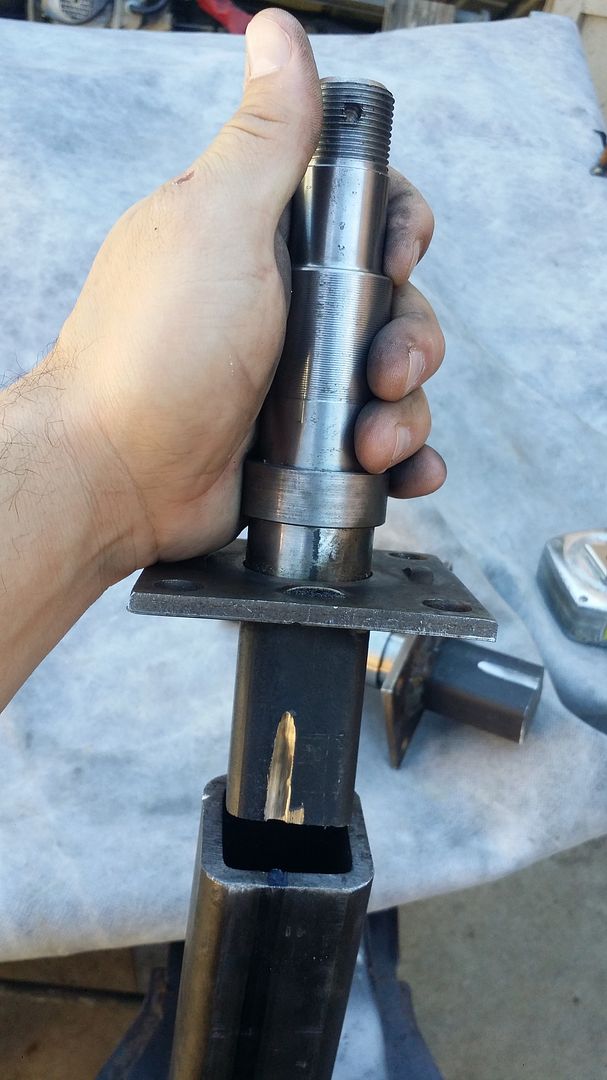
Perfect fit
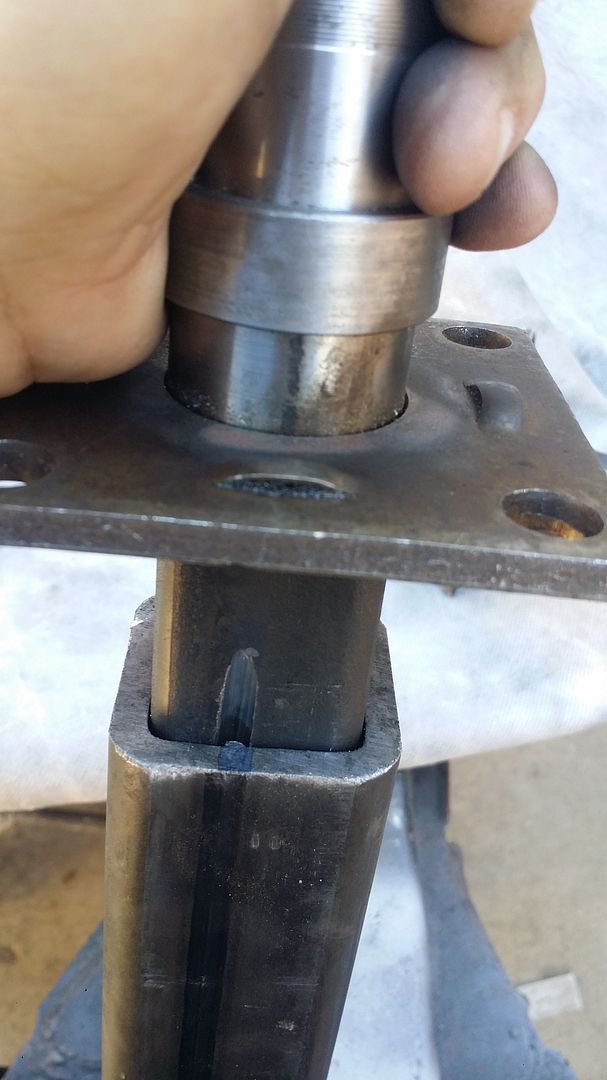
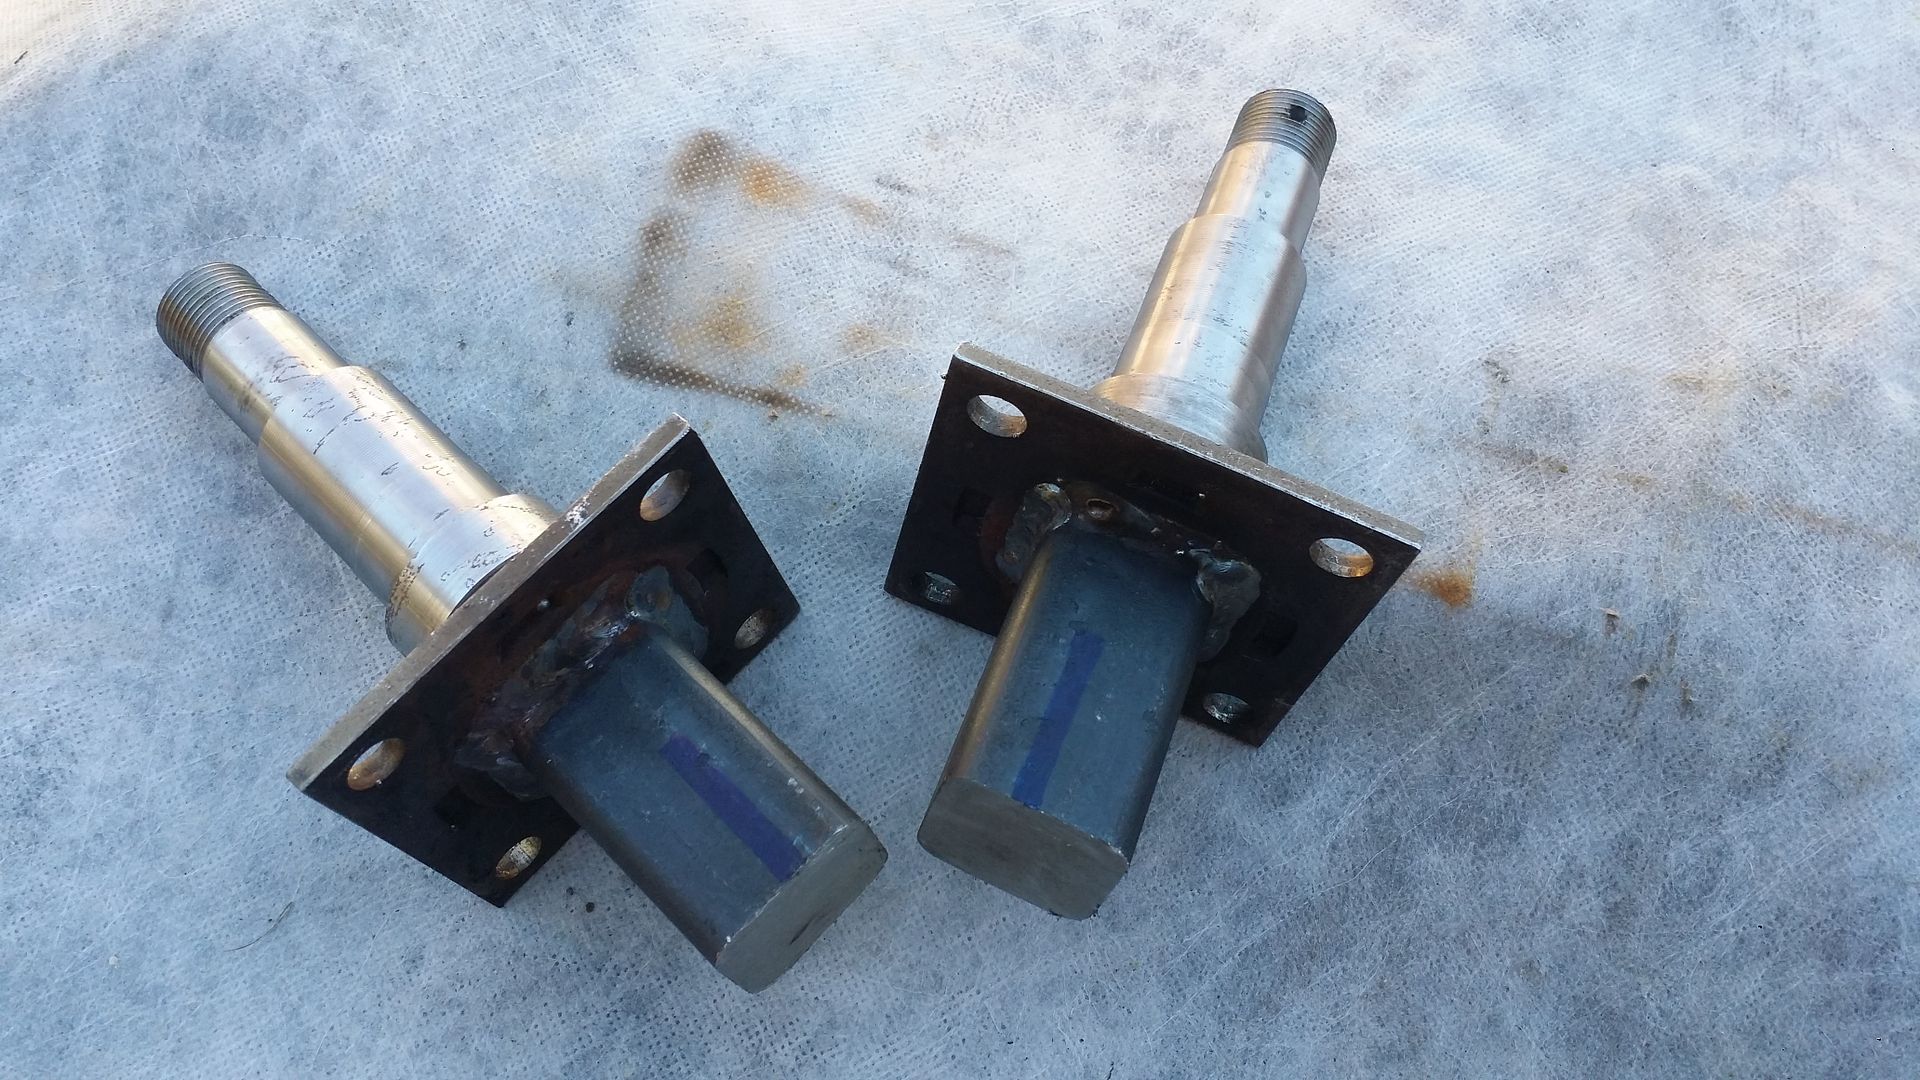
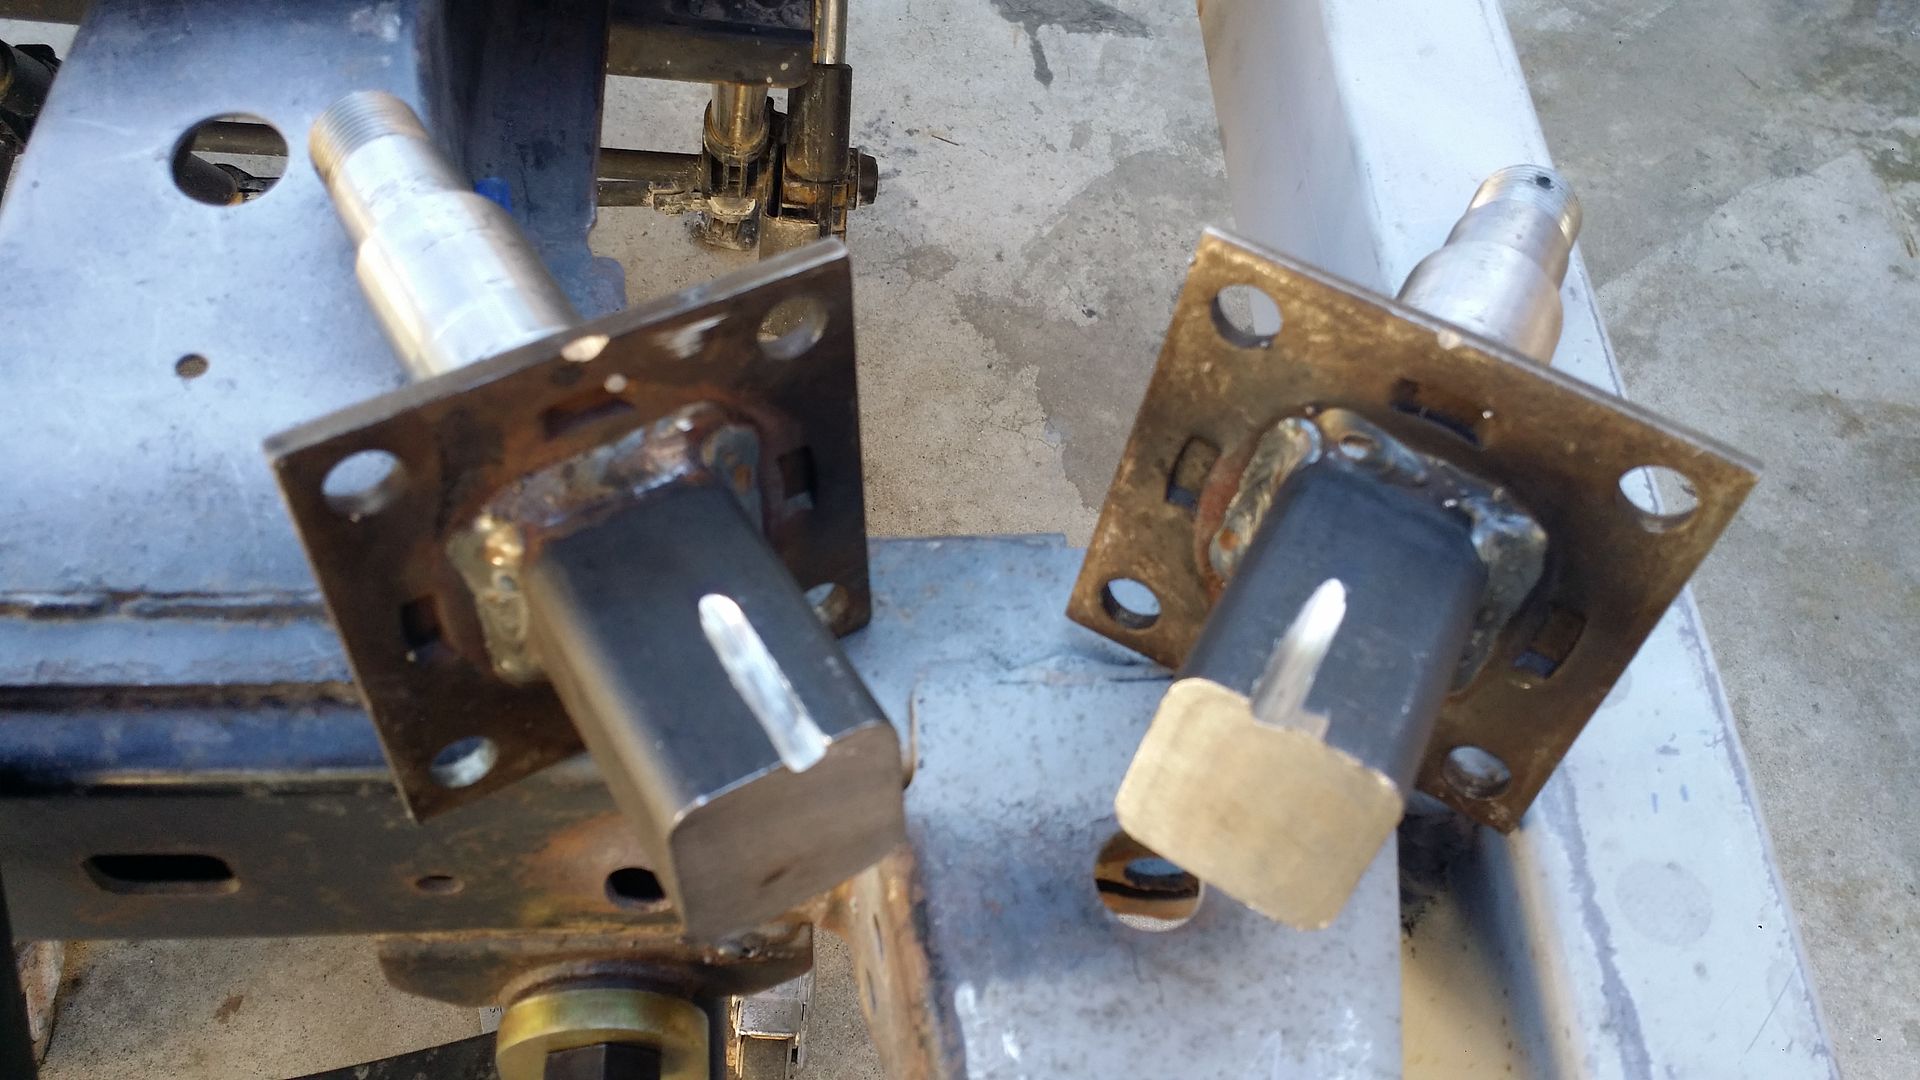
The guy at my local trailer shop told me to leave 1" of that solid steel spindle shaft exposed so this was me double checking that i was at the correct distance.

Covered up the spindle threading with a junk piece of tube that i was practicing on a long long long time ago lol I covered the threading to make sure no weld splatter sticks to where i don't want it at.
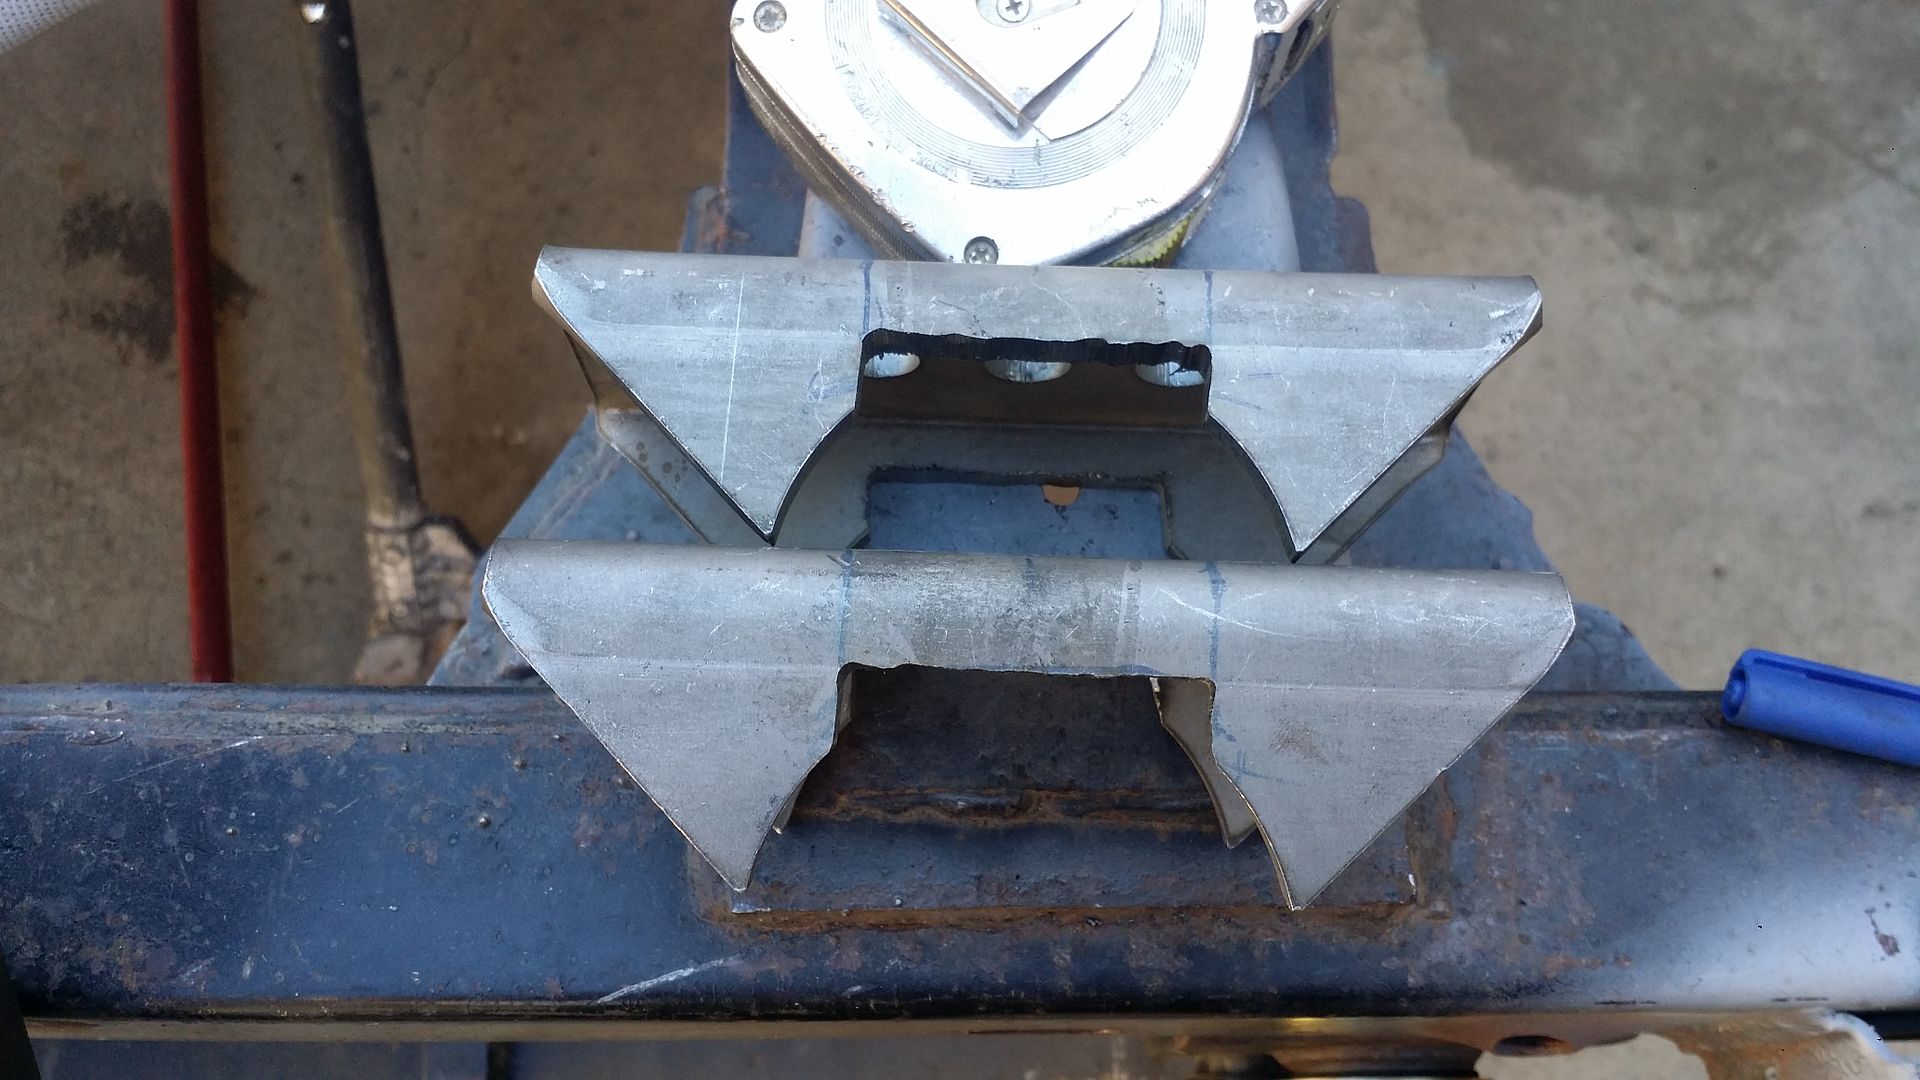
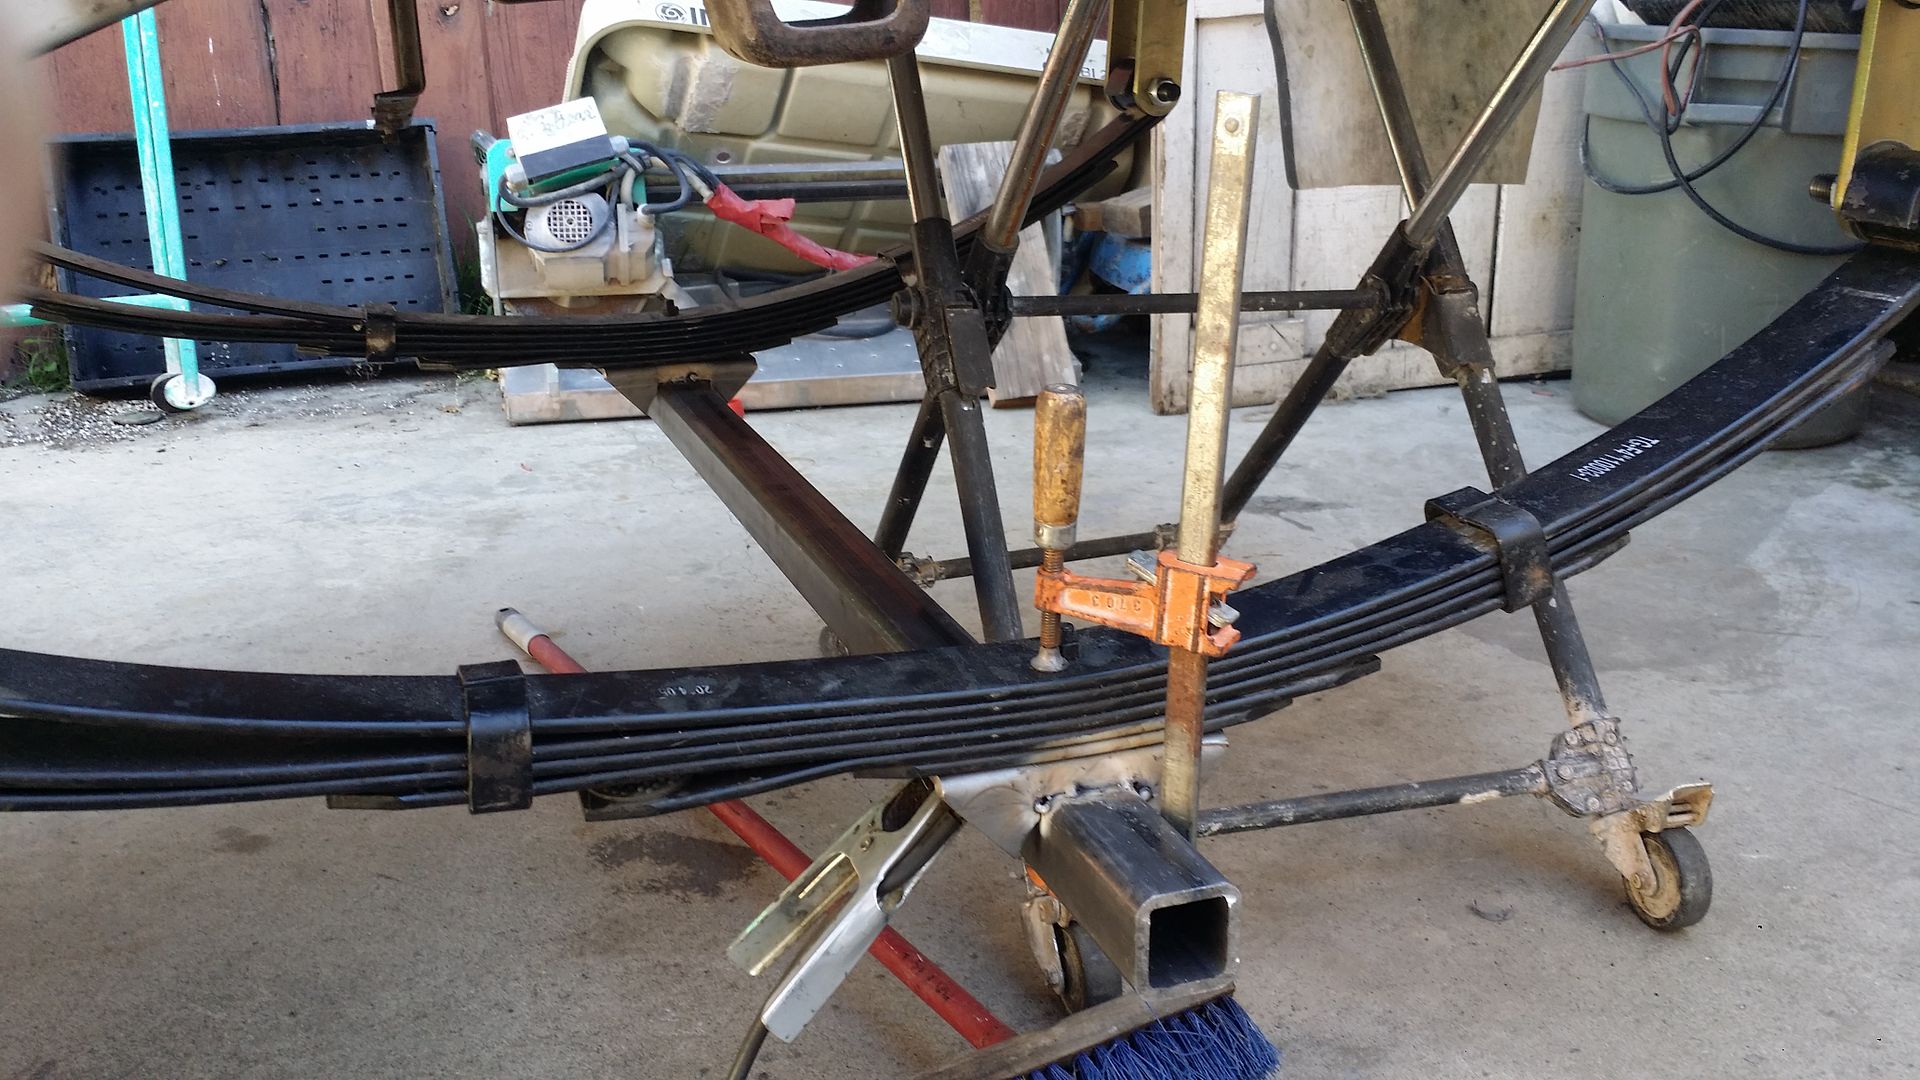
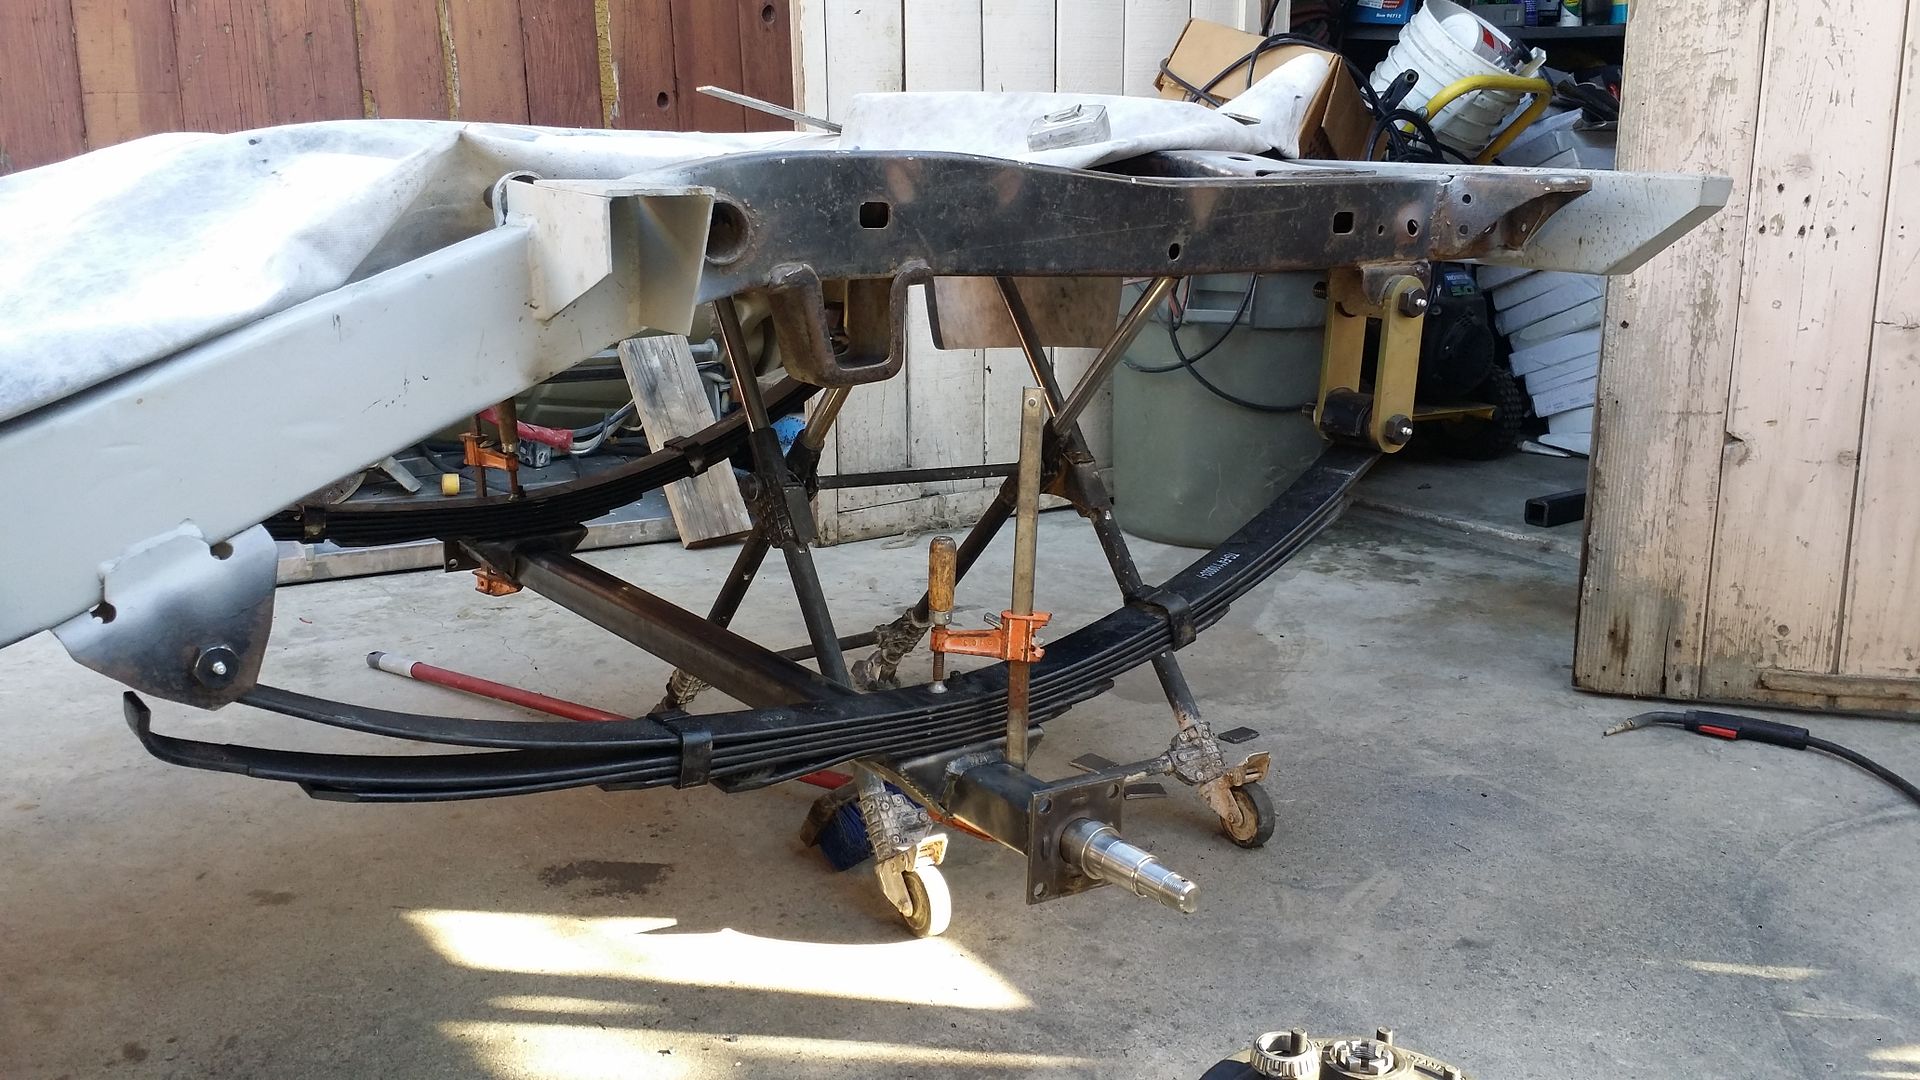
Next i used my 2 spare triple slotted AllPro-Offroad spring perches from when i did the Solid Axle Swap on my 4runner. I had 2 left over so it worked out for me in using them for this axle. If you have ever built your own axle or plan to build your own axle and decide to use Truck leaf springs like i am doing you will find out that the spring perches that you find on trailer part stores are more narrow due to the thinner leaf springs. (or at least the ones at my local store were about 1" too thin.) So Since i am using regular width 4Runner springs these work out the best. But of course they had to be modified for a square tube axle because these are made for the stock toyota axle. So here they are already notched to 2"
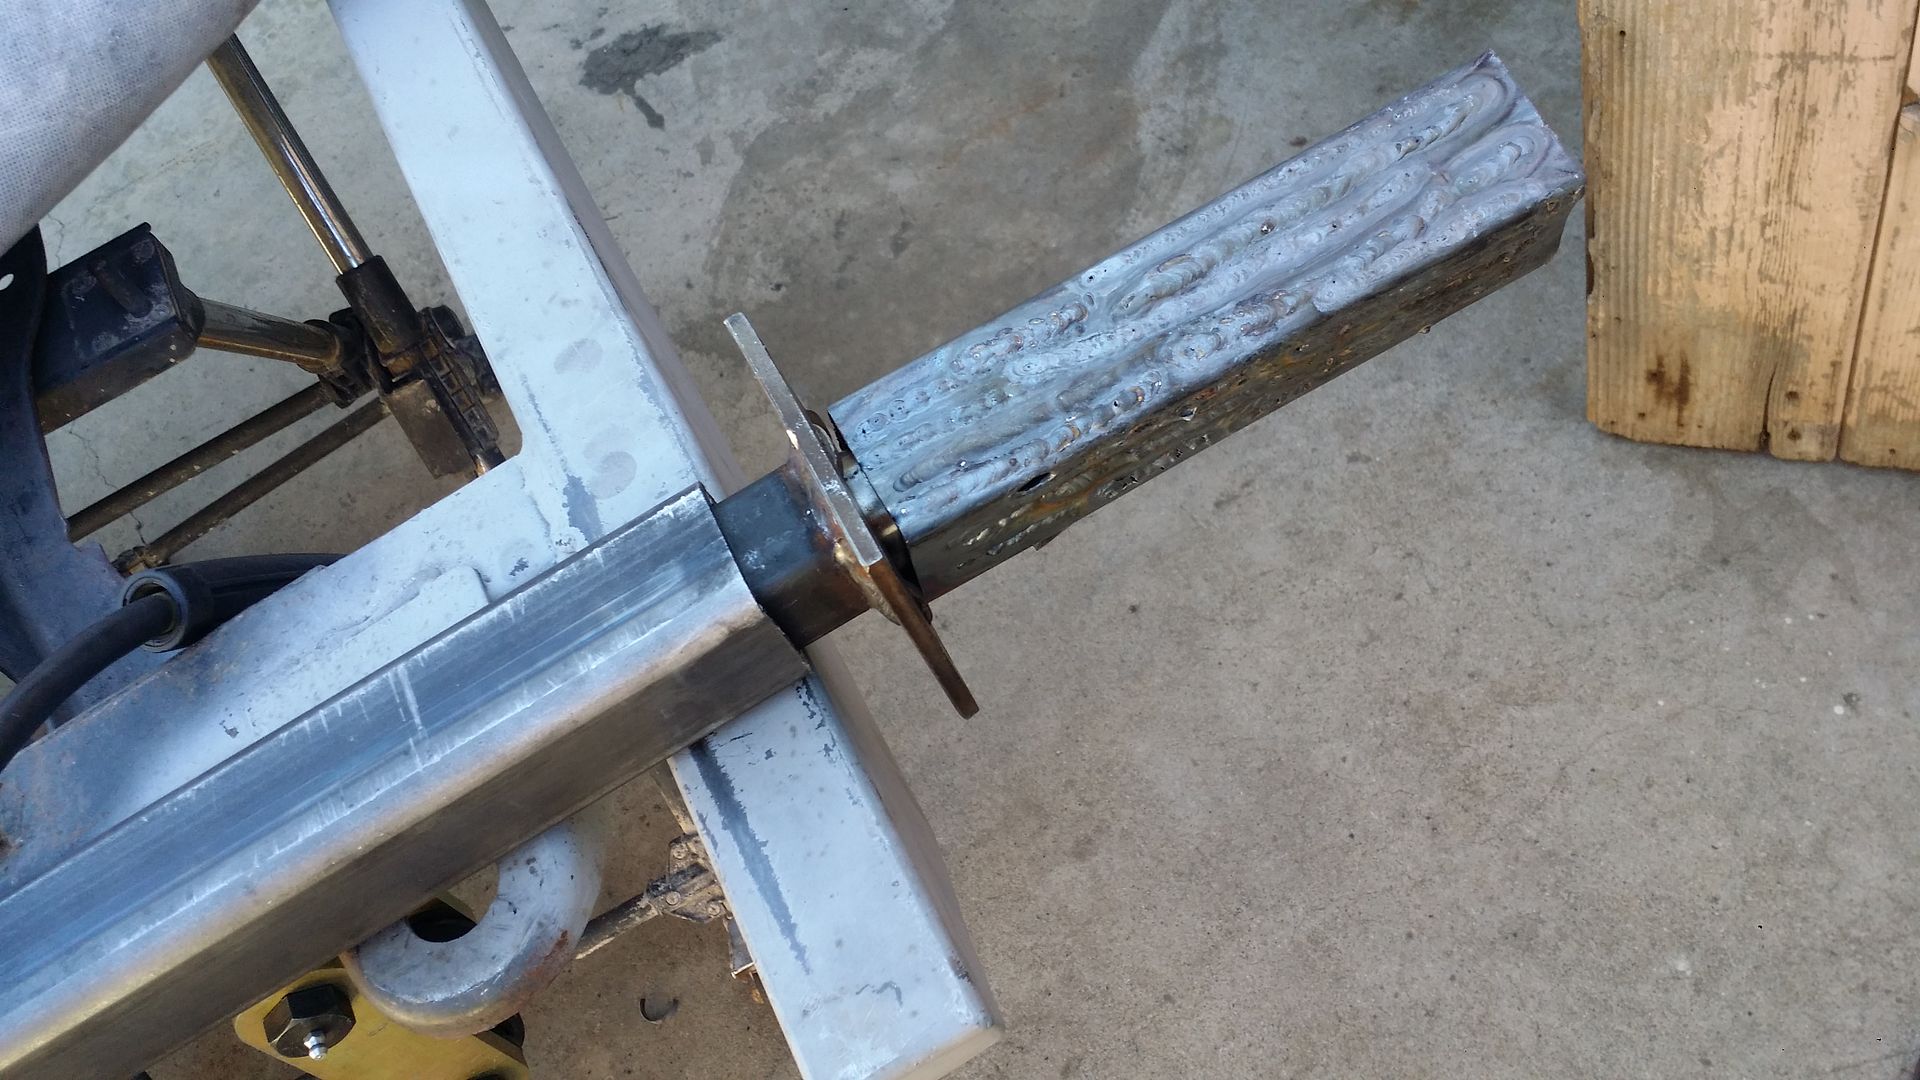
I tacked the spring perches in place and made sure they were even on both sides. Then i held them in place on to the leaf springs to make sure i got them in the correct location. Once i threw on a few more tacks i was ready to permanently weld them into place.
I think im getting a little better at using this cheap harbor freight flux core wire. I hate it so much! they cause so much splatter and the welds never come out as nice as when i use gas with regular wire. but i dont have much of a choice right now so i had to deal with it.
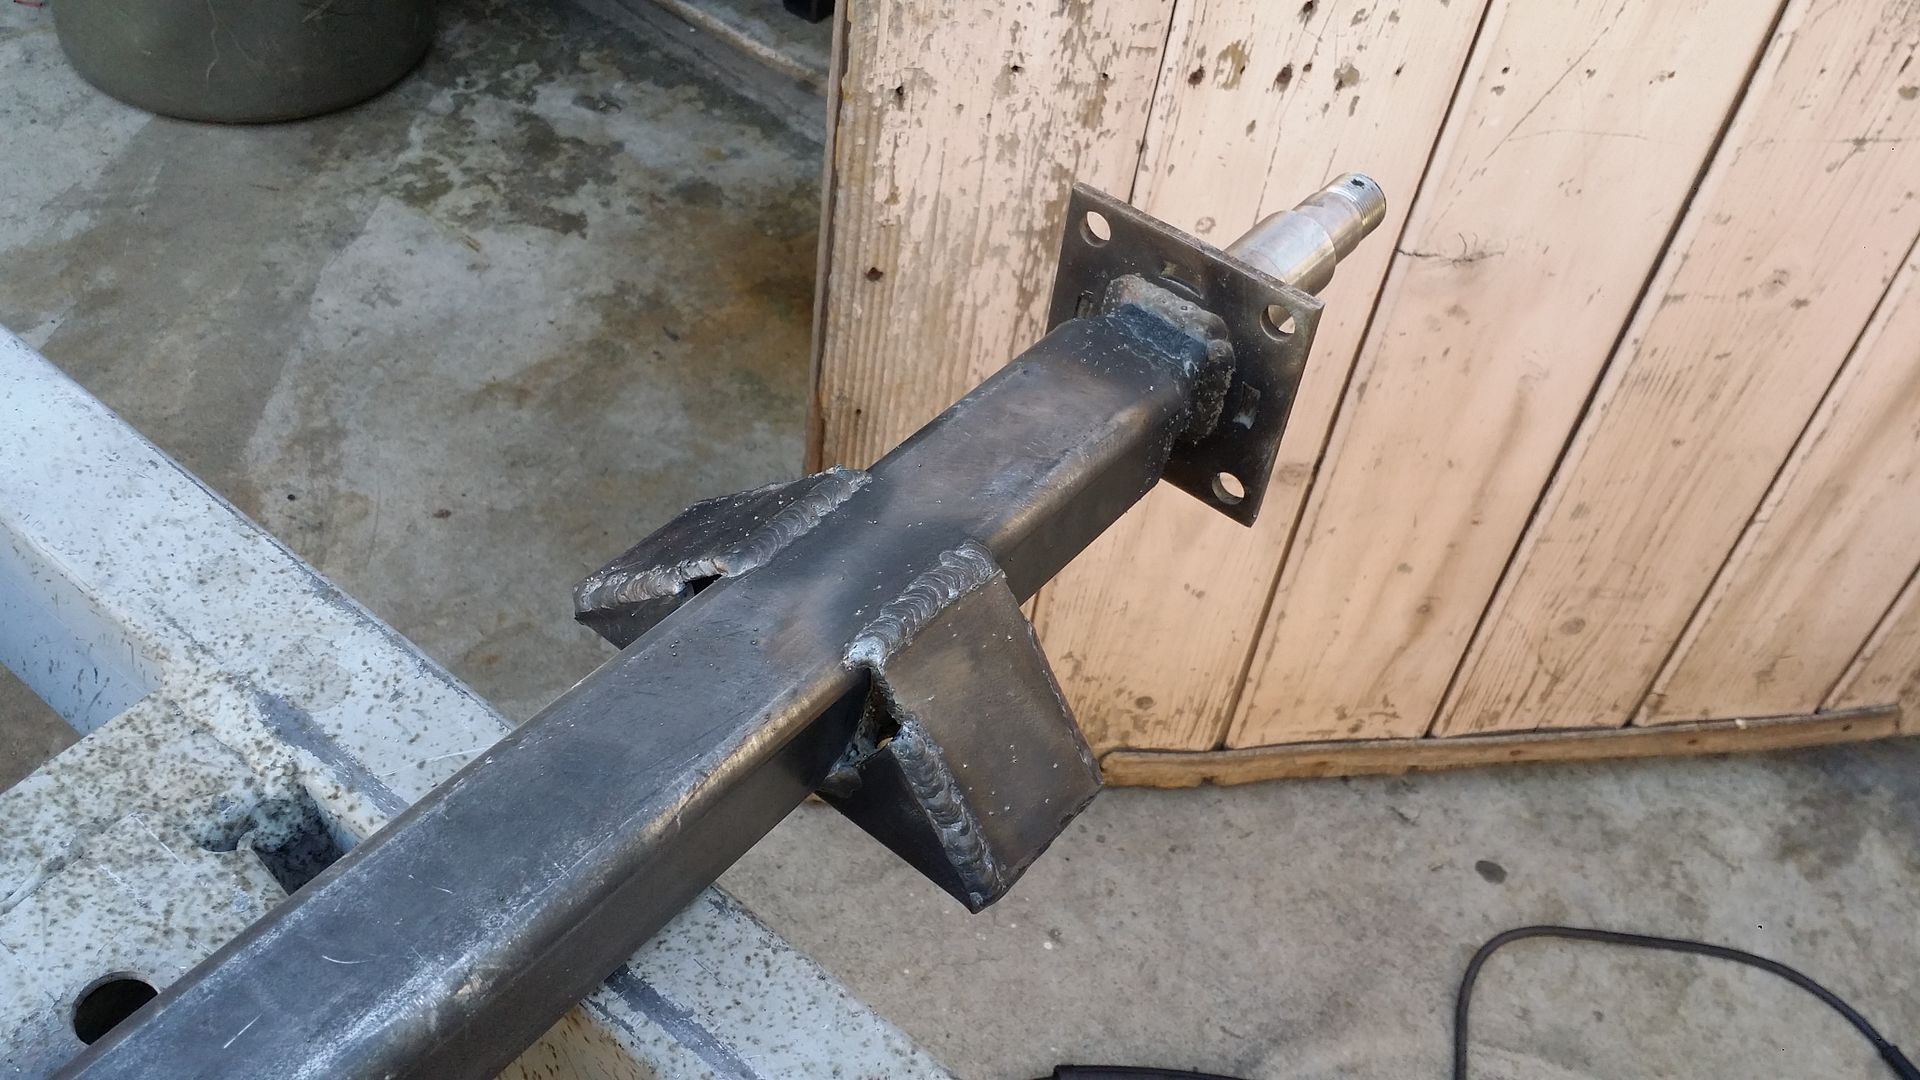
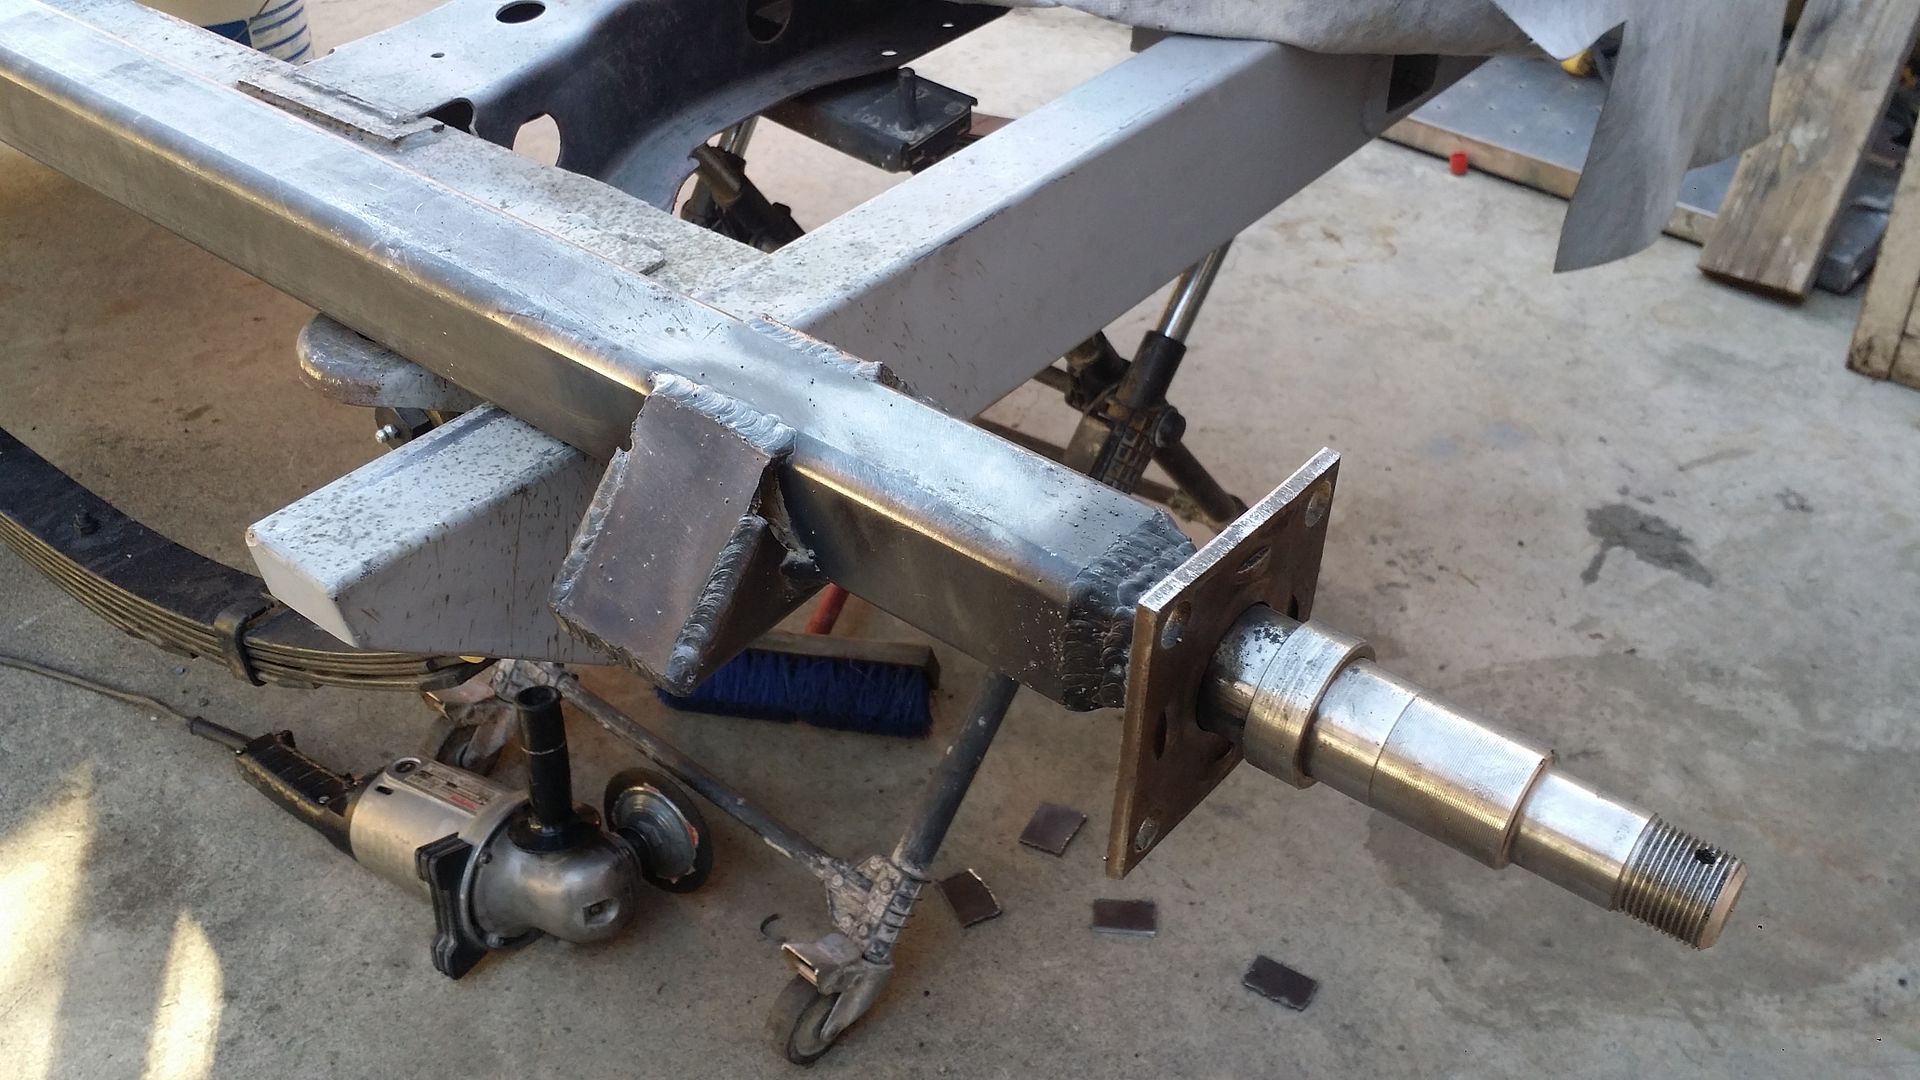
I added plates to the bottom side for reinforcement because the spring perches were only welded pretty much on one of the 4 sides of the square tube. So this helped a lot.
Practice Fitment
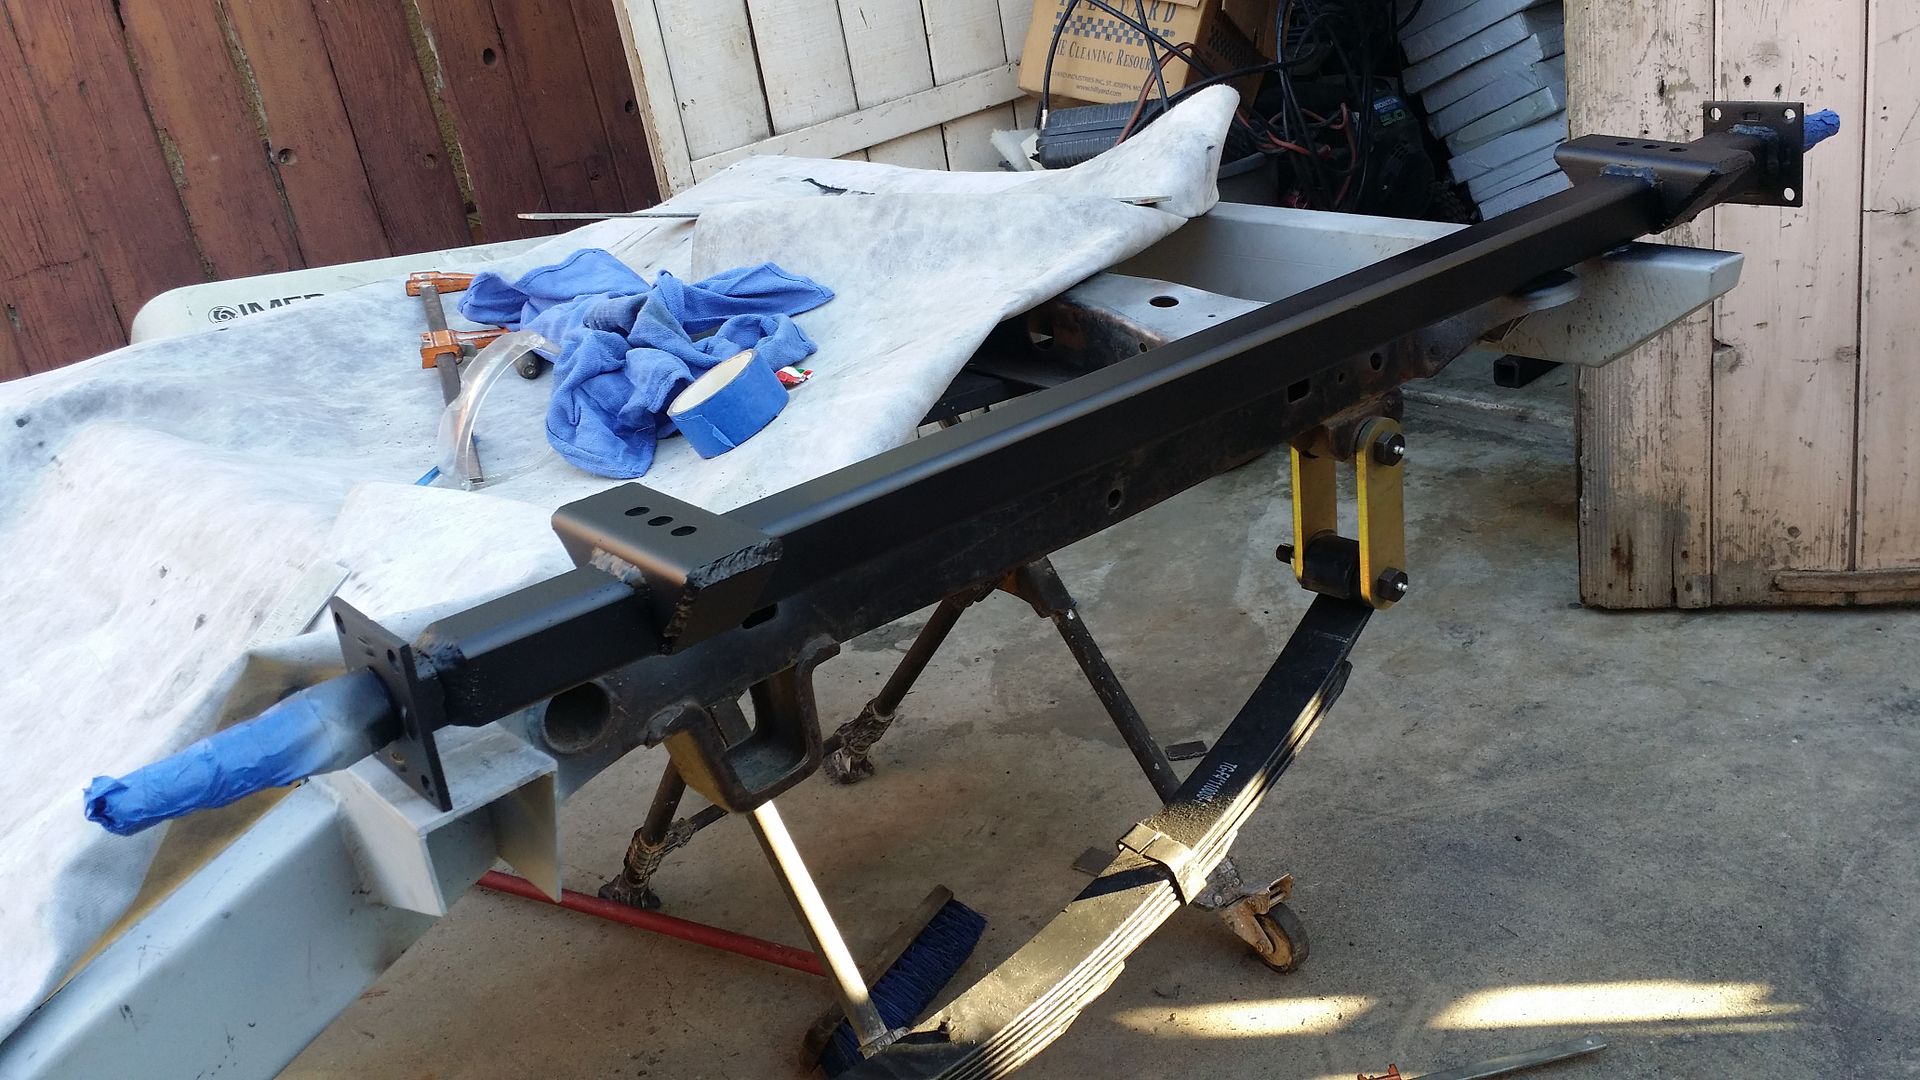
Primed
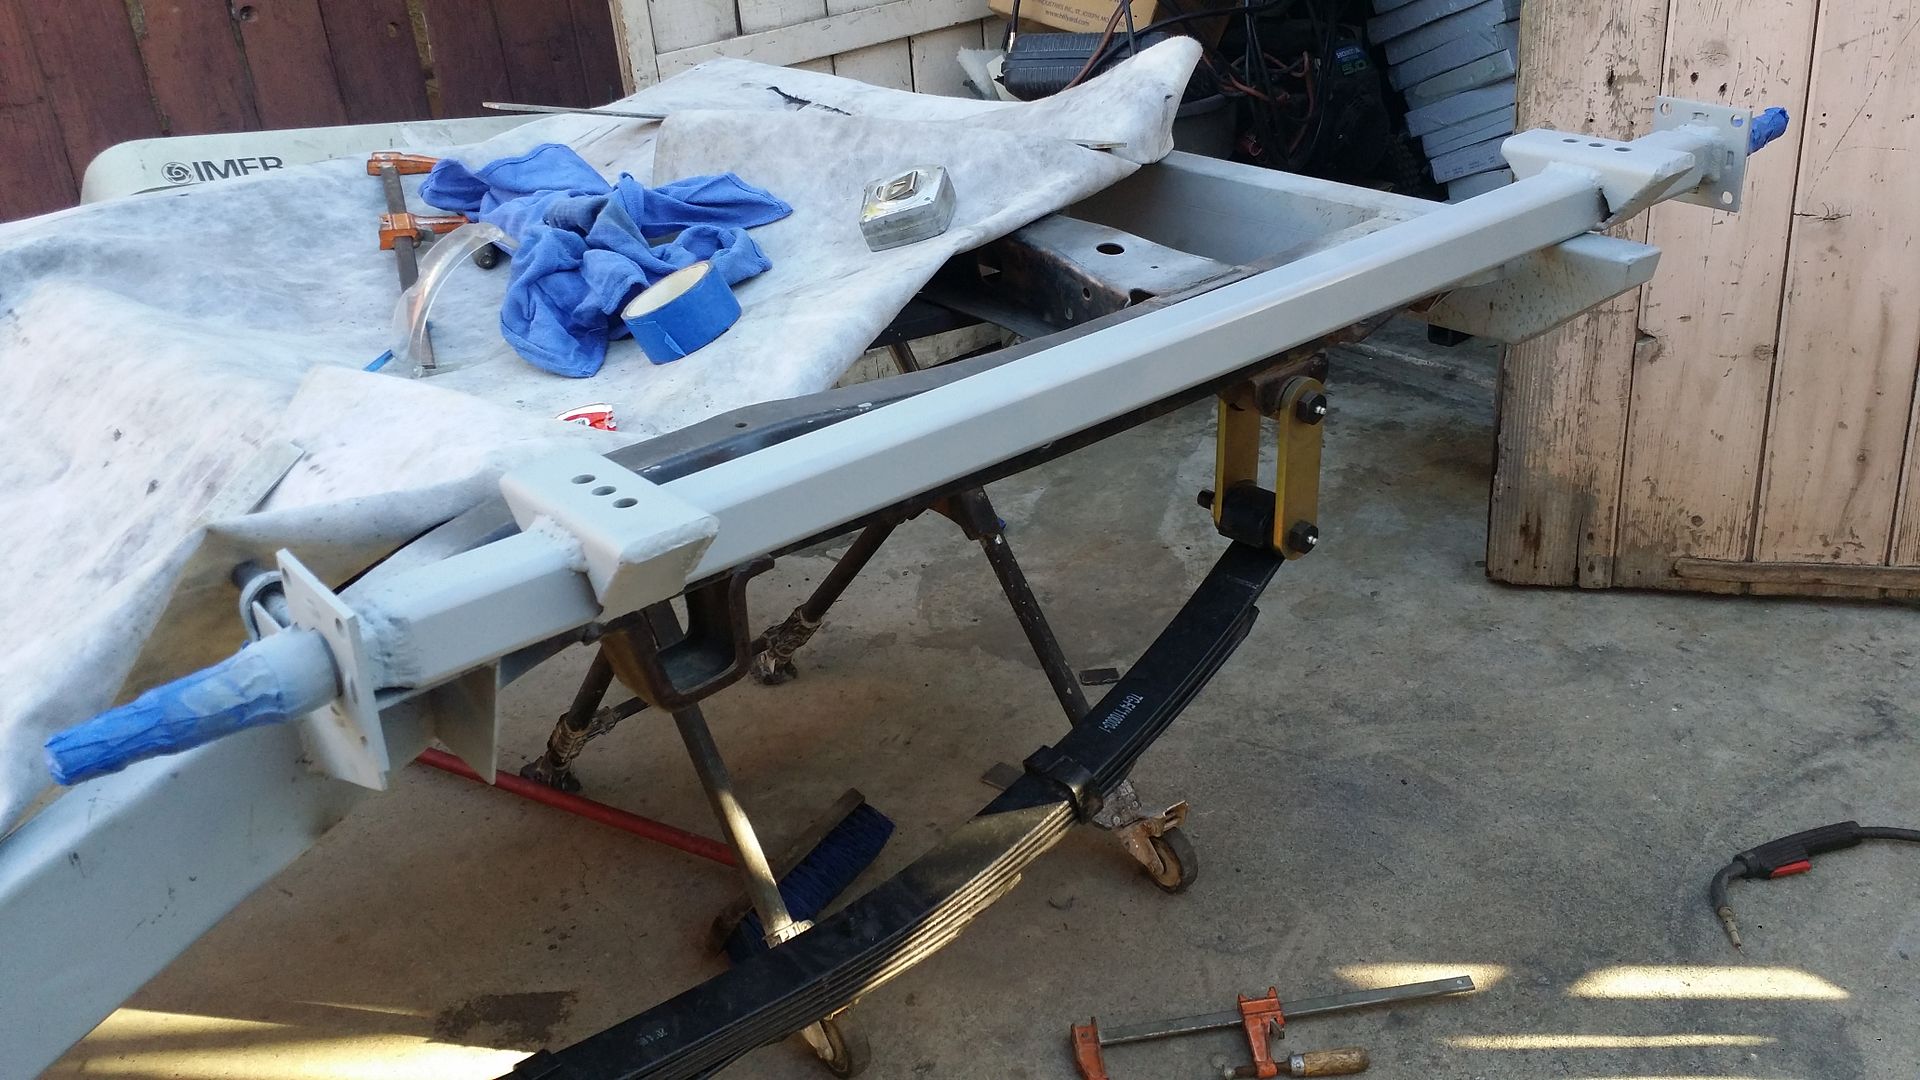
Nice matte black finish. It still needs the 2nd coat. I'll do it tomorrow.
One of the issues i ran into by choosing to use truck leaf springs paired with a 2" tube trailer axle is that i cant use a trailer u-bolt plate or the truck u-bolt plate. sooooo i have to make my own.
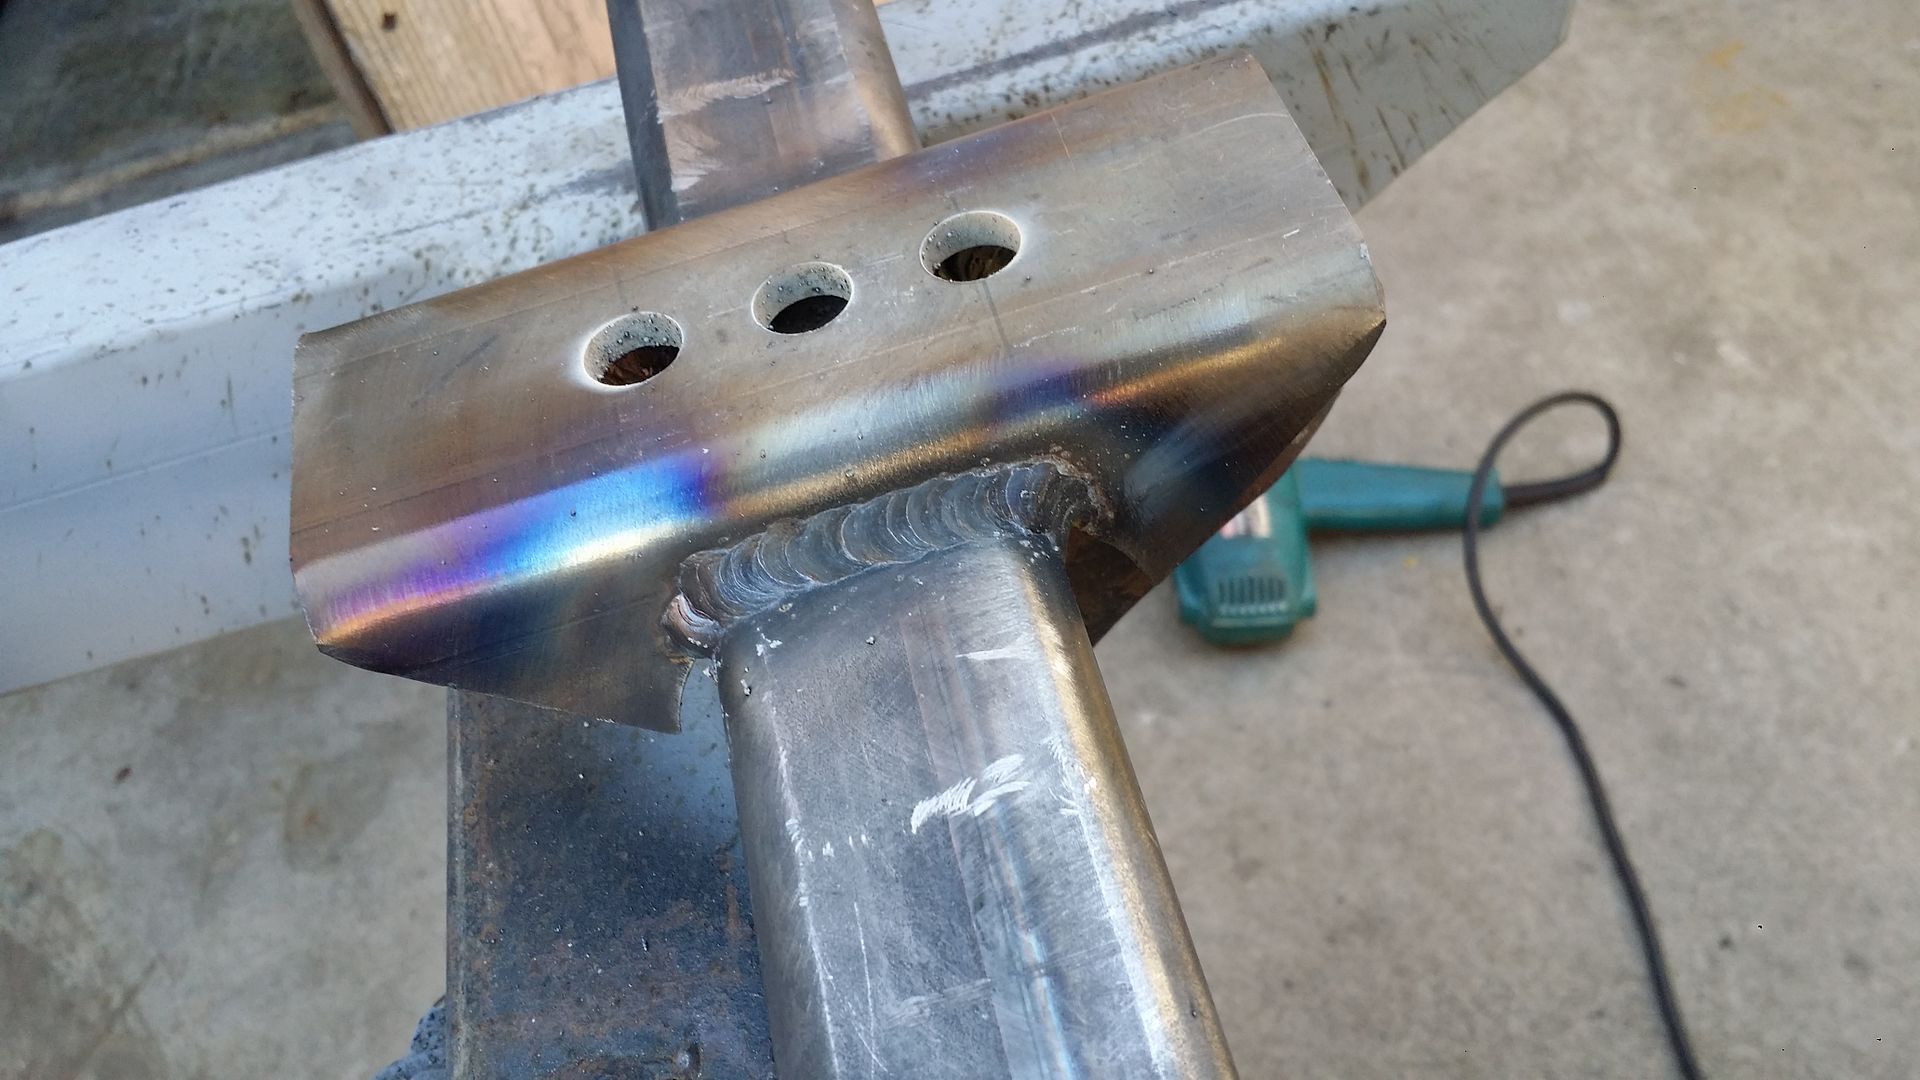
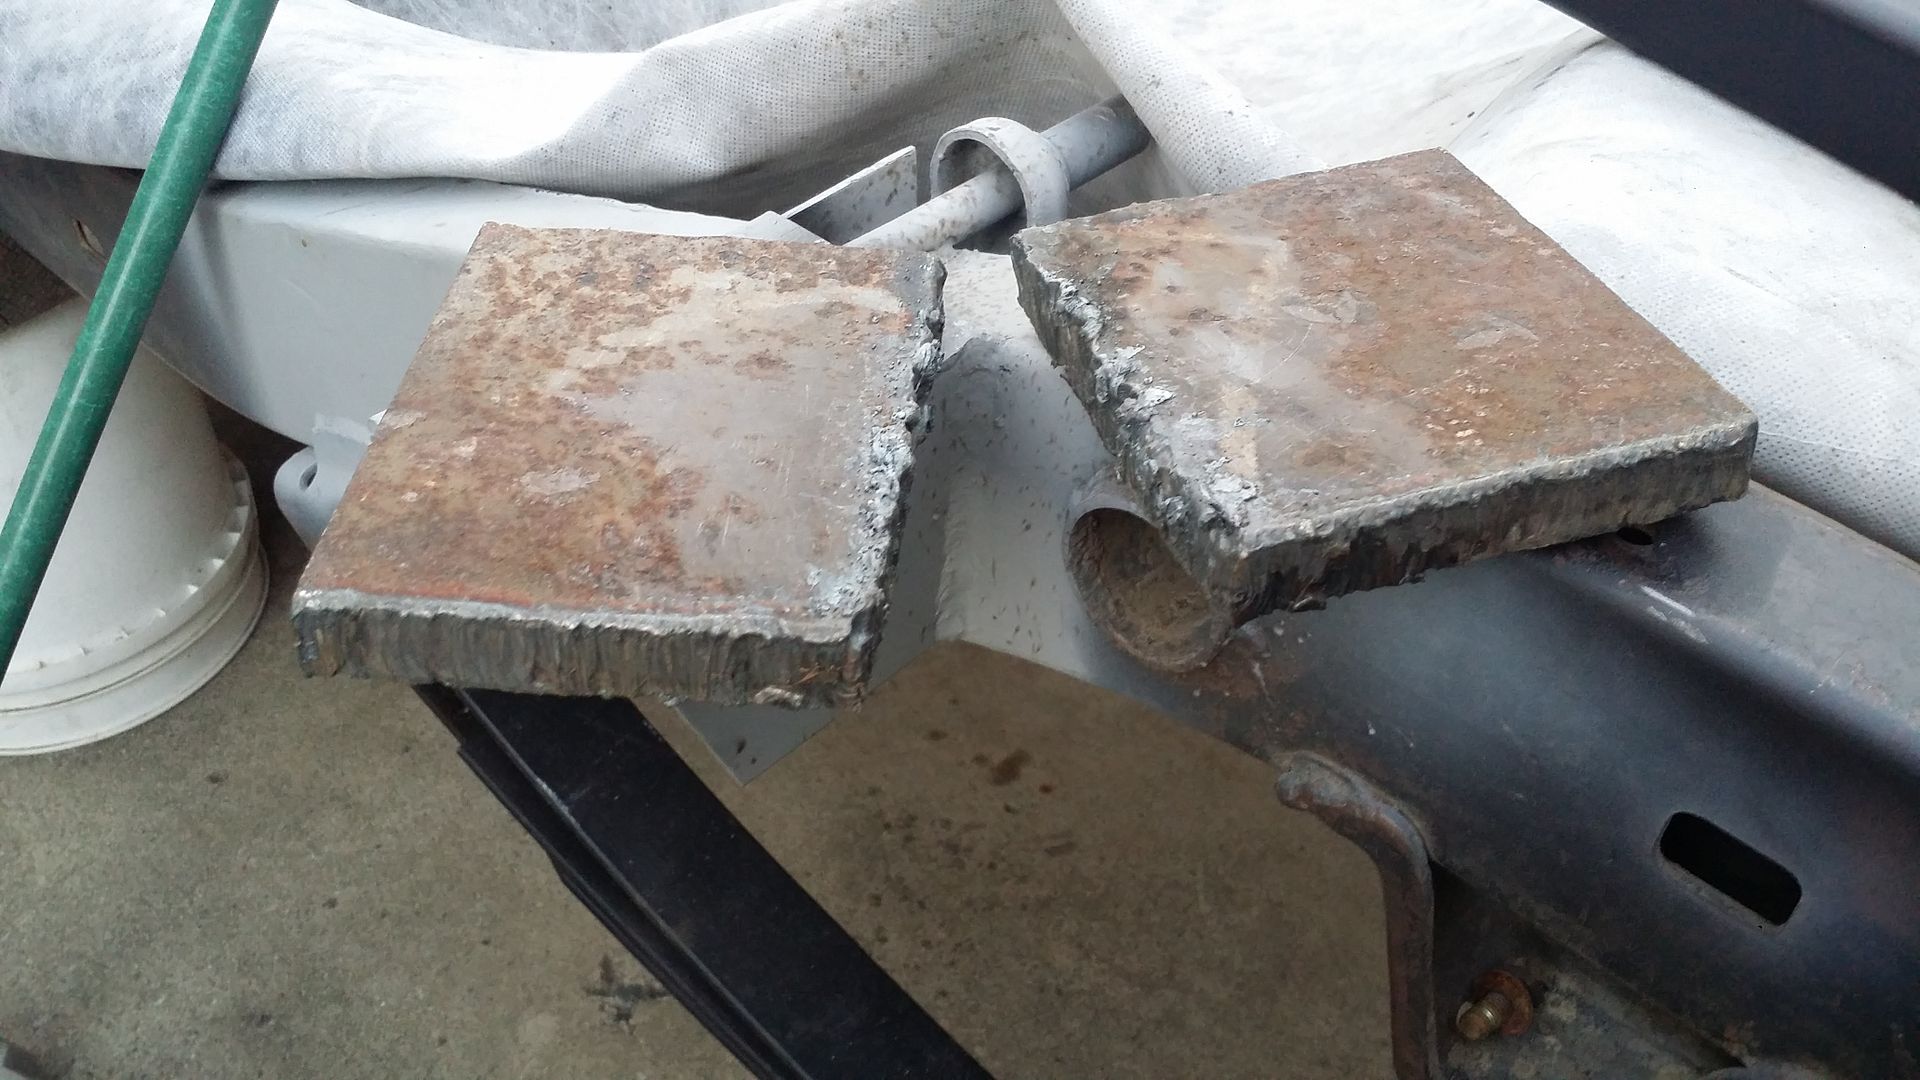
I didn't want to use 1/4" steel and i didn't have 0.5" scrap metal so i went digging in the back yard and found this chunk of steel beam. Cut it with the acetylene torch to 4&3/8" x 5".
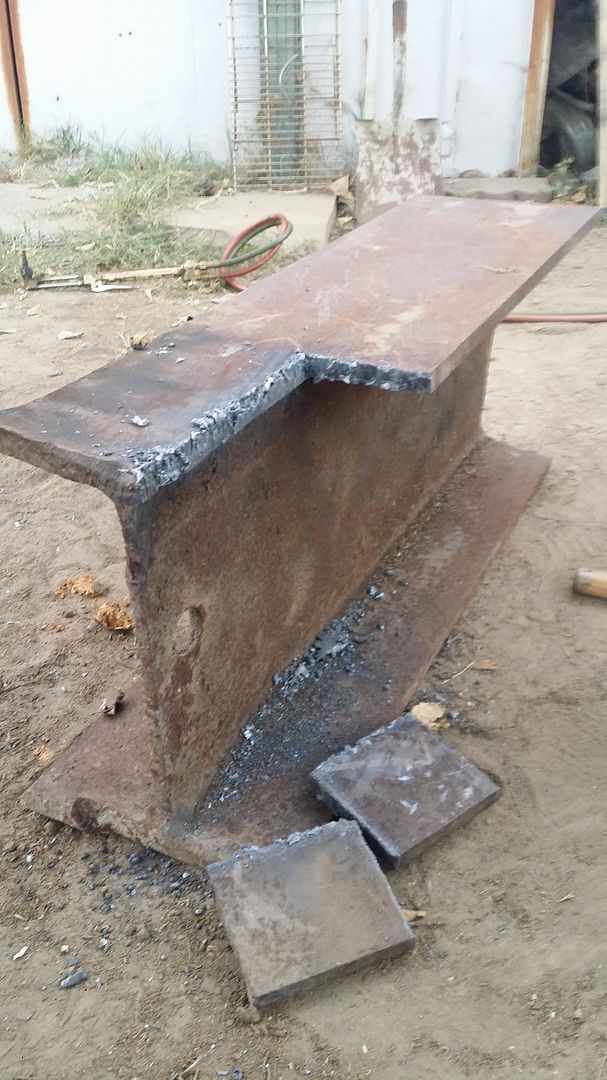
Just gotta grind it down, clean up the rust, and drill the 4 u-bolt holes and center pin hole on each plate then i can finally secure the axle to the leaf springs.
Making this axle took forever to get just right but I took my time to get it right the first time around. Once put together with electric brakes and rest of the hub assembly the axle will be 59" hub face to hub face. My stock 4Runner axles are 58.5" wide so it works out fine.
I'll probably get it all pieced together by tomorrow and i'll upload a few more pix. Enjoy!


