Squall Line
Observer
This is partially a copy and paste from club frontier, but I have added the fridge and winch line install. These were completed two weeks back.
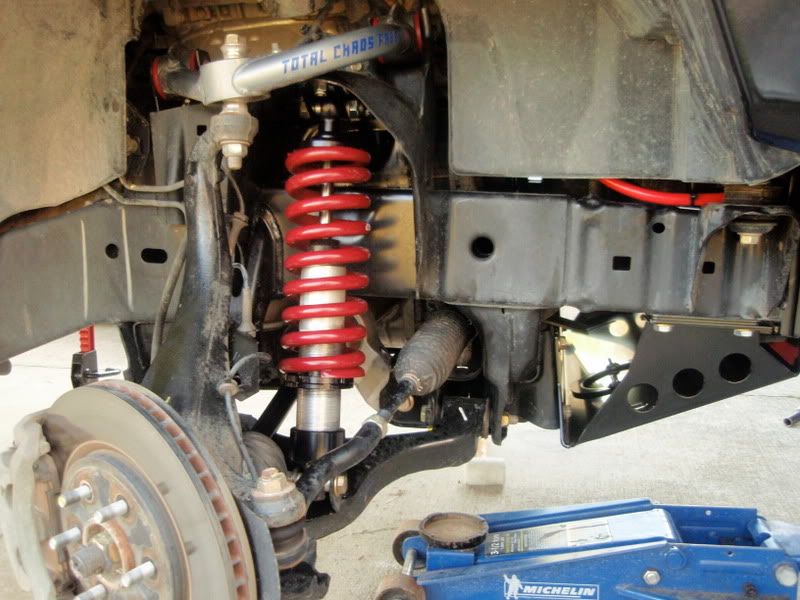
Total Chaos upper control arms
Radflo front coilovers; 3"lift and the heavier springs
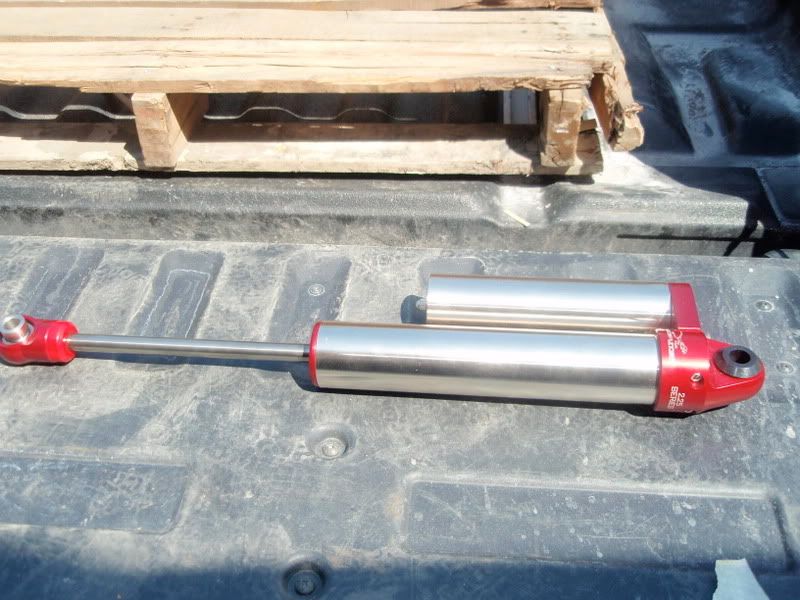
Sway a way rear resi struts
PRG adjustable shackles
Deaver add a leaf
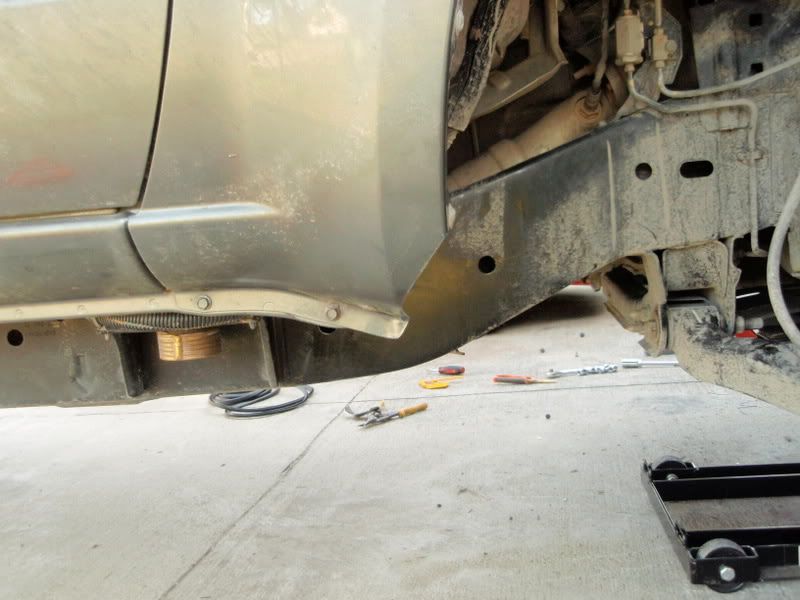
DIY 2" Body Lift
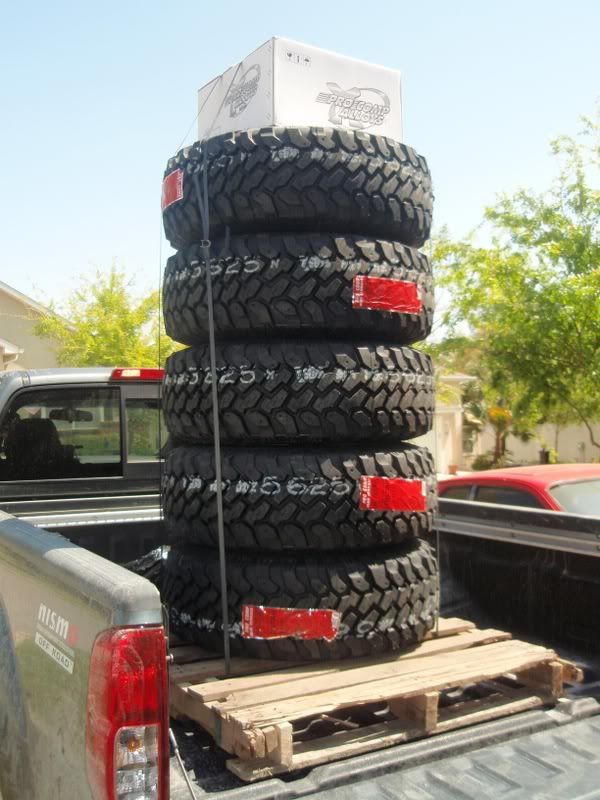
Procomp MT 285/75/16 / Procomp 7089 in 16x8
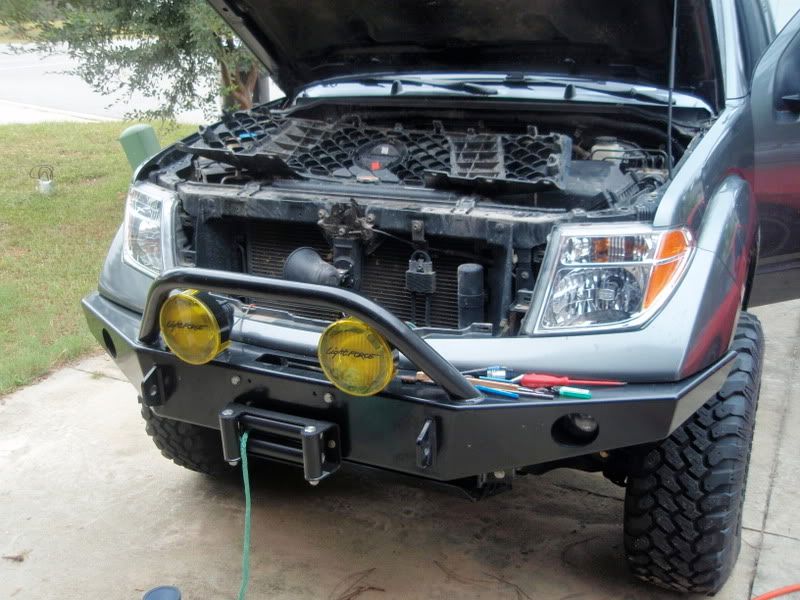
Shrock front bumper
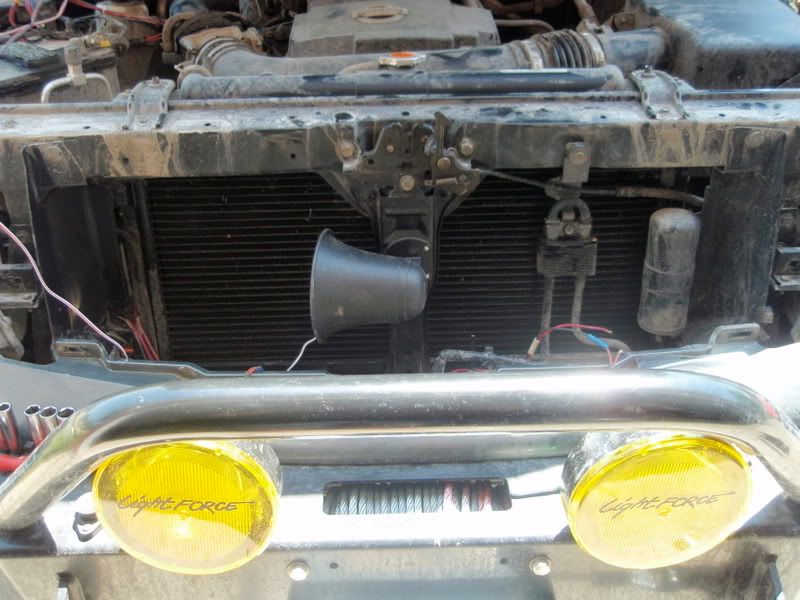
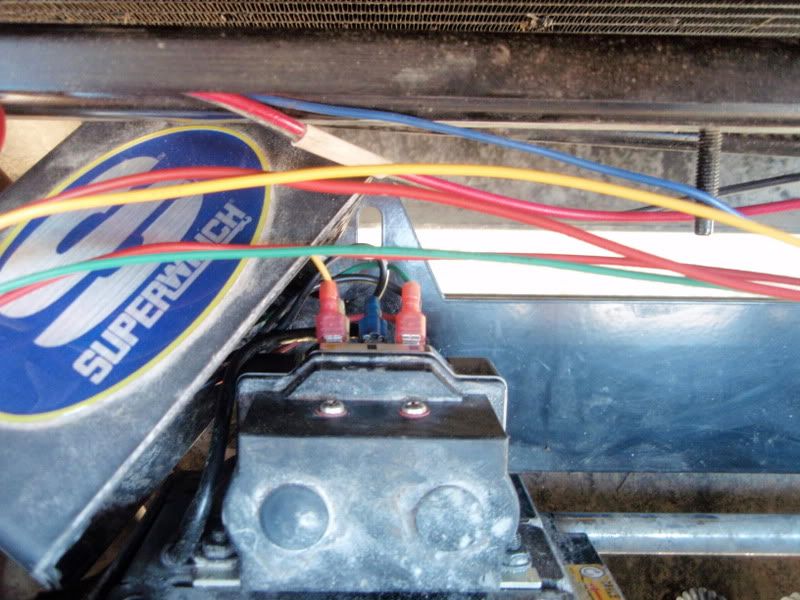
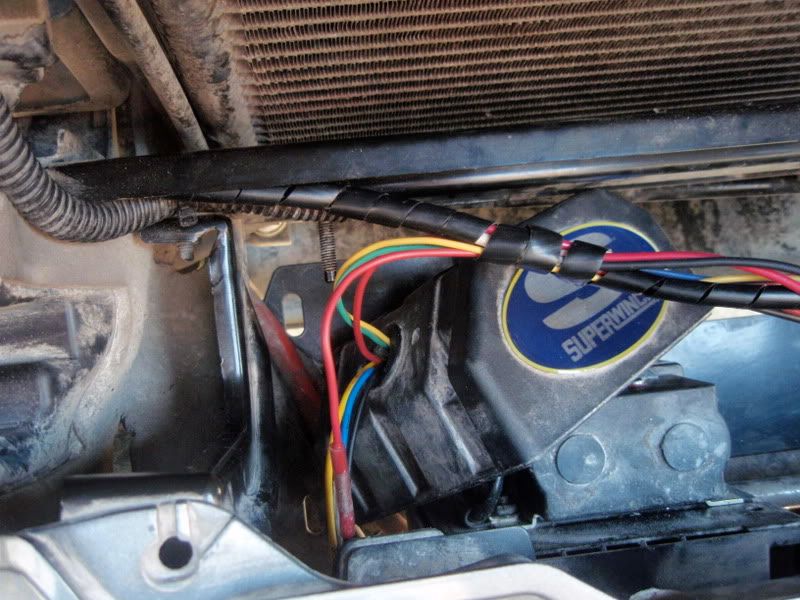
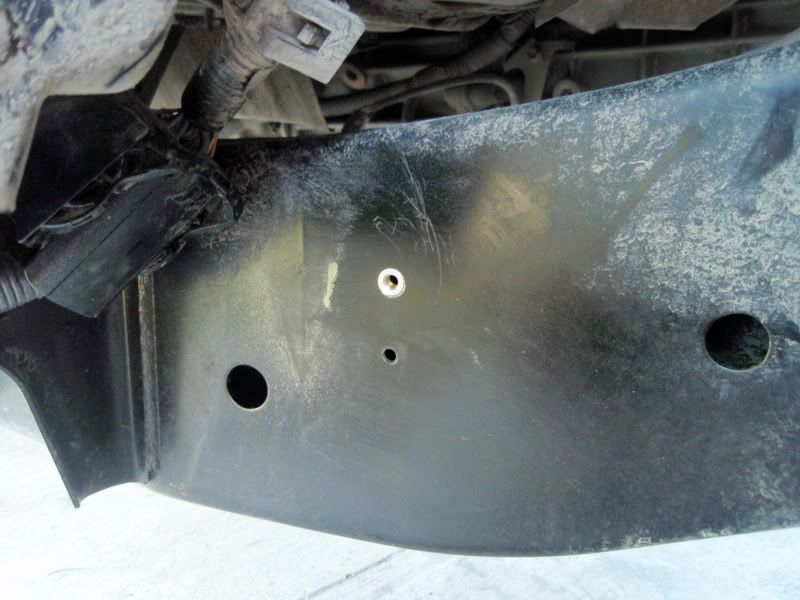
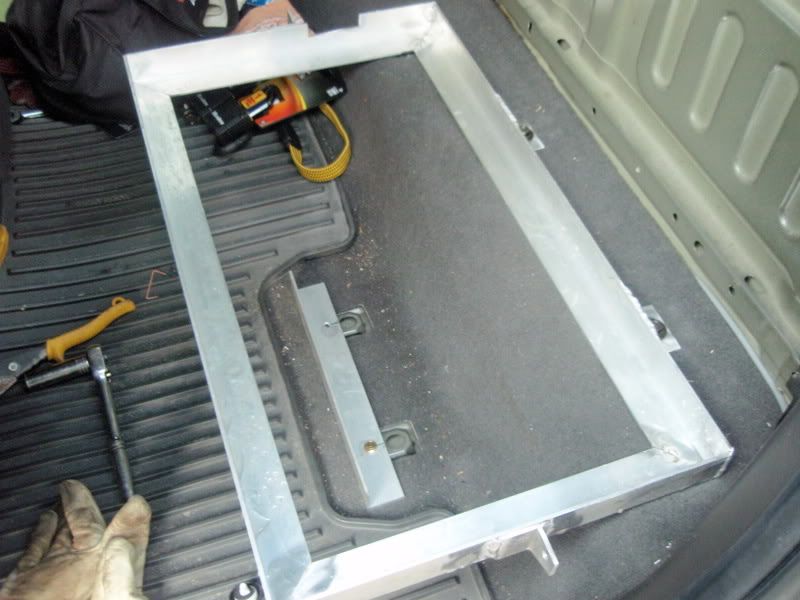
Superwinch EP9 winch
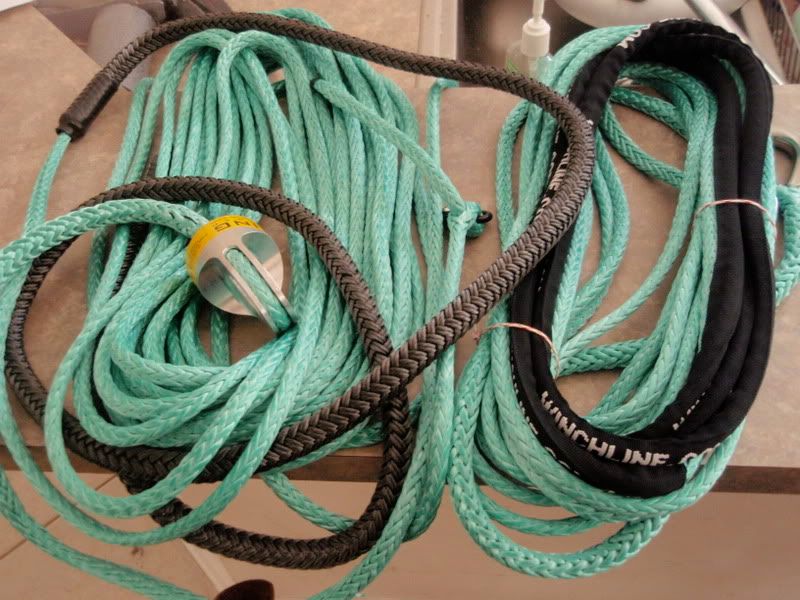
Viking delrin rollers and 3/8" winch line
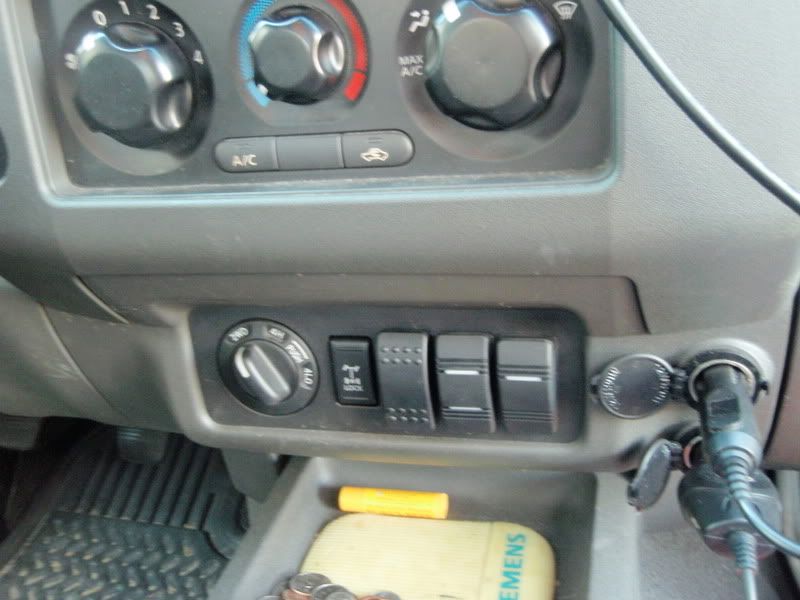
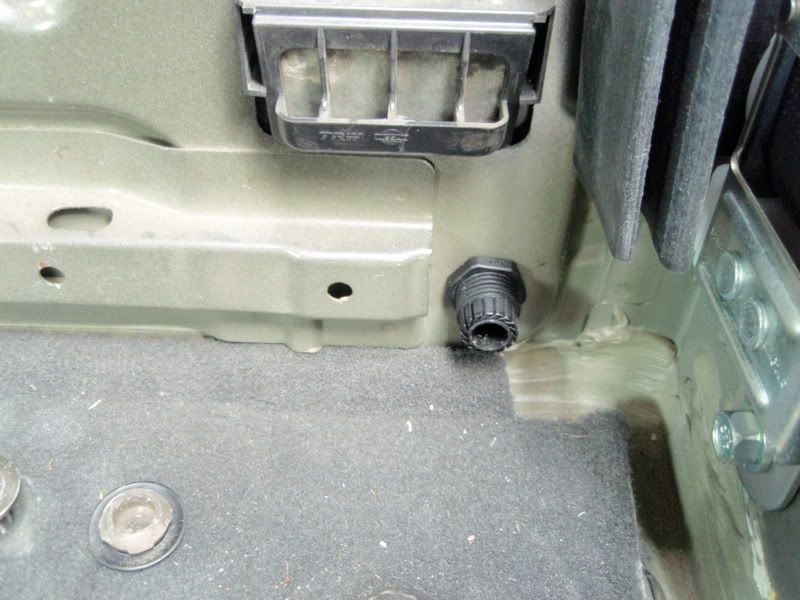
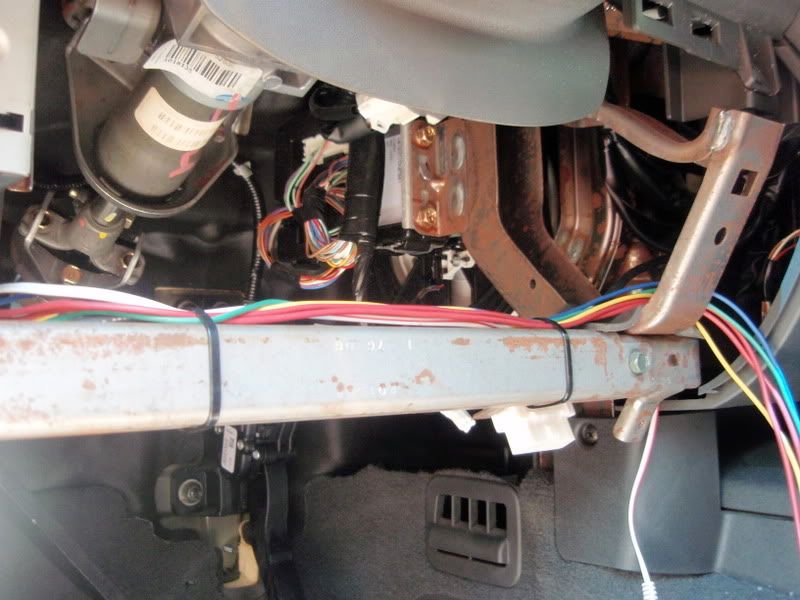
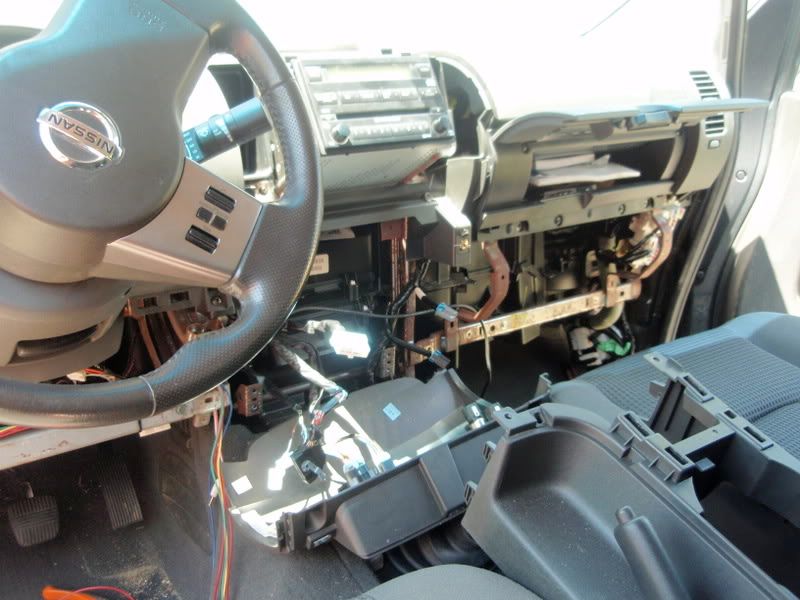
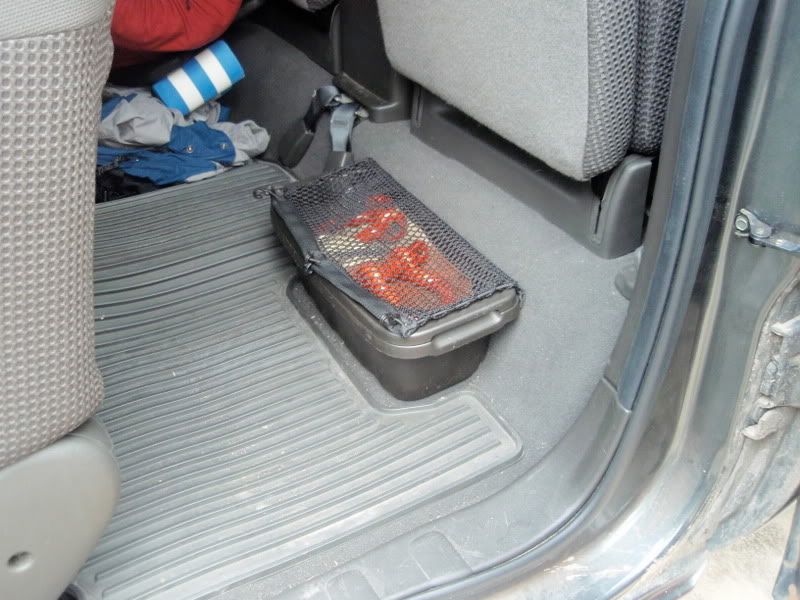
In-cab winch wiring with arming switch for both inside/ outside
Cobra cb with radio shack whip antenna
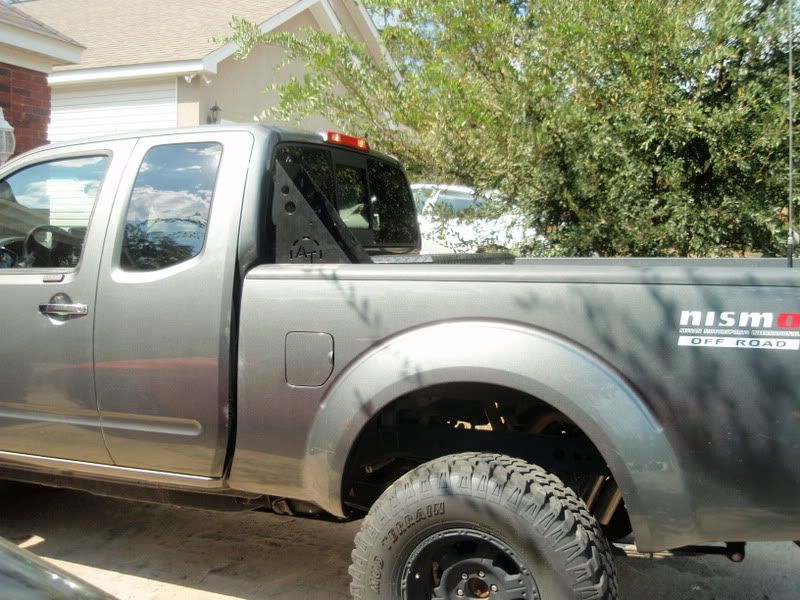
Notched fenders
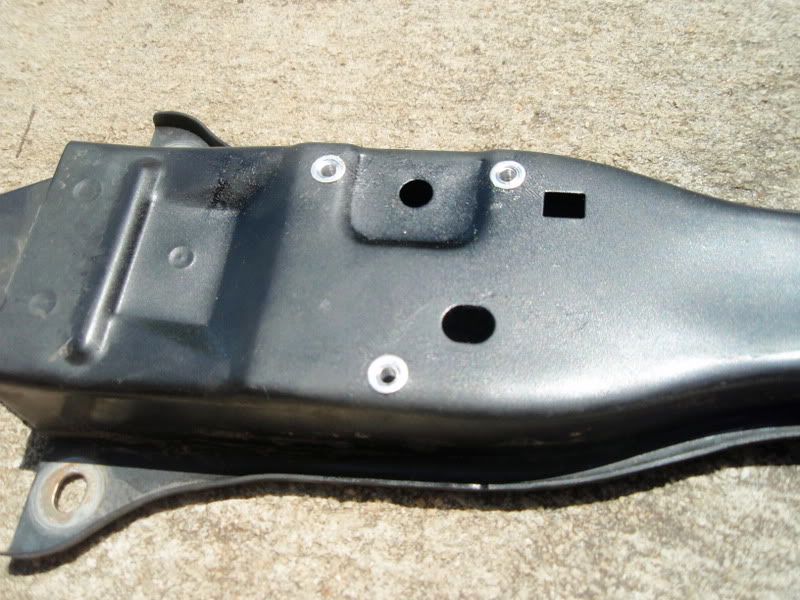
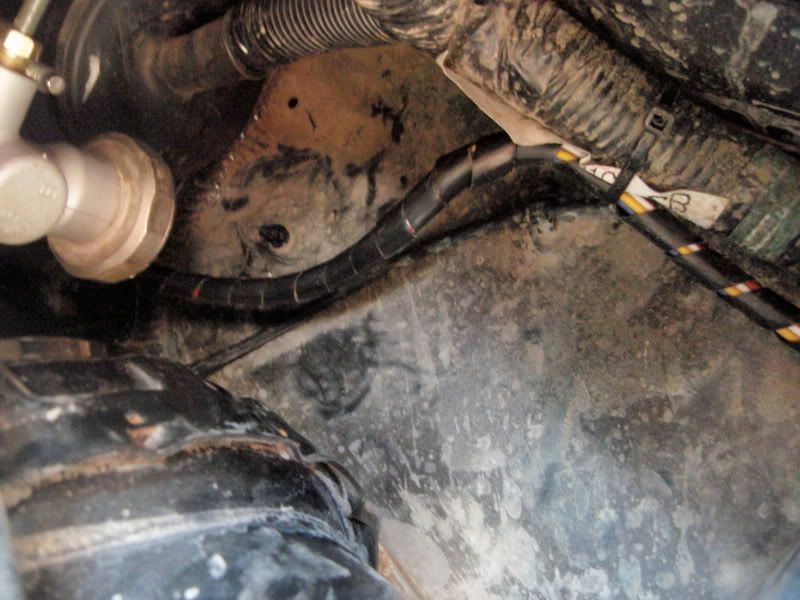
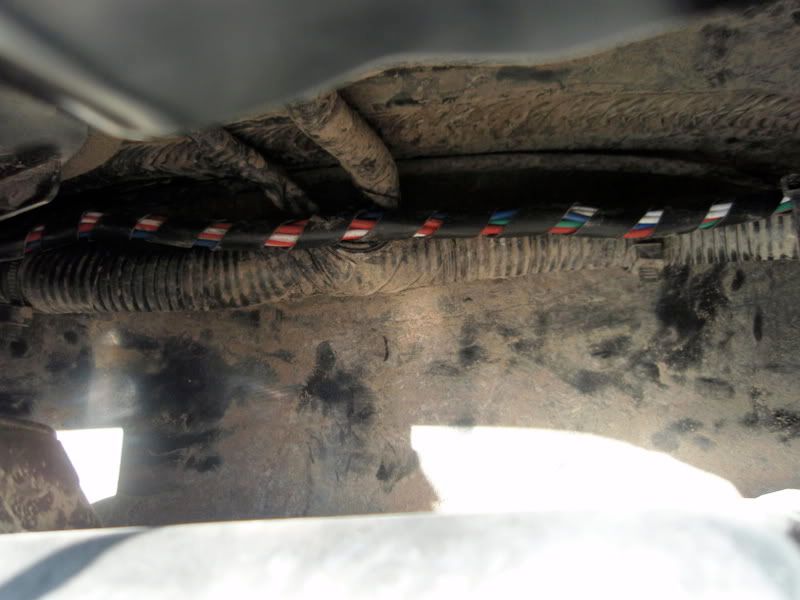
Relocated body wiring harness
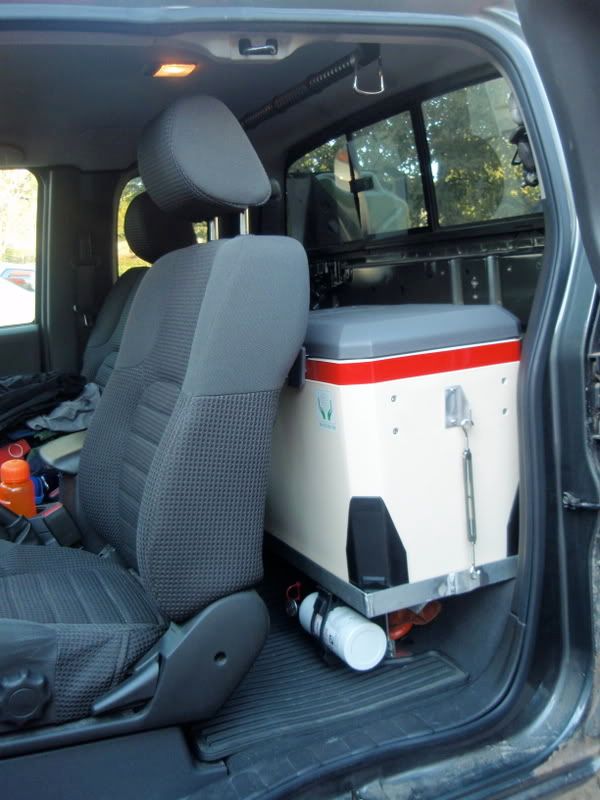
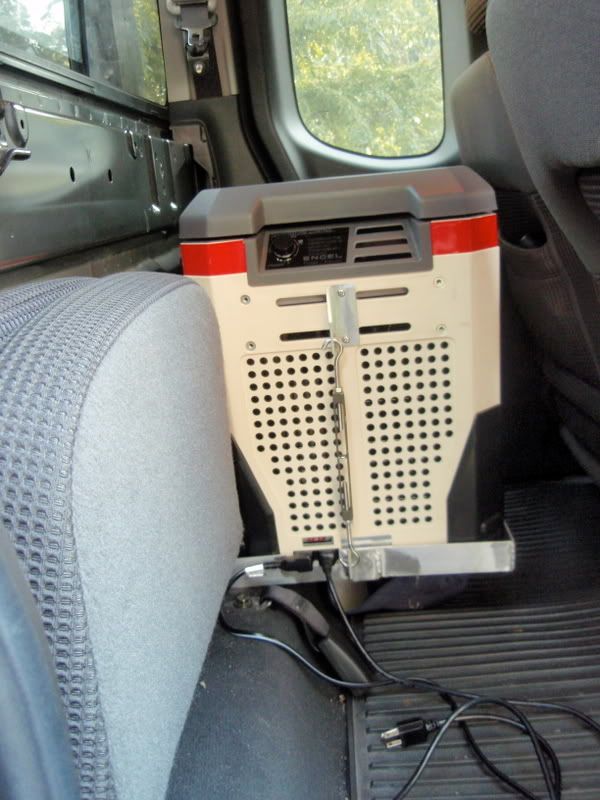
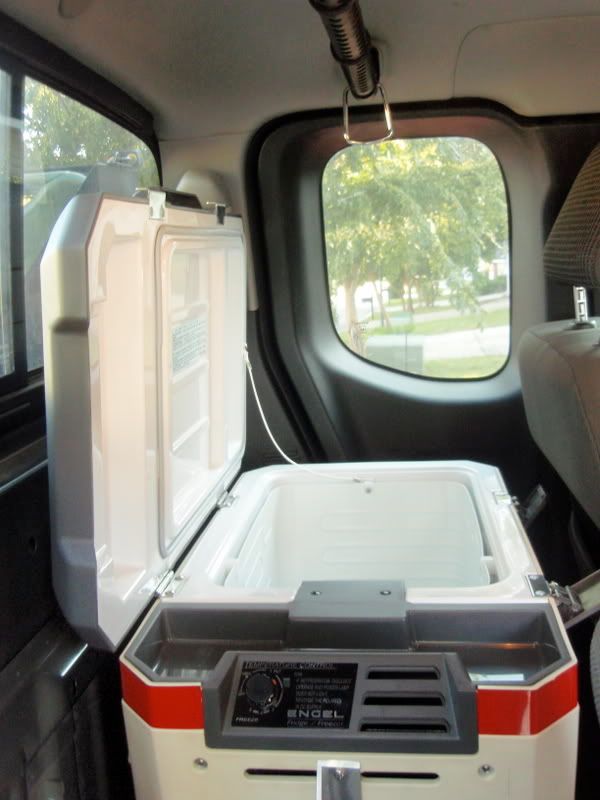
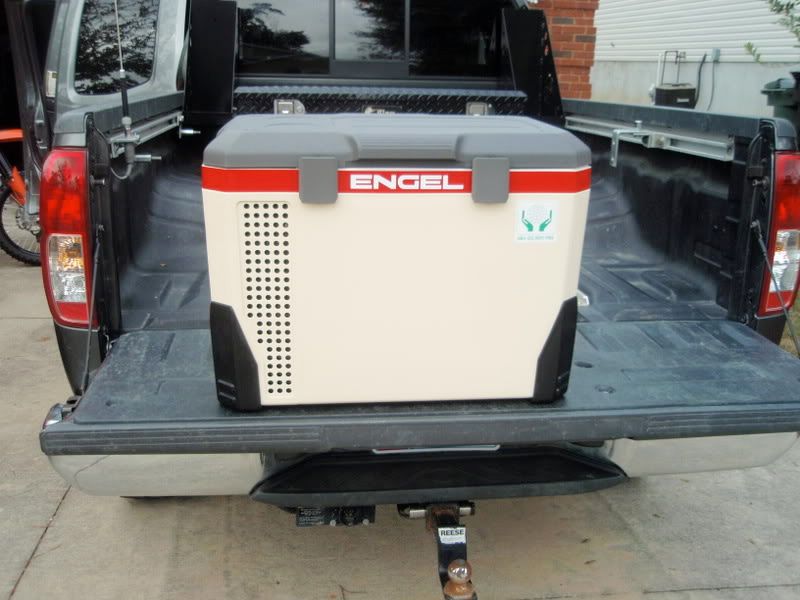
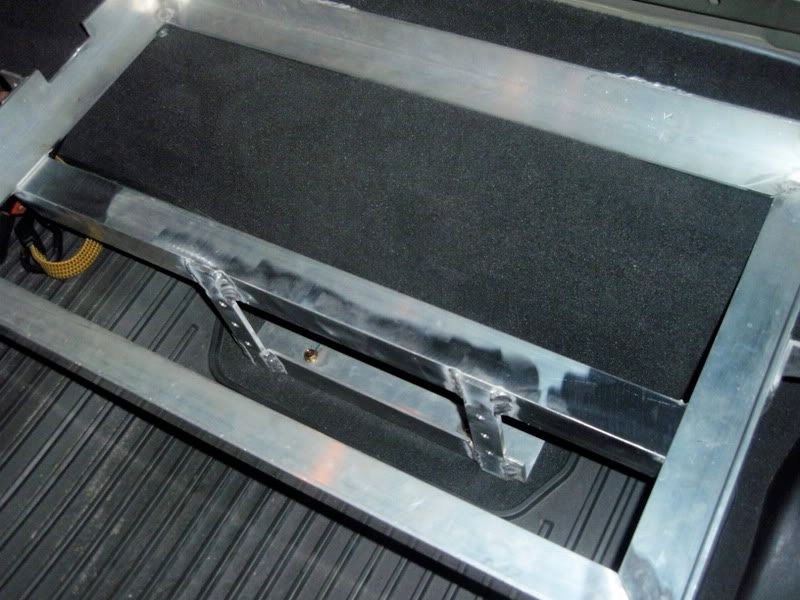
Engel MR040 fridge
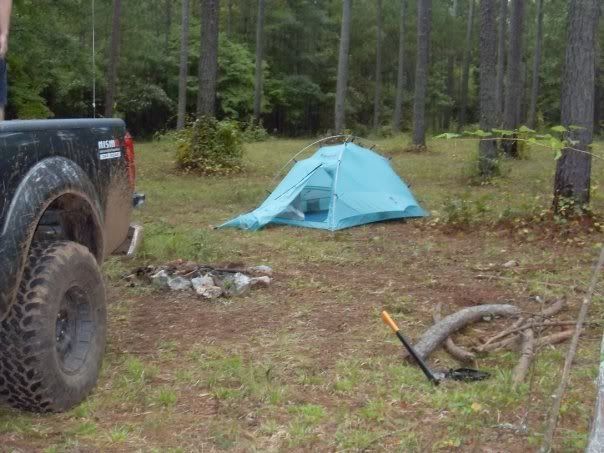
In a few of the pictures, I had the Maxxis Bighorns in 255/85/16 prior to the body lift. Future plans call for building sliders and a rear bumper. A rtt is in the future plan, but the rig dose just fine with ground camping for now.I am considering dropping the body lift, and getting a full replacement leaf pack. I am still undecided on which set of tires I would like to run long term. Aesthetically, I like the procomps, and I have a full set with a spare. The 255s are possibly more economical, but only a marginal difference. I do think they are more in line with overlanding, however (less noise and rubbing in extreme flex). I need to do some back to back tests on fuel economy...
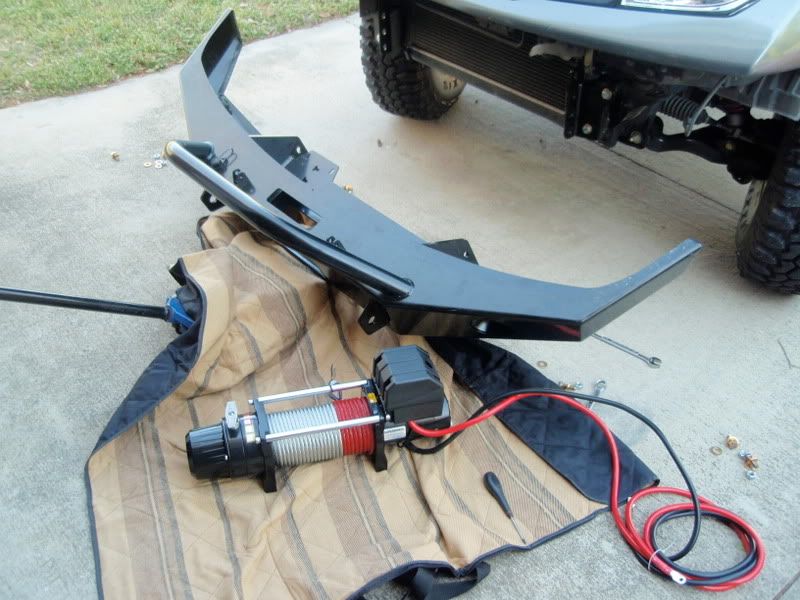
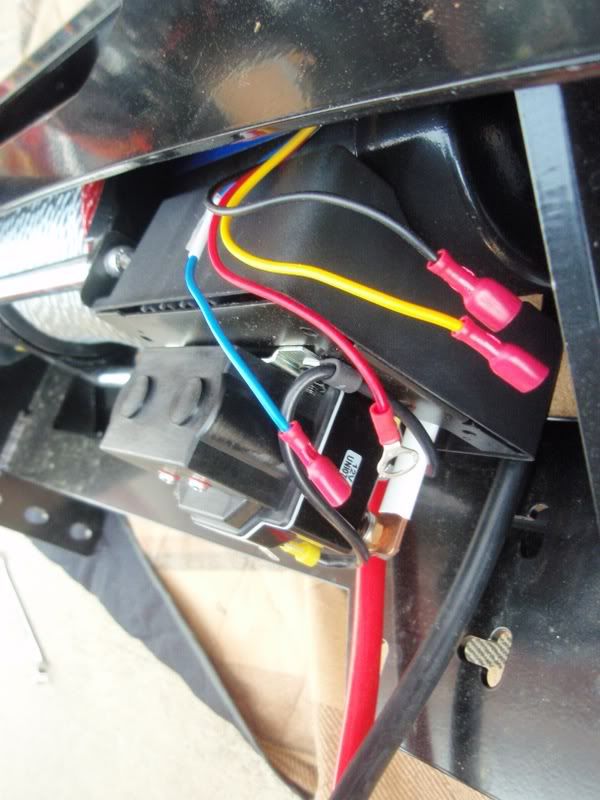
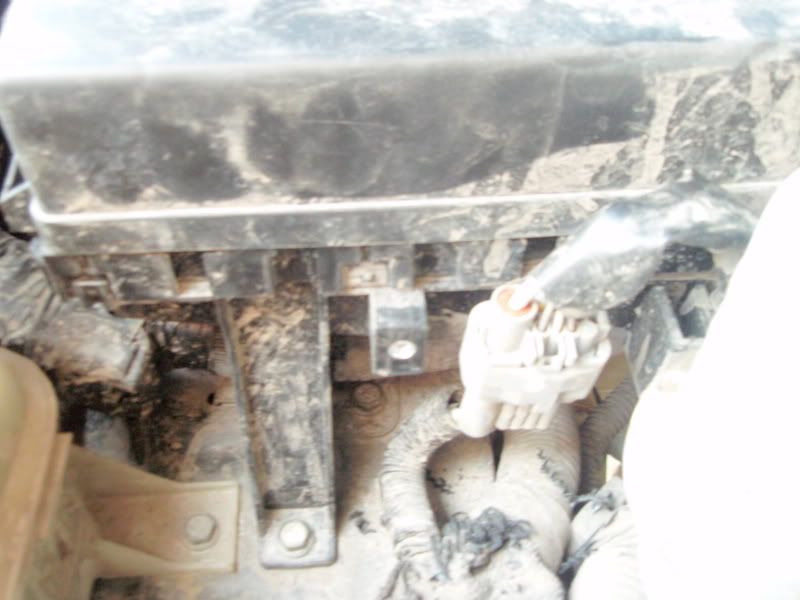
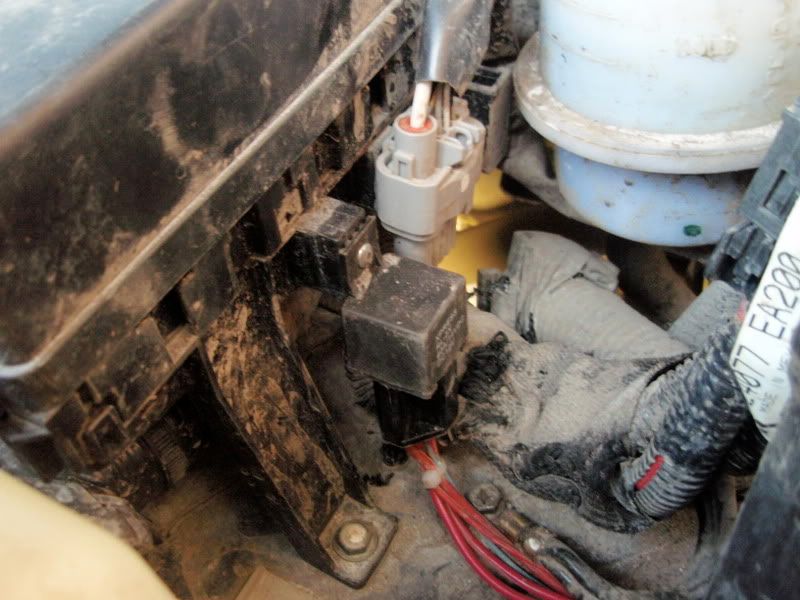
the solenoid wiring had to be extended for the winch plug/ in-cab wiring
255/85 Bighorns on the left, 285/75 Procomps on right
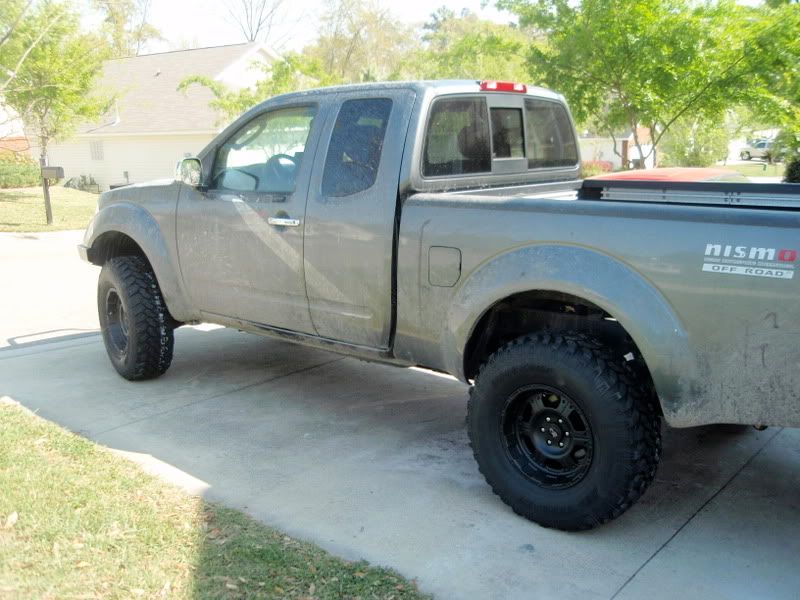
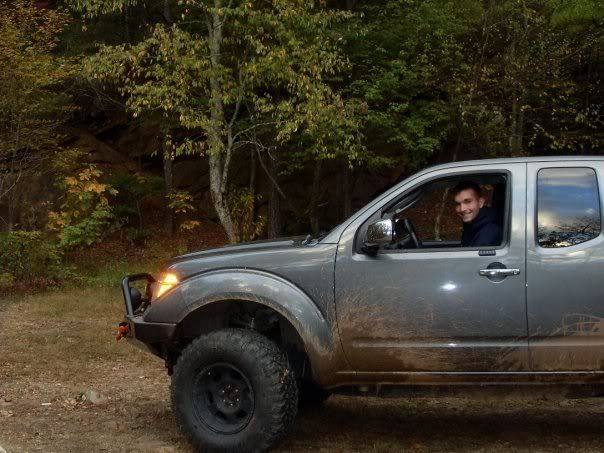
prior to body lift and notching, rubbing was extreme.
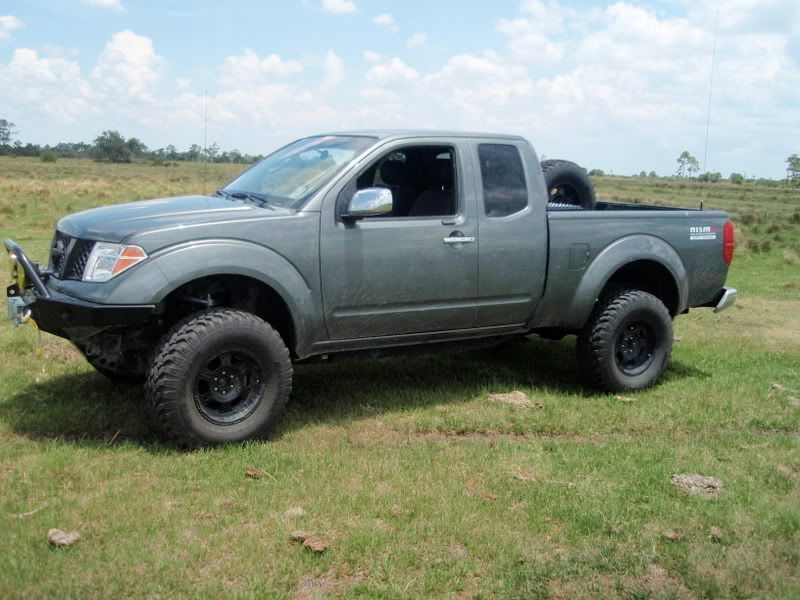
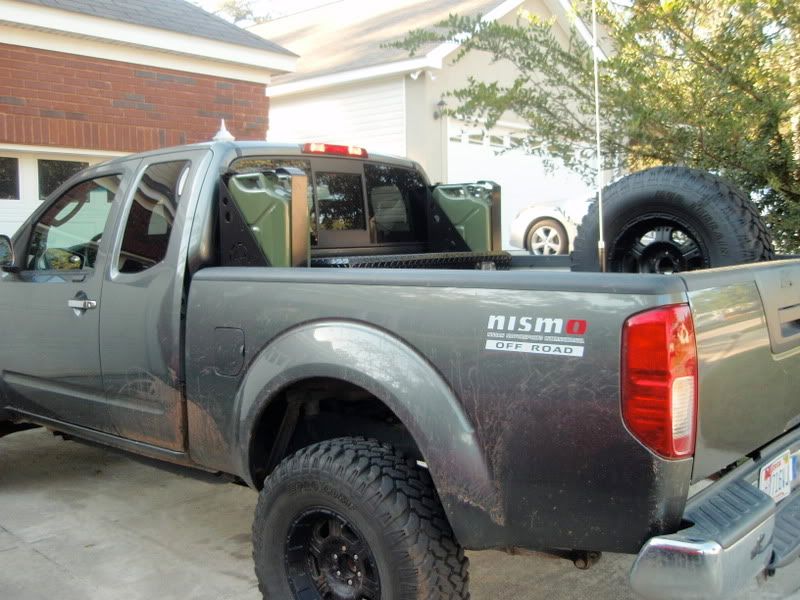
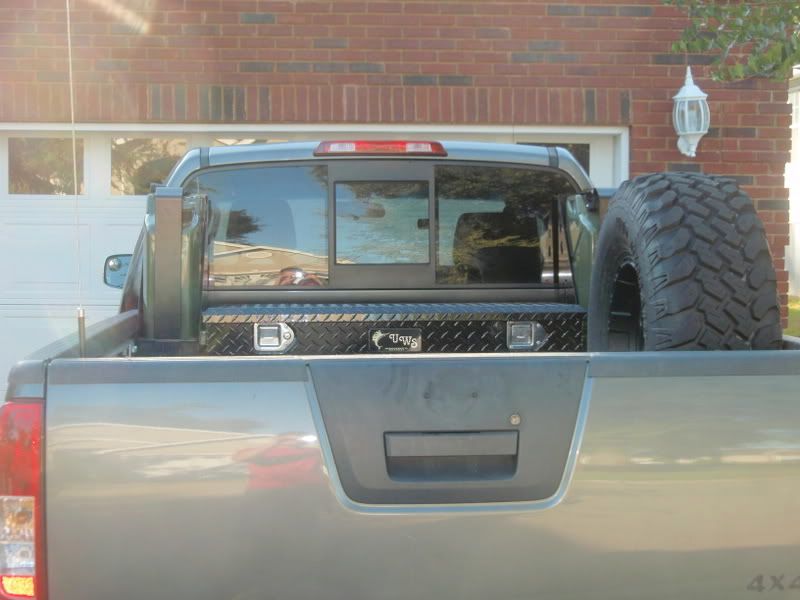
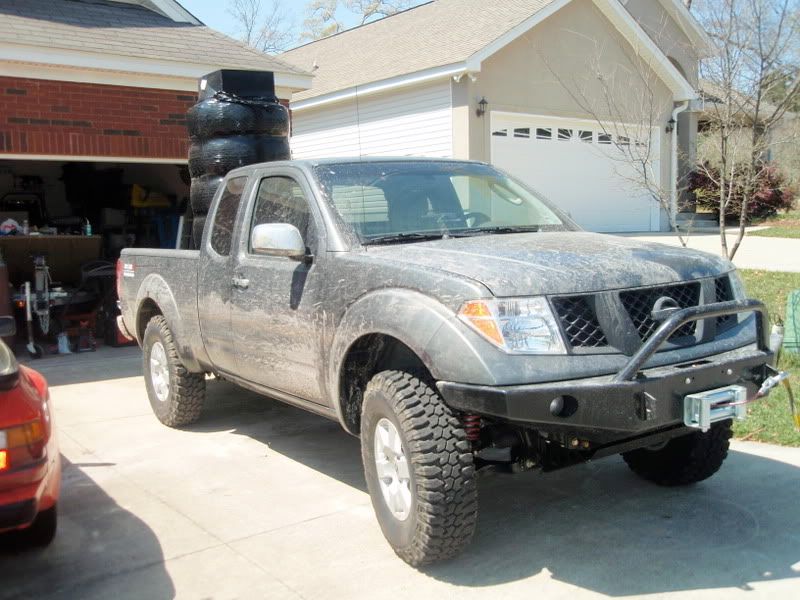
after the 2" body lift
Total Chaos upper control arms
Radflo front coilovers; 3"lift and the heavier springs
Sway a way rear resi struts
PRG adjustable shackles
Deaver add a leaf
DIY 2" Body Lift
Procomp MT 285/75/16 / Procomp 7089 in 16x8
Shrock front bumper
Superwinch EP9 winch
Viking delrin rollers and 3/8" winch line
In-cab winch wiring with arming switch for both inside/ outside
Cobra cb with radio shack whip antenna
Notched fenders
Relocated body wiring harness
Engel MR040 fridge
In a few of the pictures, I had the Maxxis Bighorns in 255/85/16 prior to the body lift. Future plans call for building sliders and a rear bumper. A rtt is in the future plan, but the rig dose just fine with ground camping for now.I am considering dropping the body lift, and getting a full replacement leaf pack. I am still undecided on which set of tires I would like to run long term. Aesthetically, I like the procomps, and I have a full set with a spare. The 255s are possibly more economical, but only a marginal difference. I do think they are more in line with overlanding, however (less noise and rubbing in extreme flex). I need to do some back to back tests on fuel economy...
the solenoid wiring had to be extended for the winch plug/ in-cab wiring
255/85 Bighorns on the left, 285/75 Procomps on right
prior to body lift and notching, rubbing was extreme.
after the 2" body lift
Last edited:

")