AlabamaWill
Observer
hey Squall Line were in GA are do you live; I just moved to Macon. I dont know any place to go camping or wheeling.


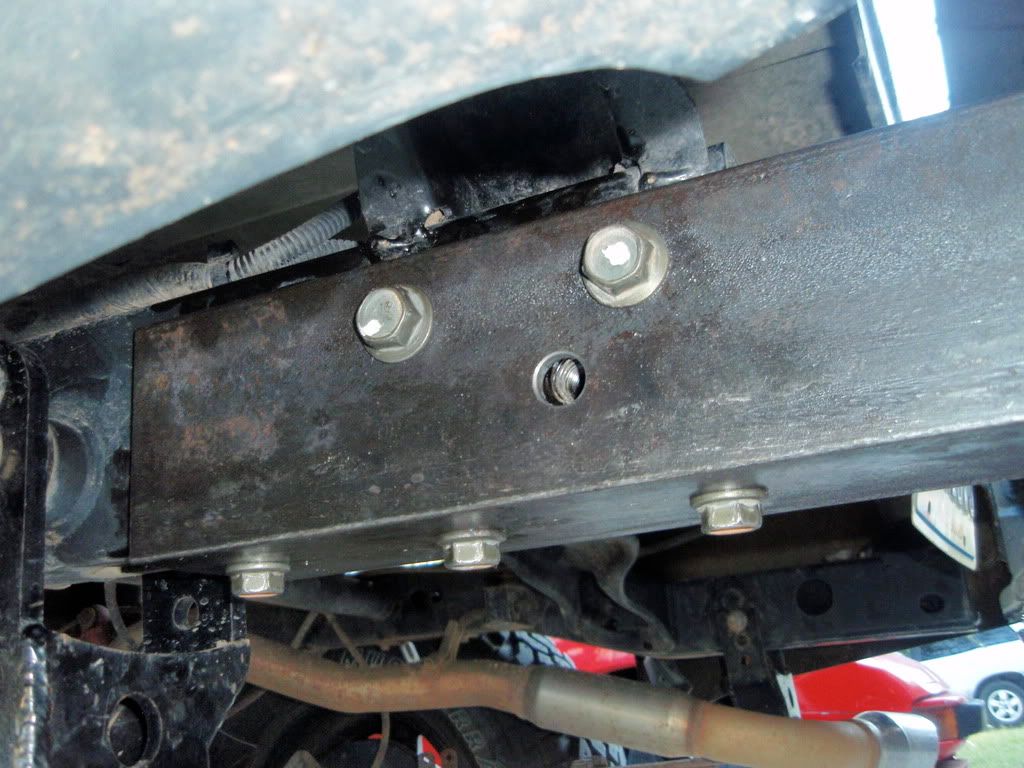
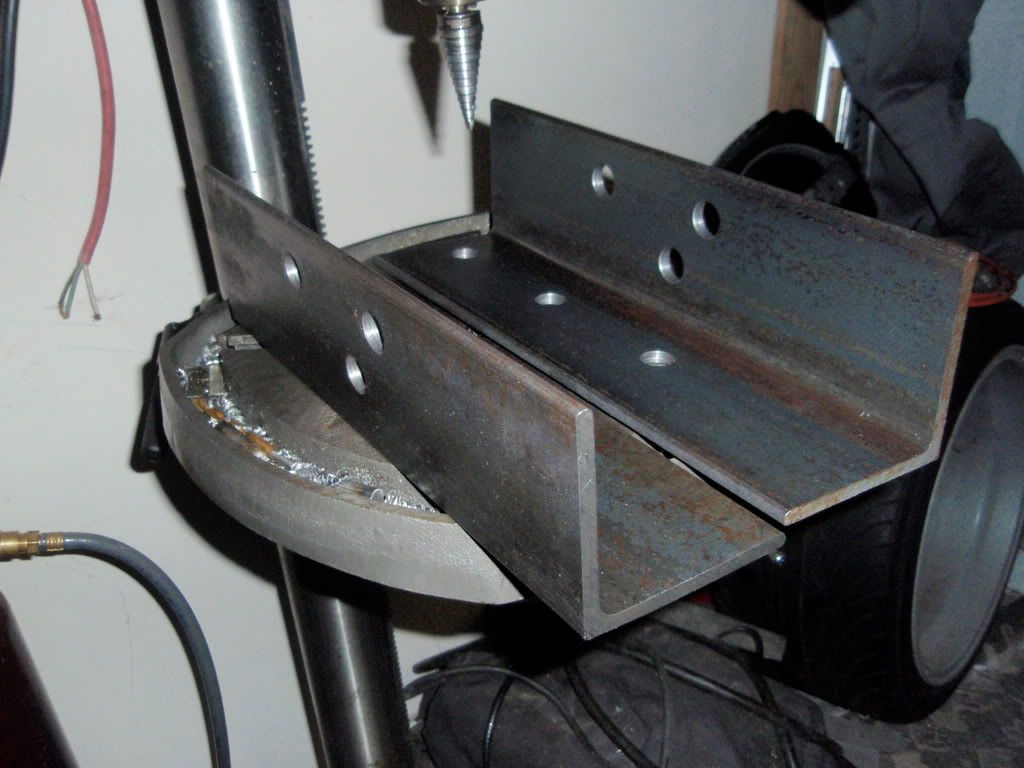
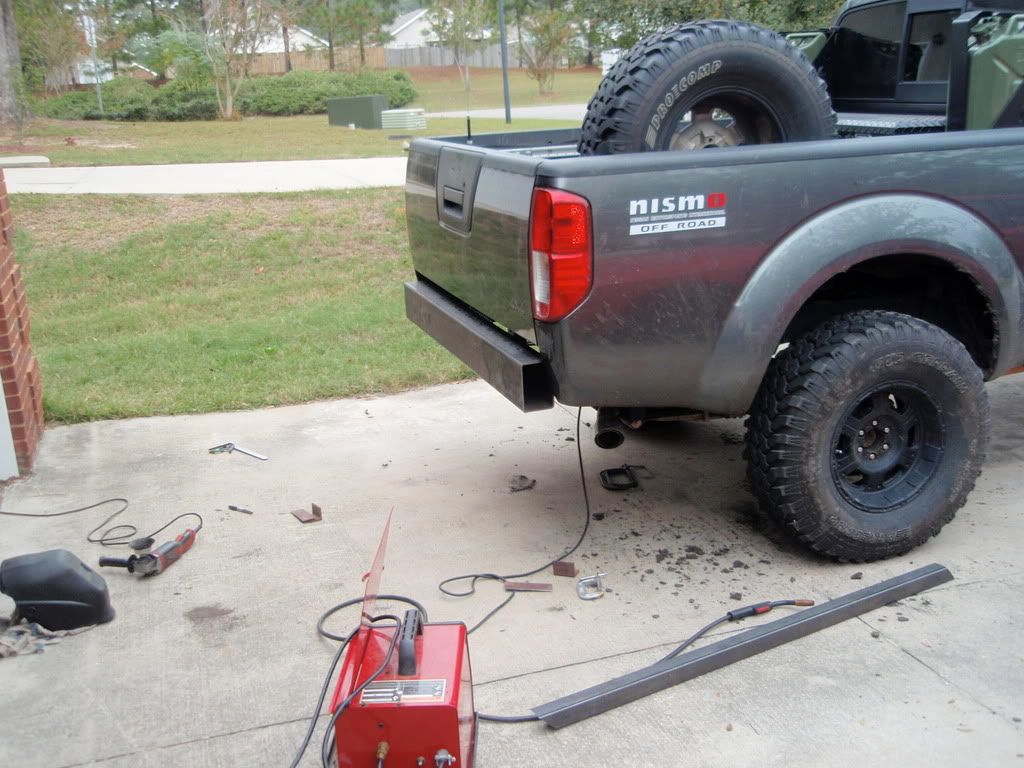
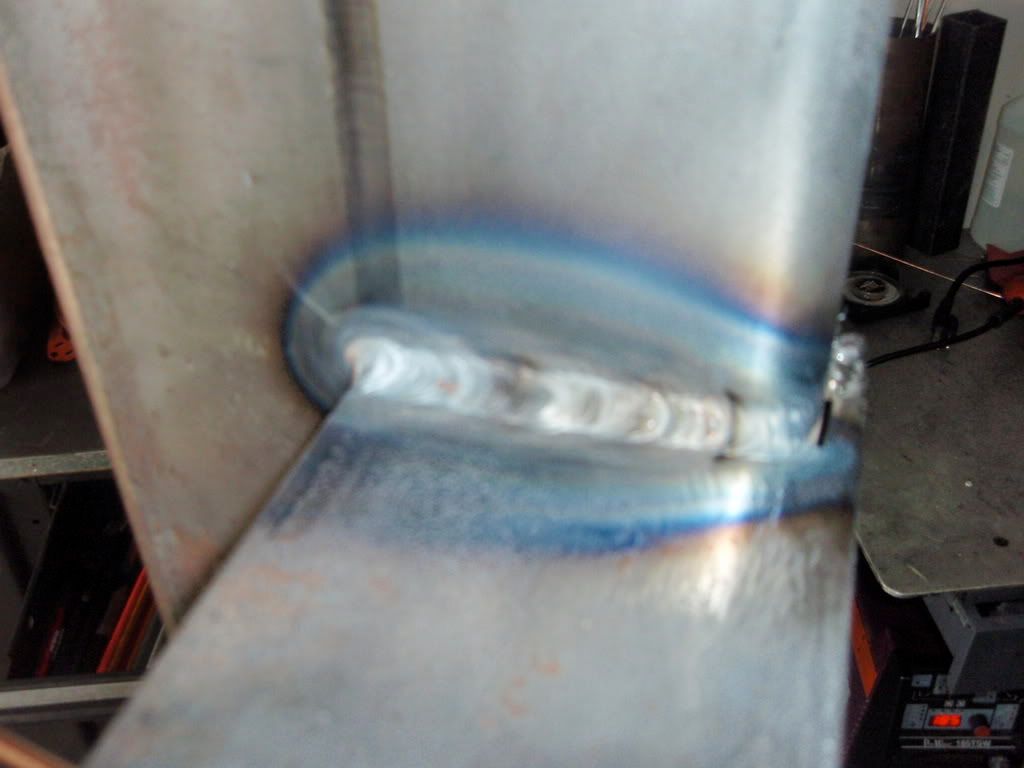
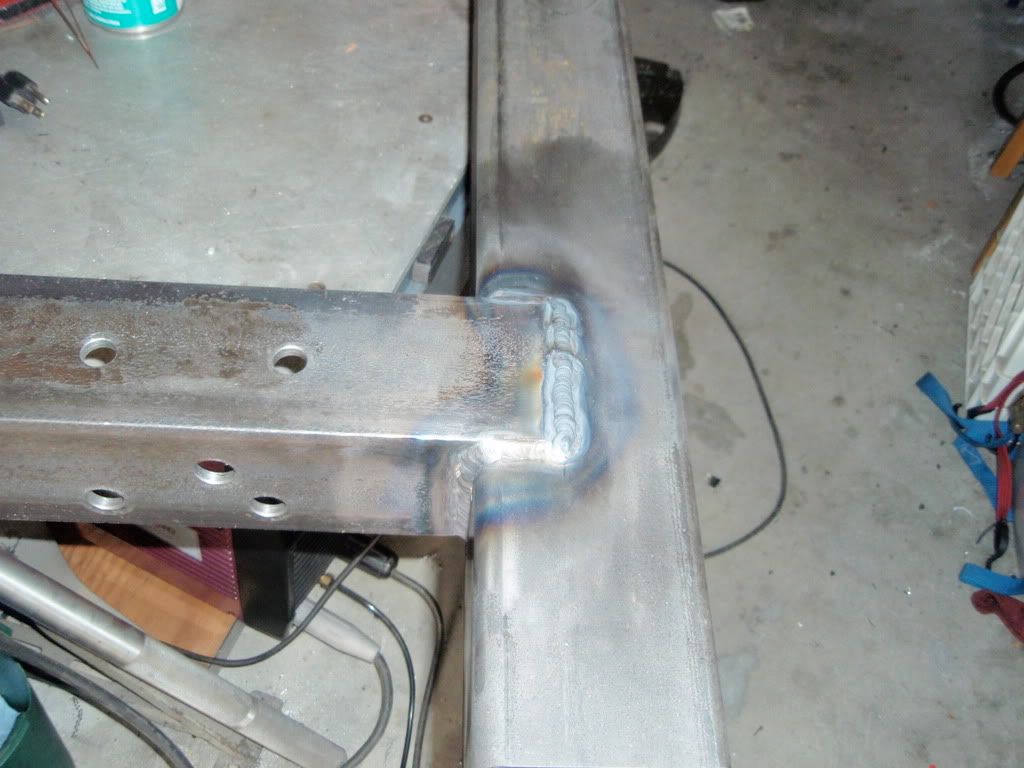
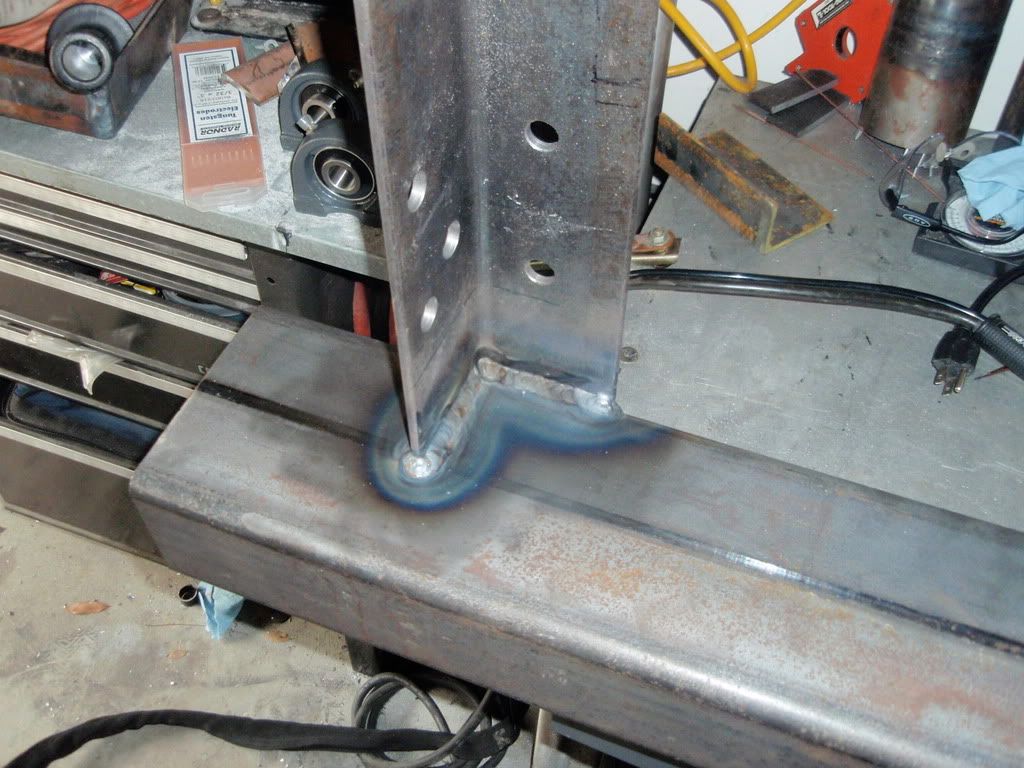

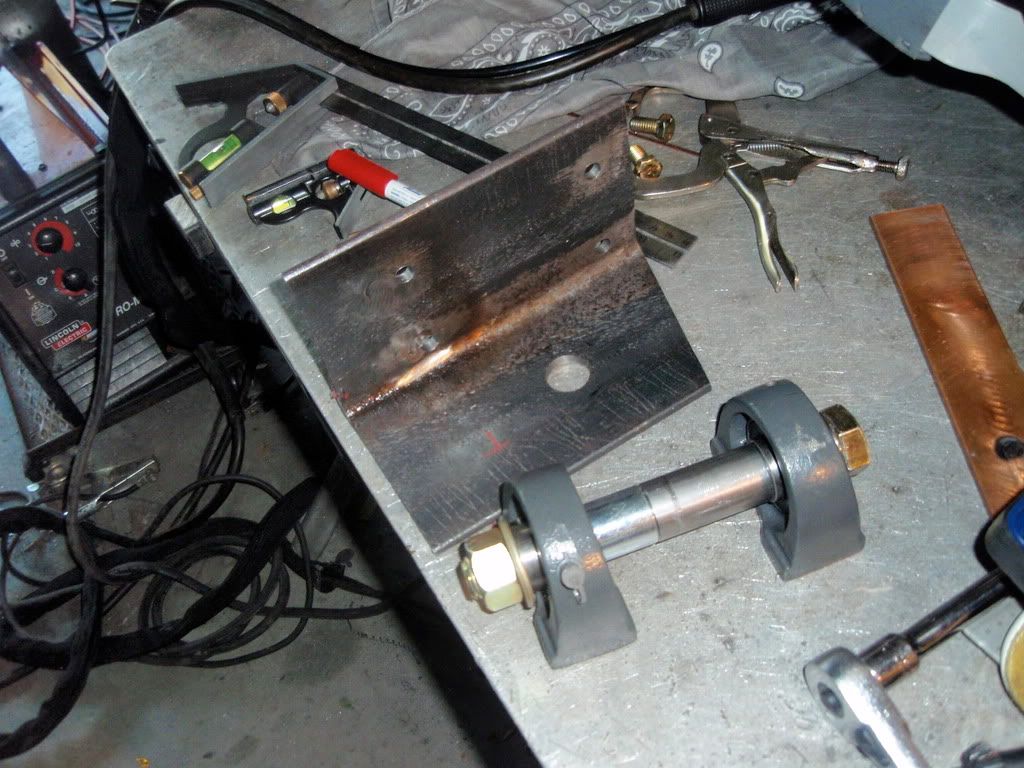
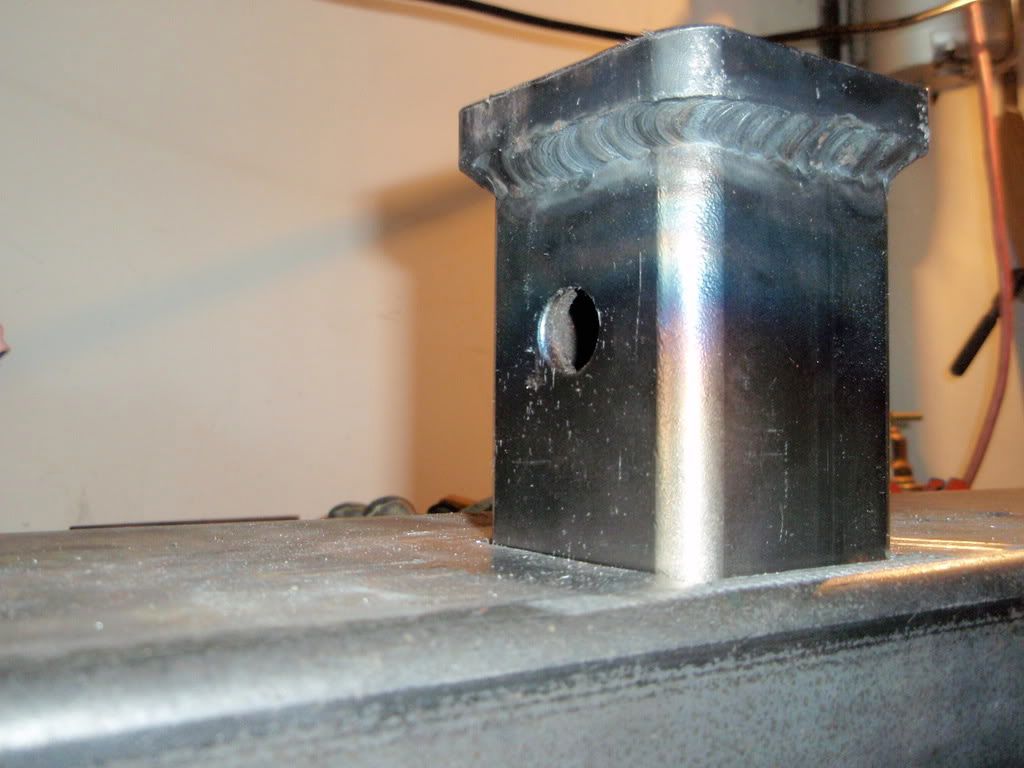
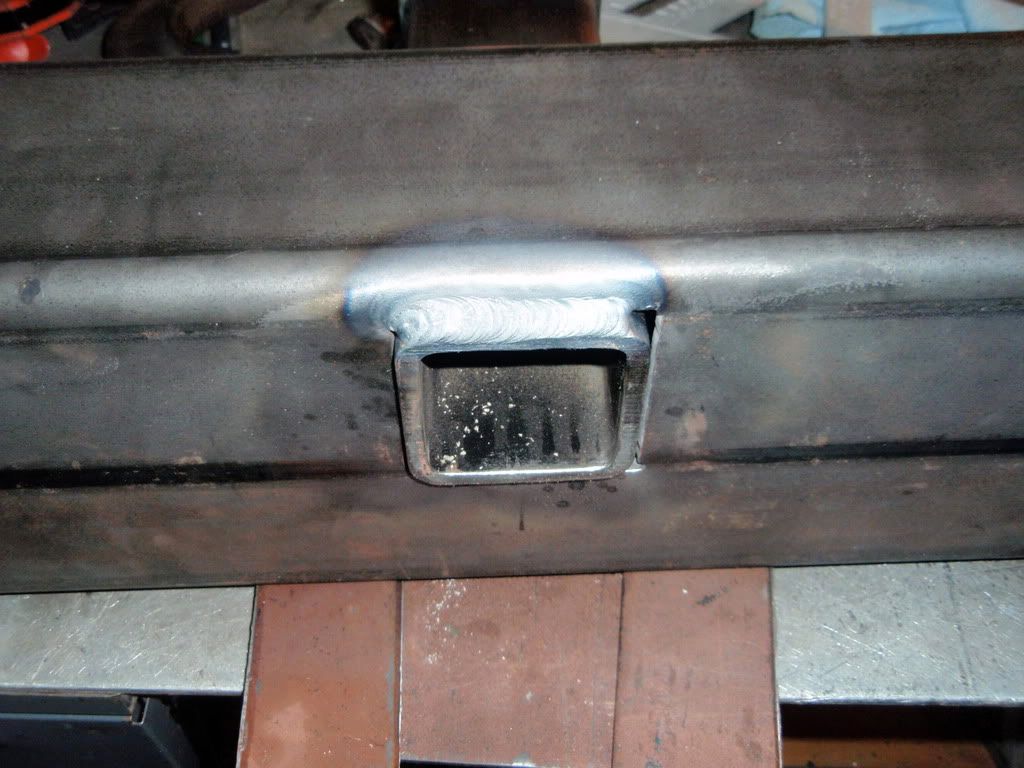
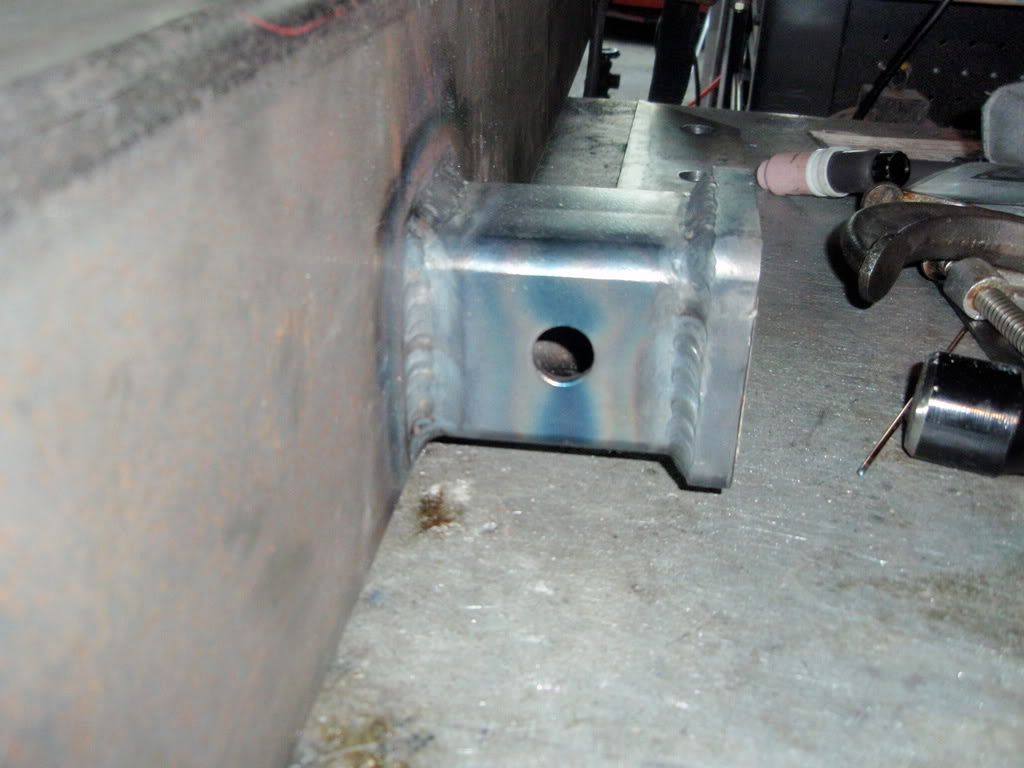
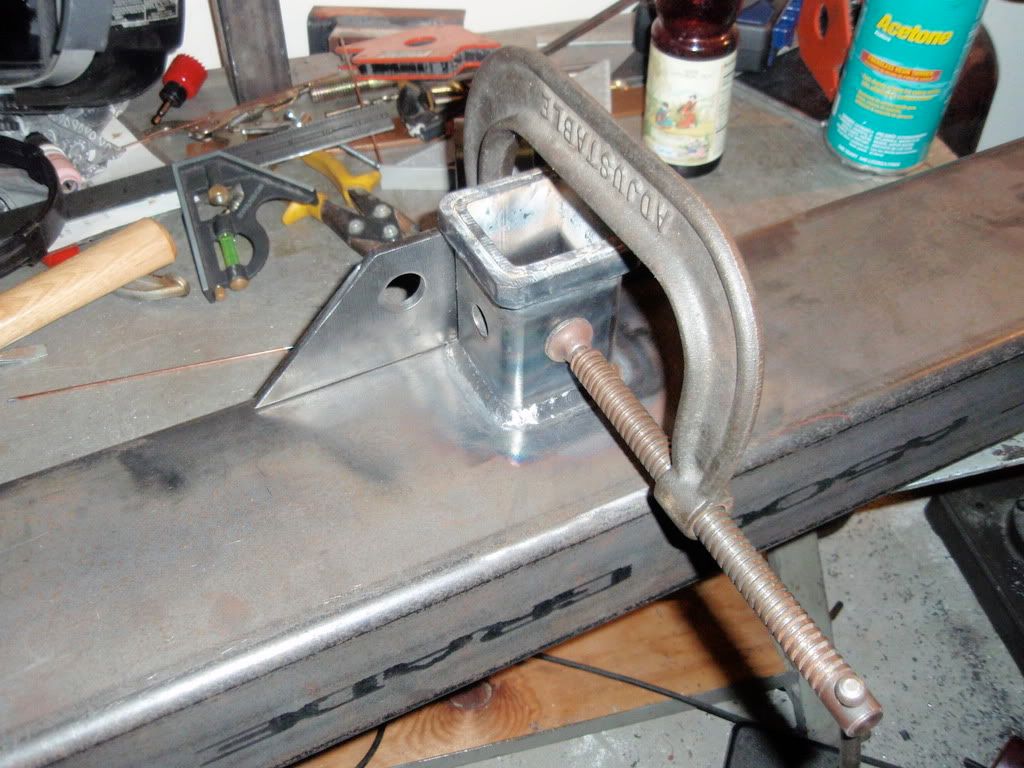
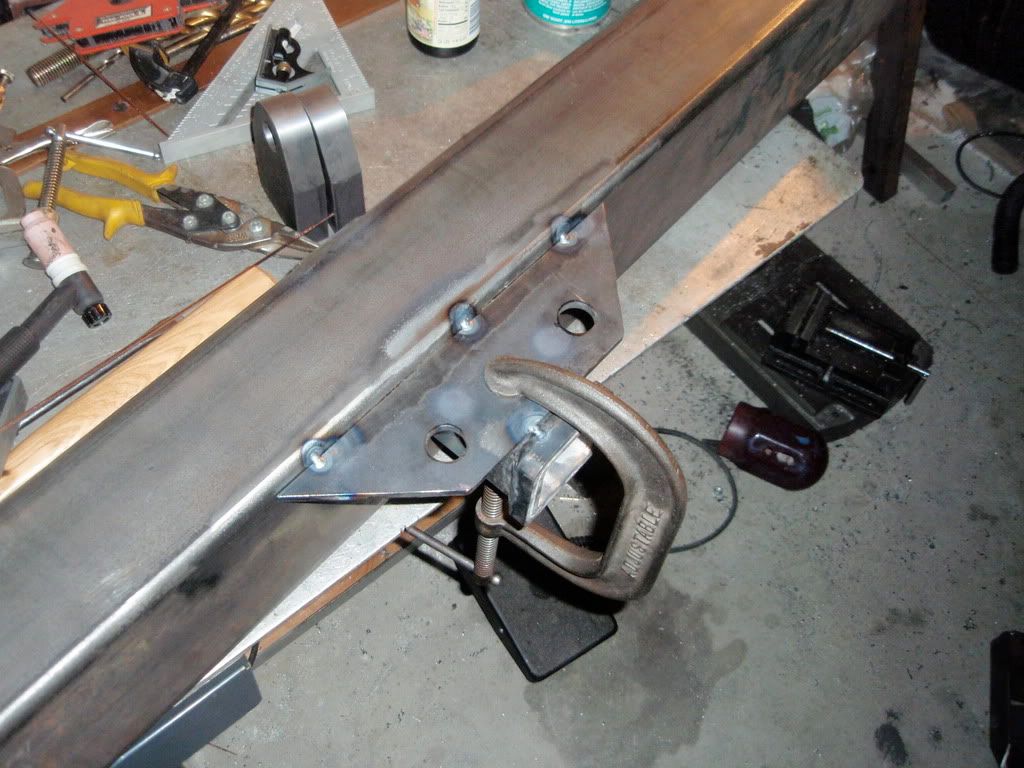
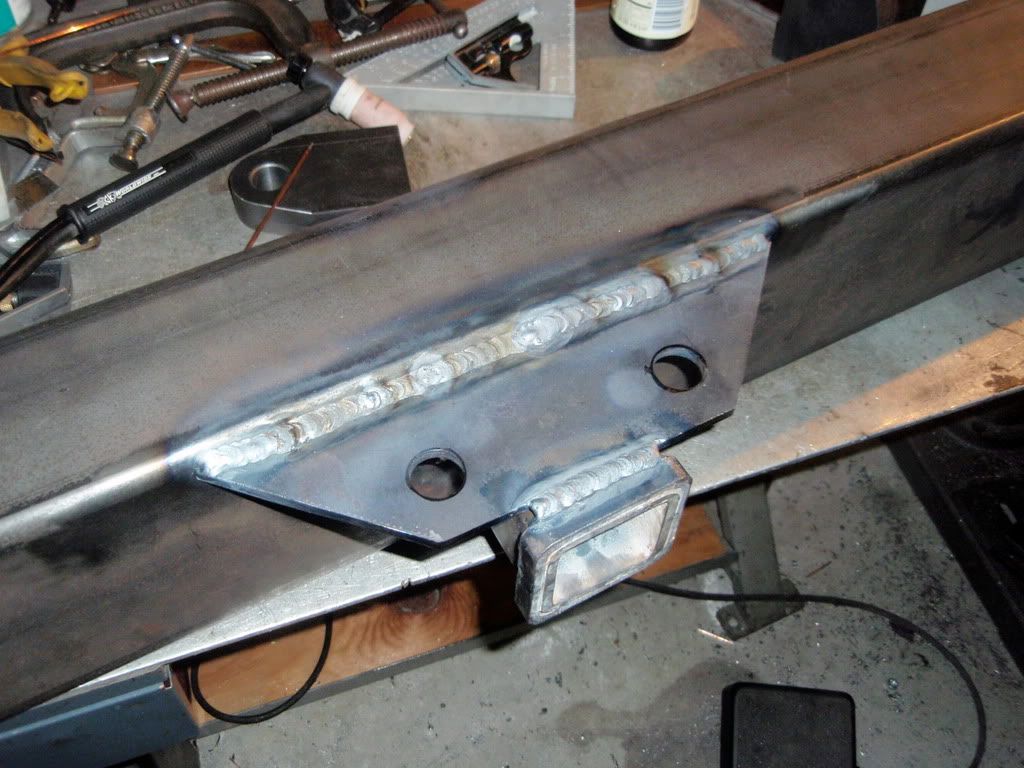
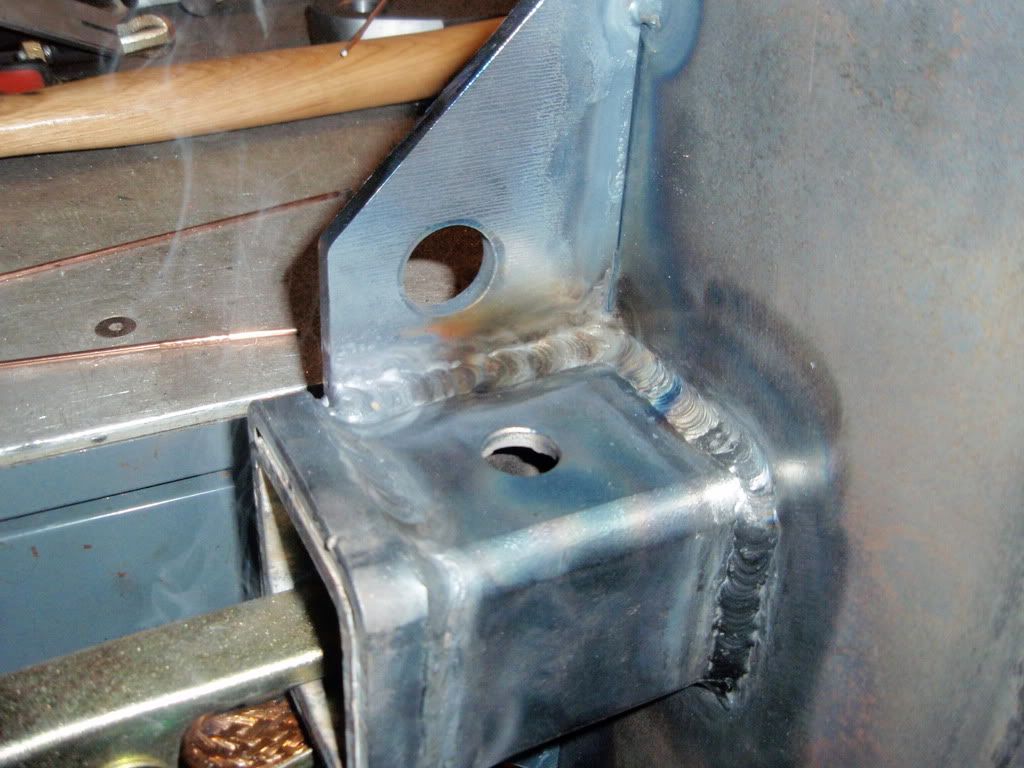
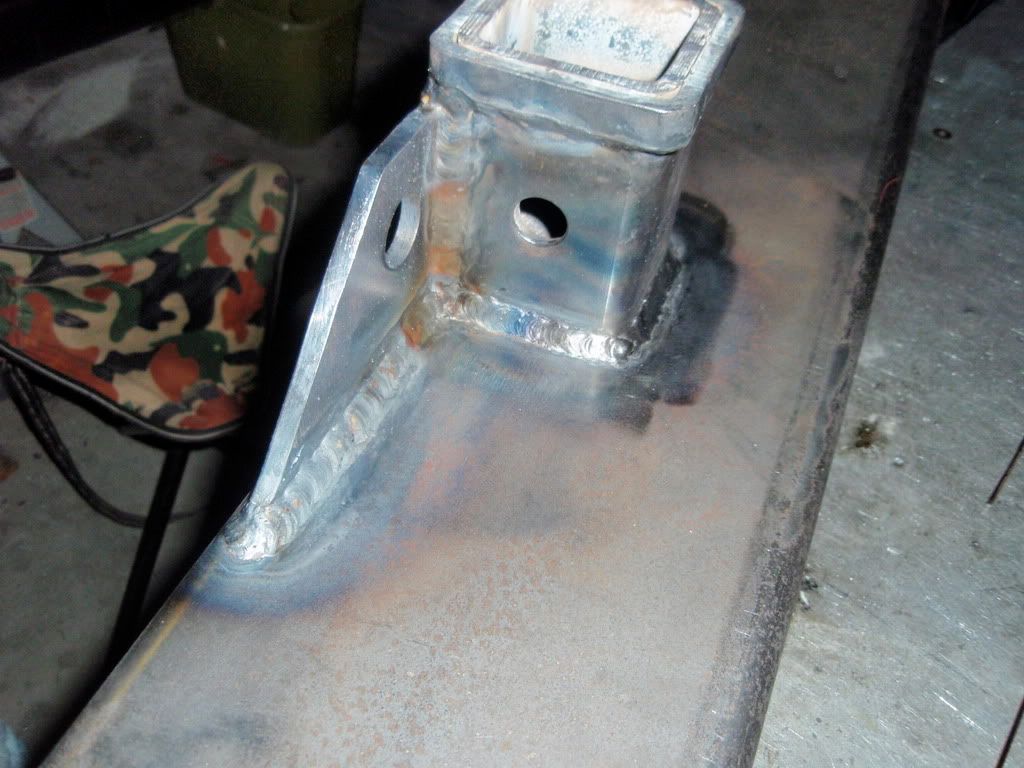
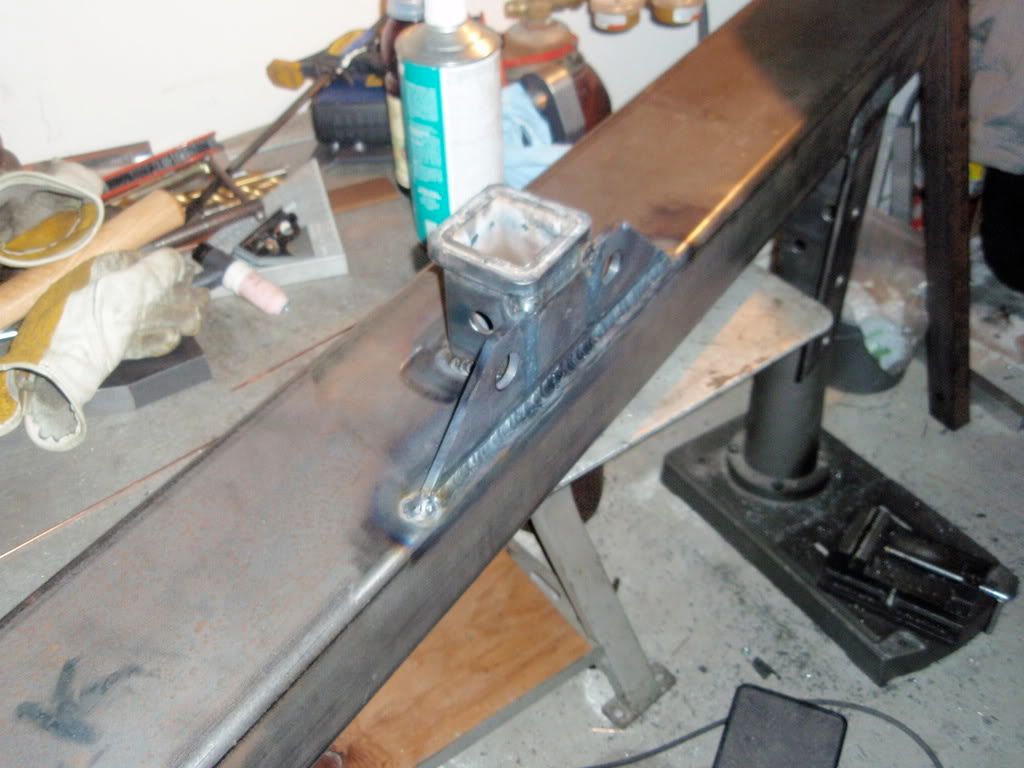
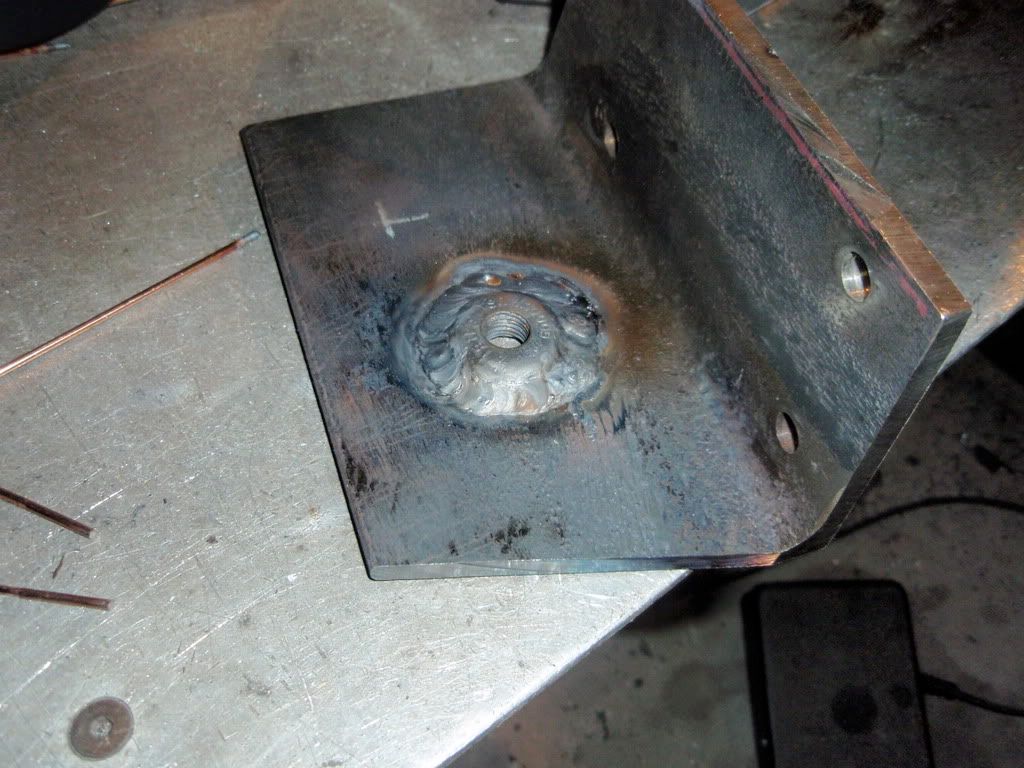
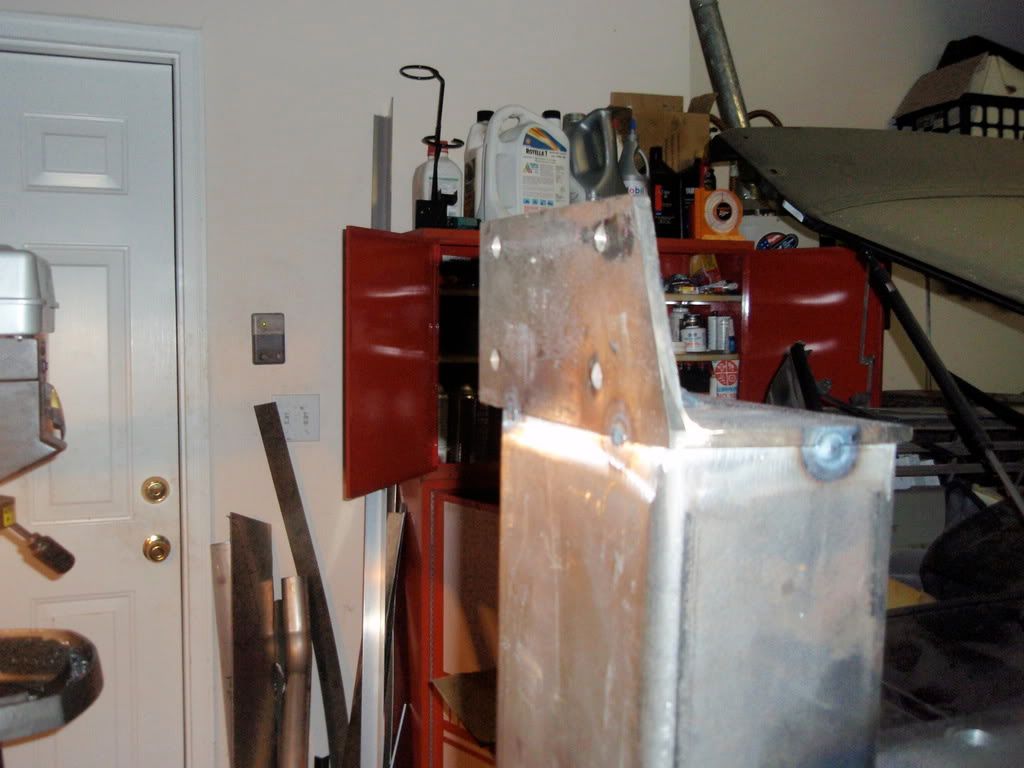
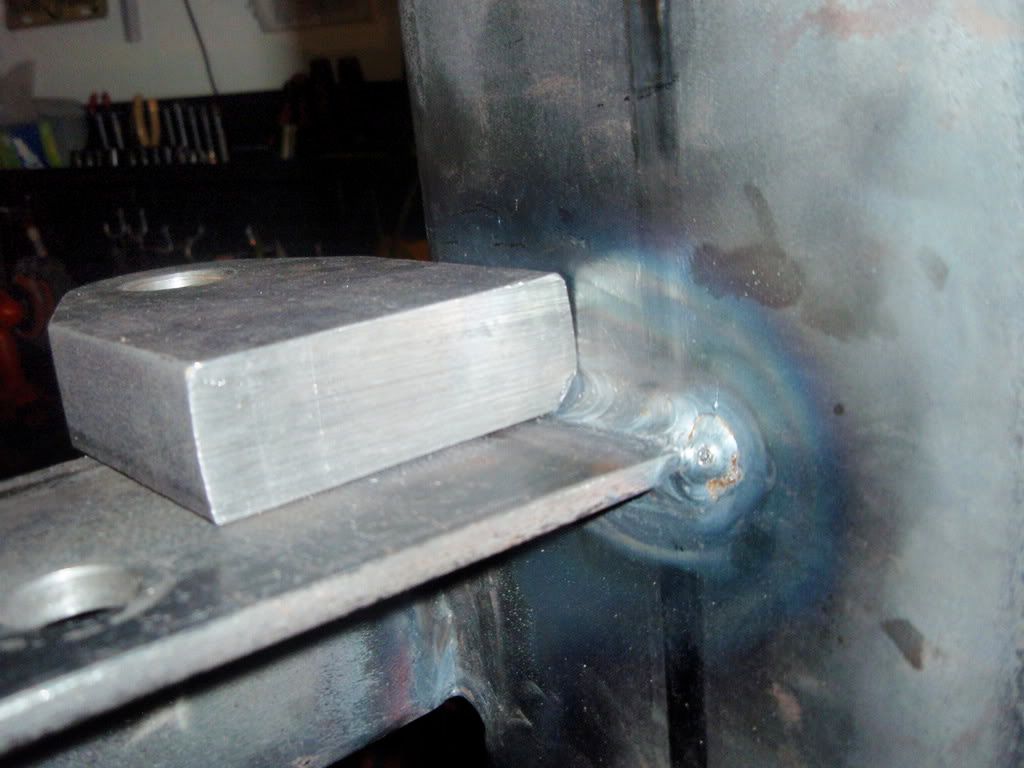
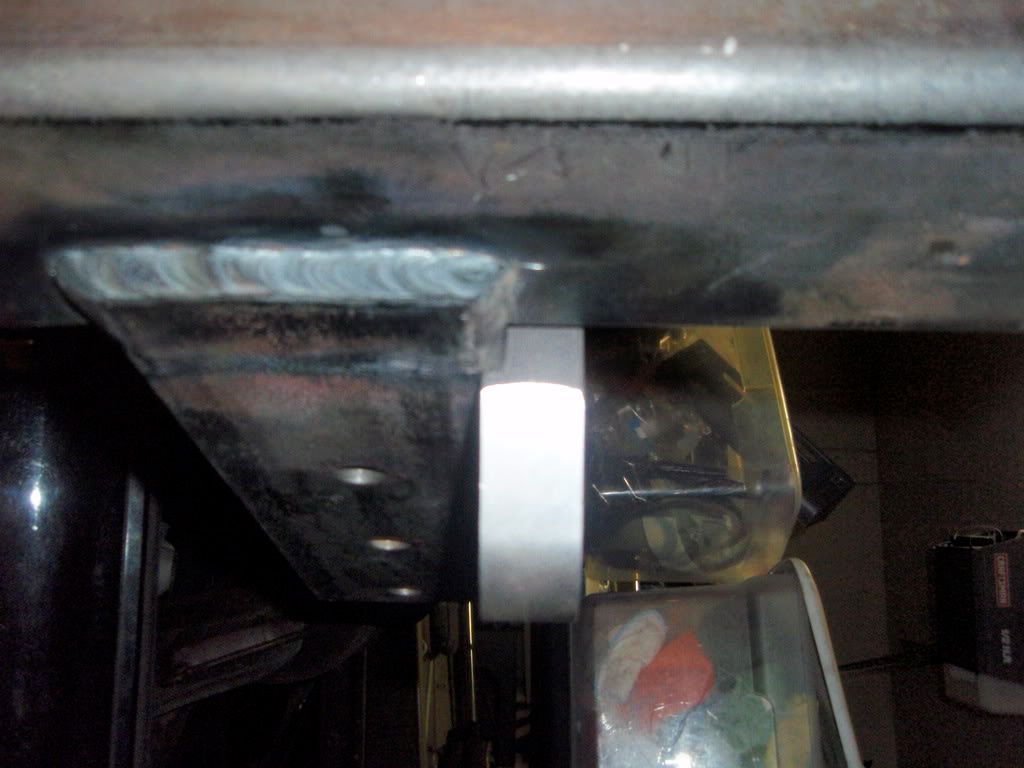
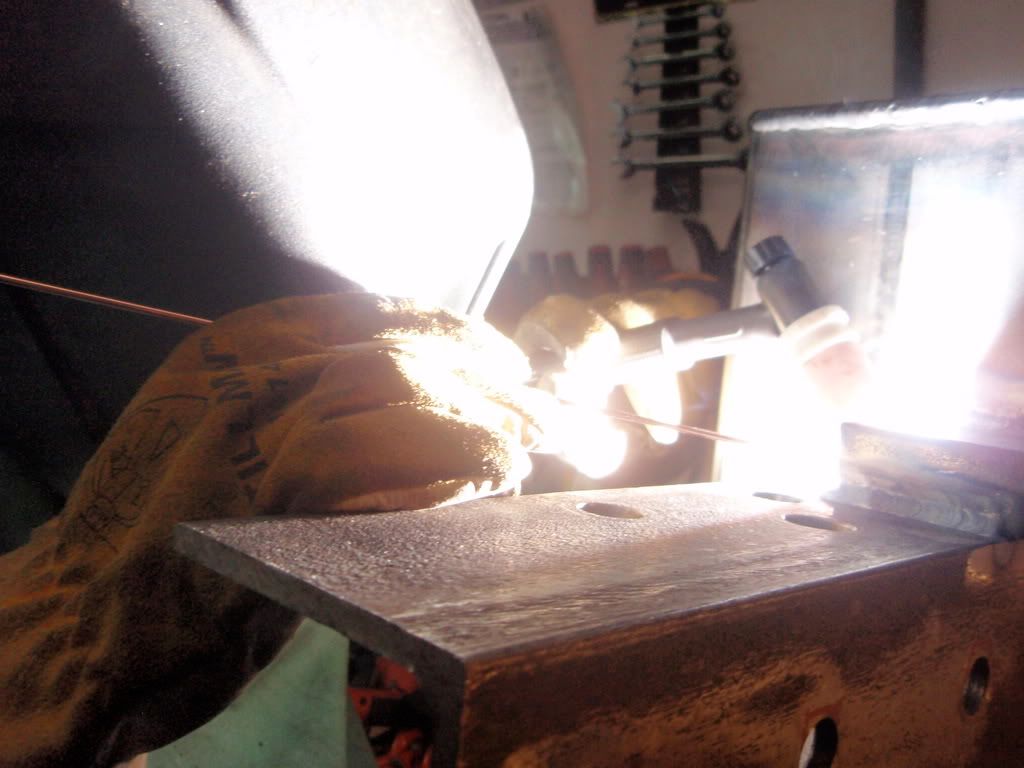
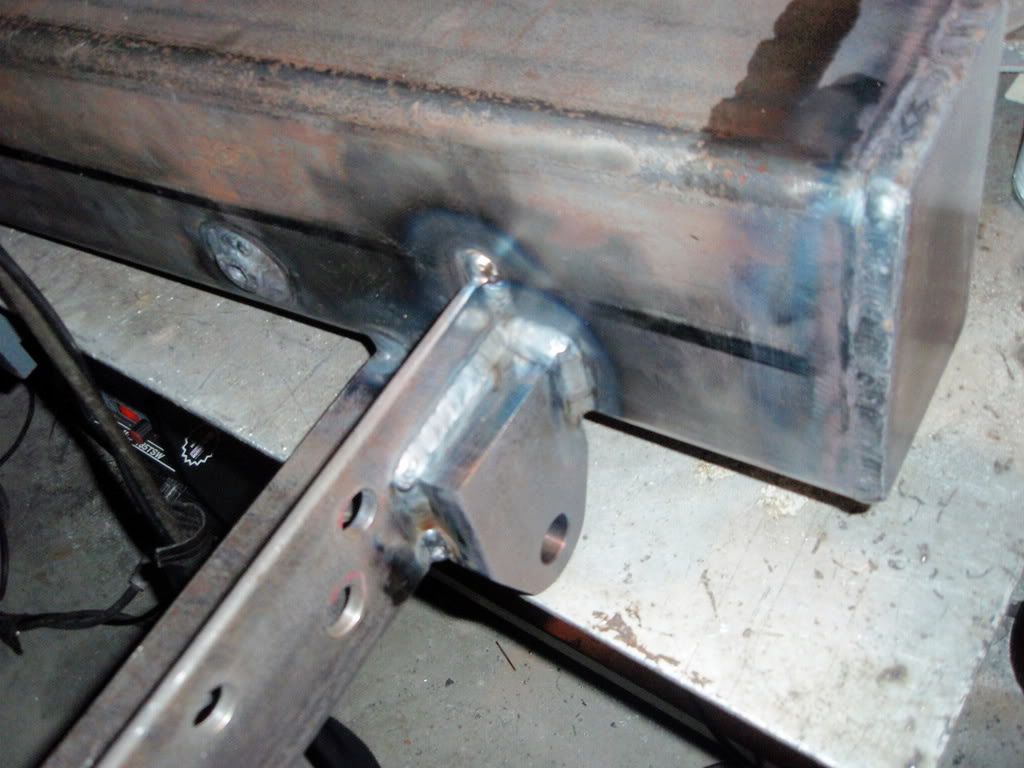
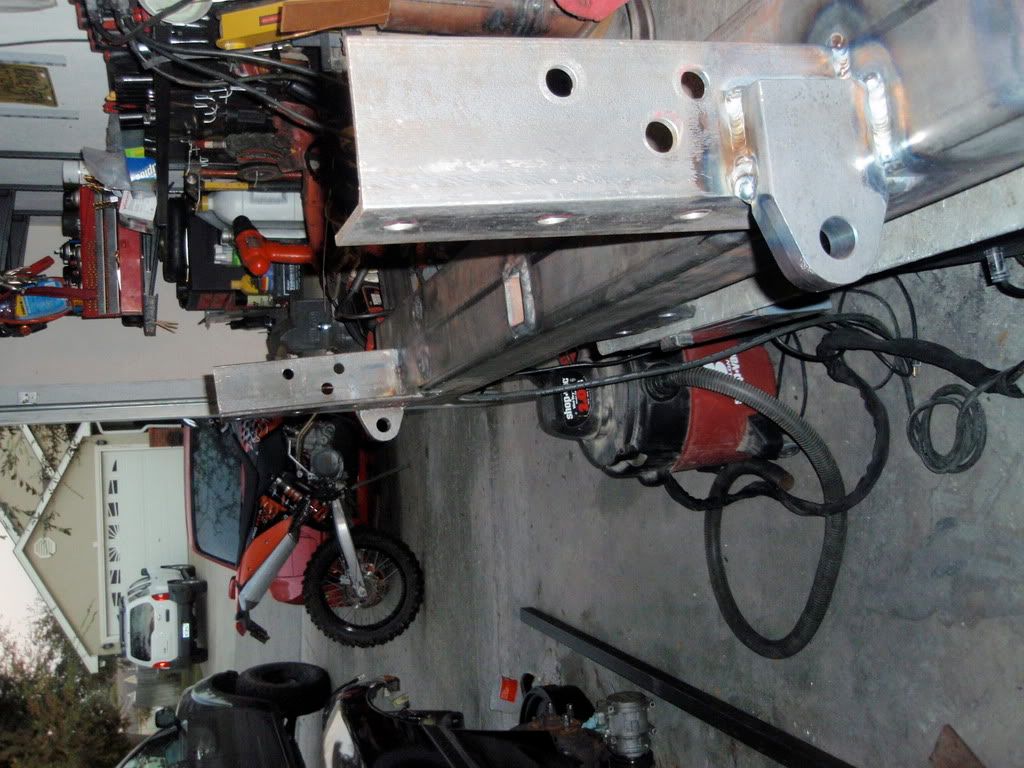
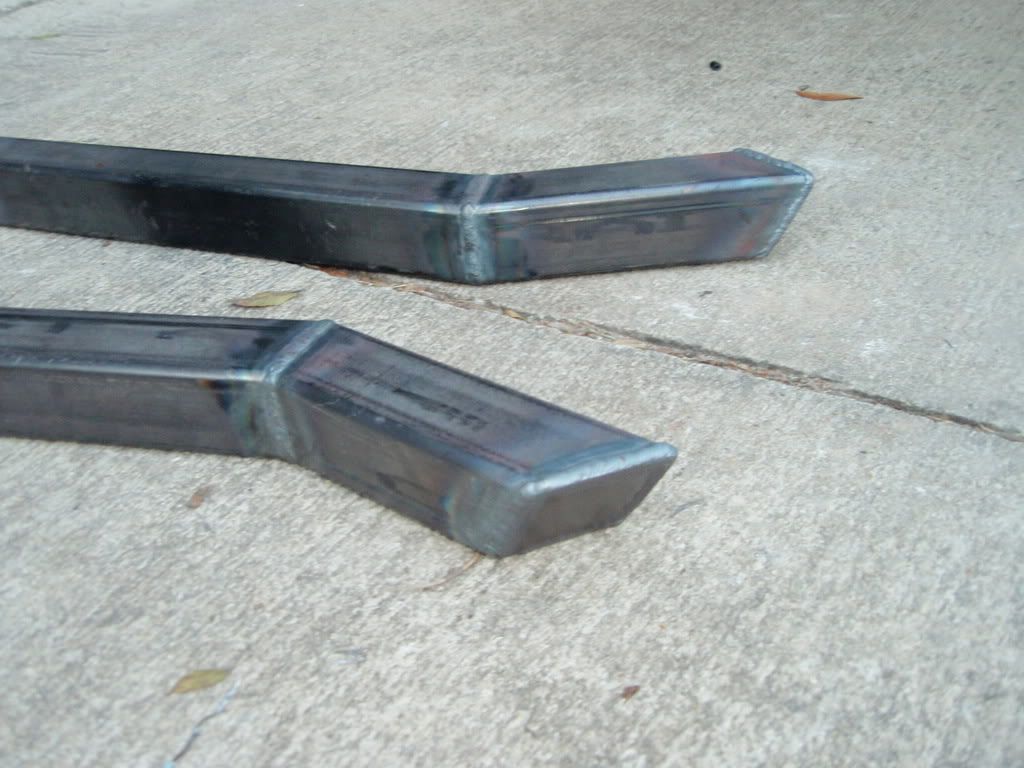
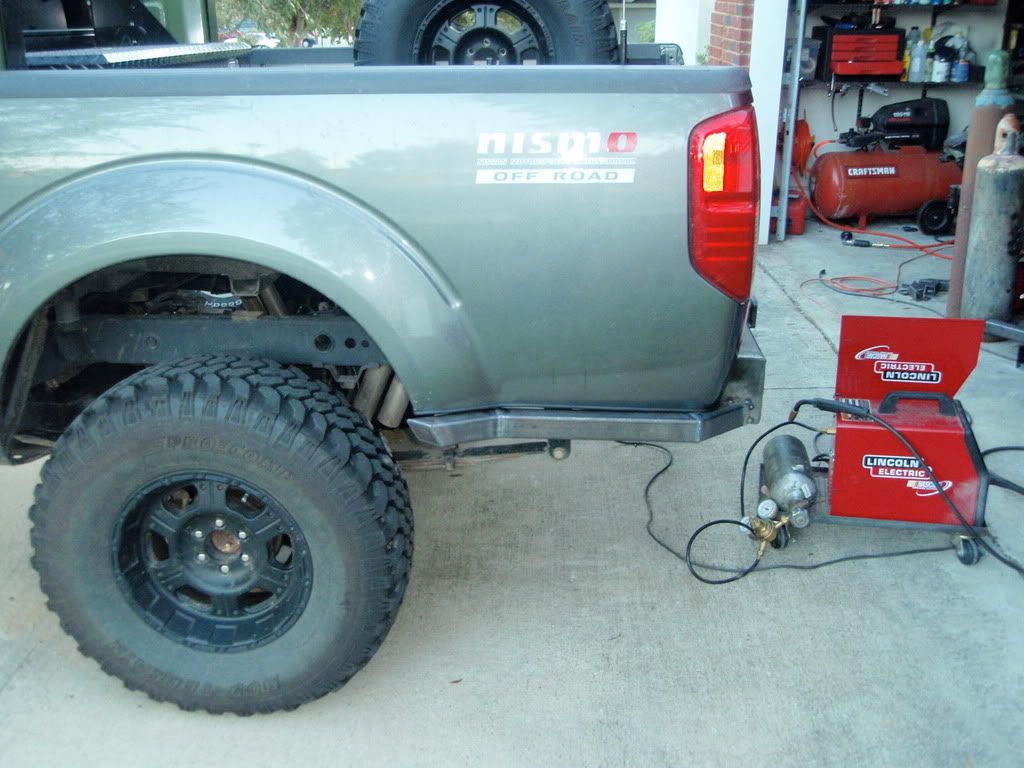
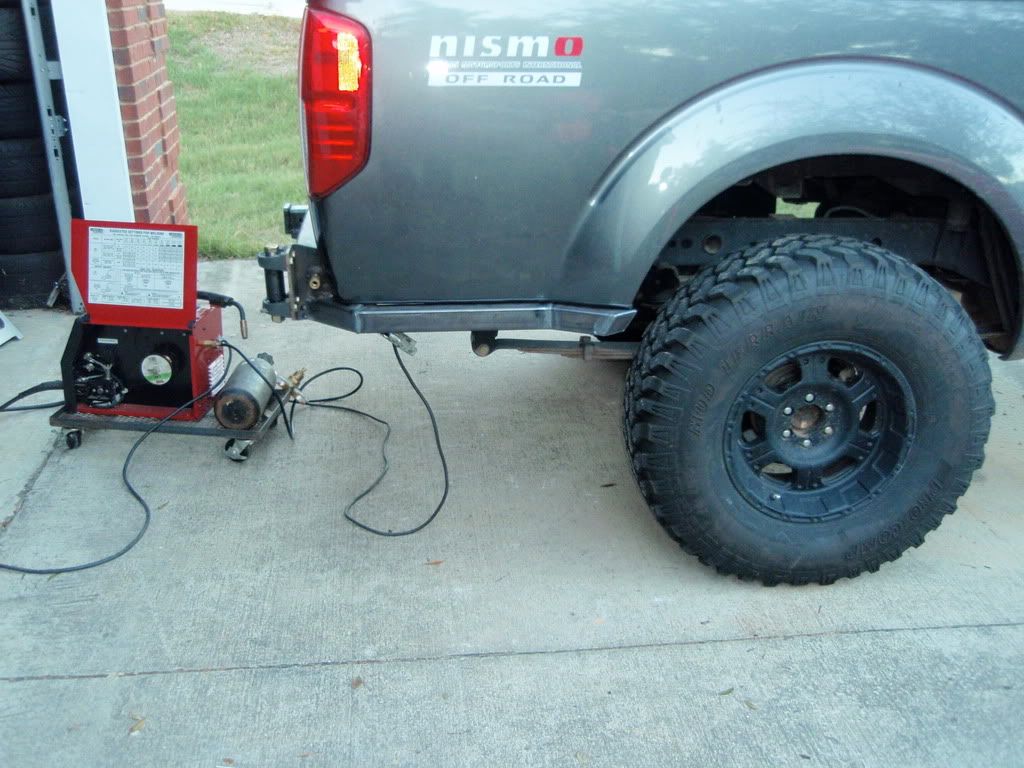
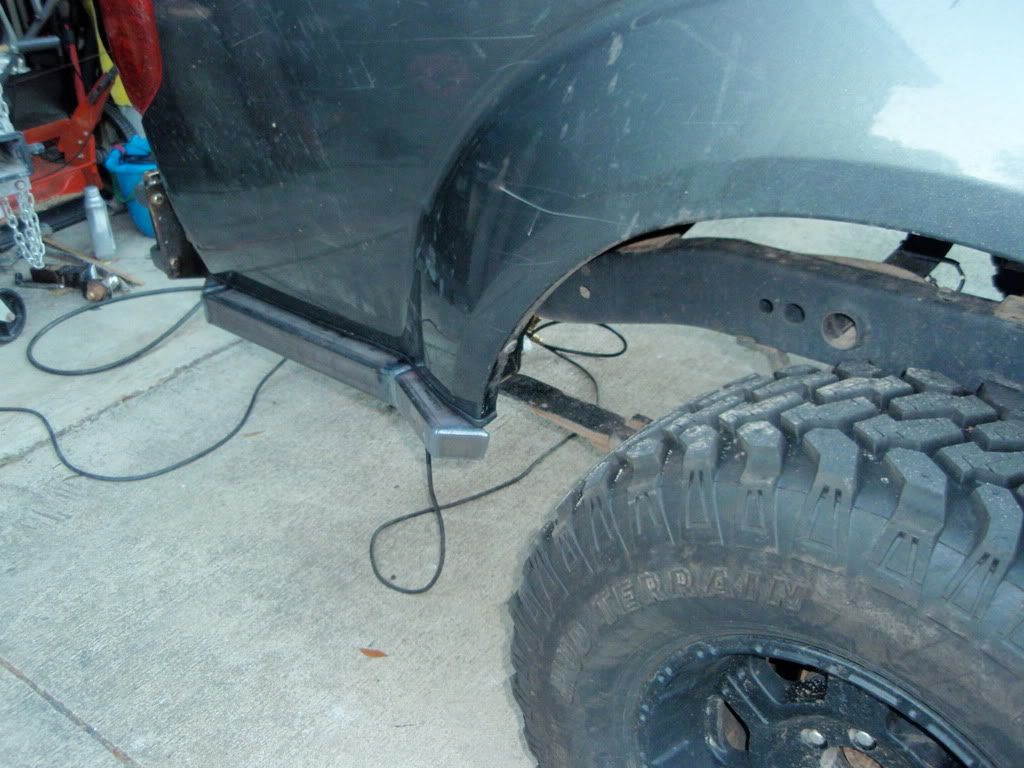
soonenough said:Nice work! Those welds look like they were done with TIG, but the only welding equipment I saw in the pictures was a Linclon MIG setup. If you did MIG weld those, can I come by for some lessons sometime?
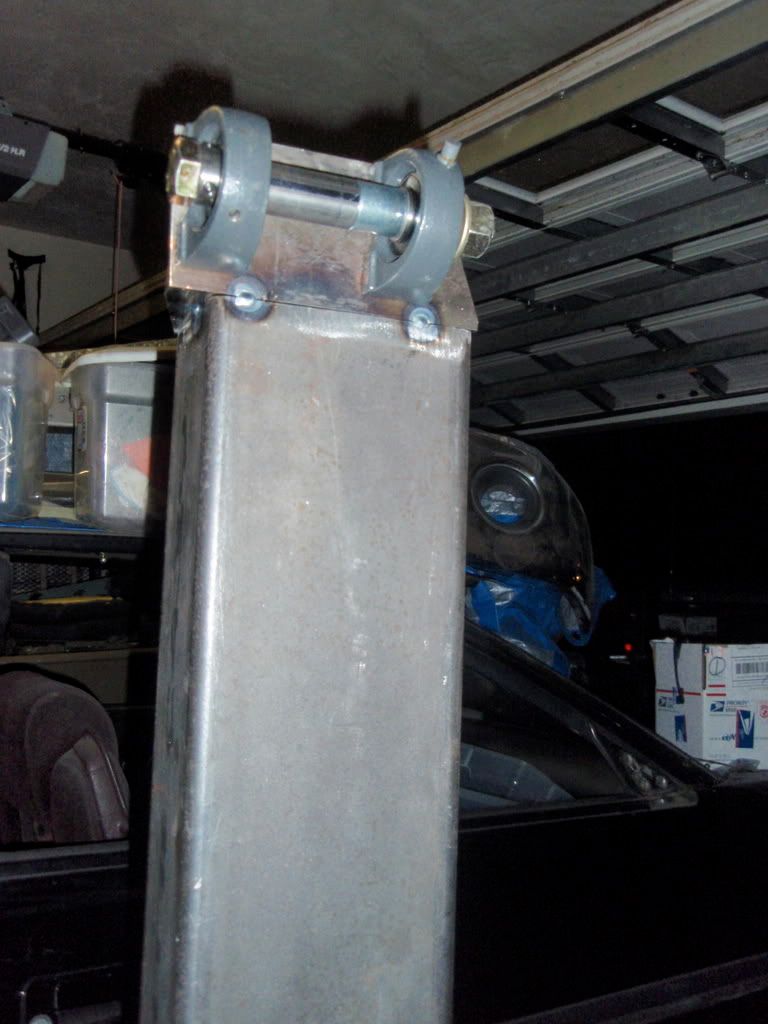
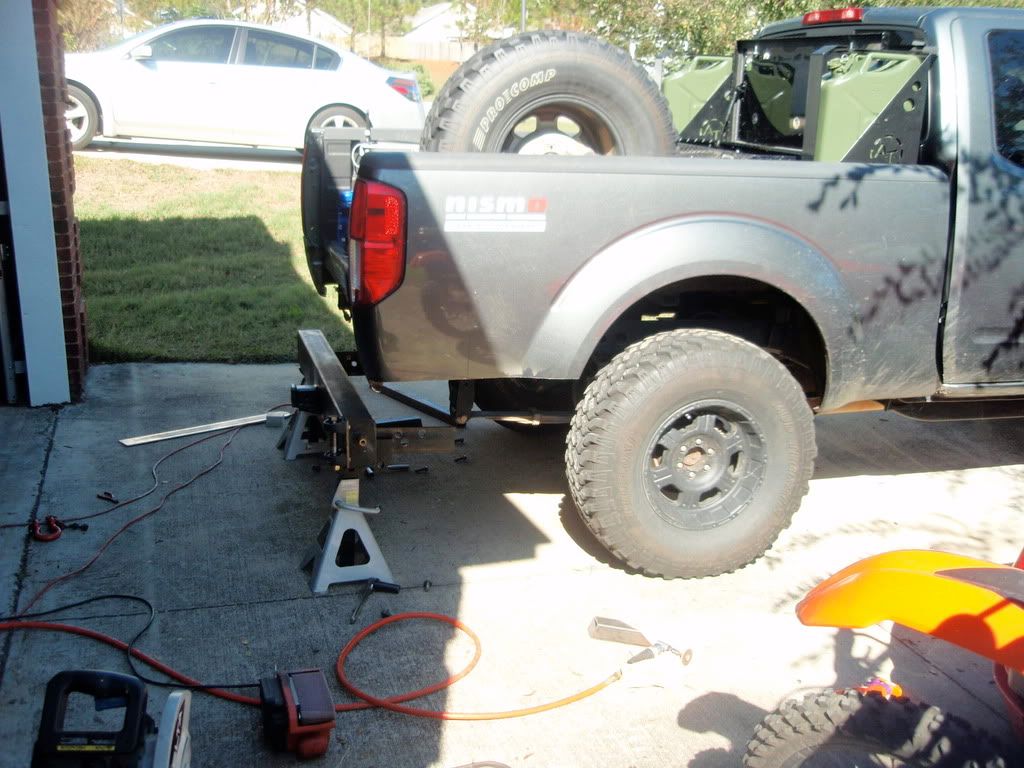
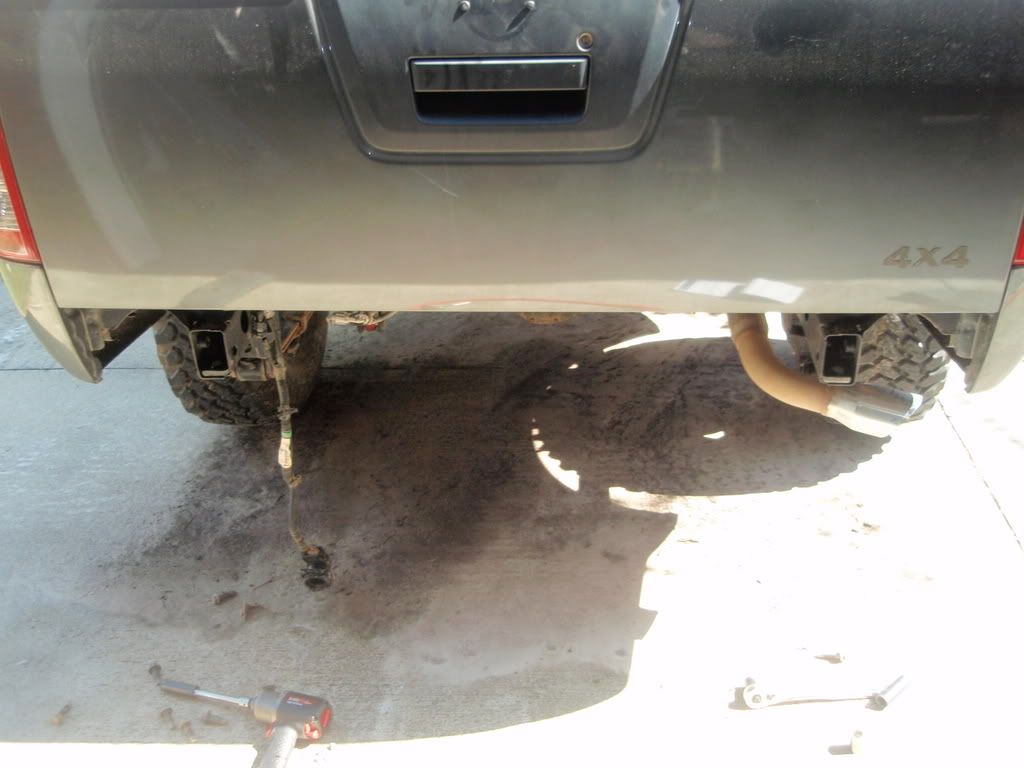
EDIT: nevermind, I just noticed the cord for the TIG torch on the bench in that last picture.