Storage Drawers / Platform for my GMT800 Suburban - WIP

rayra

Expedition Leader
Thank you both.

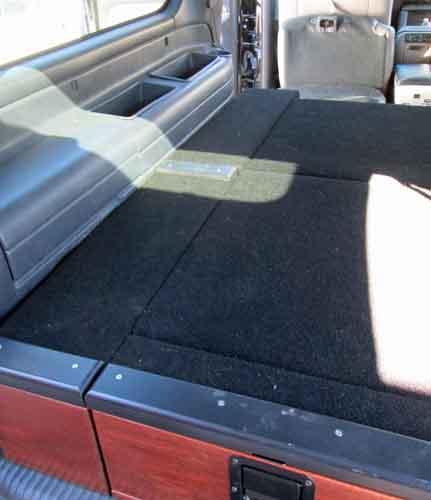
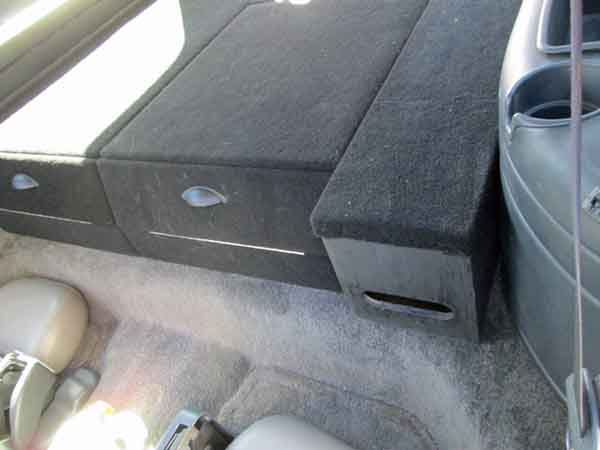
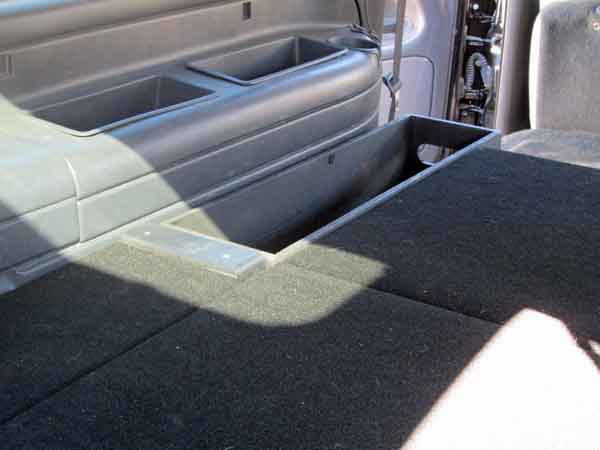
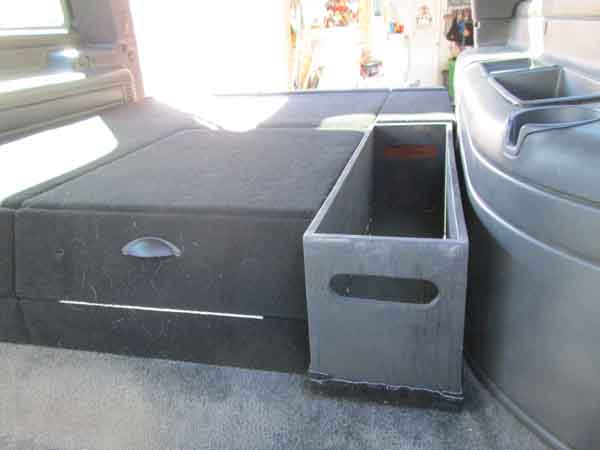
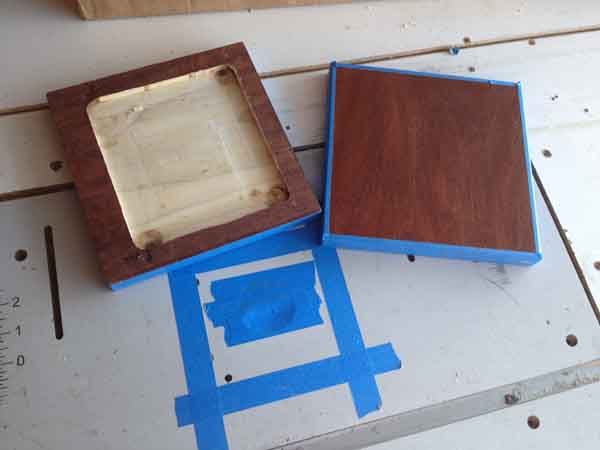
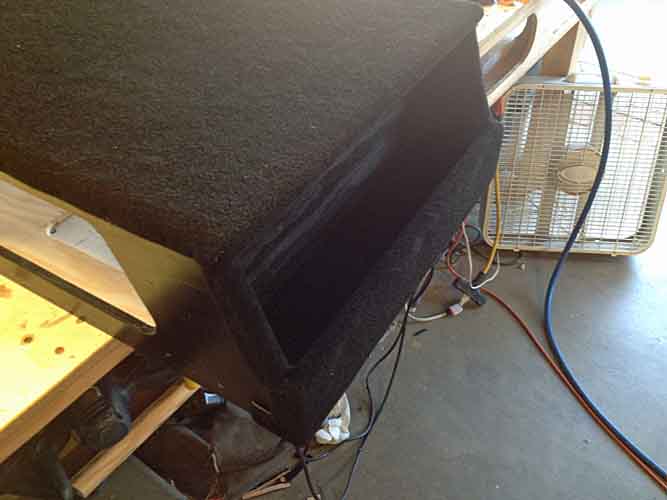
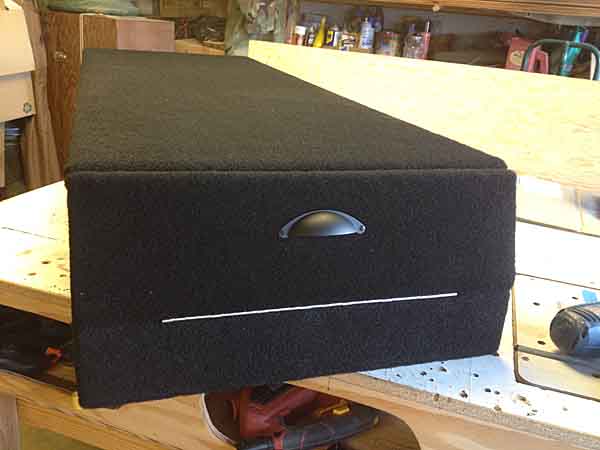
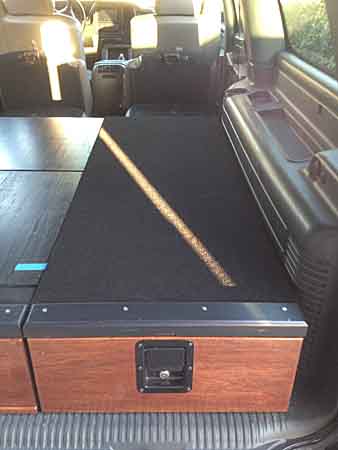
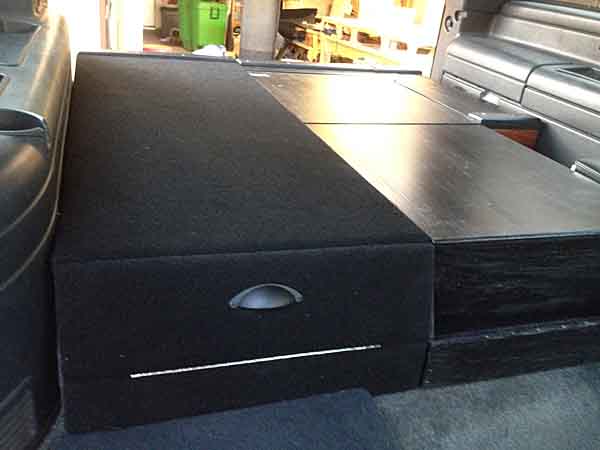
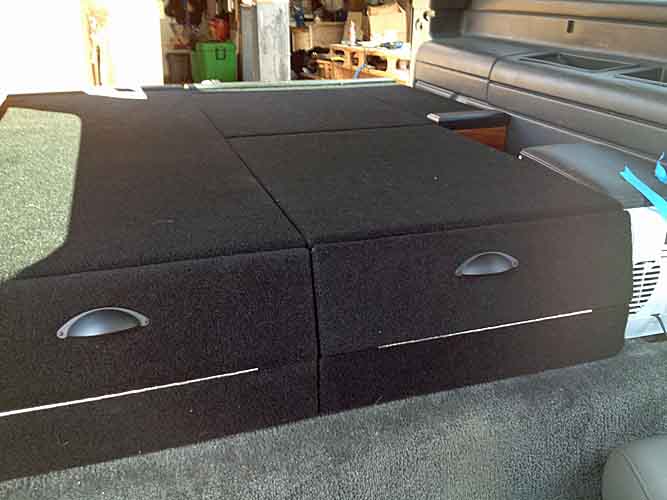
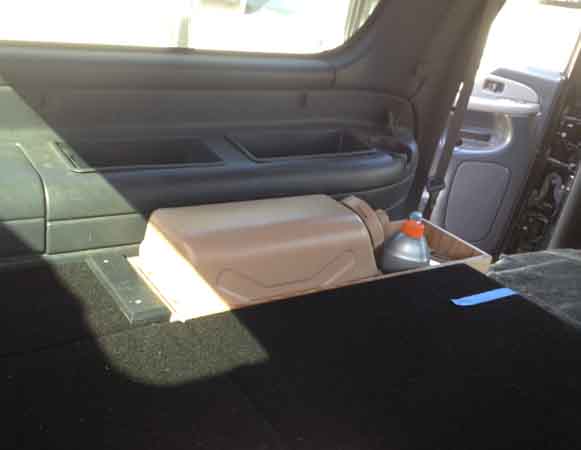
I'm probably going to have to order the carpet, likely a plain black but maybe a dark charcoal gray which would more closely match the vehicle carpet. But black will do. I'm just not going to drive to hell and gone trying to find the right thing in my area. And I'm going to be in and out of town a couple times over the next two weeks, anyway. So the shipping delay doesn't matter.


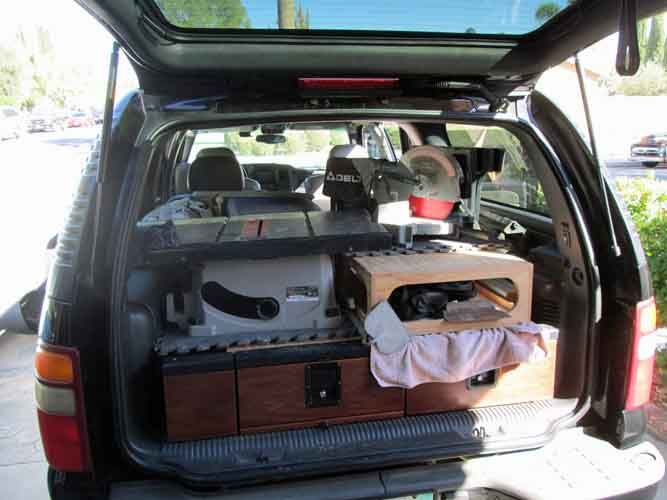
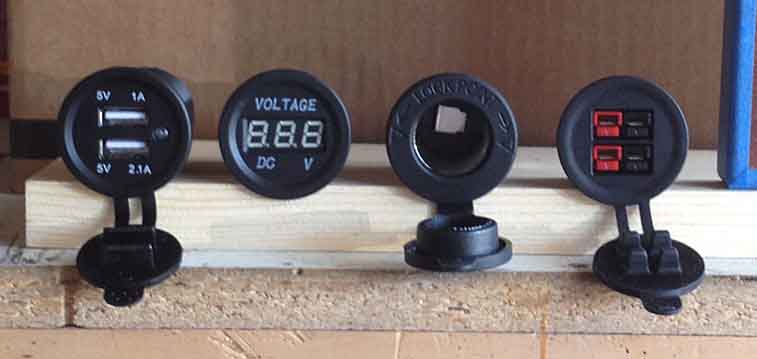
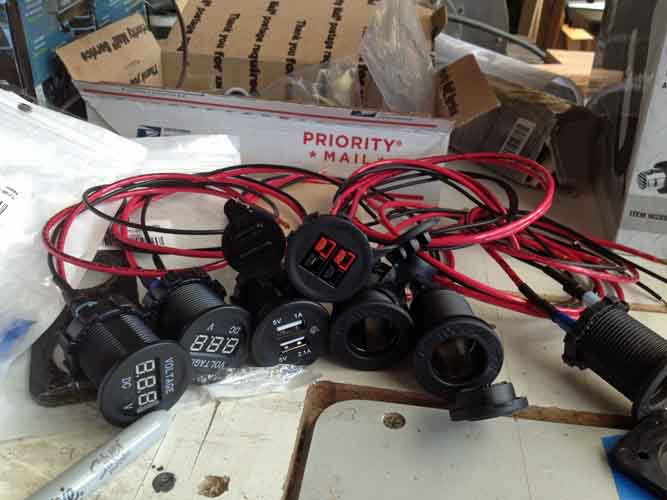
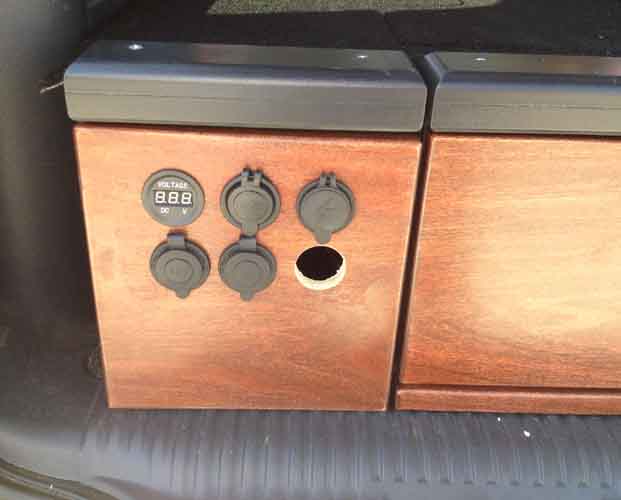
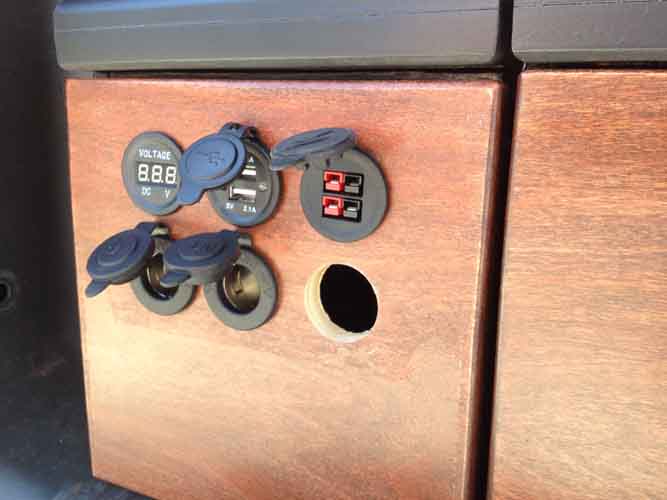
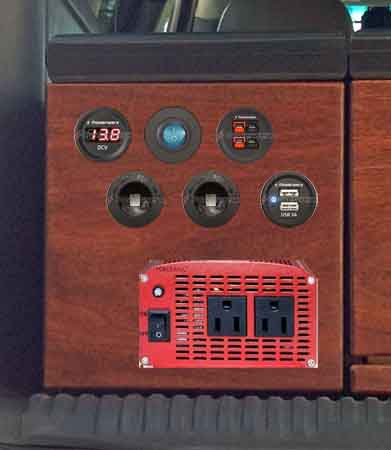
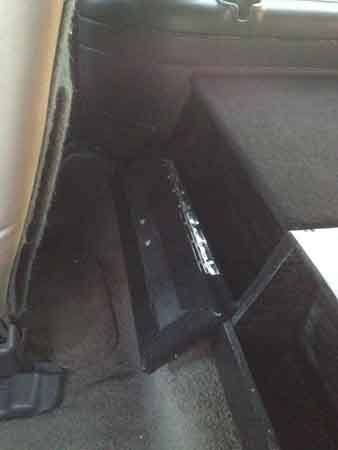
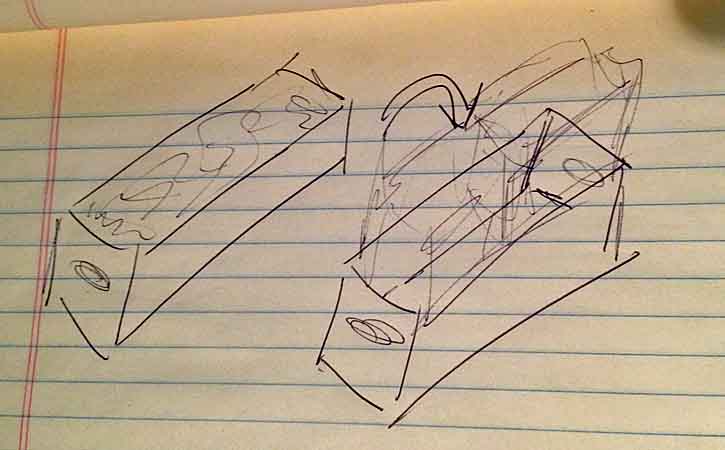
I'm farting around now with various layouts for the power module. I'm thinking to use a variety of 'panel mount' fittings for the power adapters, mounted in each end of the 'Power Module'. My goal is to be able to plug in and power just about anything. Later I'll be adding solar and probably some additional batteries in that box. But initially the box is going to get its power from a heavy cable run from the Aux battery under the hood. I'm planning a heavy-duty Anderson Power Pole connector at both front and rear bumper, as source for a carrier-hitch-mounted winch.
So that heavy cable will have a branch off to feed the power ports in the box. I'll have something like a Blue Sea Aux fuse panel in there, so each power port device or type will be on its own fused circuit.
Then there's the issue of the inverter. It's said its best to 'right-size'. So I'm waffling between something like a small 300W unit and something like a 1000W. I'm considering placing a 1000W at the 'front' (facing the bumper) and a 300W at the rear (facing the passenger seats). Then there's the issue of heat, especially as it's a closed box. This is compounded by the inverters as the bigger units with internal fans all seem to draw air from the power socket face, thru the body of the inverter and out the back by the cable connections. Which means they'll be pumping heat INTO the box. Ungood. But the box lid hinges open. But I'm also thinking about putting in a small 12VDC 40mm computer fan. Preferably so that it comes on when the inverter(s) are powered on.
The fan would also be useful later when there's a solar charge controller inside the box and a panel on the roof. The small fan only draws 0.08Amps.

Still figuring it out. Lots of ideas, trying to do a lot of things at the same time.

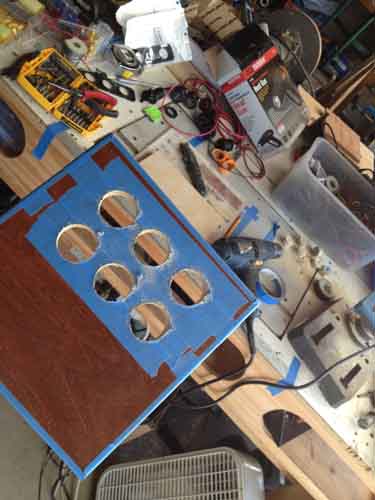
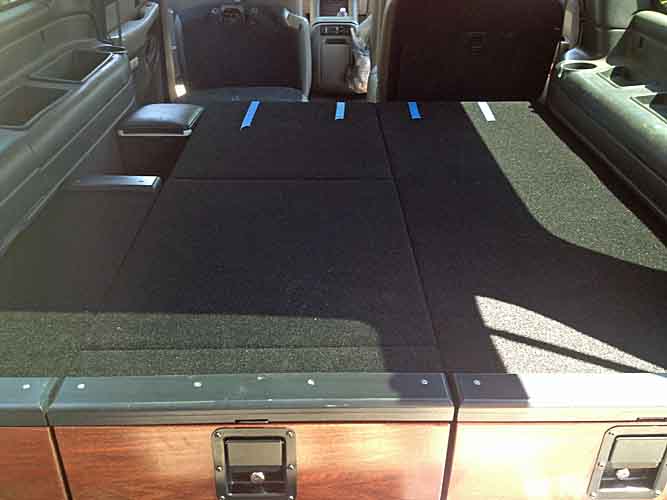
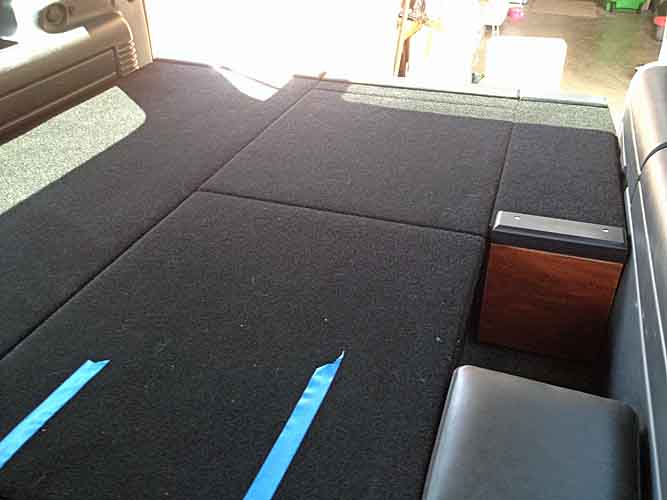
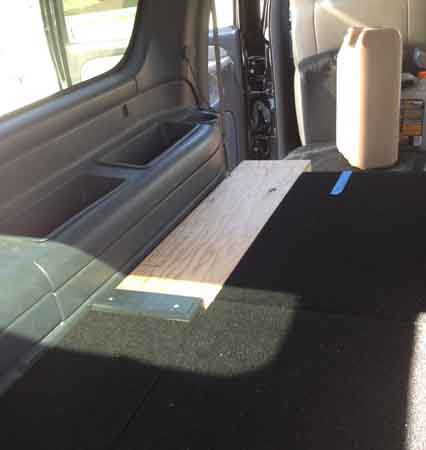
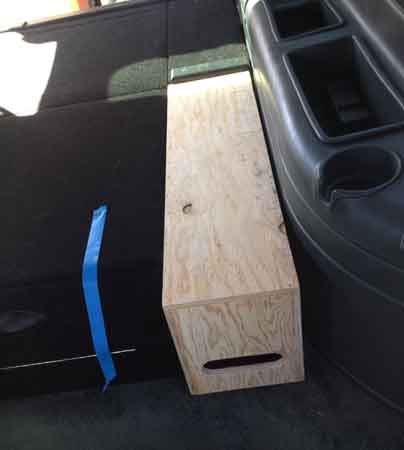
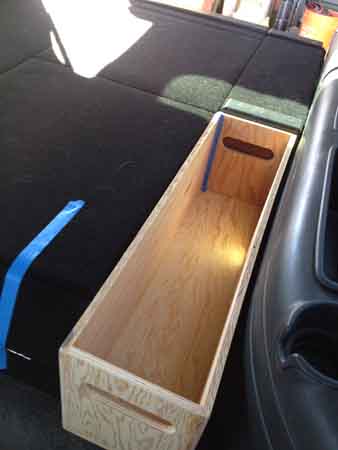
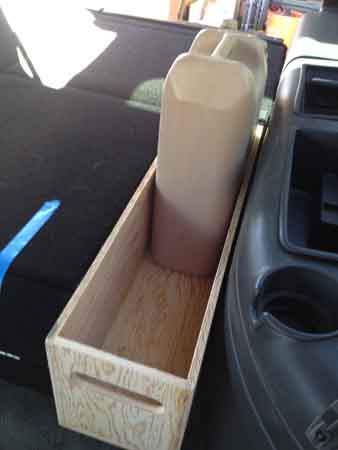
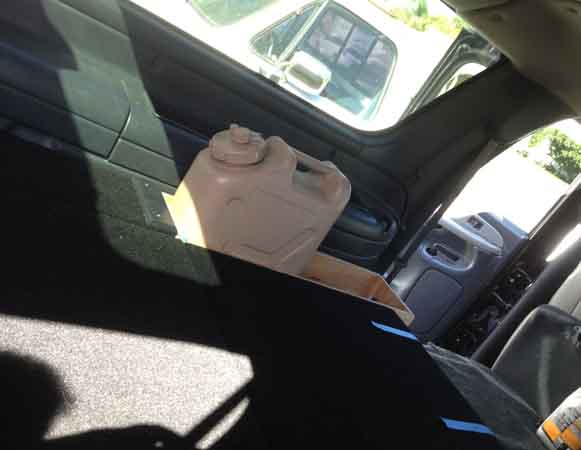
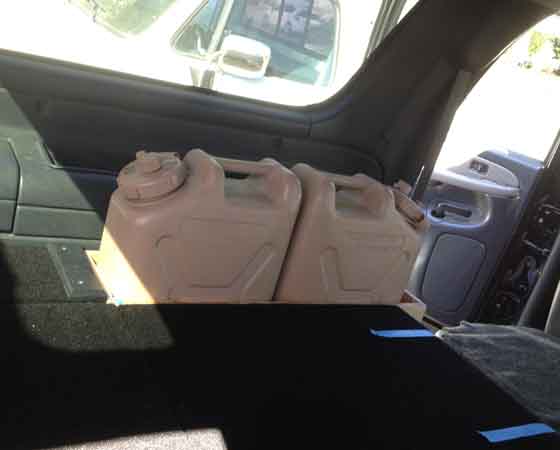
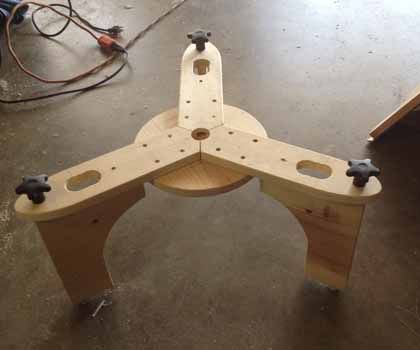
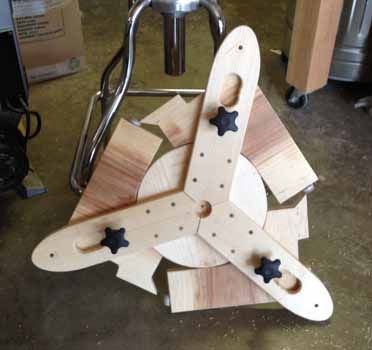
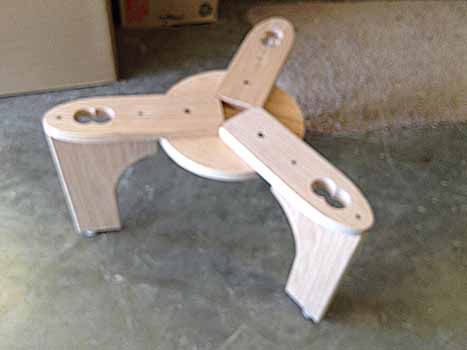
Here's a first approximation, just trying to get a feel for the sizes and spacing of things. The inverter will already be an issue, the plugs have to be away from teh bottom and the drawer next door. Have to have room to plug in something like a wall wart. Anyway, progress on the power stuff is going to be very slow, probably take the rest of the year to do most of it.

storagebuild122.jpg
 
Last edited:

rayra

Expedition Leader
**** PREPARATORY WARNING ****

Carpet has been obtained. 18ga 1/4"x1/2" staples for my 18ga brad nailer / stapler have been obtained. A fresh / backup can of 3M Super77 spray adhesive has been obtained. Carpet install commences after lunch.
I wanted to do some additional work, removing the interior trim panels on both sides of the cargo area, right side to enlarge the AC vents and left side explore / confirm my power cable routing ideas and take some detailed photos and measurements, but I don't really have time for that in the next few days, so that will be bumped.

**** PREPARATORY WARNING ****
 

rayra

Expedition Leader
Lot of interruption this afternoon. Only got about halfway through. Had to trim a bit of the plywood on the drawer module breadbox sides / leading edges, to leave proper clearance for the lapping of the carpet. I'd taken this margin from teh top and bottom edges of the breadbox doors but forgot to do anything about the side/end fit. Had to fix that on the fly with the carpet half attached. I'll make the cuts on the tool drawer before carpeting commences.
I'm also rethinking how the carpet will lap on the hinged top hatches. If I lap the edge where the hatch meets the side face of the module, the hatches will stand proud of the surrounding decks. So I think I'll just go over the edge and just cover the edge face of the hatches. The Super77 spray glue and brad-staples are working fairly well. The tougher part is overlapping corners and edges in a clean way that doesn't bunch up things.
I think things are going to become snug again, but not overly tight. But it will be tight. I allowed 1/8" for carpet thickness (already knowing roughly what sort of carpet I'd be using), that's +1/4" to the width of each of the three modules. Which were tight before I took 1" off the Power Module. So I expect snug.

Some more of my stellar photography (I can build just about anything at all, but cannot run a jigsaw or camera worth a damn). You can't really make out the intricacies of fitting a single contiguous piece of carpet to a complicated edge.

storagebuild123.jpg


storagebuild124.jpg


storagebuild125.jpg
storagebuild126.jpg


The 'drawbridge' panel on the back of the 2nd seat is a snug fit to the face of the breadbox. Forgot to take a pic. But this pic shows some of the fitting work I did trying to make a smooth transition from the hatch to the deck.

storagebuild127.jpg
storagebuild128.jpg


I should finish the carpet by midday tomorrow and then it will be 7-10days before there's any other significant progress. Probably adding some nylon glides and making striker plate adjustment - There's still enough vertical gap that the tool drawer latch worked its way loose on a 300mi road trip. The other drawer was locked and did not work free. But its latch barely engages the plate. I could loosen the paddle latch attachment screws and gain about 1/16th" more engagement by shifting the latch upward before re-tightening the screws.

And I'll be pulling it all out again to pull the cargo trim panels for the previously mentioned work / mods.


2540
 
Last edited:

rayra

Expedition Leader
Too damned hot out there again. But I got the carpet in. Still need cabinet latches for the 'breadbox' lids. The deck hatches are a snug fit after the carpeting, so I'm thinking about foregoing any recessed latches on them.
And it is indeed a snug fit in the middle. The cargo area is indeed slightly wasp-waisted. 49"W at front and rear, something less between the rear wheel wells. I'll figure that out later when I pull the cargo area trim panels. It might be the double / triple layer of sound-absorbing rubber that I added to the wheel well tubs.

storagebuild131.jpg
storagebuild132.jpg
storagebuild130.jpg


eta - the dogs like the new high ground

caninehighground.jpg
 
Last edited:

rayra

Expedition Leader
One more addition, going to try and bang it out tomorrow morning. Going to build a 'filler panel' / flippable box that will fill that void ahead of the 'Power Module'. Flat carpeted deck, or flip it over to be a socket for a pair of MWCs.

storagebuild133.jpg


/I credit/blame IslandOverlander for putting the idea of flipping things in my head.
 
Last edited:

rayra

Expedition Leader
Not a lot of time to spend on this, this week. Got the basic box built, still need to finish, paint, carpet it. But here's some shots of fitting and showing how it can be used.

storagebuild134.jpg
storagebuild135.jpg
storagebuild136.jpg
storagebuild137.jpg
storagebuild138.jpg
storagebuild139.jpg
storagebuild140.jpg


2920
 
Last edited:

rayra

Expedition Leader
'You're soaking in it' (that joke might be too old for Millenials). It's basically that box. Upside down, it will fill in the carpeted expanse. Flipped over, it holds stuff. All pictured above, albeit unfinished.

And it's an awkward spot for full MWCs. I'm a mesomorph, strong like bull, and it was no fun wrestling those 50-lb deadweights out of that box. If I rig some sort of reversible side attachment point, a la the midpoint sliders we discussed on your build, whereby the new box can be attached via the inside of the adjacent breadbox, I'll be confident that 100-lbs of water isn't going far.


I already have an idea while I just typed that. I can probably use a 1/4"-20 threaded insert in both sides of the new box and a thru-hole in the side of the breadbox, with a hand-knob with 1/4"-20 stud. Just reach in, unscrew it, flip the box, screw the knob back into the insert on the other side.
And unscrew that knob and the whole box / rig can be slide forward on to the folded 2nd row seat, making it MUCH easier to load or unload MWCs.


I used the same hardware two years ago when I built a portable pedestal stand for my telescope. I tried a couple different design ideas in pine before I executed it in oak -


Mk4base1_zpsf3262a1e.jpg
Mk4base2_zpse8768d77.jpg

mk5base1_zpsd30fe203.jpg
mk5base2_zps43526ed9.jpg
mk5base3_zps402c6d29.jpg

mk5base7_zpsd134abe4.jpg
mk5base8_zpsfbfa693b.jpg

mk5base9_zpsbe2ec601.jpg
mk5base10_zps2b529aca.jpg

mk5base11_zpsd939eb1d.jpg
mk5base12_zps7d6b051f.jpg
 

Wilbah

Adventurer
Really awesome work. I will say I am heartened to see that I am not the only one who finds I have made a mistake after getting things put together. The difference is that yours still looks *bleeping* awesome when its done and my stuff doesn't. Really well thought out.

I also like the idea of things doing double duty (the flippable box in front of your power box). I like keeping options open because either needs change over time or what you want/need for one trip may not be what you want/need for another. Nicely done!

On the power box could you vent the side to the trim panel on the left (drivers side)? I know your rear AC is in the passenger side but the driver side just has the opening for the factory jack and tool wrap right (I have a Yukon and that's what there in mine...not sure if the 'Burbs are the same)? If you had a fan on the inside left (from the rear) of the power box with a flat grate on the side, then cut a similar hole with grate in the trim panel it would vent the air out of the box and you wouldn't need to cut the top of the power box. Not sure if there are any obstructions/structural items in that large trim piece but you could then put another vent almost anywhere in that trim piece for the air that is delivered to the trim panel by the fan (I hope that made some sense?! :) ).

I really love the detail in explaining your work. I know it is not easy with all the pics and explanations but it sure provides so much for those of us trying to learn from what folks do. Thank you very much!
 

rayra

Expedition Leader
thanks very much for the kind words. Half of woodworking is covering your - or somebody else's - mistakes. Nothing is ever square or true or parallel. Trick is making it look like it is. The ancient Greeks figured that out making their stone columns deliberately not straight so they'd *look* straight.


whipping crap out in a hurry today. Threw a coat of flat black on the added storage box, didn't have time for brush on semi-gloss to dry. Glued and stapled some carpet on it before the paint was even dry, then staged these photos before piling a load of stuff in on top of it for a holiday weekend trip

storagebuild141.jpg


Obviously this box is an afterthought. And driven by the desire to fit two MWCs in it, it winds up a couple inches longer than the platform. Had I planned on them from the start I could have shortened the power box a couple inches and come out even.

storagebuild142.jpg


storagebuild143.jpg
storagebuild144.jpg


Already crushing it under a pile of stuff, so I can go labor somewhere else over Labor Day weekend.

Lompoc003_zpseesycrpx.jpg
 
Last edited:

rayra

Expedition Leader
well I've got my Aux battery installation set up and working. Next expansion is running the 1/0 feeder cable to the rear cargo area / 'Power Module'.
I've got a variety of power port parts trickling in now, but have yet to settle on inline fusing and exactly which 1500W inverter I'm going with. So the completion of the Power Module portion is held up. But things are 'in progress' and should have some more to show very soon.
In the meantime I'm fiddling with the parts I got and seeing how they impact my design ideas.

http://www.expeditionportal.com/for...ucture-seeking-inputs-on-my-inputs-and-ouputs


I also determined I needed to thin the hardwood face panels, the panel mount power connectors wont really fit something 3/4" thick. So I used my router table and a rabbeting bit to take ~5/16" off the inner back face of the hardwood face panels. A little rough, as I was working blind. But no matter, these edges are facign inside, totally out of sight.

storagebuild146.jpg


When I finalize my power connector layout, I'll mask the good side and lay out my hole-saw cuts for the panel mount connectors.
 
Last edited:

rayra

Expedition Leader
Farting around with the power ports, and the LED on the voltmeter is ridiculously bright. I might actually put a resistor on that and try and dim it down.

auxbatt023.jpg
 
Last edited:

rayra

Expedition Leader
Doing some batch work, prepping wire leads for the power ports / adapters. Still not sure exactly where the small fuse panel is going inside the power module, so I'm wasting a bit of wire making them 'long enough', but I wanted to get on with fabrication. This wood panel is actually the one that will face forward in the vehicle, I went ahead and drilled 6 holes in it. One of those will likely become a small exhaust fan port, or a solar panel plug-in. Haven't decided. But I figured I'd make my construction mistakes on that piece of wood first, instead of the rear-facing panel that is grain-matched to the drawer fronts.

One problem already, the wipe on poly finish is thin and weak. The blue painter's tape I use lifted much of it. So I'm going to have to do something different when marking / drilling the rear wood panel.

I've got a couple more USB and 12v ports coming still. And will likely order another Anderson PowerPole fixture as well. My goal is to have just about any flavor of power available within reach of any seat, or at the rear. Thinking road trip / camping use, disaster prep, CERT, maybe even Search & Rescue.

auxbatt024.jpg
auxbatt025.jpg
auxbatt026.jpg
auxbatt027.jpg
auxbatt028.jpg


The spacing is a bit snug. I'm constrained by the interior framing and other things. But this layout is so close the weather covers interfere with each other.
Also, the weather covers are not symmetrical / centric. They'll fit if they're flipped 180deg - I'd like them to open down out of the way of the plug, than hover over top - but the rubber tabs that stick into the plugs are off center and the weather caps are then off-centered if they aren't placed upright. Trivial thing. Also considering placing the ports with about a 30deg list to the left, that would then make the weather covers easily accessible. And it doesn't really matter what the orientation of the plugs themselves actually are.

when it's all built, all the wires inside will be routed and ziptied / anchored, like a nice telecom / network install.

Just really can't nail it all down until I choose and purchase the 1500W inverter and the other major components.
 
Last edited:

rayra

Expedition Leader
Got some more fiddling done this afternoon. Went for the rear panel, went with a generic layout that ought to work with any of the 4-5 inverters I'm shopping. Not the most stylish layout, but it will work.

Finally got a half-assed shot of the woodgrain.

storagebuild147.jpg
auxbatt029.jpg
auxbatt030.jpg


4000
 
Last edited:

Forum statistics

Threads
185,890
Messages
2,879,500
Members
225,497
Latest member
WonaWarrior
Top