The replacement - 2004 HDJ100R Landcruiser

p1michaud

Expedition Leader
More power = more fuel? Depends on the driver.

Very impressive gains :cool:

I had that done on Monday before meeting up with you guys on Tuesday.

Made for an interesting drive home. The burning question is what has this done to the fuel consumption. The answer is it really depends on what the situation was. For normal driving (vehicle only) the figures used to hover around the 12 to 14.5 L/100 Km mark (19 to 16 mpg). After the tune I could not measure any significant change (increase or decrease). For occasions when you are towing (vehicle plus 3300 lbs of trailer) the figures range substantially based on terrain and driver input (soft sand, corrugated roads, muddy roads or graded dirt roads). During our last trip to Birdsville and to the edge of the Simpson Desert, the figures were between 16 to 22 L/100 Km mark (15 to 10 mpg). This trip ranged from cruising speeds of 110 Km/h (70 mph) to first gear low range in technical terrain. Worthy of note, the 22 L/100Km was on one of the more difficult roads I've dragged a trailer along in Australia, the Cordillo Downs Track after two days of rain. It was a muddy, rutty and slippery 8 hours of solid driving to cover just shy of 400 Km. There were many occasions on that section of road that I had to keep the big turbo spooled up just to get through. It was fun. :sombrero:

The other benefit to the Steinbauer chip is that it allows you to retain factory settings if you are just cruising but when you need the power it's on tap (the chip responds to pedal input). I've been happy with the performance gain. The fuel consumption really comes down to the driver and how you treat the vehicle.
 

p1michaud

Expedition Leader
Why do you build a vehicle?

All this work on a vehicle is no fun unless you get to use it. Our goal was to have a comfortable, reliable yet capable vehicle for our travels in Australia. The 100 achieves this balance beautifully. We have also been fortunate that we have explored some great areas of Queensland in recent years.

A few of our recent trip to Birdsville QLD on the edge of the Simpson desert. Roothy a legend of the Australian 4WD scene and regular in the pages of Australian 4WD Action or featured in their DVD's bought us a beer at this pub on that Sunday to celebrate the magazine's 200th issue and 15 years in business. :ylsmoke:

IMG_4948_zps85b30ea4.jpg


Being that close to the Simpson Desert, I could not pass up the opportunity to take on the largest sand dune in the Simpson Desert. Big Red, the photo speaks for itself, magic place:

BigRedApril2013_zpsee251996.jpg


Thanks for my wife for that last photo, it is one that I will cherish for a long time.

It's now time to fine tune the cruiser in preparation for trips further afield in Australia...

Cheers,
P
 

p1michaud

Expedition Leader
Monitoring the engine vitals.

Another important aspect for turbo diesel engines is being able to monitor key engine parameters. The most common ones are: Exhaust Gas Temperature (EGT) and Intake Boost Pressure (Boost). There are others such as oil and coolant temperature but in most cases EGT and Boost will be sufficient to let you know what is going on with your engine especially when you are loading up the engine while towing or doing 4WD work.

Again the are multiple companies out there that supply quality gauges. I chose to use Autron Australia gauges. Their are on the pricer side of things but they are built in Australia specifically for local conditions. Top quality units.

I went with two gauges:
  • A 52 mm single sweep gauge for EGT with incorporated boot in digital at the bottom.
  • A 52 mm dual sweep gauge for keeping an eye on the battery system.

Next I picked up a pod to hold the gauges made by 4x4 Concepts again a made in Australia solution.

The gauge pod:
P1020063.jpg


The location of the thermocouple (notice pre turbo location):
P1020072.jpg


The final product:
IMG_0908_zpsd262c72f.jpg


Overall, I'm satisfied with the additional monitoring features these gauges provide. I have been able to return some improved fuel economy figures if I pay attention to the balance between road speed and EGT. That's a big plus besides the other added benefits. Otherwise, I did wire them into the factory dimer switch but they can be distracting during long stretches of night driving even when fully dimmed.

Another job off the list.
 

Ryanmb21

Expedition Leader
Very cool updates Pierre! Fun to follow your adventure after meeting at the '07 expedition trophy!
 

p1michaud

Expedition Leader
Rear lower control arms - time for an upgrade

For the cruiser aficionados out there, you will know that the rear lower control arms on the 100 series are an improvement over the 80 series (speaking of the factory units here). You will also know that these are prone to damage if your vehicle is used in difficult off road situations. Well here's my story:

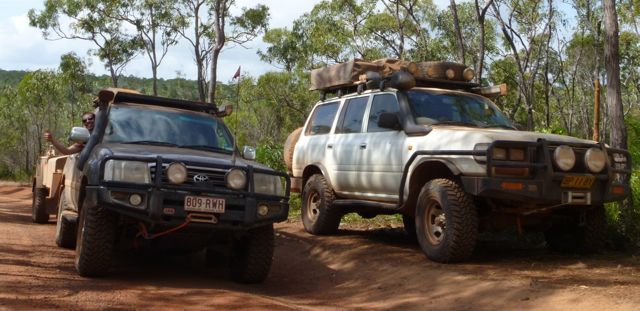
In June we went to a 4WD park here in sunny Queensland called Land Cruiser Mountain Park. We took in some great 4WD action during the Mickey Thompson SSS Winch Series competition. We also decided to tackle some of the local tracks. It's a great park with over 260 Km of trails. As the day progressed we worked our way up to some more difficult tracks. We tackled a steep climb in the Cruiser and were making steady progress until we arrive to a larger ledge. The front wheels went over and the rear driver side wheel struggled to climb. Thanks to the ARB lockers, we were able to find enough traction to get over the obstacle. We had a good look under the cruiser after the climb only to notice all was not well. We had managed to bend one of the lower control arms...

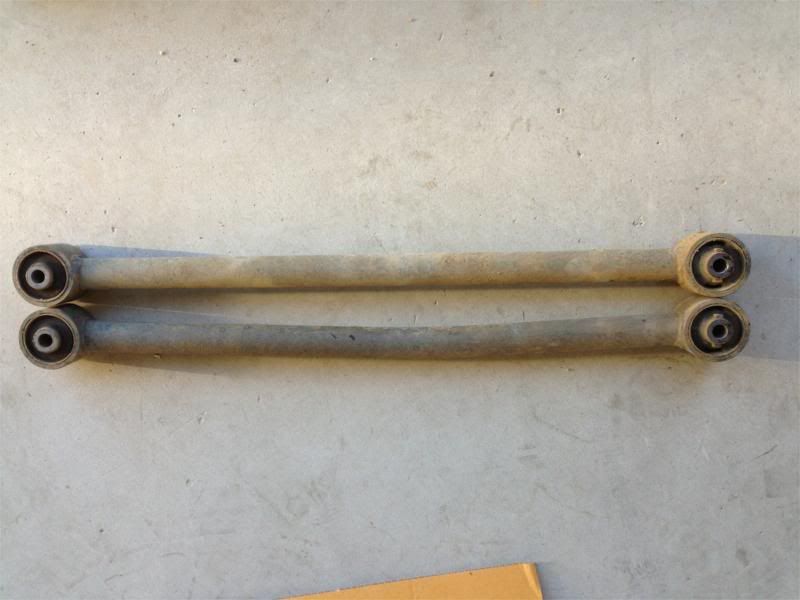
The stock arms removed:
IMG_0827_zpsb5fcb7f4.jpg


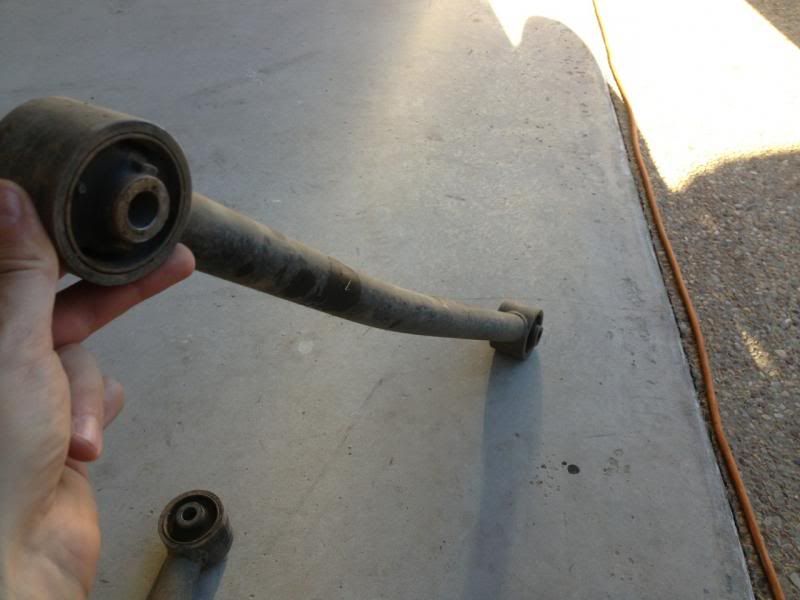
An alternate view of the bent arm:
IMG_0828_zps7beeca19.jpg


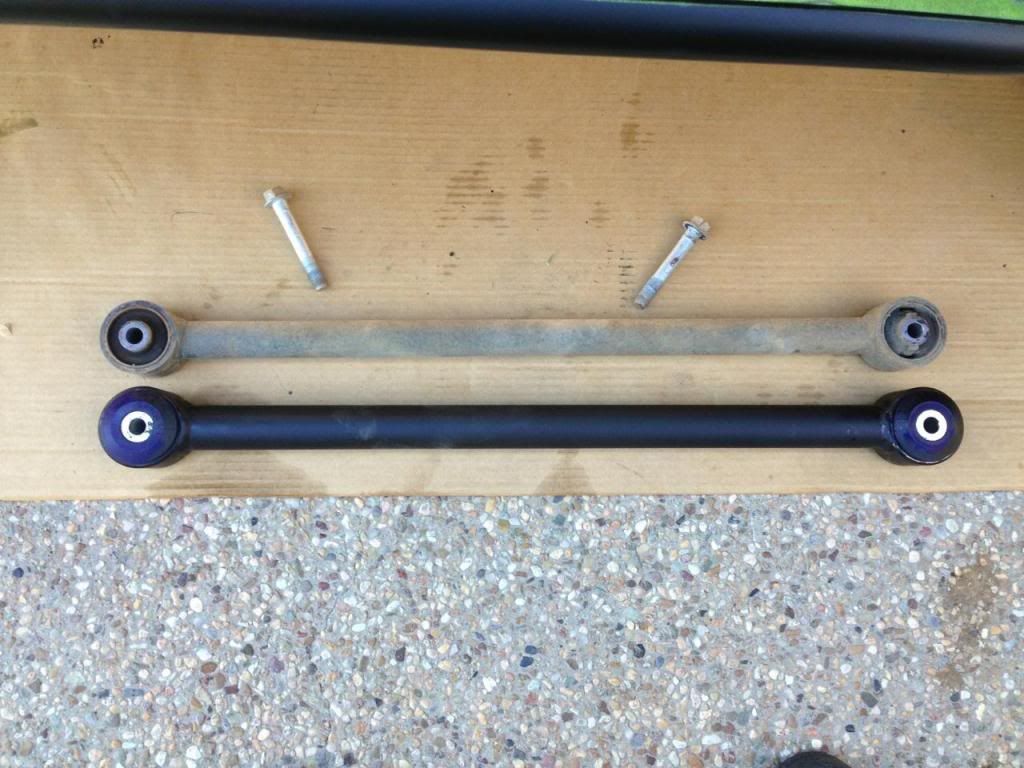
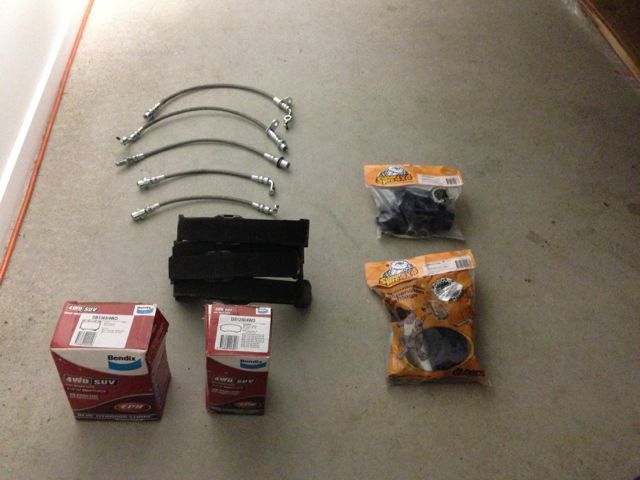
After doing some research on the various upgrade options in Australia, I choose to get some lower control arms by a local company called Superior Engineering here in Queensland. They test their products on many competition vehicles all over Australia. Their gear is top notch.

I painted them black because I don't like too much "bling". Ready to be installed.
997ad4d9-530e-4ba8-a211-185f4f831332_zps8870ffd1.jpg


My only concern was that Toyota OEM rubber bushings were not available so they sent the arms with Super Pro Polyurethane Bushes. I was concerned that these may cause the ride noise, vibration and harshness to increase but after a test fit and use this proved to be an unfounded concern. Bent lower control arms should be a thing of the past now.

Just in case some of you are keen observers, I also had this issue on the 80 Series here. Perhaps there is not design flaw, I might need to have a closer look at the driver...:ylsmoke:

Cheers,
P
 

p1michaud

Expedition Leader
A tribute to the "Old girl"

Like many times in life when you stop to ponder it give you time to reflect. In this case, I often wonder how my old 80 Series is doing. It was a solid vehicle and super reliable. It had all the mods with the exception of a powerful engine and solid brakes thus it was replaced by the 100.

So last year in July 2012, you can just imagine my delight when I came across this at Fruit Bat Falls, half way up Cape York.

P1020370_zpsa64bf0aa.jpg


Yes my friends, that is my "Old girl" with the new owner. As they say here in Queensland, we had a good ol yarn. Turns out they were on their way south and the cruiser was eating up the travels up and down the Cape York peninsula. They even pulled out a few of their travel companions when they got into trouble. The person driving said to me: "This rig is well built". I took it as a compliment given that he had never met me before. I had sold the rig to his father who was just walking up after we had been talking. To say I was happy to see the vehicle used for it's intended purpose was an understatement. I have kept in touch and the rig marches on.

Cheers,
P
 

p1michaud

Expedition Leader
The final stages of the build

Well we've had a busy year this year. We managed to sneak in a trip to Birdsville QLD for a large gathering of 4WD enthusiasts, all readers of Australian 4WD Action for the magazine's 200th issue and 15 years in business. For those in the know, Roothy was there and bought us all a few drinks at the Birdsville Pub.

Since then, life has taken a different turn as we welcomed a new addition to our family. As you would expect a baby in your family changes priorities but thankfully we still look forward to some camping and 4WD time. In preparation for other significant changes, we have been working on the final details of the LandCruiser before we can put some more miles on it. So here goes.

Due to the height restrictions for our garage, I've had to rearrange things so that we can park inside. I've removed the two sets of MaxTrax and Hi-Lift from the roof rack and stored them on the rear bar. I had to get a bit creative for the Hi-Lift but nothing a bit of time with a welder and a wheel spacer did not fix. Latest rendition of the rear bar:

IMG_0909_zps708e404e.jpg


IMG_0910_zpsc2dacd62.jpg
 

p1michaud

Expedition Leader
Next up was to fix some steering issues. One of the issues caused by more power and torque in an all wheel drive vehicle is that it will quickly expose any lingering issues. I first noticed some abnormal wear on the passenger front tire as well as quite a bit of torque steer during hard acceleration or when towing. After doing some research and talking to one of the Australian gurus on IFS 100 Series (D. McRae of Auto-Craft). Some replacement parts were ordered. While I was at it, figured it was time to redo the brakes so I won't have to touch those for some time as well.

Brake upgrade kit consist of slotted rotors, heavy duty 4WD specific pads, parking brake shoes and stainless steel braided brake lines. In this photo, there is also a hit as to other items that were being replaced for torque steer and tire wear issues. Anyone care to guess?

IMG_0915_zps36667f97.jpg
 

Forum statistics

Threads
186,274
Messages
2,883,967
Members
226,151
Latest member
Dgollman
Top